

And Darren, are you the new man in charge?
Good deal!

~ Jeff


 I was just having one of those moments where I couldn't get my head around anything. Sometimes the simple stuff just slips out of reach I guess, I'm all squared away now, and making ground on the actual model as well.

@Sal: hey dude yes you can add figures, stowage and new decals. This is in the rules and hasn´t been added as a wish.
That paint job is fantastic, what did you use?
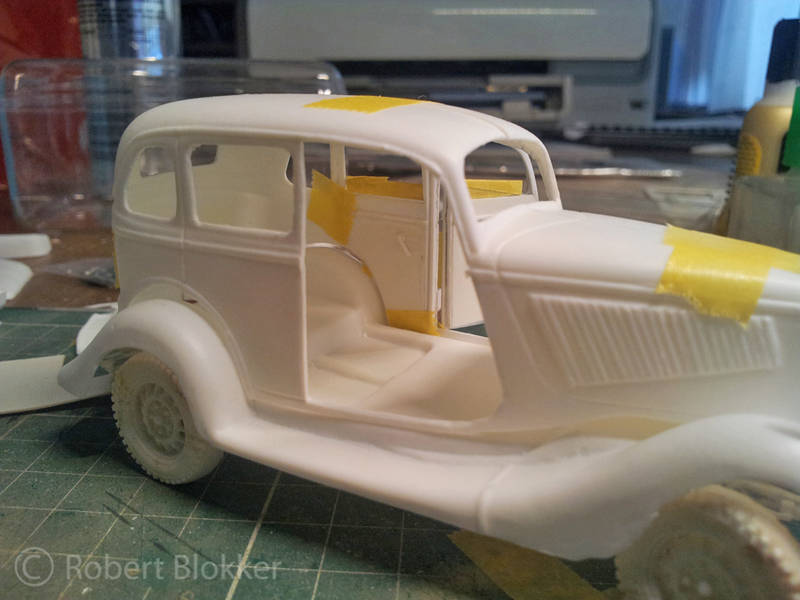
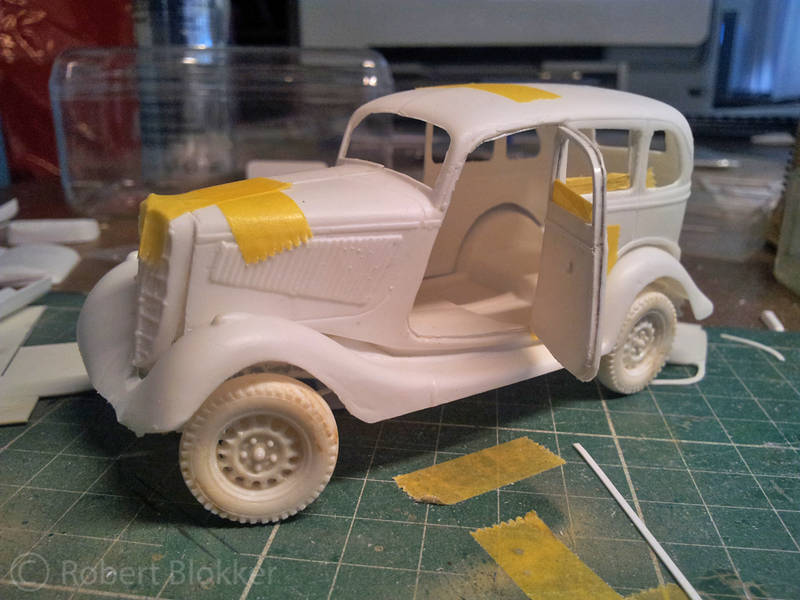
And maybe just add a little filler to the 2 indents on the side armor, it will make the world of a difference. If you do go for the filler then add a very dark color to it before applying to the kit, otherwise you´ll have one hell of a prob trying to tone it in.
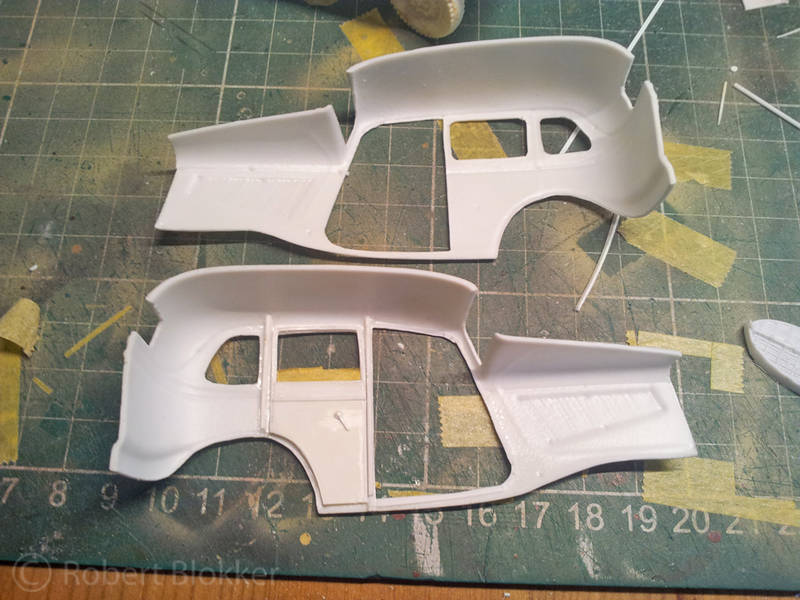
@ Robert: Bloody hell, the chassis is also vacu? I´m glad thats your kit and not mine
Nice work and very tempting to go and another vacu kit,just to try it again.
Paul


 Ill have some pictures of that up tomorrow


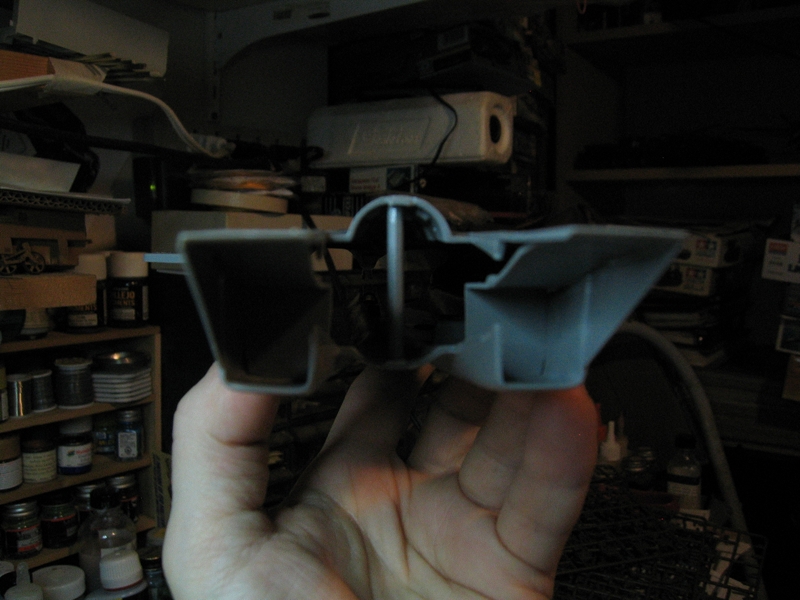
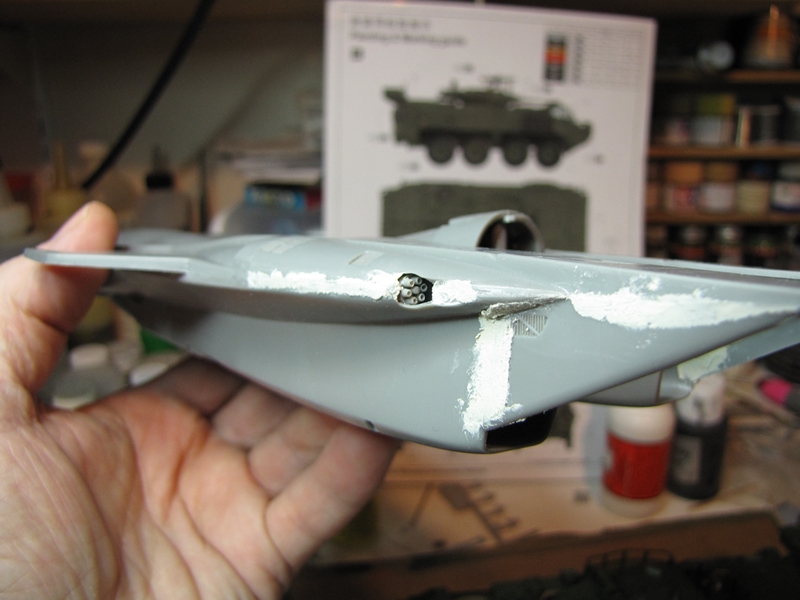
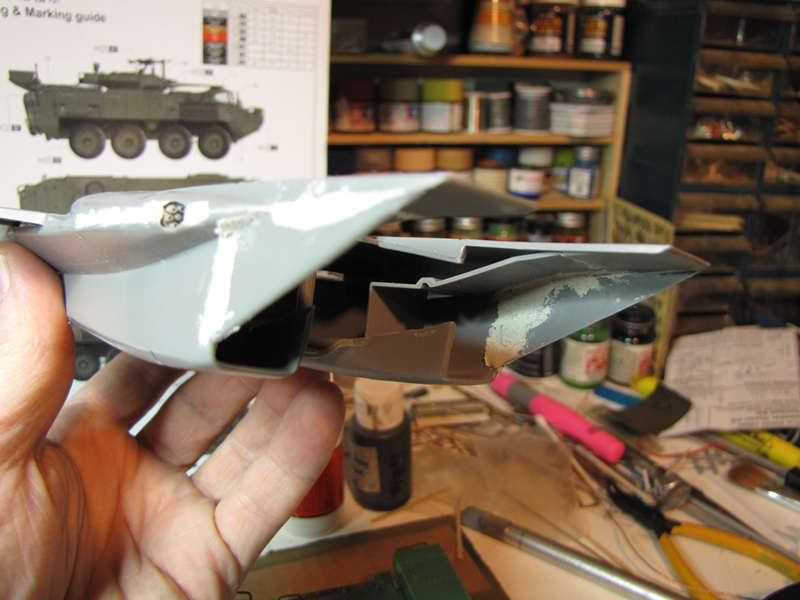
 so I found out how much the top and bottom needed to be apart and glued in a spacer then re-glued the seam by the gun.
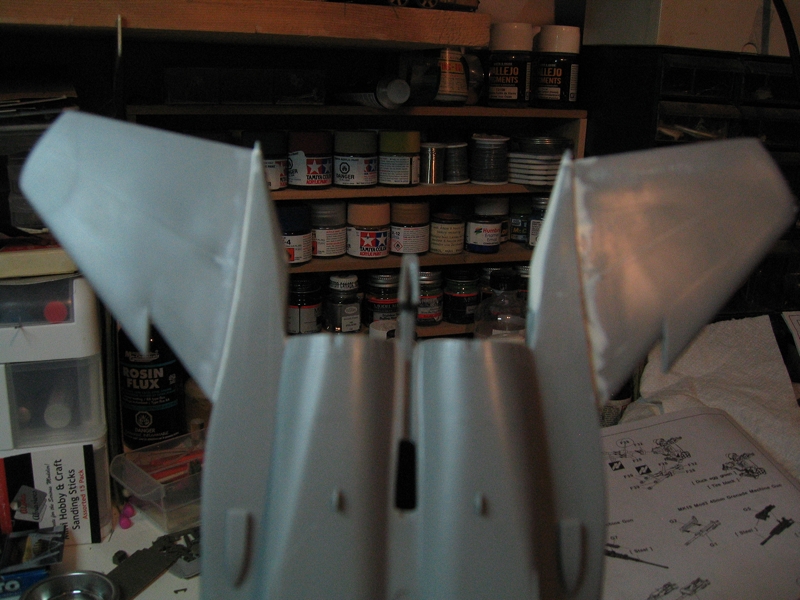


 -- they're all good, keep 'em coming!


Sal, you amaze me with your speed in completing one campaign after another!
Tat


 but it should still come out nice.
  so I started modifying one, I cut the representation of the control arms off and started to carve off what's not needed with a knife and a Mission Models chisel
  I like that tool.
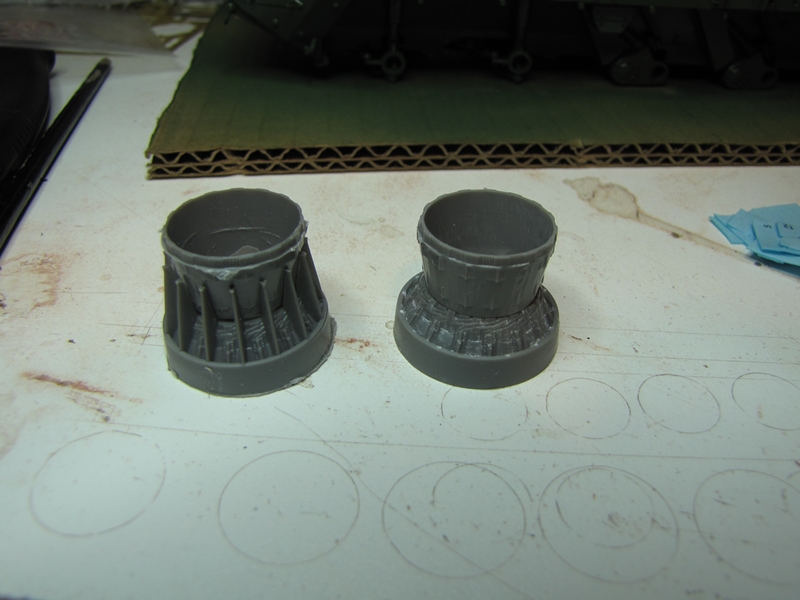


 so that I can concentrate on another build


 |


