Florida, United States
Joined: March 30, 2010
KitMaker: 139 posts
Armorama: 136 posts
Posted: Wednesday, October 23, 2013 - 05:01 PM UTC
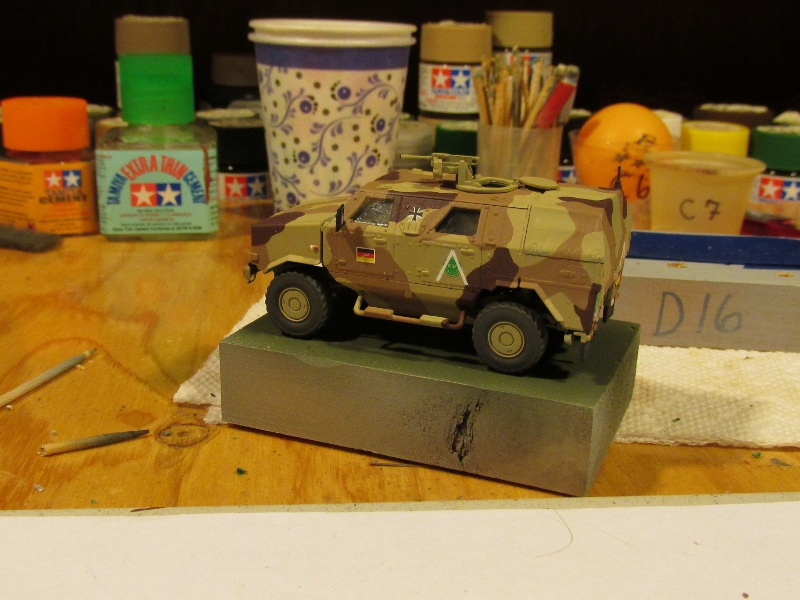
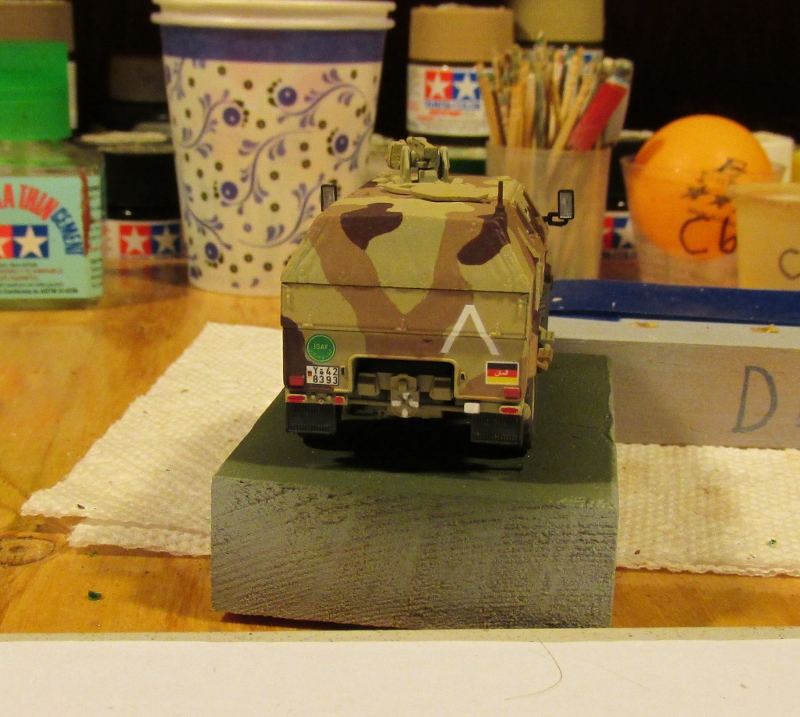
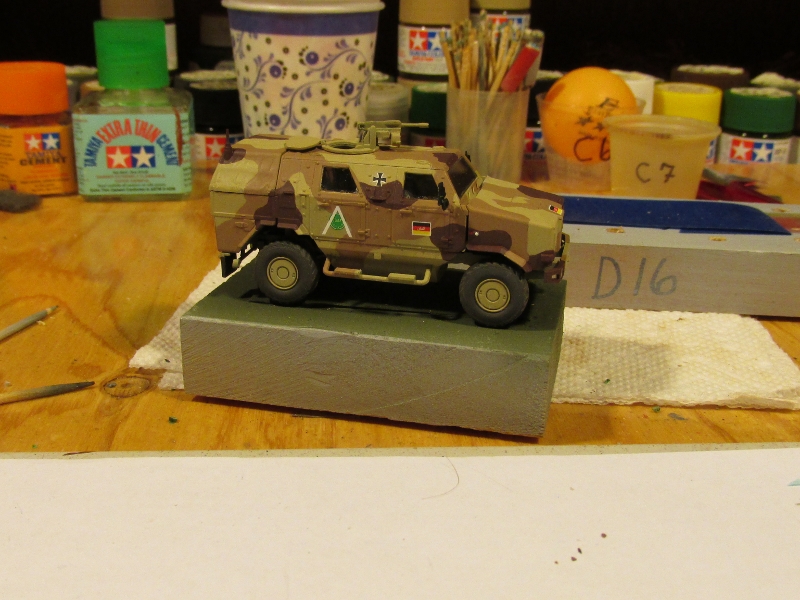
Tonight's report- almost done....
Just adding some stowage, and a few clear parts after the final matte varnish coat. Then I'll finish the wooden base and some groundwork, and that'll be it, and I'll quit bugging everyone with my seemingly endless posts!!!
Thanks and take care!
Larry


Kildare, Ireland
Joined: November 21, 2007
KitMaker: 3,212 posts
Armorama: 2,807 posts
Posted: Wednesday, October 23, 2013 - 07:23 PM UTC
Looks great Larry and that was a very fast build!
Isere, France
Joined: April 23, 2011
KitMaker: 735 posts
Armorama: 606 posts
Posted: Wednesday, October 23, 2013 - 07:31 PM UTC
hello,
Larry nice job.
I will say that it is finished
steph


Sao Paulo, Brazil
Joined: January 24, 2012
KitMaker: 1,054 posts
Armorama: 1,050 posts
Posted: Wednesday, October 23, 2013 - 09:35 PM UTC
Hi guys!
Great Stryker, I have two built and one more in my stash.
The V-150 is fantastic too. I loved the paint scheme.
My Snow Leopard had some problems with the camo masks, but I hope I can show some progress next weekend.
Cheers!
Marco
Florida, United States
Joined: March 30, 2010
KitMaker: 139 posts
Armorama: 136 posts
Posted: Wednesday, October 23, 2013 - 11:41 PM UTC
Interesting V150, what's the prototype?
Thanks for the comments! The Stryker was done quickly because I've come to the conclusion that if I don't drive through the project to completion once I get started, it just hangs around forever and I lose motivation, and it gets shelved forever! So, I had some time and burned some midnight oil to get it finished.
Re the multiple Stryker kits, I have 2 more AFV Club kits on the stockpile, one of which is going to be an OIF version with all the slat armor and so on. That build will be interesting, no doubt!
Ok guys, that it for now!
Take care,
Larry
Isere, France
Joined: April 23, 2011
KitMaker: 735 posts
Armorama: 606 posts
Posted: Thursday, October 24, 2013 - 12:18 AM UTC
hello
prototype?
it is a LAV 150 90mm MECAR GUN. for decoration I based on LAV of the Indonesian army
steph

England - North East, United Kingdom
Joined: June 22, 2010
KitMaker: 1,224 posts
Armorama: 1,207 posts
Posted: Thursday, October 24, 2013 - 07:30 PM UTC
New York, United States
Joined: March 08, 2010
KitMaker: 3,662 posts
Armorama: 3,078 posts
Posted: Friday, October 25, 2013 - 01:09 AM UTC
Active Campaigns on the bench:
Operation Fall Gelb - Pz.Kpfw. IV Ausf. C
Engineering the Future - M-26 Recovery Vehicle
115 Campaigns completed
Ontario, Canada
Joined: November 10, 2010
KitMaker: 587 posts
Armorama: 550 posts
Posted: Friday, October 25, 2013 - 04:10 AM UTC
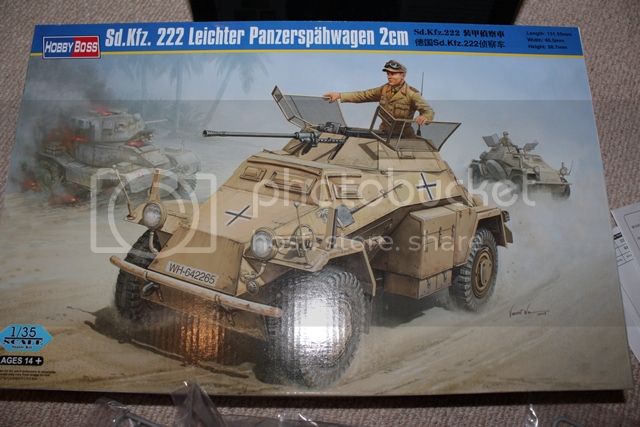
I picked up this bad boy and thought it would be perfect for the campaign. I'm alittle unsure of how I'm going to display the beautifully detailed interior I feel the clear parts are a little gimicky but we shall see once the building starts.

New Hampshire, United States
Joined: August 11, 2008
KitMaker: 403 posts
Armorama: 322 posts
Posted: Friday, October 25, 2013 - 01:35 PM UTC
Well, somewhere between my camera and my computer the photos of the first 2/3 of my build of this Sdk Fz 234-4 got eaten.
I got this delivered on Sept 5 but haven't finished it yet, hope y'all will accept me into this campaign
One of my favorite armored cars.
Not sure about the camo scheme but I think I like the chipped effect.


Sao Paulo, Brazil
Joined: January 24, 2012
KitMaker: 1,054 posts
Armorama: 1,050 posts
Posted: Friday, October 25, 2013 - 11:18 PM UTC
Hi people!
Great idea Alex. I will follow.
WOW J. Fantastic.
Cheers!
Marco
Isere, France
Joined: April 23, 2011
KitMaker: 735 posts
Armorama: 606 posts
Posted: Friday, October 25, 2013 - 11:20 PM UTC
hello,
for the camo I use an airbrush with caches in Patafix when a painting that are shades tamiya
J Poitras very nice work
Maine, United States
Joined: February 11, 2011
KitMaker: 1,654 posts
Armorama: 1,565 posts
Posted: Friday, October 25, 2013 - 11:57 PM UTC
Some pretty cool stuff happening here

Got some camo on the little dog
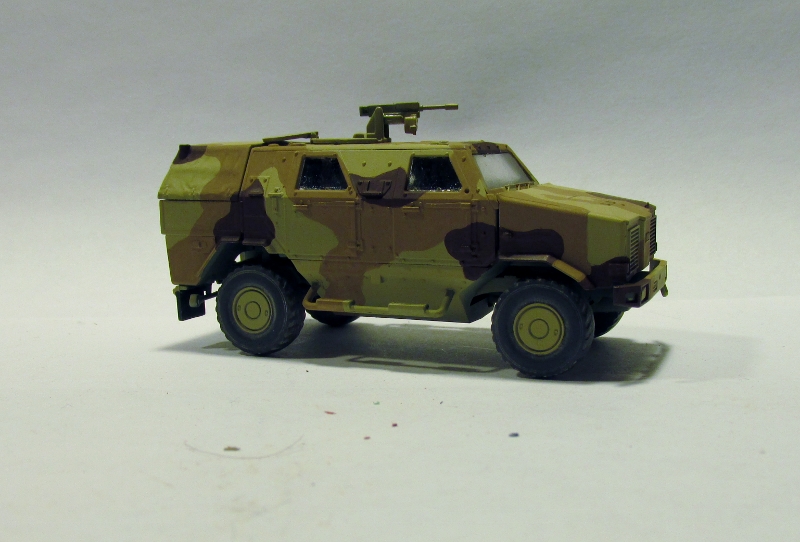
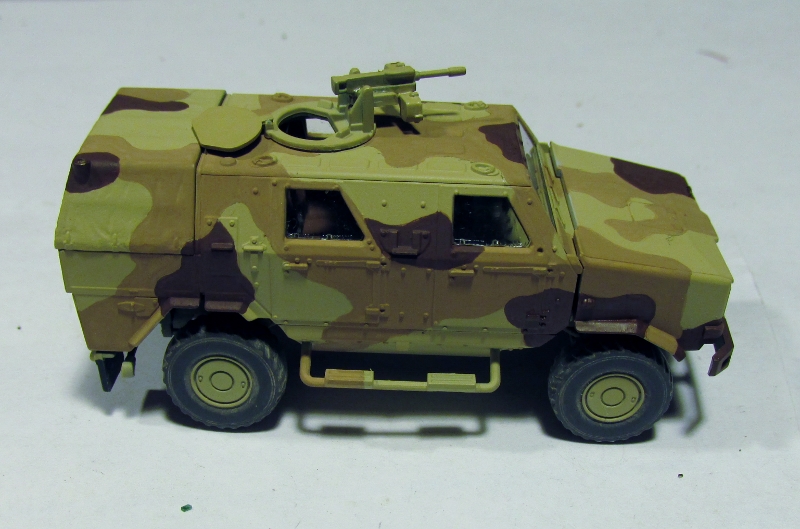
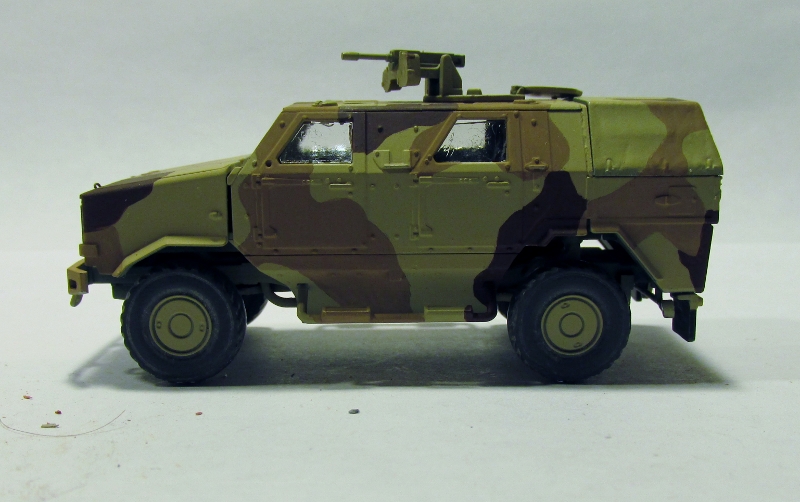
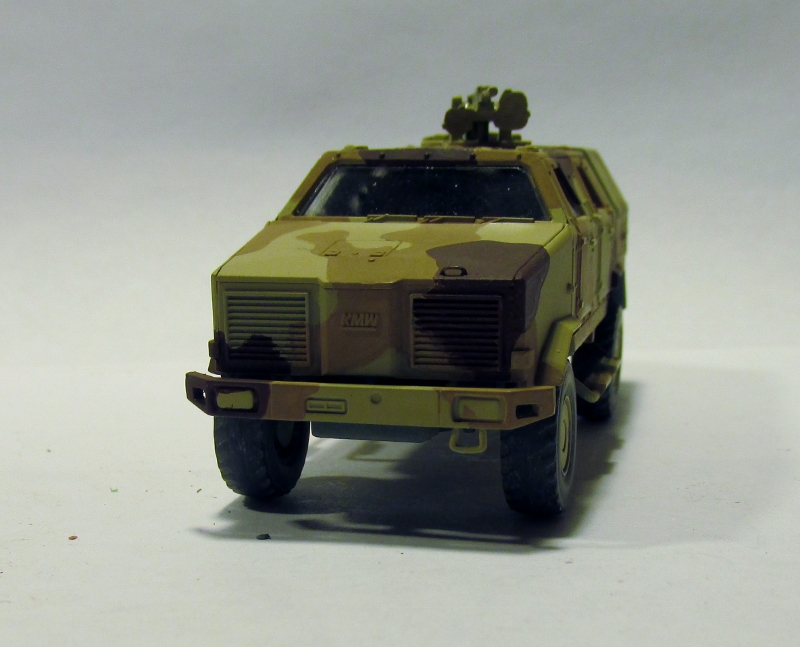
Some glosscoat and we'll be ready for decals

Jeff T.
The building lamp is lit.Build'em if you got'em.
Florida, United States
Joined: March 30, 2010
KitMaker: 139 posts
Armorama: 136 posts
Posted: Saturday, October 26, 2013 - 03:20 AM UTC
Steph, very cool with the V150! Indonesian army, very cool..... Cool stuff going on around here! Keep it up fellas!

#275
Alberta, Canada
Joined: March 01, 2006
KitMaker: 174 posts
Armorama: 141 posts
Posted: Wednesday, October 30, 2013 - 05:34 AM UTC
Robert the Hobby Boss 222 goes together very well, the only problems I had were with the fit of the front fenders, a small amount has to be trimmed where the fender meets the joint between the top and bottom of the armoured hull.
I'm ready to start a colour coat on the exterior. I will be doing a worn Afrika scheme so dark gray over-coated with sand.

Florida, United States
Joined: March 30, 2010
KitMaker: 139 posts
Armorama: 136 posts
Posted: Wednesday, October 30, 2013 - 01:32 PM UTC
Cam, very cool! I was wondering if anyone had been doing anything, as it had gotten pretty quiet around here, including me! Looking forward to seeing more!
Maine, United States
Joined: February 11, 2011
KitMaker: 1,654 posts
Armorama: 1,565 posts
Posted: Thursday, October 31, 2013 - 08:54 AM UTC
The building lamp is lit.Build'em if you got'em.
Kildare, Ireland
Joined: November 21, 2007
KitMaker: 3,212 posts
Armorama: 2,807 posts
Posted: Thursday, October 31, 2013 - 08:18 PM UTC
Nice one Jeff....good practice for the 1/35 version due soon (December?) from Revell

England - North East, United Kingdom
Joined: June 22, 2010
KitMaker: 1,224 posts
Armorama: 1,207 posts
Posted: Thursday, October 31, 2013 - 10:50 PM UTC
@cam - looking good and thanks for the tip on the fender.... mind has wandered to a field-repair for a damaged fender (bumper) - wonder if they would bother or just remove it....
oh yes - also just noticed the fuel-can "box"... stop stealing my inspiration ;-) have also seen on on the front wheel arch (think it was a can holder), and also with them mounted on the rear wheel arch too so will look at a slight variation
and the scheme - thats the same I am going for - not sure how faded yet but will be sand over grey.... HOPING to make the first cut tonight and get on with it
England - North East, United Kingdom
Joined: June 22, 2010
KitMaker: 1,224 posts
Armorama: 1,207 posts
Posted: Friday, November 01, 2013 - 10:05 AM UTC
ok some progress... have to admit the small bits were fiddly and apart from an elementary mistake (rectified) so far so good....

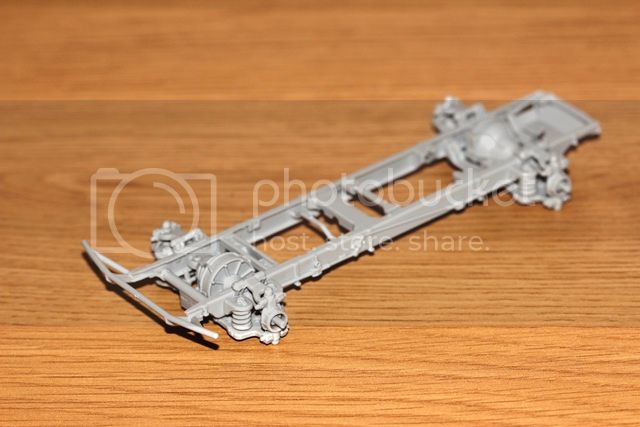
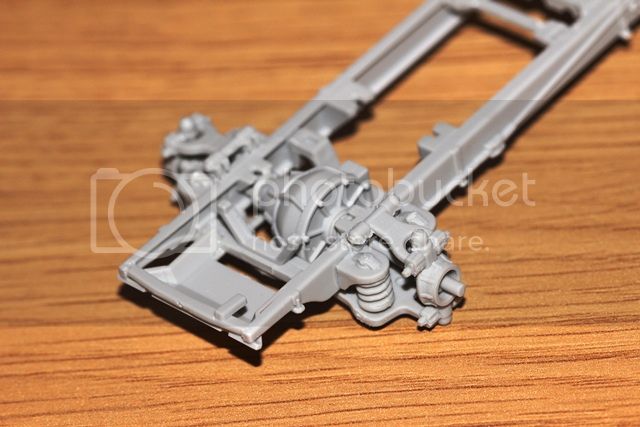
i "think" it is a;; square...
Florida, United States
Joined: March 30, 2010
KitMaker: 139 posts
Armorama: 136 posts
Posted: Friday, November 01, 2013 - 11:11 AM UTC
Lisboa, Portugal
Joined: March 04, 2008
KitMaker: 5,386 posts
Armorama: 4,727 posts
Posted: Saturday, November 02, 2013 - 01:12 AM UTC
Working slowly..

Next step is to correct the inner supports that Kuba pointed with his great reference photos.
Active Builds: 0
Active Campaigns: 0
England - East Anglia, United Kingdom
Joined: March 21, 2012
KitMaker: 1,673 posts
Armorama: 1,640 posts
Posted: Saturday, November 02, 2013 - 04:42 AM UTC
Hi there, some real cool builds going on here


and now I'm going to start on mine.
At the start of the campaign I asked Luca if my choice was allowed, as nobody can prove if it existed or not:

Quoted Text
As far as I know it´s a 234 with a Luchs turret, it still
has not been proven as a fake, or as a real field modification
What ever your answer, count me in.
Paul
Quoted Text
Dear Mr Paul,
When I lookd up the definition of Armored Car it said:
' An Armored Car is a armored military vehicle that uses wheels instead of tracks.'
For example a unarmored Humvee is a Softskin whereas a armored Humvee is considered Armored Car.
So as an answer to your question yes it is useable.
Luca
Well here we go then, Italeri SdKfz 234/1 with an MR Models Panzer II Luchs turret:
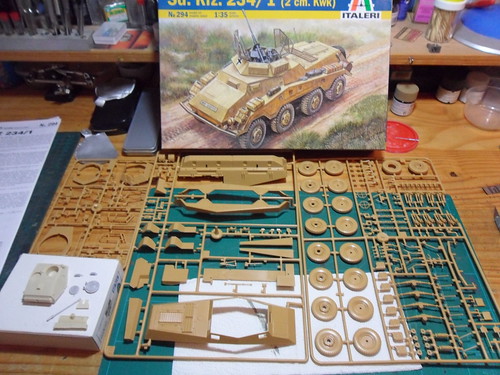

I'll get some progress pics up later

Sean nice to see you have saved yet another campaign


Paul
"Lord Raglan wishes the cavalry to advance rapidly to the front, follow the enemy & try to prevent the enemy carrying away the guns. Troop horse artillery may accompany. French cavalry is on your left. Immediate. R Airey."
England - North East, United Kingdom
Joined: June 22, 2010
KitMaker: 1,224 posts
Armorama: 1,207 posts
Posted: Saturday, November 02, 2013 - 04:58 AM UTC
done the first 3 steps (so up through all the hassis and engine/raiator). believe that setup will be painted as it is now (black) then detailed....
for the interior, it is nicely detailed and I want to do it justice... should i paint all the parts, then build then weather, or build then paint/weather all built? lots of smaller bits and corners... believe it will be a grey floor and then eifenbraun upper - is that correct (red primer)?
will get some cpis up later of where its at but any tips on the interior very much appreciated....
England - East Anglia, United Kingdom
Joined: March 21, 2012
KitMaker: 1,673 posts
Armorama: 1,640 posts
Posted: Saturday, November 02, 2013 - 06:26 AM UTC
Hi Rob,
here's a few pics from the long gone "AFV Interiors Site":
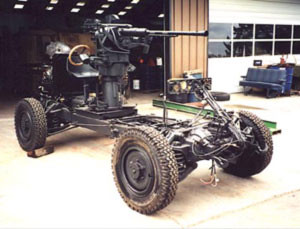
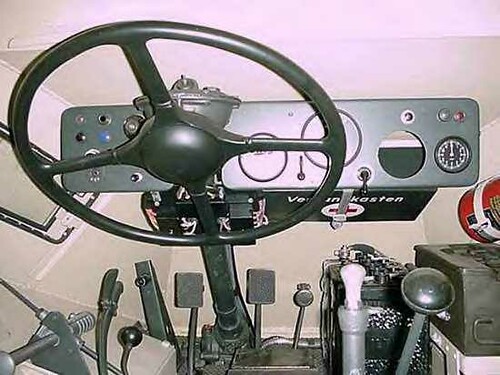
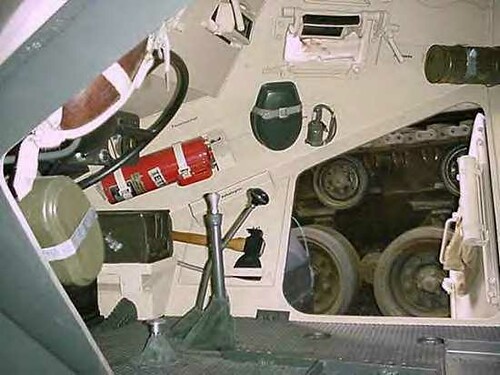


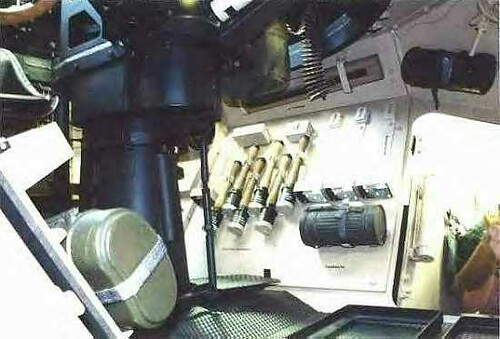
I hope they help you with the colour choice, and in my opinion I'd paint everything separately and place afterwards.
Thats how I did my scratch build back in the 90's.

Paul
Edit
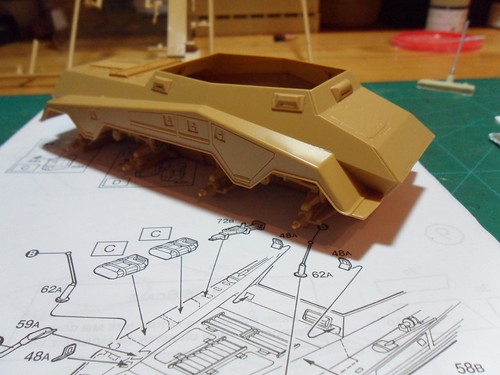
Oh yes, my progress so far. Almost forgot to post it:
suspension
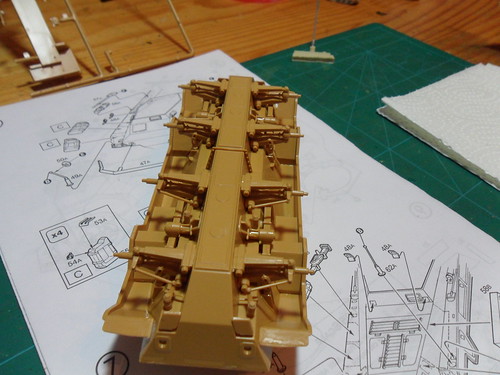
the hull almost complete
turret
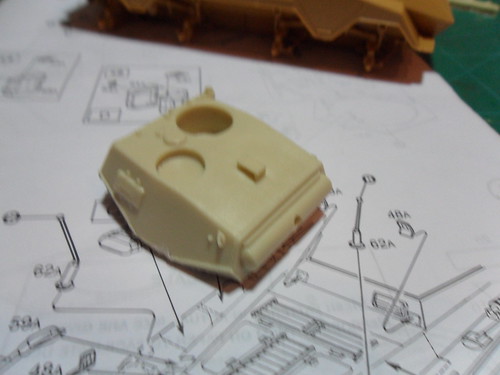
that needed some ugly holes filling, lots of them

Time for a beer or three, see you tomorrow.
Paul
"Lord Raglan wishes the cavalry to advance rapidly to the front, follow the enemy & try to prevent the enemy carrying away the guns. Troop horse artillery may accompany. French cavalry is on your left. Immediate. R Airey."


