Rob;
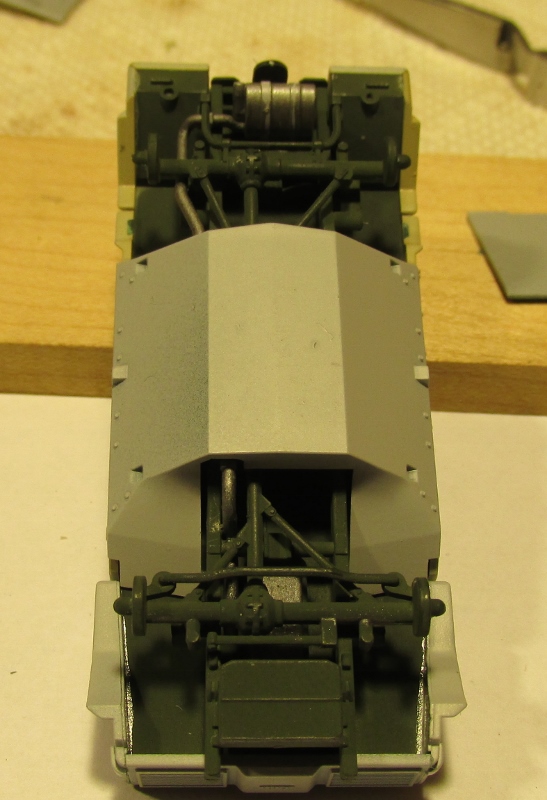
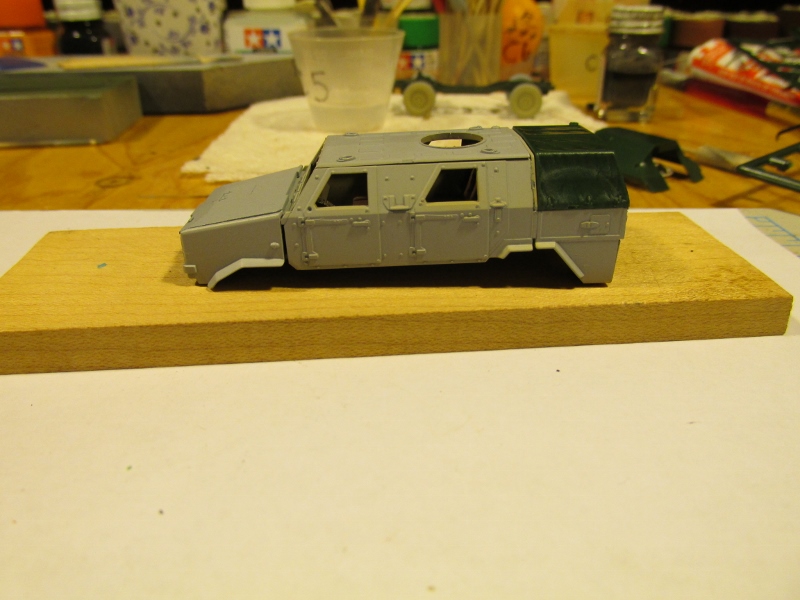
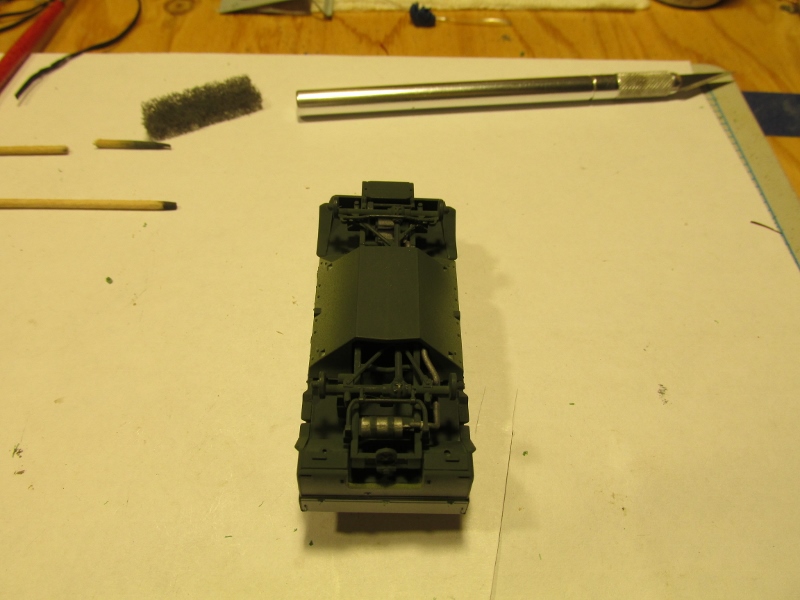
Hi! Short answer is "yes" - all surfaces readily visible from outside, including the outer sides of those chassis rails, etc., would be the hull color. As to whether the inner faces of frame rails and suspension parts... all the "melons" and hardware would of course have been painted their "OEM" industrial finishes (NOT rot-oxide primer red, but some form of black enamel). Inner faces of frame members and suspension bits - including tie-rod, etc., would also likely have been the black enamel.
My best guess would be that no primer would have been left visible on these cars, as all were produced before mid-1944, and painting likely still followed most production practices. As the chassis were built by one company AU/Horch) and the hulls built by another (Eisenwerke Weserhutte, I think), and hulls mated to chassis by yet another, I would expect that the completed chassis would have shipped as a complete finished (painted in enamel black) industrial product to the final assembler, who then painted the entire contraption as needed by regs.
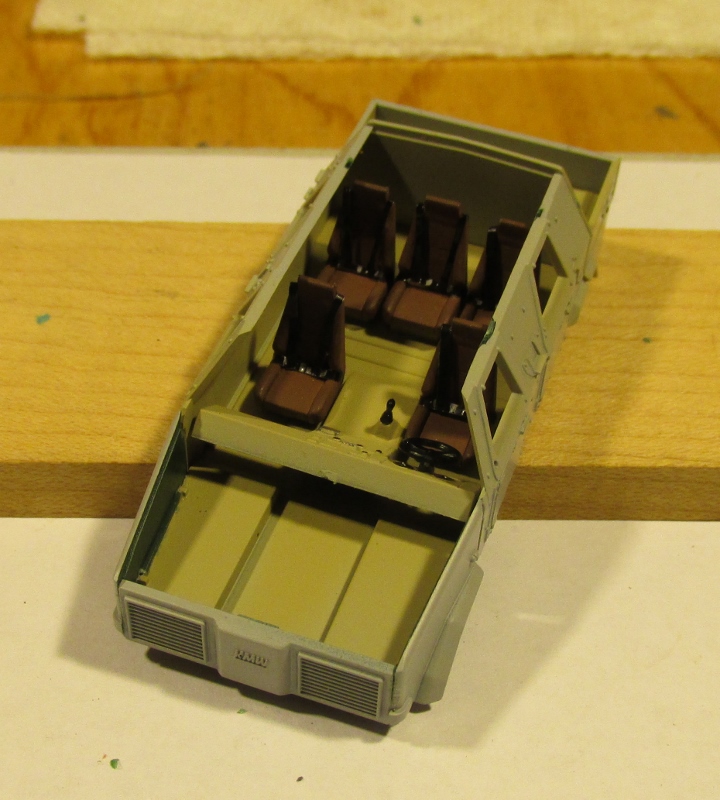
IF there was any rot-oxide primer left exposed, I would bet that it was so only in the engine compartment and maybe (but I think less likely) on the floor of the crew space.
Just my thoughts

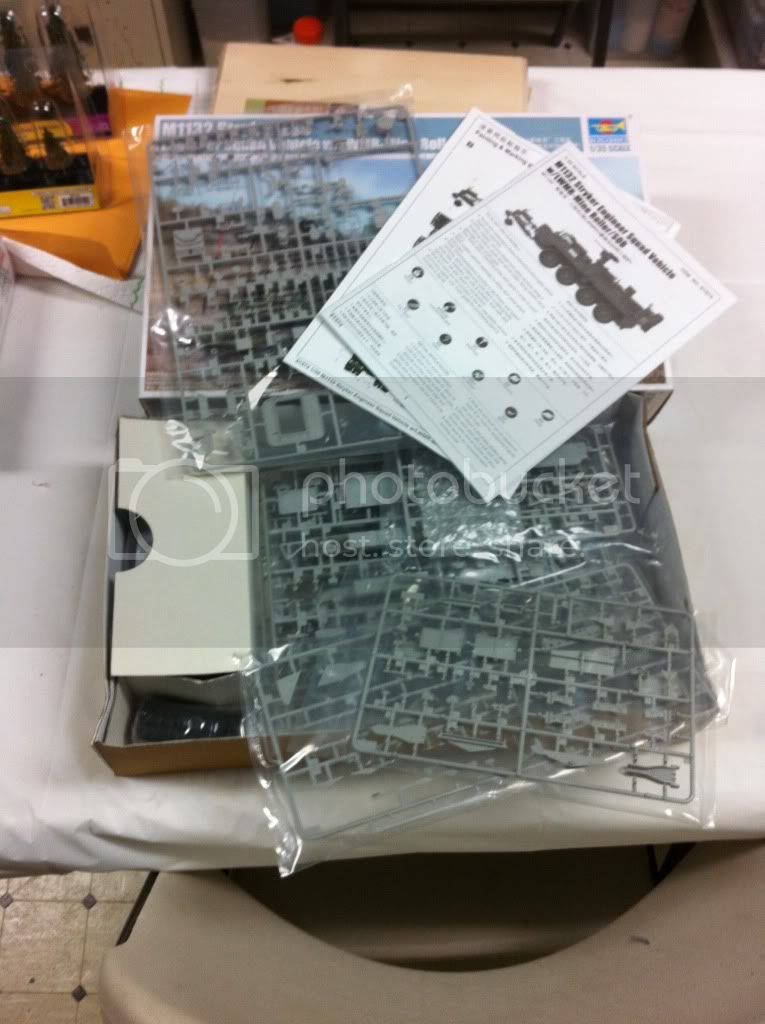
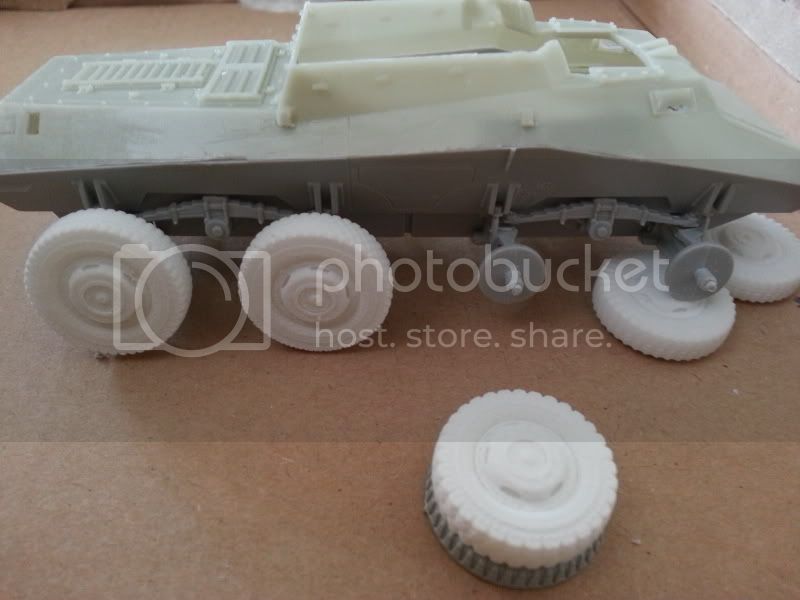
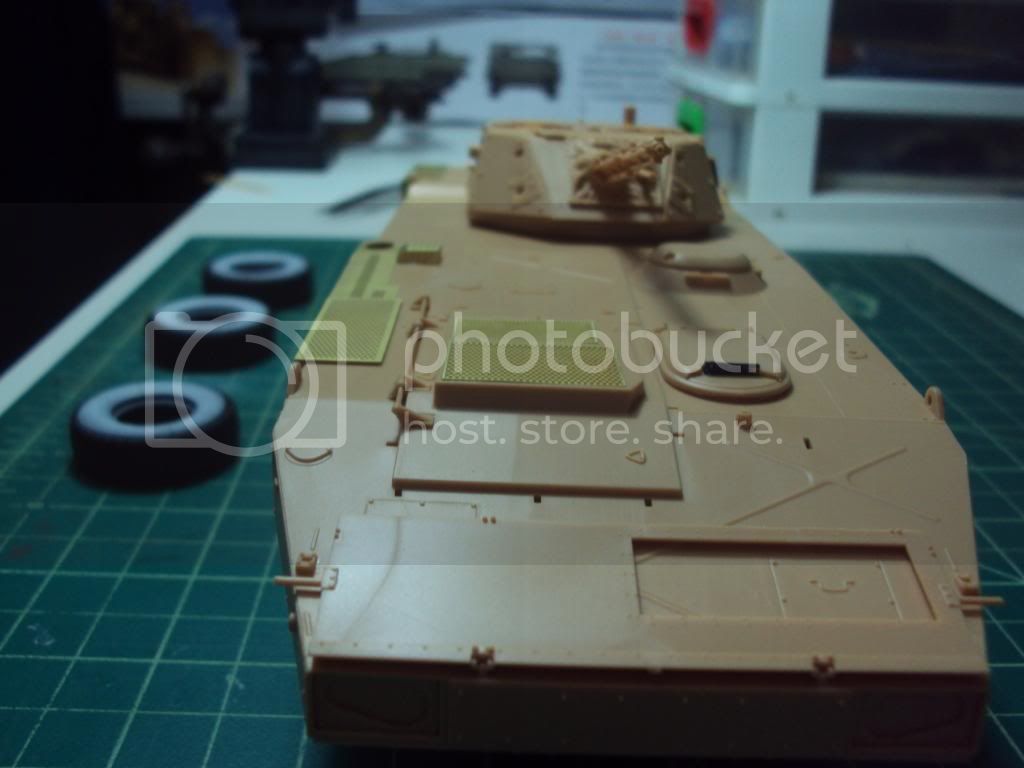
PS: I am finally wrapping up my HobbyBoss 223 build - after much tooing and frowing and dithering and scratch mods and frustration and FUN!

IMHO, the HB kit is pretty nice and full of details and a fun build, but there are lots of inaccuracies that should be addressed if one is picky. I would expect that the HB 222 kit follows along in many ways - fun, lots of details, various inaccuracies needing address.
Bob


 Hello friends!


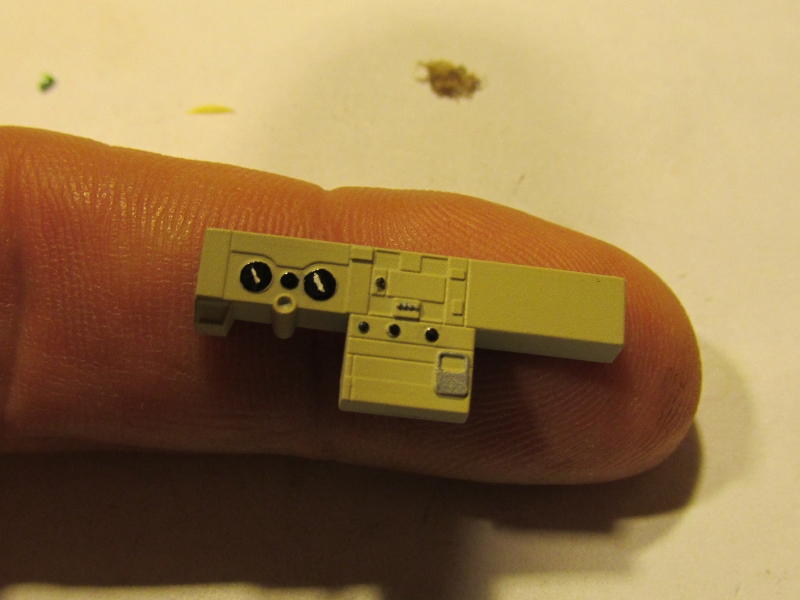
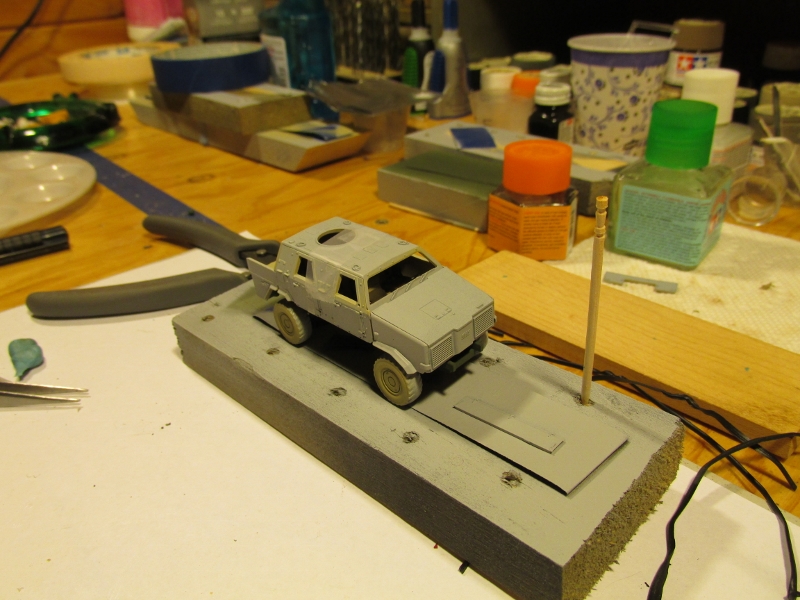


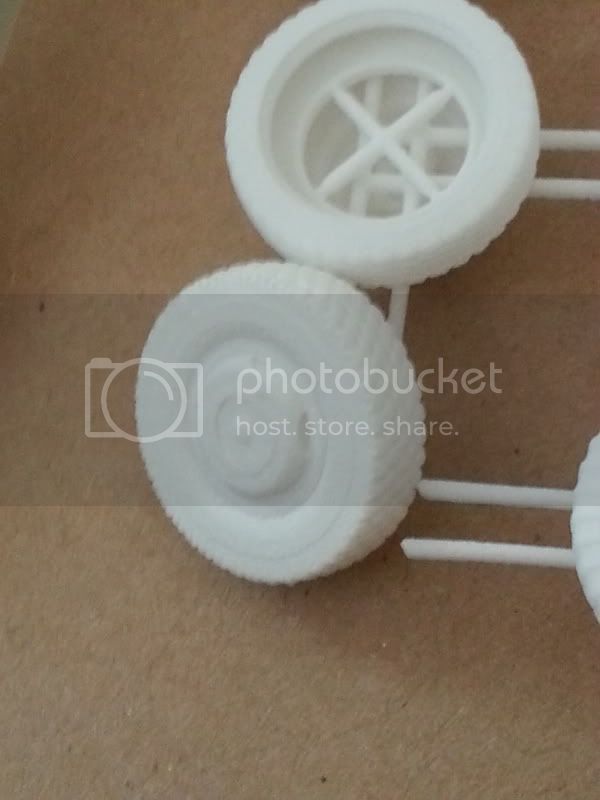


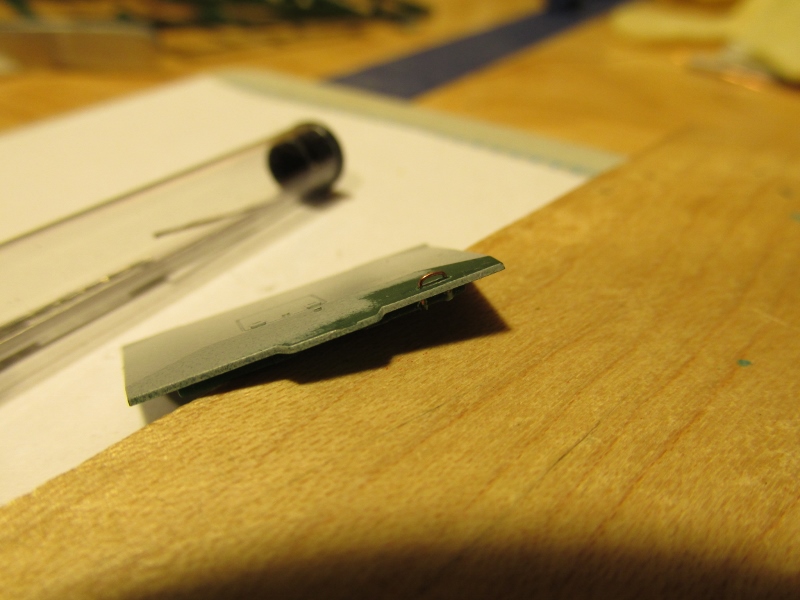
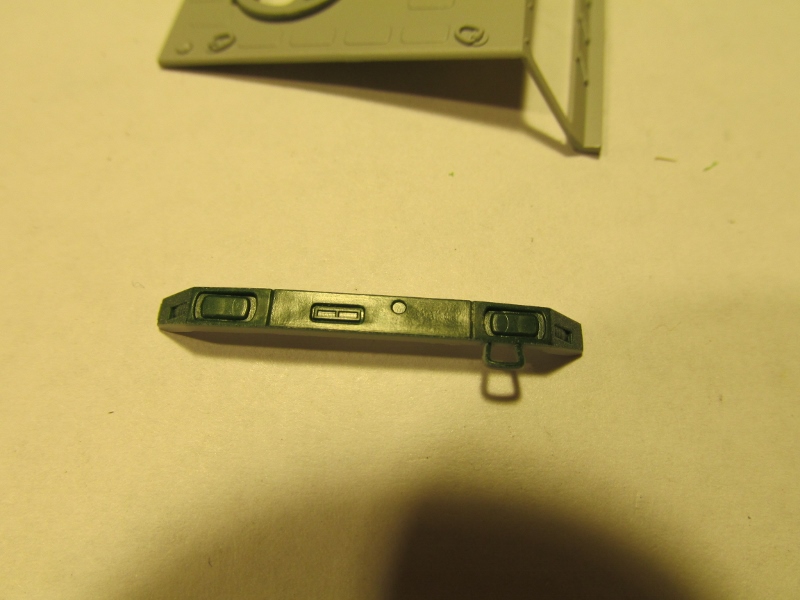


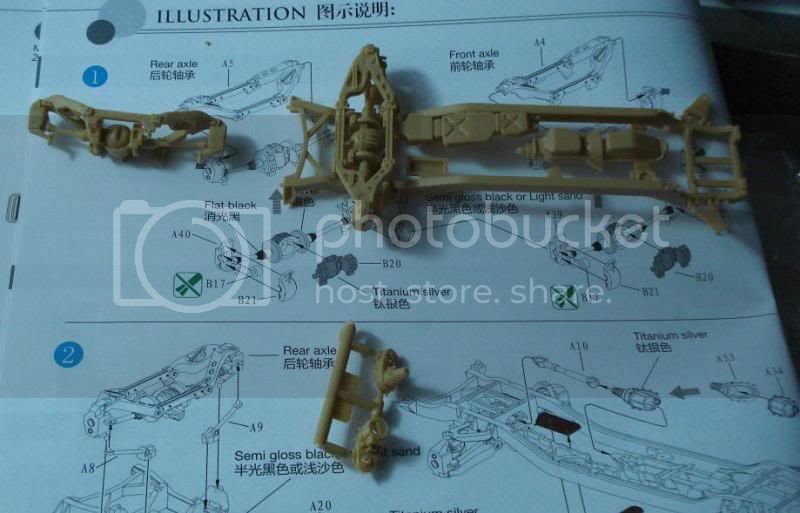


 those small parts will fly off the tweezers for sure..