


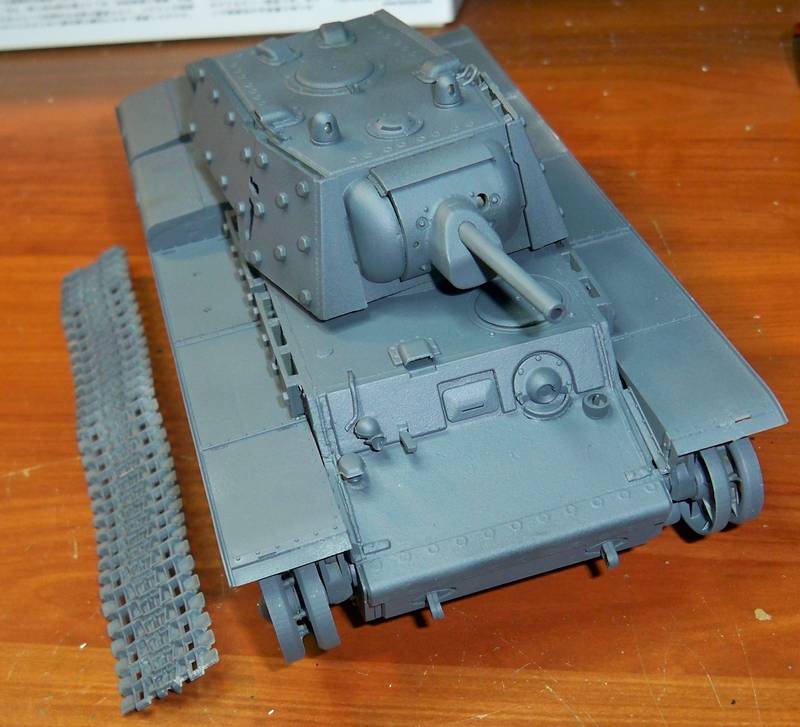
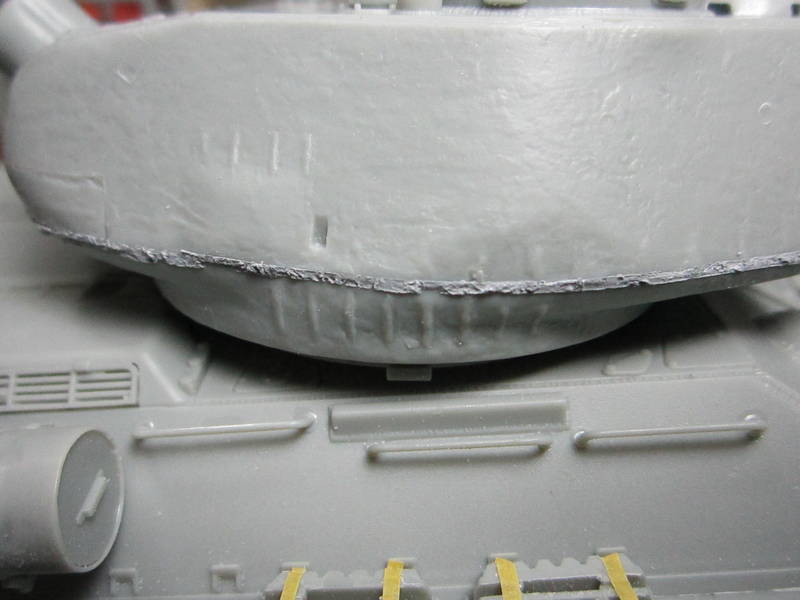
Okay... help me out here. WHAT is the PE for?

TIA!!
Jeff


 I think a resin piece would have been easier.

 and moved on to Step 7, fenders are still dry fit


 It is not shown on the box art


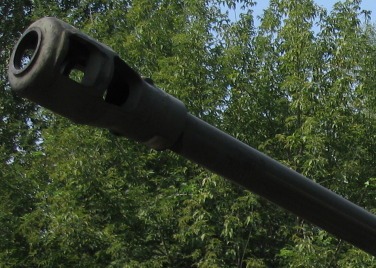
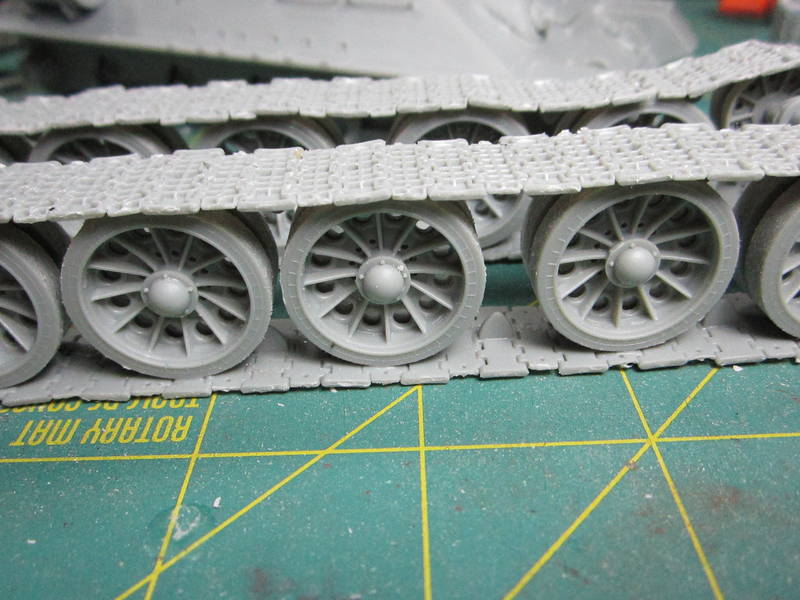
best I could find. notice the raised detail around the vent holes on the side. that's where the PE should lay, as a border of the vent holes of the brake.


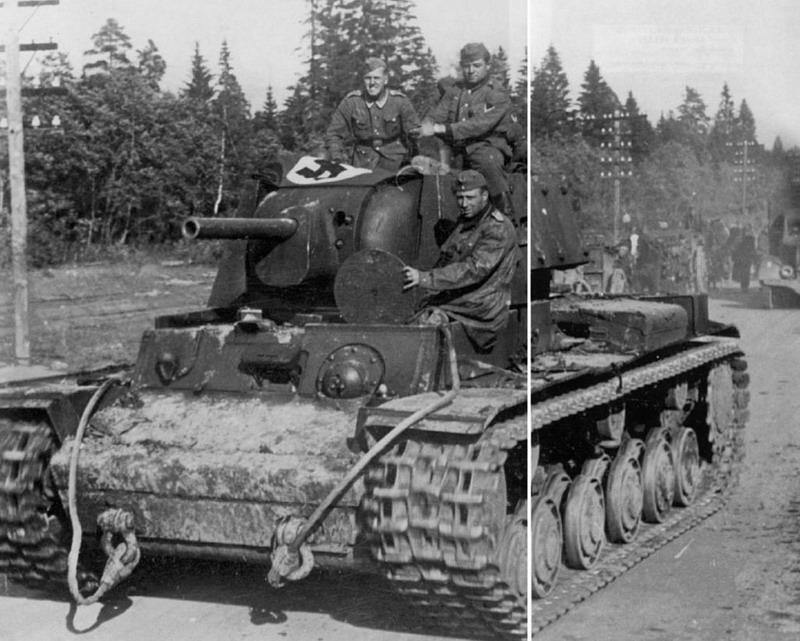
Question: If I finished up my KV-1E as a German capture would it still qualify under the campaign's regulations?


Hey all,
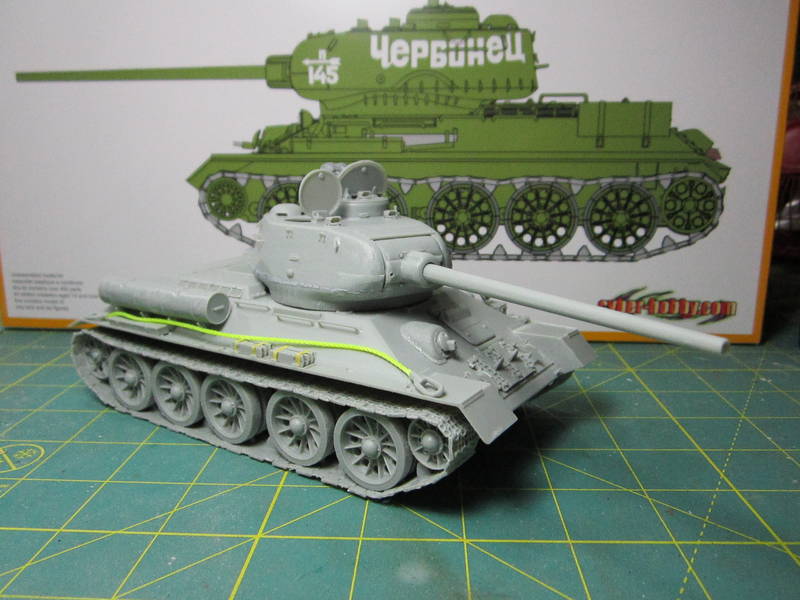
Pedro gave me the heads up about the Campaign so I thought I would throw my build into the mix as well. This is the Orange box T-34-85 from Dragon with included infantry riders. I moved through the build in rapid fire fashion (well, what amounts to rapid fire for me anyway!) The only issue was a slight warping of the left front fender and some tweezers launch of a couple of tiny fittings. Awaiting some paint just now, maybe in a day or two.
Cheers,
Rick
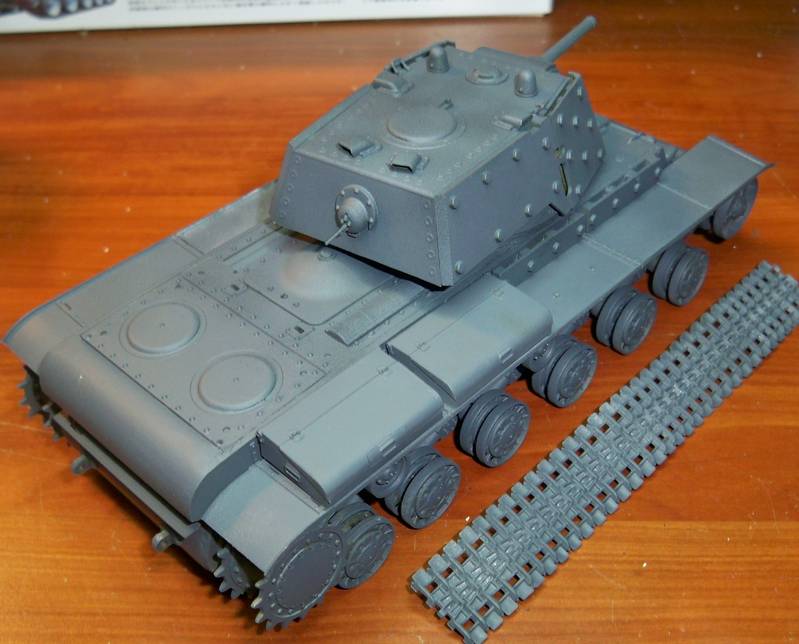
Wheels and tracks are detachable, I built them up as a removable unit.


Pedro,
Yes it has been quick, I started on the 18th and finished on the 27th, 9 build sessions of anywhere between 15 minutes and two hours with most at about one hour.
Just a tiny bit of CA to help super saggy tracks hold there shape a bit better and to get the upper hull to hold tight.
The build was very easy, just not to many parts outside of the tracks. The suspension is a real simple affair, road wheels even easier. No PE, so that helped to speed things up. Only issue was the front left mudguard was warped making the attachment of the upper and lower hull a bit of an issue. But I used reverse pressure, CA, and thick Testors glue with a couple of clamps and let it dry for a full day which did the trick.
Detail is a little soft in areas but if you are looking for a quick and easy build this is one to consider.
and who would have ever guessed you would do a Sherman, I am shocked!
Cheers,
Rick


 |


