Official: Flak You Two: The Flak is Back!
Tennessee, United States
Joined: April 04, 2002
KitMaker: 1,290 posts
Armorama: 658 posts
Posted: Wednesday, January 27, 2016 - 06:11 PM UTC
Quoted Text
@ Jeff - congratulations on completing your build. Nice model - I have the opportunity to acquire an AFV Club Chaparral from my LHS - anything I should be wary of?
Kobus, Thanks. I used a Eduard PE set, but found the kit instrument panels in the cab and turret were actually better and used them. The track is link-to-link with punch-outs on every link, but were easy to fill and sand out. Don't forget the track sag, it should rest just above the third roadwheel behind sprocket (between 1/2-3/4 inches on real thing)(I checked with one of my operator manuals). Had some issues building the turret walls. Be patient. I wasn't and had some gaps requiring extra work. The supports at front of cab that hold tarp frames are very fragile, both of mine broke. I found a photo from DESERT STORM showing a vehicle with only three instead of six and went with that. Finally, My decals didn't stick very well, used white glue on one.
Really was not as bad as above may sound. Builds to accurate replica.

Jeff

#041
Kobenhavn, Denmark
Joined: July 20, 2006
KitMaker: 10,069 posts
Armorama: 4,677 posts
Posted: Wednesday, January 27, 2016 - 06:45 PM UTC
Thanks for the comments, guys.
Jeff, I make the masks from cut Tamiya masking tape. It is quite simple with only very uneven surfaces becoming a problem.
Campaign'oholic - 252+ campaigns completed
Gauteng, South Africa
Joined: July 03, 2015
KitMaker: 280 posts
Armorama: 135 posts
Posted: Saturday, January 30, 2016 - 07:01 PM UTC
@ Jeff - Thank you for the feedback. Missed a Chaparral at the local club swap meet

Also missed a Trumpy LAV Air-Defence
I suppose I have no option but to go and get the Chaparral from the LHS now.
Regards,
Kobus
Western Australia, Australia
Joined: December 31, 2013
KitMaker: 338 posts
Armorama: 121 posts
Posted: Thursday, February 04, 2016 - 05:41 PM UTC
Hi all
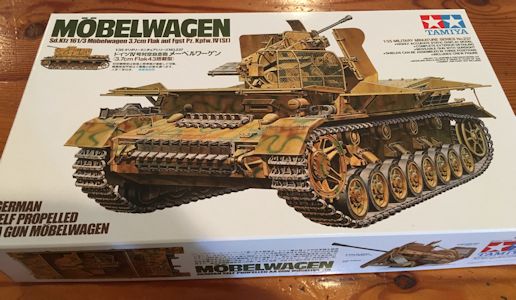
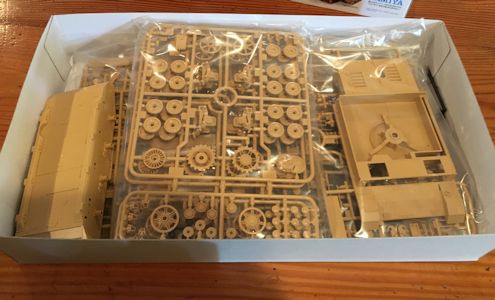
Starting in on my Tamiya Mobelwagen.
In the Hangar:
- 1/48 Hasegawa P-38J/L
In the Workshop
-1/35 Tamiya Mobelwagen
New Brunswick, Canada
Joined: December 25, 2009
KitMaker: 44 posts
Armorama: 24 posts
Posted: Friday, February 05, 2016 - 02:38 AM UTC
My kit for this campaign will be the 1/35 kit by Dragon (#6381) of the M16.

Namabiiru
 Associate Editor
#399
Rhode Island, United States
Joined: March 05, 2014
KitMaker: 2,888 posts
Armorama: 1,920 posts
Posted: Saturday, February 06, 2016 - 03:39 AM UTC
Looking forward to seeing those kits come together, Fellas!
Just finished my build, but I obviously need a better photo setup:
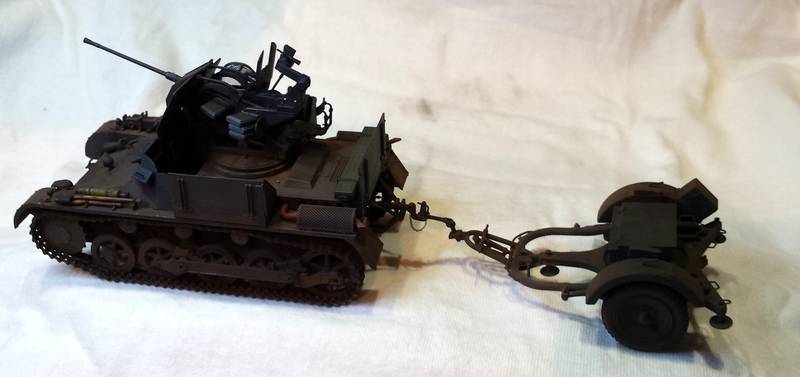
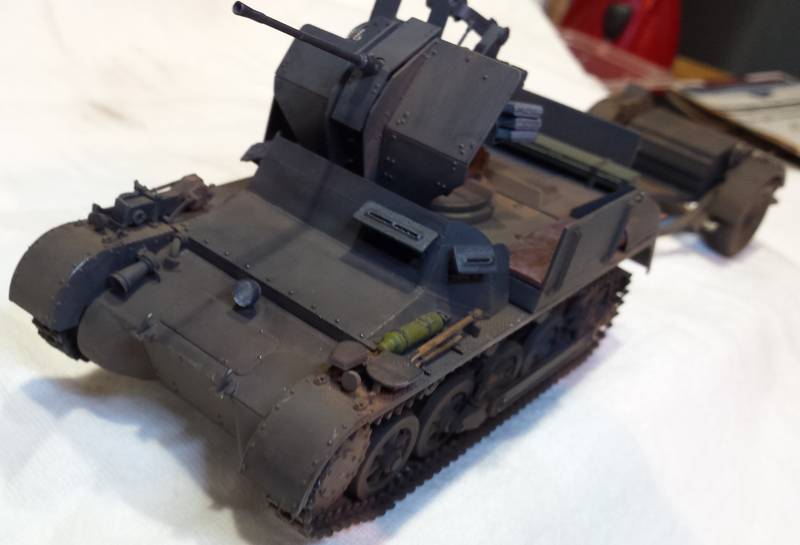
This was very nicely detailed kit. Not without some building frustrations, but must be expected on such an intricate kit. Definitely not a beginner kit. Apart from the strip I had to add to fill the mysterious gap in the glacis, everything here is OOB.

Tennessee, United States
Joined: April 04, 2002
KitMaker: 1,290 posts
Armorama: 658 posts
Posted: Saturday, February 06, 2016 - 09:49 AM UTC
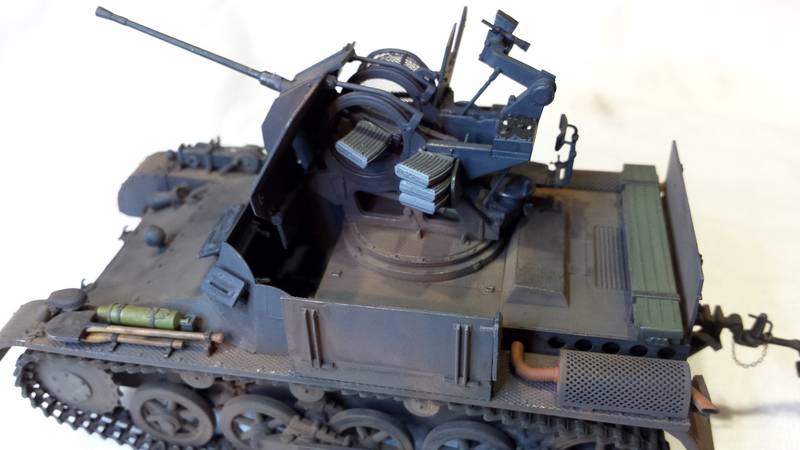
Mark, Good work. I like the light weathering, makes it look used, but not overdone, considering the vehicle's mission.
#041
Kobenhavn, Denmark
Joined: July 20, 2006
KitMaker: 10,069 posts
Armorama: 4,677 posts
Posted: Saturday, February 06, 2016 - 01:10 PM UTC
Looks nice, Mark. Subtle weathering without the steel brush car wash approach. I like it.
Congratulations on a great entry!

Campaign'oholic - 252+ campaigns completed
Namabiiru
Associate Editor #399
Rhode Island, United States
Joined: March 05, 2014
KitMaker: 2,888 posts
Armorama: 1,920 posts
Posted: Saturday, February 06, 2016 - 05:19 PM UTC
Thanks, Guys! I was going for a "Hot, dusty Summer of '42" look so lots of pigments, but not a lot of chipping since I figured these didn't last long enough to take a serious beating.
Ohio, United States
Joined: February 05, 2004
KitMaker: 545 posts
Armorama: 295 posts
Posted: Thursday, February 11, 2016 - 04:09 AM UTC
Looking good, everyone!
I'm mostly built up, but am at an impasse on painting. I don't know whether to go with Grey or Tan.
Typically, I try to find a cool photo to model (pun intended) my model after. Any suggestions?
Thanks!
Steve

tatbaqui
News Writer #040
Metro Manila, Philippines
Joined: May 06, 2007
KitMaker: 2,713 posts
Armorama: 2,451 posts
Posted: Thursday, February 11, 2016 - 04:15 AM UTC
Congrats on the nice finish Mark! Steve that looks good -- my preference would be the dark yellow / tan option. Cheers, Tat
Namabiiru
Associate Editor #399
Rhode Island, United States
Joined: March 05, 2014
KitMaker: 2,888 posts
Armorama: 1,920 posts
Posted: Thursday, February 11, 2016 - 05:23 PM UTC
Best of both worlds: Dark Yellow base color with grey camo.
#041
Kobenhavn, Denmark
Joined: July 20, 2006
KitMaker: 10,069 posts
Armorama: 4,677 posts
Posted: Thursday, February 11, 2016 - 06:38 PM UTC
Maybe go for a summer 1942 or 43 scheme of basis grey with dark yellow camouflage on top?
That could look good. Looking forward to see more
Campaign'oholic - 252+ campaigns completed
#186
Texas, United States
Joined: May 24, 2006
KitMaker: 771 posts
Armorama: 750 posts
Posted: Saturday, February 13, 2016 - 12:57 AM UTC
Man I'm late getting started. Just moved back from Mexico City to El Paso. Finally unpacked and ready to try to get some bench time!

New York, United States
Joined: March 08, 2010
KitMaker: 3,662 posts
Armorama: 3,078 posts
Posted: Saturday, February 13, 2016 - 08:00 AM UTC
Some real nice looking work here guys and being that I missed the 1st Flak Campaign I have better get a cracking

Took the photo 2 weeks ago but didnt start until this week

Yup me and Picklehead are building the same kit

Got some work done too

Active Campaigns on the bench:
Operation Fall Gelb - Pz.Kpfw. IV Ausf. C
Engineering the Future - M-26 Recovery Vehicle
115 Campaigns completed
Namabiiru
Associate Editor #399
Rhode Island, United States
Joined: March 05, 2014
KitMaker: 2,888 posts
Armorama: 1,920 posts
Posted: Saturday, February 13, 2016 - 06:59 PM UTC
Good luck, guys! Looking forward to watching your builds progress.
Wojewodztwo Slaskie, Poland
Joined: October 21, 2003
KitMaker: 529 posts
Armorama: 500 posts
Posted: Sunday, February 14, 2016 - 12:54 AM UTC
Great progress gentlemen.
Finally, I start the construction of my model for this campaign.
Here are the first photos.


#186
Texas, United States
Joined: May 24, 2006
KitMaker: 771 posts
Armorama: 750 posts
Posted: Tuesday, February 16, 2016 - 04:26 AM UTC
got a lot of work done over the weekend. Since this most of this build is a standard DML T-34 I'm going to focus on what's different about this kit. In step 11 of the instructions you are supposed to install the race for the gun mount, and it's supporting beams (parts D1(two of them) and D5). The instructions give no clear location, and there are no marks on the kit to show location. What I did was glue the beams in first, and then center the circular mounting plate.

As you can see with the upper hull removed that there is no logic to how it all mounts. my only thought was to get it centered.

the turret was easy to assemble, and when dry fitted seems to sit properly.

Namabiiru
Associate Editor #399
Rhode Island, United States
Joined: March 05, 2014
KitMaker: 2,888 posts
Armorama: 1,920 posts
Posted: Tuesday, February 16, 2016 - 06:16 AM UTC
Dragon instructions are always a crap-shoot, although I'm finding similar challenges with one of Tamiya's older kits. Looks like you've figured it out. Coming along nicely.
#186
Texas, United States
Joined: May 24, 2006
KitMaker: 771 posts
Armorama: 750 posts
Posted: Tuesday, February 16, 2016 - 09:56 AM UTC
Quoted Text
Dragon instructions are always a crap-shoot, although I'm finding similar challenges with one of Tamiya's older kits. Looks like you've figured it out. Coming along nicely.
Thanks Mark,
there have been a couple other issues with the instructions that I'll try to point out as I continue with this kit.
#186
Texas, United States
Joined: May 24, 2006
KitMaker: 771 posts
Armorama: 750 posts
Posted: Thursday, February 18, 2016 - 05:58 AM UTC
More progress. PE for the rear grills and for the ammo can storage is done.

Some knock out marks on the spare track need filling

Turret done. See some spots in the photos that need cleaning up.


#041
Kobenhavn, Denmark
Joined: July 20, 2006
KitMaker: 10,069 posts
Armorama: 4,677 posts
Posted: Thursday, February 18, 2016 - 10:53 PM UTC
Lightning speed, Guy!! Coming together really well.
Looking forward to see more
Campaign'oholic - 252+ campaigns completed
#186
Texas, United States
Joined: May 24, 2006
KitMaker: 771 posts
Armorama: 750 posts
Posted: Thursday, February 18, 2016 - 11:42 PM UTC
Quoted Text
Lightning speed, Guy!! Coming together really well.
Looking forward to see more
Thank you sir! Hoping to get the tracks on her this weekend.
Namabiiru
Associate Editor #399
Rhode Island, United States
Joined: March 05, 2014
KitMaker: 2,888 posts
Armorama: 1,920 posts
Posted: Thursday, February 18, 2016 - 11:48 PM UTC
Looks nice, Guy. The PE is really going to bring that thing to life.
#186
Texas, United States
Joined: May 24, 2006
KitMaker: 771 posts
Armorama: 750 posts
Posted: Friday, February 19, 2016 - 05:15 AM UTC
Quoted Text
Looks nice, Guy. The PE is really going to bring that thing to life.
Thanks Mark! So far its been a nice kit. Top and bottom hulls fit perfectly which can sometimes be a real crapshoot with these DML T-34's


