

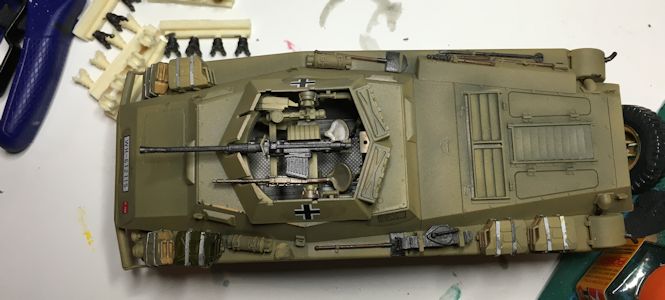
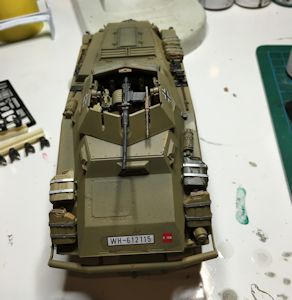


Hope this is of some help as to steering angles on the German 8 rads.


Hope this is of some help as to steering angles on the German 8 rads.

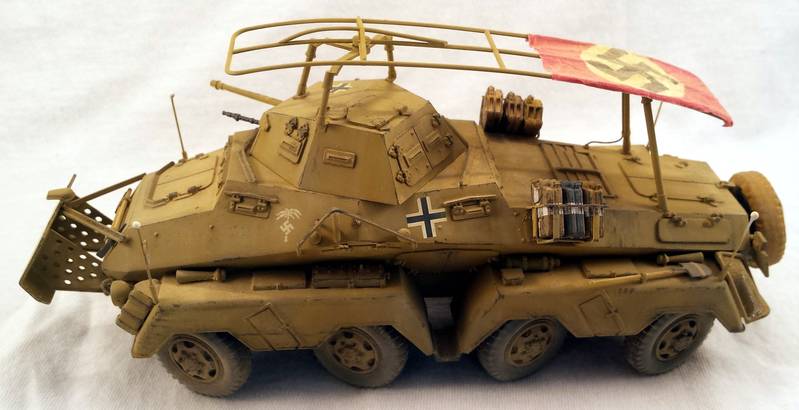
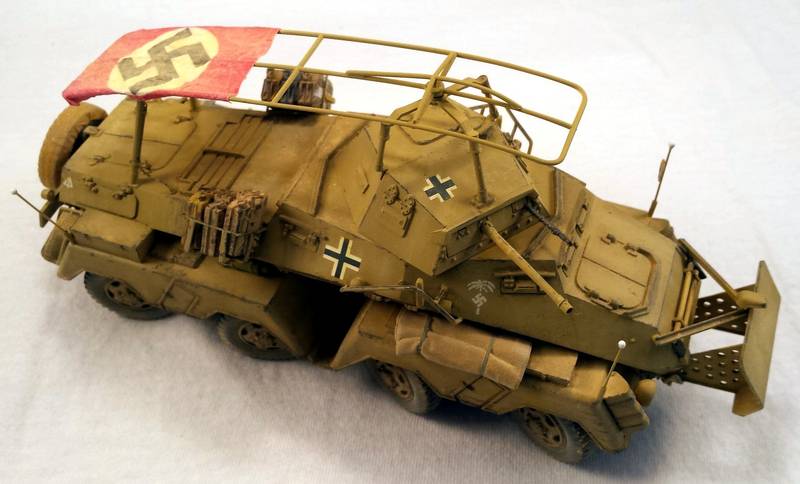


The flag was a new technique I thought of that seems to work quite well, if I may say so myself: I started with some tarp material I created using Brian Balkwill's great tutorial. I then printed a bunch of flags (reversed) on inkjet T-shirt transfer paper, and following the instructions for the paper, I ironed it directly onto the tarp material. Once that was done I crumpled the whole thing to make it look weather-beaten and then washed it with alcohol to soften it enough to mold to the shape of the antenna. If you use acrylics, that last step will need to be done before you paint anything or you'll ruin your paint job. I think (although haven't tried it) I could have ironed another flag onto the opposite side to get a two-sided flag, but instead I just opted to paint the back side to increase the opacity since the underside isn't really visible. Finally washes, pigments, etc. to weather it the same as the rest of the model.
@Joseph: The Scud launcher looks really great! Maybe the antenna on the operator cabin is a bit too clunky, tough. Looking forward to see some paint on this one!


 /image.file[/img]


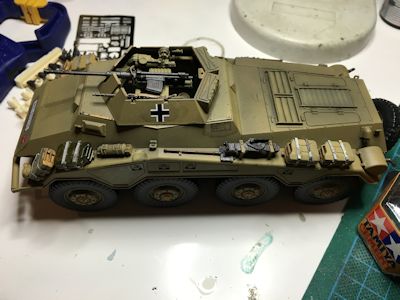
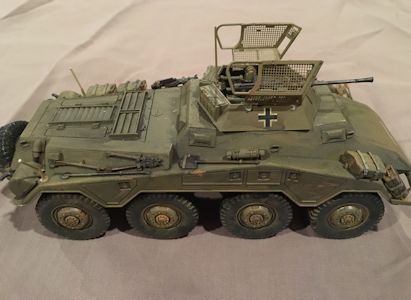
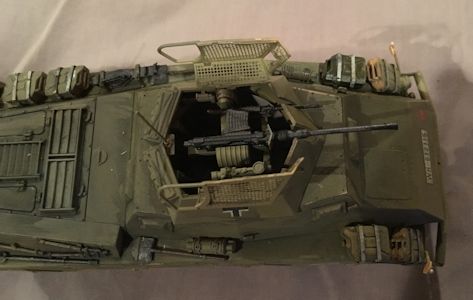
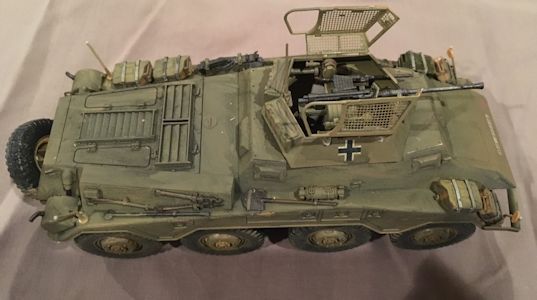
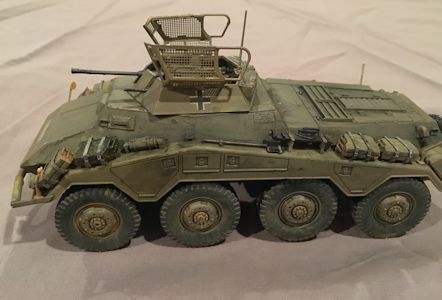
Well guys its completed.
Great build but instructions need some looking at. But if anybody has made any accurate armour kits will know how terrible they are.
Weathering is easy as i used to drive this back in the day.
Hope you like.


Quoted TextWell guys its completed.
Great build but instructions need some looking at. But if anybody has made any accurate armour kits will know how terrible they are.
Weathering is easy as i used to drive this back in the day.
Hope you like.
Hi Garreth, impressive truck and very beautiful build. Thanks for sharing.
One question! A UK truck with left hand drive? Any reason for that? Or is it a BAoR version and does the rest have right hand drive?
Beautiful job on the AA kit. How much of a challenge was it to make the drop bed workable?
 |


