

Campaigns
Where Armorama group builds can be discussed, organized, and updates posted.
Where Armorama group builds can be discussed, organized, and updates posted.
Hosted by Darren Baker, Richard S.
Jeep, etc. Campaign?

panzerIV

Joined: January 02, 2007
KitMaker: 781 posts
Armorama: 676 posts
Posted: Friday, February 12, 2016 - 05:23 AM UTC
Larry that bronco airborne jeep is looking absolutely splendid cant wait to see some paint on it great work!
panzerIV
Joined: January 02, 2007
KitMaker: 781 posts
Armorama: 676 posts
Posted: Friday, February 12, 2016 - 05:39 AM UTC
heres my entry the 1/72 academy schwimwagen
from their german fuel truck & schwimwagen set.

im going to be looking at doing this sort of style for my build with a few changes,

and heres my progess

from their german fuel truck & schwimwagen set.
im going to be looking at doing this sort of style for my build with a few changes,
and heres my progess
LarryLawler

Joined: March 30, 2010
KitMaker: 139 posts
Armorama: 136 posts

Posted: Saturday, February 13, 2016 - 08:16 AM UTC
Quoted Text
Looking good there Larry
Thanks! I'm at a bit of a standstill currently, waiting for paints to show up so I can do the figs.....
LarryLawler
Joined: March 30, 2010
KitMaker: 139 posts
Armorama: 136 posts
Posted: Saturday, February 13, 2016 - 08:18 AM UTC
Quoted Text
Larry that bronco airborne jeep is looking absolutely splendid cant wait to see some paint on it great work!
Thanks Anthony, I'll keep you guys updated. Like I mentioned, I'm at a bit of standstill, waiting on paints for the figures.
Removed by original poster on 02/22/16 - 20:59:45 (GMT).

Captcortez
Joined: February 21, 2016
KitMaker: 2 posts
Armorama: 2 posts
Posted: Monday, February 22, 2016 - 02:05 AM UTC
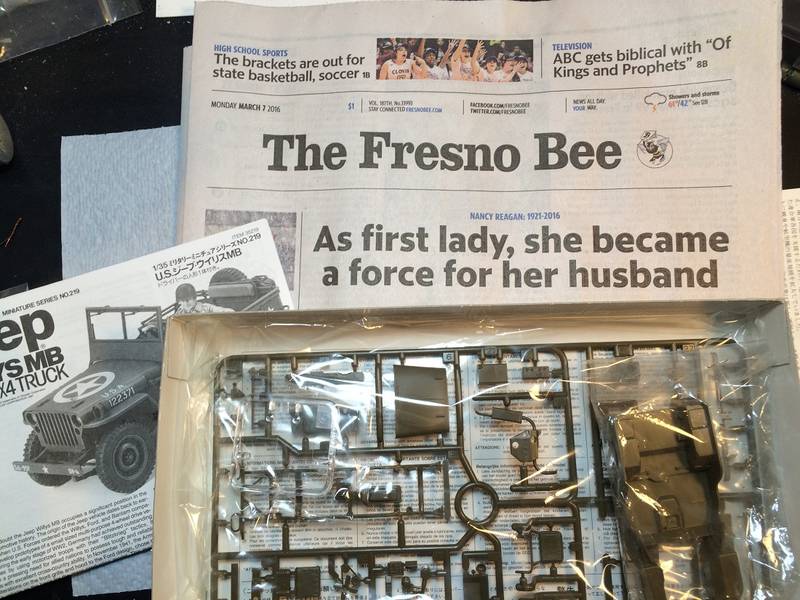
Throwing my hat in the ring with my italeri 1/35 jeep 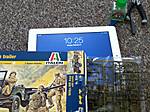

27-1025
Joined: September 16, 2004
KitMaker: 1,281 posts
Armorama: 1,222 posts
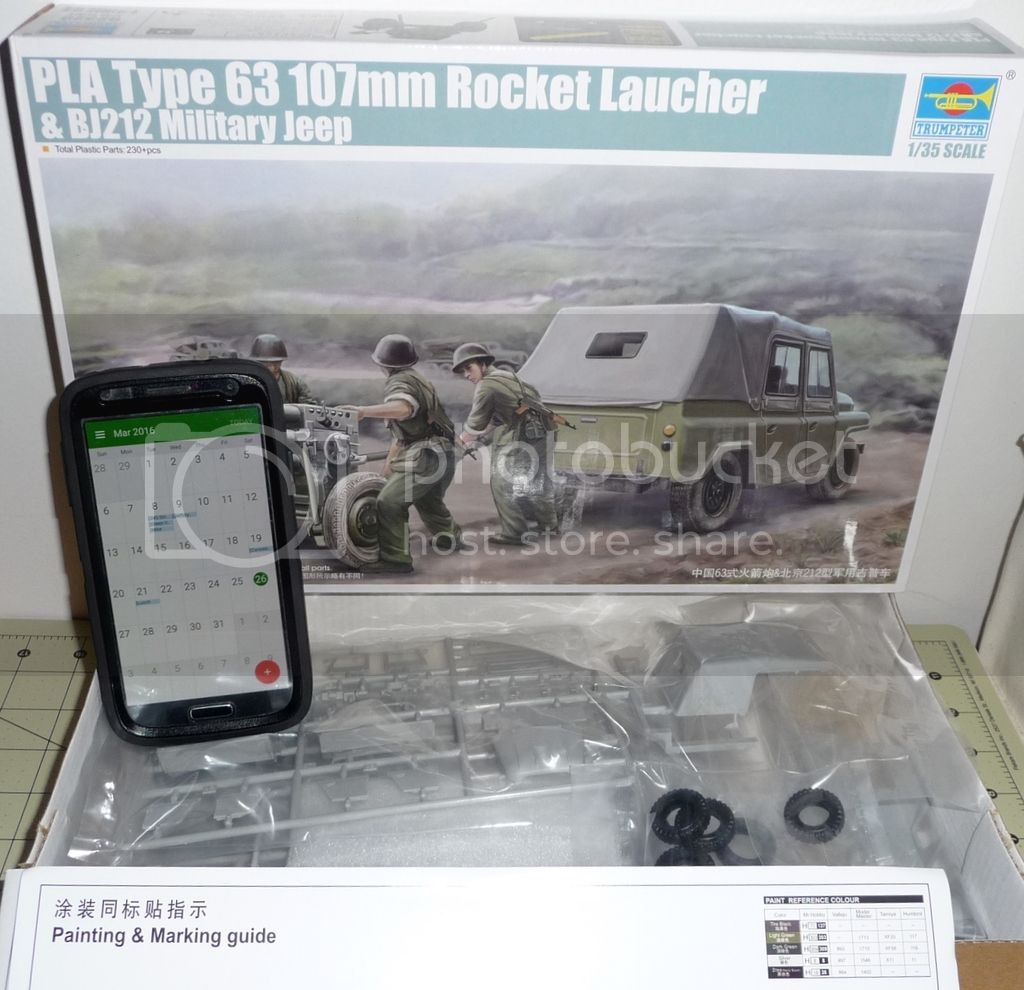
Posted: Friday, February 26, 2016 - 03:05 AM UTC
Going to try this and see if I can get it done in time


Delbert

#073
Joined: October 05, 2002
KitMaker: 2,659 posts
Armorama: 1,512 posts
Posted: Saturday, March 05, 2016 - 04:54 AM UTC
Hello everyone..
I finally have some more done on the Bantam did some body work and inside work. I have to say the really small parts in this mini-art kit are very fragile. Esp the gearshift. It broke while I was trying to place it with the tweezers. Took an hour to get glued together right... so be warned if anyone gets one of these.. LOL

I finally have some more done on the Bantam did some body work and inside work. I have to say the really small parts in this mini-art kit are very fragile. Esp the gearshift. It broke while I was trying to place it with the tweezers. Took an hour to get glued together right... so be warned if anyone gets one of these.. LOL

Martinvidas

Joined: February 13, 2011
KitMaker: 322 posts
Armorama: 300 posts

Posted: Thursday, March 10, 2016 - 01:06 PM UTC
Hey
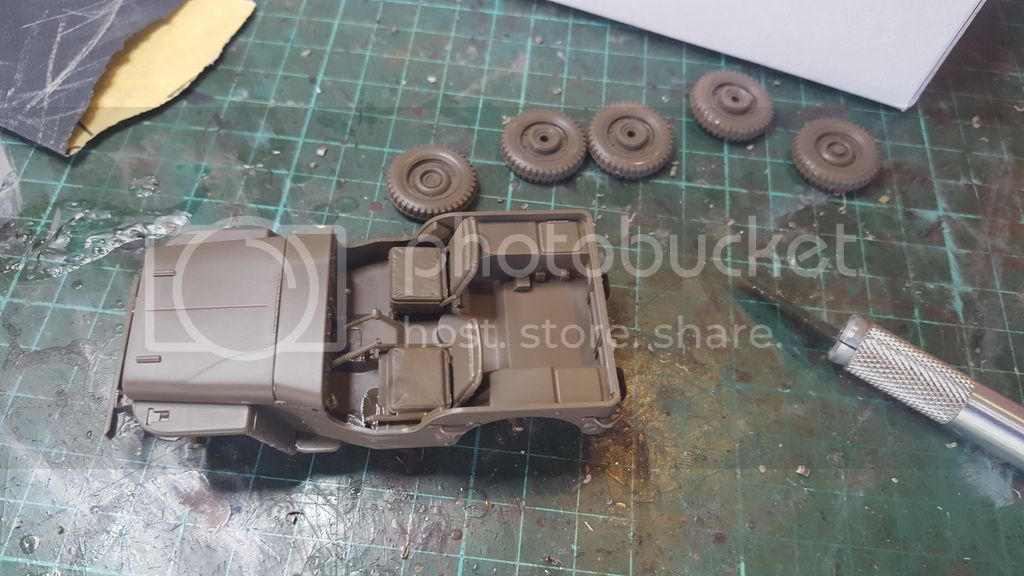
This is my next update. The body is looking not bad right now. The tires are finally here


This is my next update. The body is looking not bad right now. The tires are finally here

clovis899

#155
Joined: May 05, 2002
KitMaker: 774 posts
Armorama: 605 posts
Posted: Tuesday, March 15, 2016 - 08:49 AM UTC
Hope it's not to late to ante up with this one;
standard Tamiya Jeep that I will be using the Legend ambulance conversion set. Will be building Legend set as part of a review for the site.
Cheers,
Rick
standard Tamiya Jeep that I will be using the Legend ambulance conversion set. Will be building Legend set as part of a review for the site.
Cheers,
Rick
Martinvidas
Joined: February 13, 2011
KitMaker: 322 posts
Armorama: 300 posts
Posted: Friday, March 25, 2016 - 09:22 PM UTC
The new small update : Tires
Before:

Working on:

Final:

The Tamiya one is here too.
Before:
Working on:
Final:
The Tamiya one is here too.

ltb073
Joined: March 08, 2010
KitMaker: 3,662 posts
Armorama: 3,078 posts
Posted: Sunday, March 27, 2016 - 04:04 PM UTC
Hi guys  I have already taken part in several Jeep campaigns so I figured I would try something a little different here
I started it on Saturday and made some good progress more photos to follow
I have already taken part in several Jeep campaigns so I figured I would try something a little different here 
I started it on Saturday and made some good progress more photos to follow

ltb073
Joined: March 08, 2010
KitMaker: 3,662 posts
Armorama: 3,078 posts
Posted: Tuesday, March 29, 2016 - 06:02 AM UTC
And this is what I got done in 2 day


BravoTwoZero
Joined: June 11, 2009
KitMaker: 461 posts
Armorama: 370 posts
Posted: Wednesday, March 30, 2016 - 12:06 AM UTC
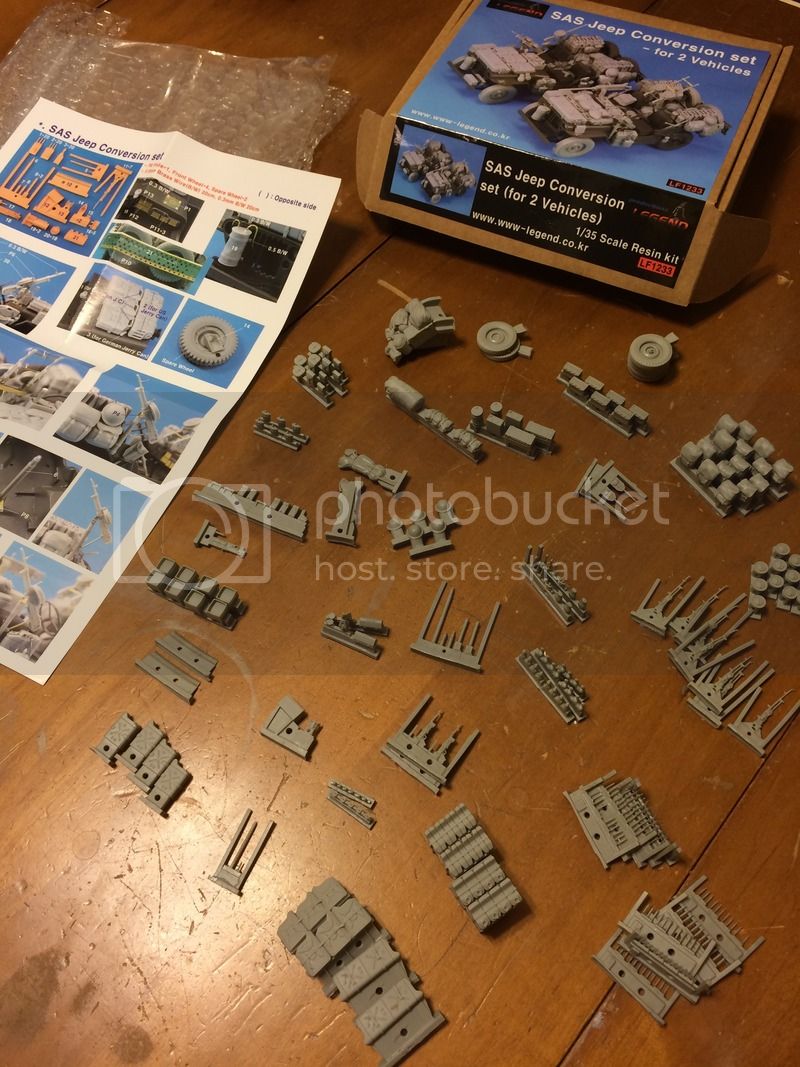
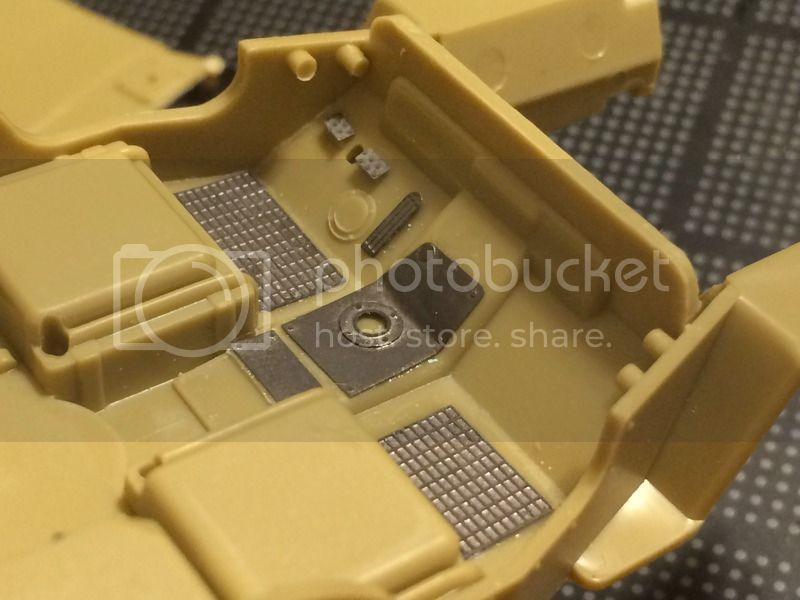
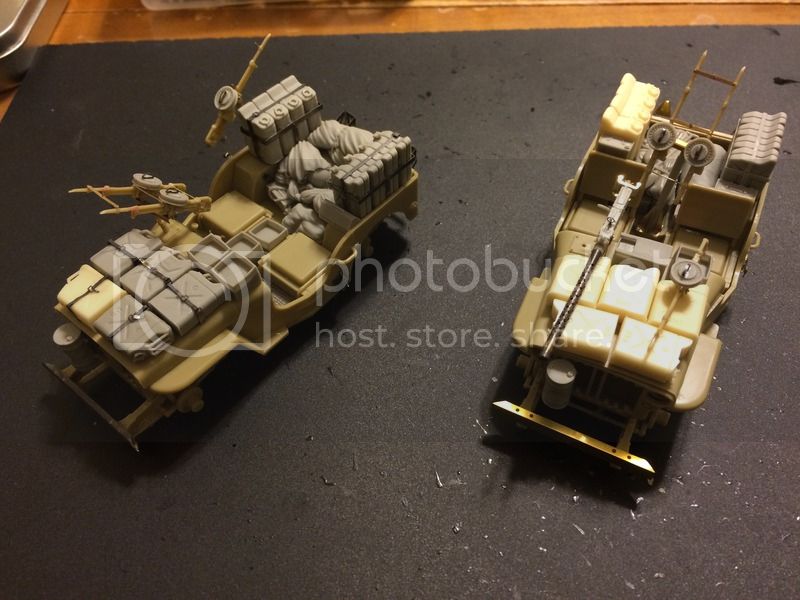
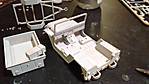
Here is where I am at. I ended up building two jeeps. One with the twin Vickers on the hood and the other with the 50 cal. I got the Legend SAS Jeep Conversion Set for 2 vehicles.
Along with the Legend set, I also utilized two photo etch sets from Eduard. The first one is the now discontinued set #35185 (the other one is set #35797). I followed the instructions and it allows only for one shift gear. Not sure if it is accurate but I went with it anyway.
And here is a shot of the dash.
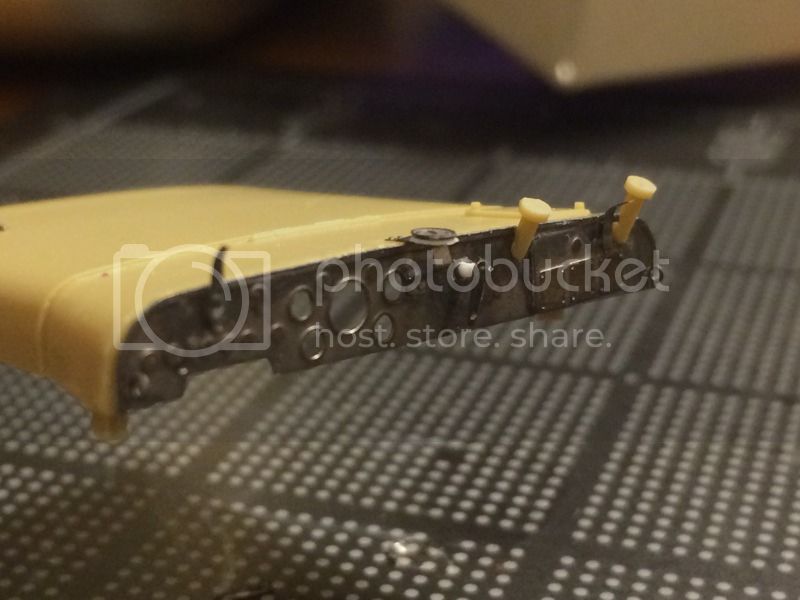
I found a couple of beads from my wife's scrapbooking supplies. I am planning to use it as head lights. I am asking for opinions, does it work?
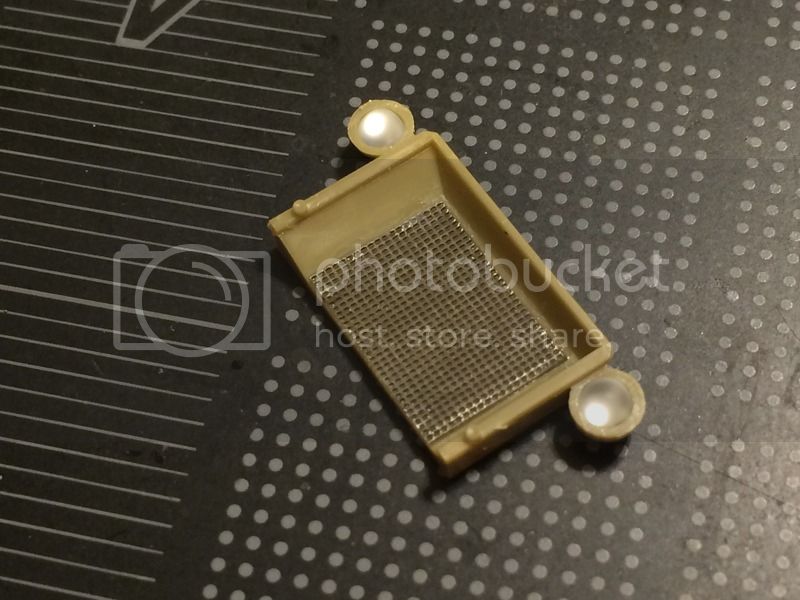
Anyway, here are progress shots of my two jeeps with some dry fitted gear from the Legends set
Along with the Legend set, I also utilized two photo etch sets from Eduard. The first one is the now discontinued set #35185 (the other one is set #35797). I followed the instructions and it allows only for one shift gear. Not sure if it is accurate but I went with it anyway.
And here is a shot of the dash.
I found a couple of beads from my wife's scrapbooking supplies. I am planning to use it as head lights. I am asking for opinions, does it work?
Anyway, here are progress shots of my two jeeps with some dry fitted gear from the Legends set
Lokis_Tyro
Joined: March 08, 2016
KitMaker: 128 posts
Armorama: 59 posts
Posted: Thursday, March 31, 2016 - 01:54 PM UTC
hey hey. I'm in with one of Tamiya's M151A2. I had previously primed my trees but that was all so I'm good to go. I'm glad I enlisted, it's got me motivated! Got a couple pics. I remembered to take one shortly after I started building yesterday. Phew! I welcome tips and crits. Perhaps the best way to remove parts that were glued on upsidedown! It's my first "armor" piece. Bound to happen! Anywho, hers the kit and some progress shots. 

MichaelSatin
Joined: January 19, 2008
KitMaker: 3,909 posts
Armorama: 510 posts
Posted: Thursday, March 31, 2016 - 04:58 PM UTC
Wow, some really nice work going on here! I NEED to get going on mine.
Michael
Michael

Kanguroo

Joined: May 07, 2006
KitMaker: 416 posts
Armorama: 312 posts
Posted: Friday, April 01, 2016 - 07:51 PM UTC
Hello everybody,
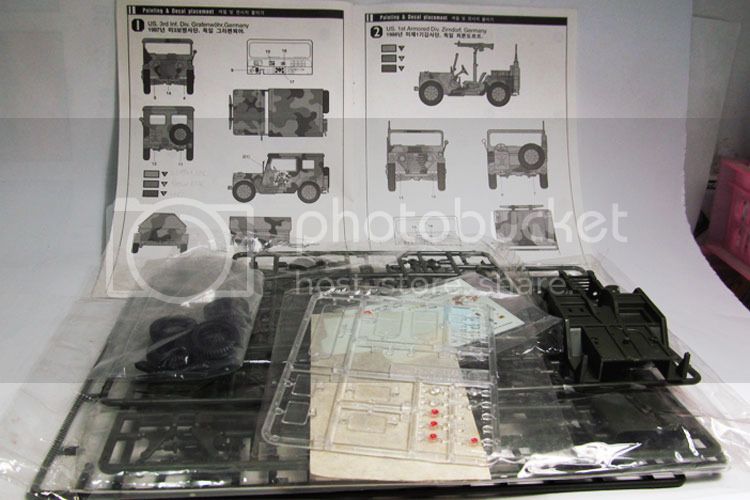
I start this campaign with my Jeep A2 from Academy.
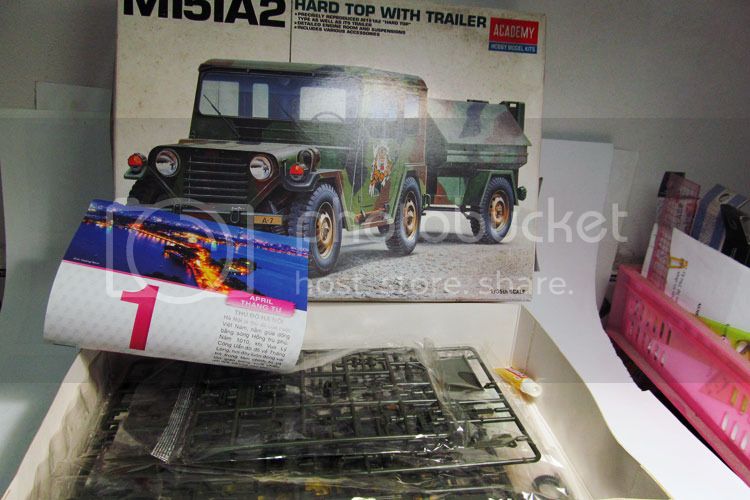
Regards,
K.
I start this campaign with my Jeep A2 from Academy.


Regards,
K.
Delbert
#073
Joined: October 05, 2002
KitMaker: 2,659 posts
Armorama: 1,512 posts
Posted: Saturday, April 02, 2016 - 09:39 AM UTC
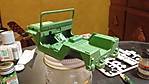
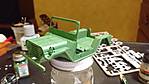
Hello everyone..
Lots of work getting done. I'm really liking those SAS Jeeps, but then they are one of my fav's.
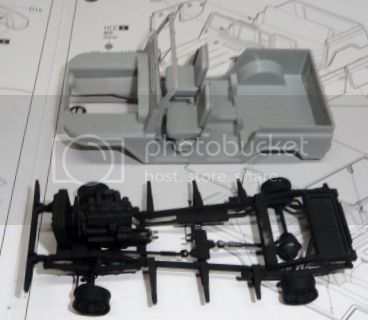
Got some more work done on the BRC-40, the chassis and body didn't match up very well as there was some warpage between one end and the other.. here is where the fragile parts got me again as while applying some pressure to get the front of the body to glue to the chassis correctly some of the the very very thin grill slats broke, something i'm working on fixing slowly.
Also fitting the back half of the tire to the front piece took some work the front of the tire looks great but getting the back piece in without a seam is a little frustrating.
there were a few very small fiddly bits on the body and I'm surprised I didn't break or lose any, esp the hood latches.

thanks for looking
Delbert
Lots of work getting done. I'm really liking those SAS Jeeps, but then they are one of my fav's.
Got some more work done on the BRC-40, the chassis and body didn't match up very well as there was some warpage between one end and the other.. here is where the fragile parts got me again as while applying some pressure to get the front of the body to glue to the chassis correctly some of the the very very thin grill slats broke, something i'm working on fixing slowly.
Also fitting the back half of the tire to the front piece took some work the front of the tire looks great but getting the back piece in without a seam is a little frustrating.
there were a few very small fiddly bits on the body and I'm surprised I didn't break or lose any, esp the hood latches.
thanks for looking
Delbert

JonDicks

Joined: October 13, 2009
KitMaker: 223 posts
Armorama: 224 posts
Posted: Saturday, April 02, 2016 - 12:12 PM UTC
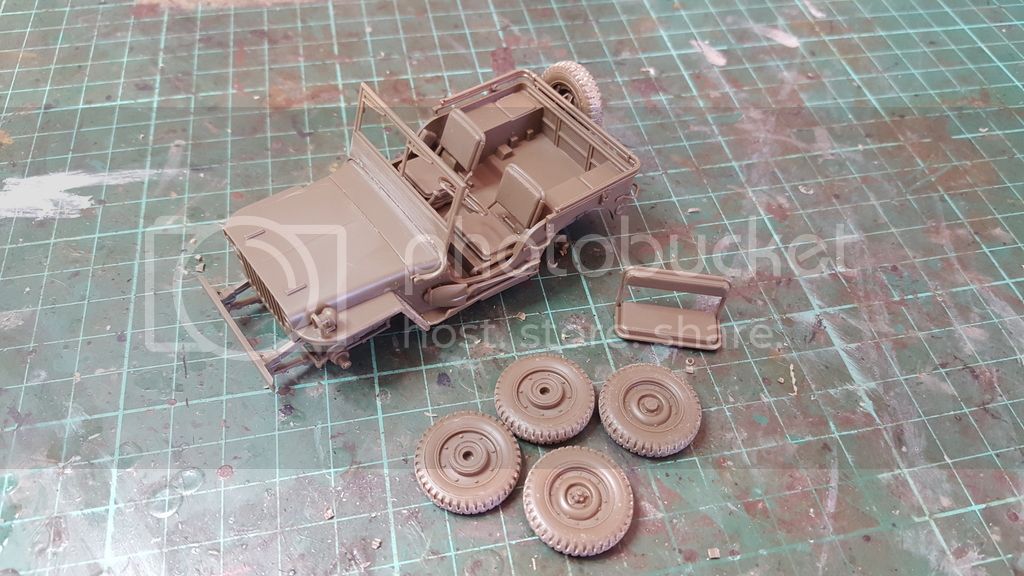
Hi all,
Looking forward to all these builds.
I have started the standard Tamiya offering this weekend, and am now waiting on the Value Gear jeep stowage set to arrive in the mail.
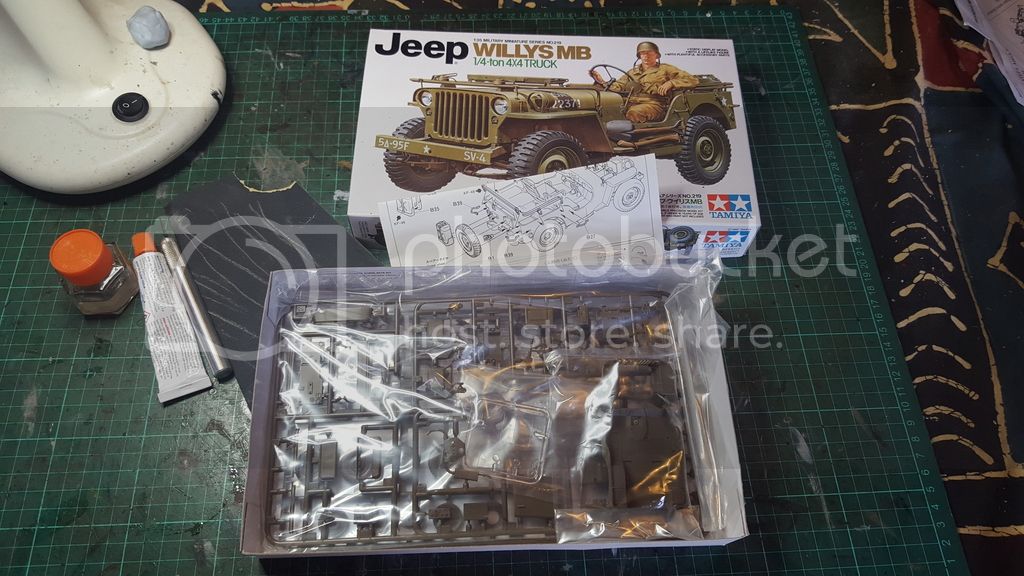
Looking forward to all these builds.
I have started the standard Tamiya offering this weekend, and am now waiting on the Value Gear jeep stowage set to arrive in the mail.

AussieReg
#007
Joined: June 09, 2009
KitMaker: 8,156 posts
Armorama: 194 posts
Posted: Monday, April 04, 2016 - 11:14 AM UTC
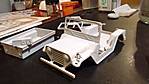
Ok, I put some thought into this scheme and decided that guys using big masks to throw red and white squares on this vehicle would likely not do it with the precision that would result from using a set of decals.

Off sets I to cut a pile of 4.5mm square masks, what was I thinking?

Anyway, the course was set, I had already applied the base coat of Tamiya White, and a couple of hours (and a couple of obscenities) later I was at airbrush stage for the Red.

24 hours later the Tamiya acrylic Red has cured and after some careful tweezer work removing the masks we have a chequered Jeep, and a small pile of little red squares!

There is a little bit of bleeding under the masks and some irregular alignment, but nothing that I wouldn't expect doing this on a 1:1 scale Jeep. Now it's down to interior and chassis painting and a bit of weathering.
Cheers, D

Lokis_Tyro
Joined: March 08, 2016
KitMaker: 128 posts
Armorama: 59 posts
Posted: Tuesday, April 05, 2016 - 02:30 AM UTC
Quoted Text
I found a couple of beads from my wife's scrapbooking supplies. I am planning to use it as head lights. I am asking for opinions, does it work?
I think they look pretty good. They might polish up a bit brighter/clear with PlastX or a similar product. Maybe a small piece of foil in the center of the headlight bucket to simulate a bulb?
BravoTwoZero
Joined: June 11, 2009
KitMaker: 461 posts
Armorama: 370 posts
Posted: Tuesday, April 05, 2016 - 05:11 AM UTC
Quoted Text
Quoted Text
I found a couple of beads from my wife's scrapbooking supplies. I am planning to use it as head lights. I am asking for opinions, does it work?
I think they look pretty good. They might polish up a bit brighter/clear with PlastX or a similar product. Maybe a small piece of foil in the center of the headlight bucket to simulate a bulb?
Thanks for the reply. I will see how receptive these beads are for drilling. Otherwise, I might just apply some dust effects to blur these out.
BravoTwoZero
Joined: June 11, 2009
KitMaker: 461 posts
Armorama: 370 posts
Posted: Tuesday, April 05, 2016 - 05:12 AM UTC
Hi there Damian,
I think you did a great job on the painting and masking. That looks pretty challenging and yet you were able to do it.
Joseph
I think you did a great job on the painting and masking. That looks pretty challenging and yet you were able to do it.
Joseph
AussieReg
#007
Joined: June 09, 2009
KitMaker: 8,156 posts
Armorama: 194 posts
Posted: Tuesday, April 05, 2016 - 05:17 AM UTC
Thanks Joseph, I appreciate the feedback! Apart from taking a slice out of my finger with the Xacto and managing to break the top frame of the windshield while removing the masks, it was actually quite a rewarding challenge.
I only hope I can make a good job on the rest of the build now. The wheels are painted, I just need to load the airbrush with OD now and get the chassis and interior painted.
Cheers, D
I only hope I can make a good job on the rest of the build now. The wheels are painted, I just need to load the airbrush with OD now and get the chassis and interior painted.
Cheers, D
Lokis_Tyro
Joined: March 08, 2016
KitMaker: 128 posts
Armorama: 59 posts
Posted: Tuesday, April 05, 2016 - 09:29 AM UTC
Quoted Text
Thanks for the reply. I will see how receptive these beads are for drilling. Otherwise, I might just apply some dust effects to blur these out.
Post up some pics of that experiment if you would. I'm curious of how that'll turn out.
Great paint on that follow me. Looks like your hard work paid off.
As an aside I use glass to cut paint masks. I should say I lay masking tape on glass to cut it. It'll stay cleaner and you can lay it on a grid and use a rule to get the right size.
 |

WEB HOSTING BY


Copyright ©2021 Armorama and Kitmaker Network, a subsidiary of Silver Star Enterprises
All Rights Reserved. Please read our Conditions of Use and Privacy Policy.
All Rights Reserved. Please read our Conditions of Use and Privacy Policy.