Quoted Text
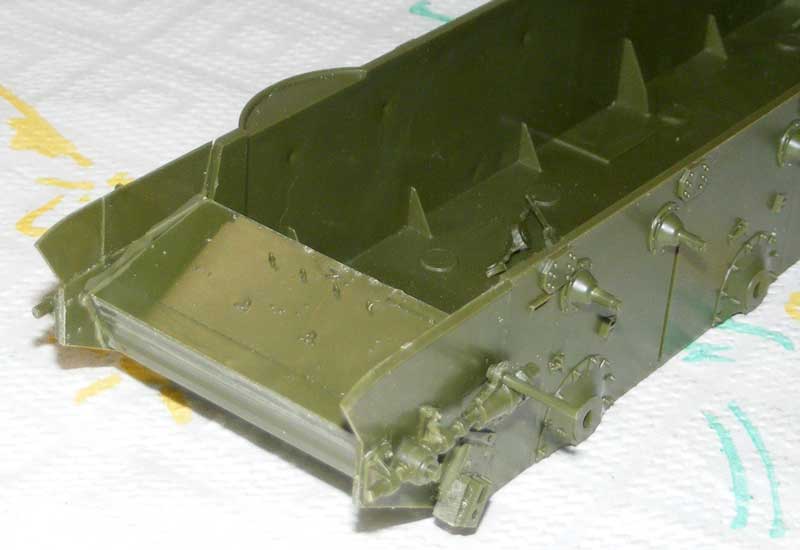
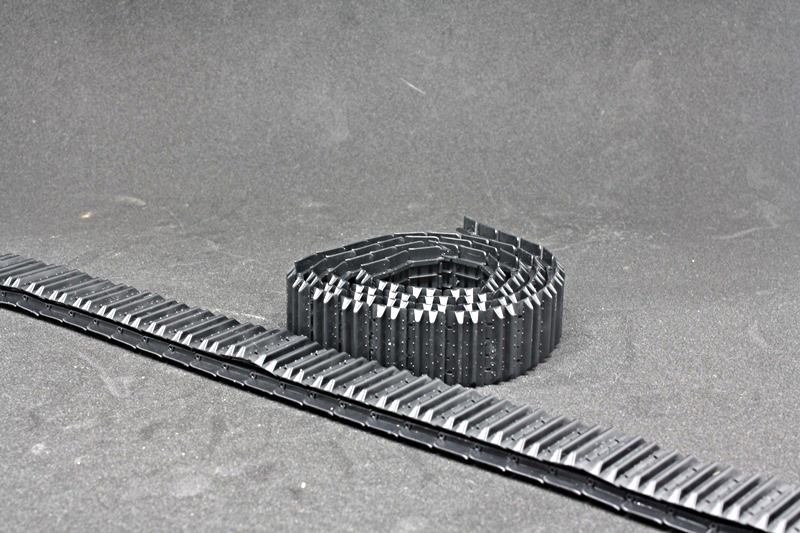
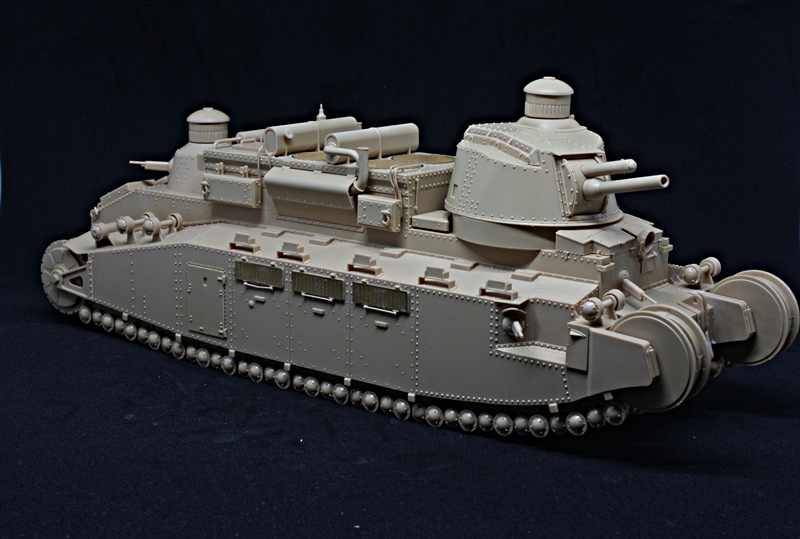
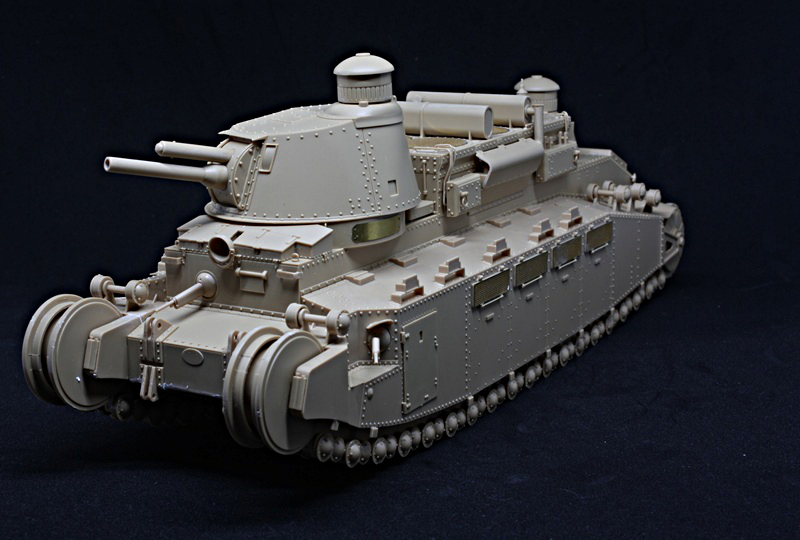
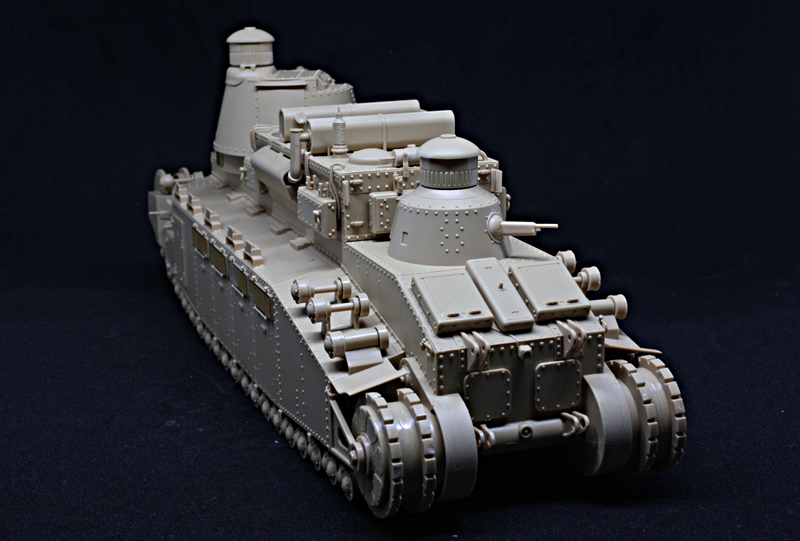
My only issue with the Amusing Hobby kit thus far has been the directions; should anyone build this model in the future--and I would highly recommend the kit--do yourself a favor and go over the directions thoroughly. They can be confusing in that there are options for several of the steps: for example, I built a partial suspension without realizing that a full suspension option was also included (and I would have preferred to build the full suspension). Not a huge issue, but potentially aggravating to potential builders. The overall quality of the kit more than makes up for this deficiency, in any case.
I hear you with the destructions. So many of the kits have built lately have been superbly engineered and build well but are let down with really poor instructions. Most show options with no explanation of why the builder should choose one over the other. Many have WRONG parts numbers leading to delay while the builder sorts it all out. My Zvezda T-35 has bits swapped like that. Other times, bits are left off altogether such as the tow cables on the Dragon Jagdpanther I'm just about to start for the Big Kitty campaign.
I truly believe that all manufacturers should look over the instructions from the Wingnut Wings kits. They are the best I have ever seen and even have reference pictures of actual aircraft so the builder knows exactly what he is working on. All options are explained so you can plan your build and get all the proper options included.
Do the rest of the manufacturers ever have modelers actually BUILD their kits to see what needs to be sorted out? Some of these errors are just bone-headed!