I guess I should post some progress pictures. I started this build a week or so after the start date.
I went with Miniart's Crossroads Diorama Base. This kit uses their Ruined Polish Building and...well I'll be honest I don't know the other one. They'd have you combine these two base kits to make this crossroads base. I actually built the Polish Building last year for campaign on Model Geek. I repaired the bomb damage and posed it as an abandoned building.I gave it a basement with escape tunnel to a utilities tunnel. So I know half this kit. I have another copy of this kit in the stash.
The kit comes with some interior elements...vaccum formed floor and ceiling timbers and rubble. My plan is to give the 2-story building a ruined interior. I probably won't use much of the provided interior bits...like vaccum formed floor beams. The 3-story building will be a shell, probably gutted by fire.

I started with the base of the base. I used thin composite board as the underlying base and layered it up to fill the vaccum formed base so it'd have some solid footing. I decided to extend the overall base size so the 2-story building can have more interior shown.

Kits base pieces added to the wood base. I added styrofoam to the extension section for 2-story building.

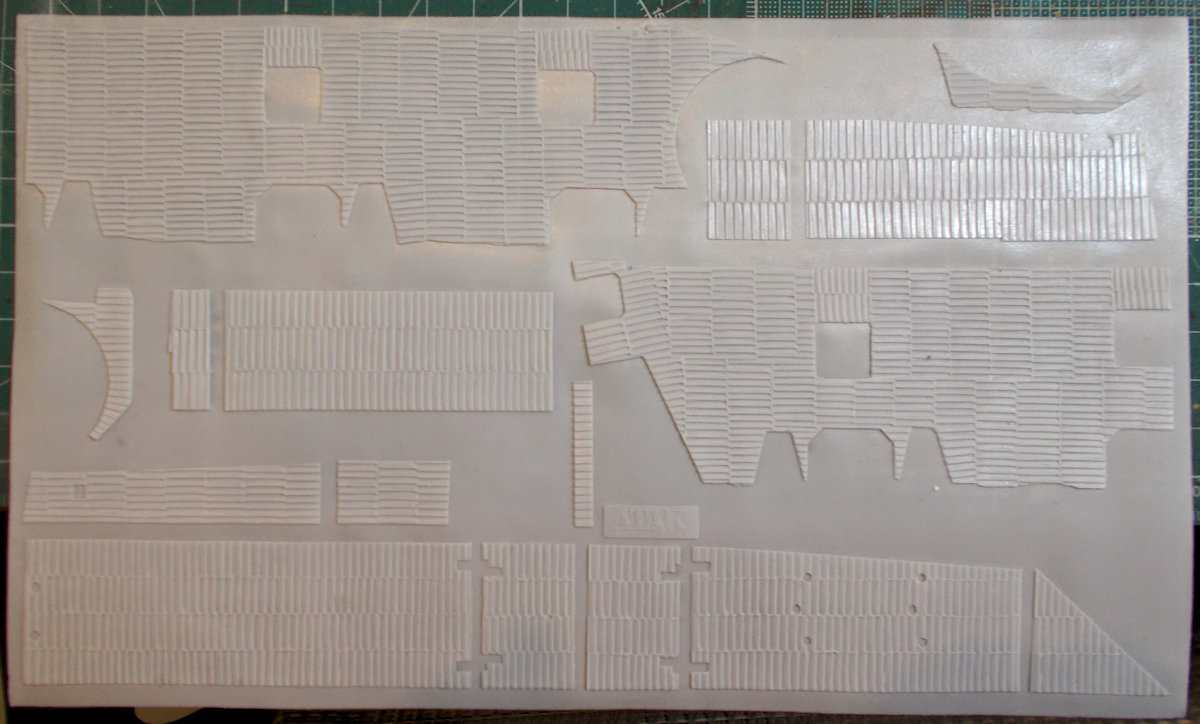
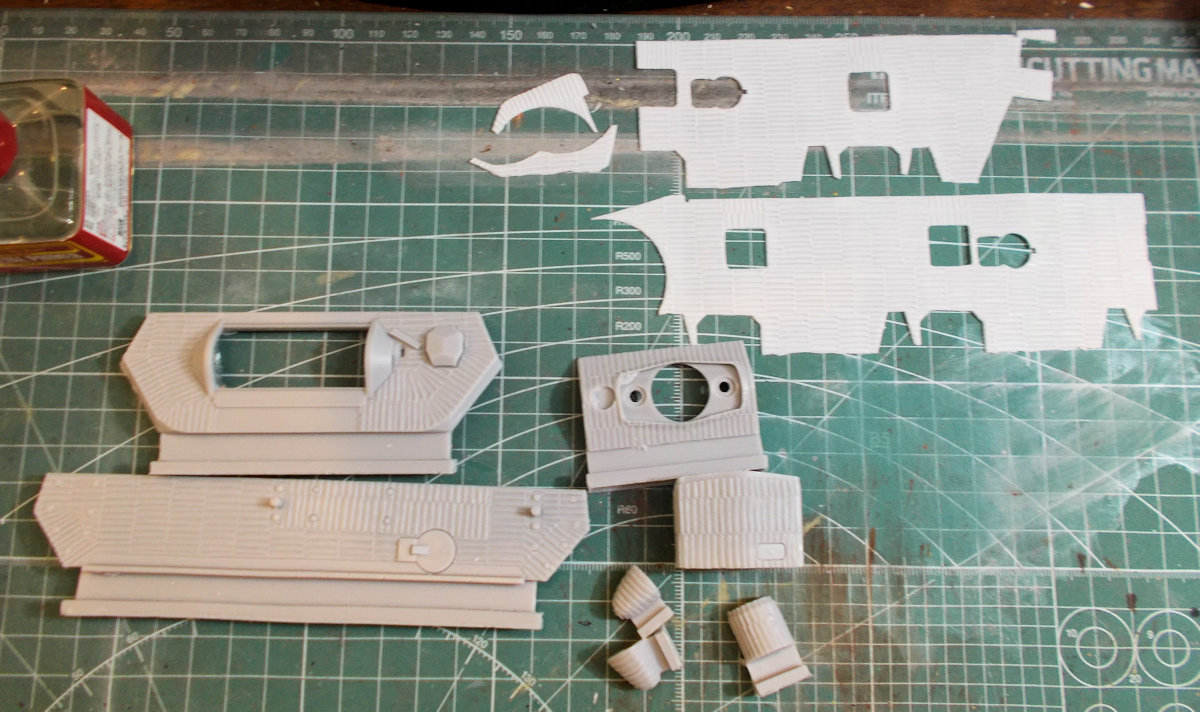
Clean-up time....lots and lots of clean-up. I used a thick handled hobby knife...your hands will thank you. I don't worry much about the damaged edges. I usually use a motor tool to clean it up later and fill-it in. It's easier to work with once the sections start coming together.

I've seen people use all manner of ways to fill the interiors of these Miniart building sections. For this one, I used styrofoam. For most of the buildings I added syrofoam pieces around the door and window openings. The relief detail made using solid sheets more difficult. I was able to use a solid sheet for the largest section of the 2-story building. I didn't take a picture before I closed it up.
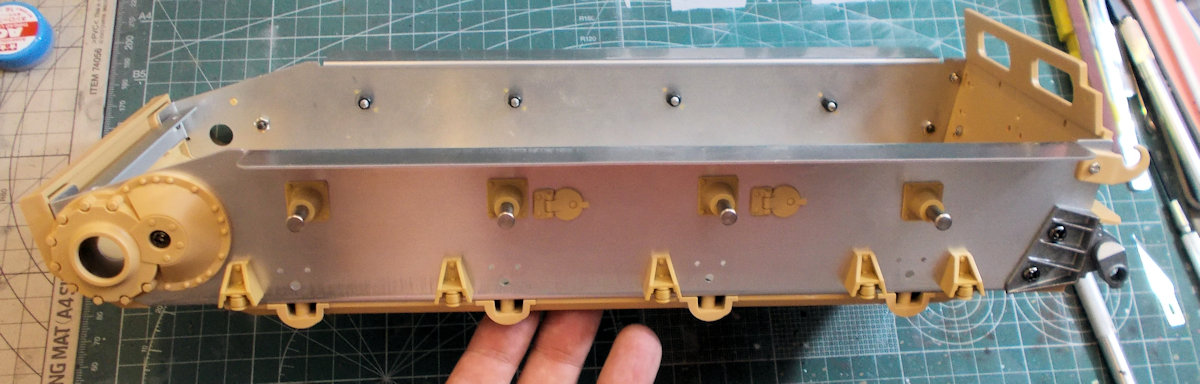
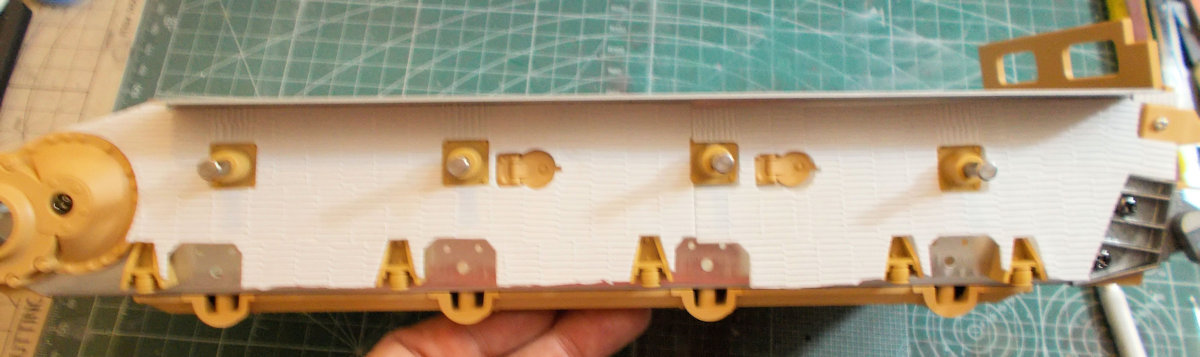
The 3-story shouldn't need any reiforcement. The 2-story was beefed up a bit as a precaution. The second floor and roof should be removable so I wanted it to be stronger.

Clamped. The filler also helps to give you a good foundation to clamp.

Both buildings were glued to make their corners and placed on the base. The what-if "Assault-Stuart" was added to note scale.

I wanted a flight of stairs. I didn't have any for my Model Geek build. I used popsicle sticks. In hindsight the steps' height are a bit too high. However, I messed up on the width and pre-planning as well.

Speaking of messing up on pre-planning...lets see if you can spot my mess-ups.
I used wooden strips to make floor/ceiling joists. I intentionally made them longer than I wanted so I could play with them and to show damage....I can remove bits alot easier than add them.

Mess-up #1 was the stairs placement. By going aheadwith the joists before I decided, I limited where I could put it. Mess-up #2 was having the stairs wider than the joists. Mess-up #3 was not addressing this then...instead I forced it to work and thought the flooringand ceiling would conceal it.

I used wooden strips for the second floor flooring. I used a nail punch to simulate nail marks. I framed walls for the sides of the stairs. For the record, I tested several layouts and eventually settled on no walls on the second floor. The walls blocked too much line-of sight.
I added the ceiling surfaces. I used sheet styrene and strip styrene to simulate the slats for the plaster-board. I wish I had used flat toothpicks and actually skimmed it with some sort of filler....but lesson learned.
Stained the stairs and second story floor. I used Tamiya red-brown thinned with Windex. It works well on the natural wood.
As an aside, the ground floor will be tile of linoleum.

Components added to test fit. The stair walls were closed in. I added holes and damage...which I'm not enamored with. I added railings for the top of the stairs. This works better than walls and you can see the second floor.

During the build I changed my mind on what this building was. I played with the idea of a rooming house, pub, a shop, and a private home. I decided on a shop, possibly a seamstress shop. The idea is that the owners are present trying to salvage items from the damage. I have a horse drawn wagon that I planned to use for them to haul items out.
I need furnishings. A table, benches, and a cashier's counter were made from wooden strips salvaged from some test walls I decided against using. It's a start and I still want some dress-making dummies, sewing machines, and clothing racks.

With some of the furniture placed....with figure included for size demonstrations.

Here's where things take a twist. I'm a little frustrated with this build and have lost interest. I figure I'll take a break from it and decide if I want to redo the stairs and floor a bit. I might just go bonkers and add a basement level and sewer tunnels for a potential post-fight street fighting scene. I thought about a panzer-turm but I don't think the space works with that.
So I'm going to stop with that build for now and start on the French Farm Gate. I'm thinking about using it for a cemetery and as a backdrop for a base.