I Really Want To Build This KIT!
Queensland, Australia
Joined: August 06, 2005
KitMaker: 3,353 posts
Armorama: 3,121 posts
Posted: Friday, August 04, 2017 - 05:43 AM UTC
Its like Lego, it fits anyway you want it to

Looking good though.
On the Bench:
Dust, styrene scraps, paint splotches and tears.

#523
Idaho, United States
Joined: February 28, 2014
KitMaker: 342 posts
Armorama: 41 posts
Posted: Monday, August 07, 2017 - 08:07 AM UTC
Well Clayton,
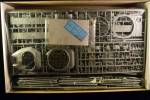
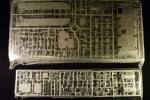
I really didn't. While putting it together I noticed some parts MIA.

After an exhaustive search a I found a few. Then I had to scratch 2 other parts still hiding.
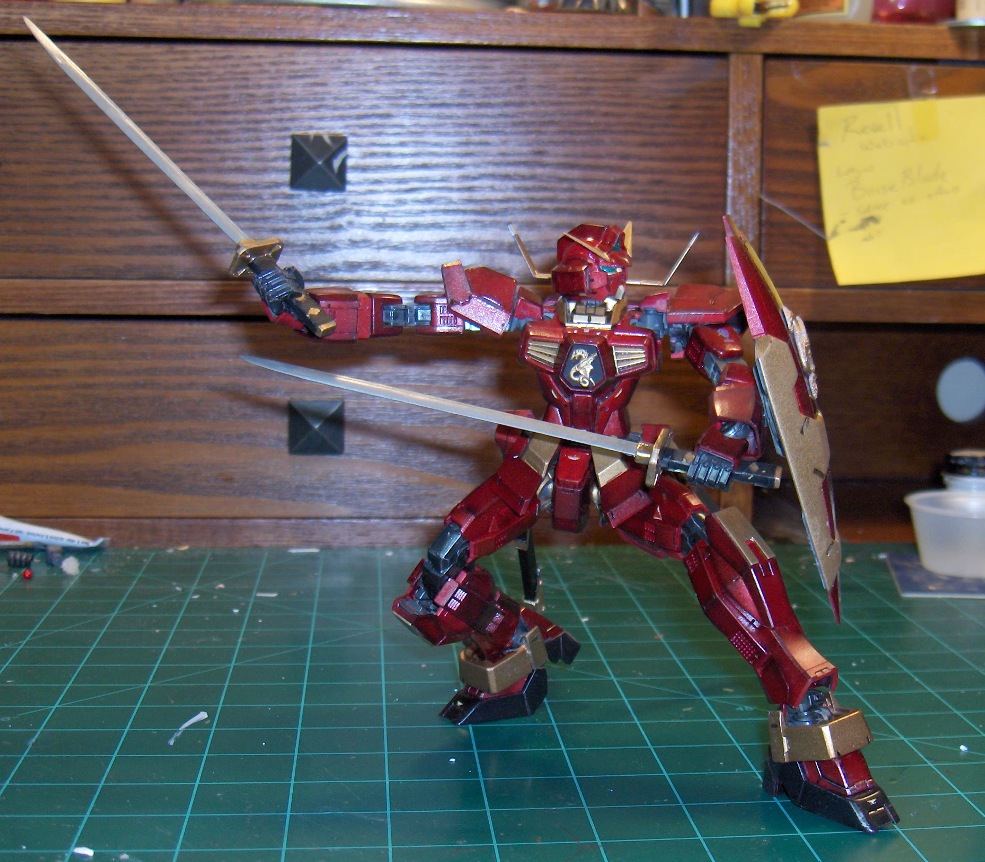
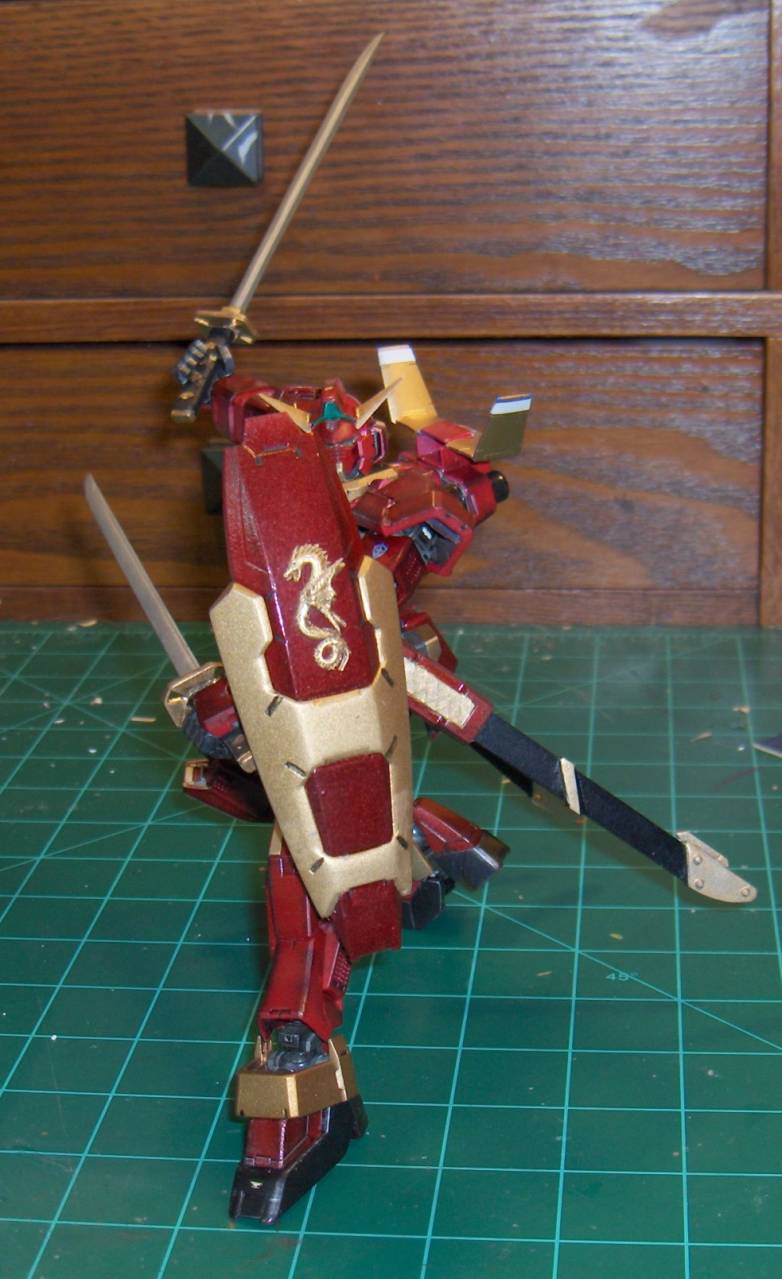
But here is the work so far.
I need to finish up work on swords and some details.
I wanted to make him a Samurai so Scratch both swords and sheaths, I also added a clay molded Dragon on shield and center chest.
Queensland, Australia
Joined: August 06, 2005
KitMaker: 3,353 posts
Armorama: 3,121 posts
Posted: Monday, August 07, 2017 - 01:46 PM UTC
Very Nice Jeff. The stance really adds to the overall look and feel. I like it.
Well disaster with the mud on my sdkfz 254. Tried the enamel/plaster airbrushed through old brush technique. However the mix ended up far too light. Will do a heavier dark coat over it as it has not killed too much detail. Wife is out tomorrow night, so with some luck, I'll have it done then.

On the Bench:
Dust, styrene scraps, paint splotches and tears.
#454
Georgia, United States
Joined: July 10, 2016
KitMaker: 1,273 posts
Armorama: 1,138 posts
Posted: Monday, August 07, 2017 - 06:20 PM UTC
Jeff- Looks great! Can't notice anything missing!
Peter- Doesn't look like such a disaster to me, looks pretty good!
"I can make armored cars, safe and unassailable...and behind these our infantry will be able to follow quite unharmed and without any opposition."
-Leonardo da Vinci, 1487
Texas, United States
Joined: June 04, 2017
KitMaker: 503 posts
Armorama: 477 posts
Posted: Tuesday, August 08, 2017 - 11:20 PM UTC
Over the weekend I used some micro set on the decals. It helped although it should be used more at the time they were set. So thank you for the product recommendation as it will be used much more.
I took a few more pics out in the sun. It shows a little better the pigments used on it.


#454
Georgia, United States
Joined: July 10, 2016
KitMaker: 1,273 posts
Armorama: 1,138 posts
Posted: Wednesday, August 09, 2017 - 02:36 AM UTC
A very nice, clean build, Kelly! Looks great!

"I can make armored cars, safe and unassailable...and behind these our infantry will be able to follow quite unharmed and without any opposition."
-Leonardo da Vinci, 1487
California, United States
Joined: April 26, 2016
KitMaker: 362 posts
Armorama: 285 posts
Posted: Wednesday, August 09, 2017 - 03:39 AM UTC
Hi Kelly, very well done, congrats on crossing the finish line
"Gonna start blastin"
...Stumpy
Rio Bravo 1959
Queensland, Australia
Joined: August 06, 2005
KitMaker: 3,353 posts
Armorama: 3,121 posts
Posted: Wednesday, August 09, 2017 - 04:19 AM UTC
Yes looks fantastic Kelly.
Glad the Micro Set helped. I presume you got both parts Micro Sol and Micro Set? Set goes on first and the decal is placed over that. Then the Sol is used to soften the decal and make it conform.
Just one thing with the Panther, the raised rim on the inner paired road wheels, is it painted a metal finish? The track guide horns rub up against this so it is actually bare metal on the real cat.
https://www.youtube.com/watch?v=HGq6G-5ouA0On the Bench:
Dust, styrene scraps, paint splotches and tears.
Texas, United States
Joined: June 04, 2017
KitMaker: 503 posts
Armorama: 477 posts
Posted: Wednesday, August 09, 2017 - 09:00 AM UTC
Ah Peter, No I only bought "set". I was told the sol is for if you want to make the decal conform around shapes better. as I had no use as of yet for that I did not purchase it. But I probably will now.
As far as the wheels. I didnt know that about the center guide wheel so I painted it as if it had rubber on this build. I assume the Jagdpather might be this way also? if so I will make sure to change that for that build in the future.
Queensland, Australia
Joined: August 06, 2005
KitMaker: 3,353 posts
Armorama: 3,121 posts
Posted: Wednesday, August 09, 2017 - 03:22 PM UTC
Hi Kelly, It is the raised rim on the face of the wheel, not the rubber that was bare metal like this:

Basically any vehicle where a road wheel was between paired guide horns was like this. Panthers, King Tigers, 38t's, etc.
On the panzer 3 and 4, where the guide horn is between the wheels, the steel inner face is a wider diameter than the face of the wheel. This is because there is a plate that goes beyond where the rubber tyre is bonded to the wheel, which the track guide horns rub against, to stop the tracks chewing out the rubber.
Panzer IV

Panzer 3

On the Bench:
Dust, styrene scraps, paint splotches and tears.
Queensland, Australia
Joined: August 06, 2005
KitMaker: 3,353 posts
Armorama: 3,121 posts
Posted: Wednesday, August 09, 2017 - 03:49 PM UTC
Disaster part 2.
Was on the final stretch. All ready to go. Just needed to glue the wheels on and done........ and I broke 3 of the suspension units that hold the wheels, pressing them on - and one headlight catching the model before it fell.
I used styrene rod as pins due to the loose fit of the kit parts and now realise Brass would have been better. The white spirit in the wash may have softened the styrene, I have had that happen before, so with handling using only the wheel suspension to prevent fingerprints, I probably weakened them. We live and learn..

Okay so now waiting for the epoxy glue to set on 2 wheels, so I can do the last.
On the Bench:
Dust, styrene scraps, paint splotches and tears.
#454
Georgia, United States
Joined: July 10, 2016
KitMaker: 1,273 posts
Armorama: 1,138 posts
Posted: Wednesday, August 09, 2017 - 05:59 PM UTC
That kit may not be your friend, Peter, but I'm confident you will win the struggle! Plus, thanks for the Road wheel info, I'm sure that will enlighten some folks!
"I can make armored cars, safe and unassailable...and behind these our infantry will be able to follow quite unharmed and without any opposition."
-Leonardo da Vinci, 1487
Texas, United States
Joined: June 04, 2017
KitMaker: 503 posts
Armorama: 477 posts
Posted: Wednesday, August 09, 2017 - 09:28 PM UTC
Hang in there Peter.
I have noticed for me a funny pattern of having to dance around the tank in how I handle it.
Between airbrushing, dusting, and then trying to place the extras on it. I having to do this hand dance not to leave fingerprints or break an item.
Things not done as a child.
Queensland, Australia
Joined: August 06, 2005
KitMaker: 3,353 posts
Armorama: 3,121 posts
Posted: Thursday, August 10, 2017 - 07:41 AM UTC
Okay. I'm calling this one done. I am going to do a bit more Dark Mud as the touch up with the brush is far too noticeable. However, whilst it is all in one piece, I have taken pics.
First up, I hope the flag does not offend anyone. It is history and it was on the vehicle I am representing. Yoou will see why I am a bit an*l about the mud, this one was showered in it:


and the mirror. You can just see the flag reflected in it. This is made from a disc punched out of a foil potato chip packet

a few other pics will be posted in the build forum if you are interested.
Thanks for hosting this one Clayton, and the encouragement. I hope when you get around to yours, it will be a bit smoother sailing, err driving...
On the Bench:
Dust, styrene scraps, paint splotches and tears.
#454
Georgia, United States
Joined: July 10, 2016
KitMaker: 1,273 posts
Armorama: 1,138 posts
Posted: Thursday, August 10, 2017 - 06:04 PM UTC
You are more than welcome , Peter, and thanks for participating! That will be an unusual addition to your display shelf!

"I can make armored cars, safe and unassailable...and behind these our infantry will be able to follow quite unharmed and without any opposition."
-Leonardo da Vinci, 1487
California, United States
Joined: April 26, 2016
KitMaker: 362 posts
Armorama: 285 posts
Posted: Thursday, August 10, 2017 - 06:53 PM UTC
Hi Peter, well done and congrats on crossing the finish line. History does not offend.
"Gonna start blastin"
...Stumpy
Rio Bravo 1959
Removed by original poster on 08/14/17 - 01:47:14 (GMT).
Georgia, United States
Joined: July 26, 2013
KitMaker: 2,272 posts
Armorama: 1,860 posts
Posted: Sunday, August 13, 2017 - 06:57 AM UTC
On the Campaign Trail:
Tank Destroyer 2020
Georgia, United States
Joined: July 26, 2013
KitMaker: 2,272 posts
Armorama: 1,860 posts
Posted: Sunday, August 13, 2017 - 07:06 AM UTC
On the Campaign Trail:
Tank Destroyer 2020
Georgia, United States
Joined: July 26, 2013
KitMaker: 2,272 posts
Armorama: 1,860 posts
Posted: Sunday, August 13, 2017 - 07:10 AM UTC
On the Campaign Trail:
Tank Destroyer 2020
Queensland, Australia
Joined: August 06, 2005
KitMaker: 3,353 posts
Armorama: 3,121 posts
Posted: Sunday, August 13, 2017 - 01:47 PM UTC
Very Nice Shell. Love the mottled finish. Thanks for joining in.
On the Bench:
Dust, styrene scraps, paint splotches and tears.
#298
Hong Kong S.A.R. / 繁體
Joined: August 08, 2002
KitMaker: 1,182 posts
Armorama: 665 posts
Posted: Sunday, August 13, 2017 - 04:07 PM UTC
spongya
 Associate Editor
Budapest, Hungary
Joined: February 01, 2005
KitMaker: 2,365 posts
Armorama: 1,709 posts
Posted: Sunday, August 13, 2017 - 05:19 PM UTC
Please visit me at my blog: https://butterfingeredmodelbuilder.wordpress.com/
spongya
Associate Editor Budapest, Hungary
Joined: February 01, 2005
KitMaker: 2,365 posts
Armorama: 1,709 posts
Posted: Sunday, August 13, 2017 - 05:20 PM UTC
Oh, boy I made a mess of the links. Apologies.
Please visit me at my blog: https://butterfingeredmodelbuilder.wordpress.com/
#454
Georgia, United States
Joined: July 10, 2016
KitMaker: 1,273 posts
Armorama: 1,138 posts
Posted: Sunday, August 13, 2017 - 06:00 PM UTC
A wave of finishes close to the gun! Good job, folks!
Shell- You must have set some kind of record, I've heard of Blitz warfare and Blitz Chess, but never heard of Blitz Kit Building!
Very nice work!
Lap Man- Great looking highlights you did there!
Andras- Your links may be messy, but the build looks great!
"I can make armored cars, safe and unassailable...and behind these our infantry will be able to follow quite unharmed and without any opposition."
-Leonardo da Vinci, 1487