Let's build a wall....no not that wall.
As a reminder, I switched from the Miniart Crossroads Base to the Miniart French Farm Gate kit. The plan is to build this as a graveyard wall for an idea I'm mulling over. Why a graveyard wall? It seems to be a popular place...people are just dying to get in.
First up is clean up. For those not familiar with Miniart's building and base kits...they are vacuum formed kits. They require alot of cleanup. This one is actually pretty easy...the edges are mostly straight.
The kit comes with a nice looking gate with double doors...one with a smaller walk-through door. Like many Miniart building sets, they include a sprue of mixed details. For this kit it is the ironwork for the walls. The rest will go into the spares and includes an assortment of doors, windows, and blinds.

We'll start with the gate. Being a vacuum form kit, the interior is hollow...these are shells. They tend to be a bit flimsy and the edges rarely line-up well. There are various ways people fill the interior, mostly to make these things sturdier.
I used a lengths of styrofoam for the gate.

For the wall sections I used cardboard. I didn't have any styrofoam sheets thin enough to fit.The cardboard worked very well...a perfect fit. In hindsight, I probably would have used sprue or styrene rod to make support/connectors for the sections.

Wall sections and gate halves together. I added styrene strips to the bottoms of the wall sections and gate. These help with assembly and give the bottom a flat, even surface to sit on. I made them short so the ends were not covered. I plan to add more strips to connect the sections all together. It should help strengthen them.

Gate posts and wall end sections. The wall bits have cardboard cores. The posts have styrofoam. The edges needed alot of clean up. I also scribed the edges to have the stone match up better. Some of these post halves look better together than others. The bottoms will be covered by the wall sections so I didn't worry about the lower half of each side.
I will cut the end pieces (note the marked line) and make it look like an undamaged wall. I have some extra ironwork pieces in the spares from another kit. I'll use these for the ends.

Wall assembled. I decided to leave the small wall end pieces off for now. I'm not sure if I want to add them straight, at a 90 degree angle to give a corner (or corners), or mix one straight and the other as a corner.

Now the doors. The kit comes with two pairs of doors. As mentioned, one door is solid. The other has a smaller walk-through door. It would have been a nice touch to send a second solid door so you could have two solid doors. Both sides are different so you can't flip one solid door around
The kit comes with six large hinges and wants you to use four (2 each) for the large doors and the remaining 2 for the walk-through door. I think they are too large so I gave each large door three hinges. These are bulky looking doors and three per door looks workable. I'll scratchbuild and add smaller hinges for the walk-through door.
I am thinking about cutting the tops of each door along the top frame beam. But I'm going to think on that for a bit.


And that's where I am now. This is actually a nice little build and I'd recommend it to anyone wanting to cut their teeth on a Miniart building kit. Next update I'll probably start on the ironwork...which will require a lot of careful modification. I'll decide on a base for it and start planning the grave markers and shrubbery.





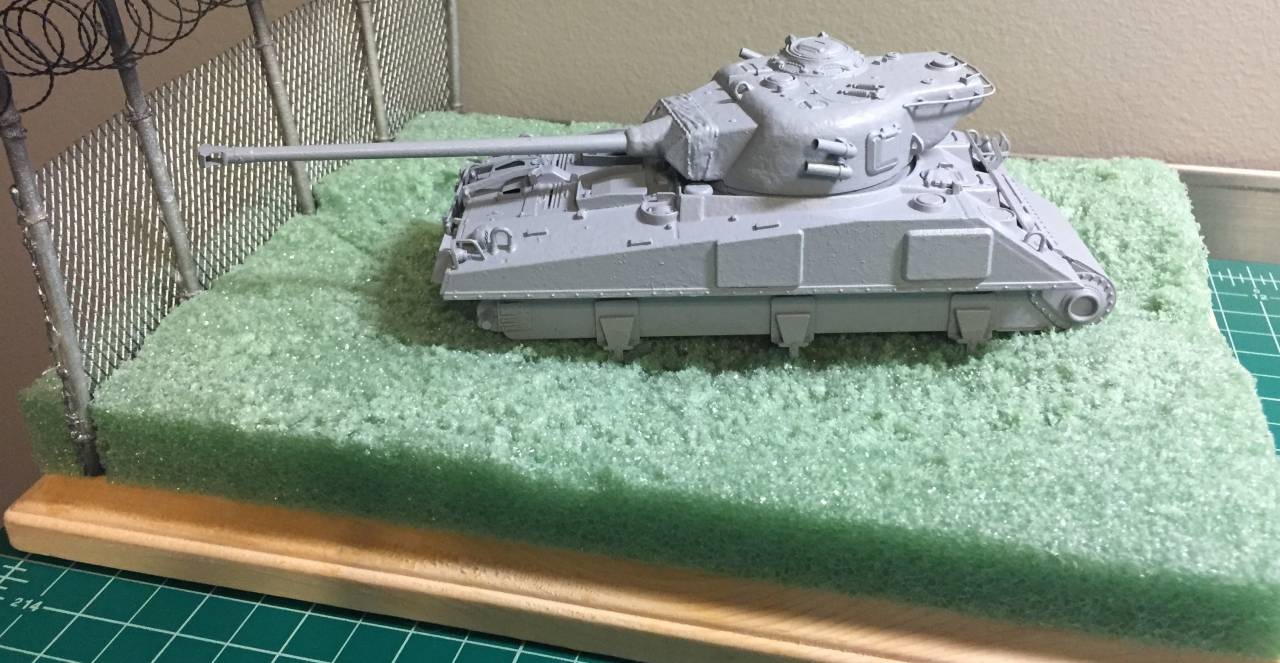
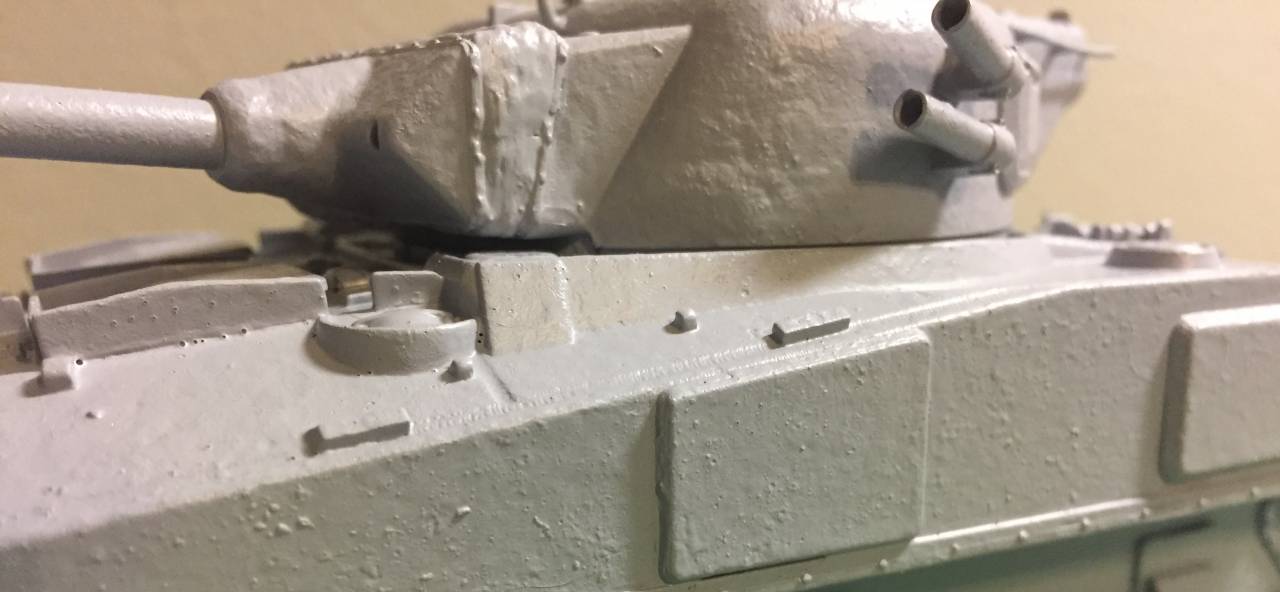


 actually looks quite effective for what you plan.