Got a lot done the past two days.
Hosted by Richard S.
I Really Want To Build This KIT!
dtniedert
Kentucky, United States
Joined: December 11, 2014
KitMaker: 152 posts
Armorama: 139 posts
Joined: December 11, 2014
KitMaker: 152 posts
Armorama: 139 posts
Posted: Monday, May 08, 2017 - 07:00 PM UTC
Posted: Monday, May 08, 2017 - 08:07 PM UTC
You're flying through that, Doug! Very nice, plus I have those exact DR chairs too!
dtniedert
Kentucky, United States
Joined: December 11, 2014
KitMaker: 152 posts
Armorama: 139 posts
Joined: December 11, 2014
KitMaker: 152 posts
Armorama: 139 posts
Posted: Monday, May 08, 2017 - 08:52 PM UTC
Quoted Text
You're flying through that, Doug! Very nice, plus I have those exact DR chairs too!
Thanks Clayton.My problem is I am the absolute KING of completing 75% of a kit then storing in the closet for the next 20 years .
The painting/ weathering process is the most intimidating to me. I made it a point to start joining campaigns recently to thin the herd out a bit and have accountability in completions.
Posted: Tuesday, May 09, 2017 - 03:09 AM UTC
Take your time, have fun, that's what it's all about!
Posted: Tuesday, May 09, 2017 - 07:51 PM UTC
More progress. The electronics are wired and installed. So far, the motors are working and it moves across the floor nicely. Need to connect the turret next and function check it. Then just add the tools and I'll be finished.
ltb073
New York, United States
Joined: March 08, 2010
KitMaker: 3,662 posts
Armorama: 3,078 posts
Joined: March 08, 2010
KitMaker: 3,662 posts
Armorama: 3,078 posts
Posted: Wednesday, May 10, 2017 - 04:45 PM UTC
Posted: Wednesday, May 10, 2017 - 06:31 PM UTC
It is complete. All functions are working perfectly.
Posted: Wednesday, May 10, 2017 - 07:03 PM UTC
Sal- looking good!
Mark- that is a fine-looking monster! Beautiful work!
Posted: Thursday, May 11, 2017 - 06:24 PM UTC
Mark, that Mk IV is truly impressive! And kudos to you for the fast build.
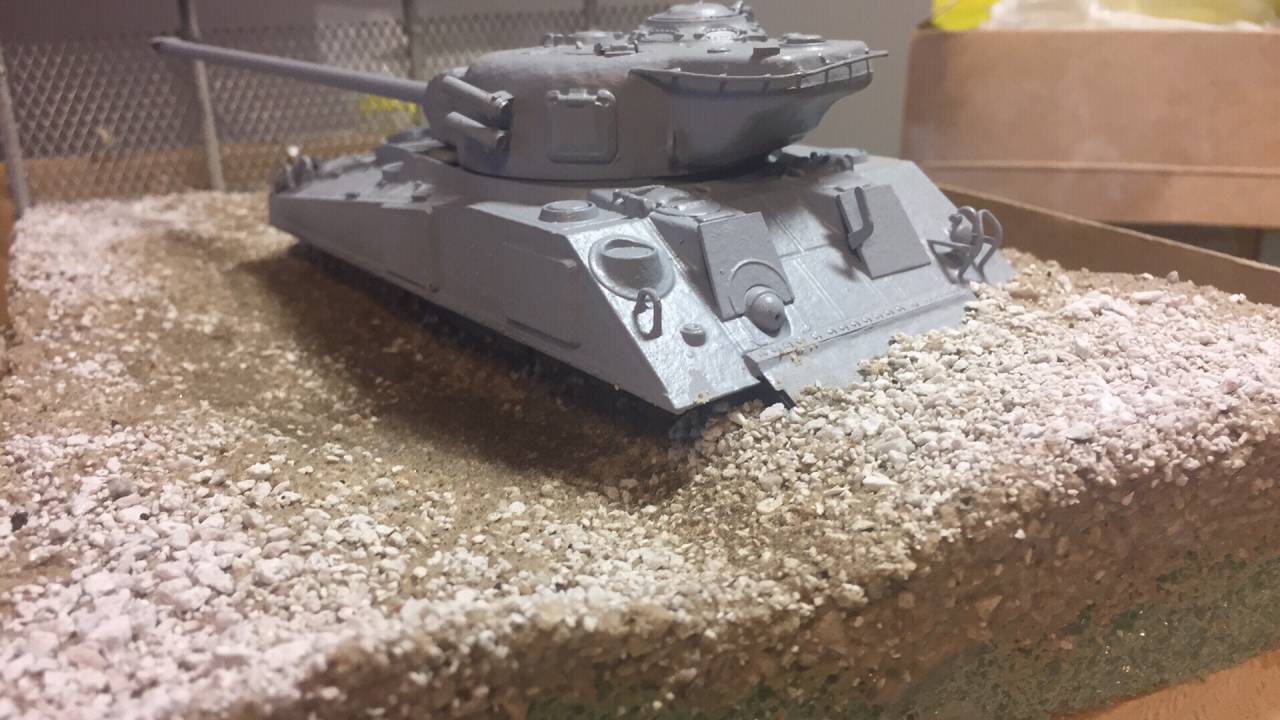
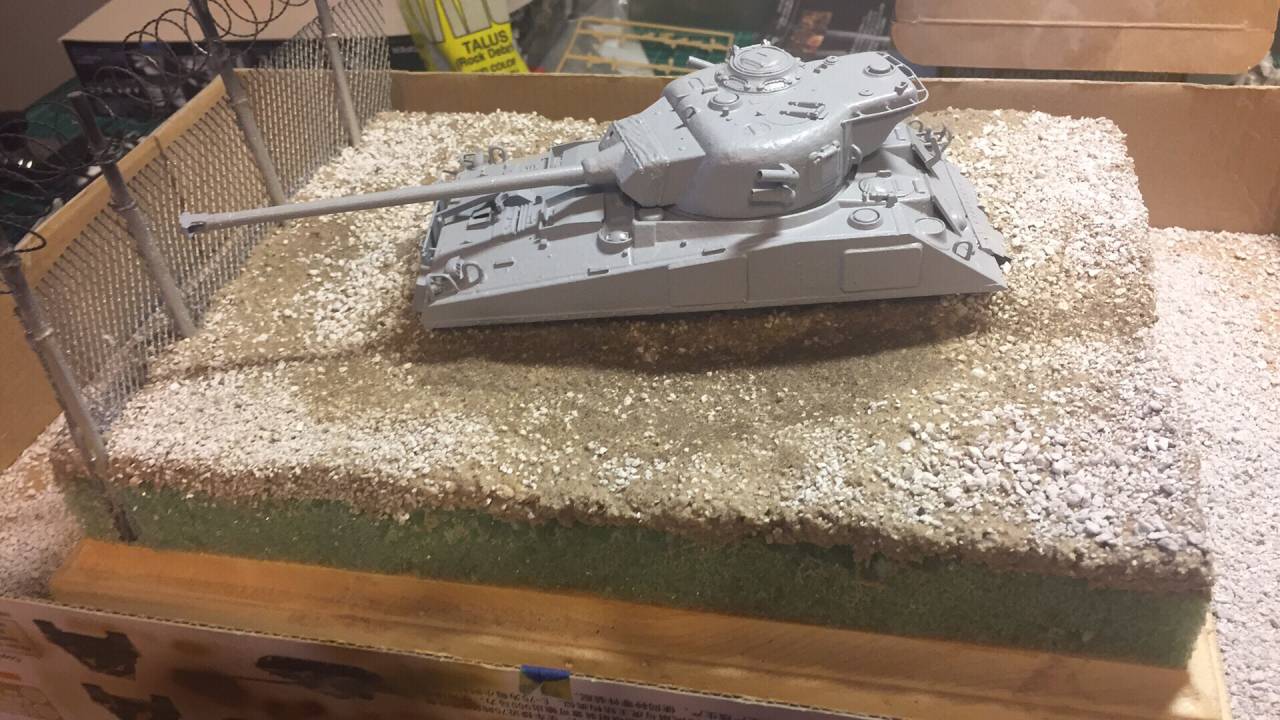
I laid the ground work for the diorama last night and plan on letting it cure for 24-48 hours before I prime it. I have a set of Kamizukuri weeds coming in the mail to add some vegetation to the scene.
ltb073
New York, United States
Joined: March 08, 2010
KitMaker: 3,662 posts
Armorama: 3,078 posts
Joined: March 08, 2010
KitMaker: 3,662 posts
Armorama: 3,078 posts
Posted: Saturday, May 13, 2017 - 07:04 PM UTC
Nice Camo on the Pz IV Mark
Shawn nice diorama are you going with the pain scheme in the photo
I have made some progress. For the base I used a block of wood covered with Verlinden cobble stone
I saw trhis type od stone work all over Berlin when I was there last summer
And some of the props that will be included
Shawn nice diorama are you going with the pain scheme in the photo
I have made some progress. For the base I used a block of wood covered with Verlinden cobble stone
I saw trhis type od stone work all over Berlin when I was there last summer
And some of the props that will be included
Posted: Sunday, May 14, 2017 - 01:39 PM UTC
I appreciate the comments. It was a different type of build.
Shawn/Sal, I am enjoying watching your diorama's come together.
dtniedert
Kentucky, United States
Joined: December 11, 2014
KitMaker: 152 posts
Armorama: 139 posts
Joined: December 11, 2014
KitMaker: 152 posts
Armorama: 139 posts
Posted: Sunday, May 14, 2017 - 09:49 PM UTC
ltb073
New York, United States
Joined: March 08, 2010
KitMaker: 3,662 posts
Armorama: 3,078 posts
Joined: March 08, 2010
KitMaker: 3,662 posts
Armorama: 3,078 posts
Posted: Friday, May 19, 2017 - 07:03 PM UTC
Posted: Saturday, May 20, 2017 - 01:27 AM UTC
Sal-Sweet! Congrats on finishing. If you're looking for suggestions I would add a little more dirt around the cobblestone seam to kind of hide it. Also, you might want to put some dirt/pigment on the tire.
Looks good, nice work!
Take care,
Don "Lakota"
Looks good, nice work!
Take care,
Don "Lakota"
petbat
Queensland, Australia
Joined: August 06, 2005
KitMaker: 3,353 posts
Armorama: 3,121 posts
Joined: August 06, 2005
KitMaker: 3,353 posts
Armorama: 3,121 posts
Posted: Saturday, May 20, 2017 - 01:39 AM UTC
Some really excellent work going on here. I have paused the Saurer build to get some done on my halftrack for that GB. It closes in a month so I have to get that done...
Posted: Saturday, May 20, 2017 - 04:48 AM UTC
Quoted Text
So I went through the spare parts box and found some stuff to add to my shed
Also broke out some balsa wood to make the racks and lumber
I think I might be ready to call it finished but Im not sure comments or suggestions will help
Maybe a little green/brown fluff to suggest some odd plants or bushes, weeds are everywhere....
Bluestab
South Carolina, United States
Joined: December 03, 2009
KitMaker: 2,160 posts
Armorama: 1,906 posts
Joined: December 03, 2009
KitMaker: 2,160 posts
Armorama: 1,906 posts
Posted: Saturday, May 20, 2017 - 10:35 AM UTC
Back to work.
Now for the iron-work. The top pair is unmodified. You have to trim off one bar and that gives you the lower pair. As mentioned, the kit didn't provide and ironwork for the small wall sections. I have extra ironwork sections from another Miniart Set that I will use for them.
As an aside, the hobby knife with the larger handle is what I use for cutting the Miniart pieces. This one isn't great but it does help save your hands. There's a lot of good handled hobby knives out there.
Modified ironwork sections put together. The problem is that they are a tad bit short. I added strip styrene to each end to fill the gaps and to give it a connection point for the ends.
I cut the small wall sections flush. The kit has the ends damaged. The ironwork for them was cut to size. I'll add the strip to them as well.
Tested-fitted the iron to the walls. I had to adjust the fit to get them to fit. I filed down the sides, reattached the strips, and set them until they fit. One side will not fit the other.
Also, the tilework was added to the tops of the gate and the posts.
A shot of the gate. The tile is supposed to extend to the sides about 2 cm on each side. I trimmed them smaller to match the lesser overhang on the posts and gate support buttresses.
Off to paint. I went with a basic light gray. The weathering and finish painting is what's going to sell this.
I plan on adding some ivy on the stonework. Of course the interior will have gravestones, shrubbery, and maybe some trees. There'll be a road in front. The kit comes with streetlamps, which I'll use. I've been thinking about adding some But that's the next step. Still a good bit to do...and things are subject to change on a whim.
ltb073
New York, United States
Joined: March 08, 2010
KitMaker: 3,662 posts
Armorama: 3,078 posts
Joined: March 08, 2010
KitMaker: 3,662 posts
Armorama: 3,078 posts
Posted: Tuesday, May 23, 2017 - 04:18 PM UTC
Hey Guys thanks for the suggestions
I added some more dirt and green stuff
Also found an Iron gate on the workbench
but that damn seam is still visible in the photos
Well im moving on to the nex built maybe when I put something on the base it won't be so noticeable
Looking forward to seeing Alex's dio come together
I added some more dirt and green stuff
Also found an Iron gate on the workbench
but that damn seam is still visible in the photos
Well im moving on to the nex built maybe when I put something on the base it won't be so noticeable
Looking forward to seeing Alex's dio come together
Posted: Tuesday, May 23, 2017 - 07:17 PM UTC
Good looking base, Sal! Those final details really enhanced it!
Bluestab
South Carolina, United States
Joined: December 03, 2009
KitMaker: 2,160 posts
Armorama: 1,906 posts
Joined: December 03, 2009
KitMaker: 2,160 posts
Armorama: 1,906 posts
Posted: Thursday, May 25, 2017 - 10:20 AM UTC
Looking good Sal.
Mine is coming together. I'm working through some trial and error on the stonework. Update coming soon.
Posted: Friday, June 02, 2017 - 07:27 PM UTC
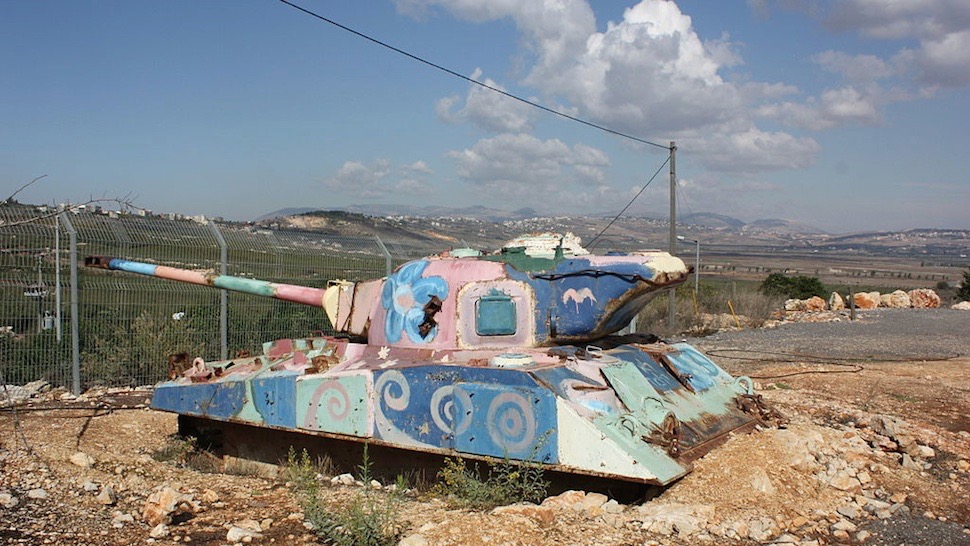
Update on the Israeli Sherman Dio. I laid the groundwork, and added plastic card along the outside edges of Styrofoam to create a neat edge. I primed and painted the entire dio. I used black to prime the entire base, and then I sprayed the various brown tones for the earth at different angles which helped create some shadowing. The shadowing effect turned out really well underneath the tank. I hand painted many of the rocks, and painted the fence and plants. I gave the tank an overall dark red oxide coat, and then used the Dark Rust Deposits in areas I know will be exposed after the graffiti paint job.
Once all of that was done I moved on to the fun part - painting the graffiti. I'm doing my best to mimic paint brush strokes with the graffiti.
Posted: Saturday, June 17, 2017 - 09:27 PM UTC
Just bumping along...
Posted: Sunday, June 18, 2017 - 08:27 PM UTC
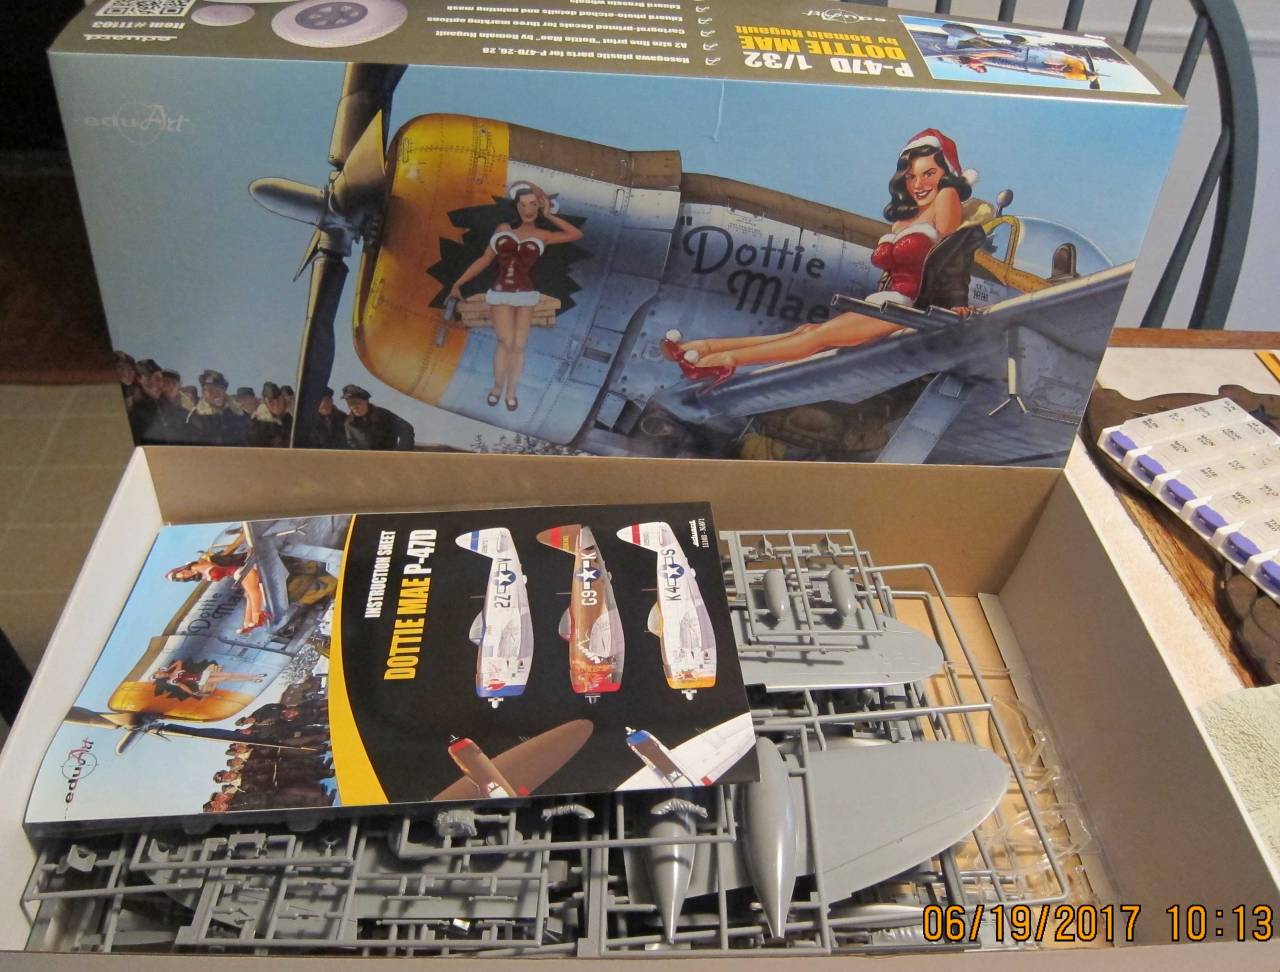
Here is my startup photo of the P-47D Thunderbolt 1/32 scale.
Tom
Tom
Posted: Monday, June 19, 2017 - 05:40 AM UTC
Looking forward to your build, Tom!
Posted: Monday, June 19, 2017 - 09:23 AM UTC
That's a beauty in so many ways, Tom!
Looking forward to see more.