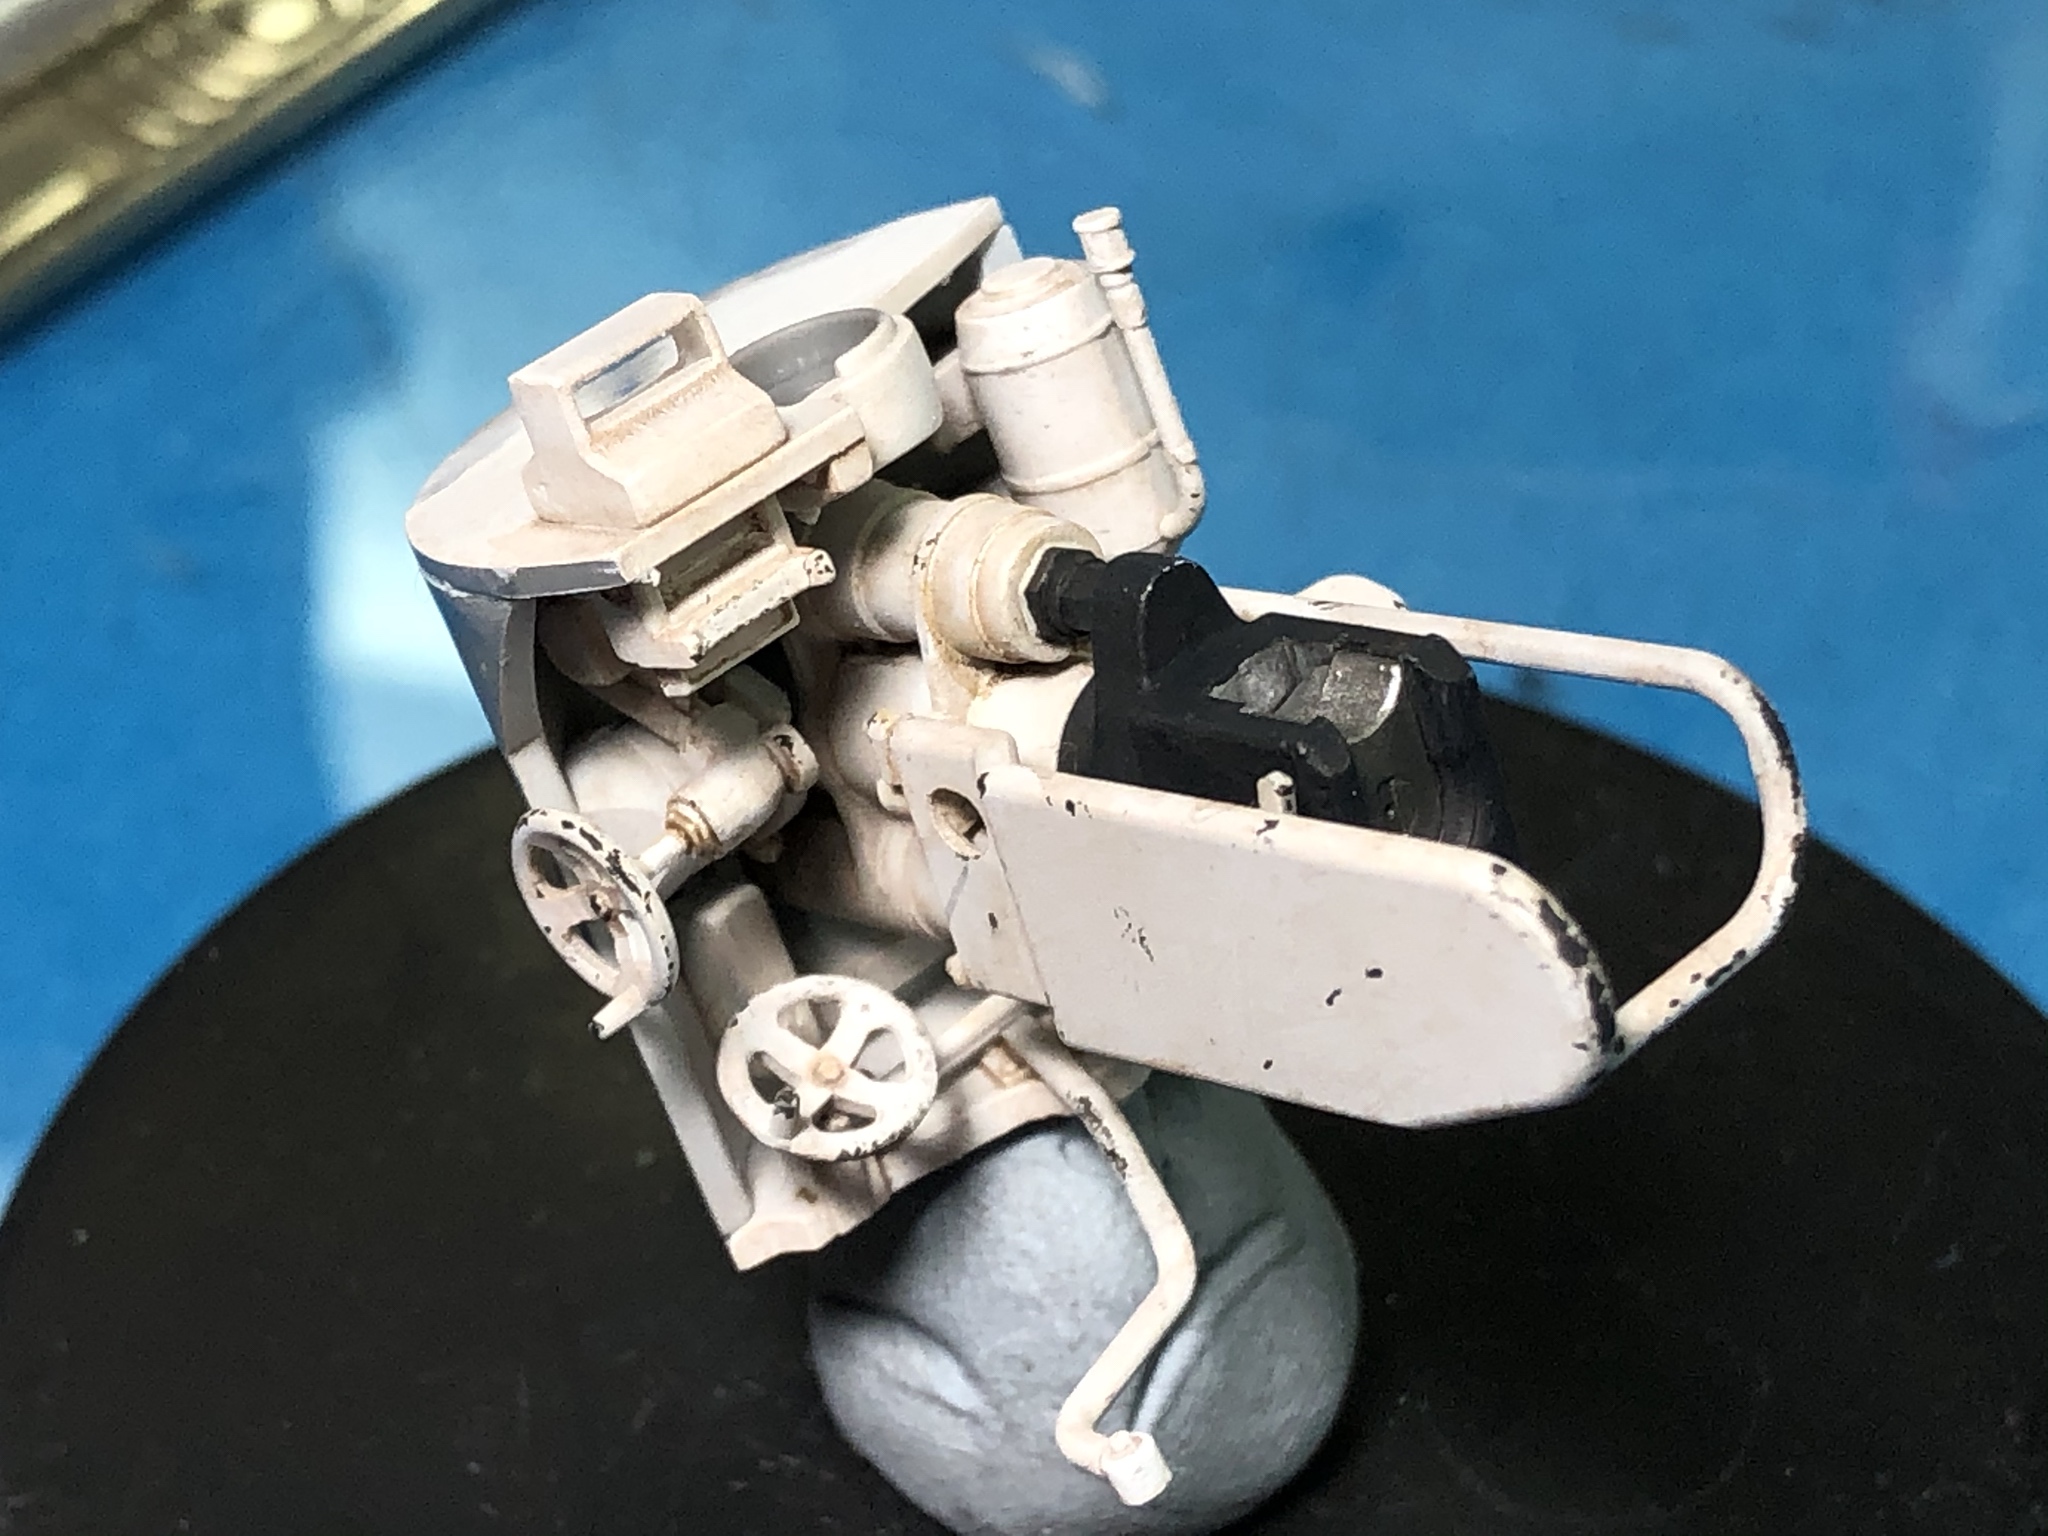
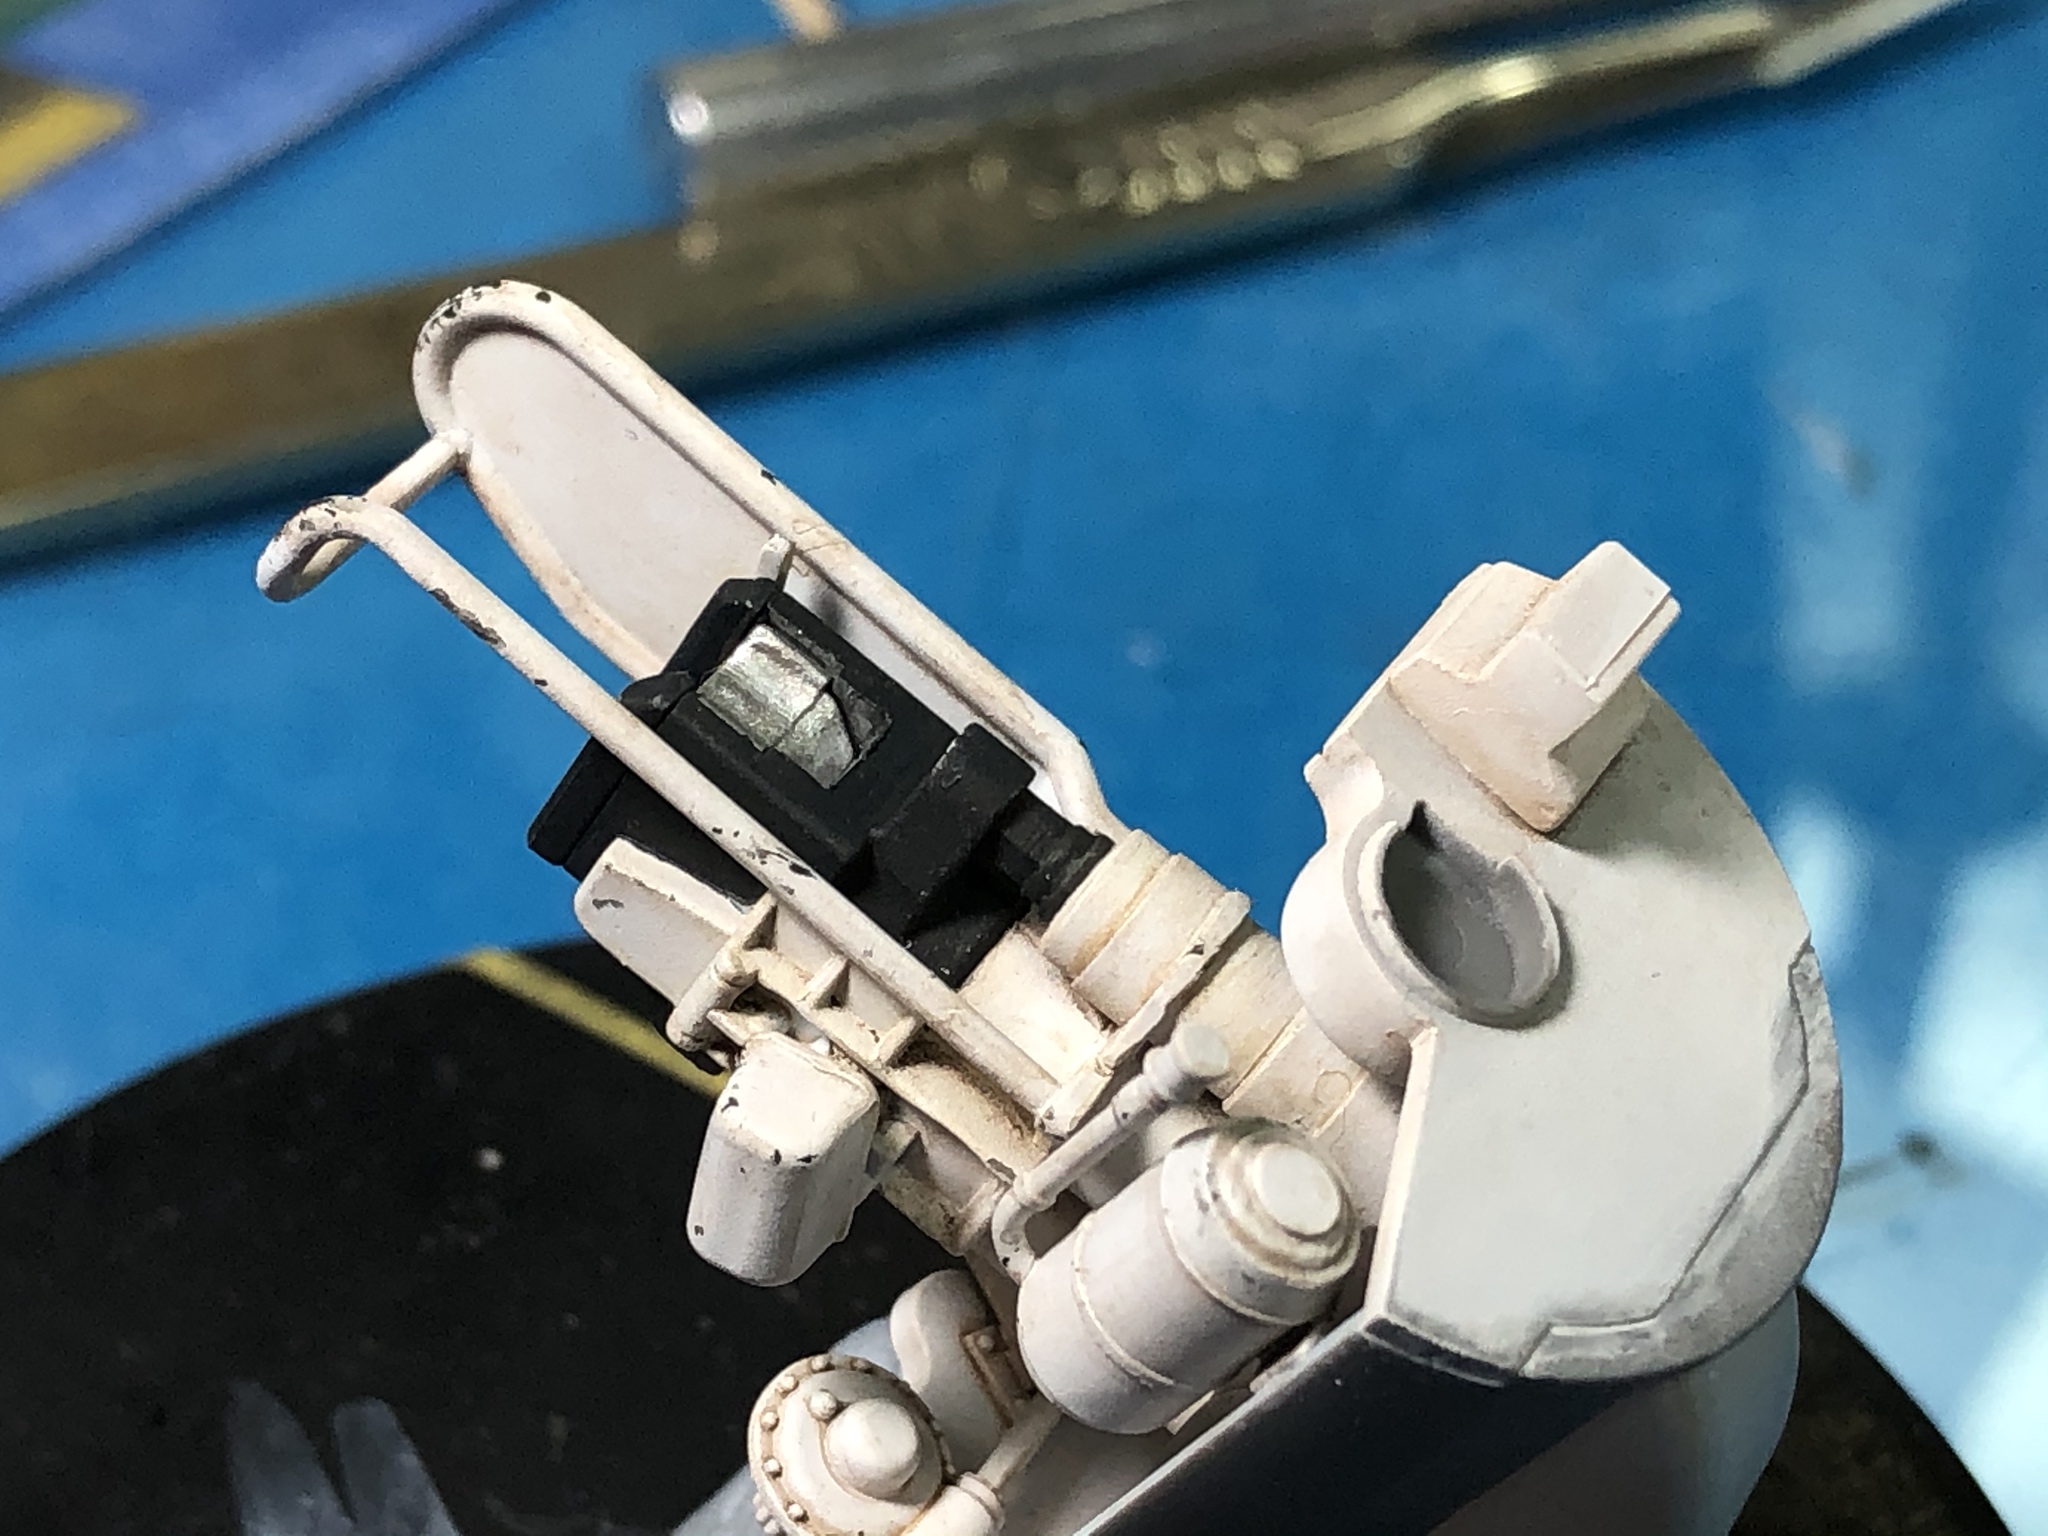
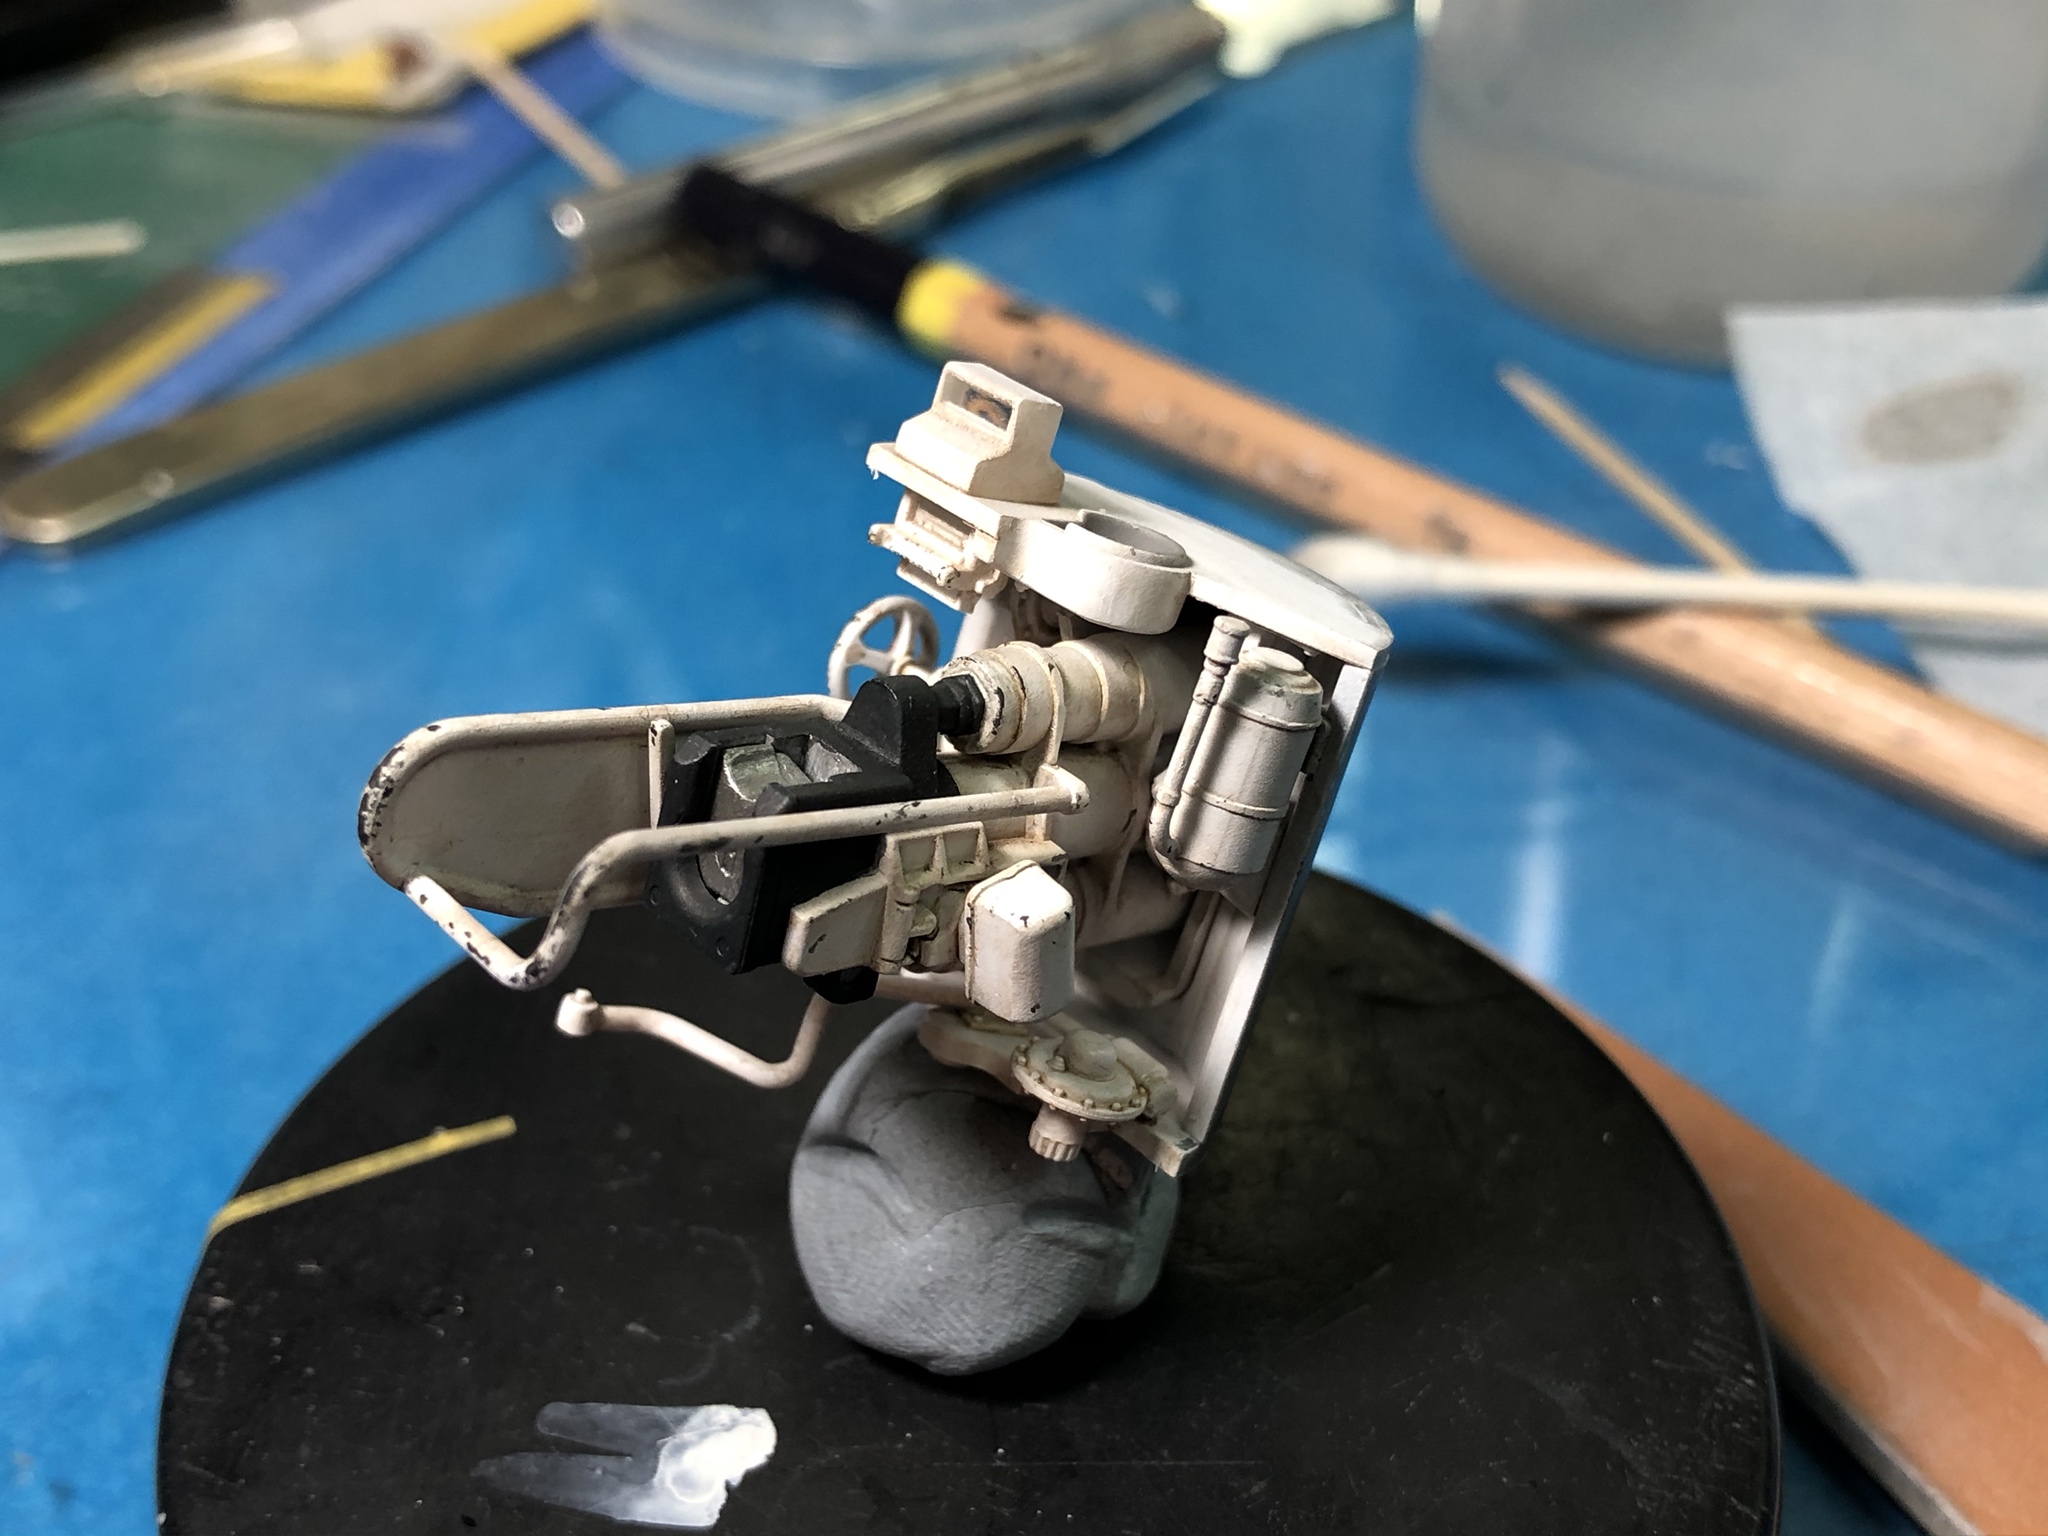
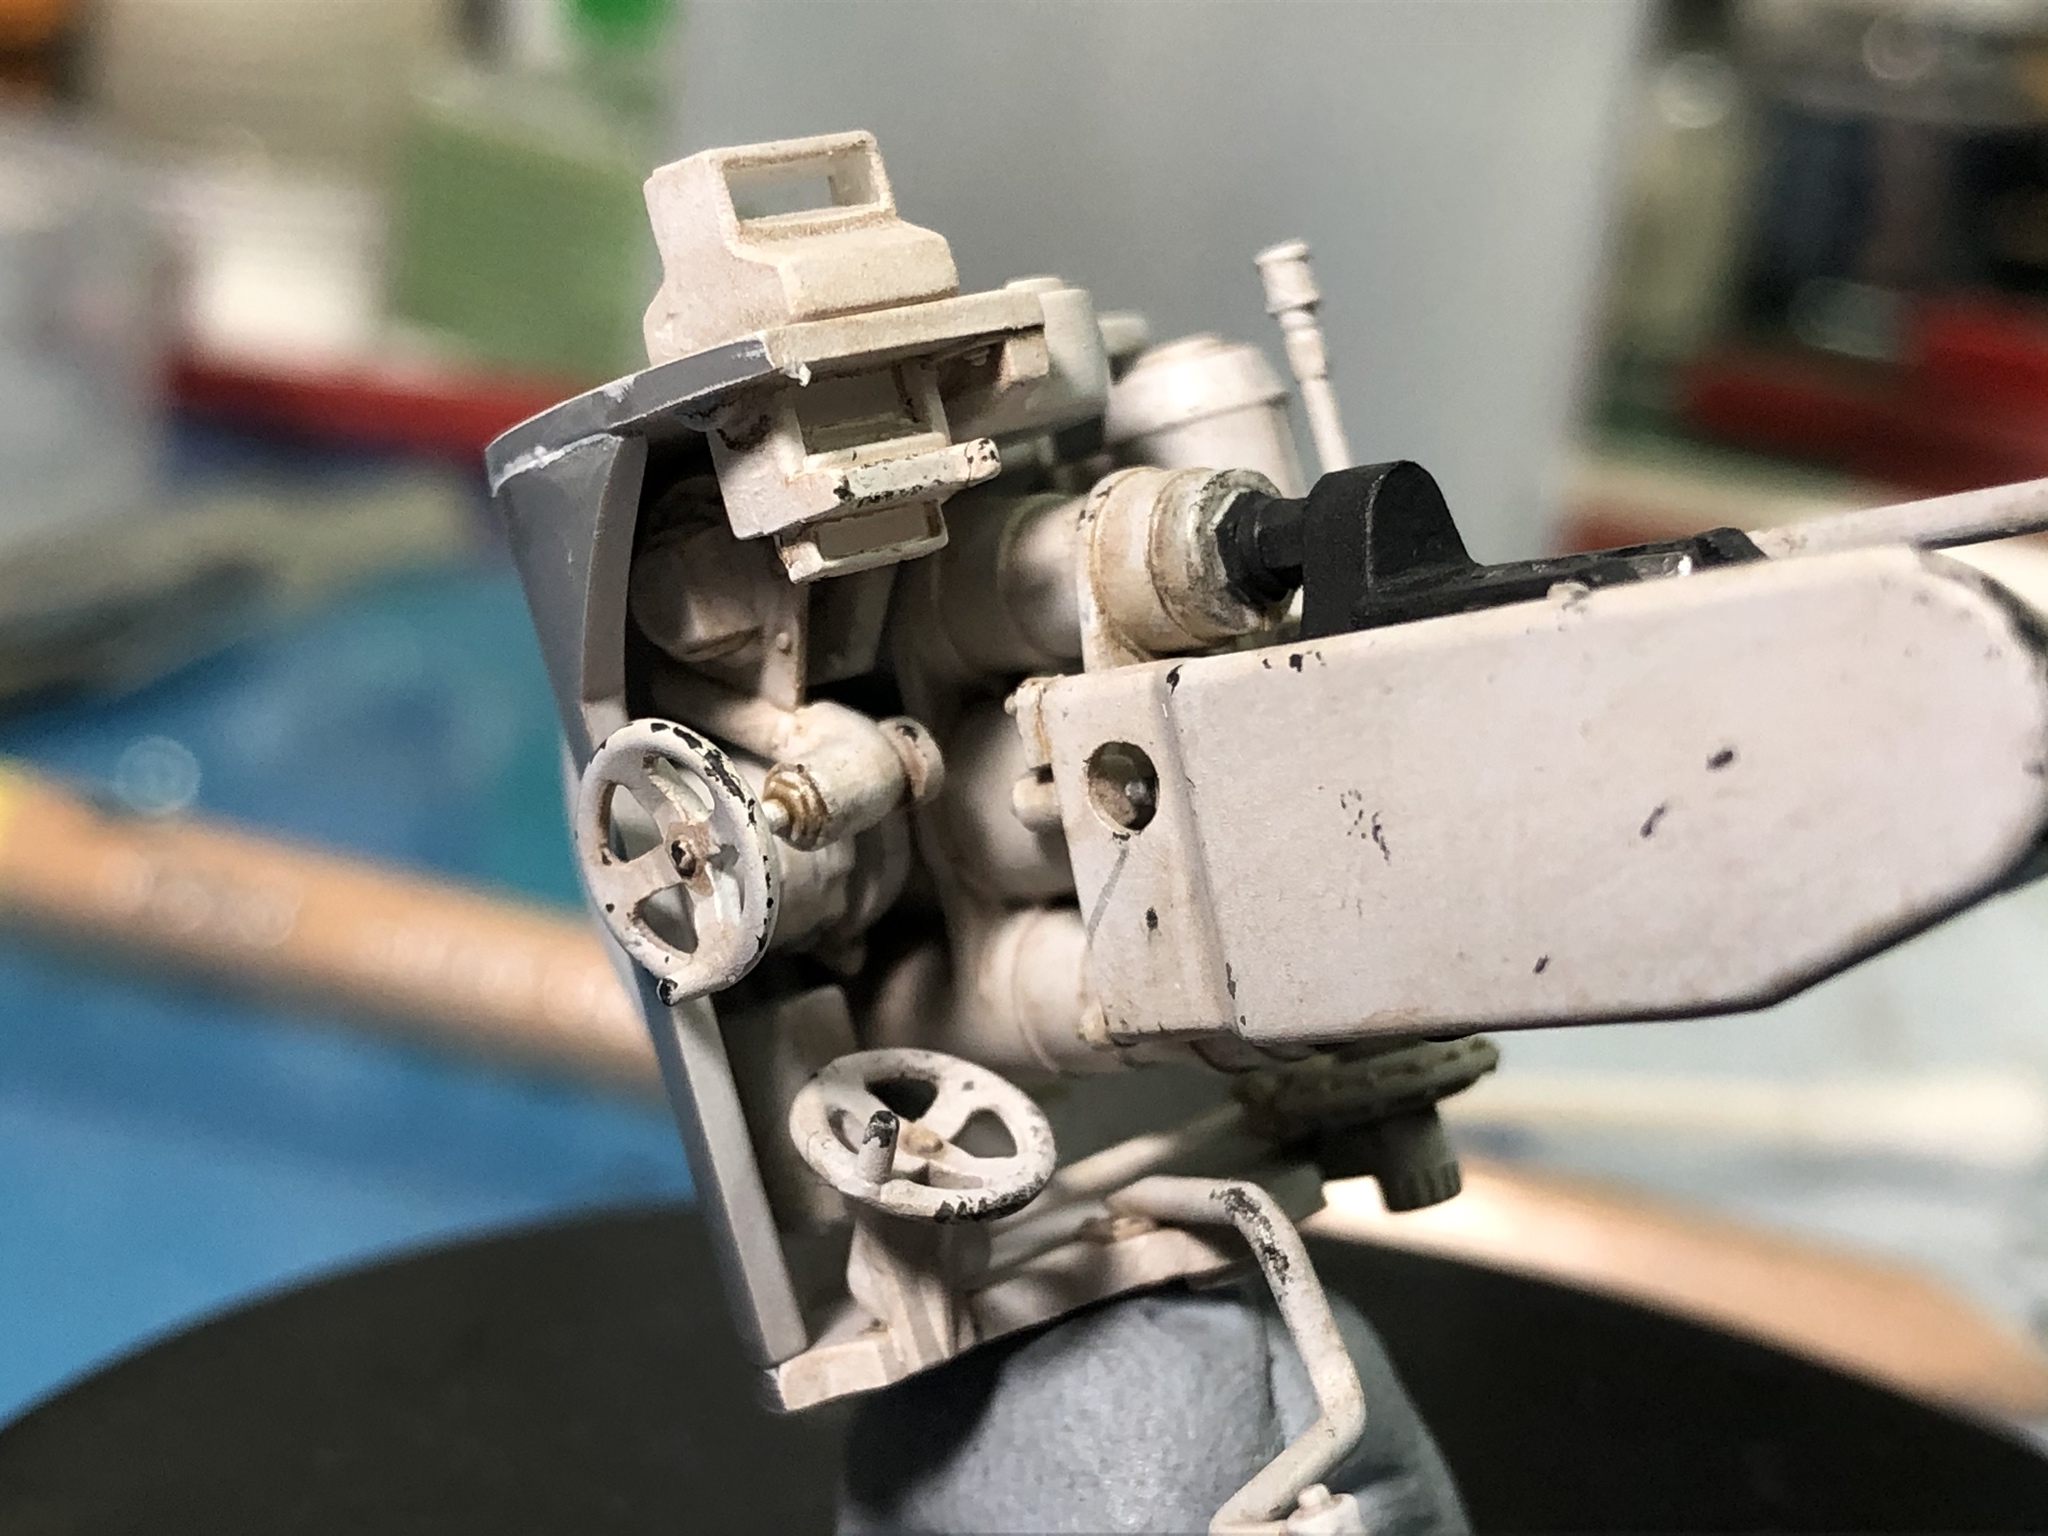
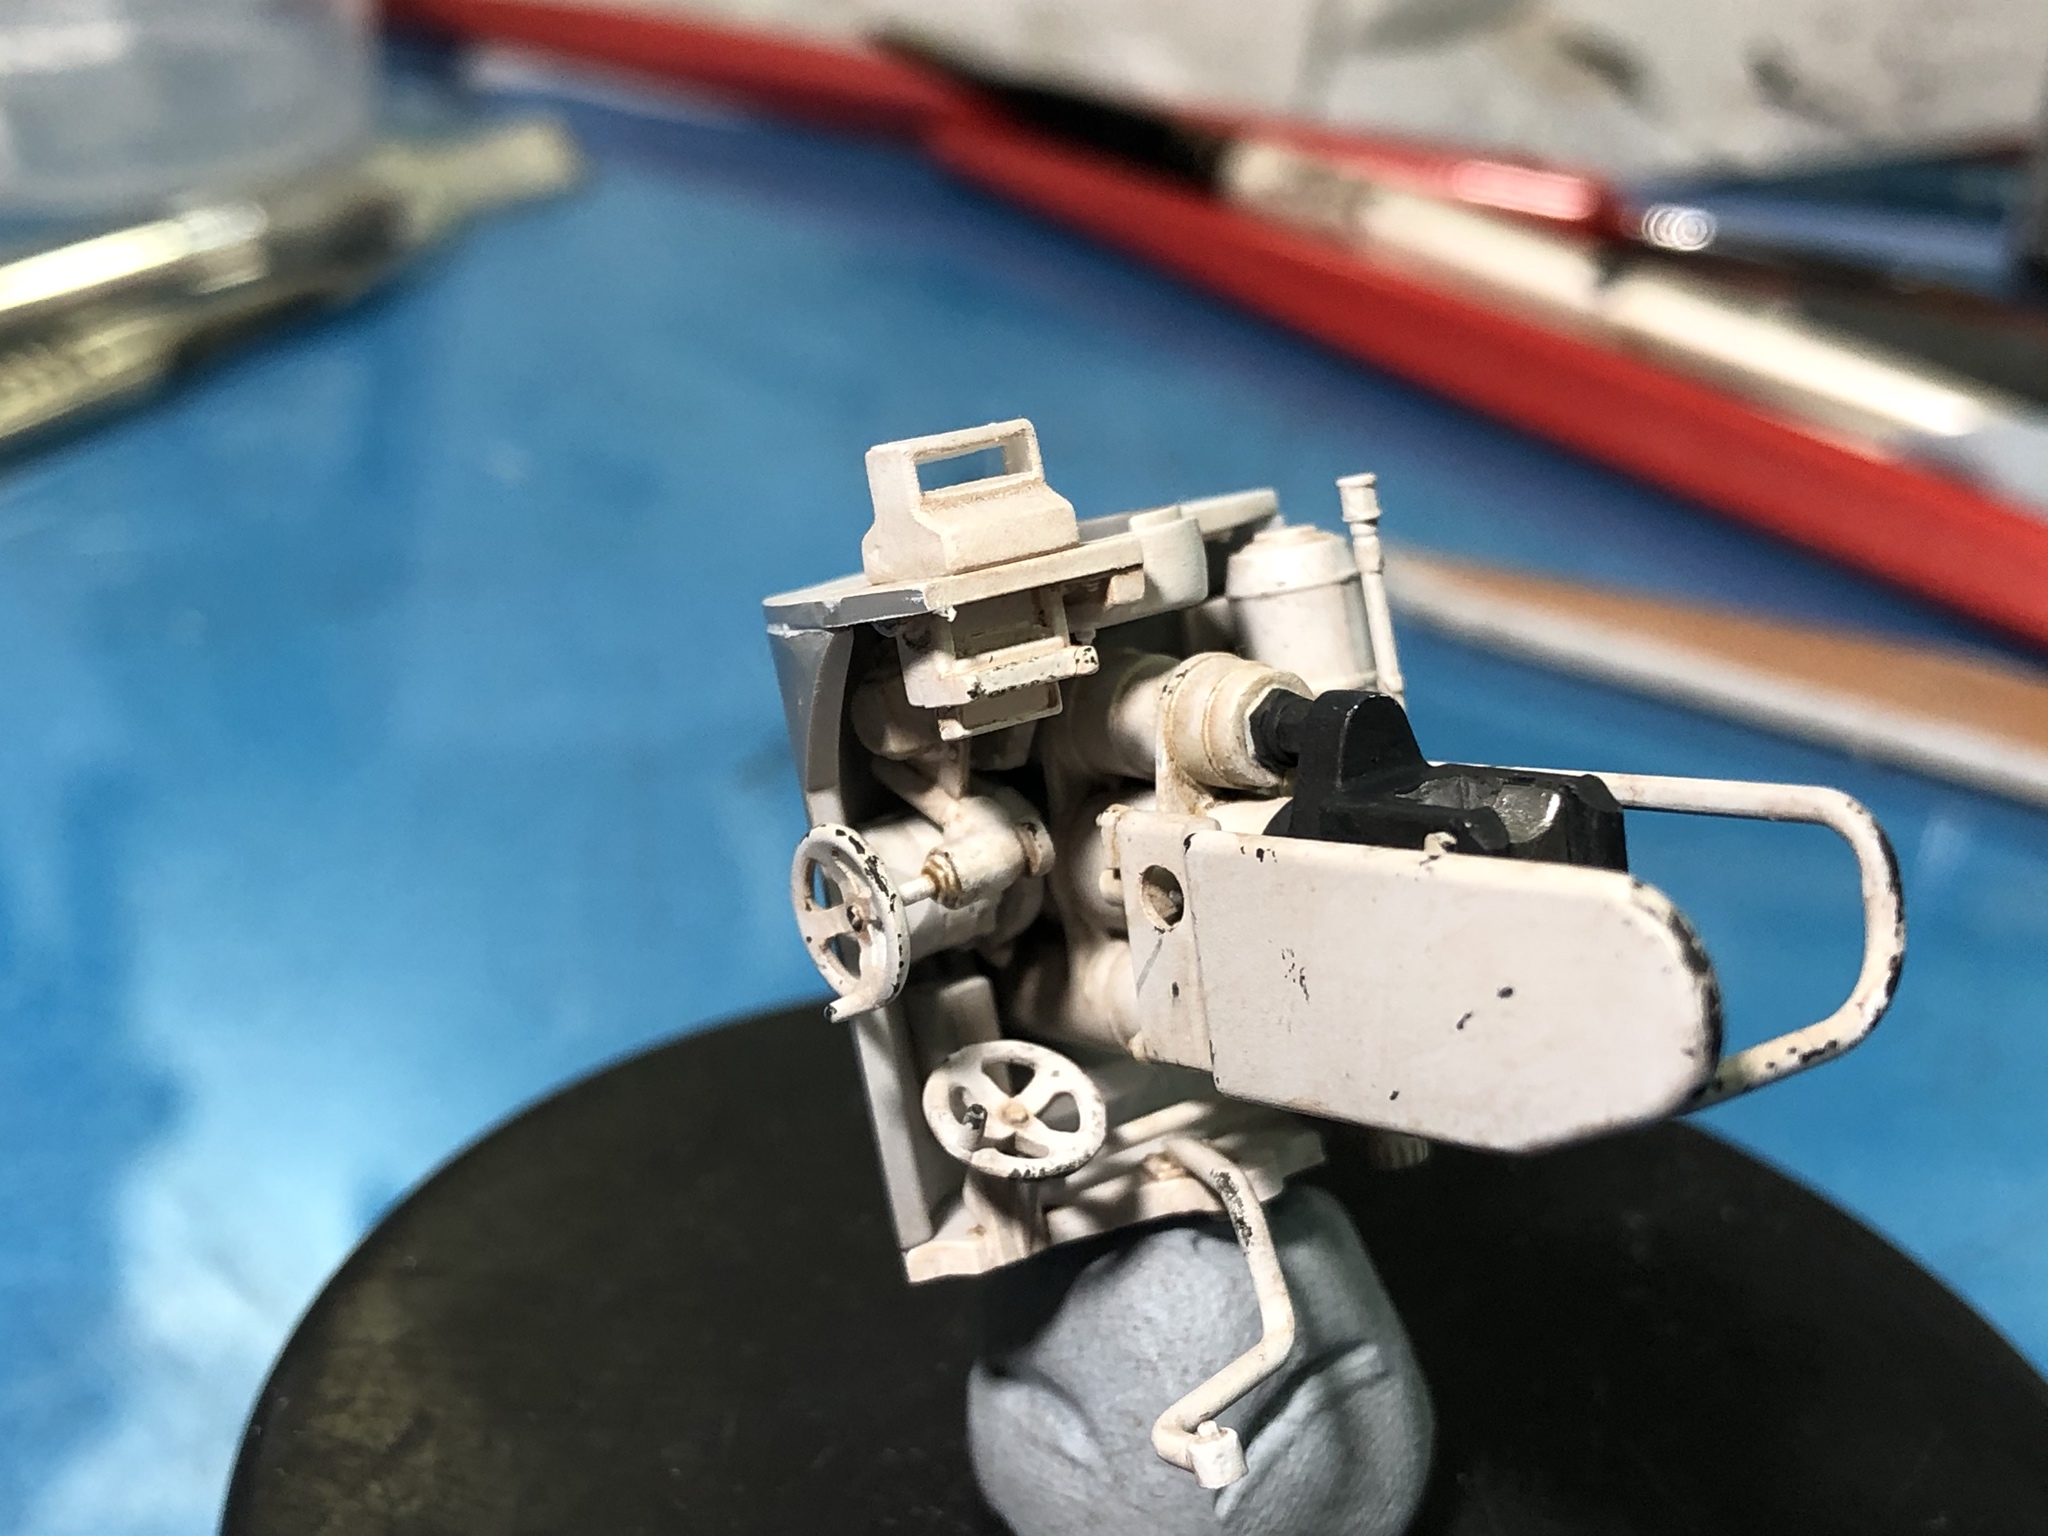
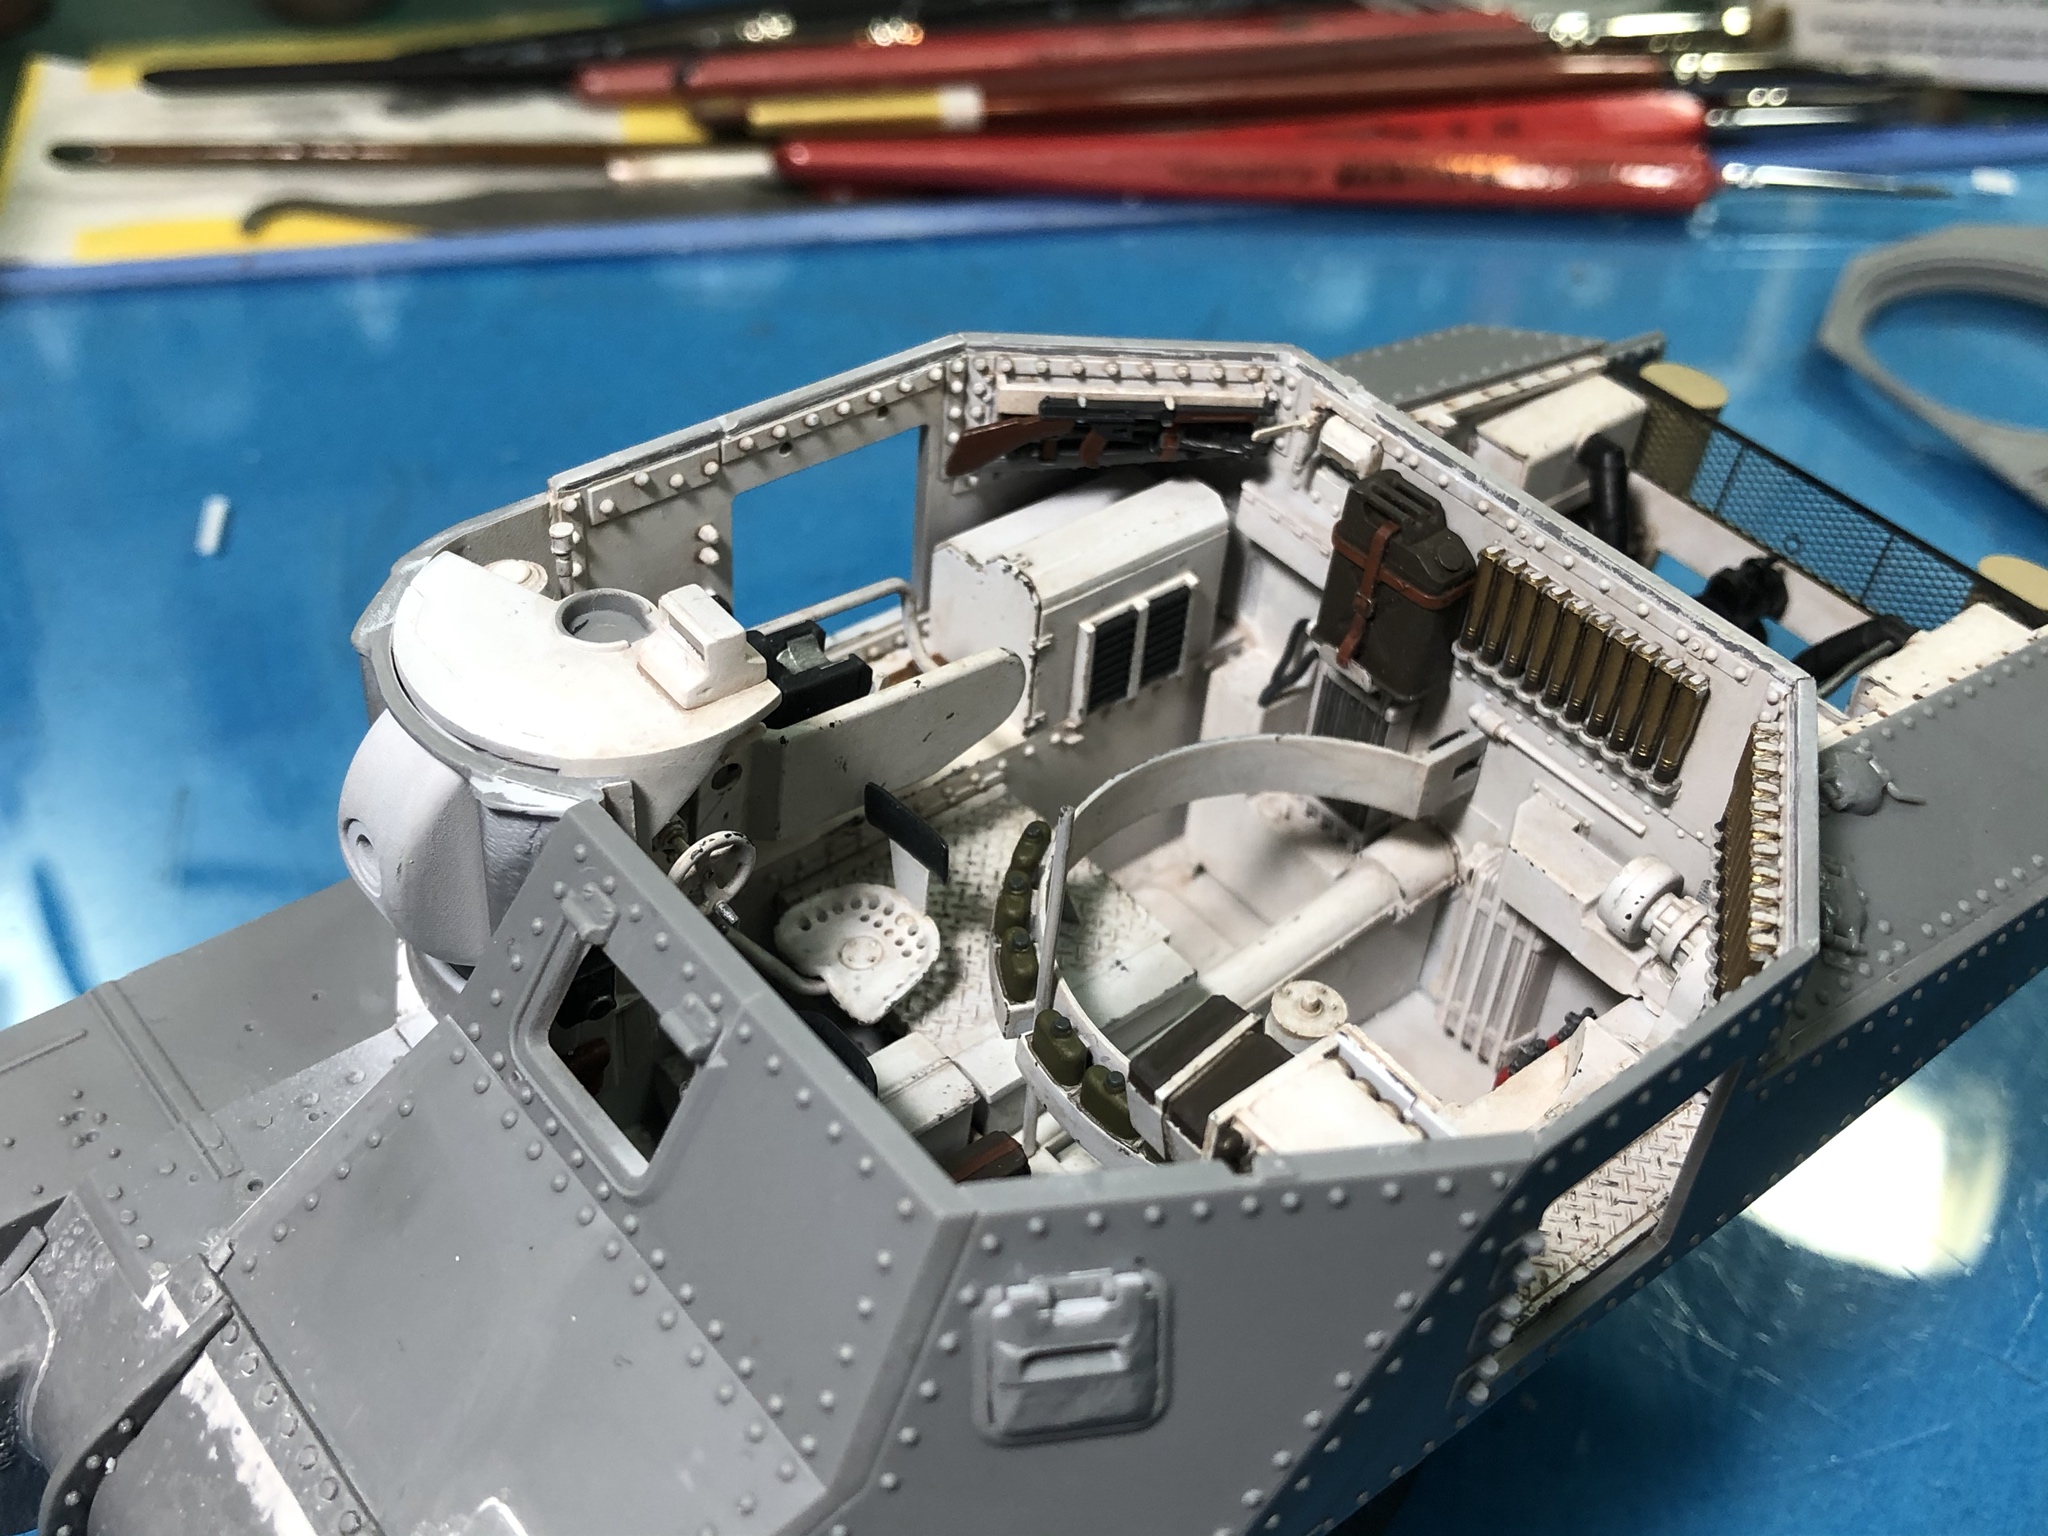
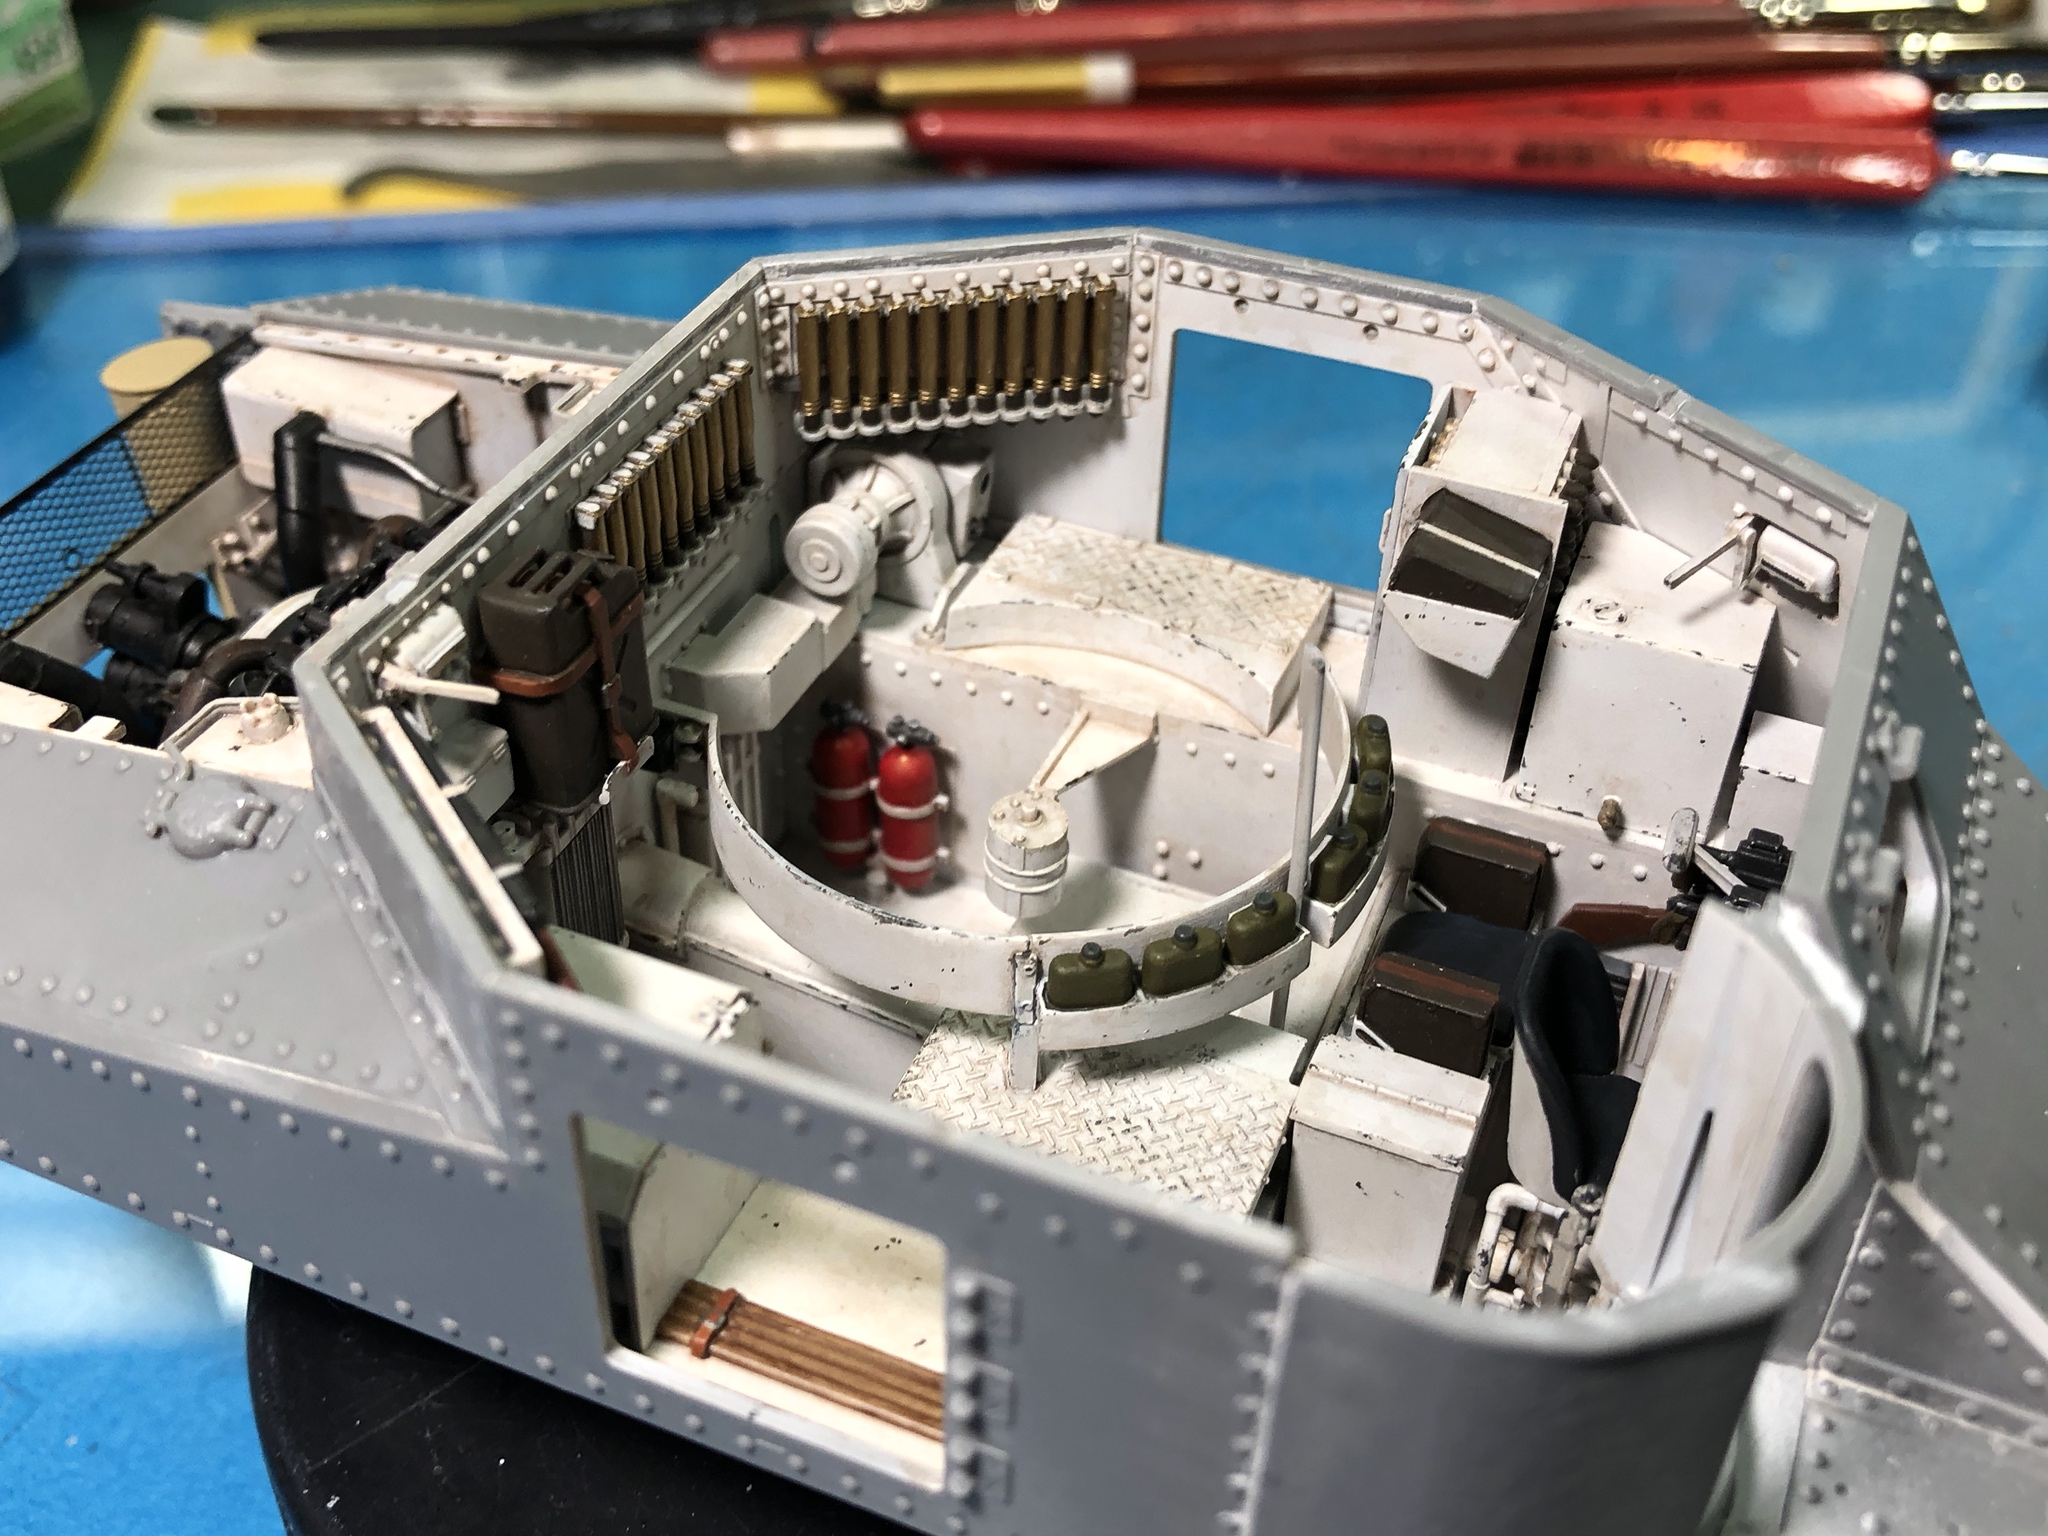
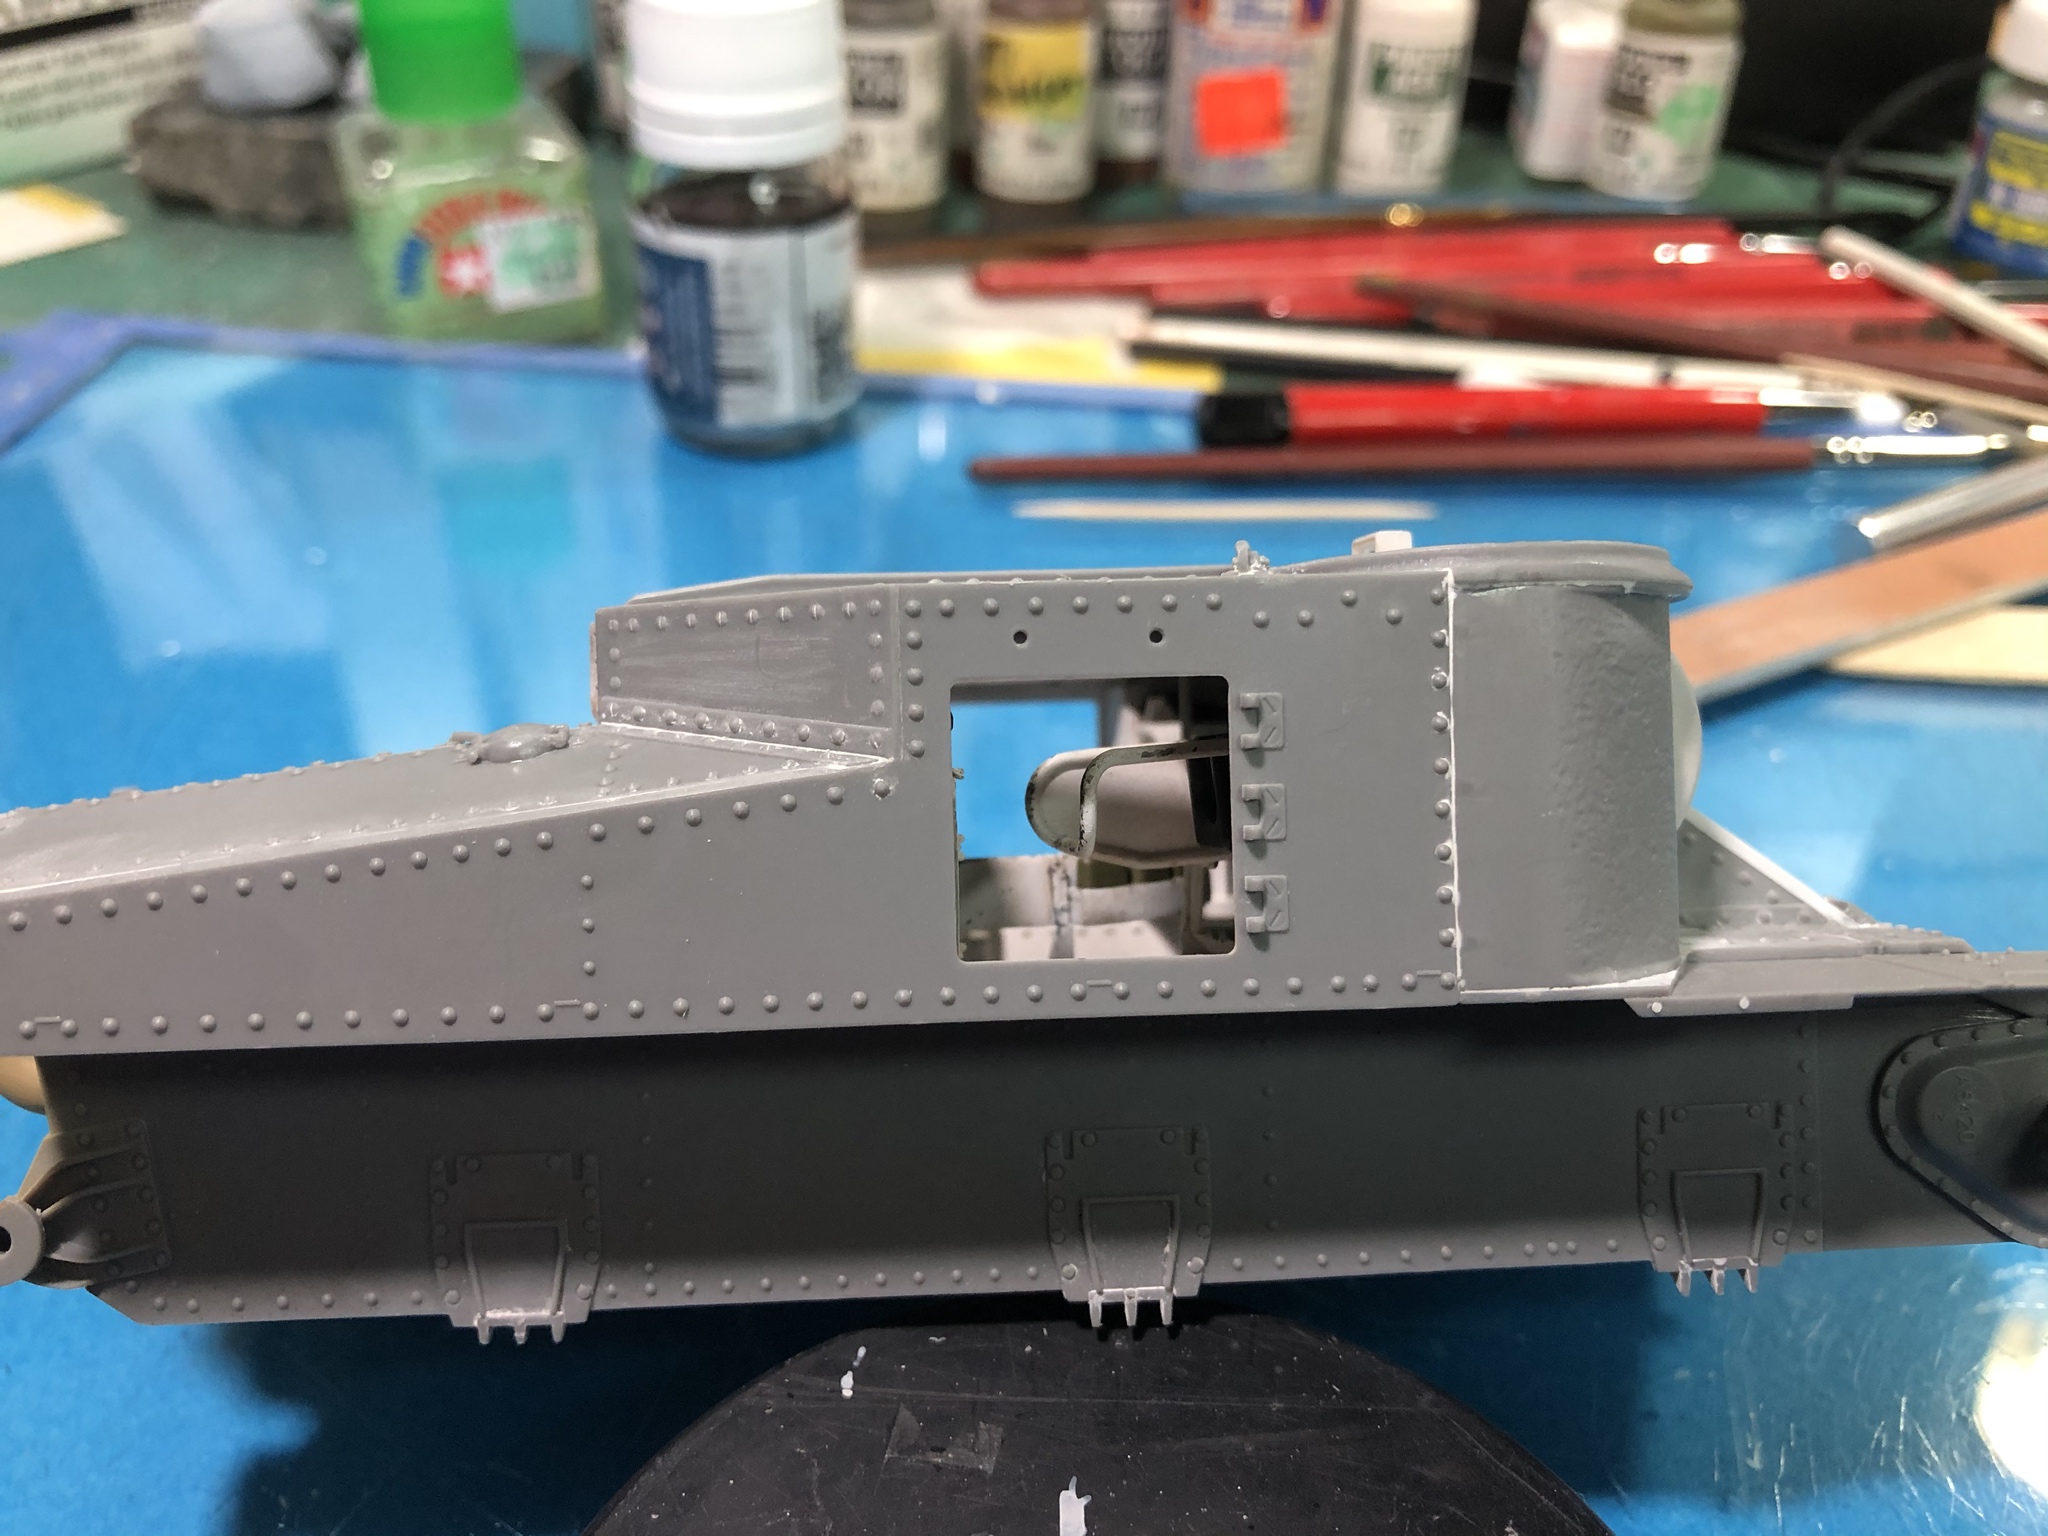
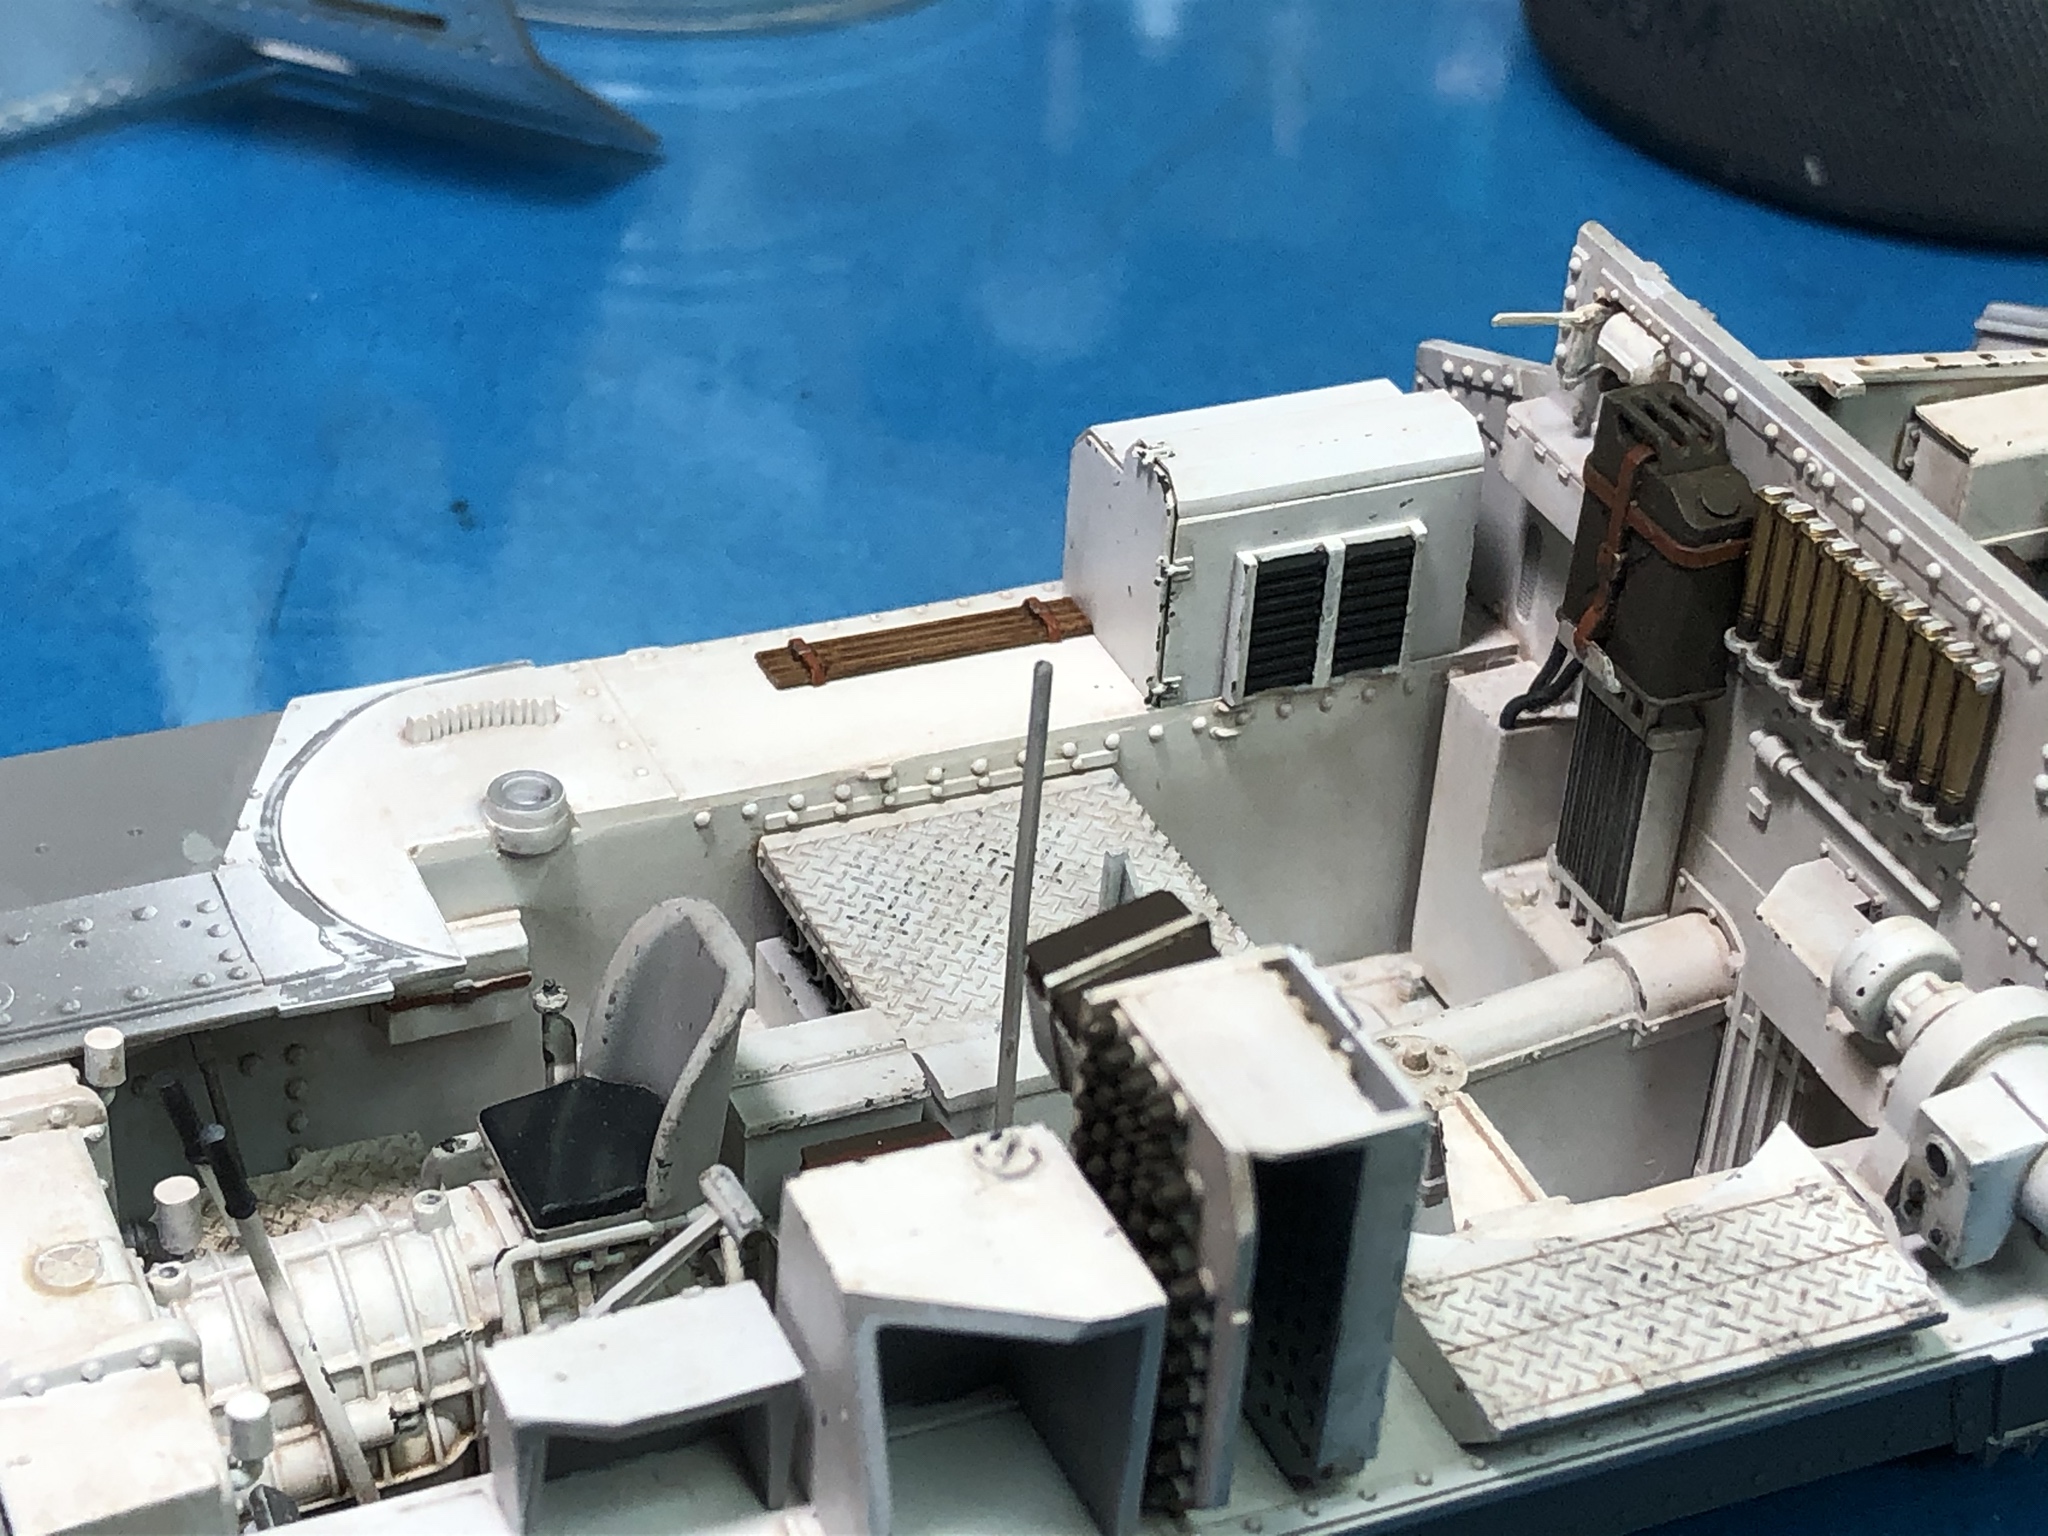
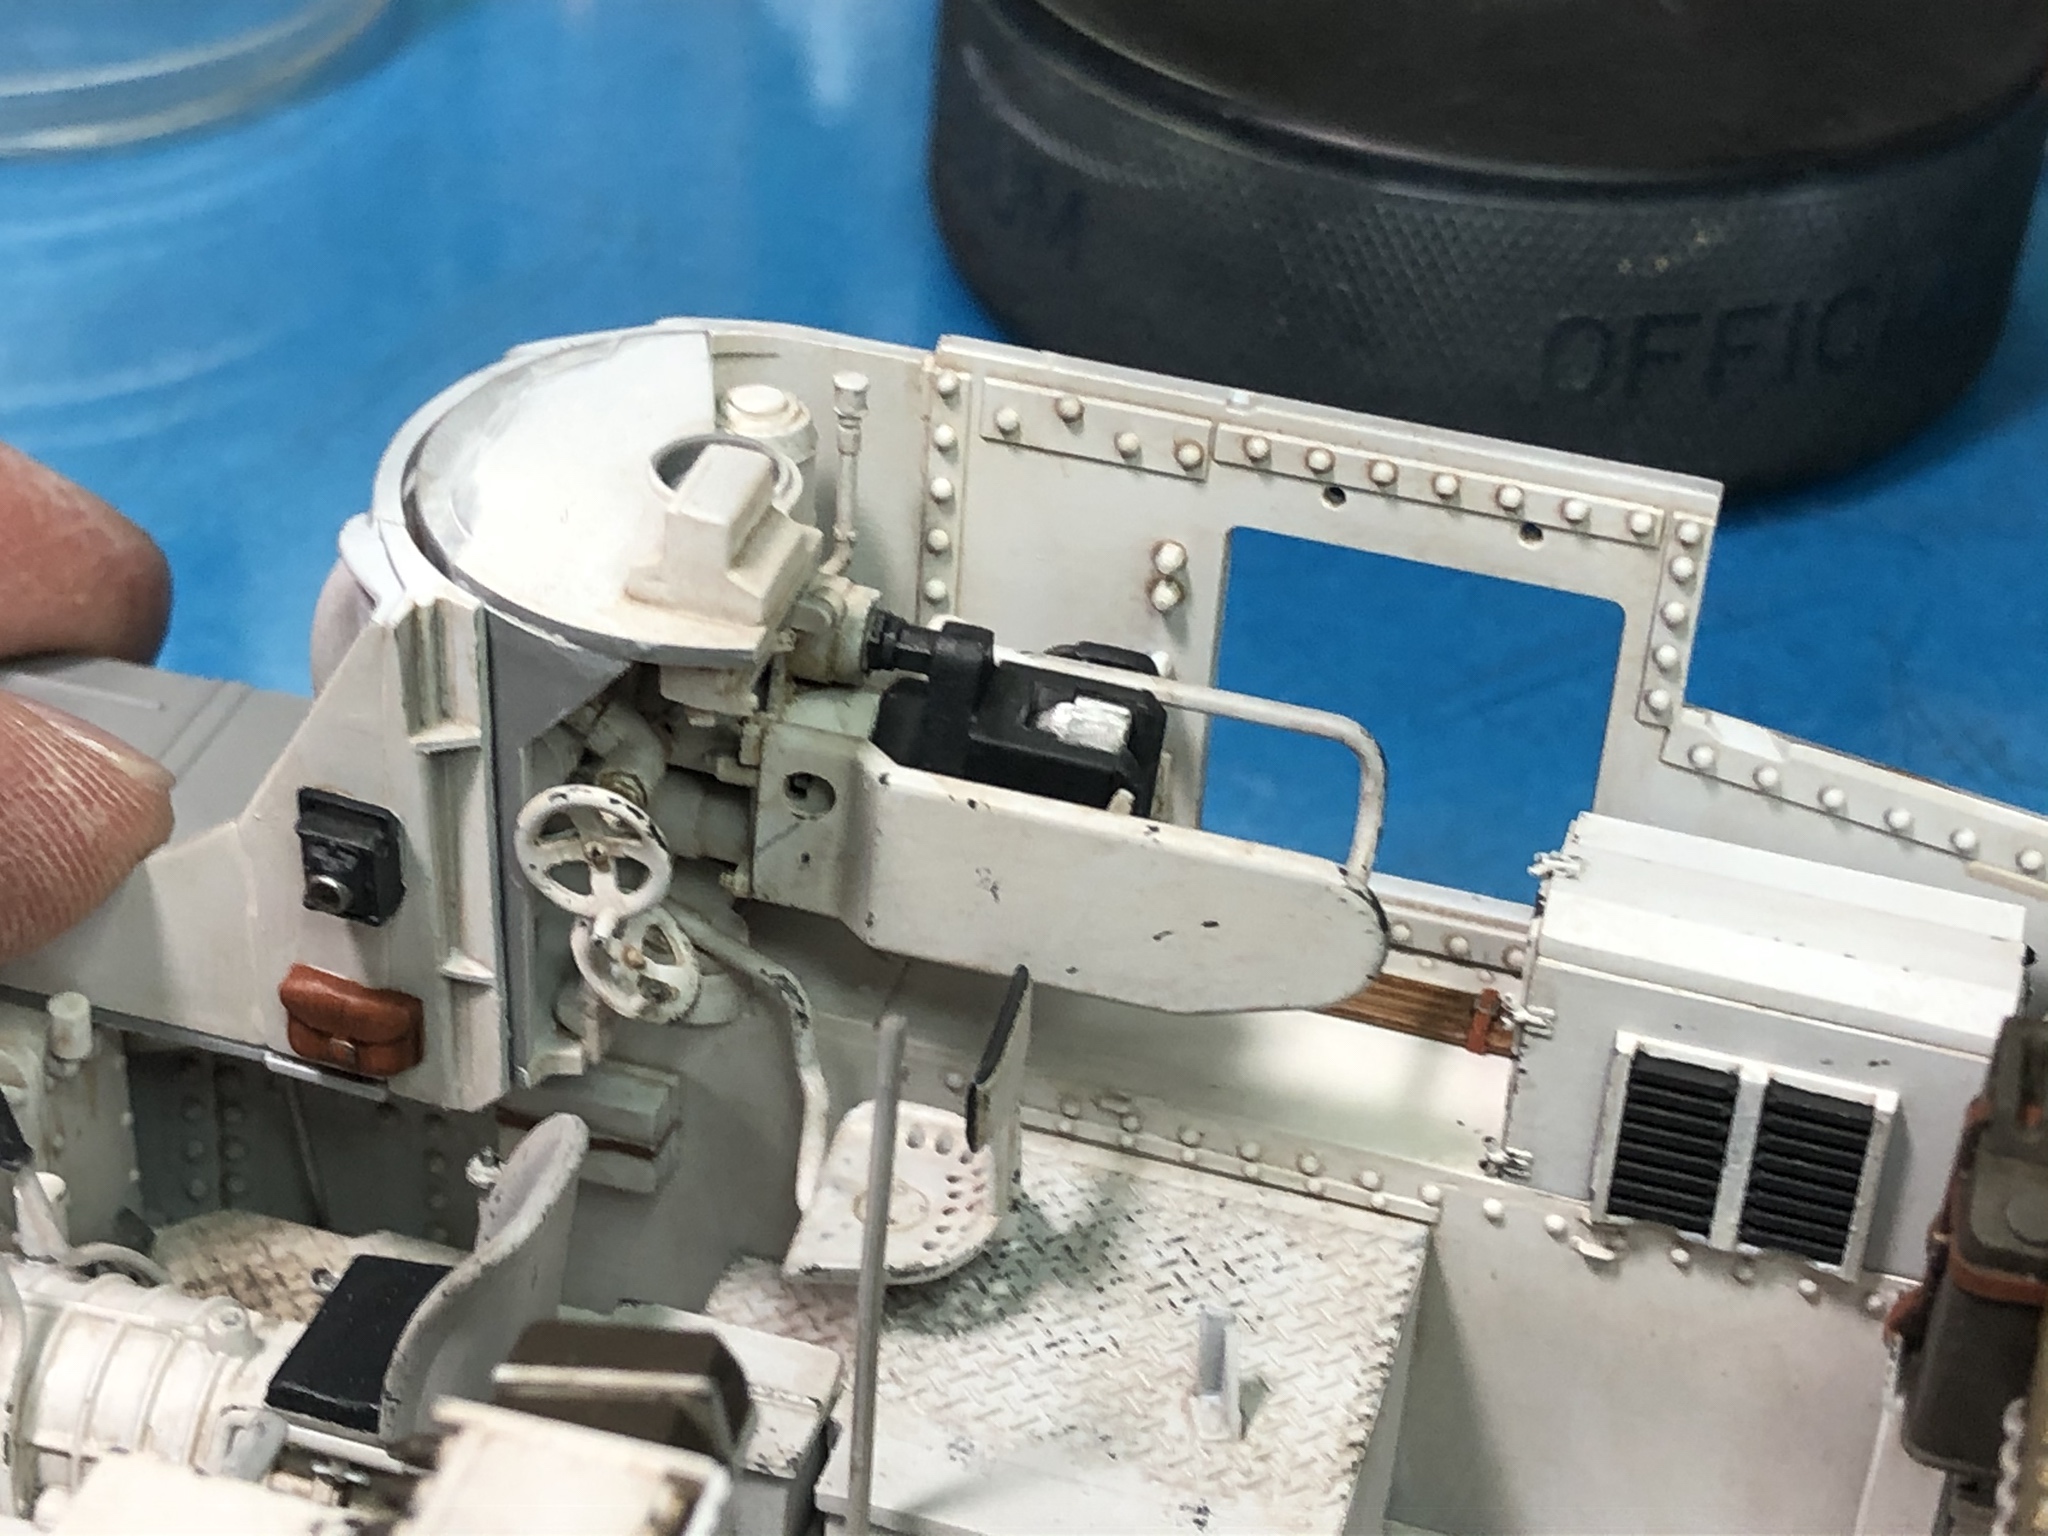
I finished assembling the 75mm gun this weekend. Its very easy to position subassemblies slightly off making items interfere with each other. To be honest with you, Miniart would do very well to either key the parts to ensure correct positioning, or put alignment views in the instructions to verify the angles needed for proper fit. With that said, its together and it looks the part...
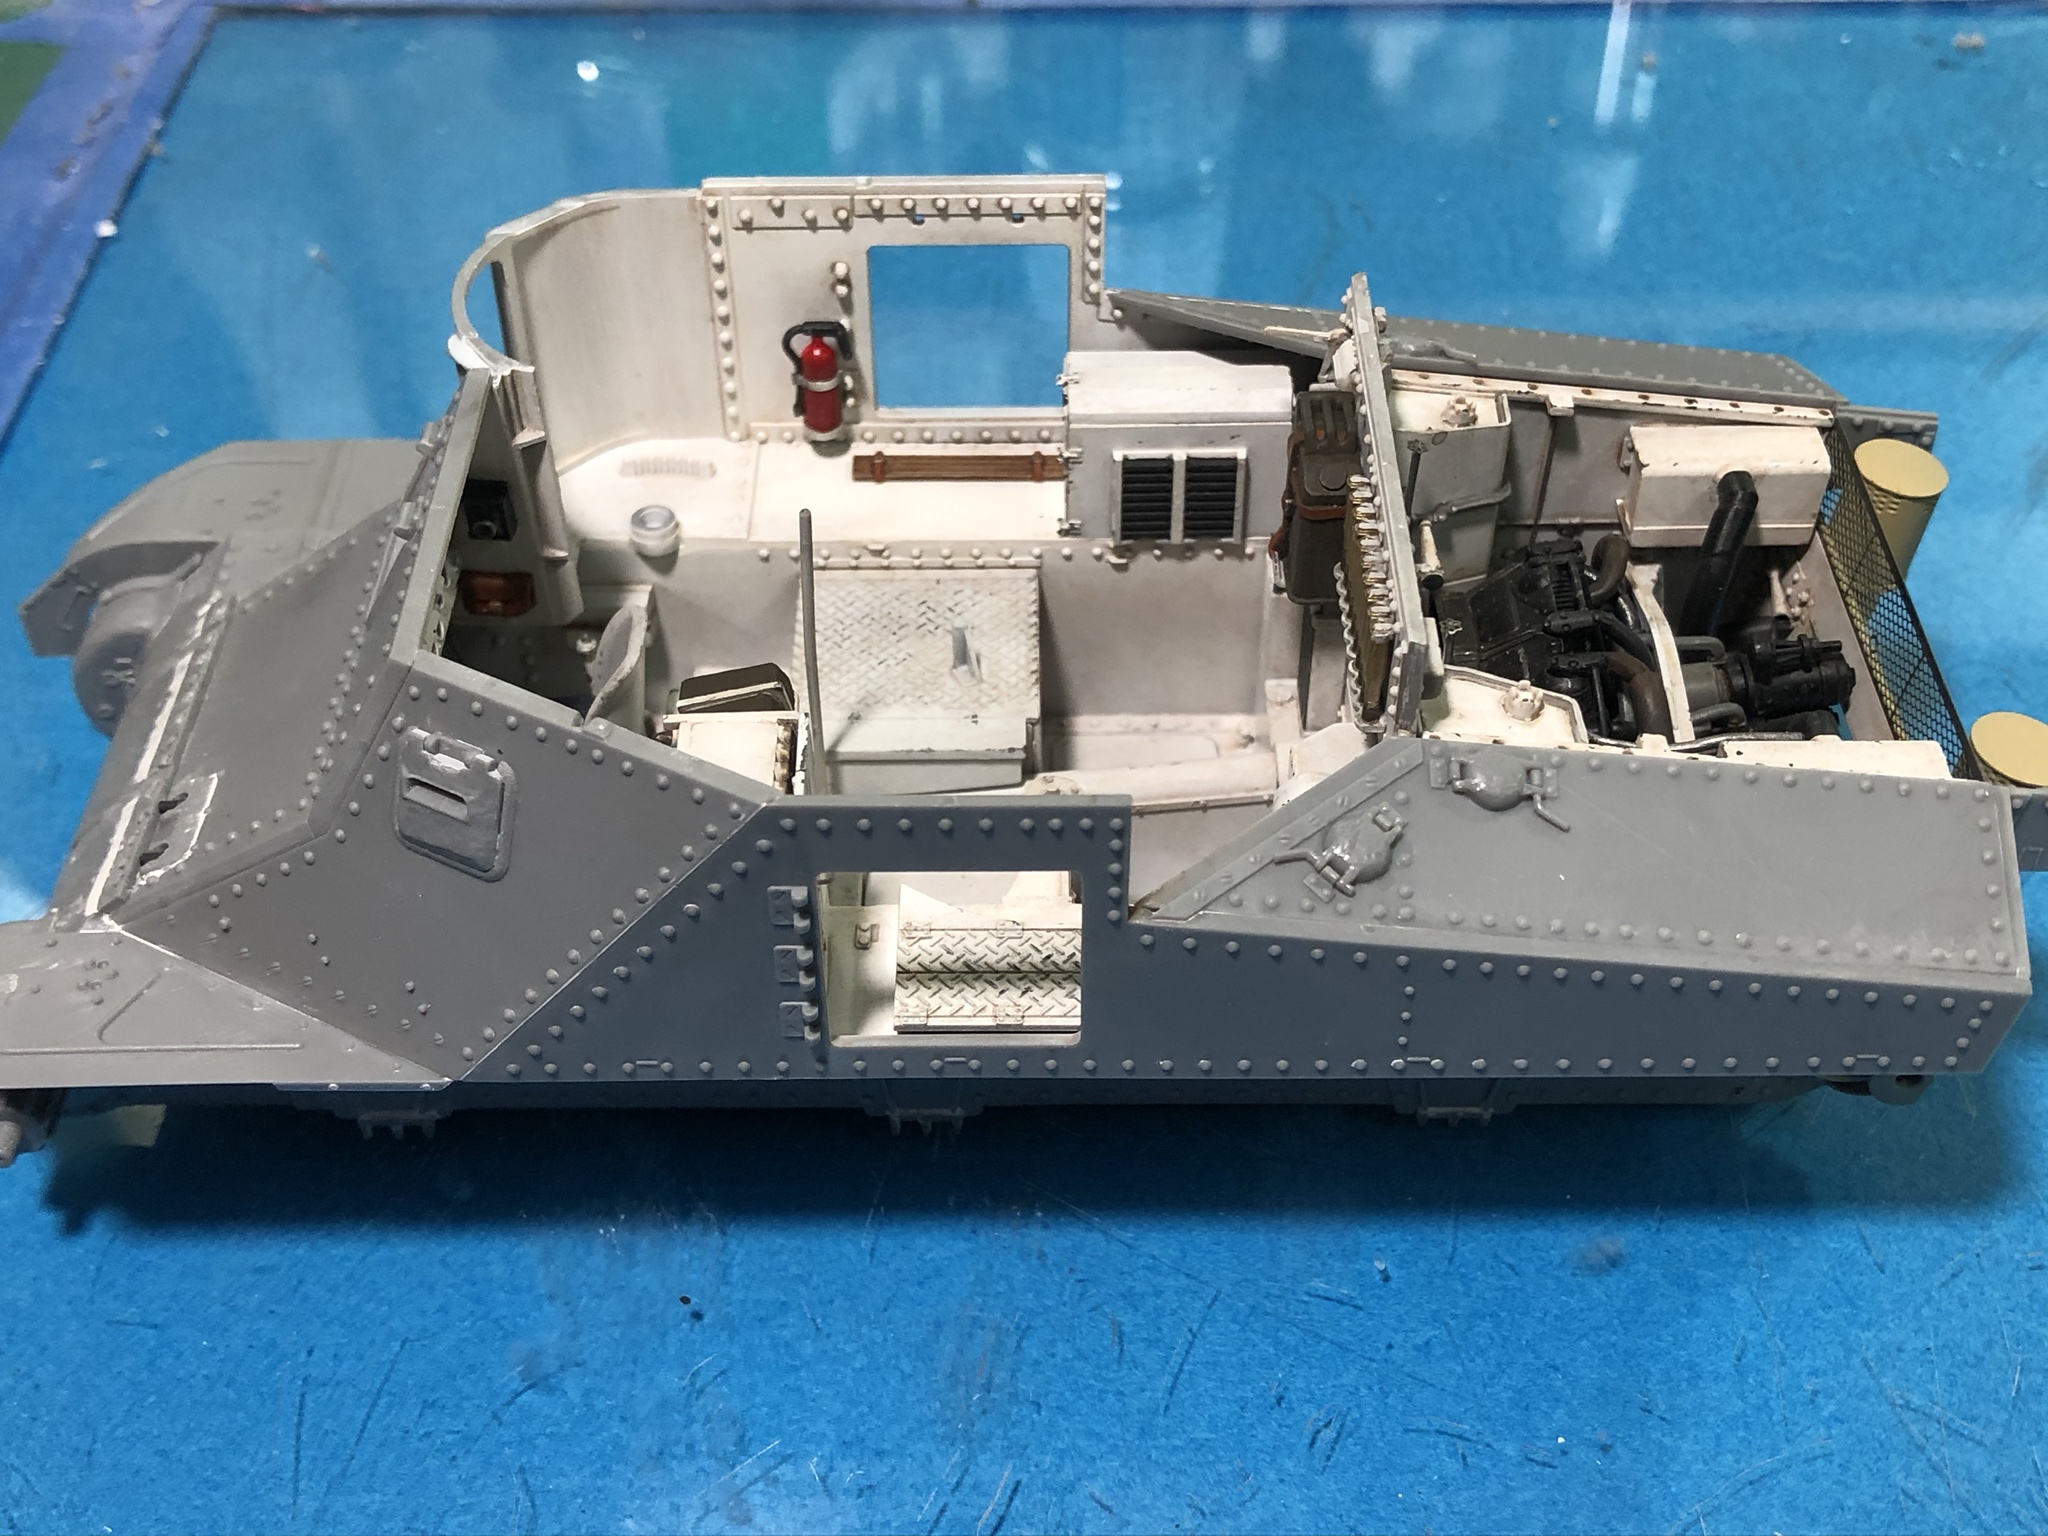
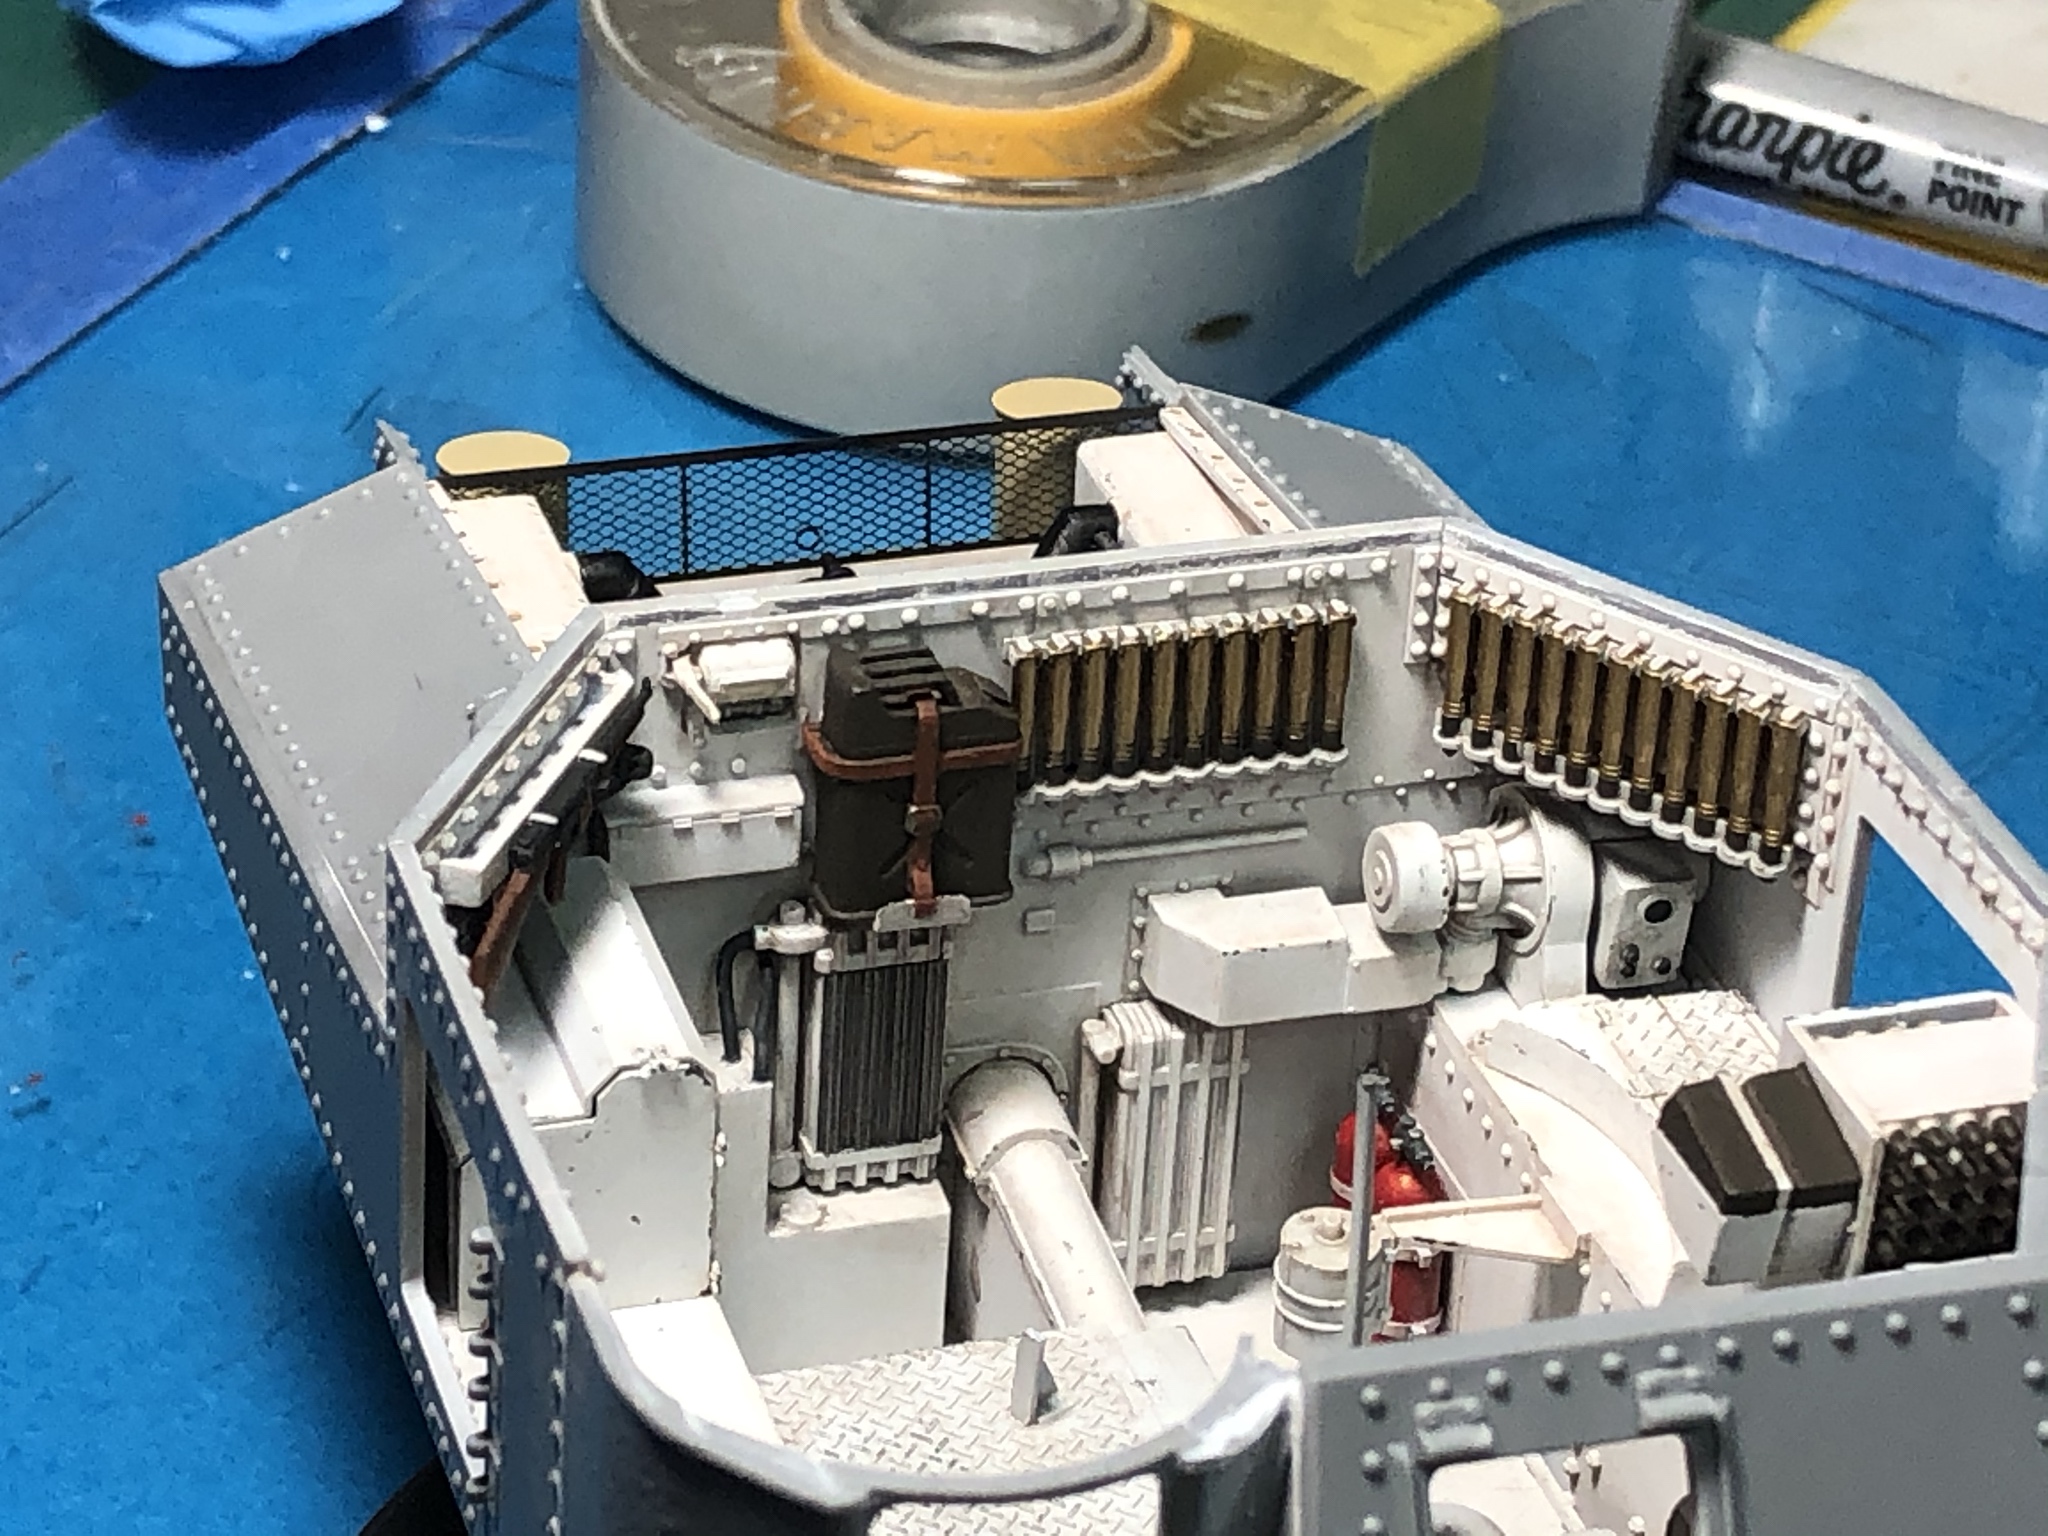
I painted and installed the ammo storage for the right side. Fit was fine.
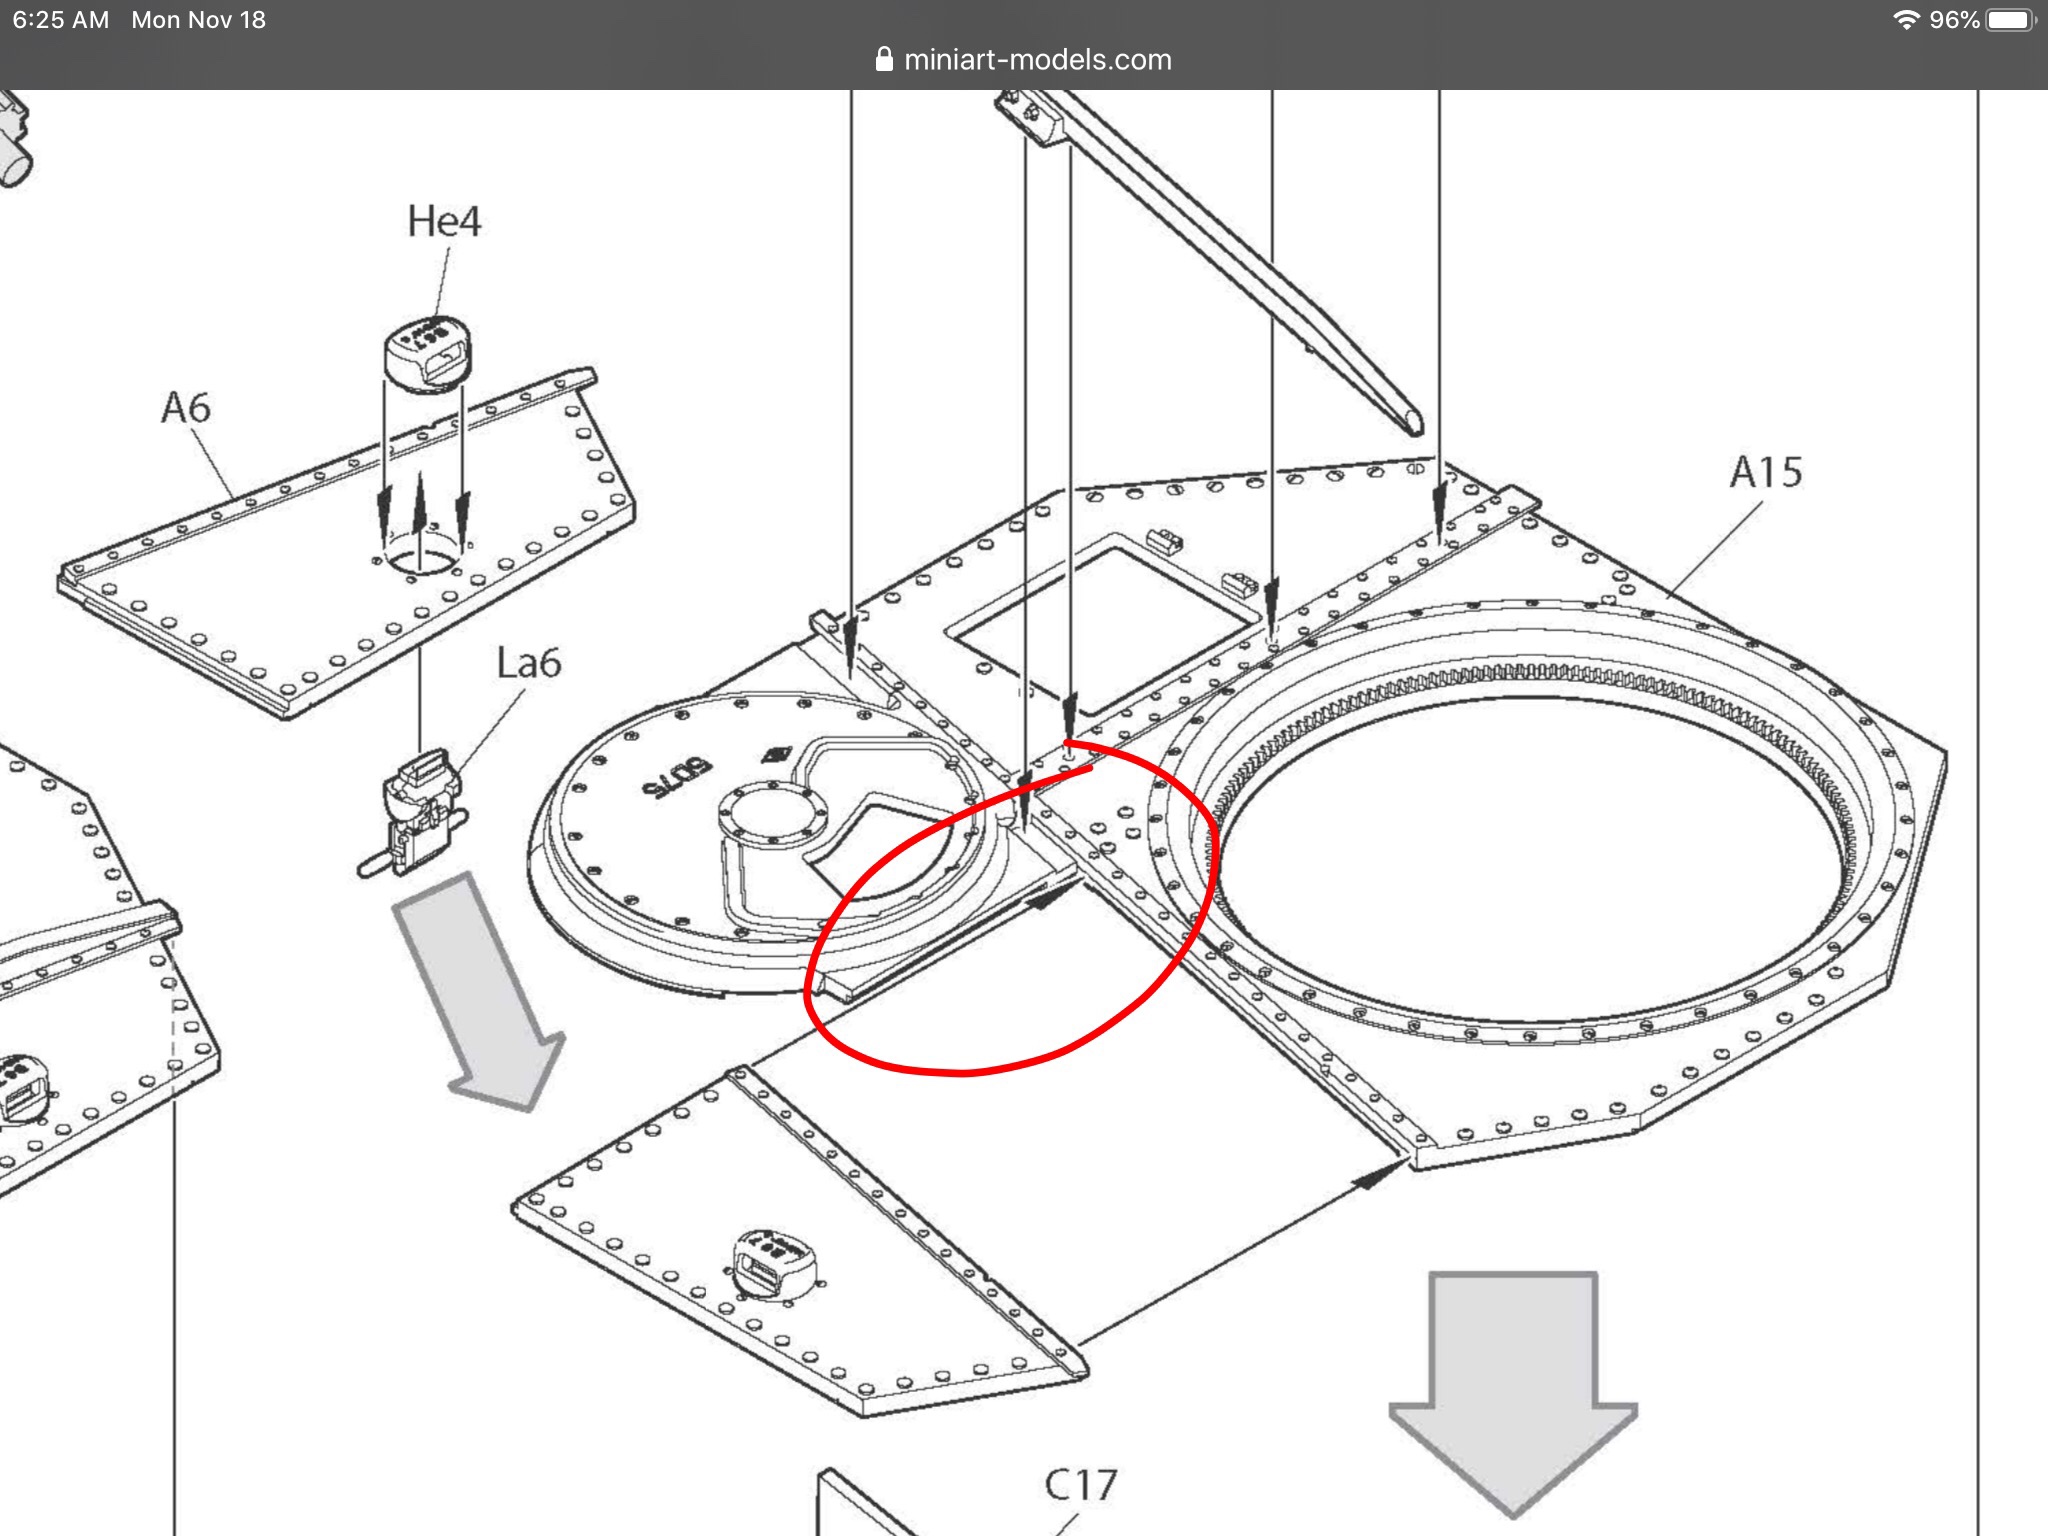
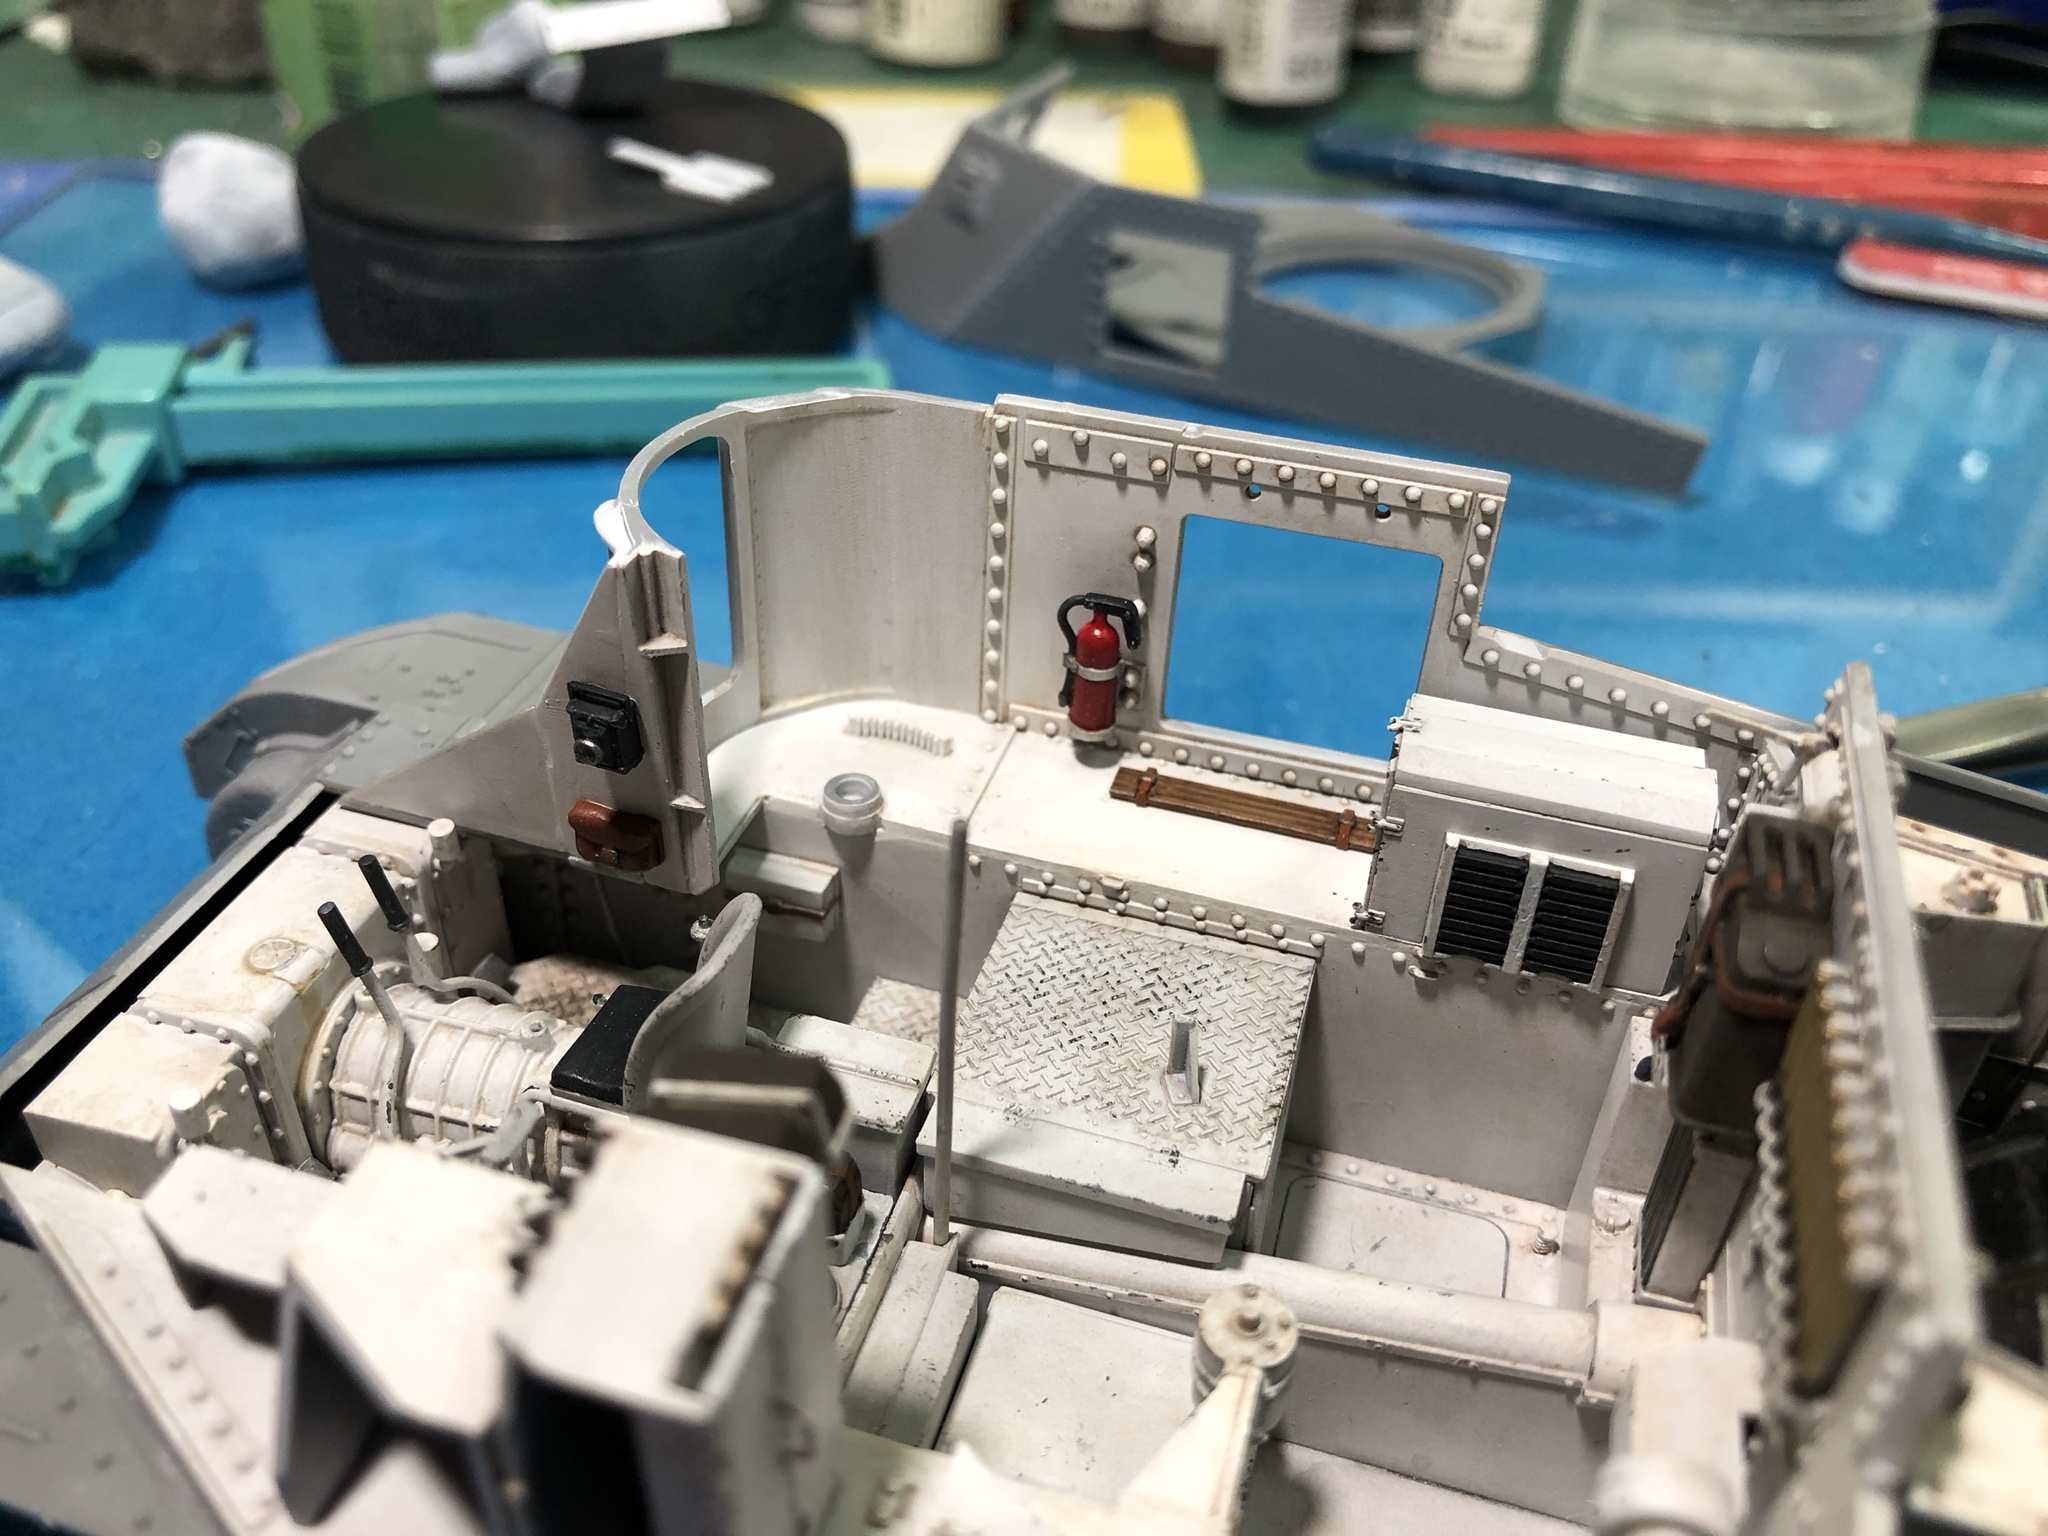
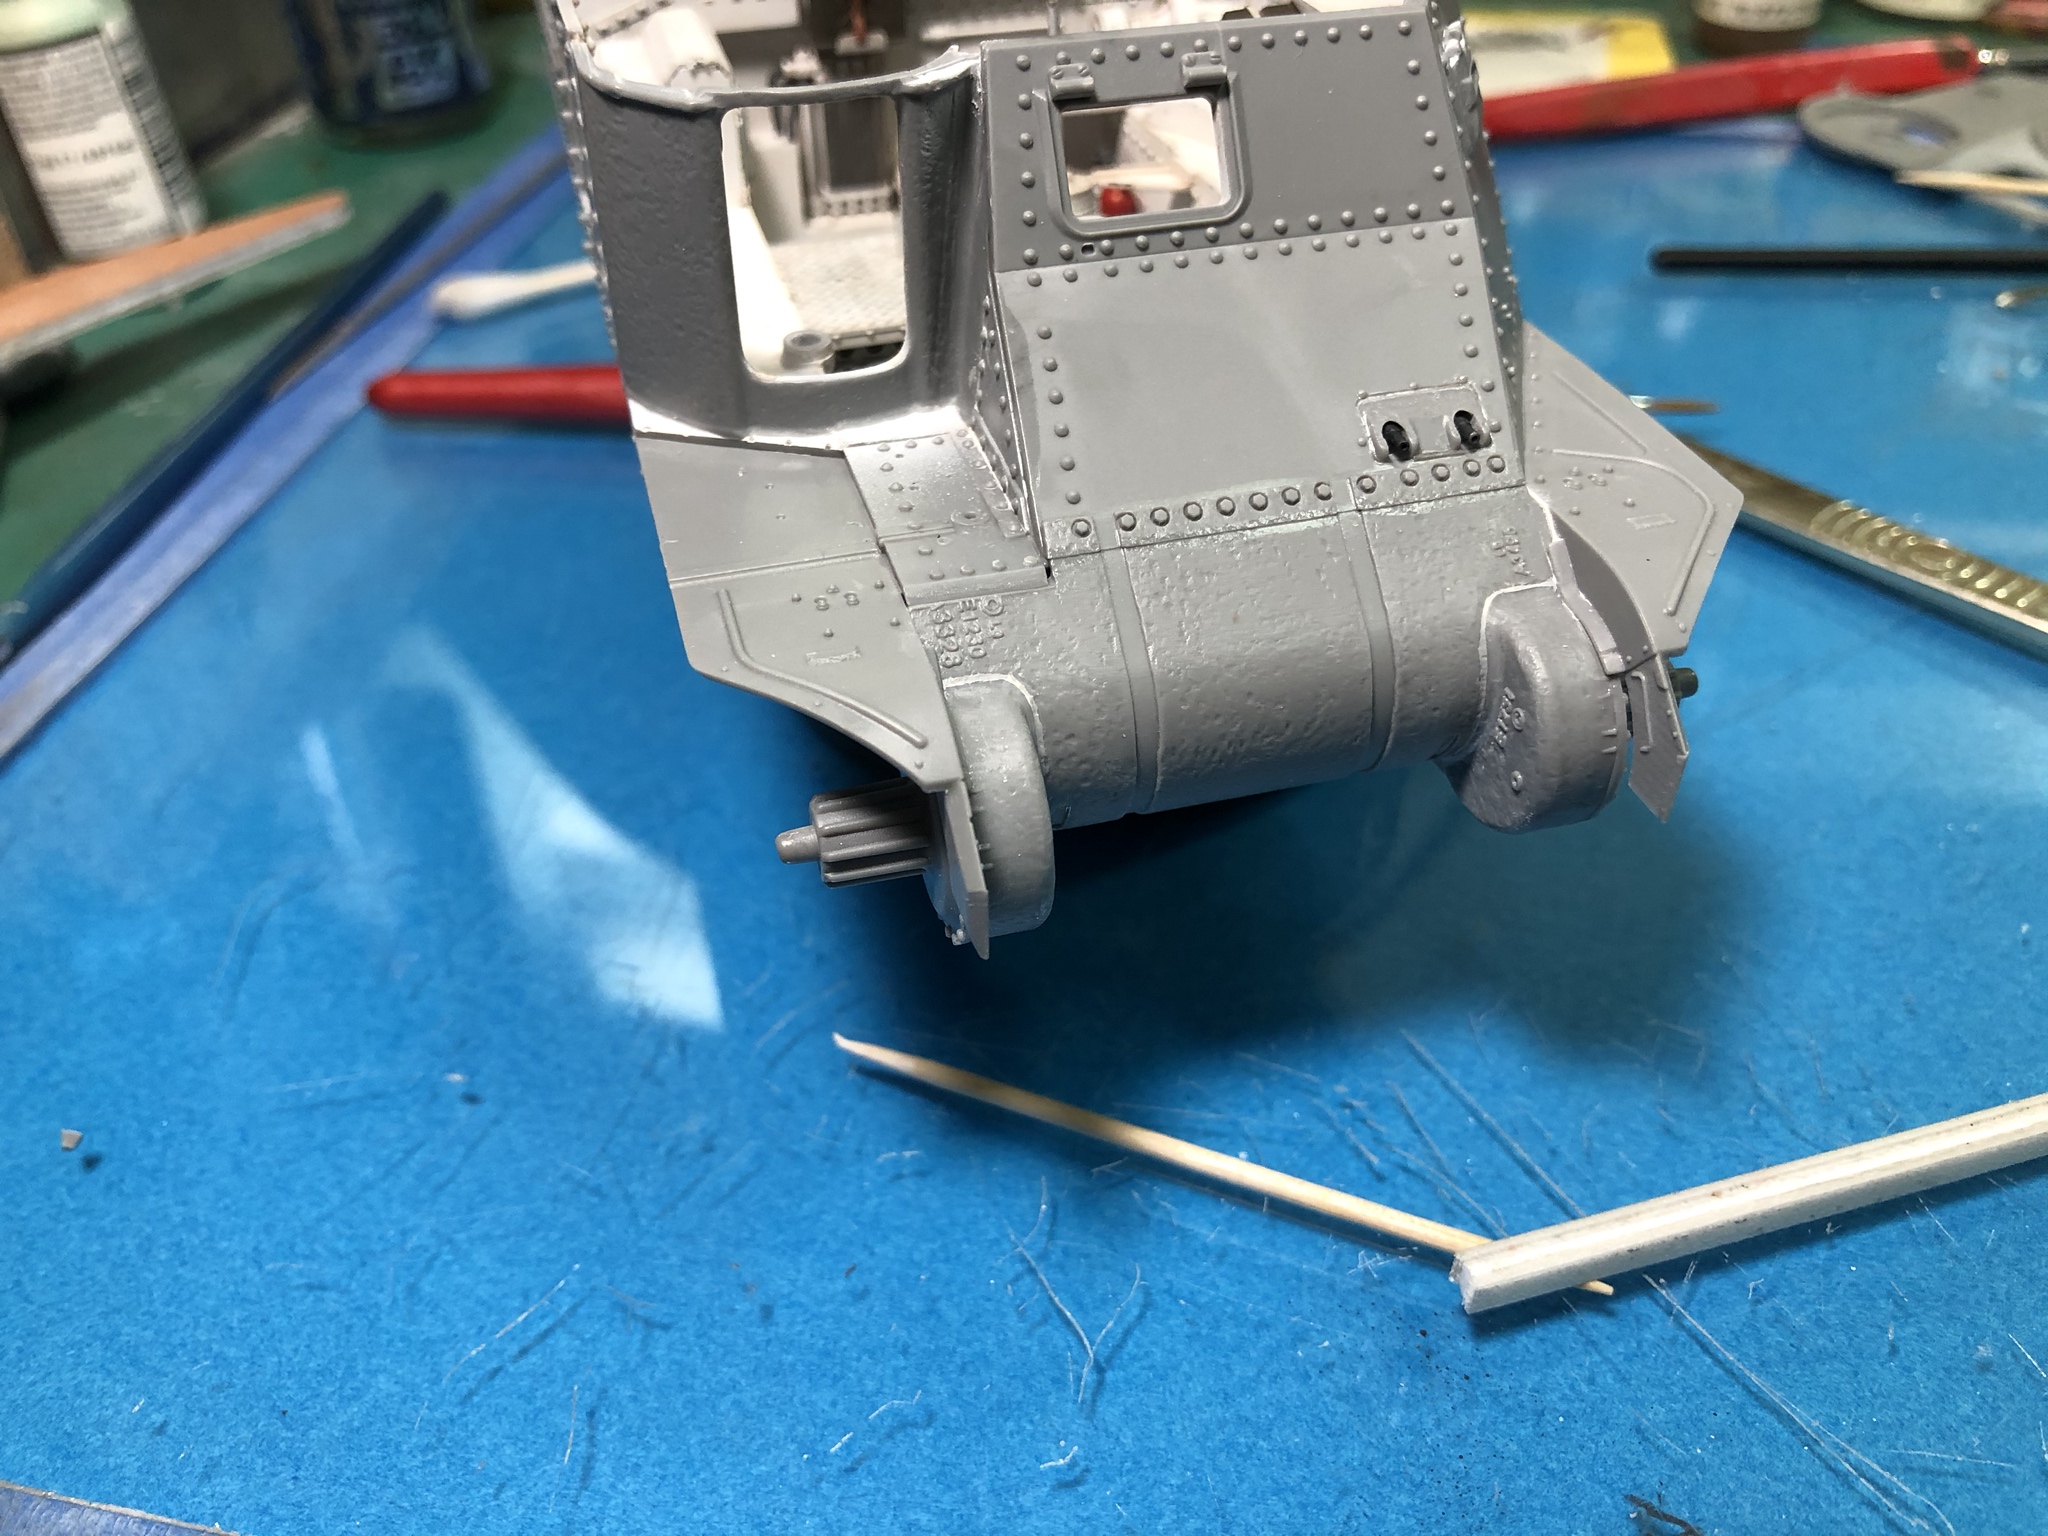
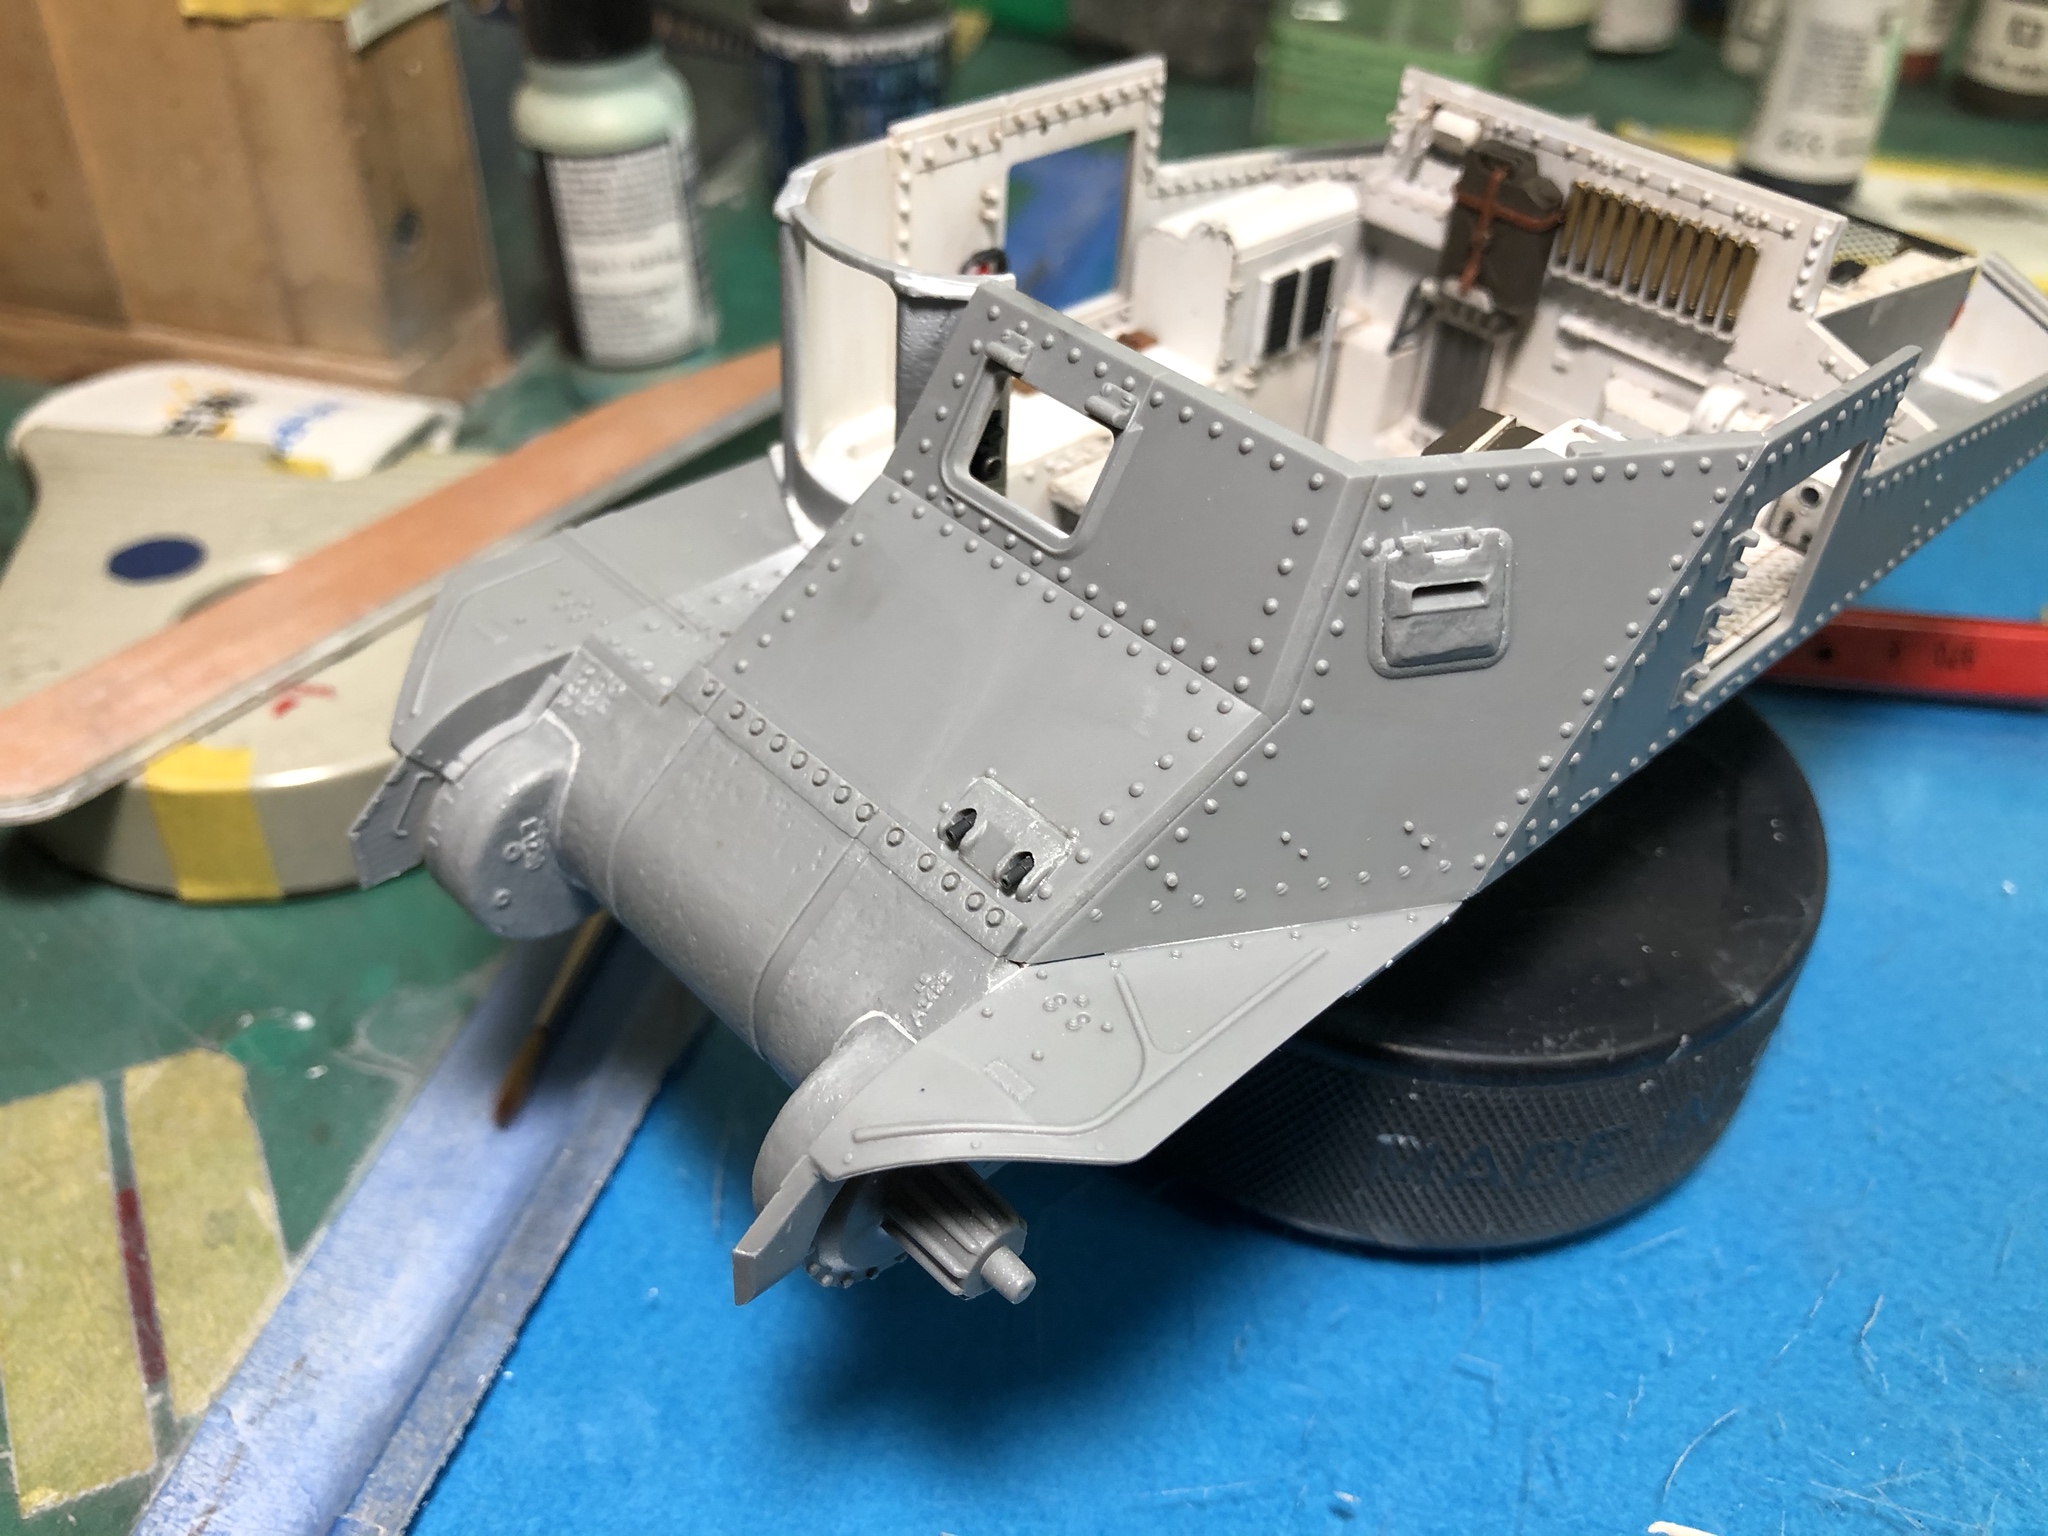
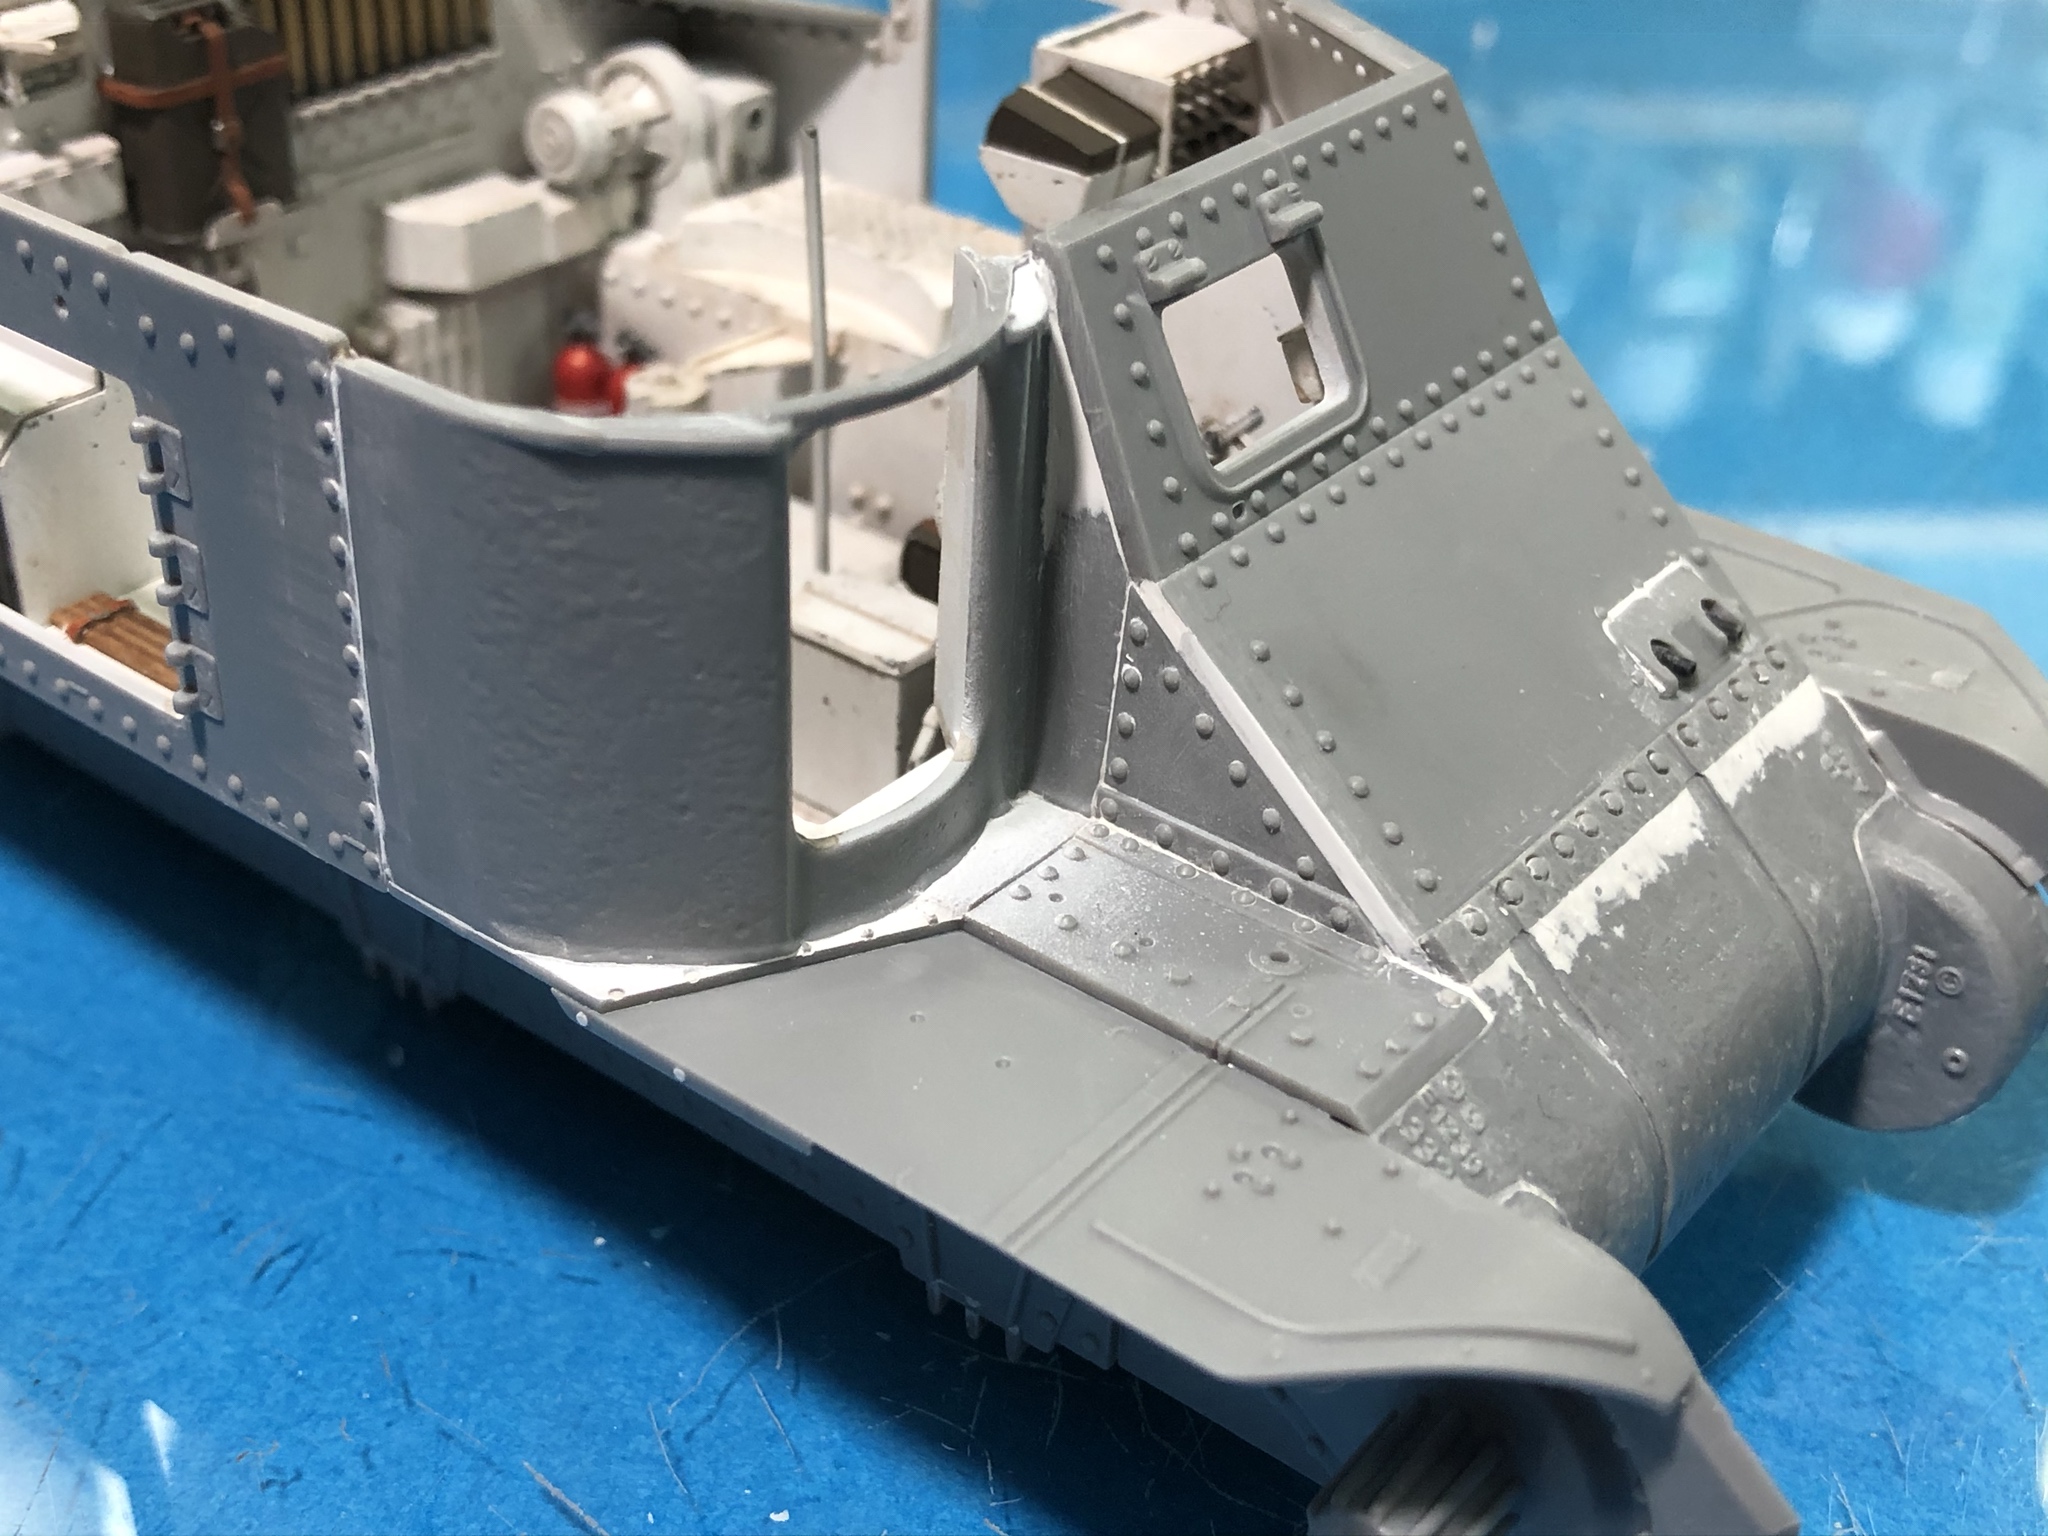
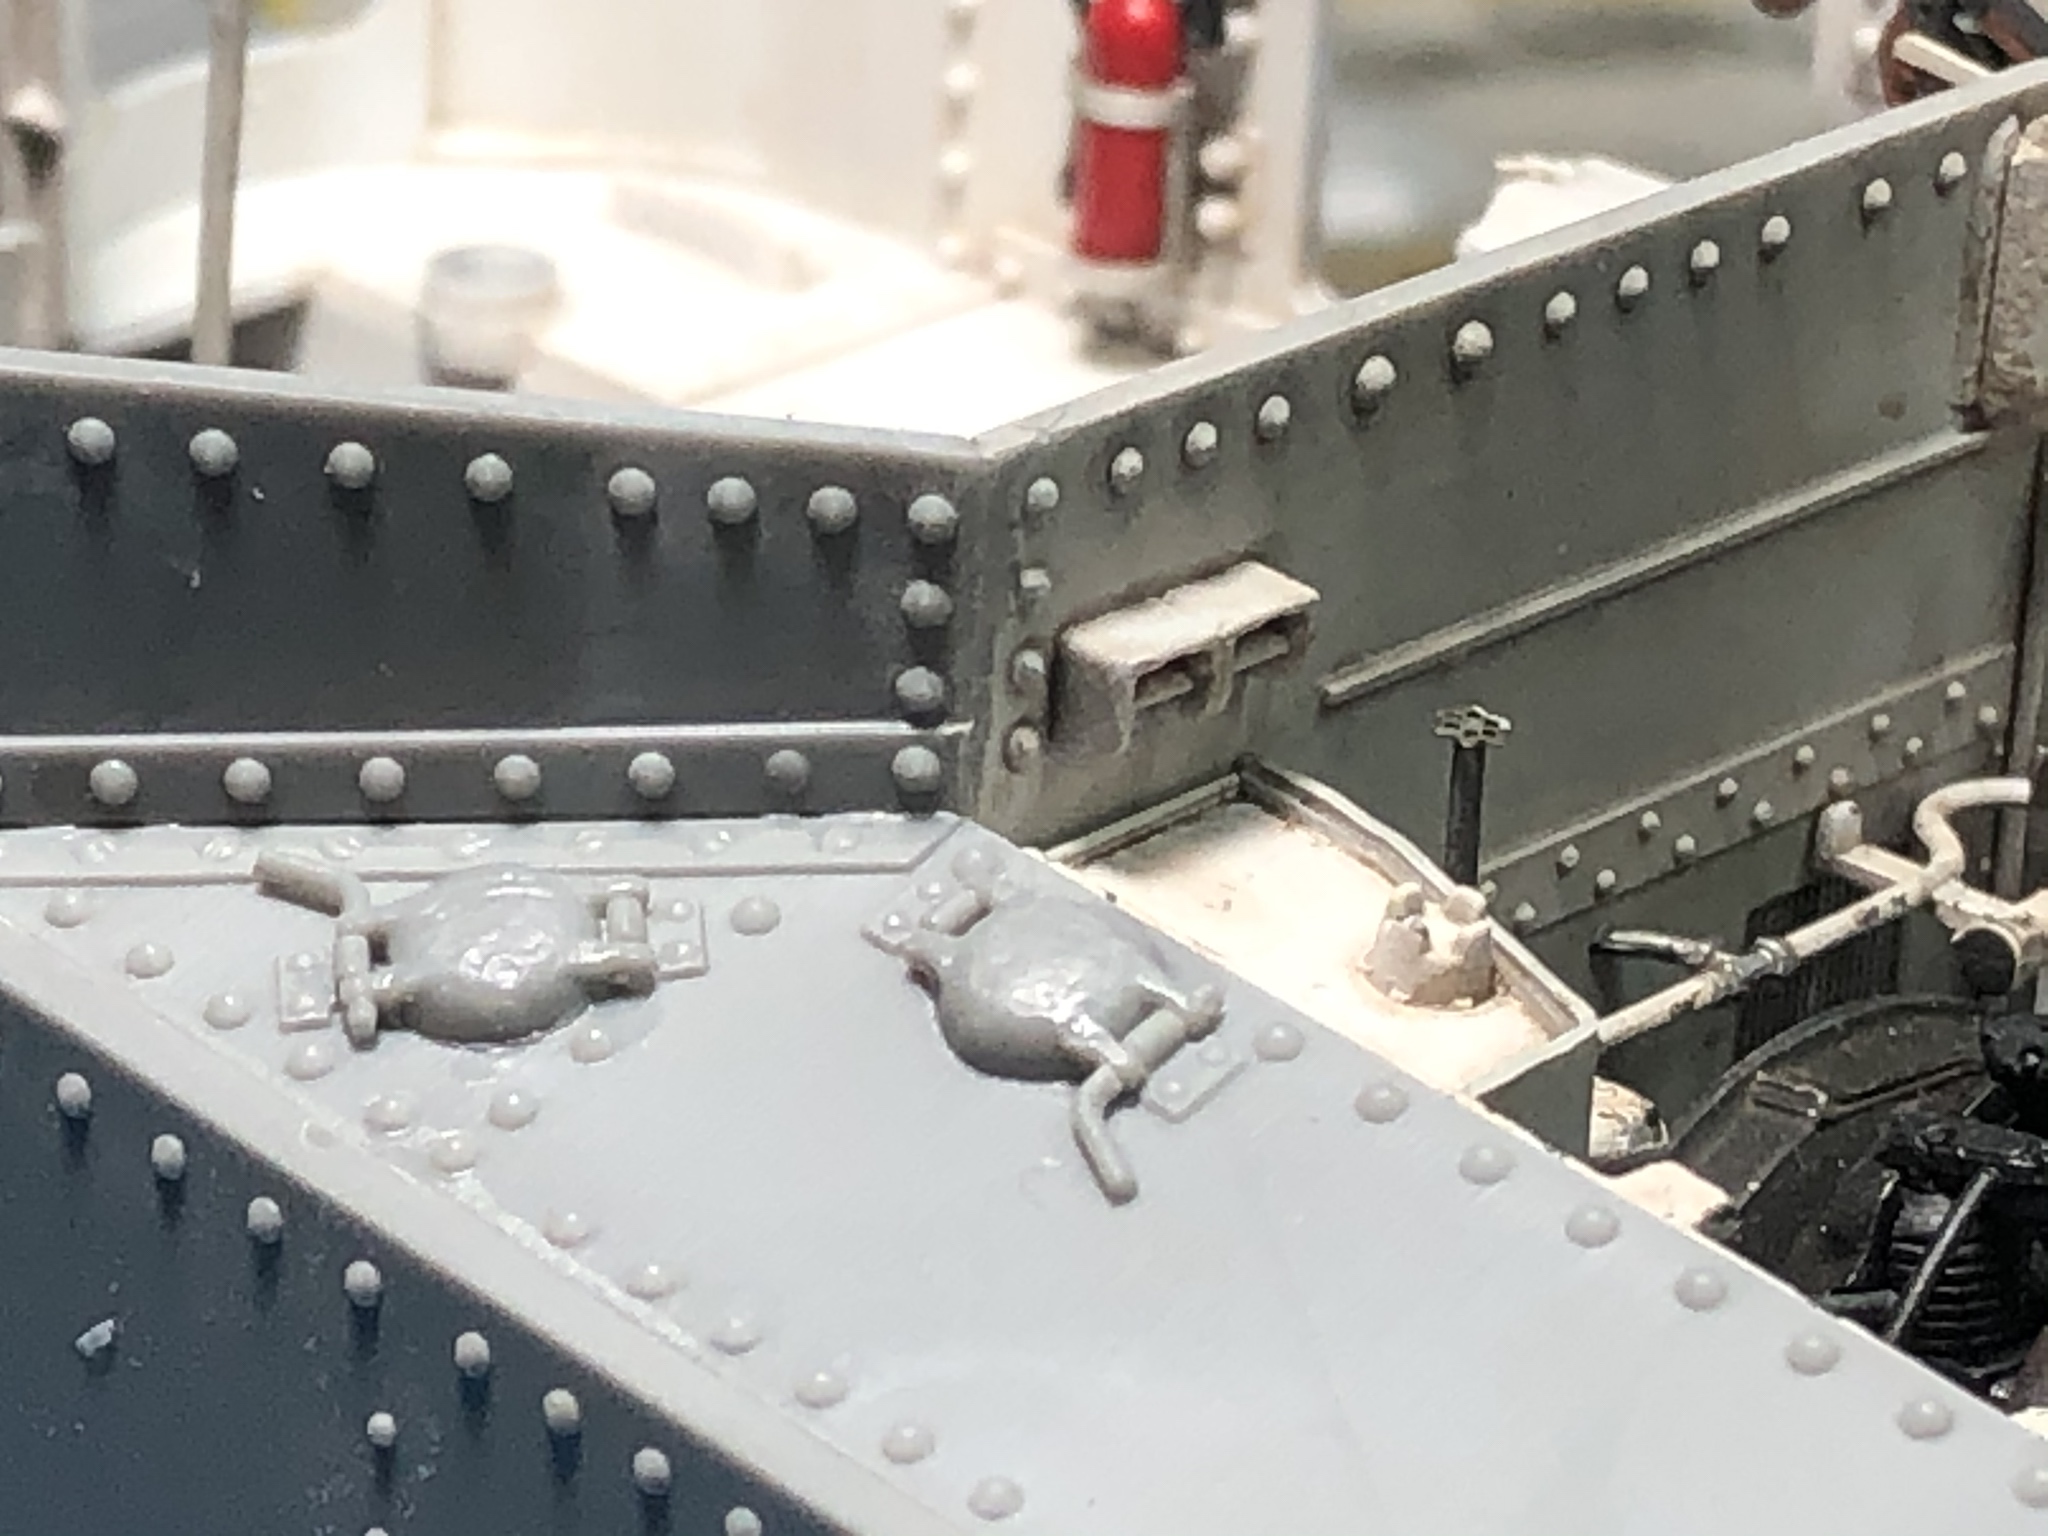
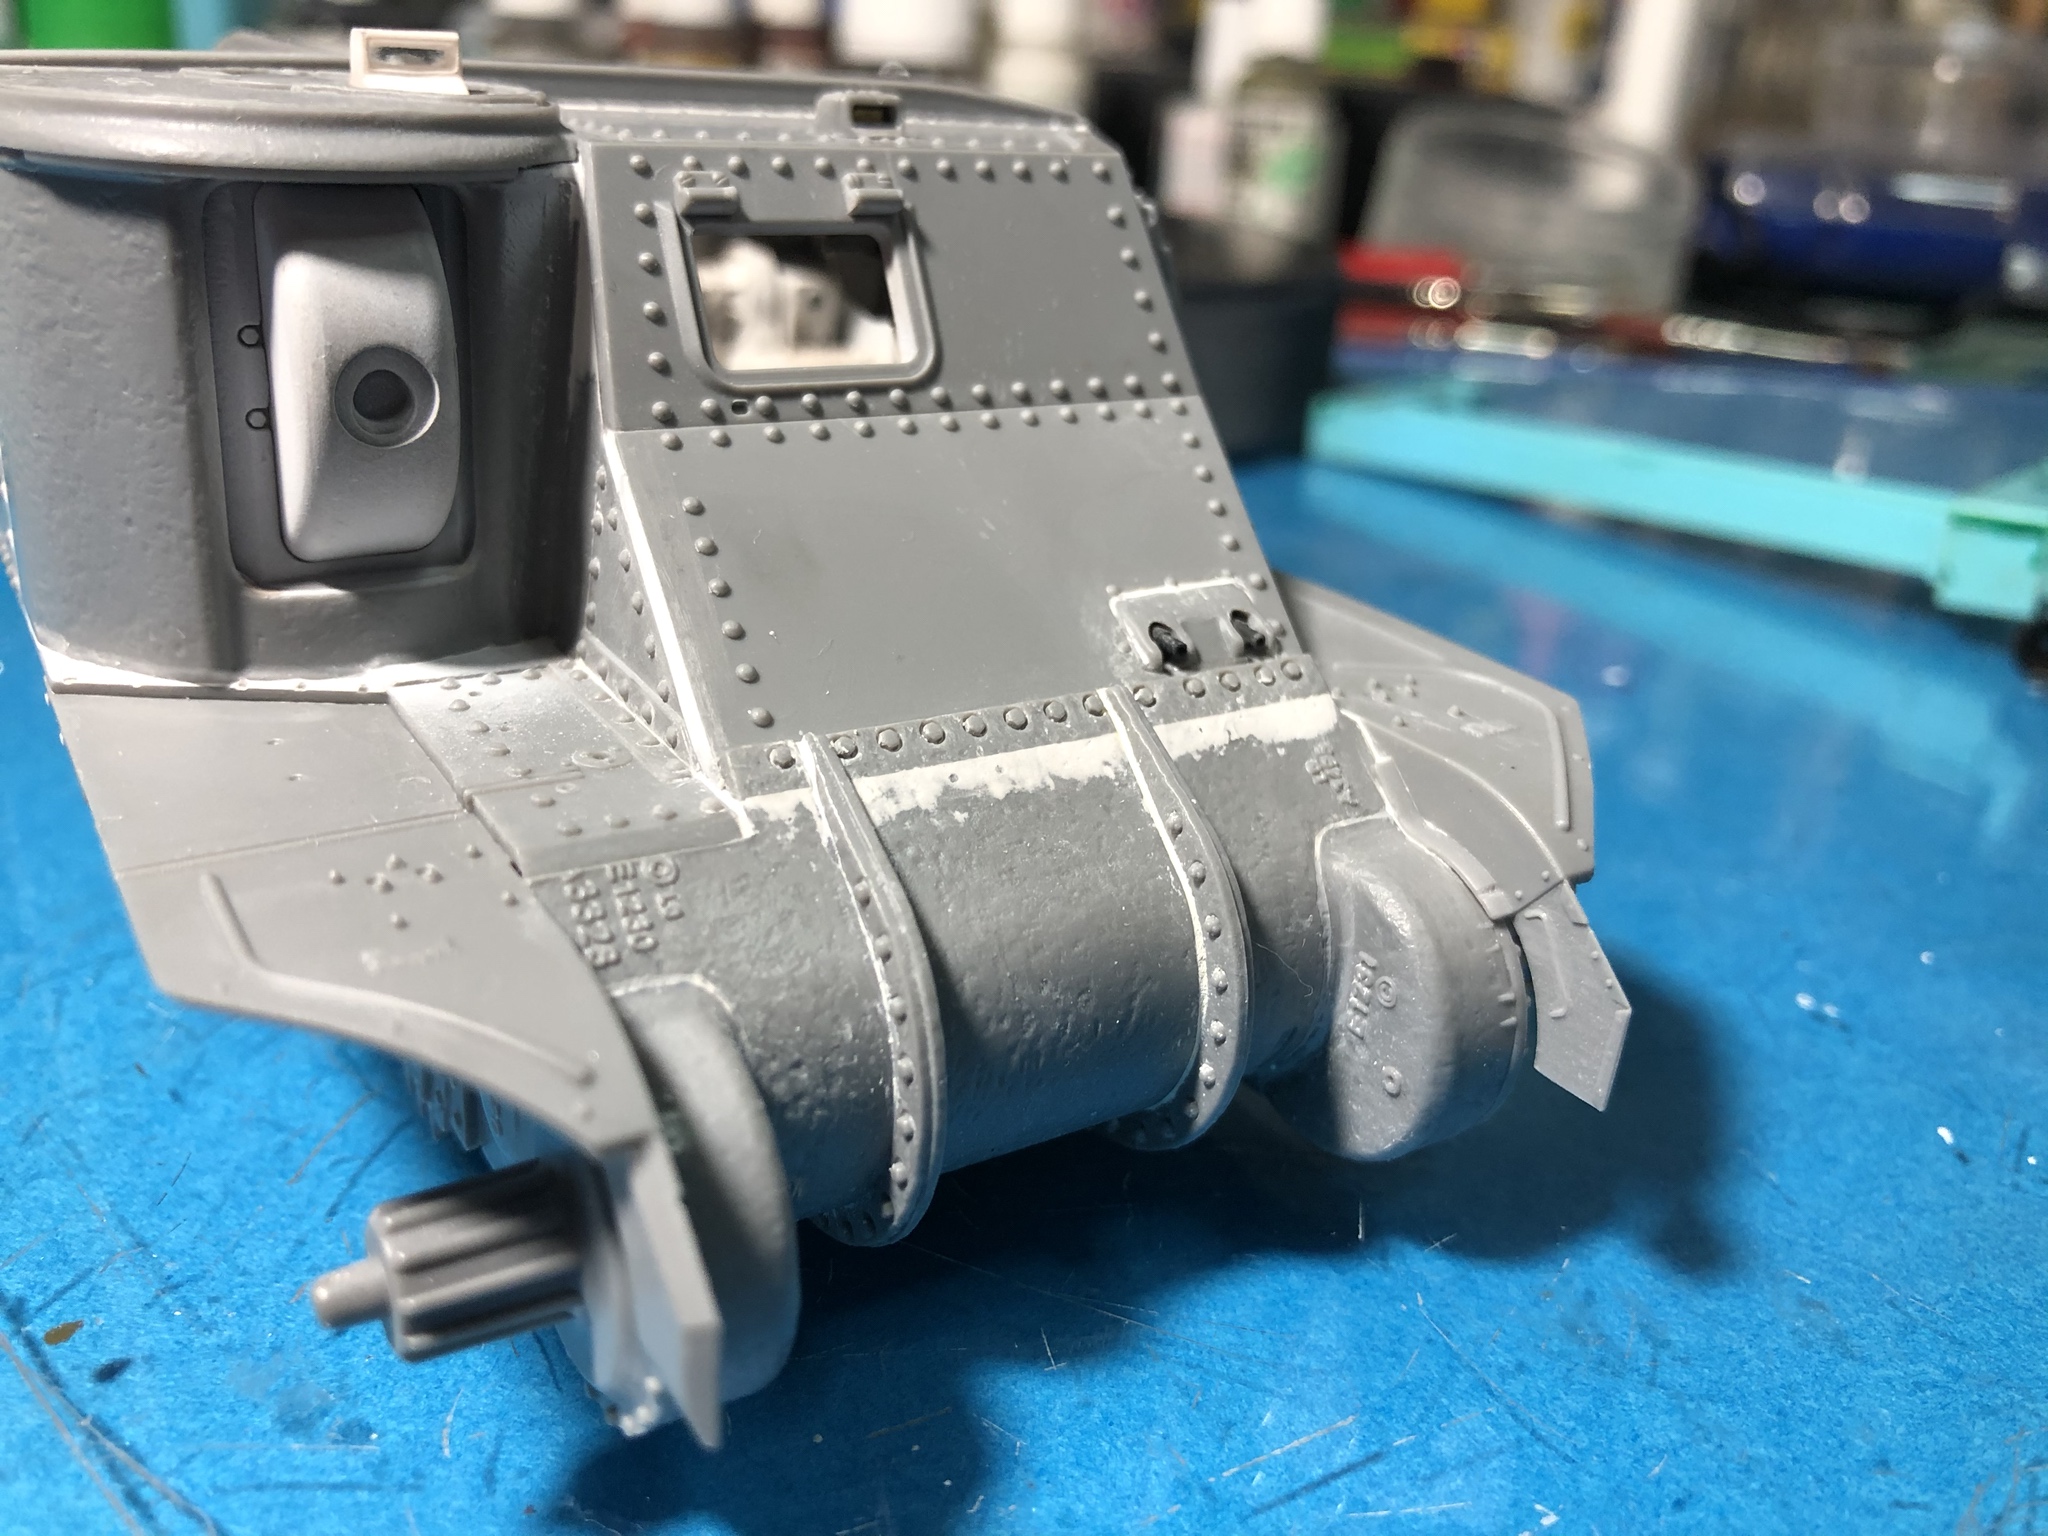
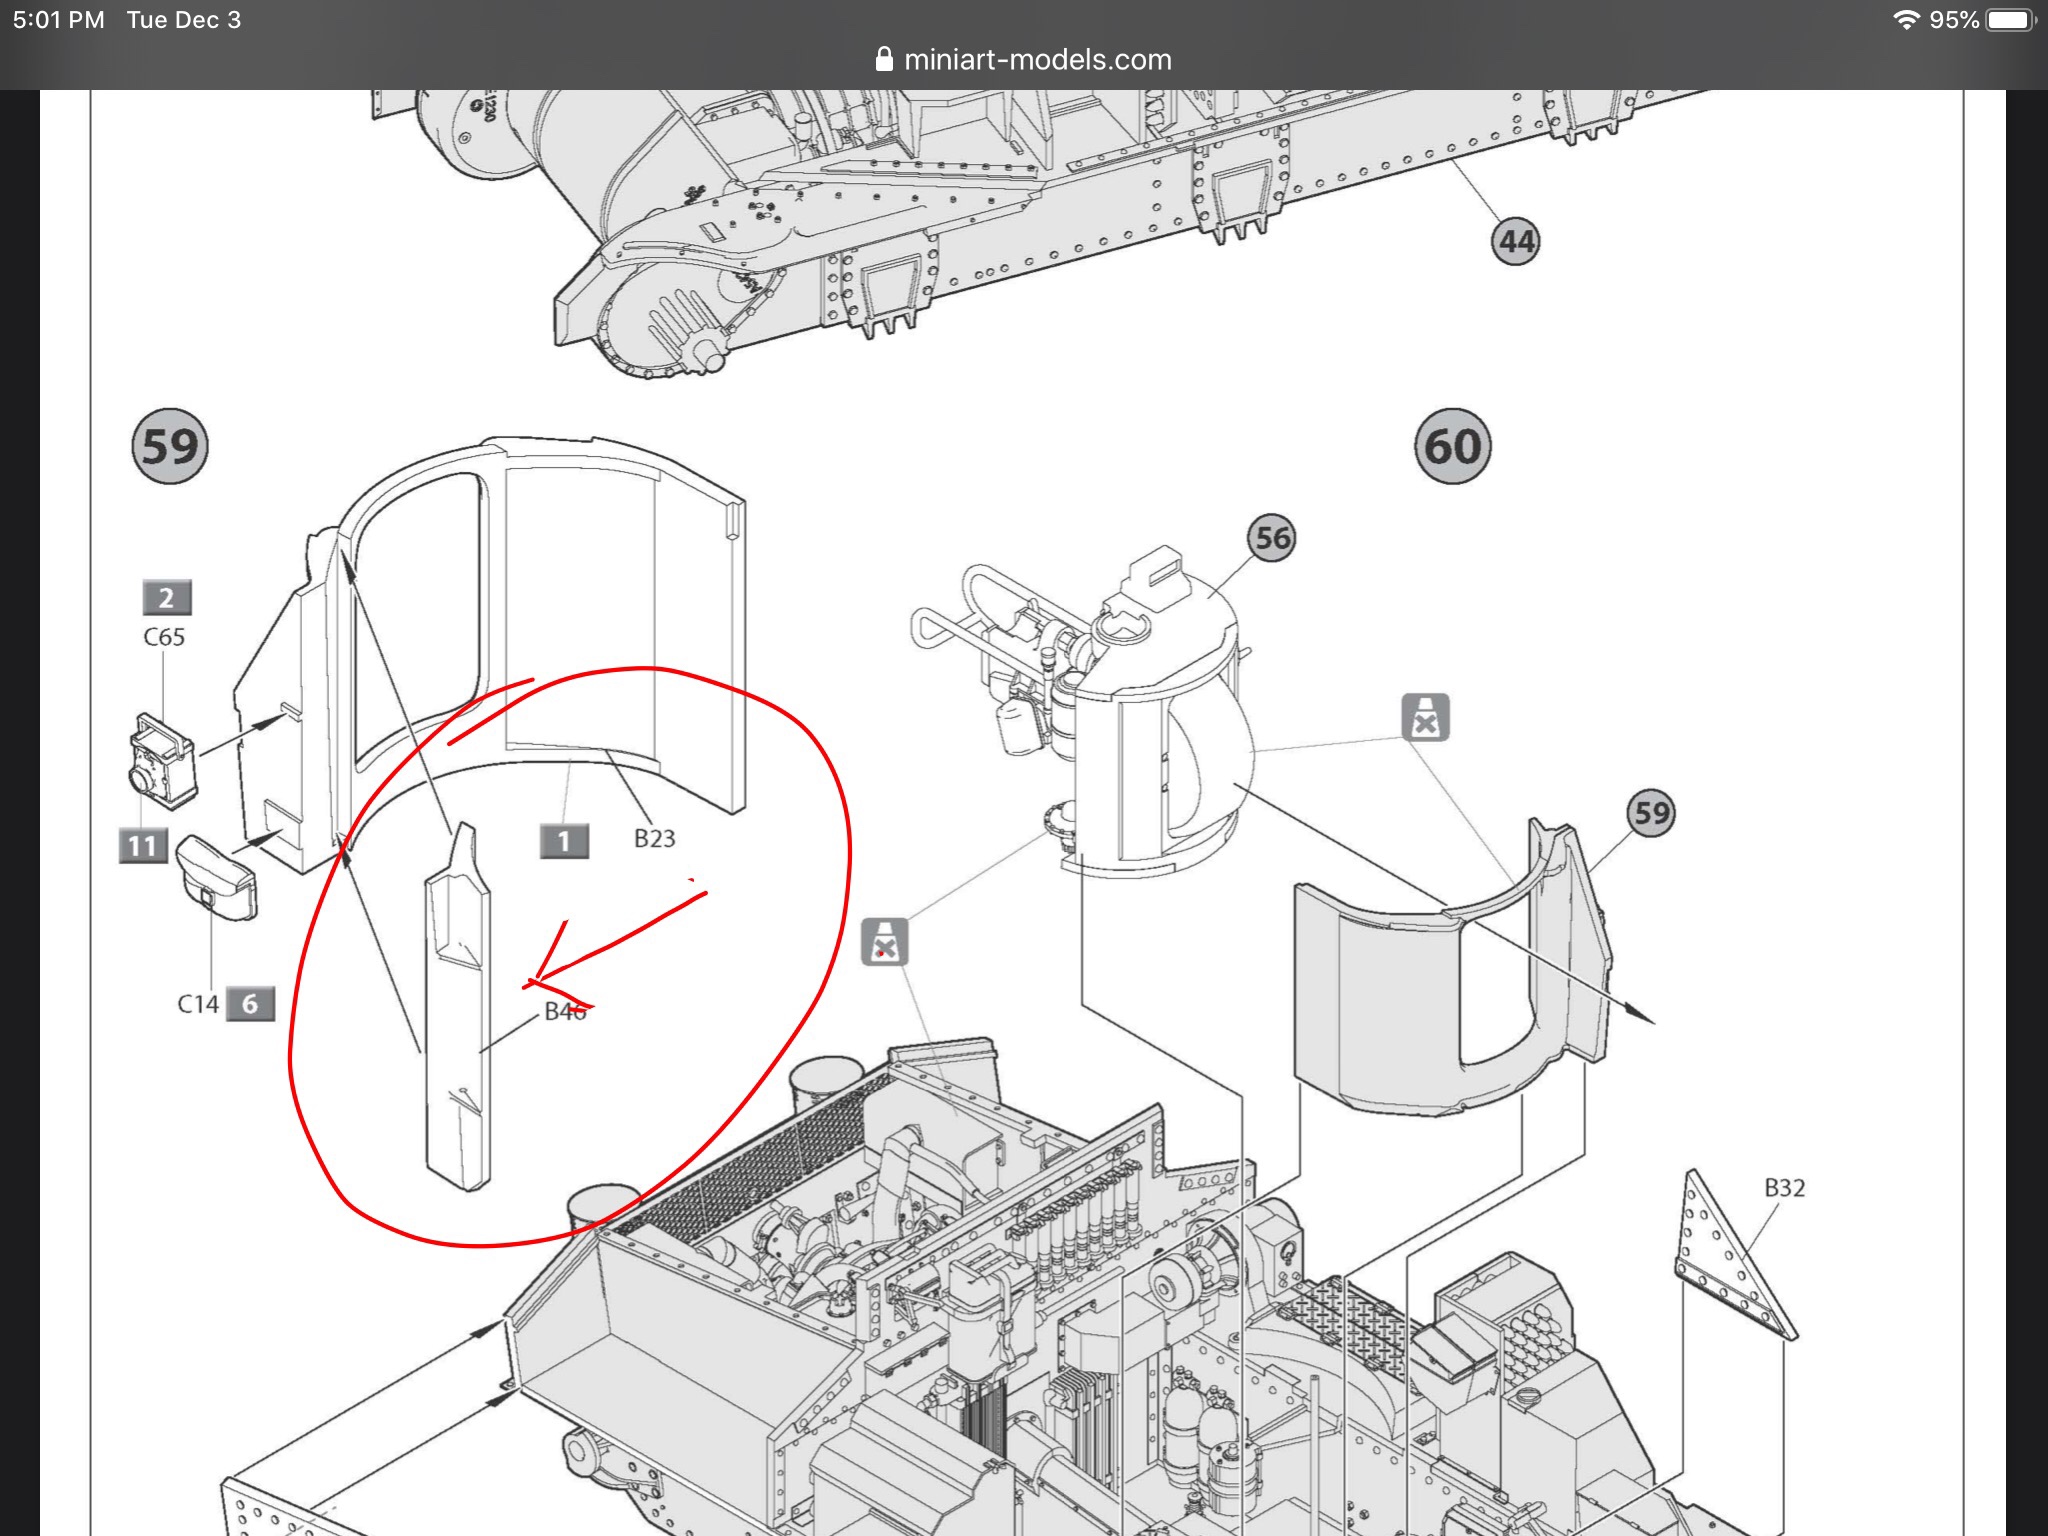
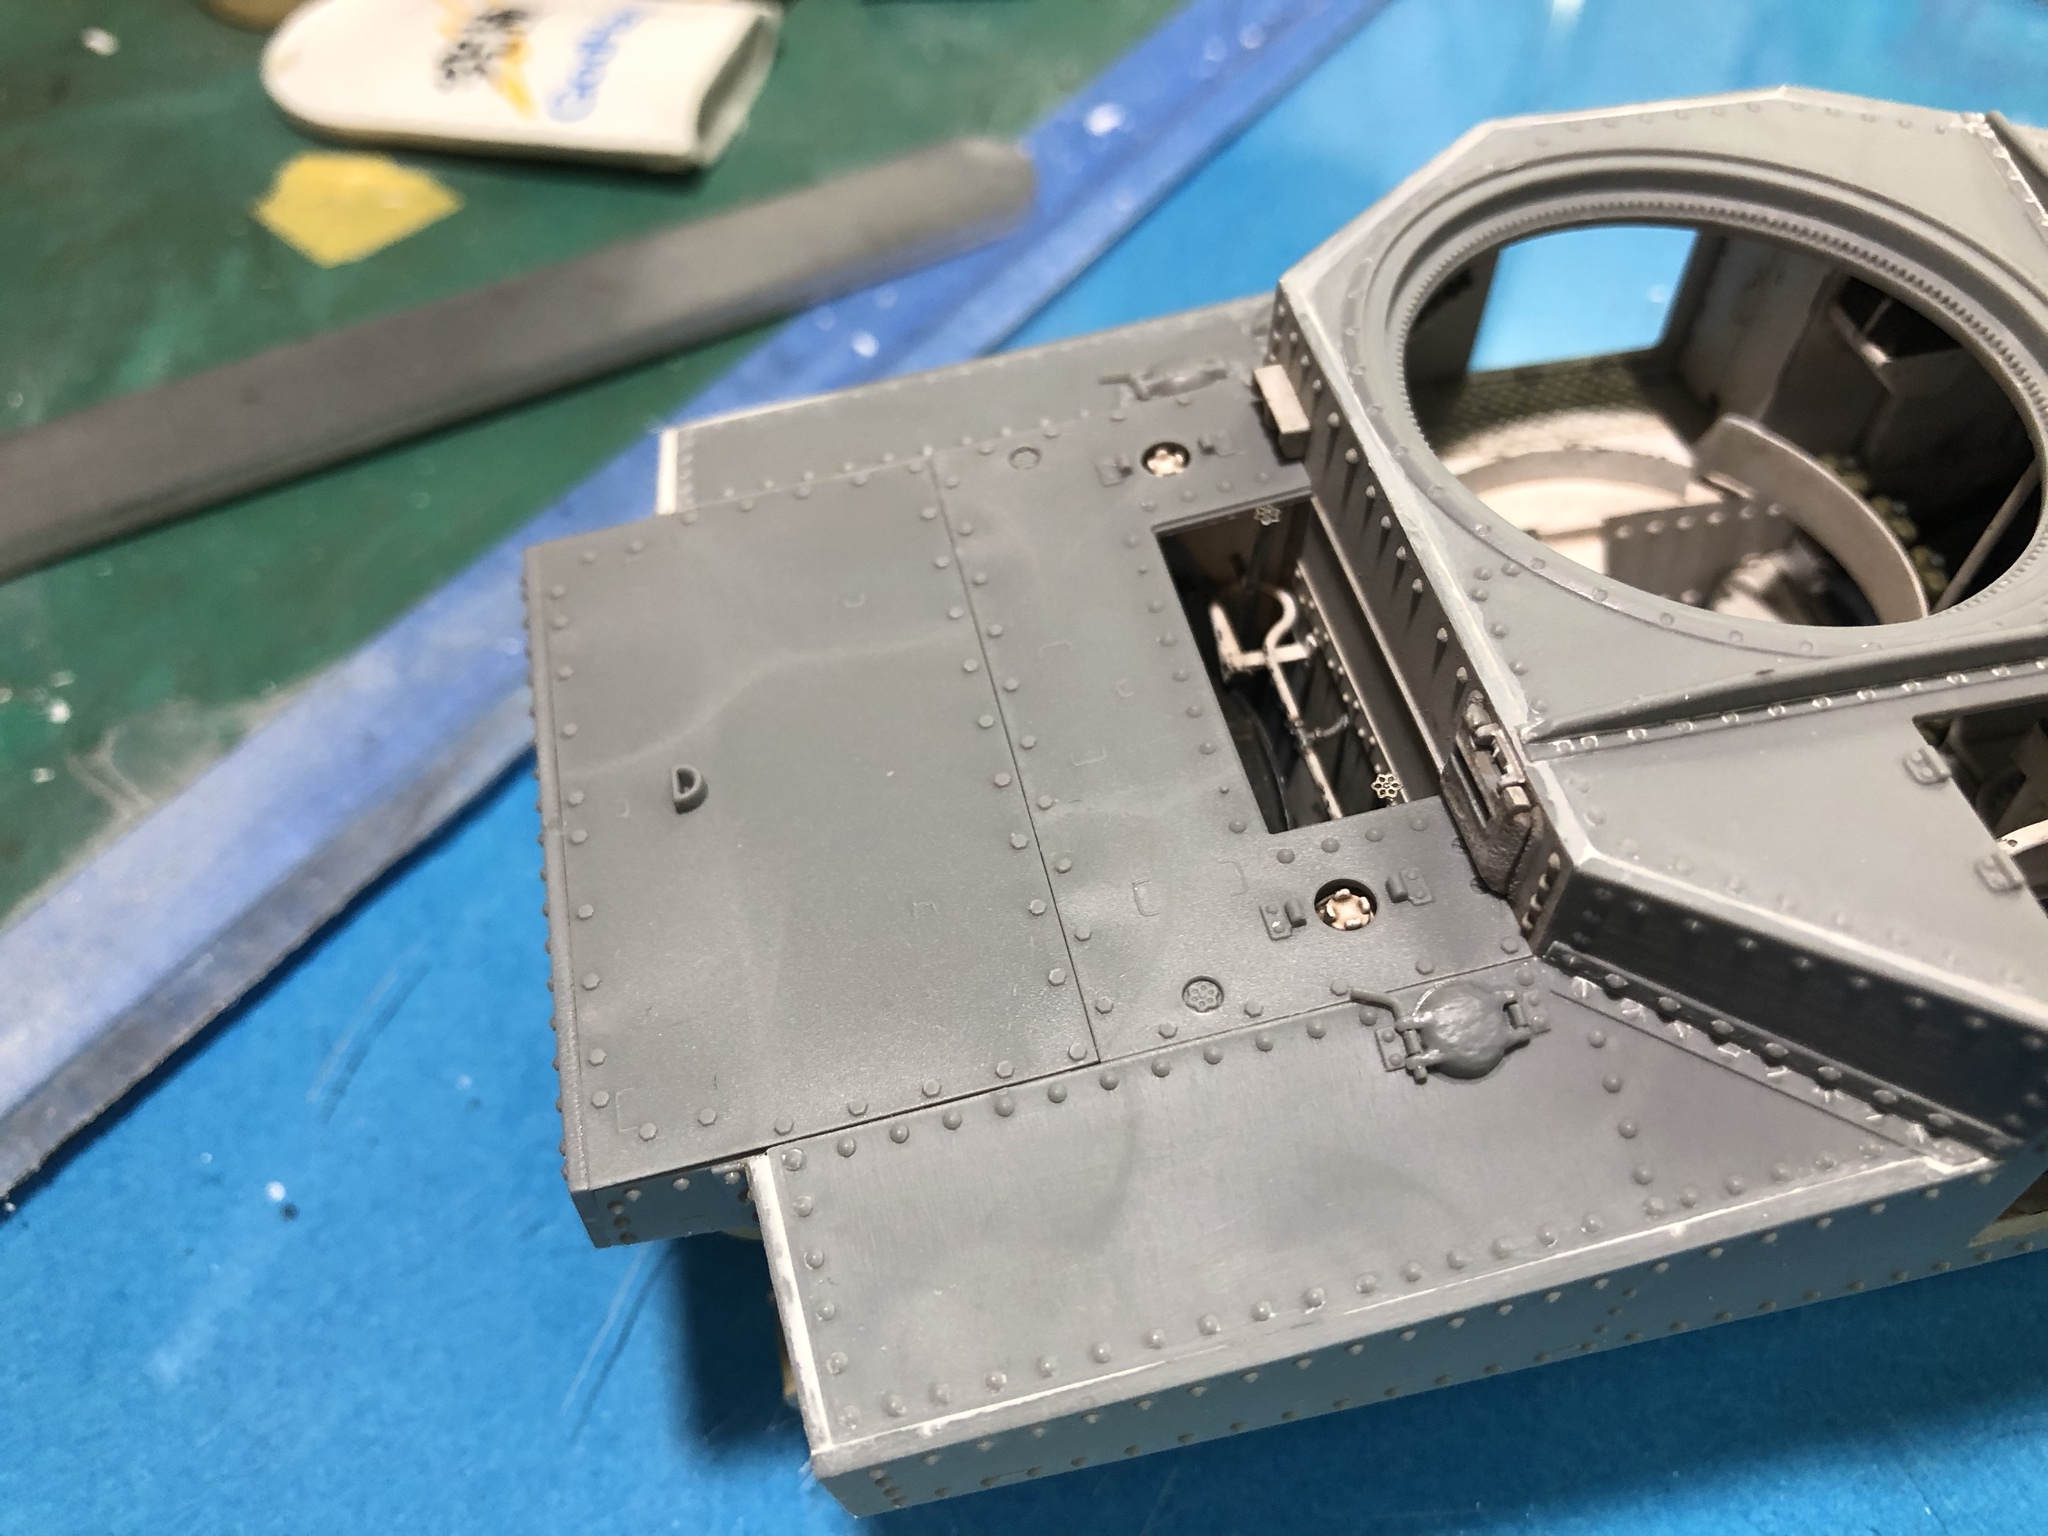
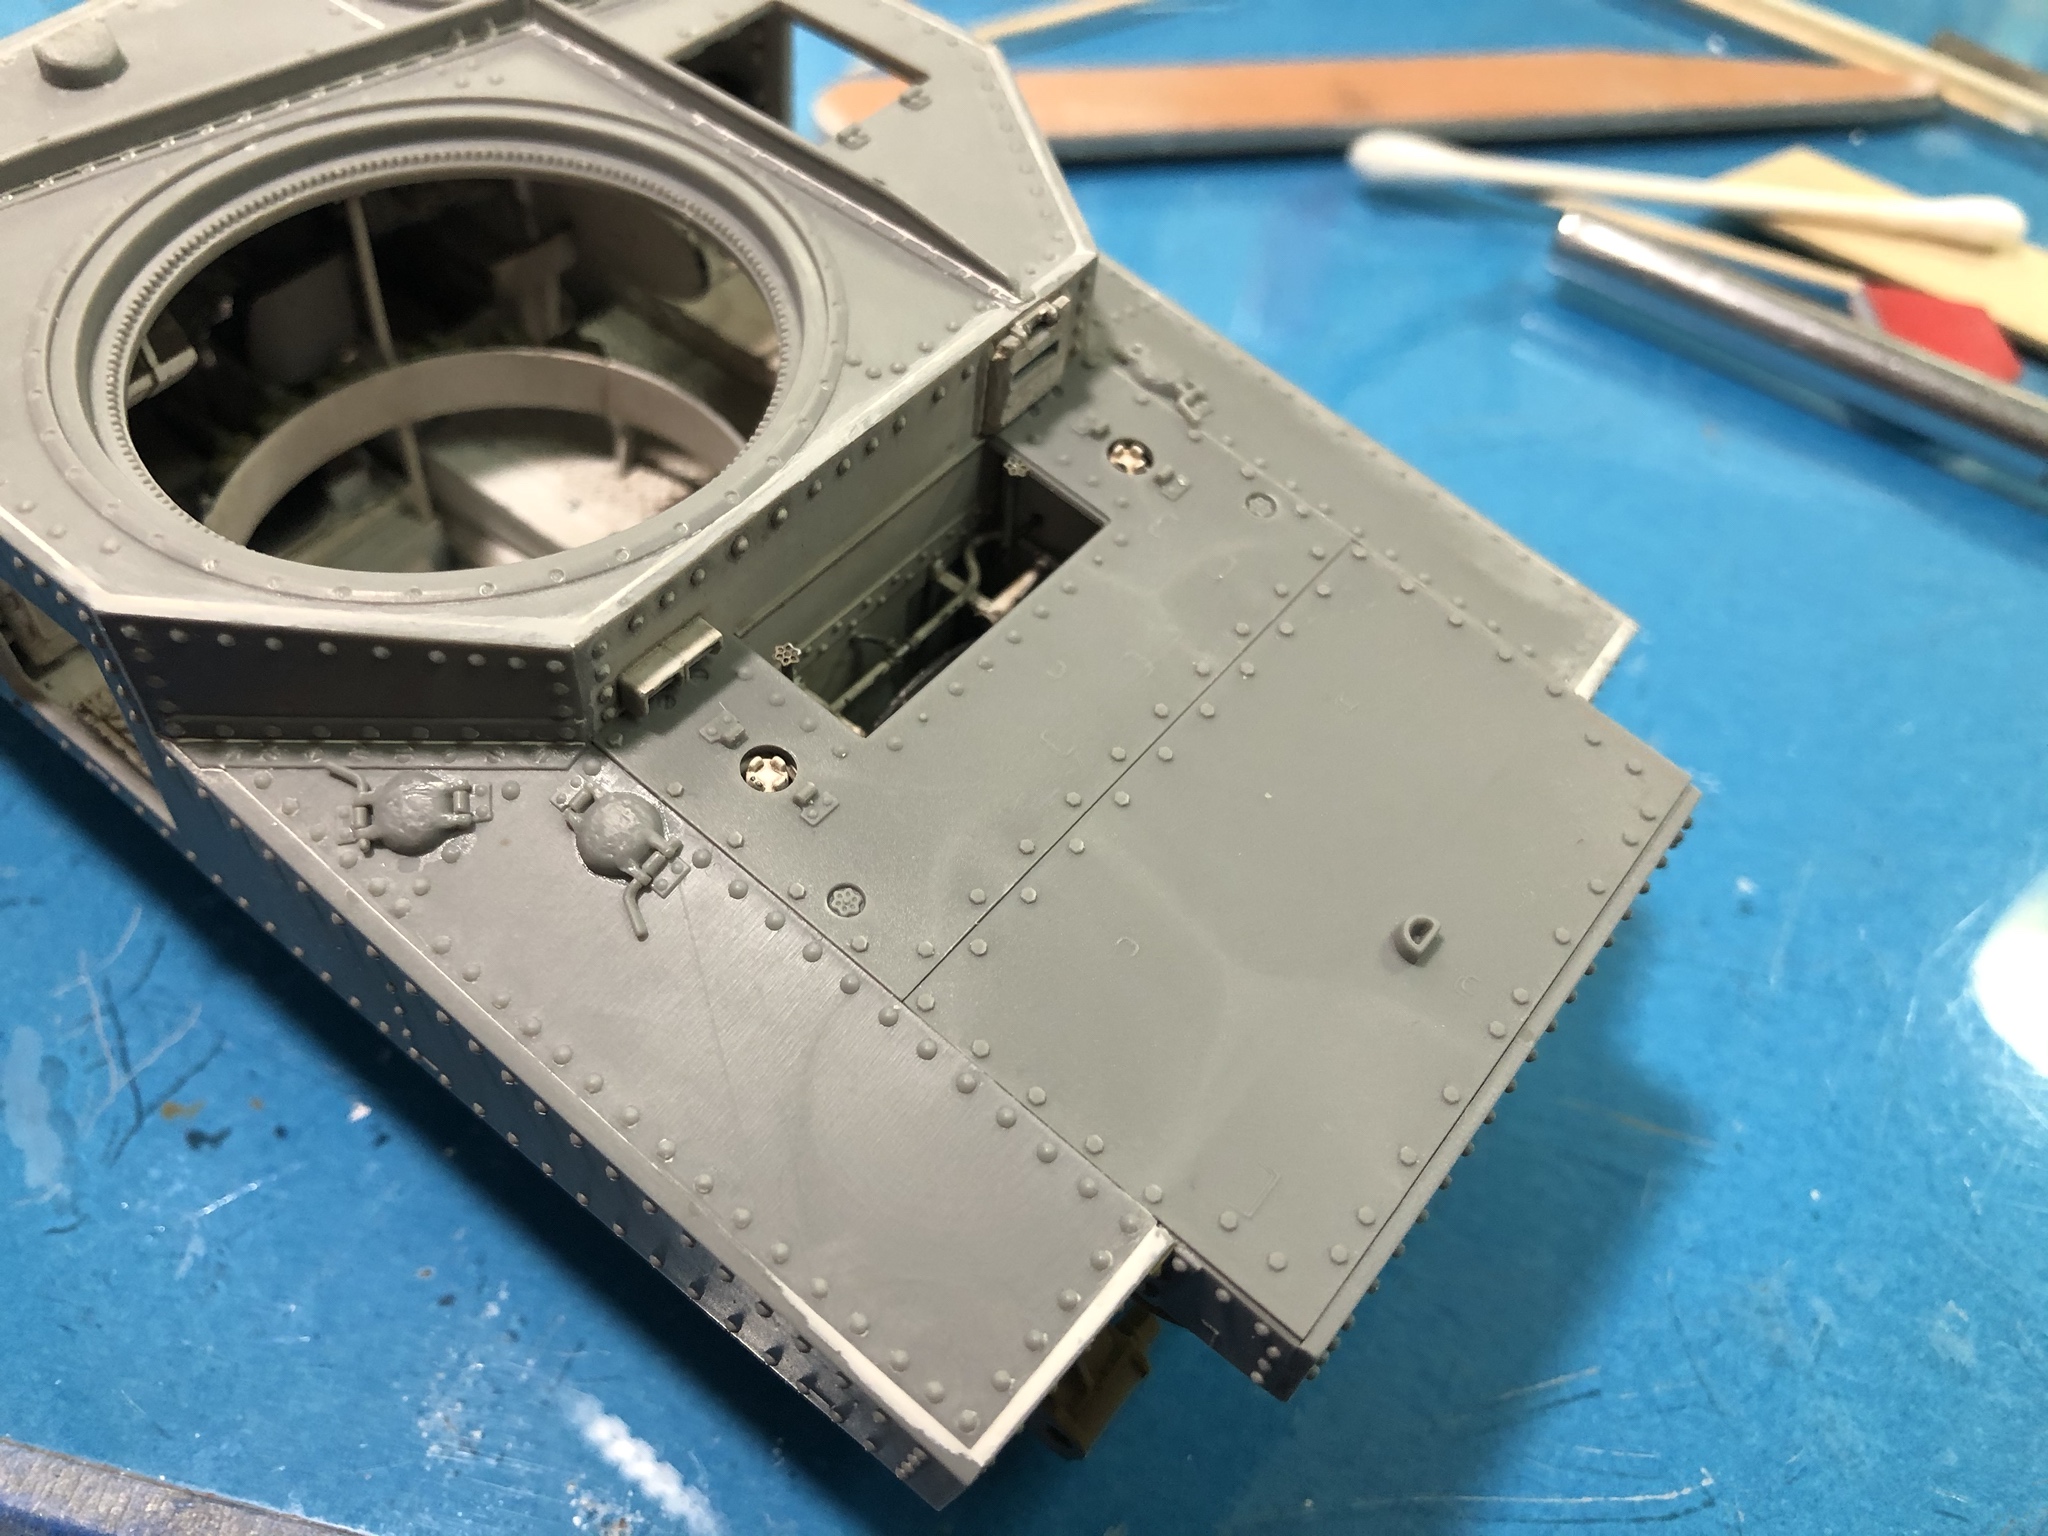
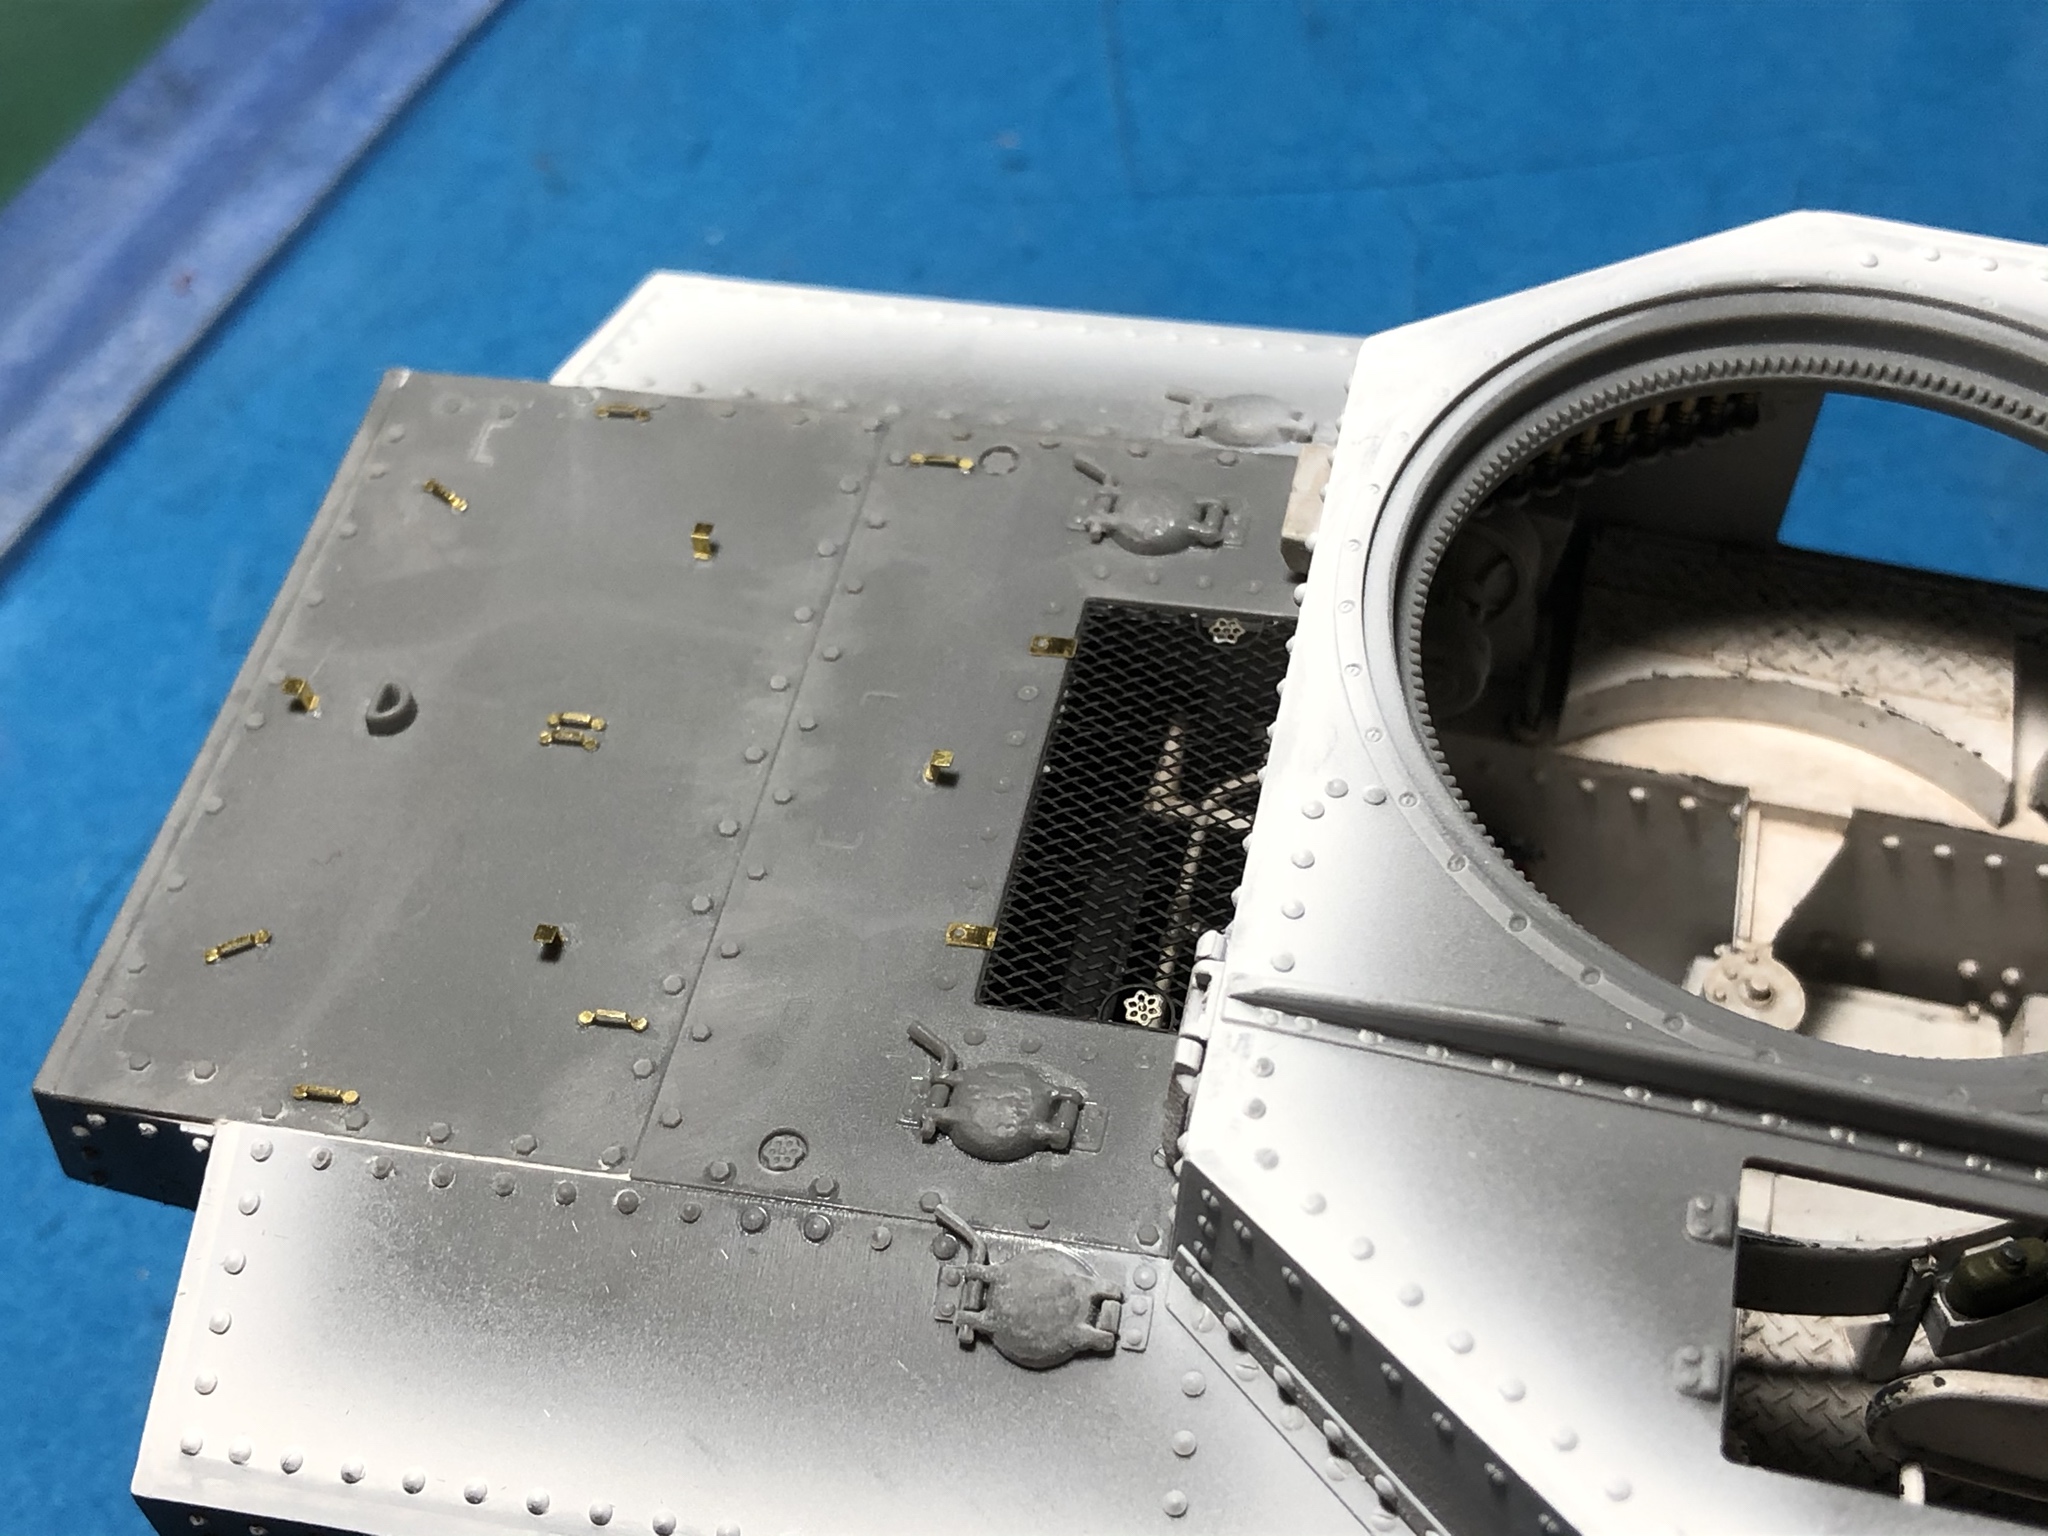
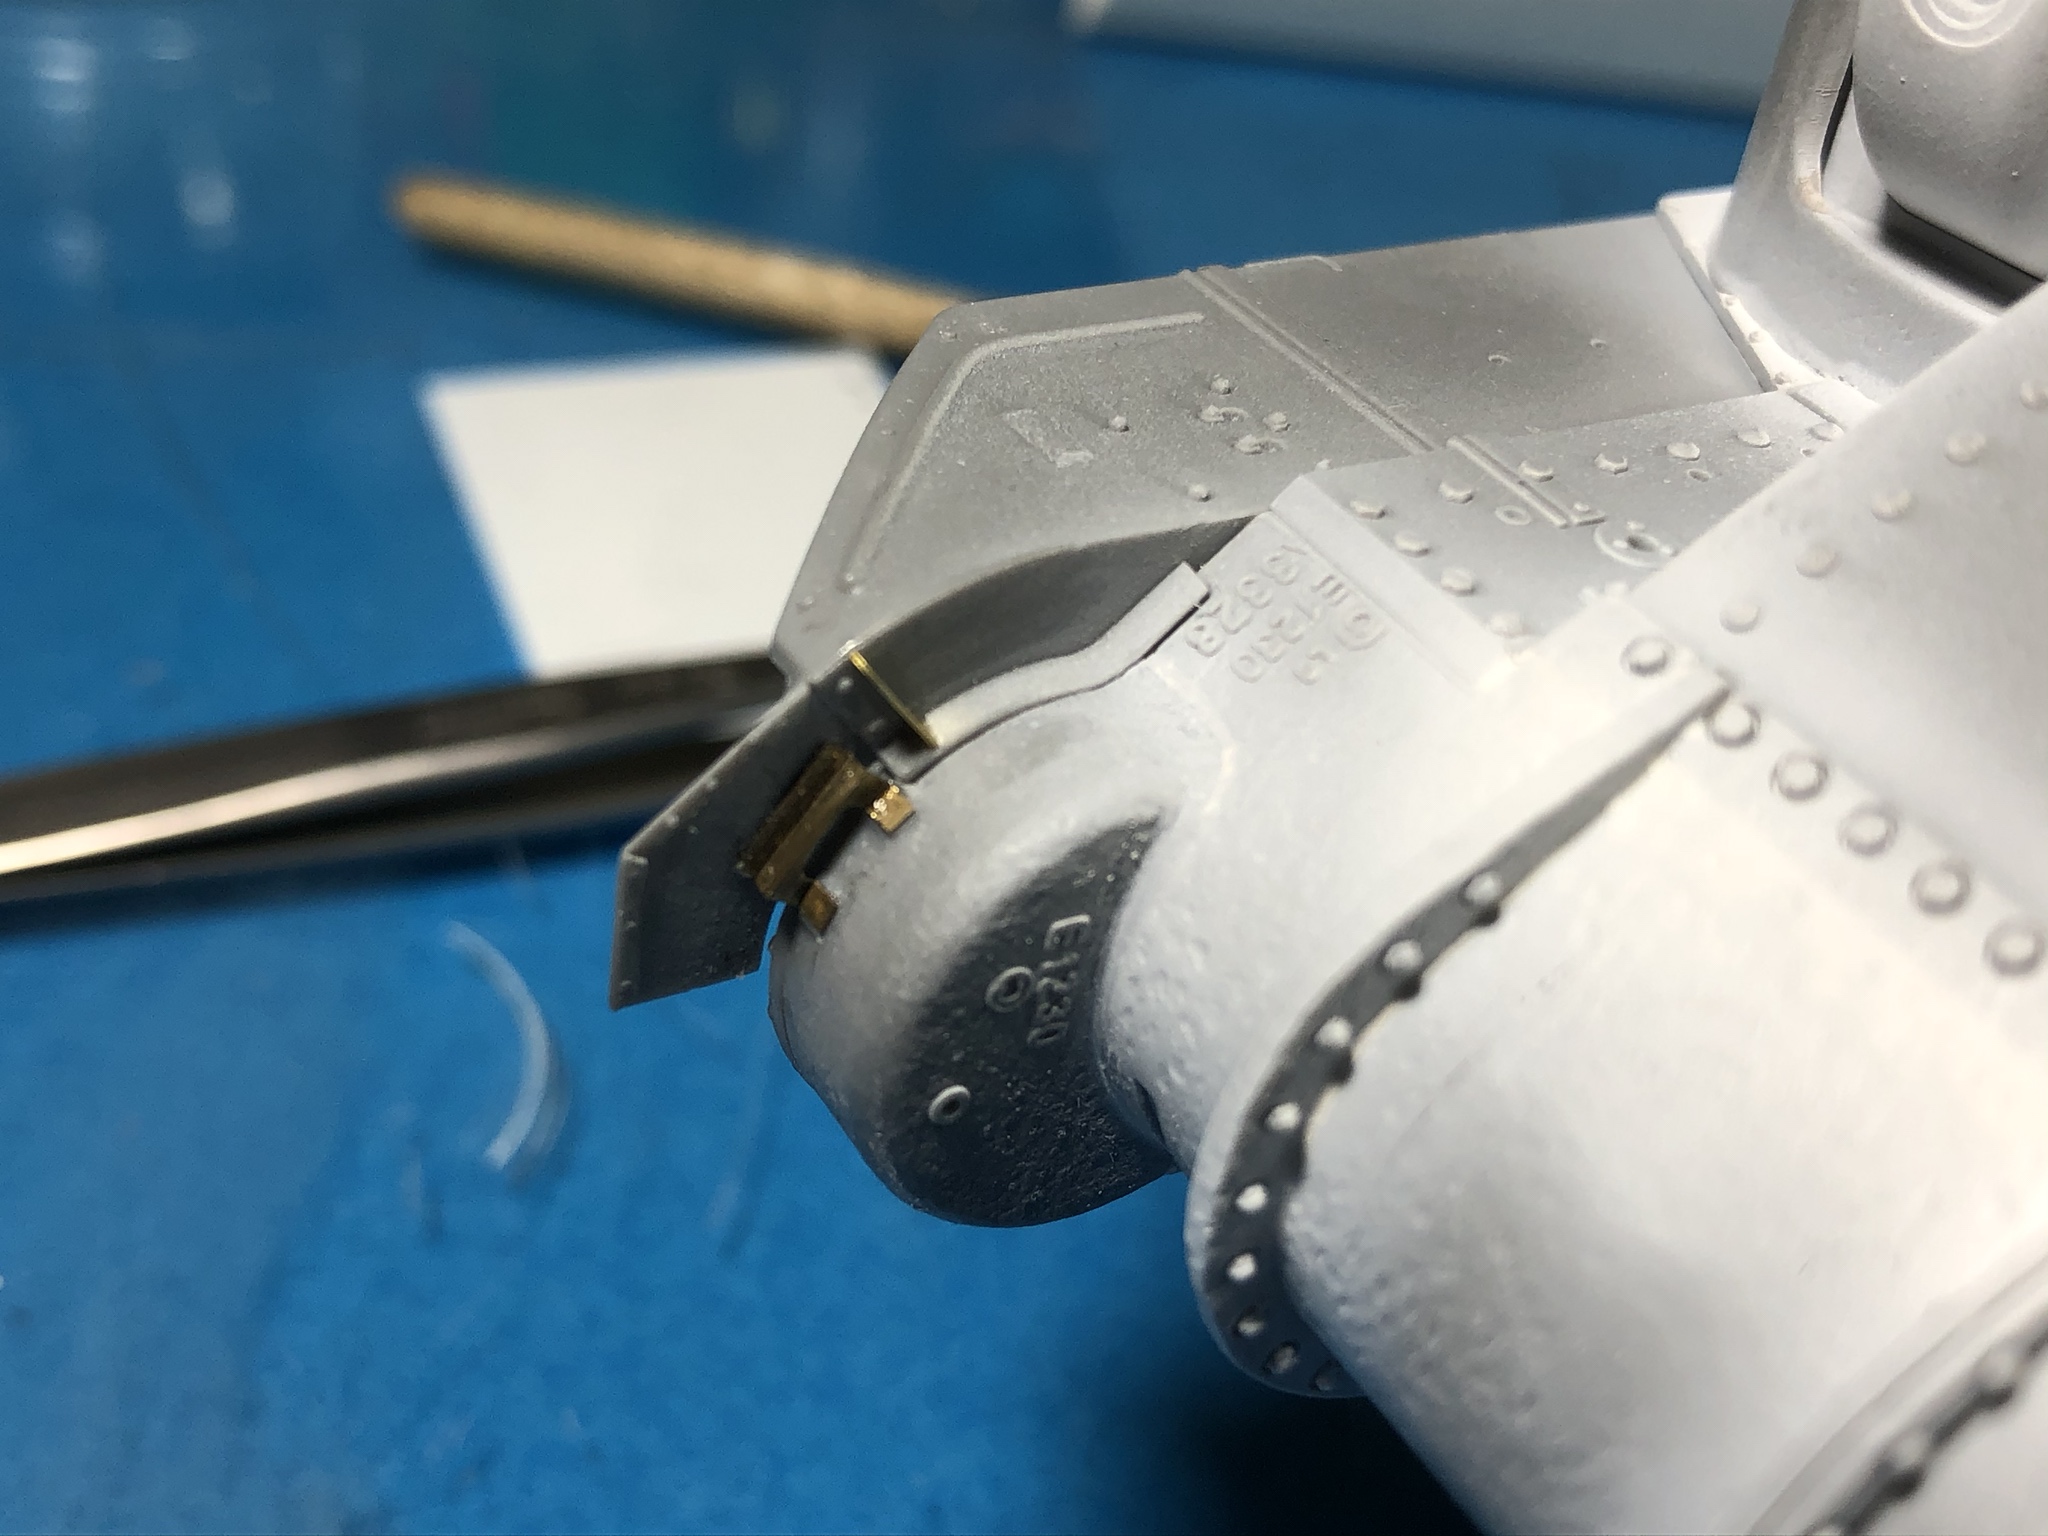
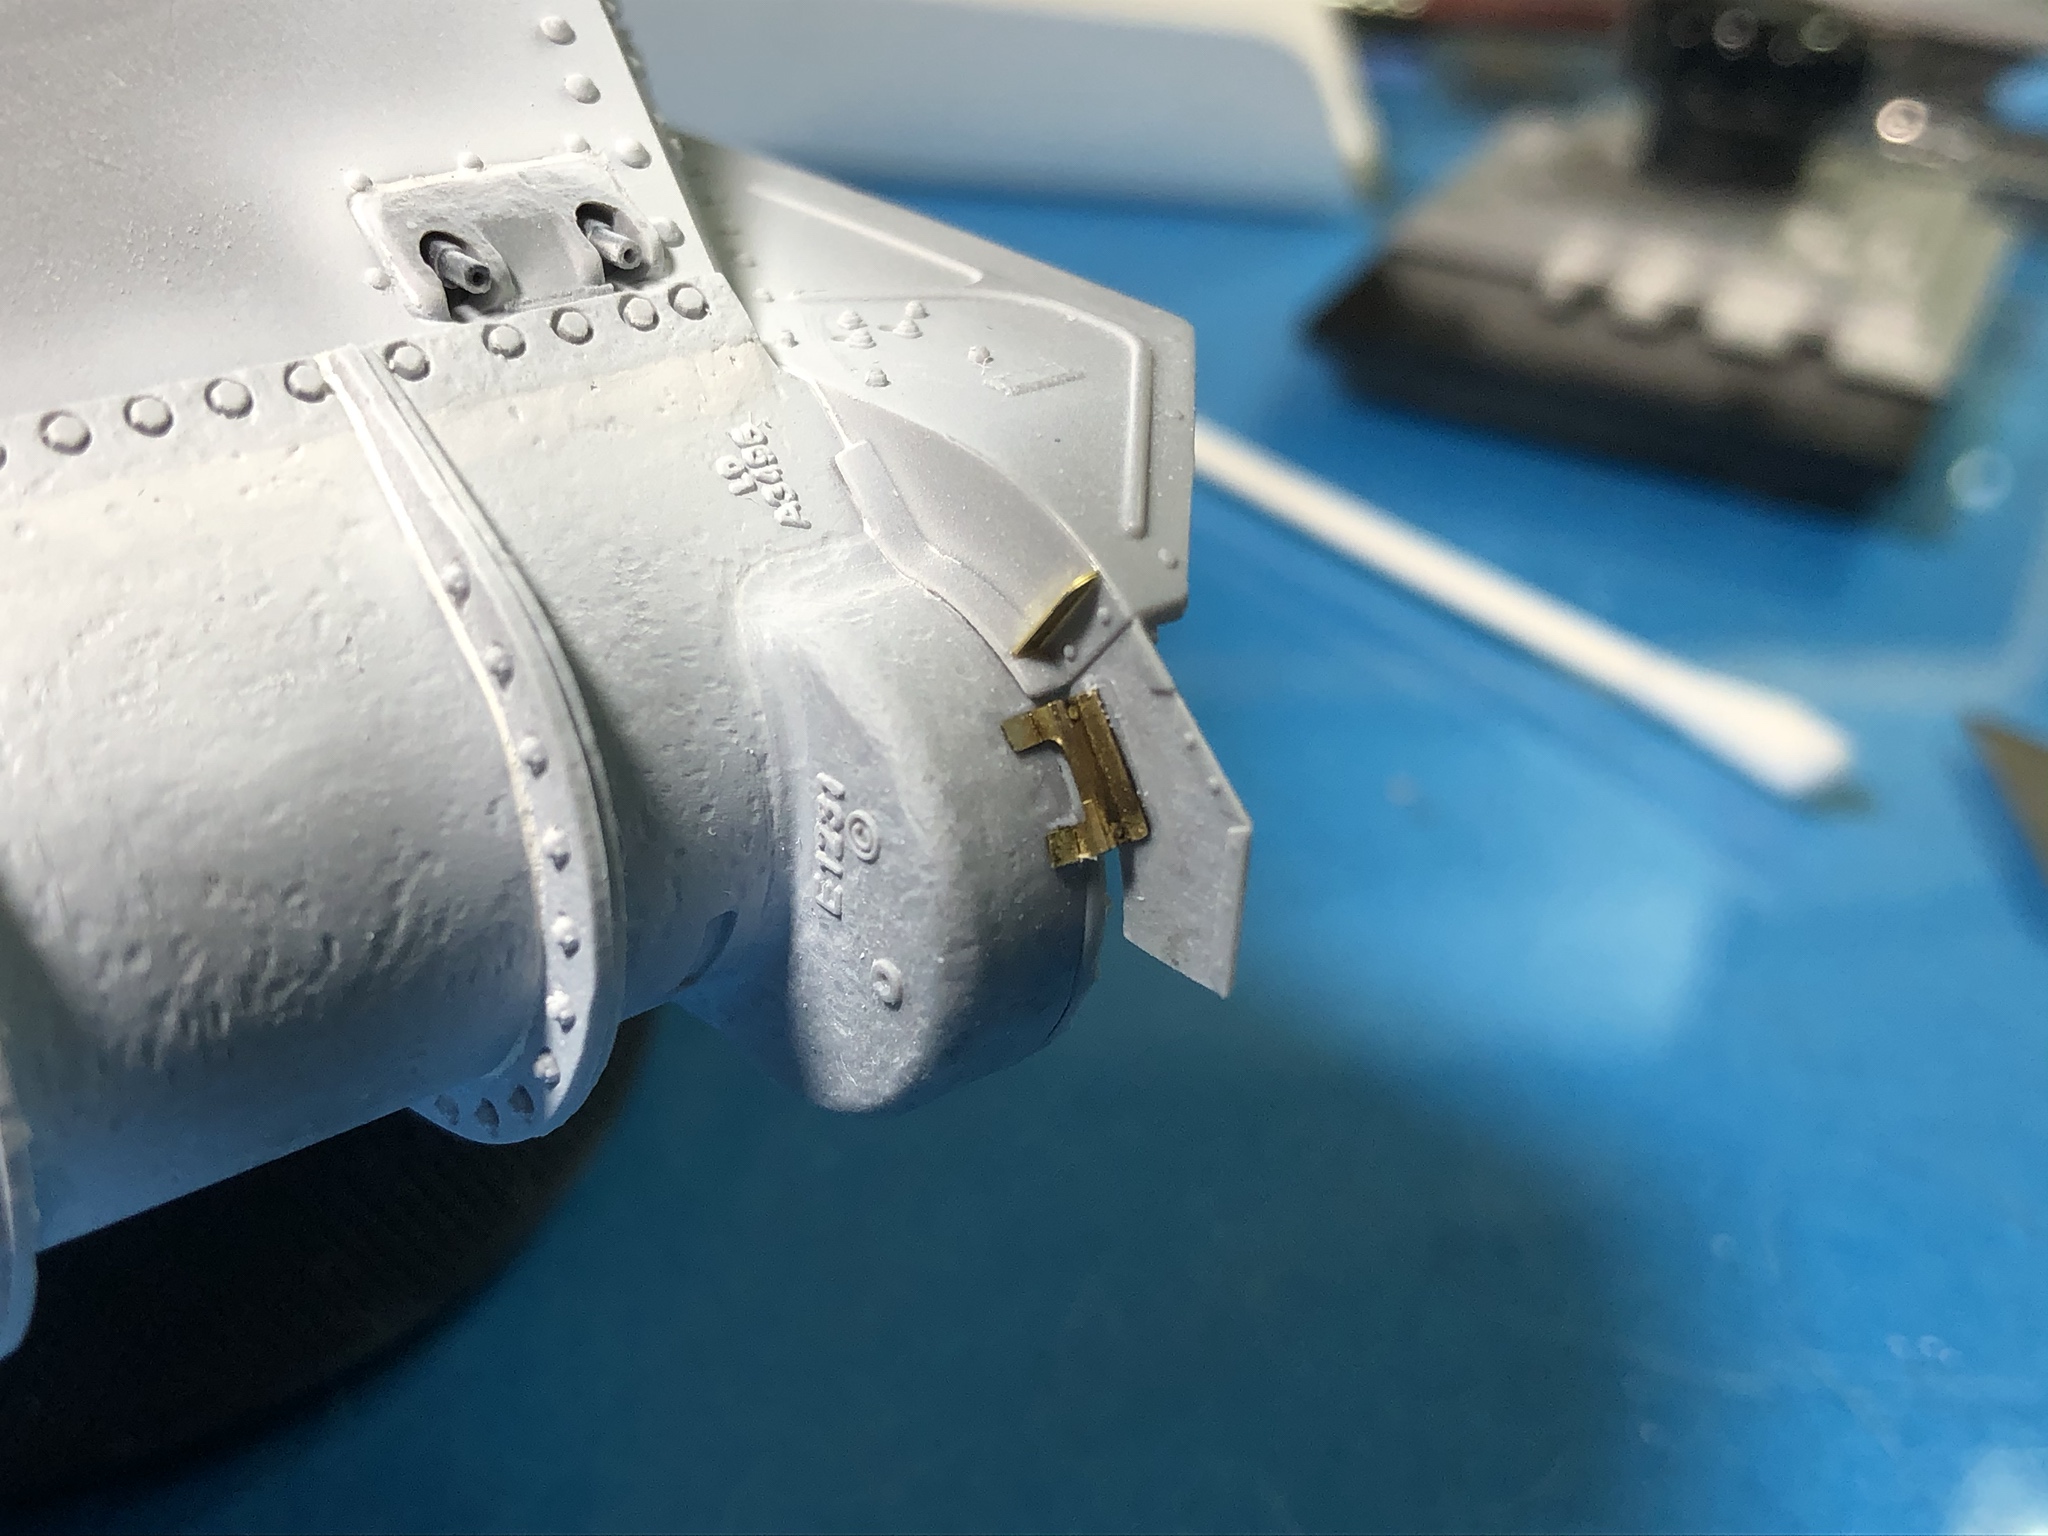
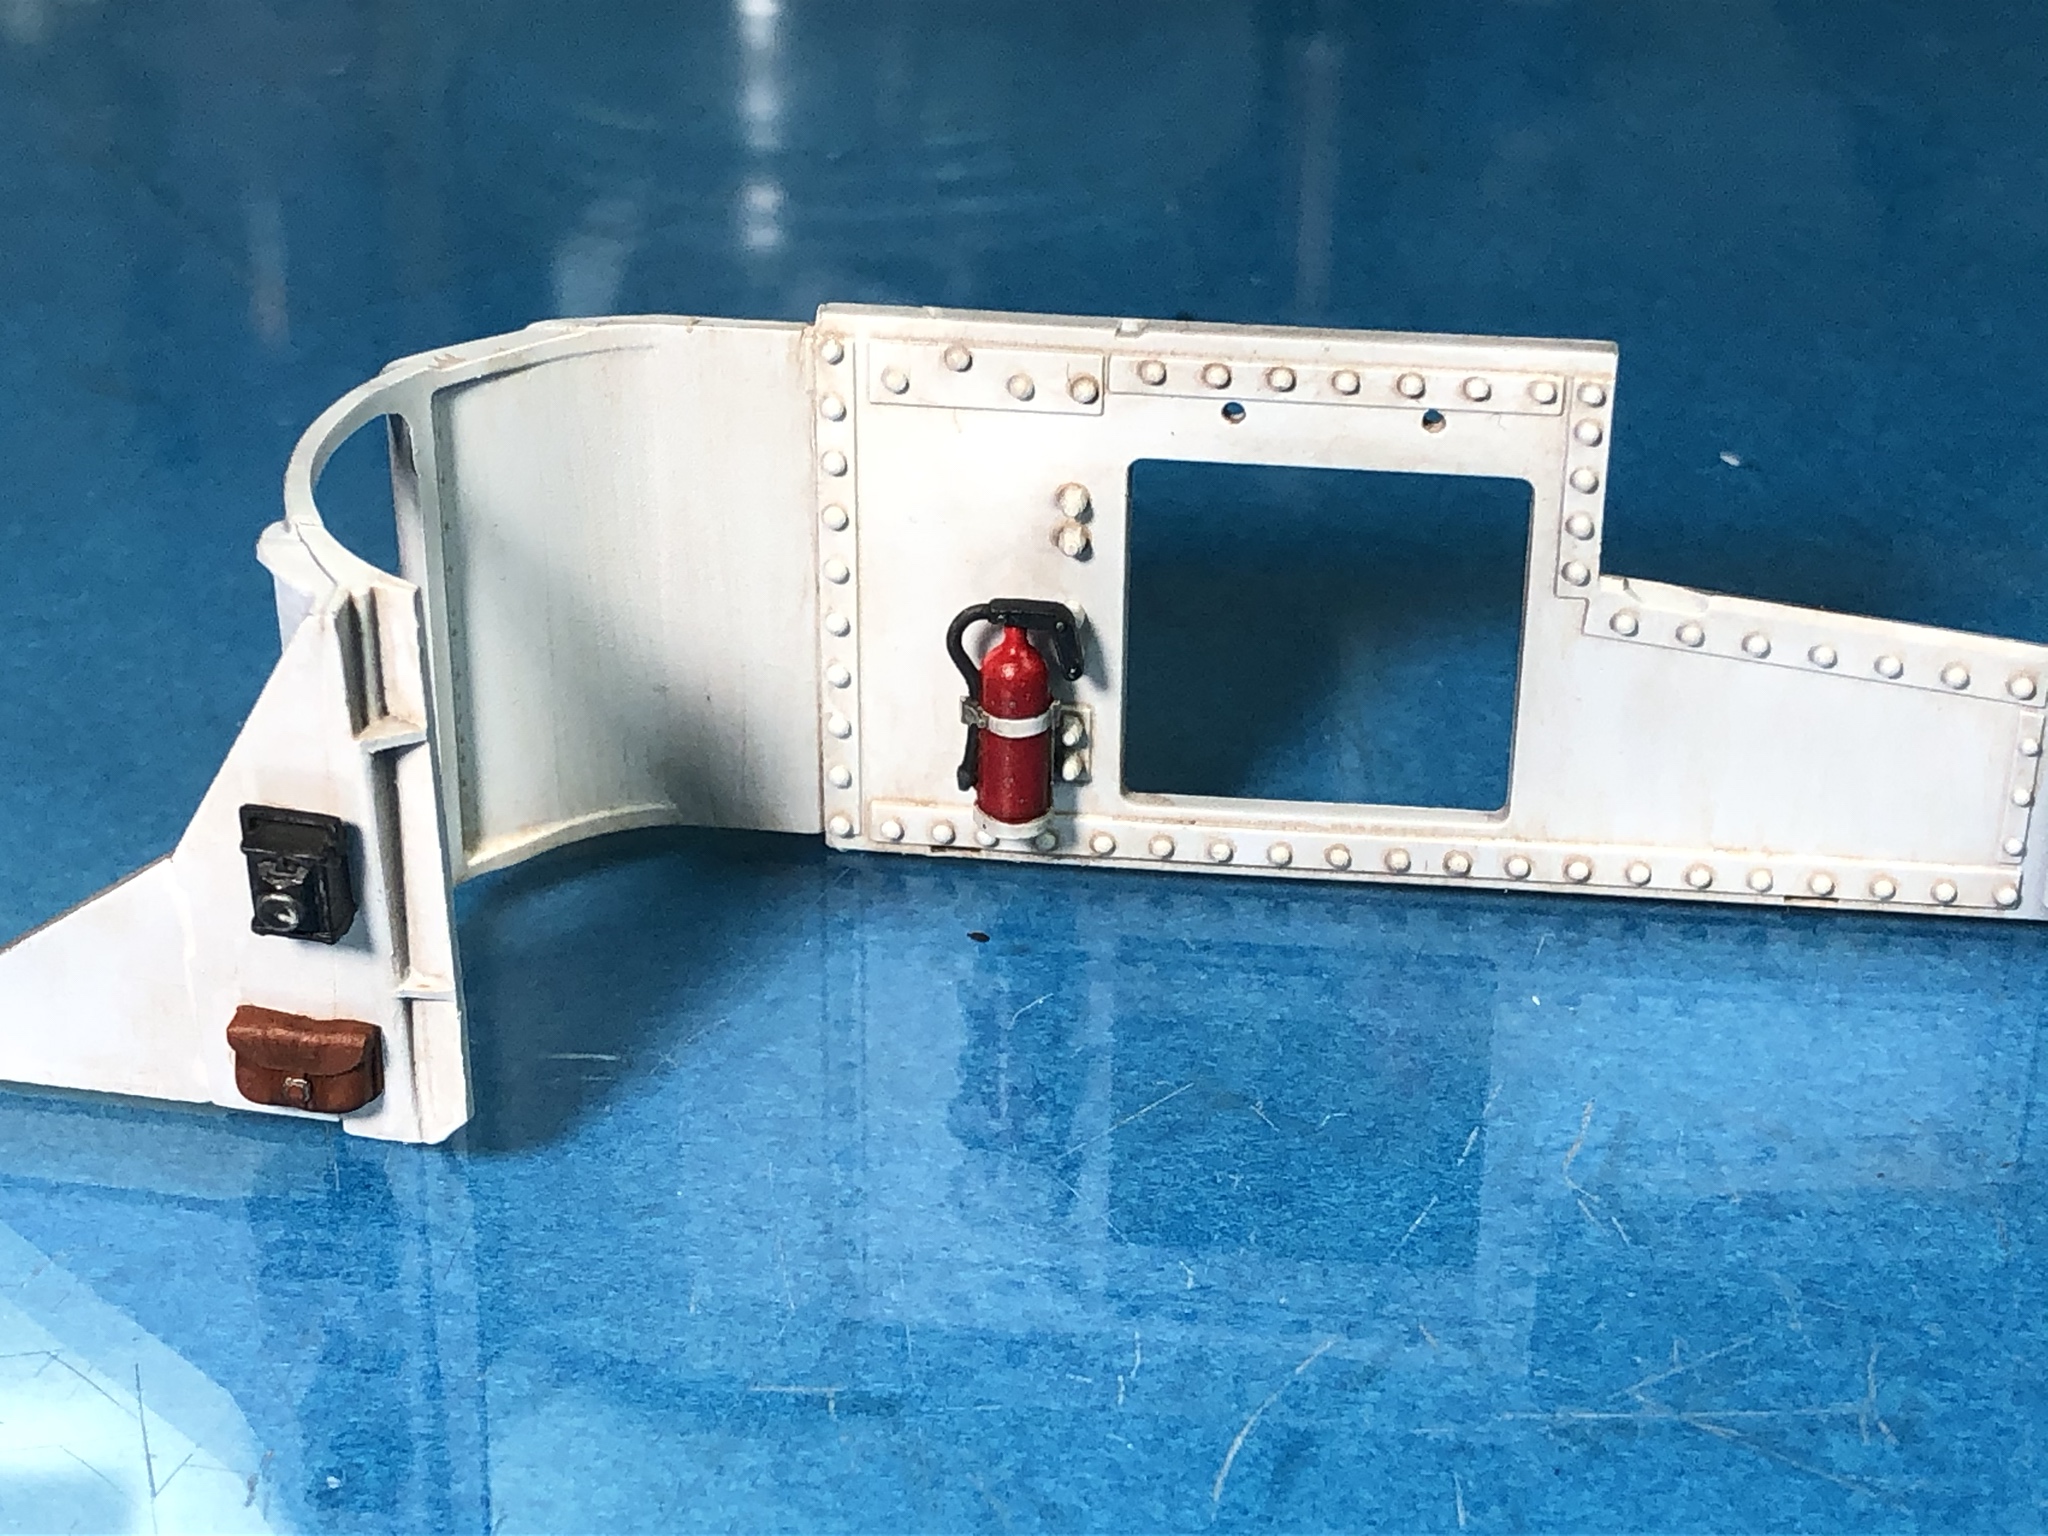
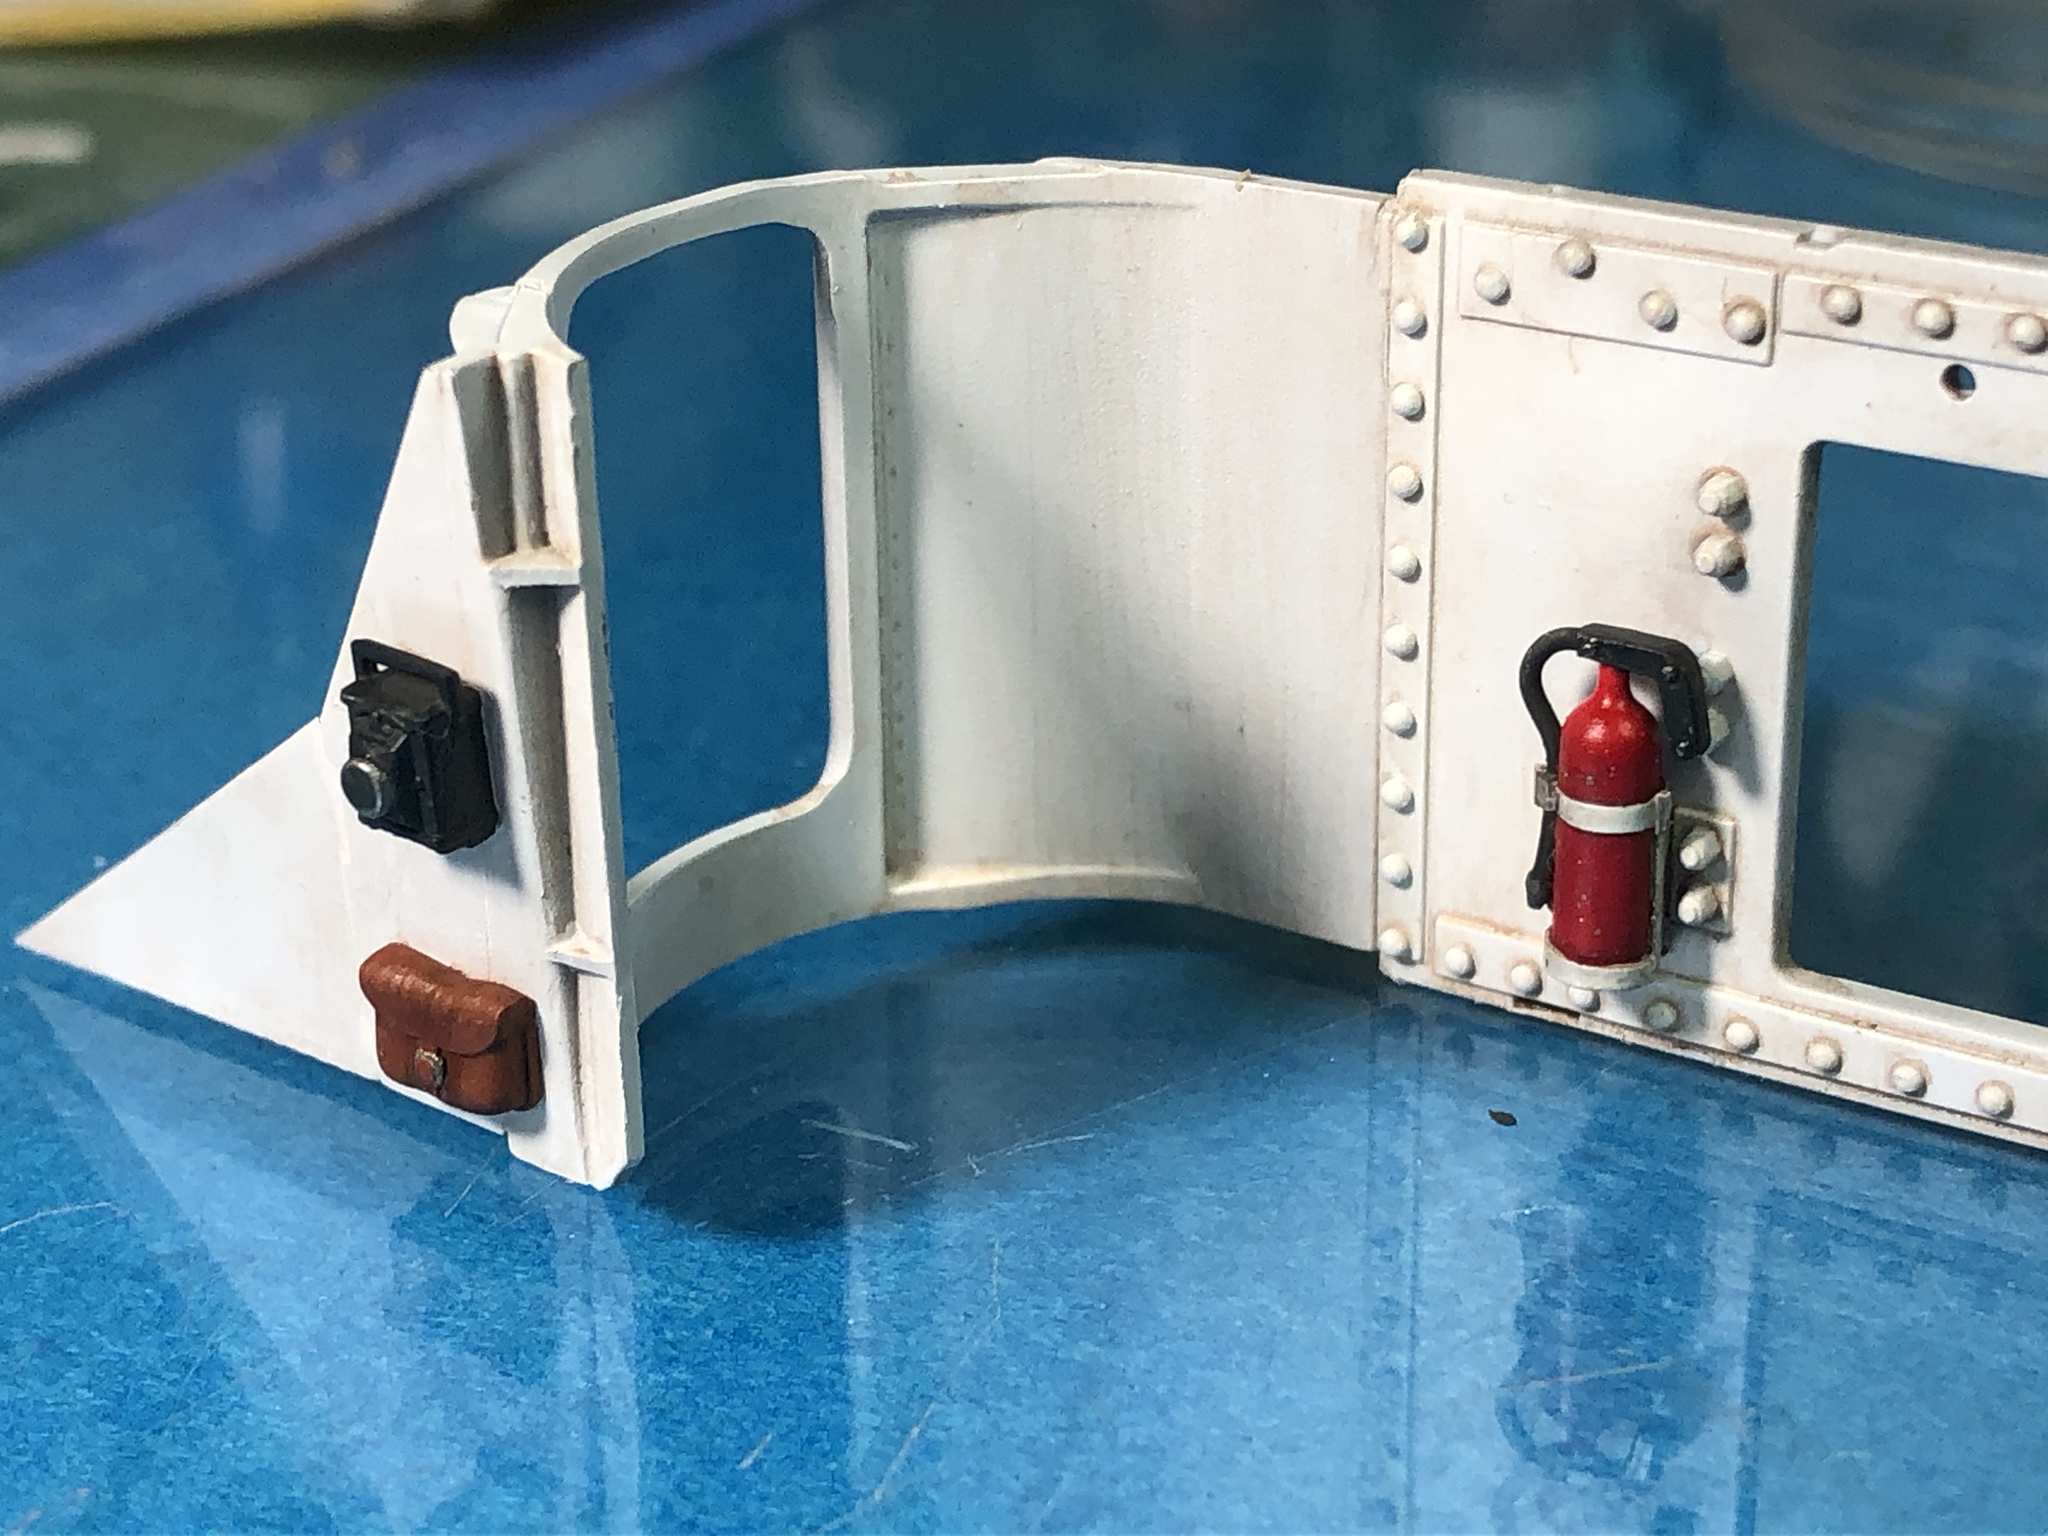
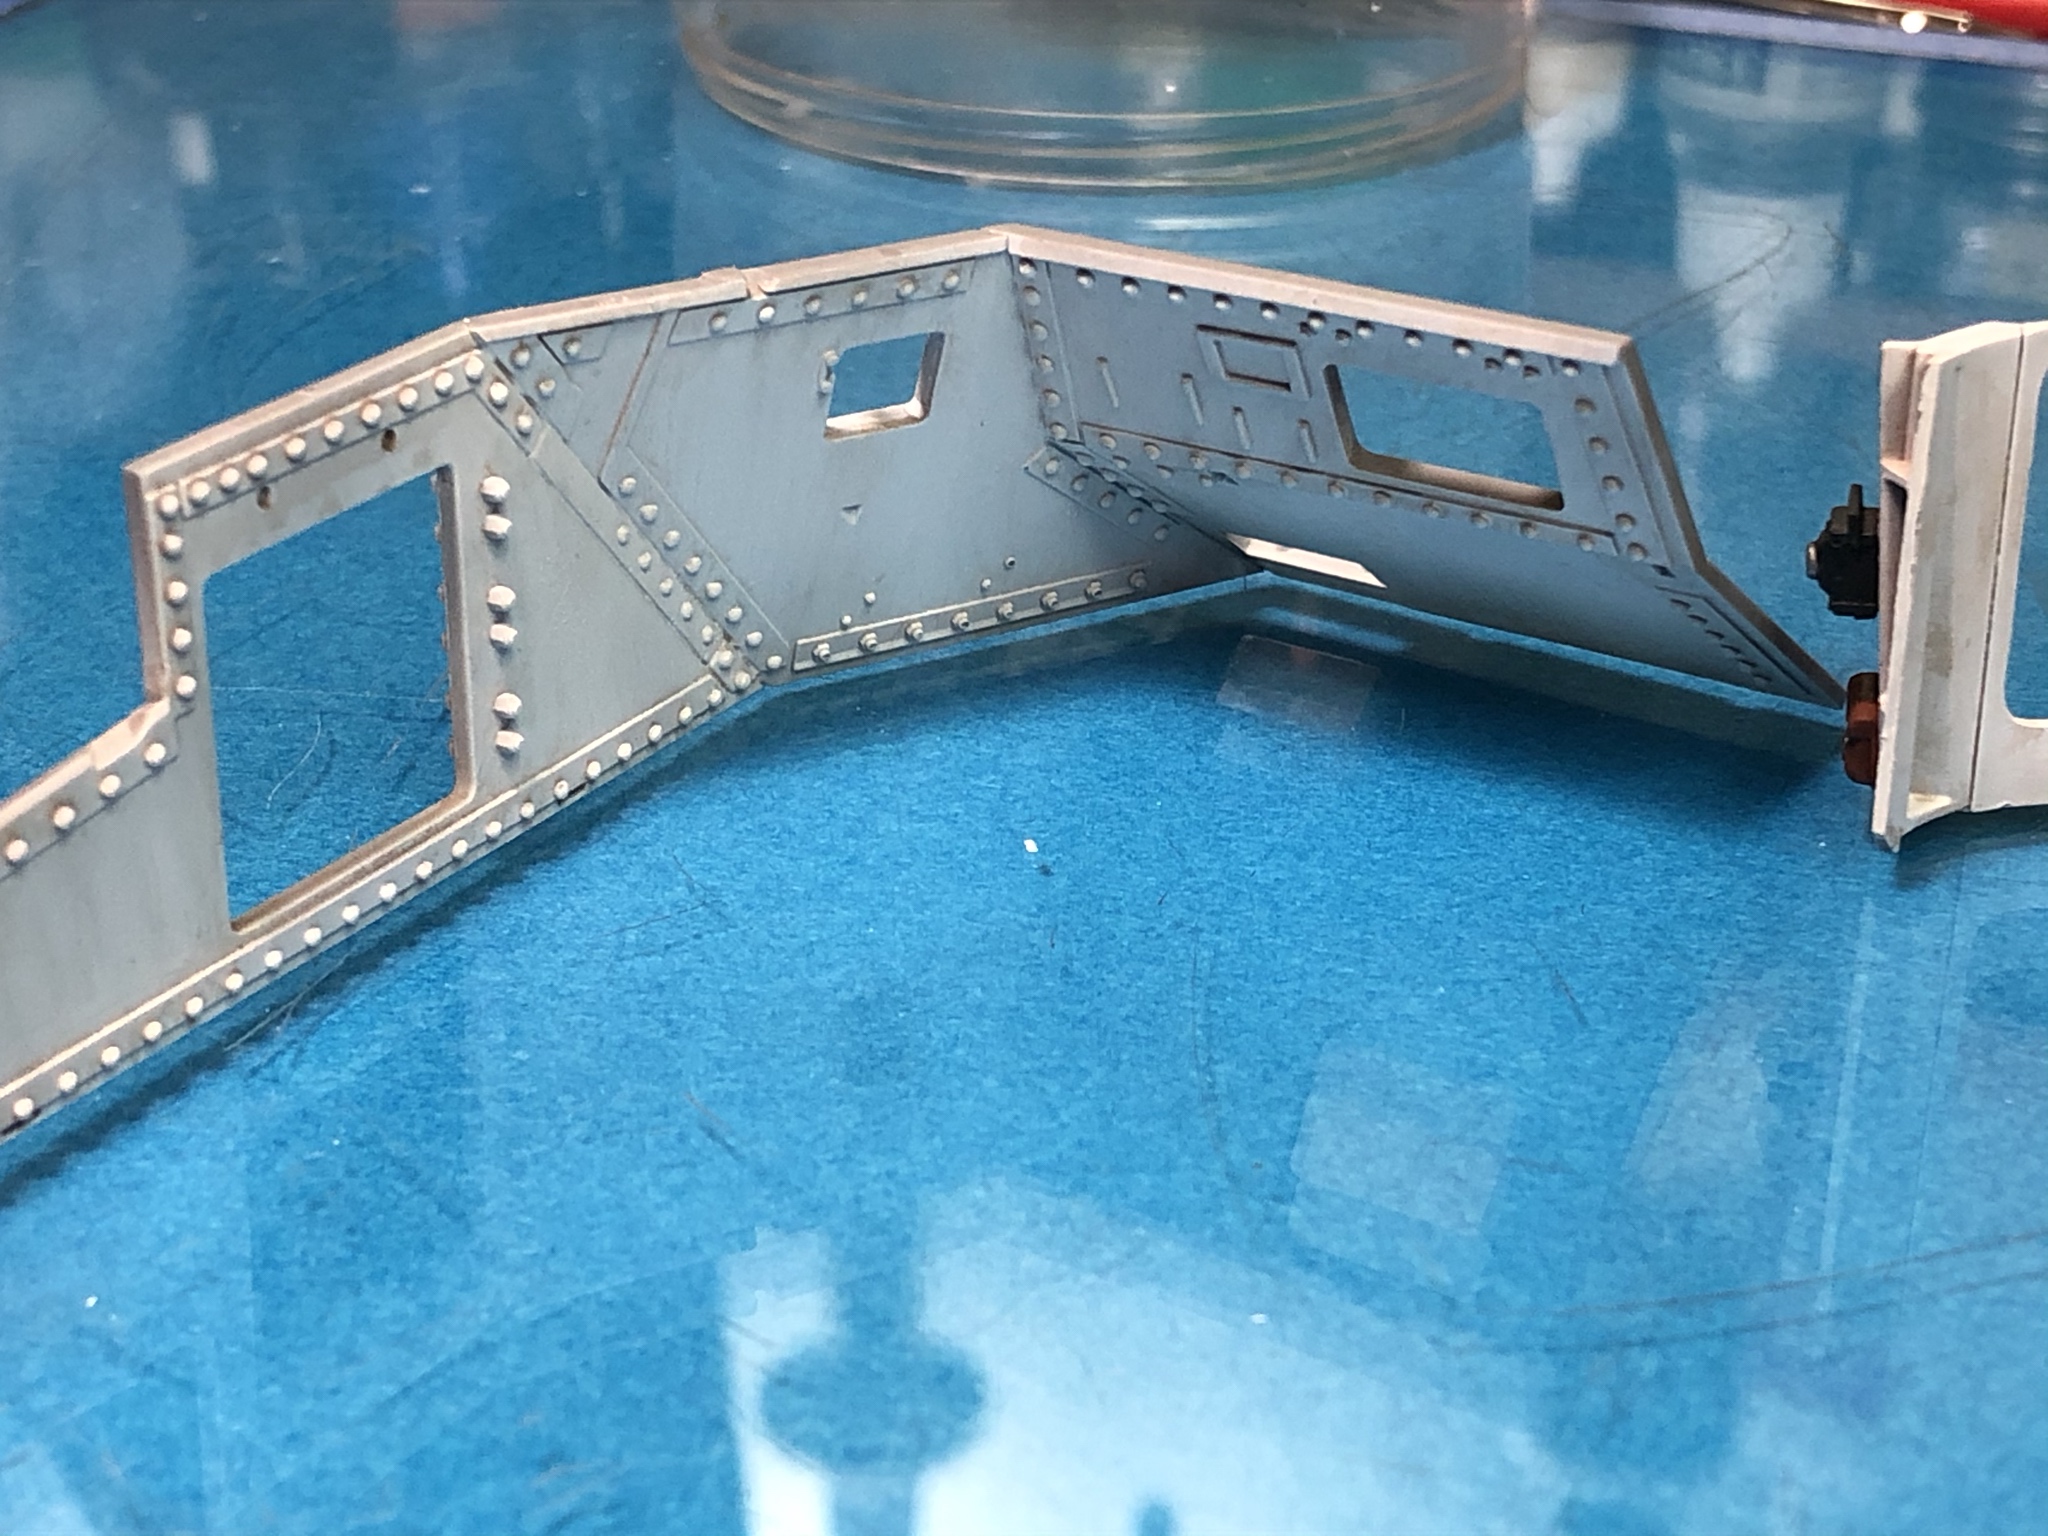
The sponson sidewall and gun cradle assembly is next. Fit is good but since I wanted to be able to work the joints on both inside and out, I chose not to start by attaching the sidewall to the sponson first. Instead I taped the sidewall to the lower hull and positioned the gun fairing in place and cemented that joint and let it set long enough to maintain alignment. The part was then removed, filled as needed and painted.
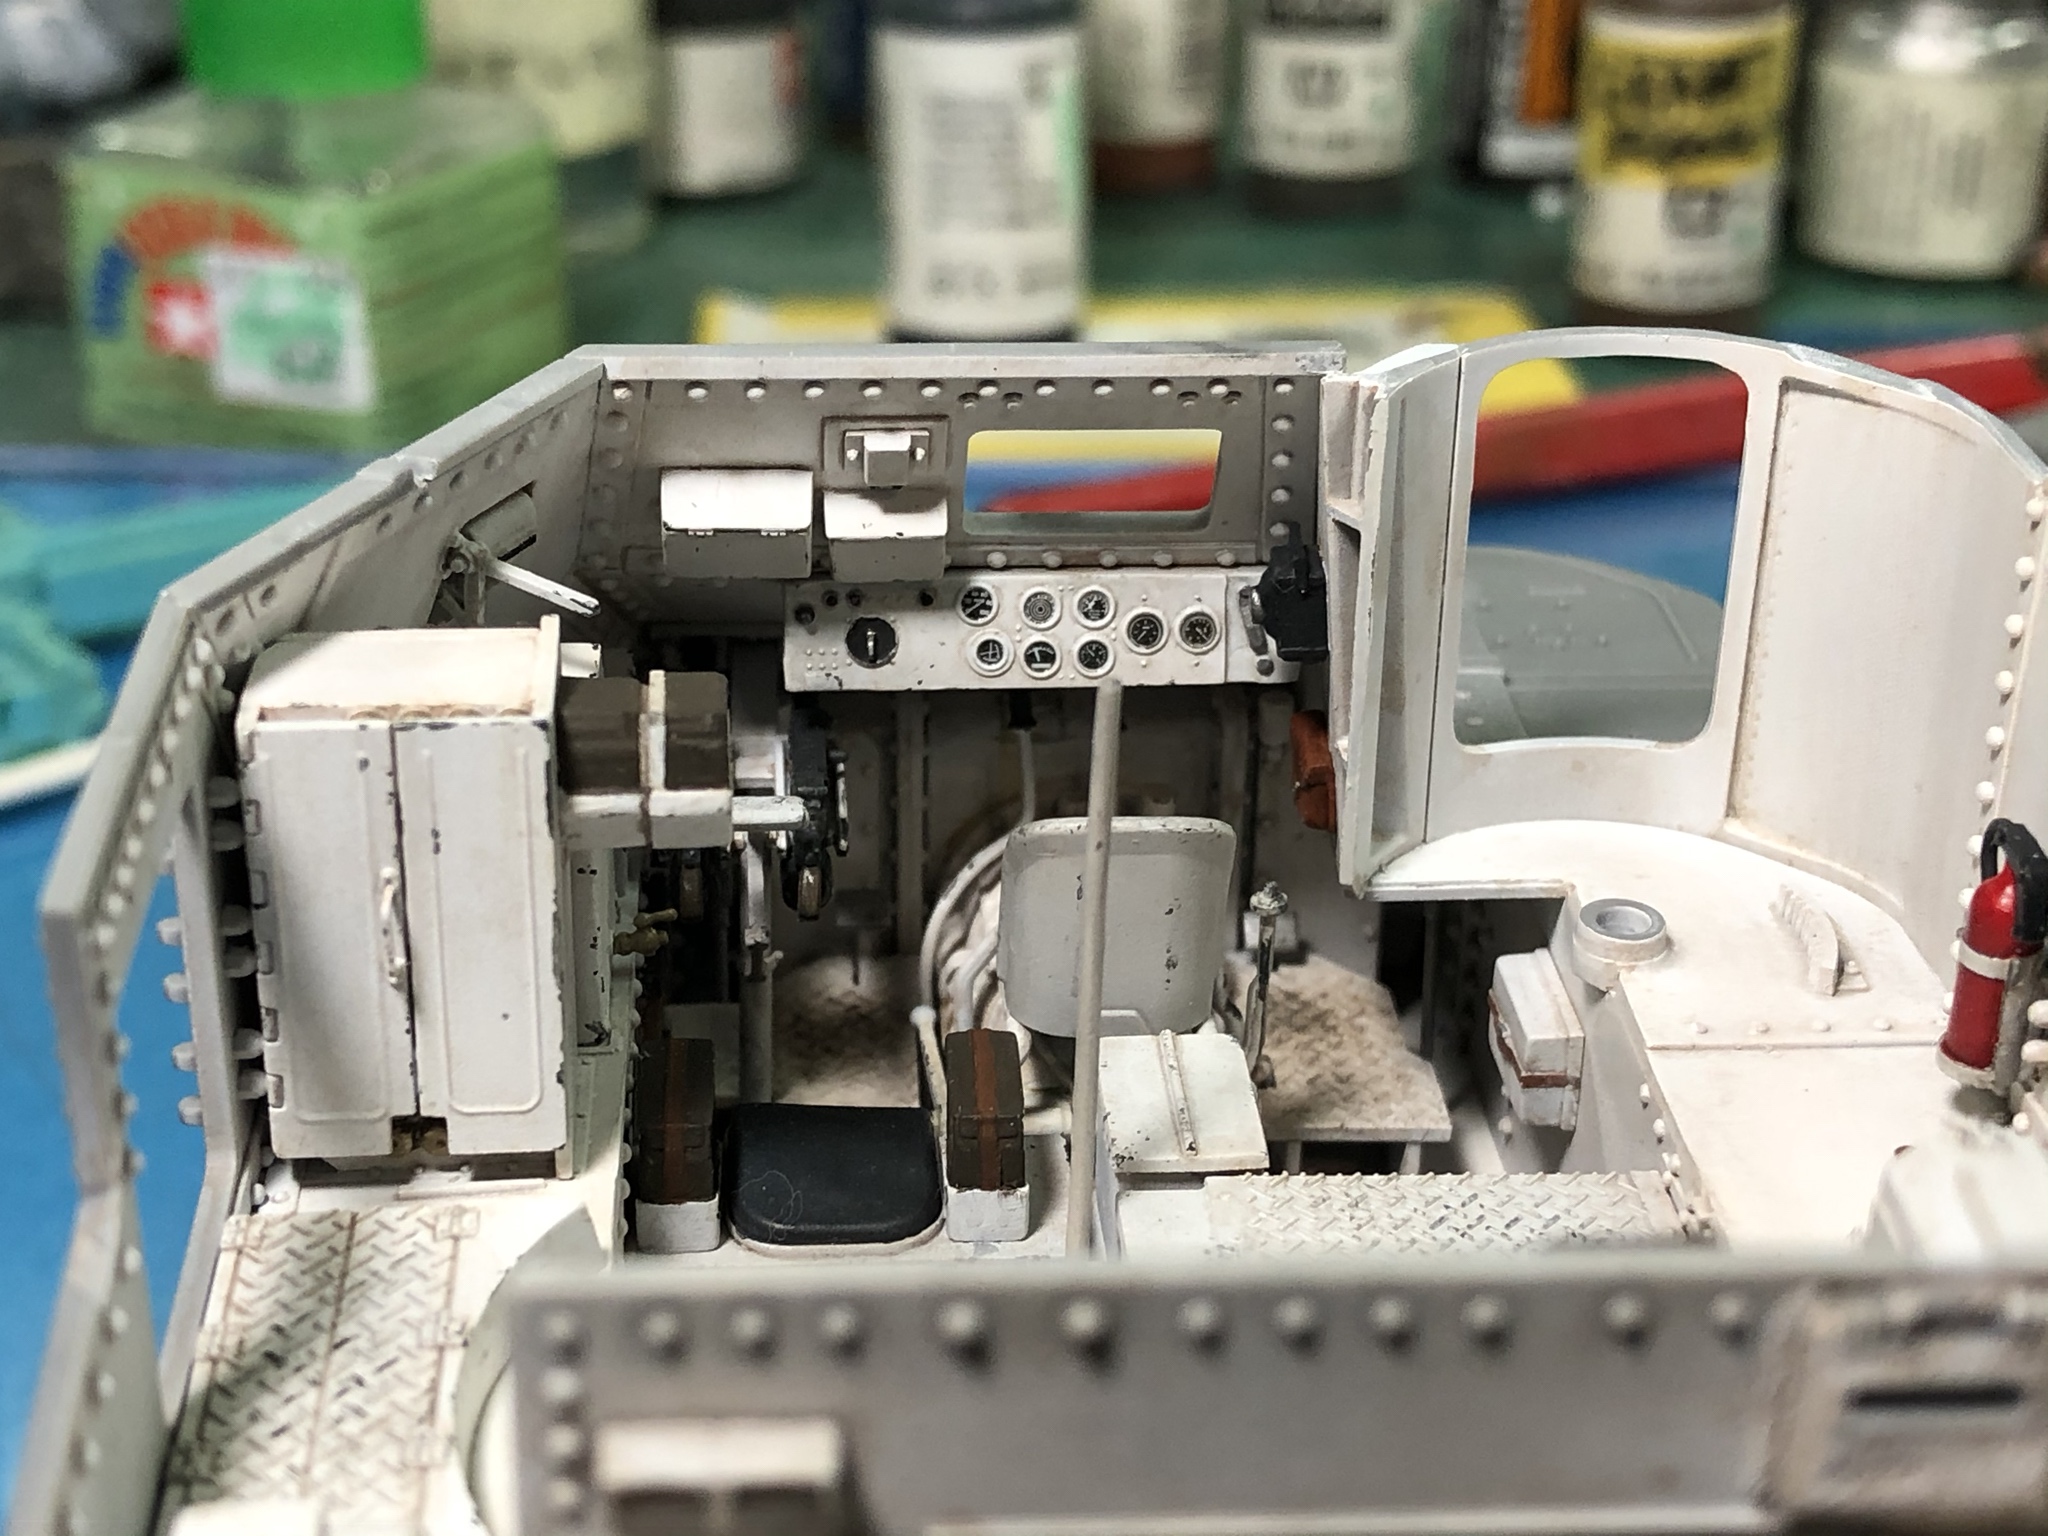
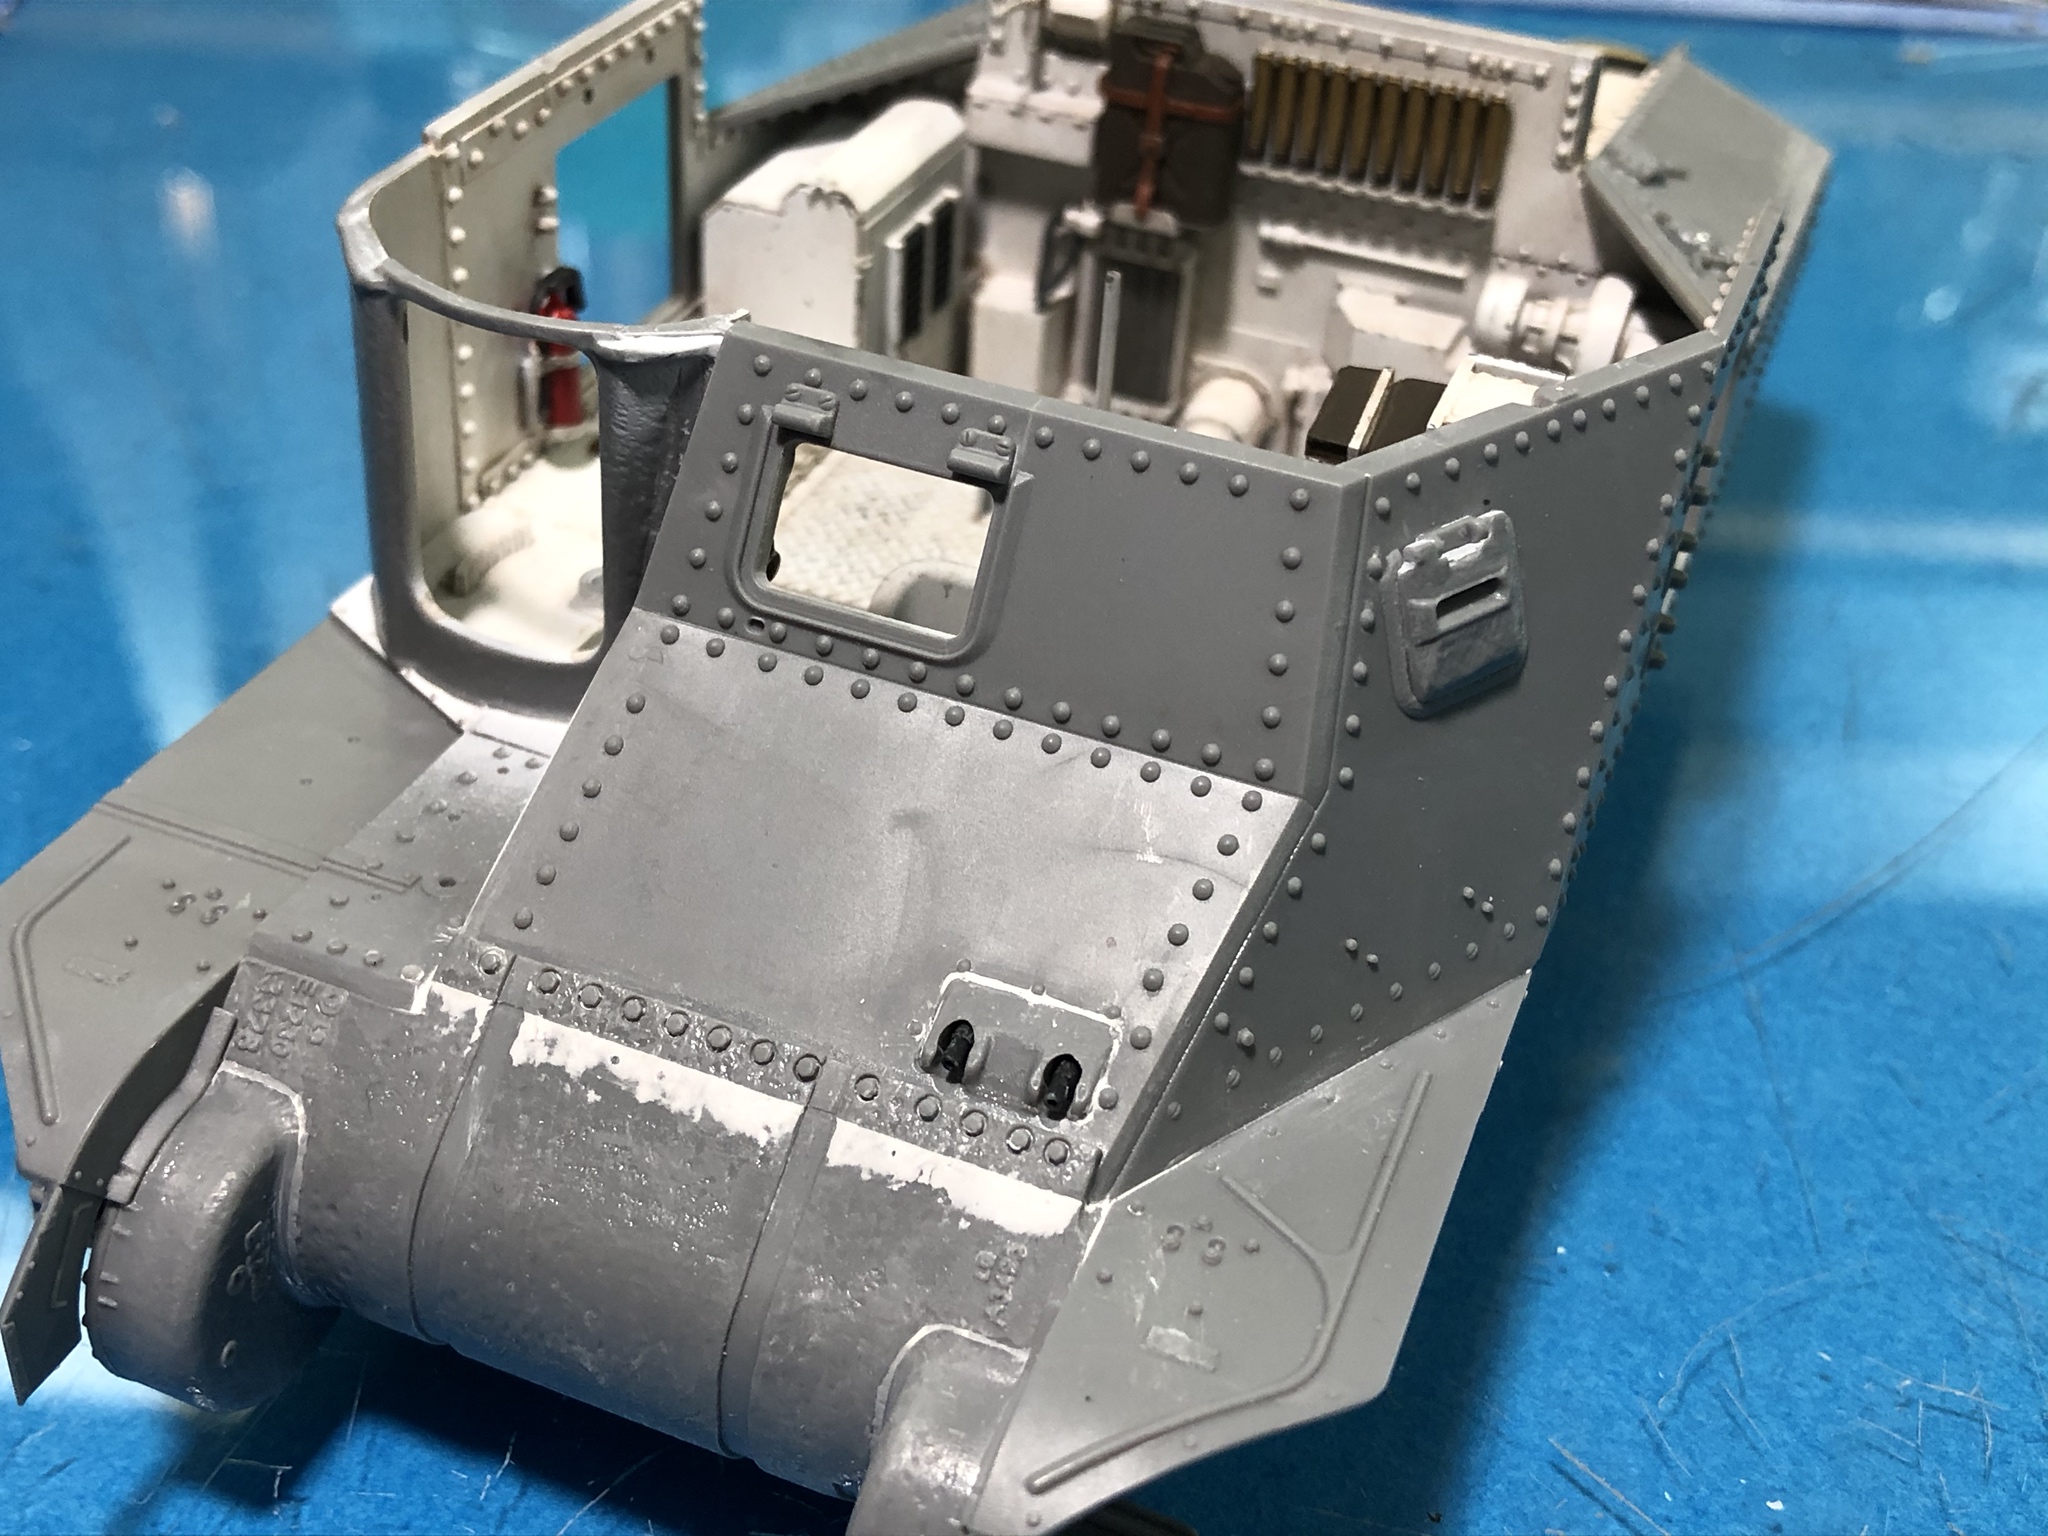
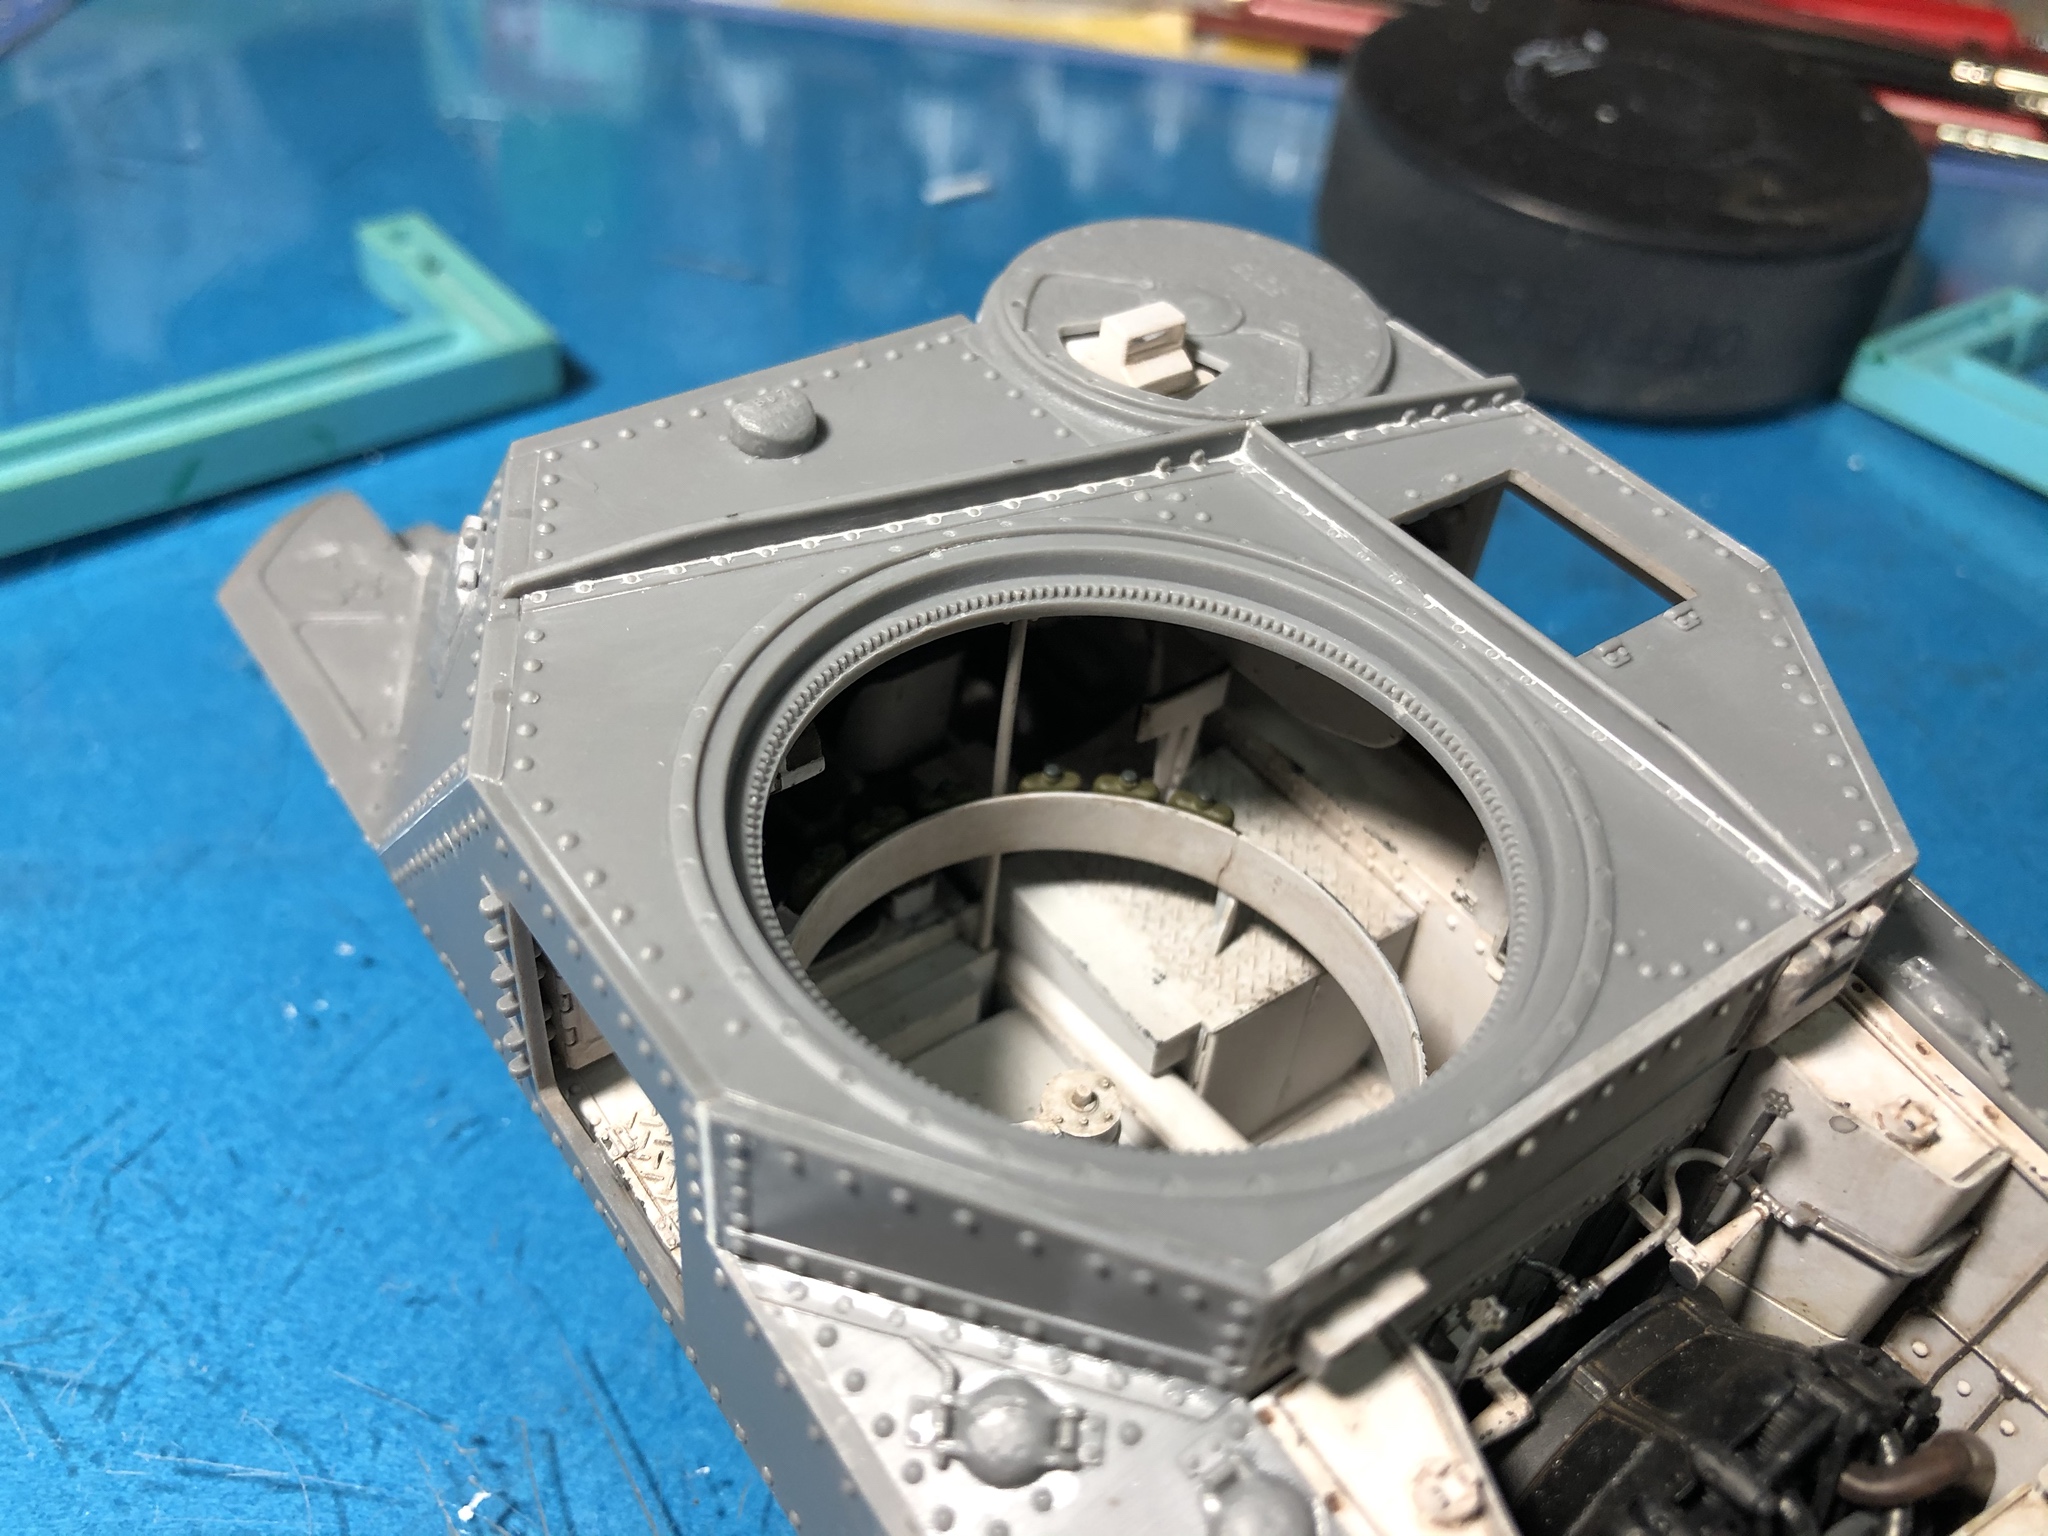
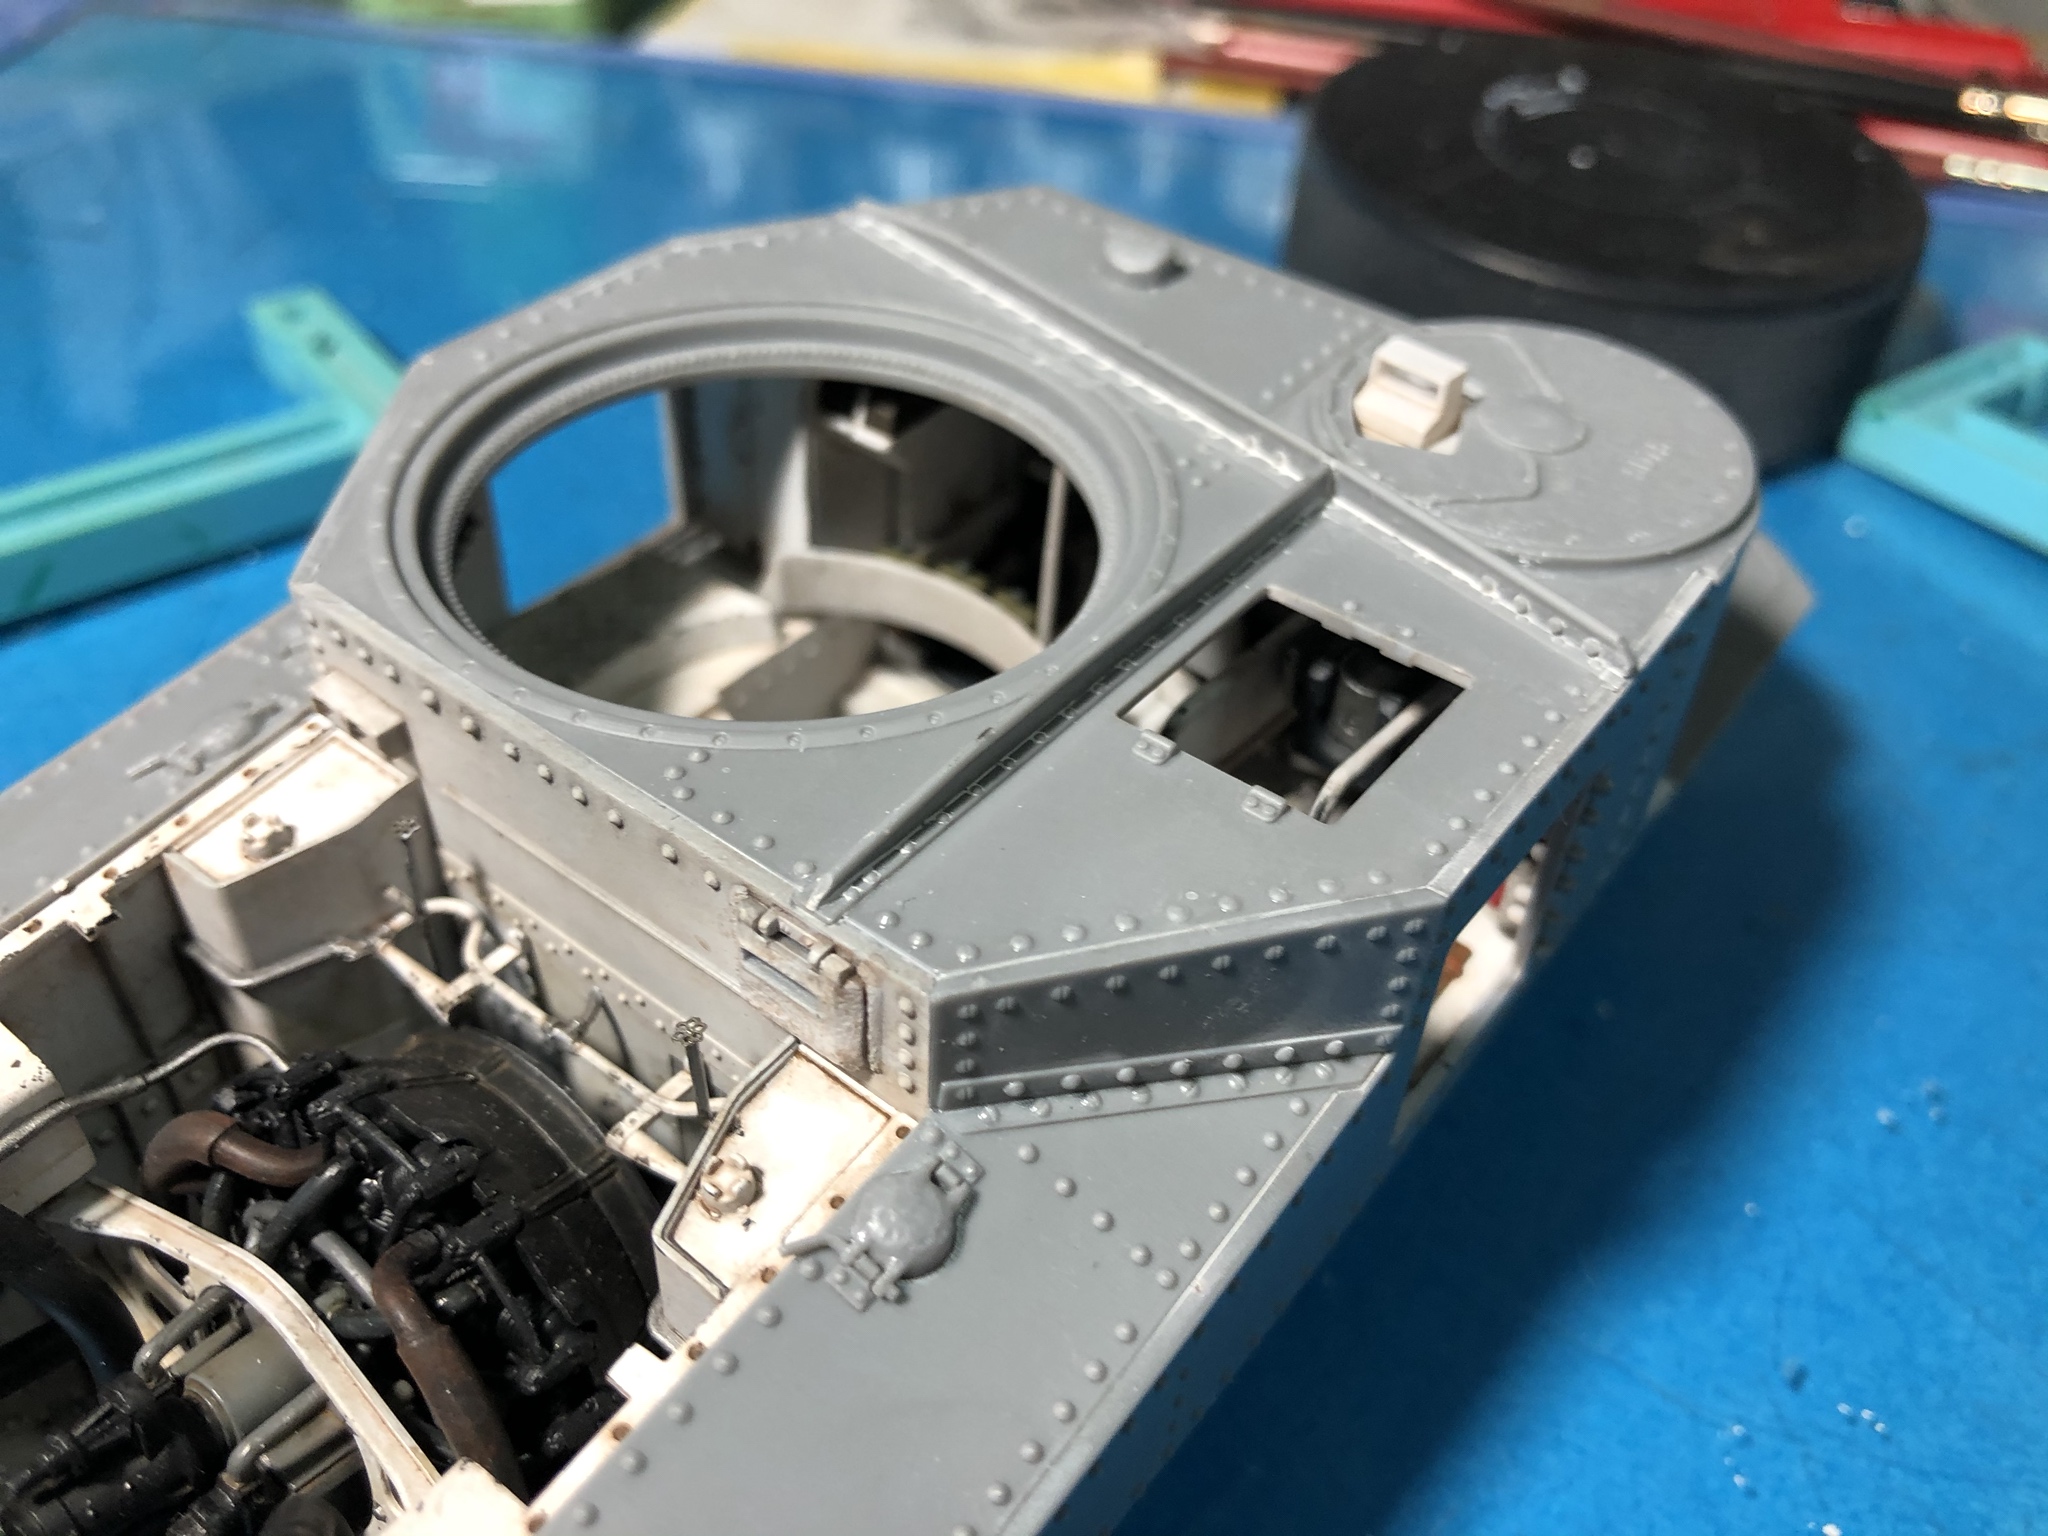
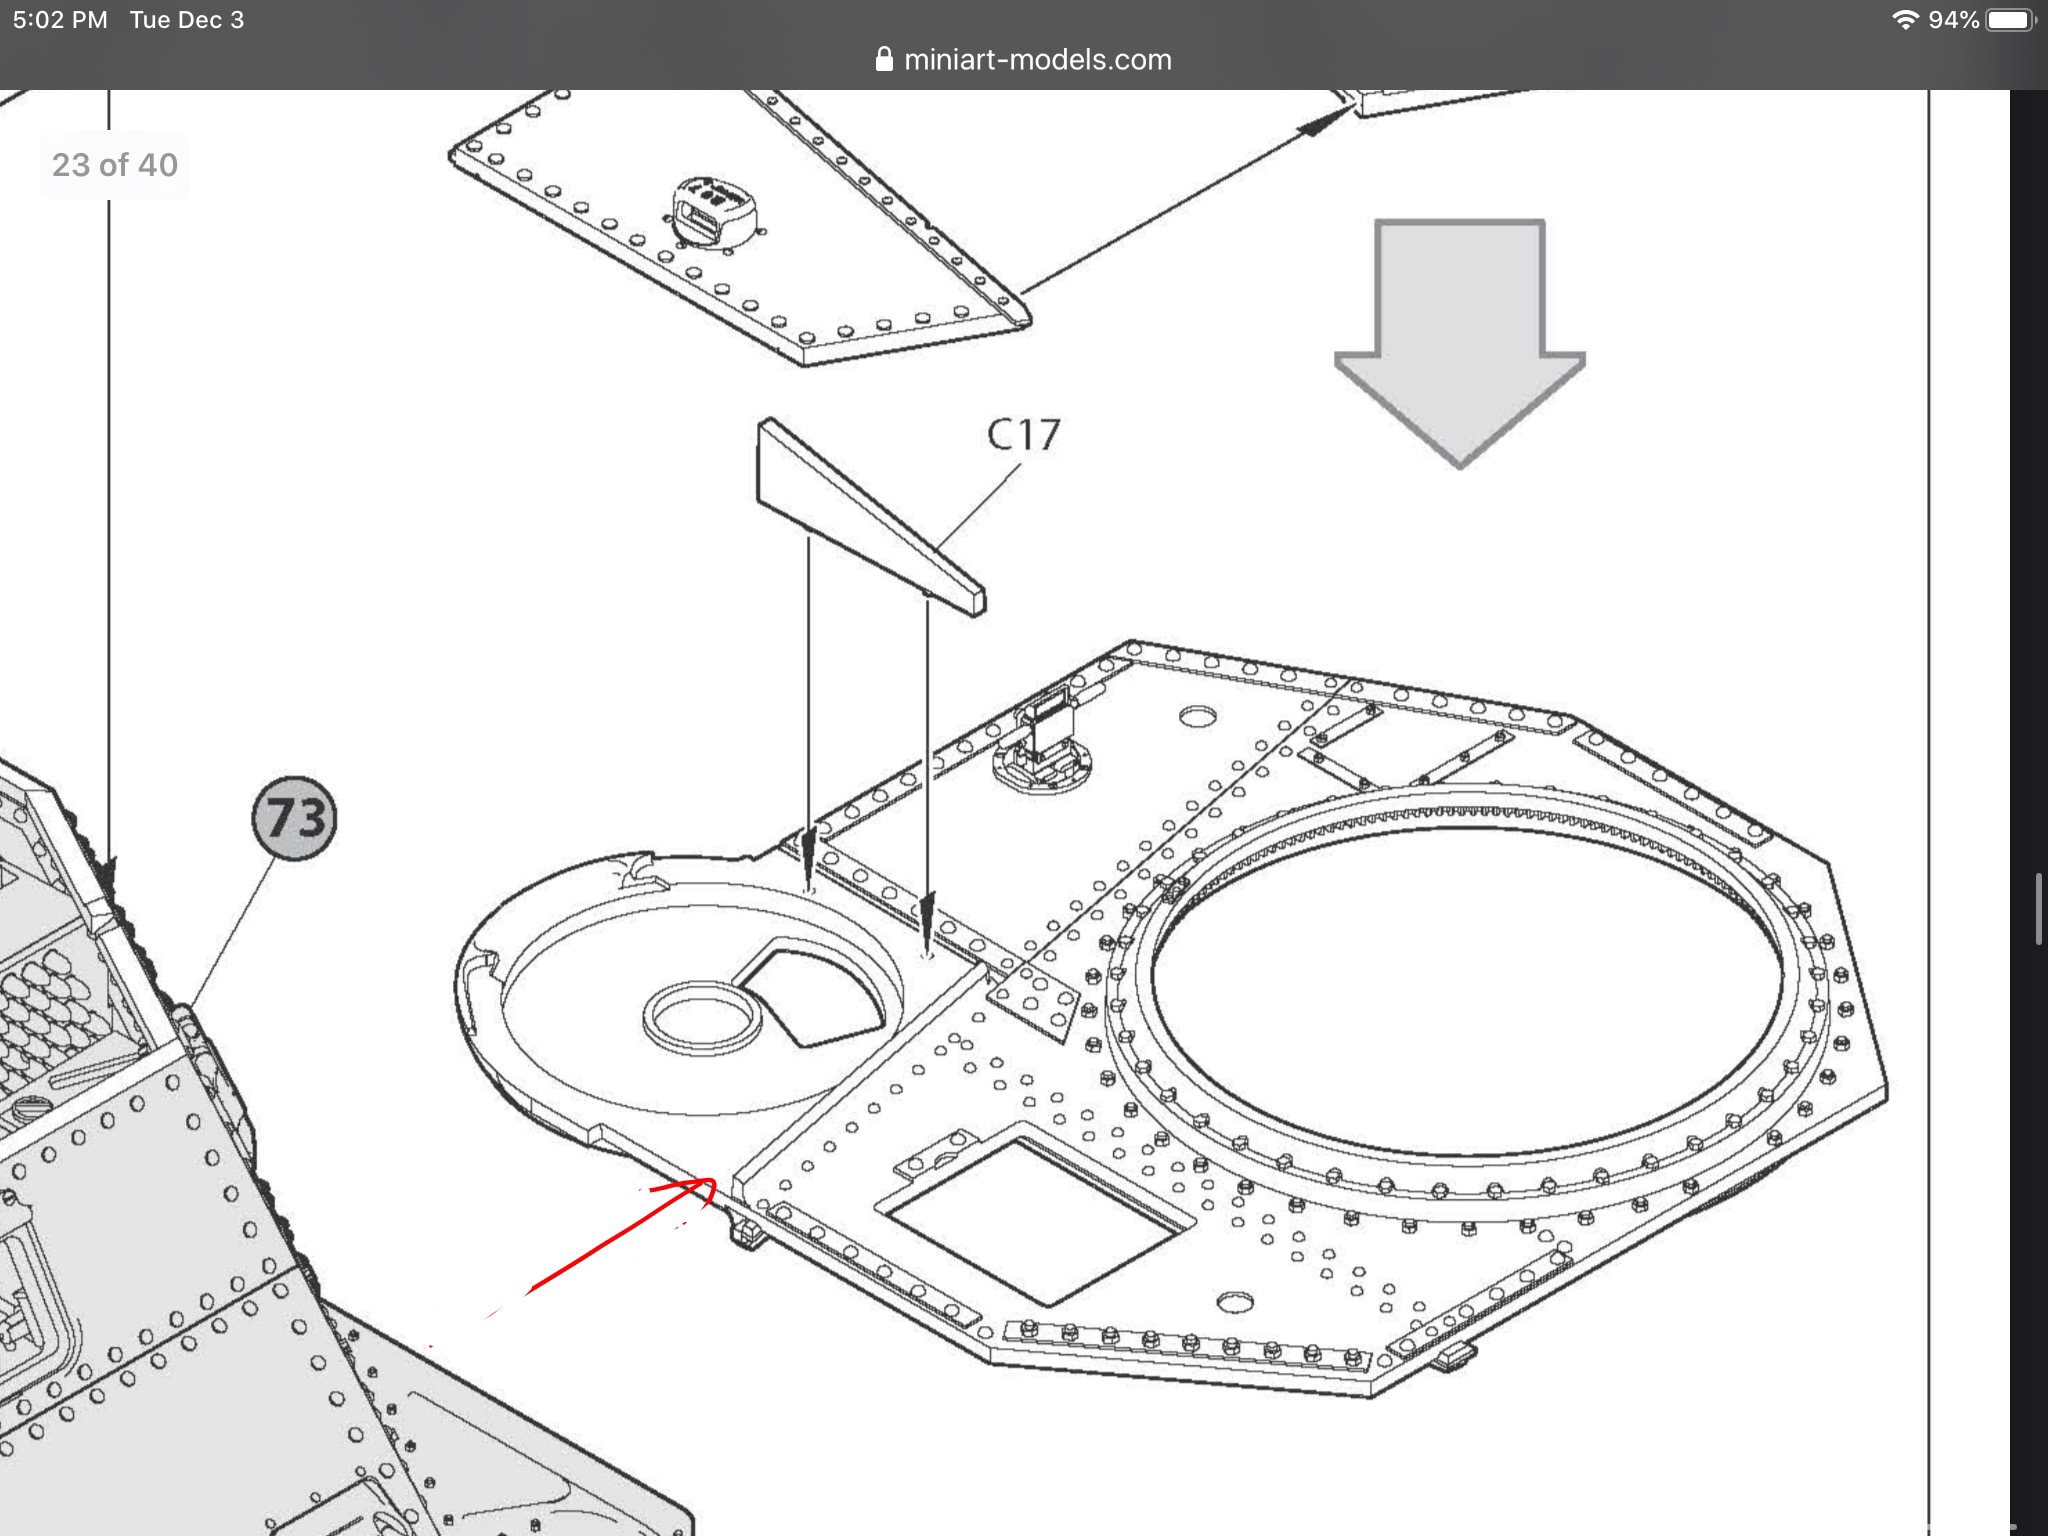
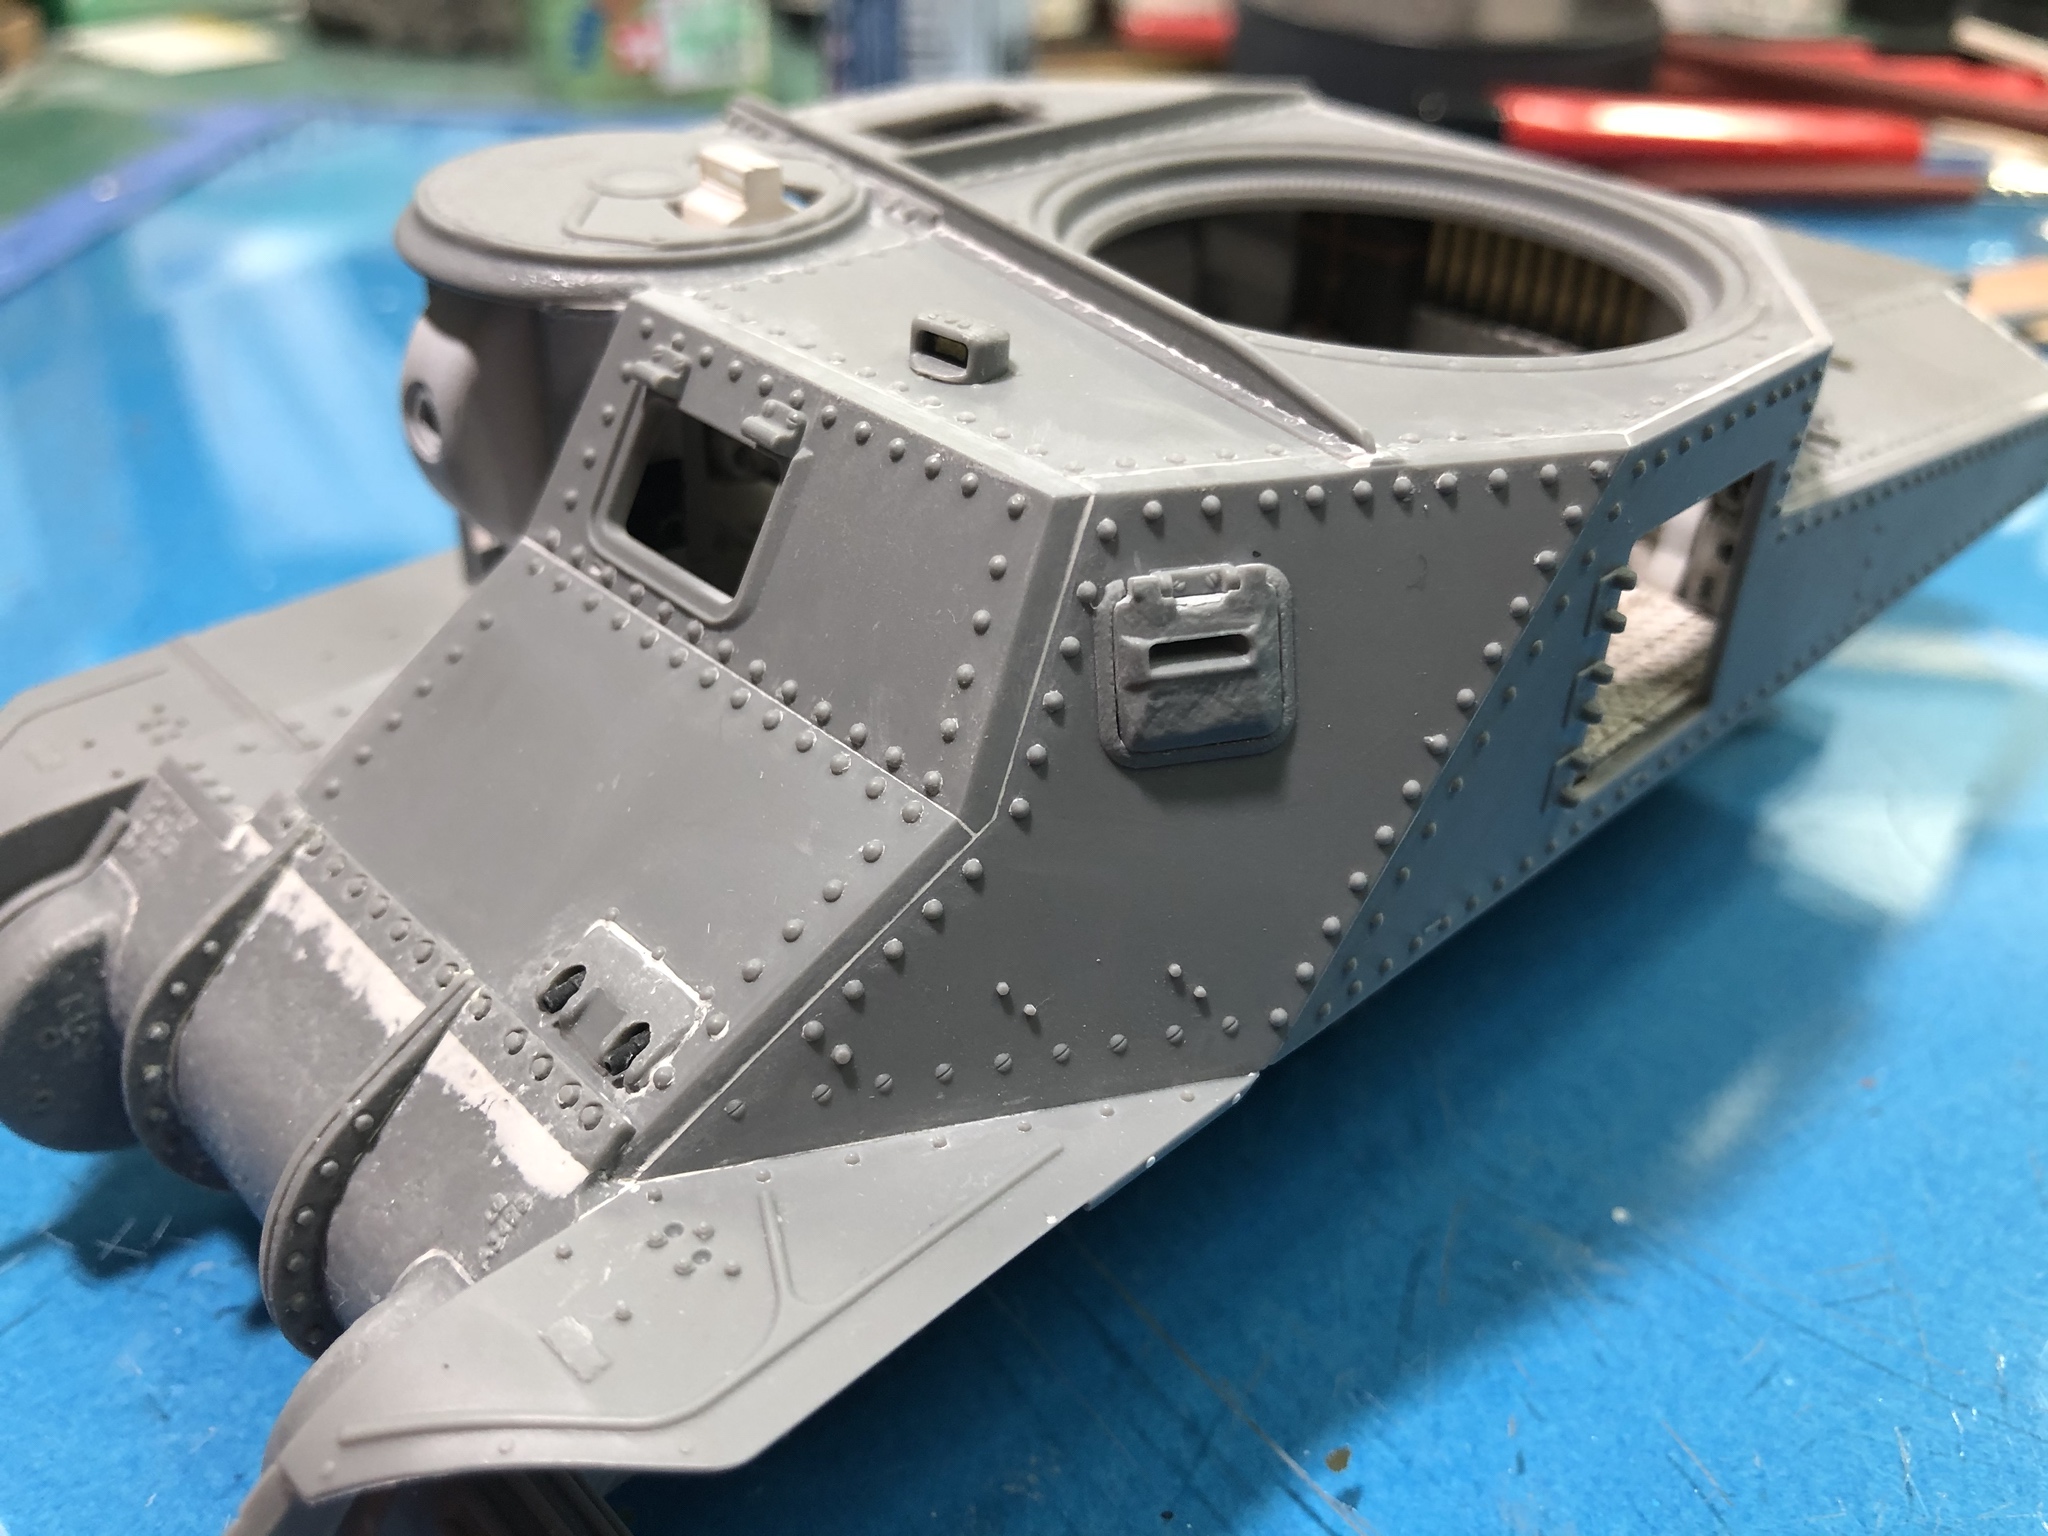
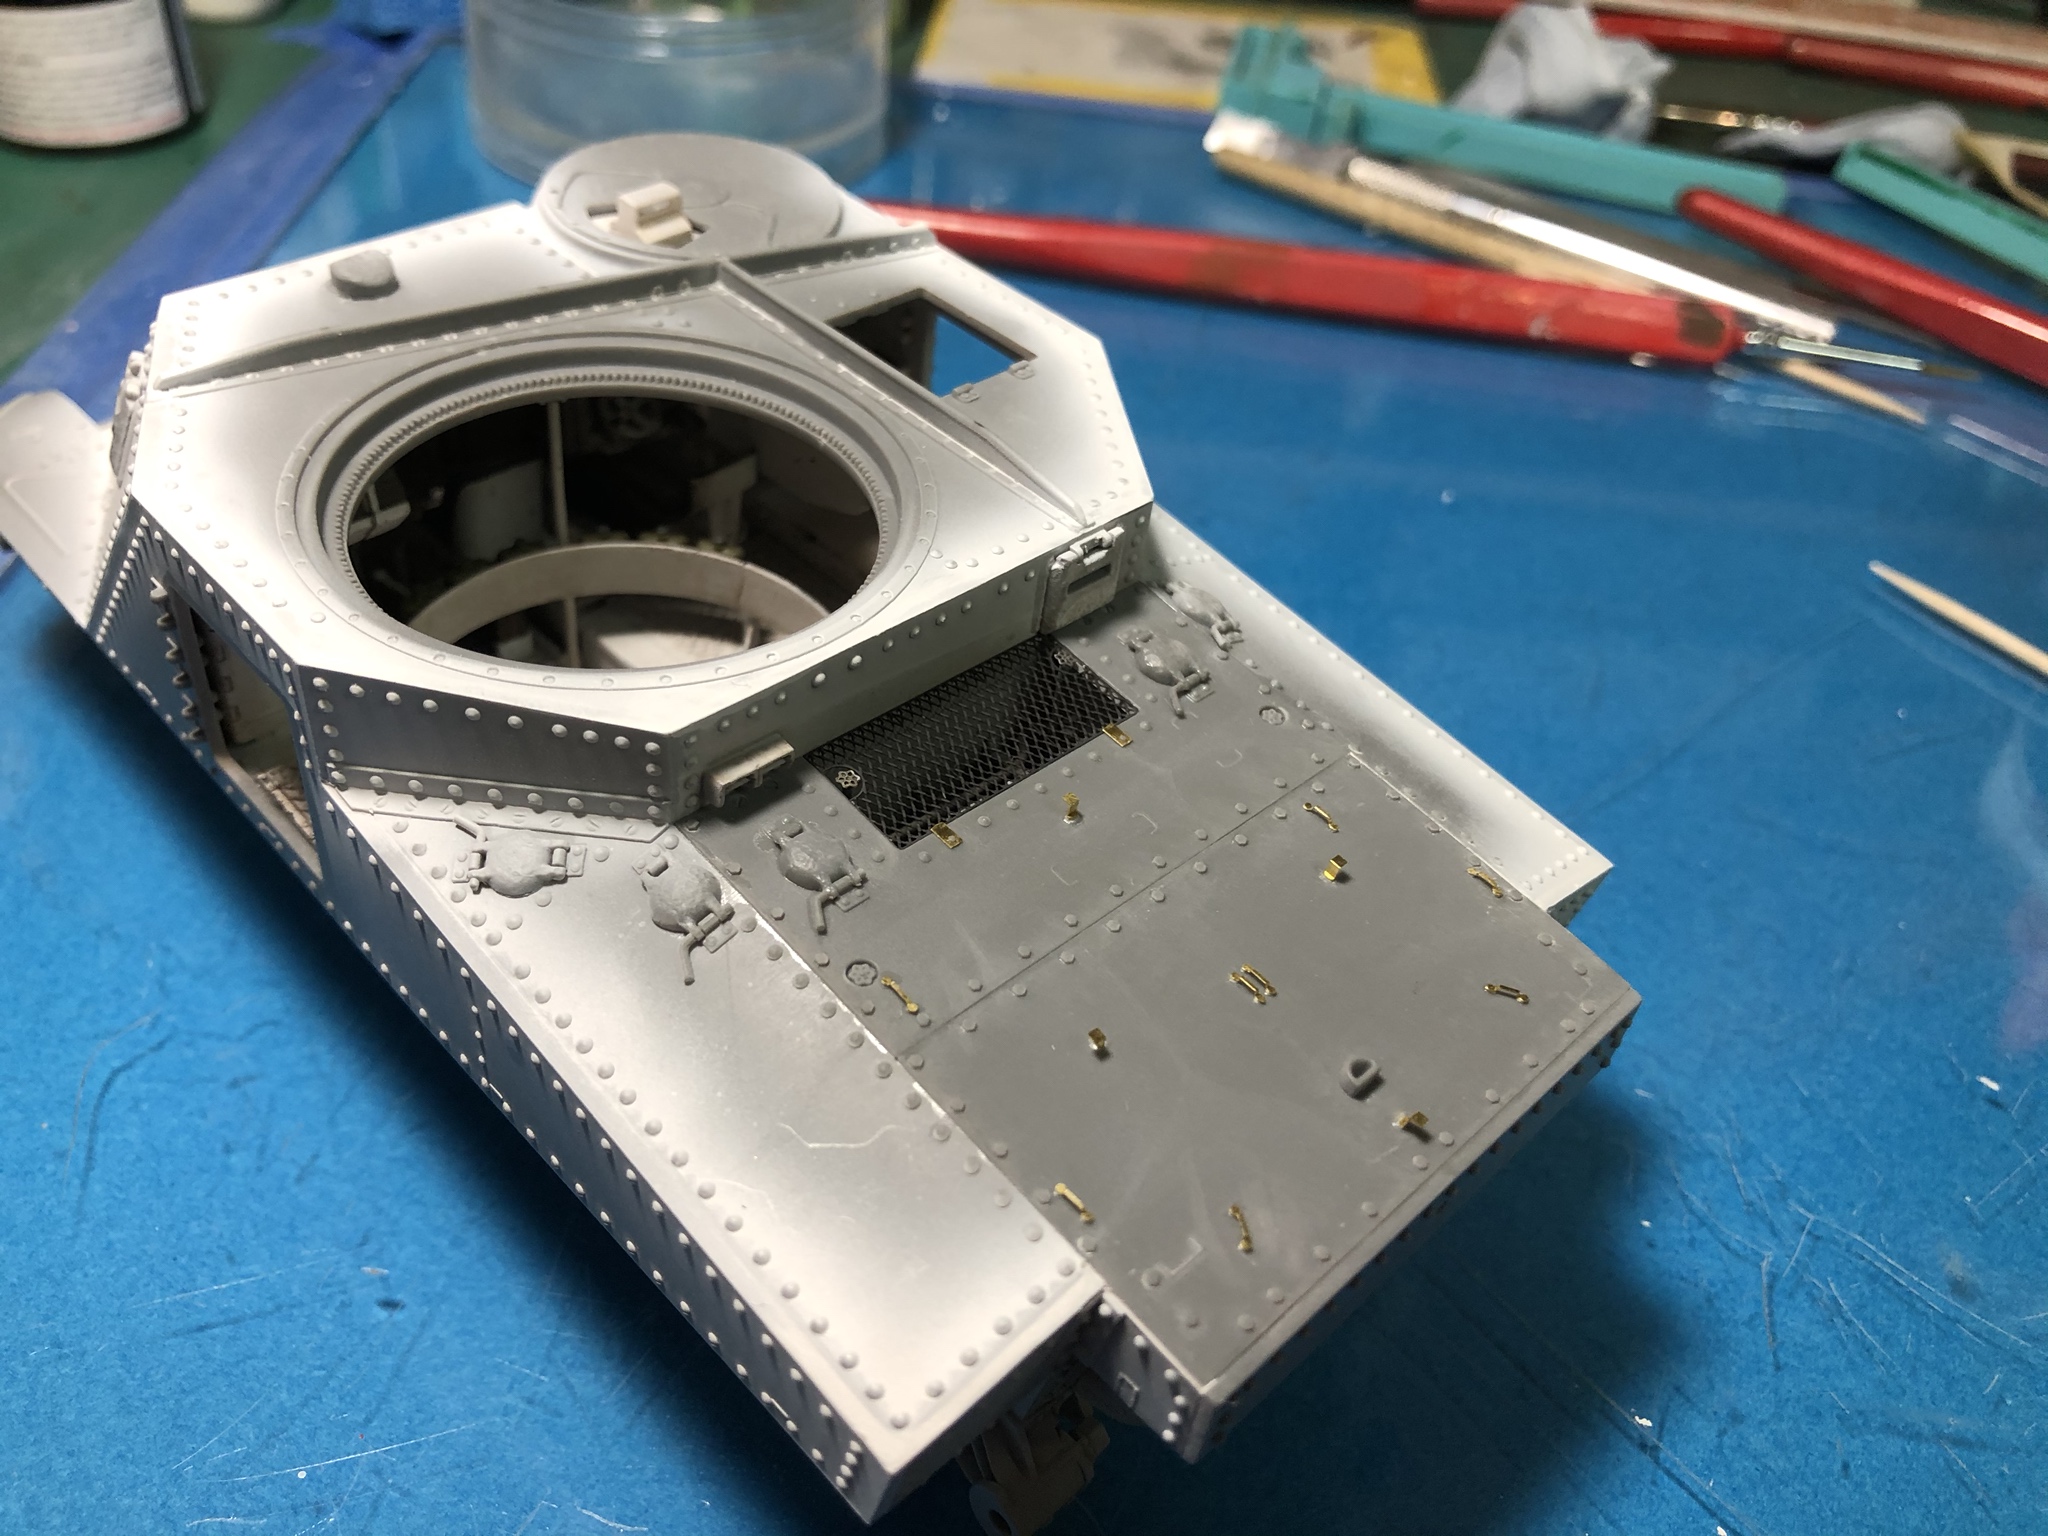
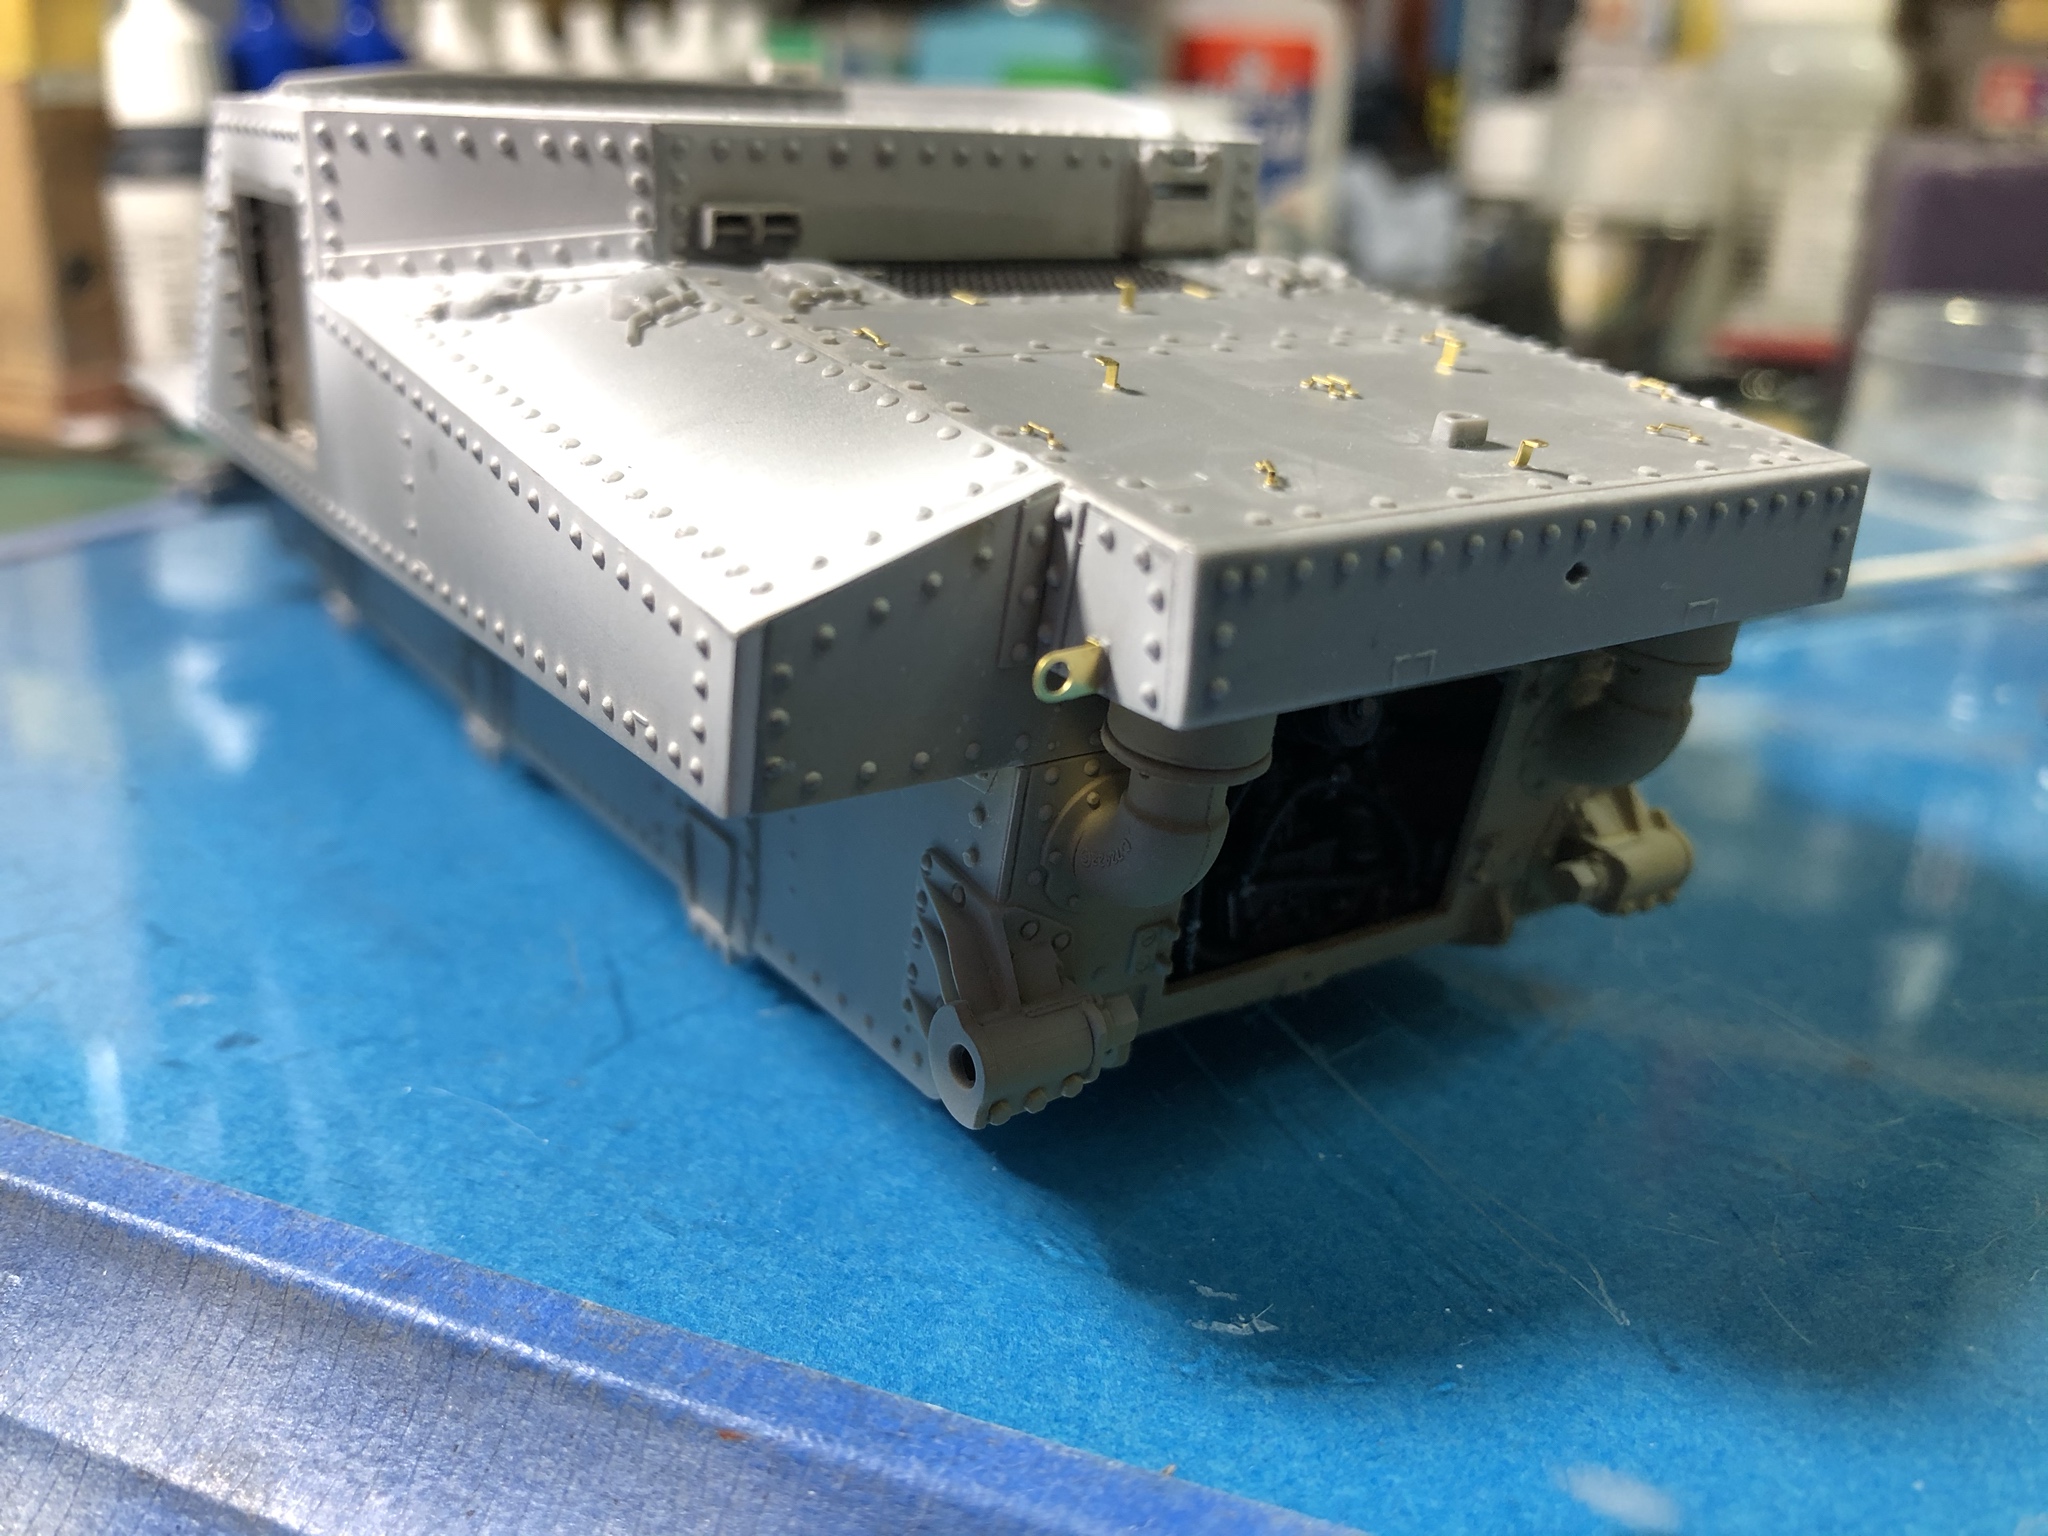
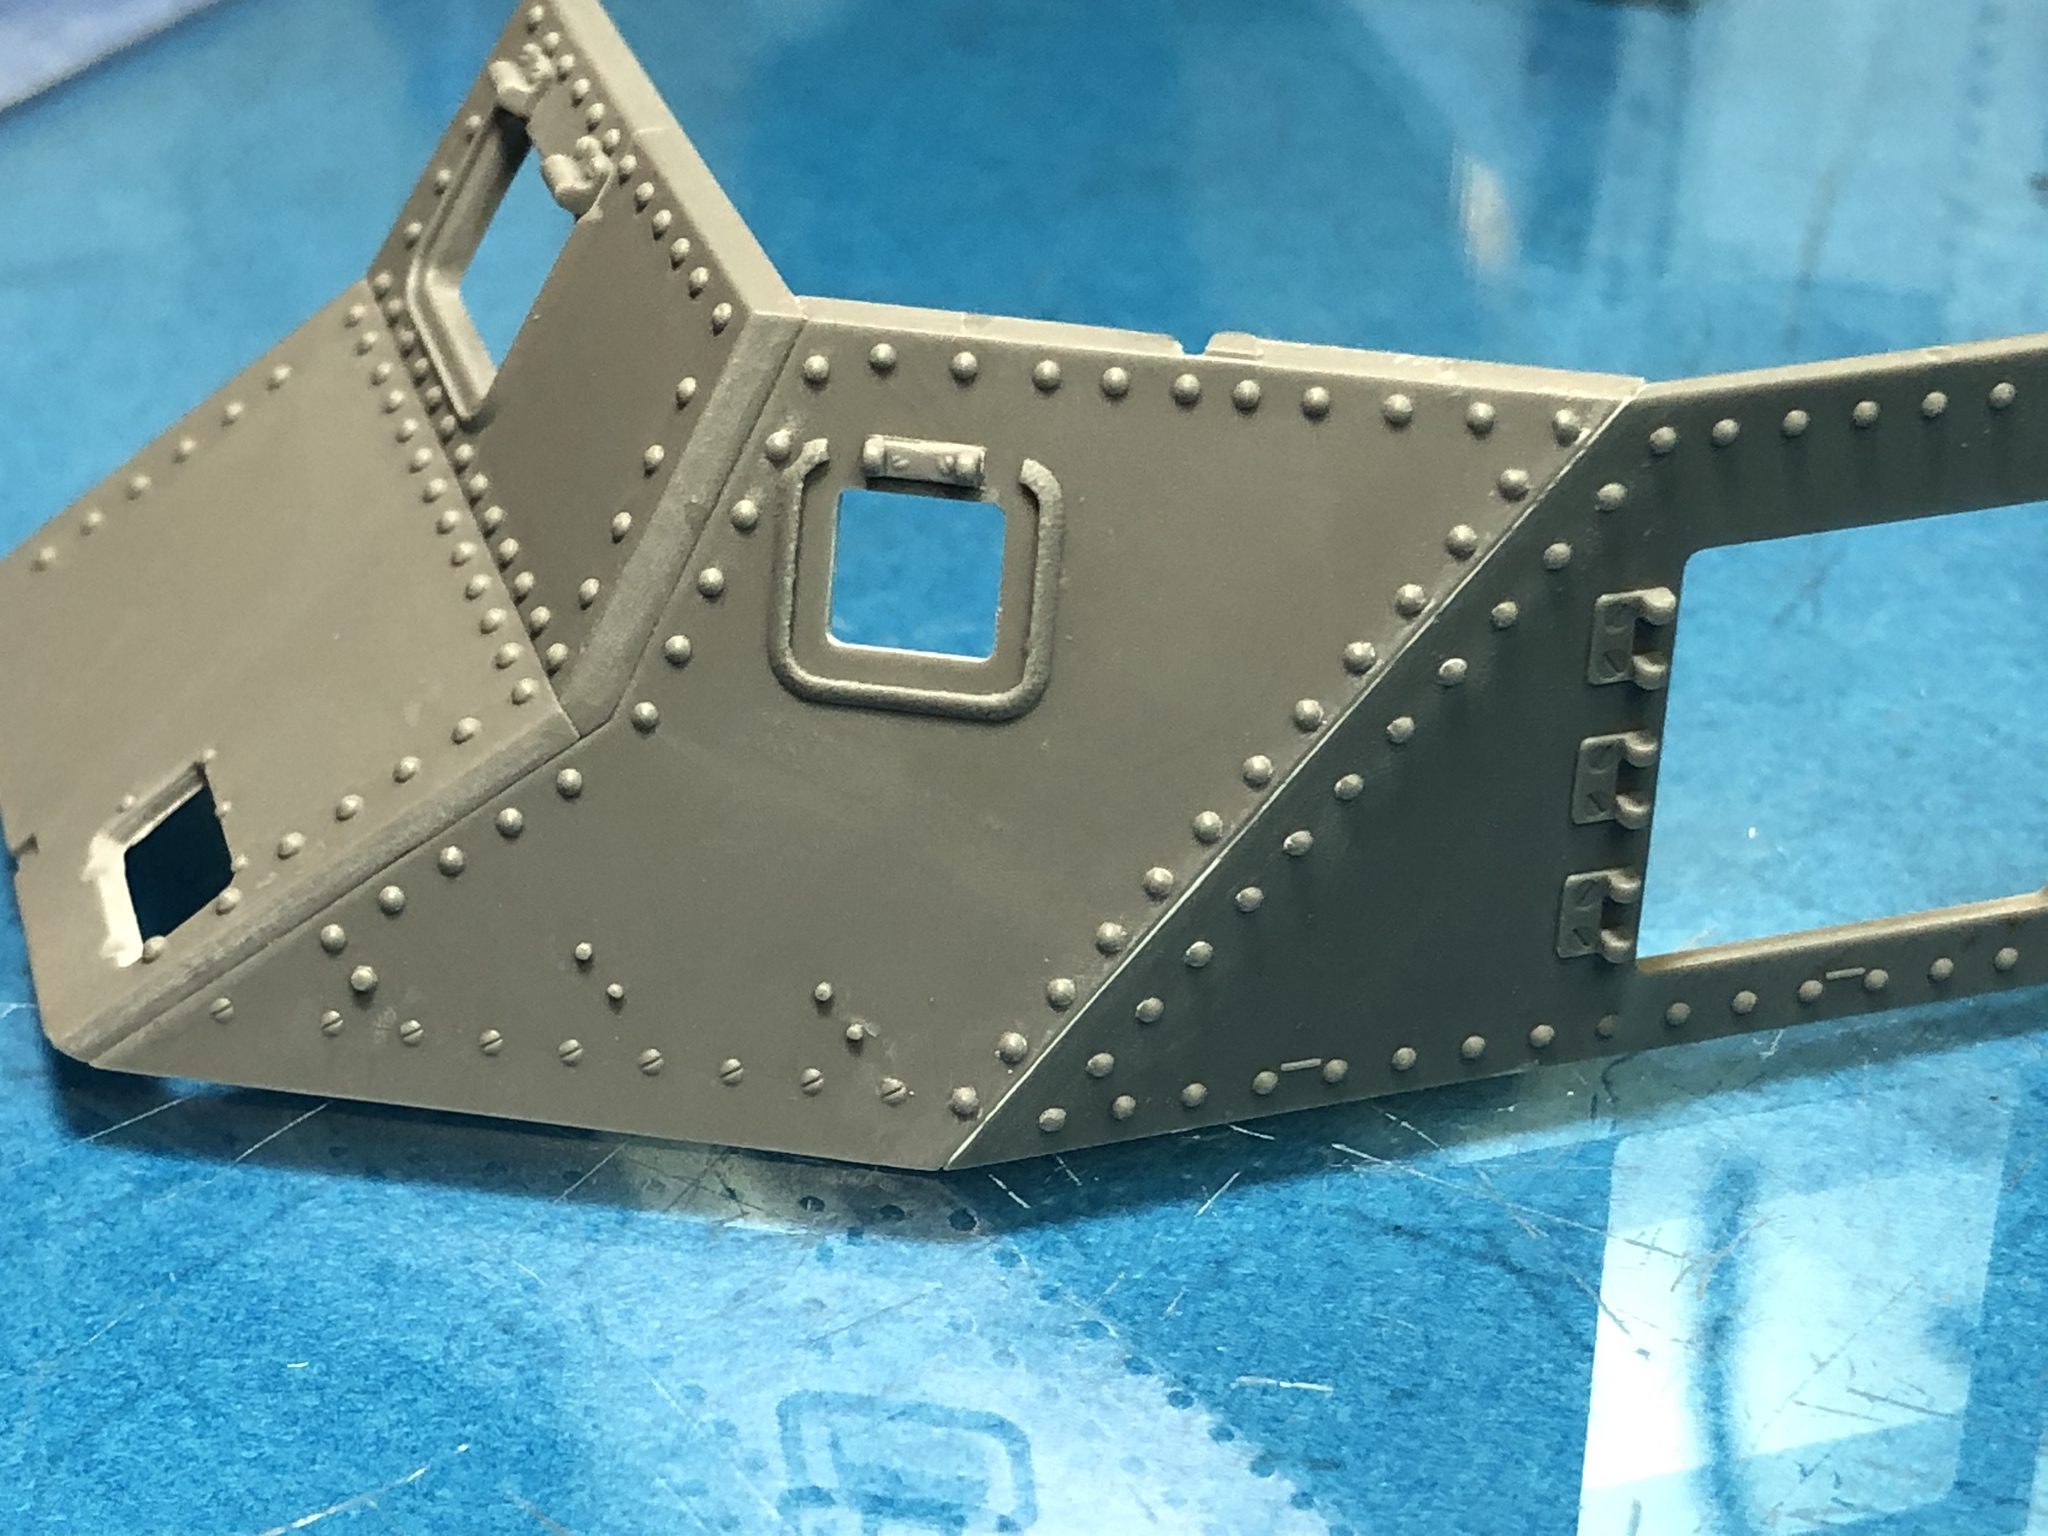
Again, I wanted to be able to fill joints inside and out, so I skipped ahead and cemented the other side of the upper hull and front together, and filled and painted the inside.
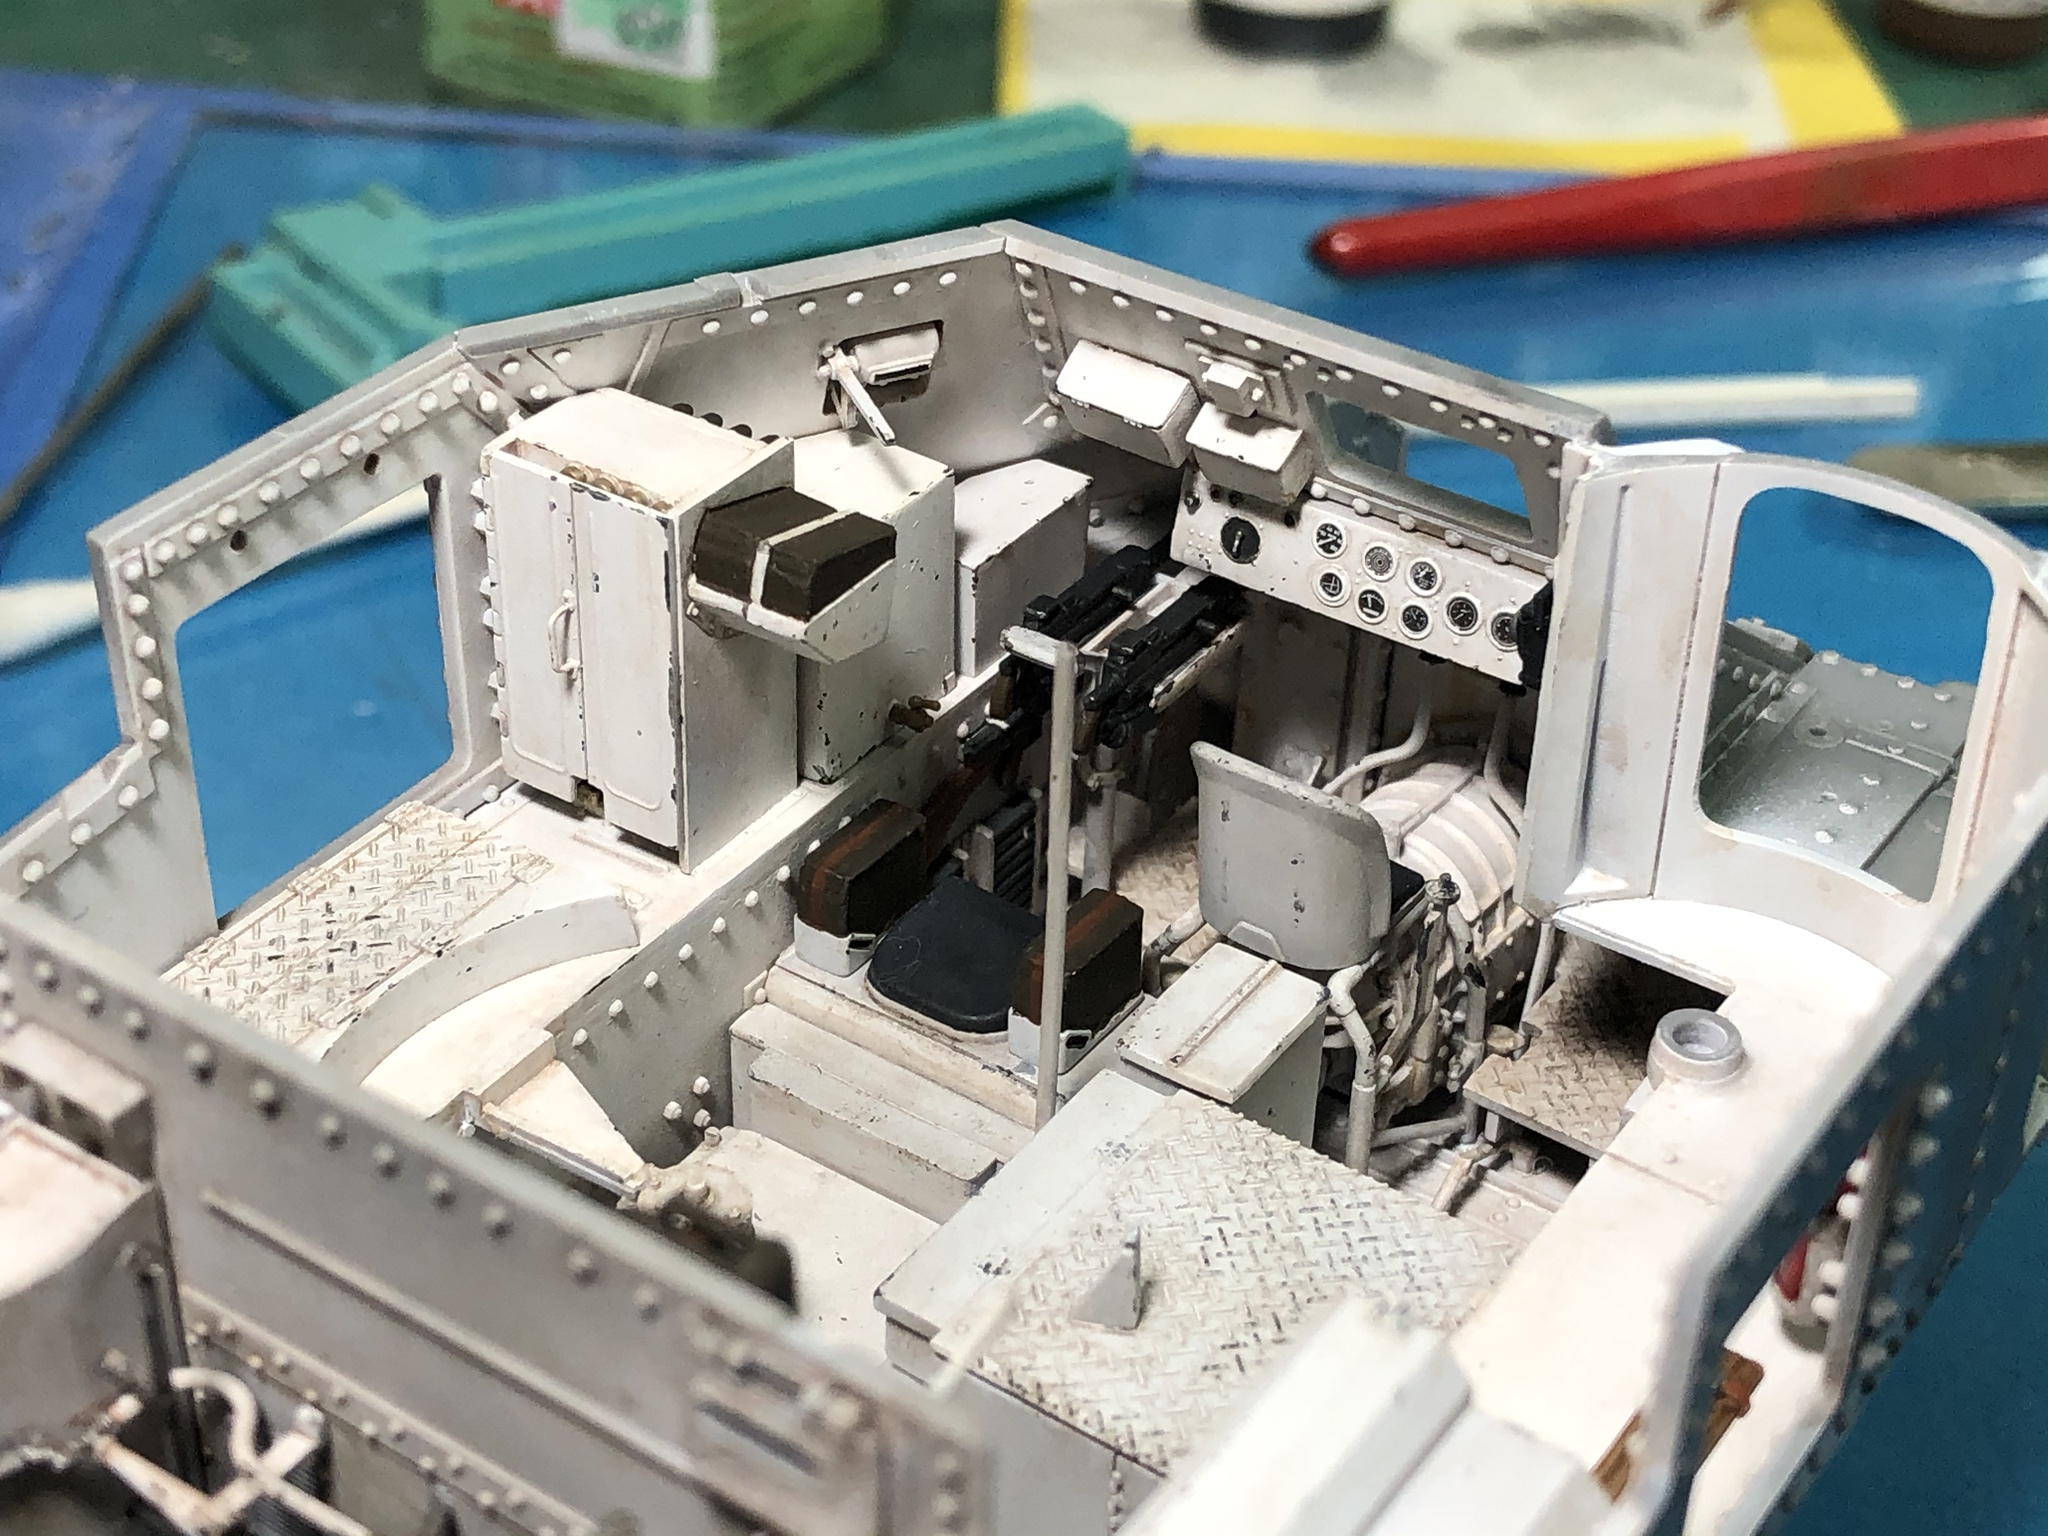
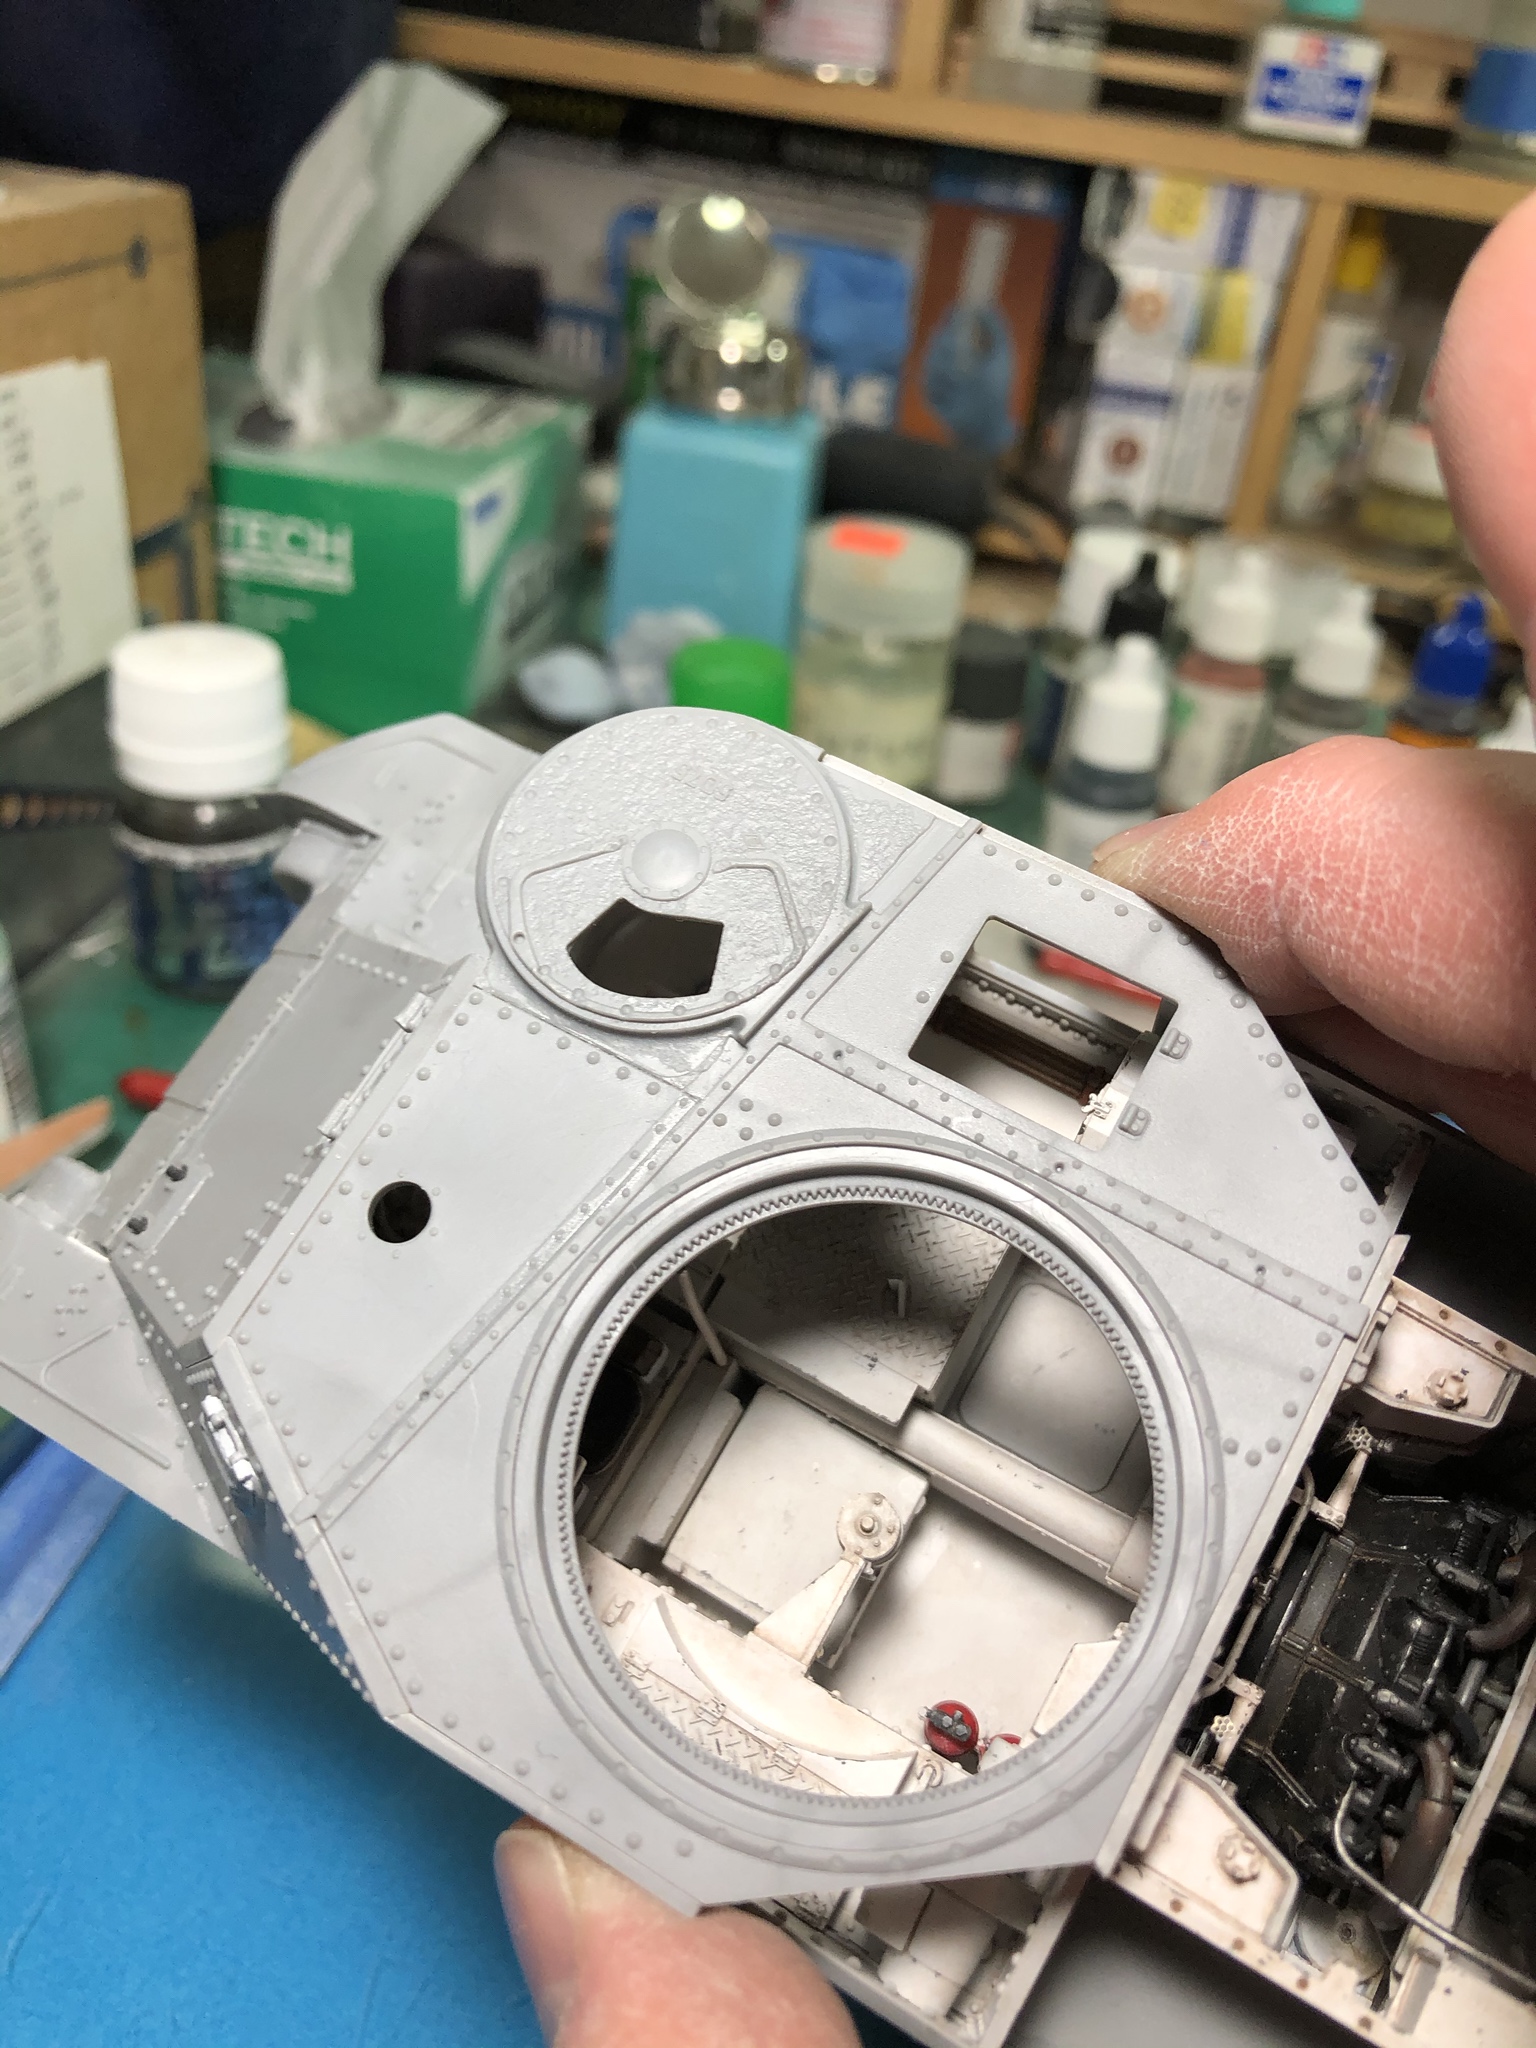
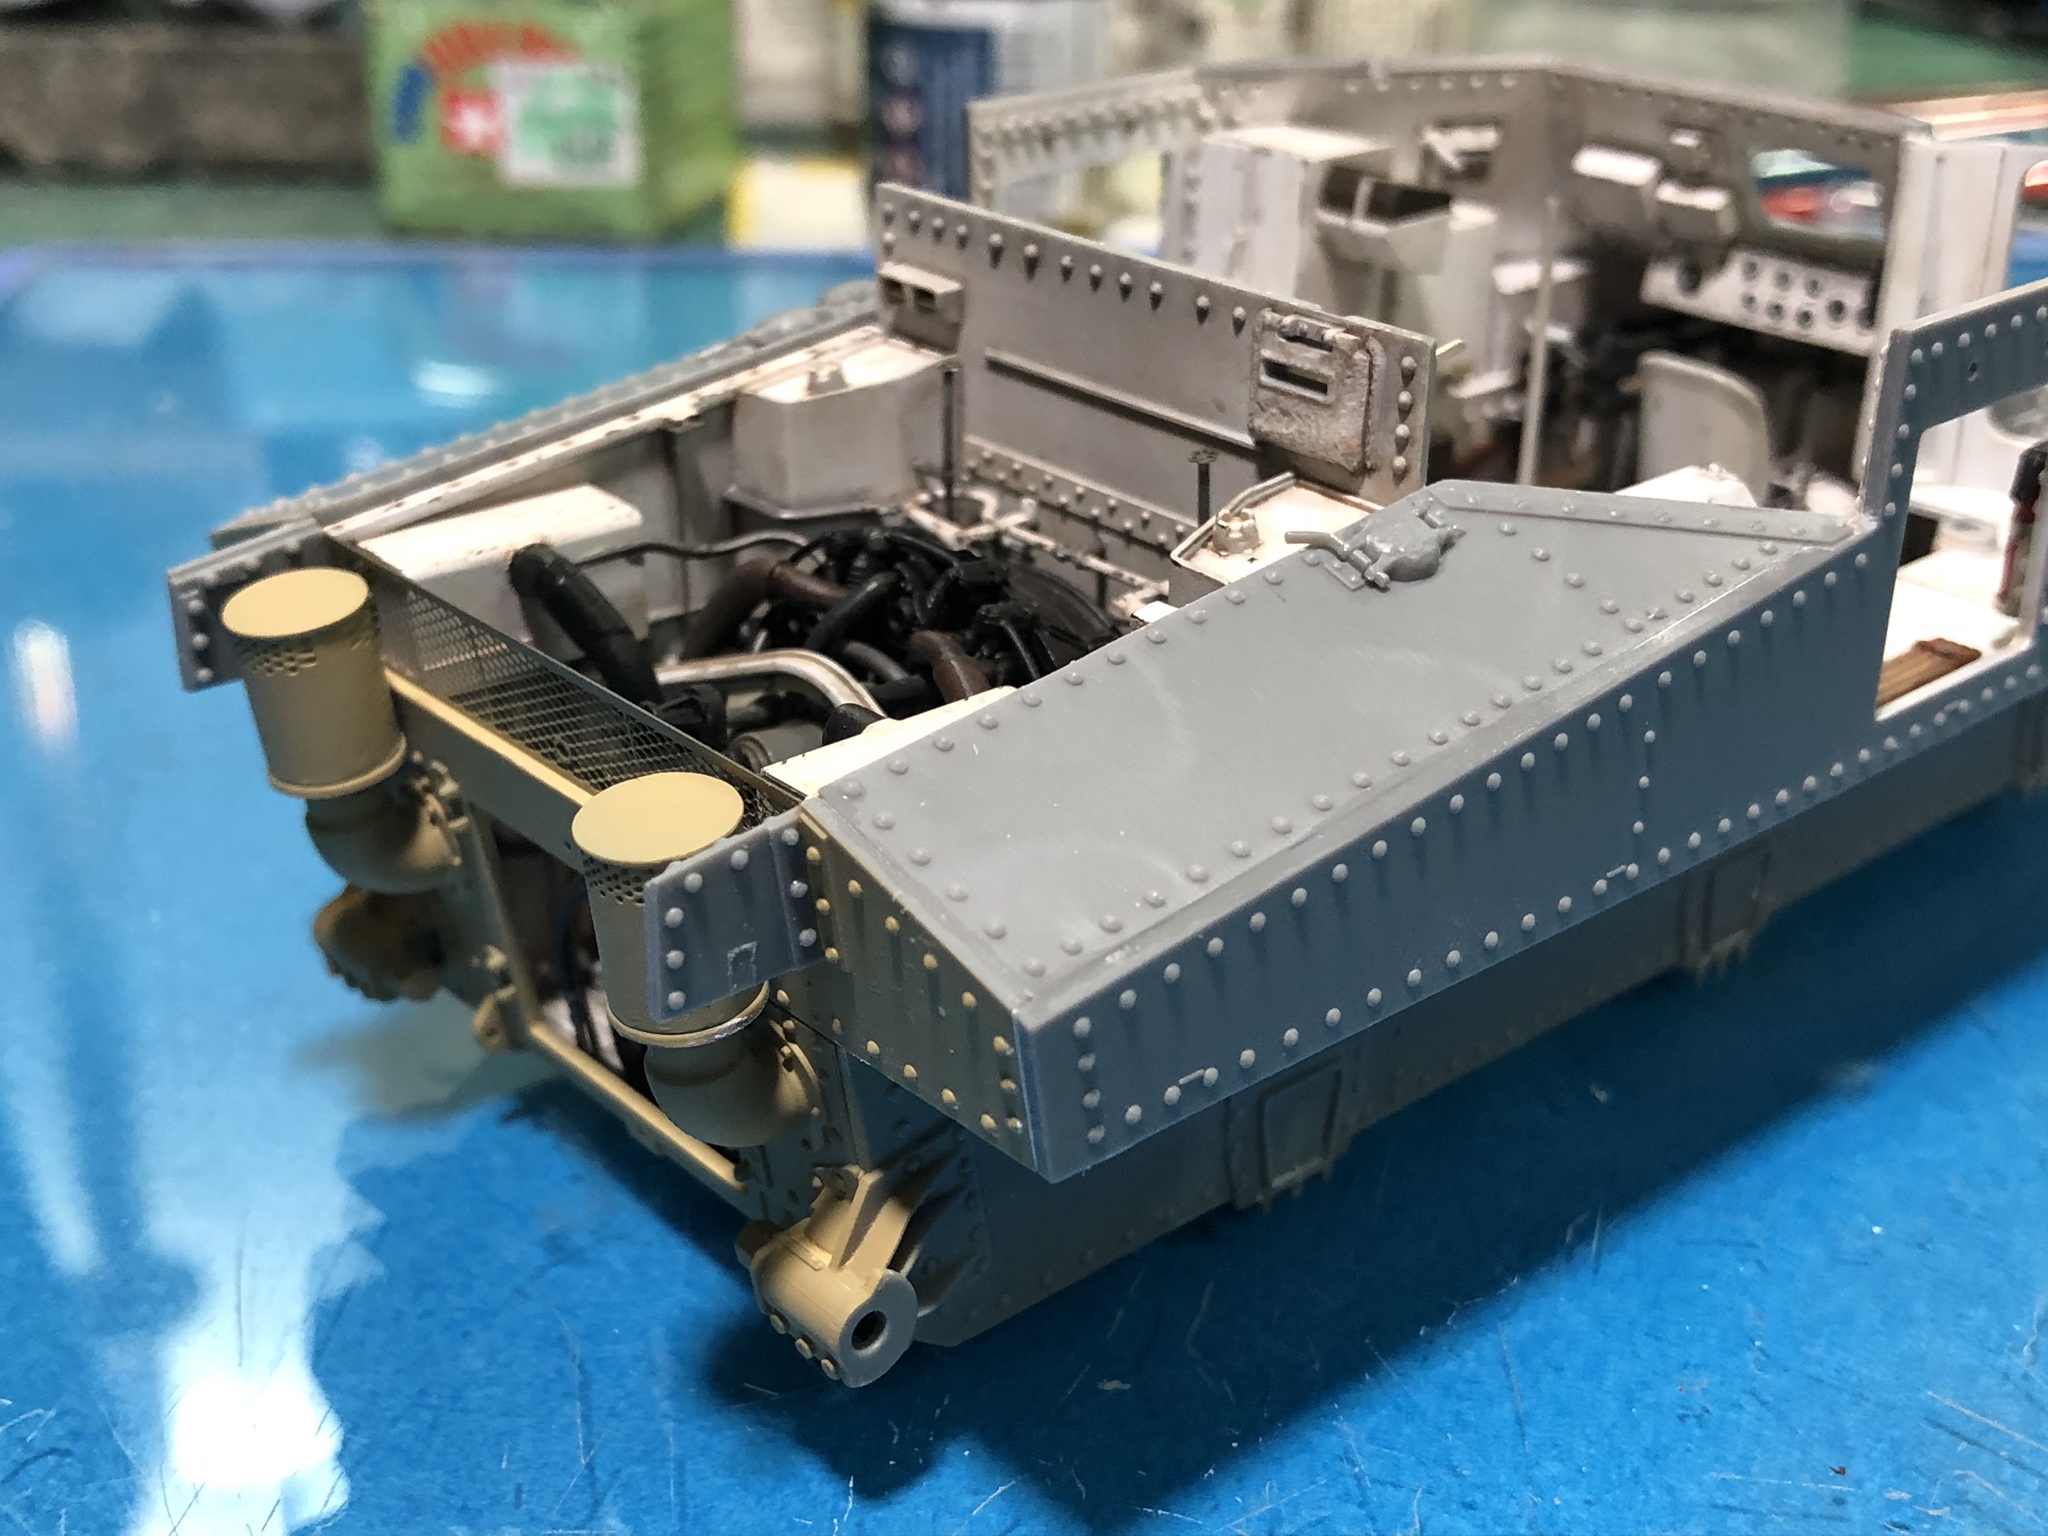
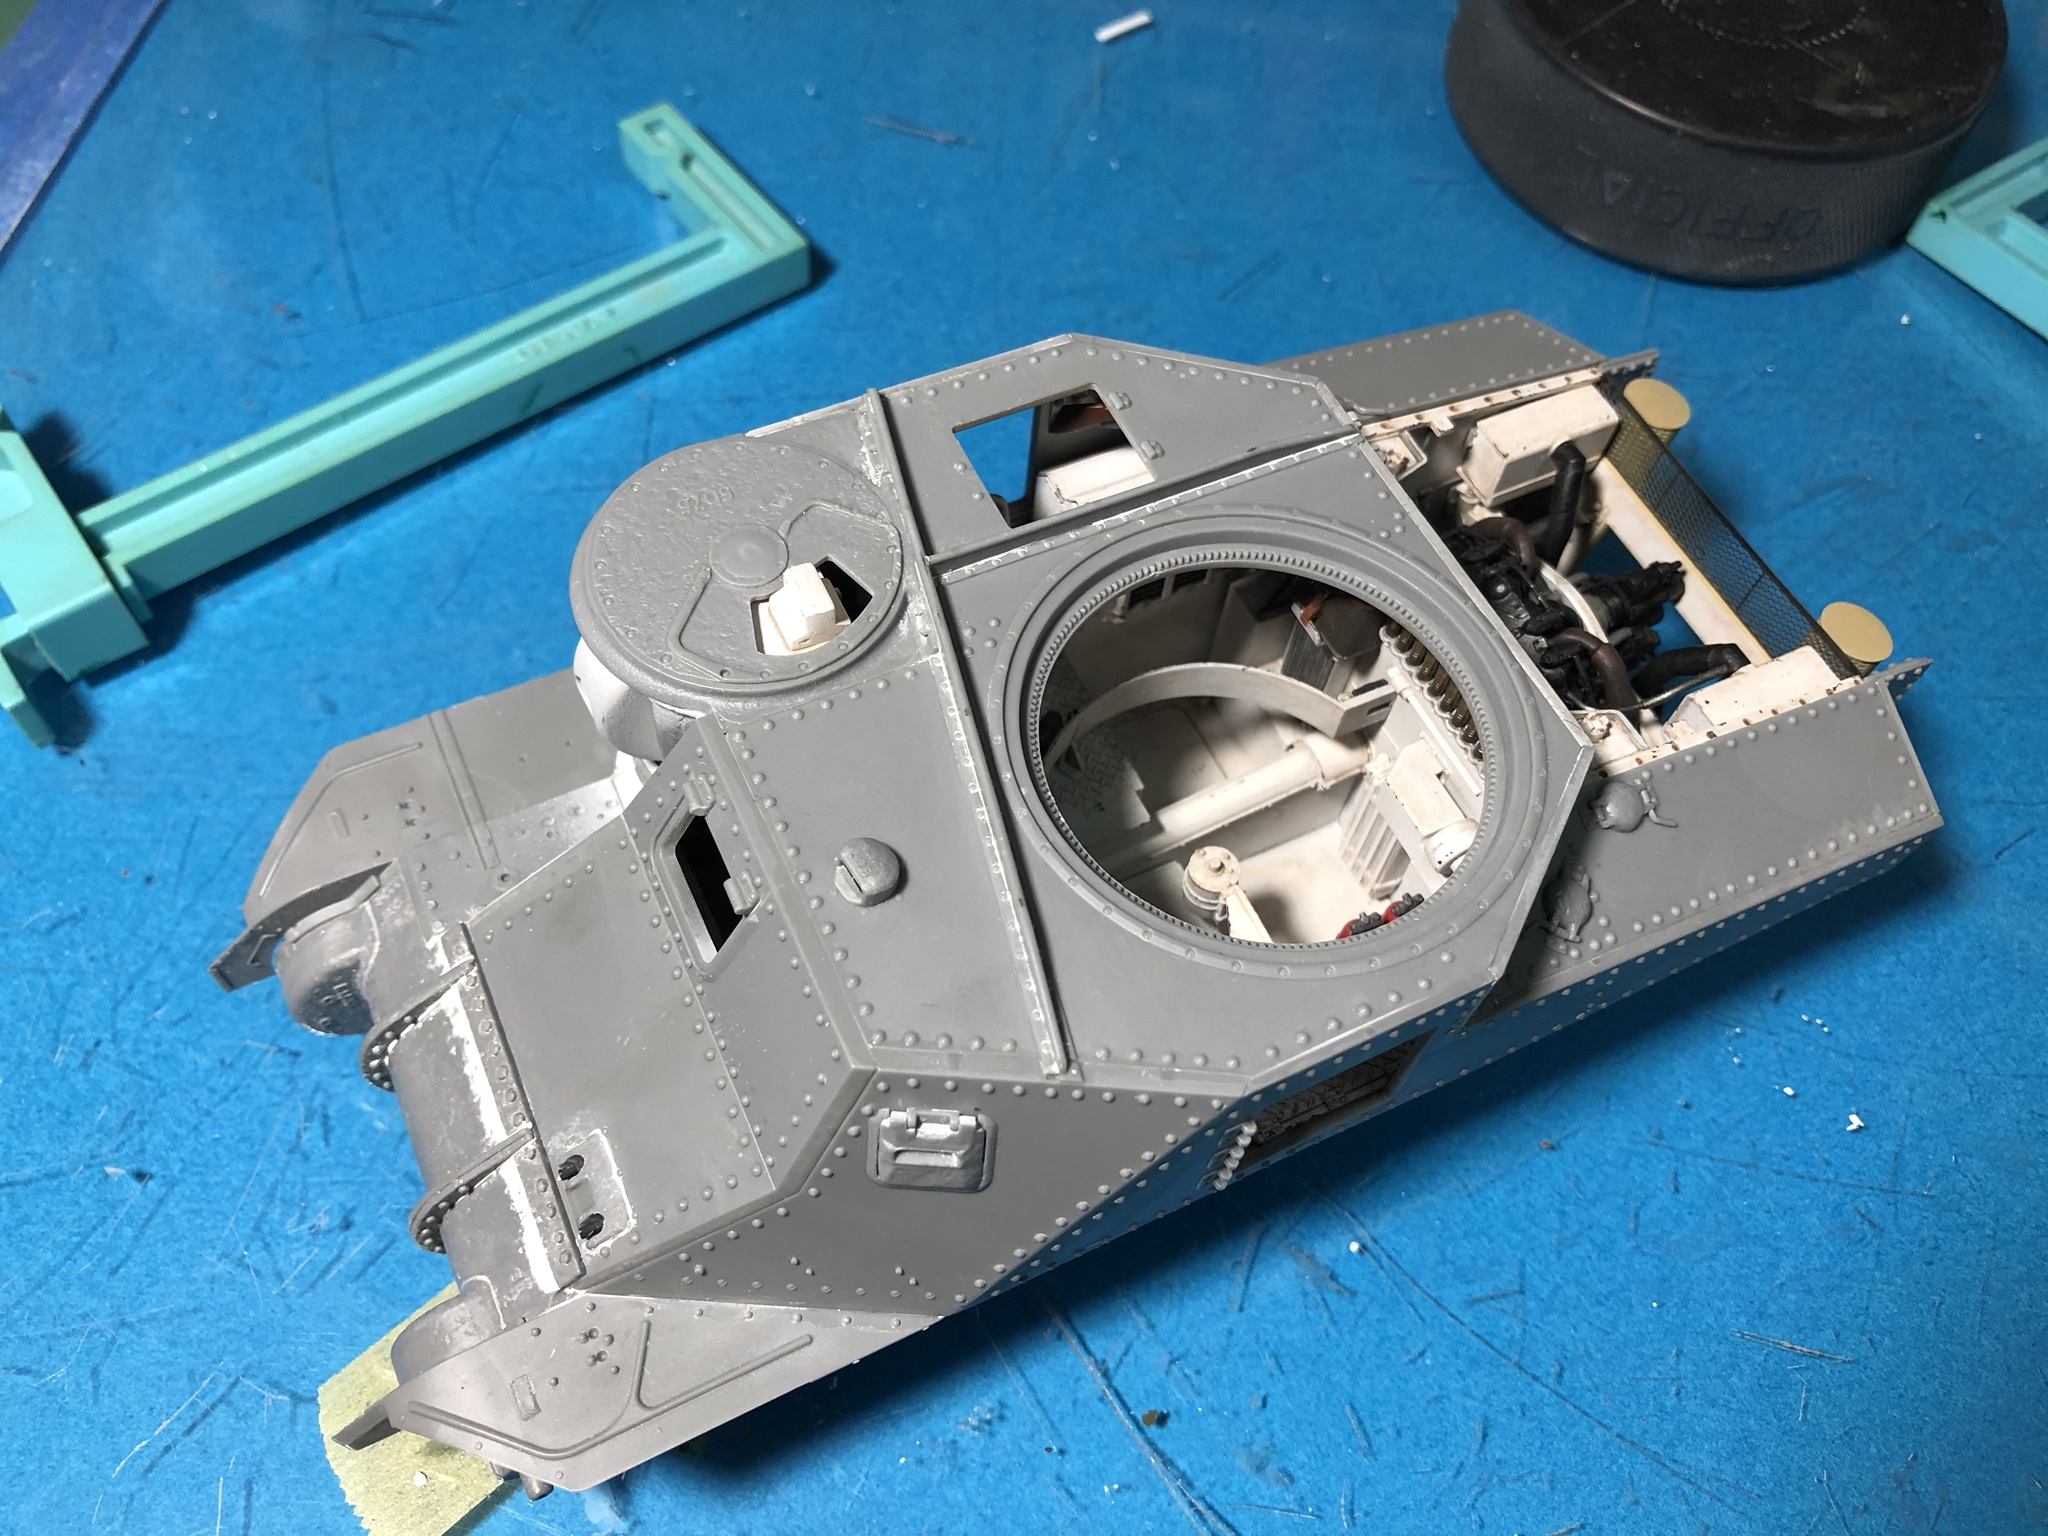
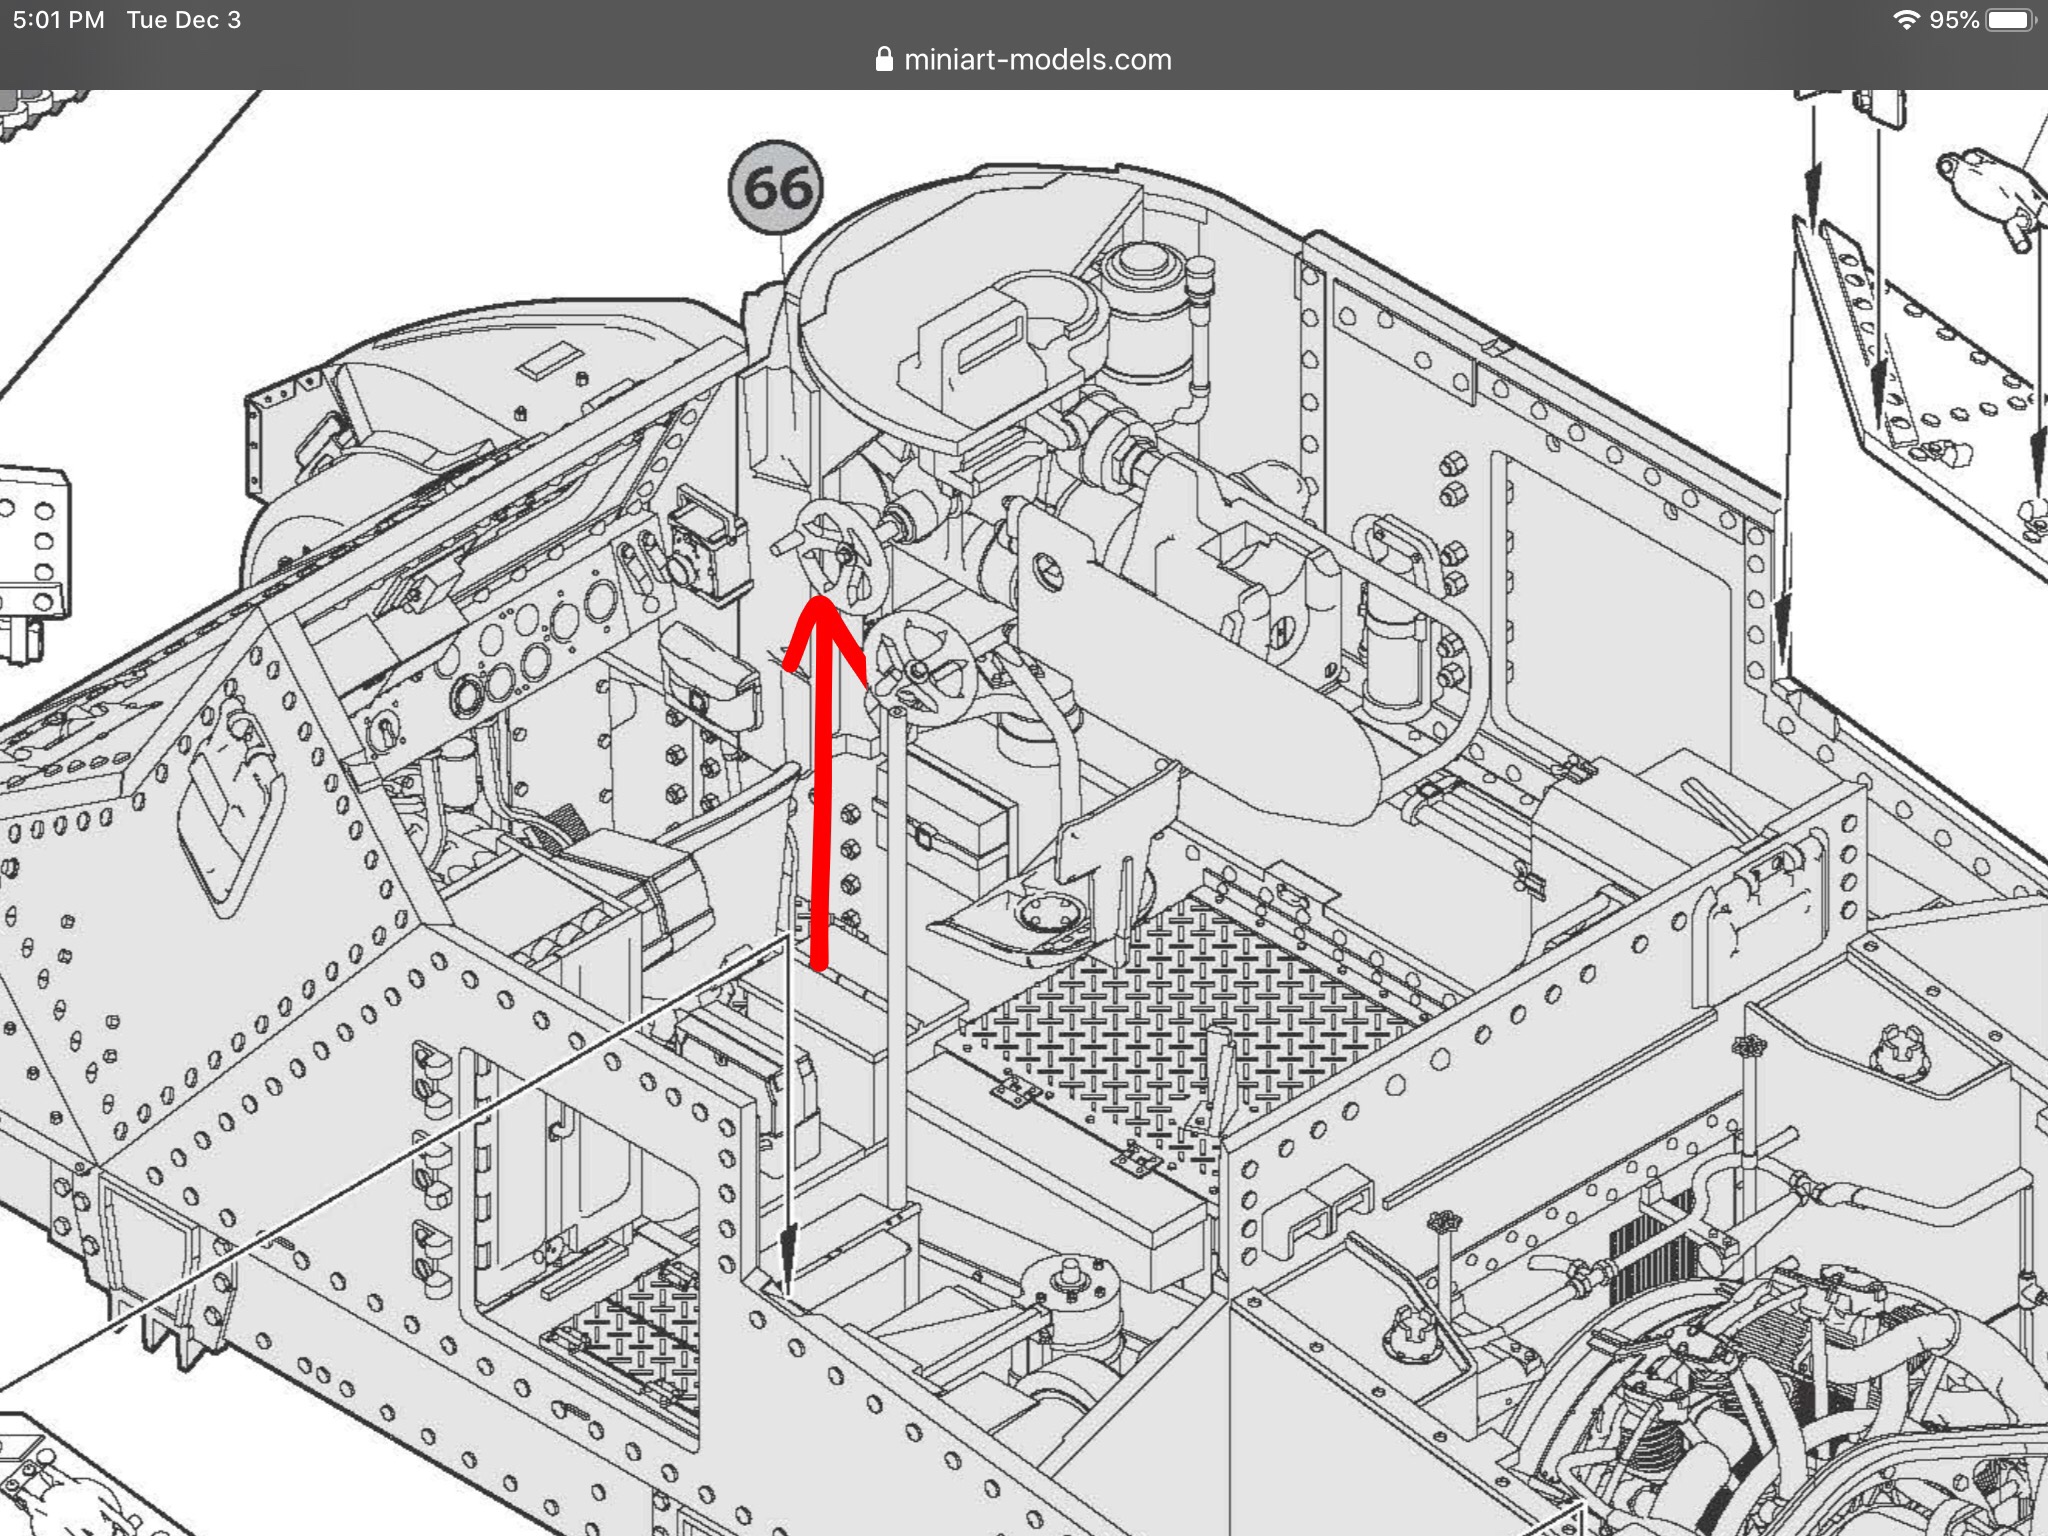
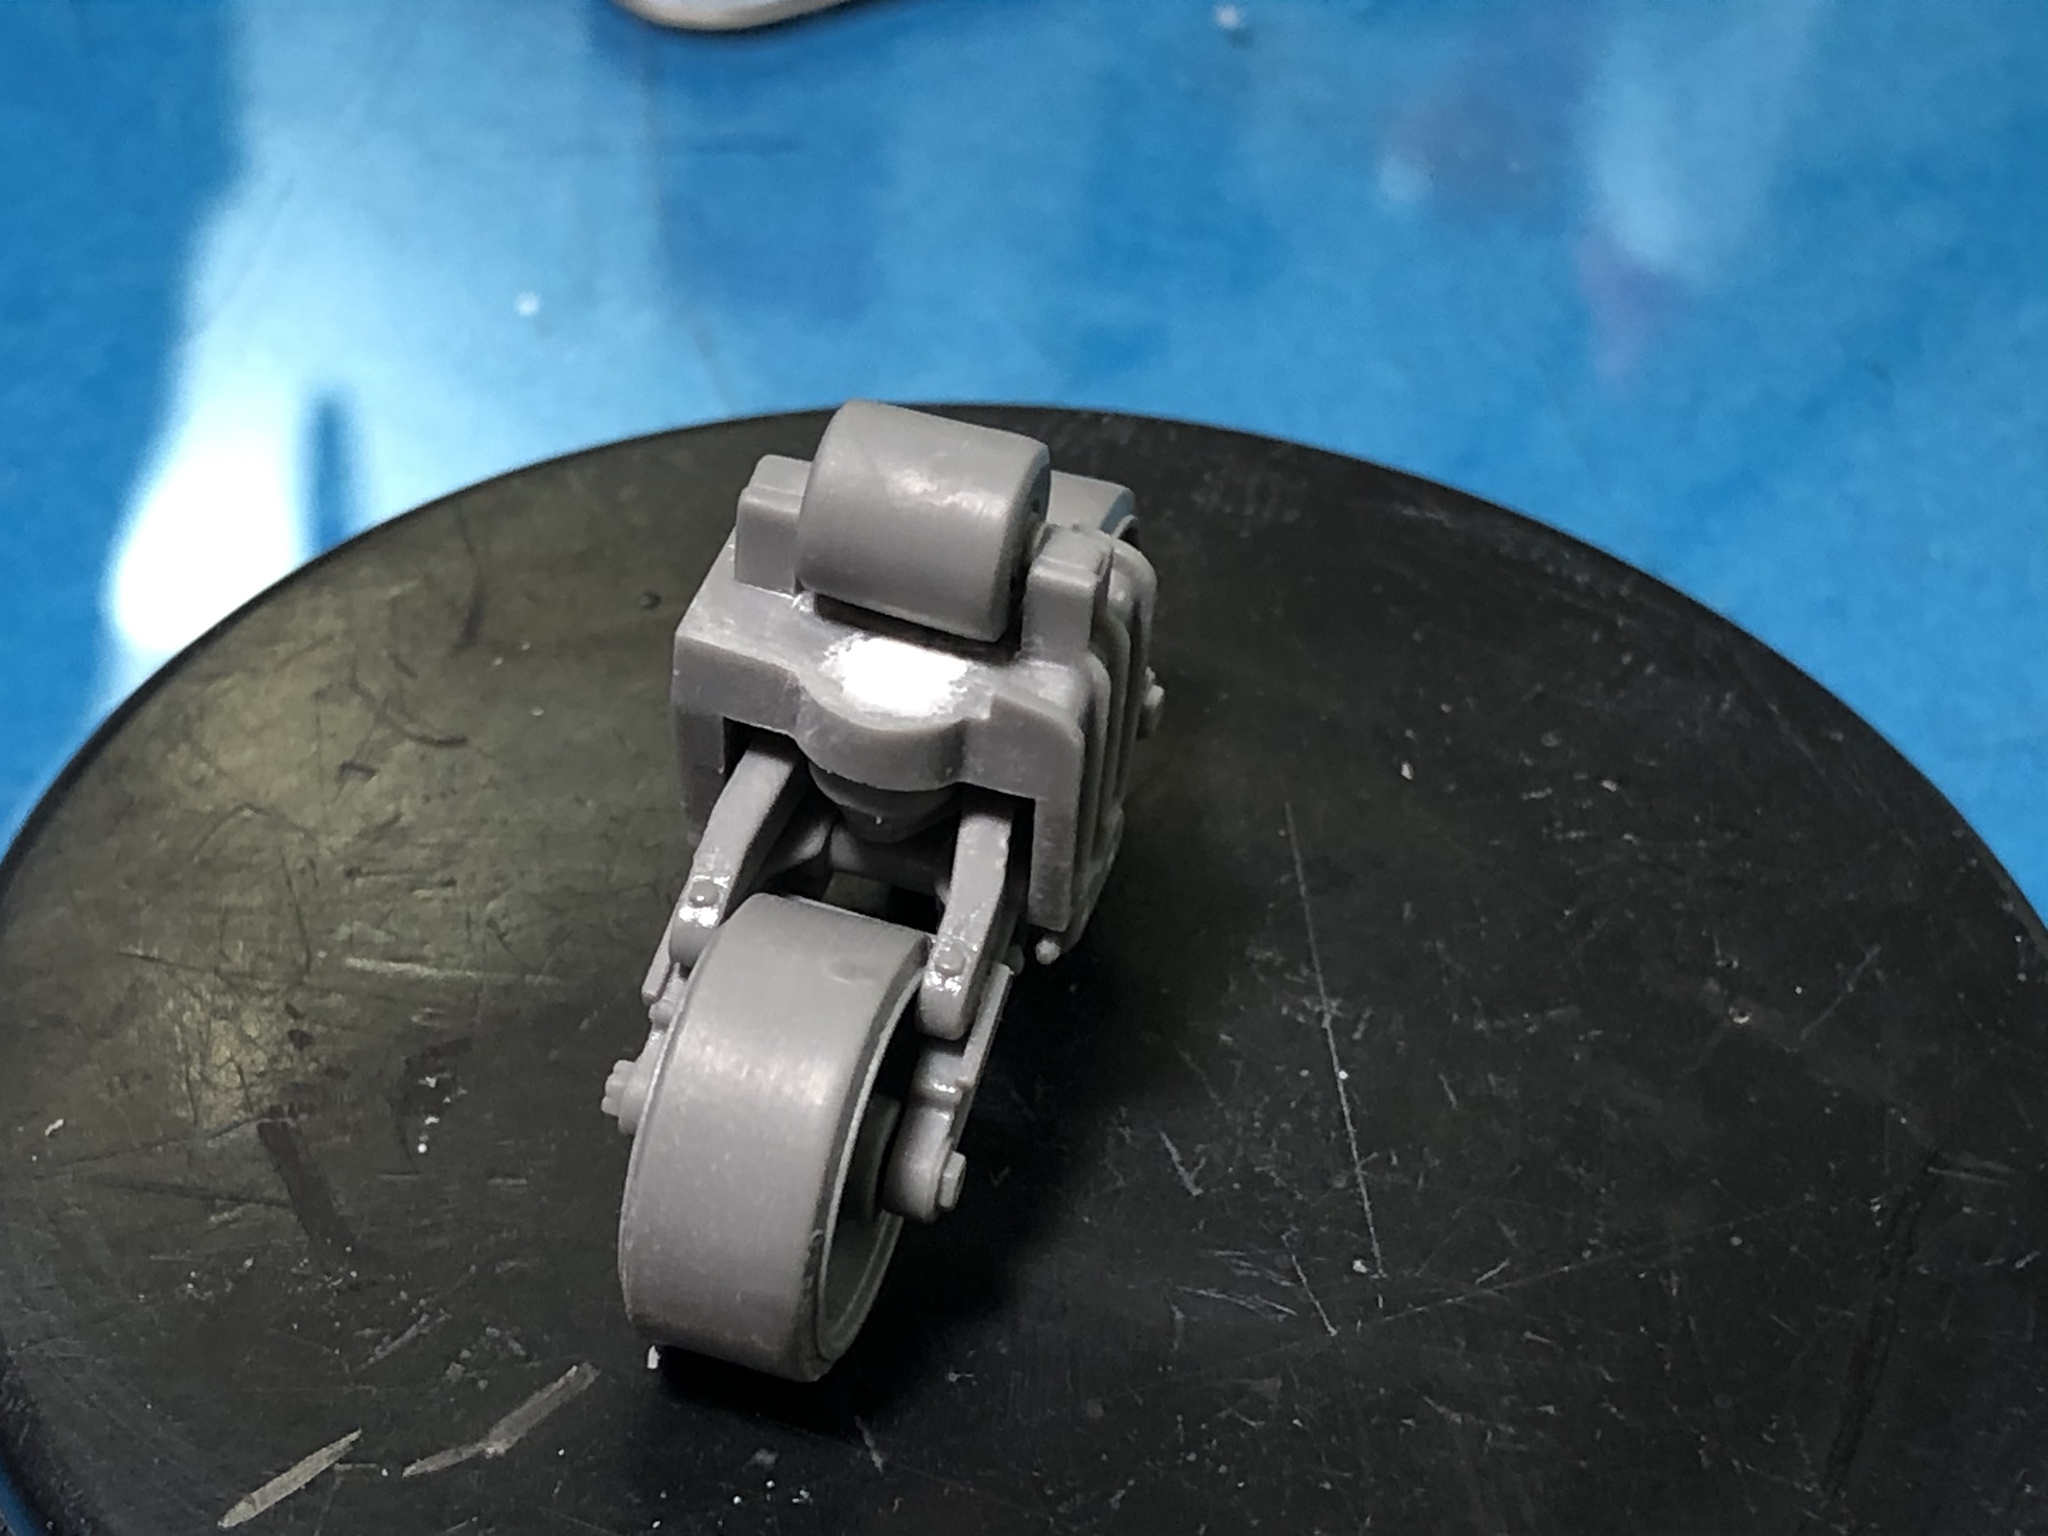
Here is a test fit of the gun cradle in the lower hull. Its just set in and was removed for install later after this picture was taken.
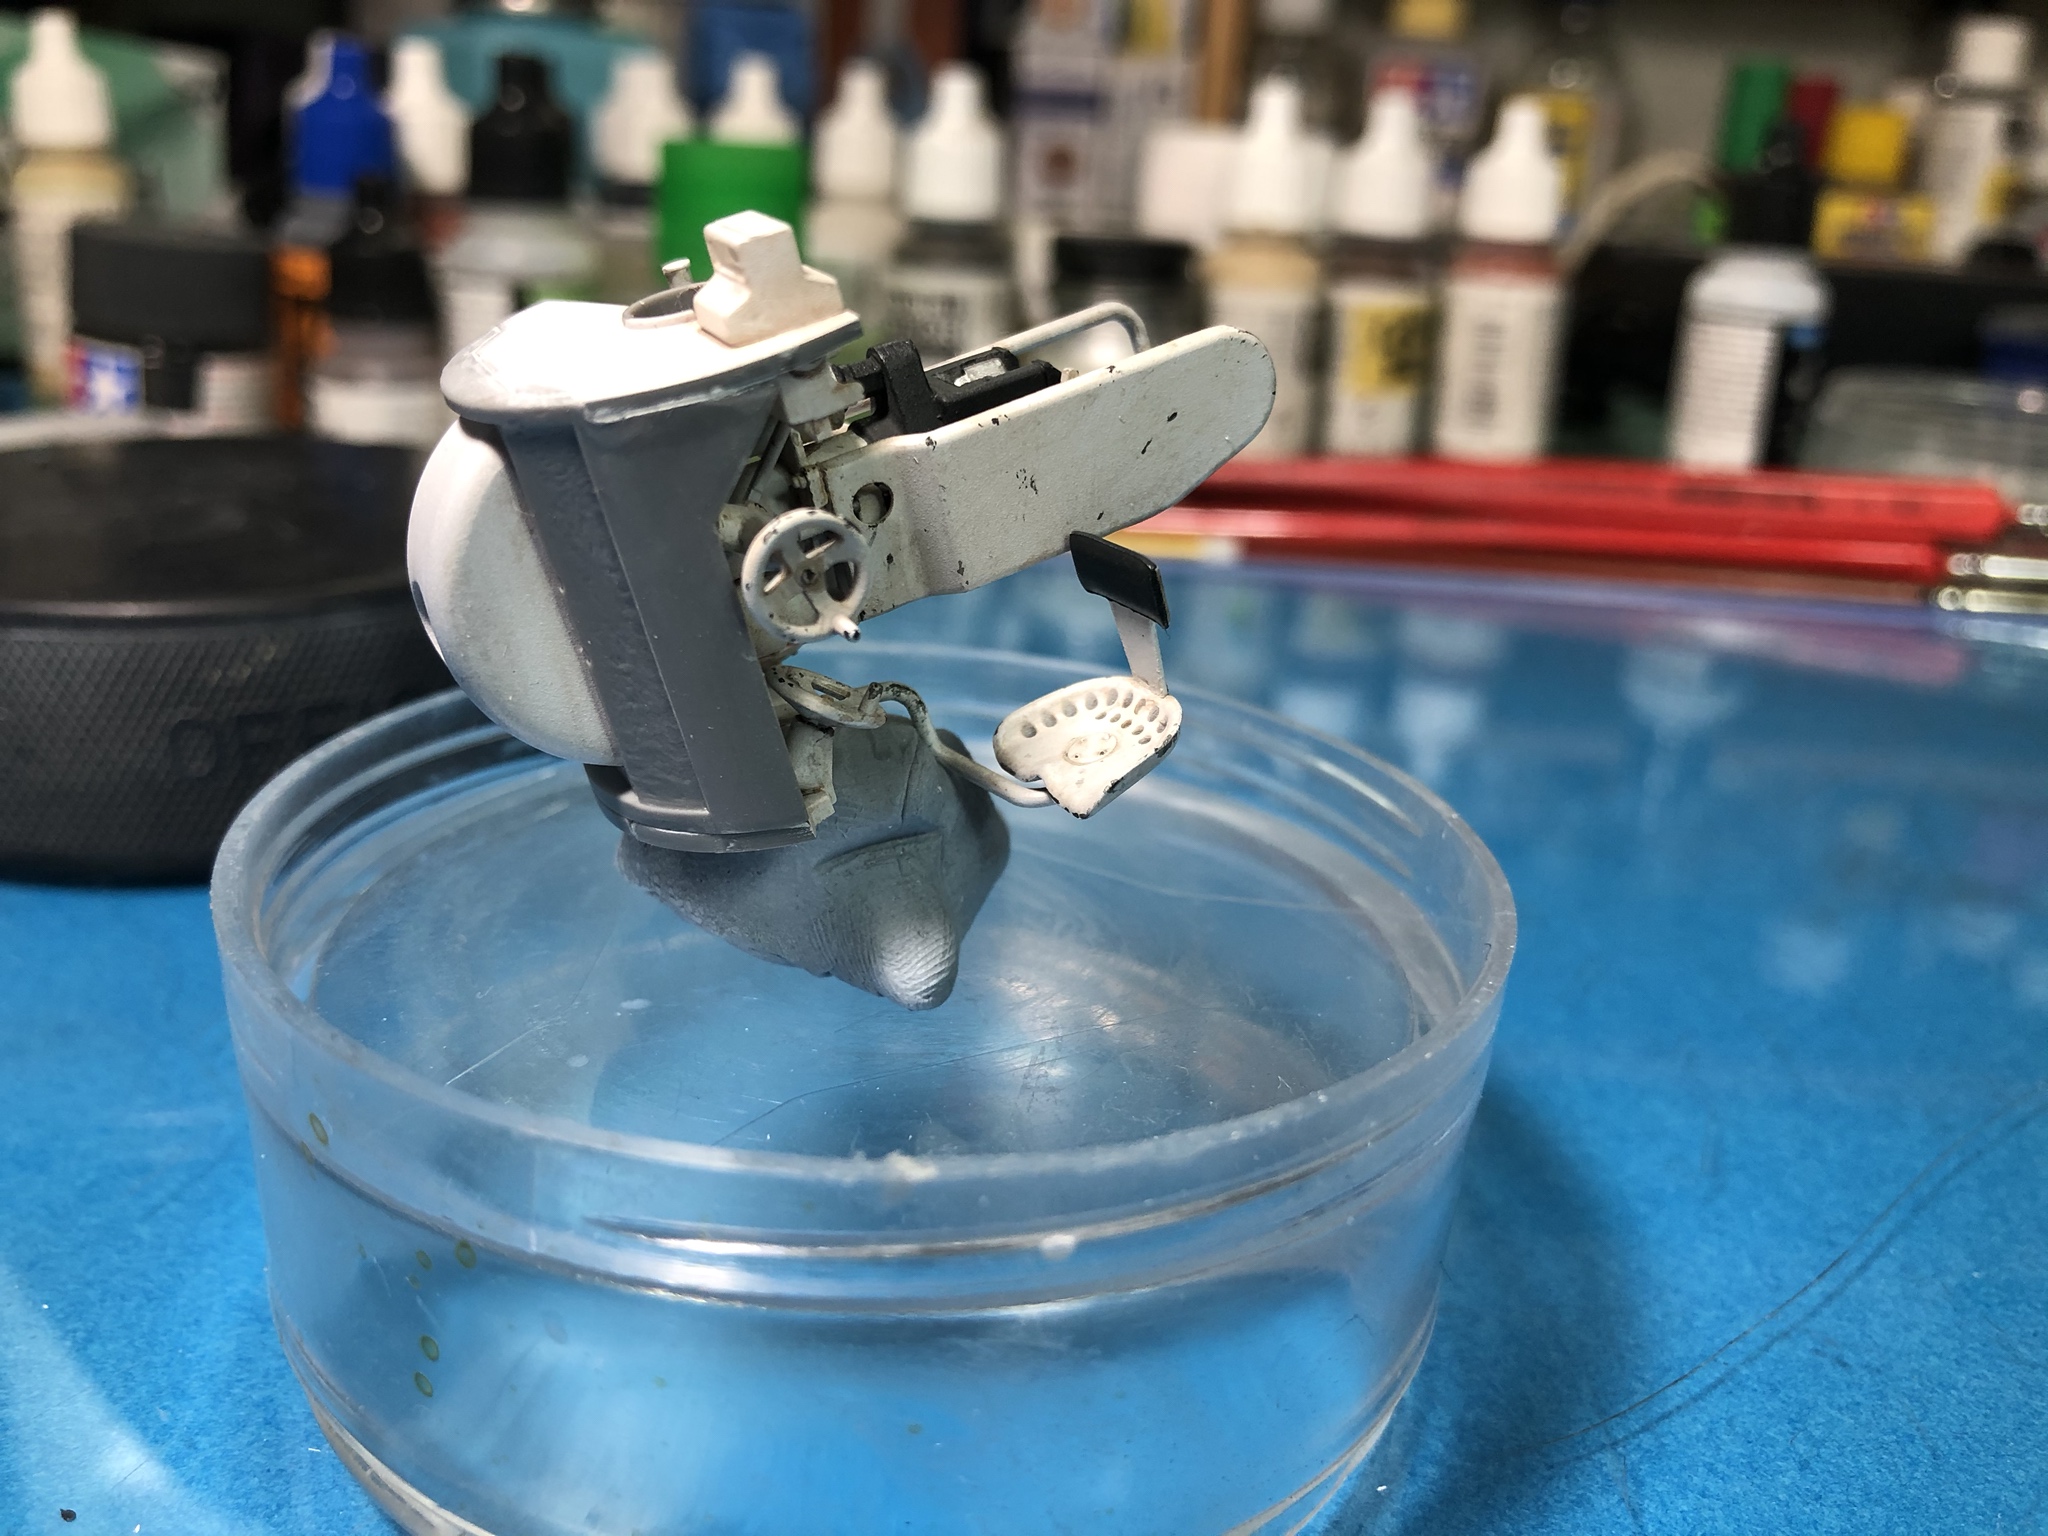
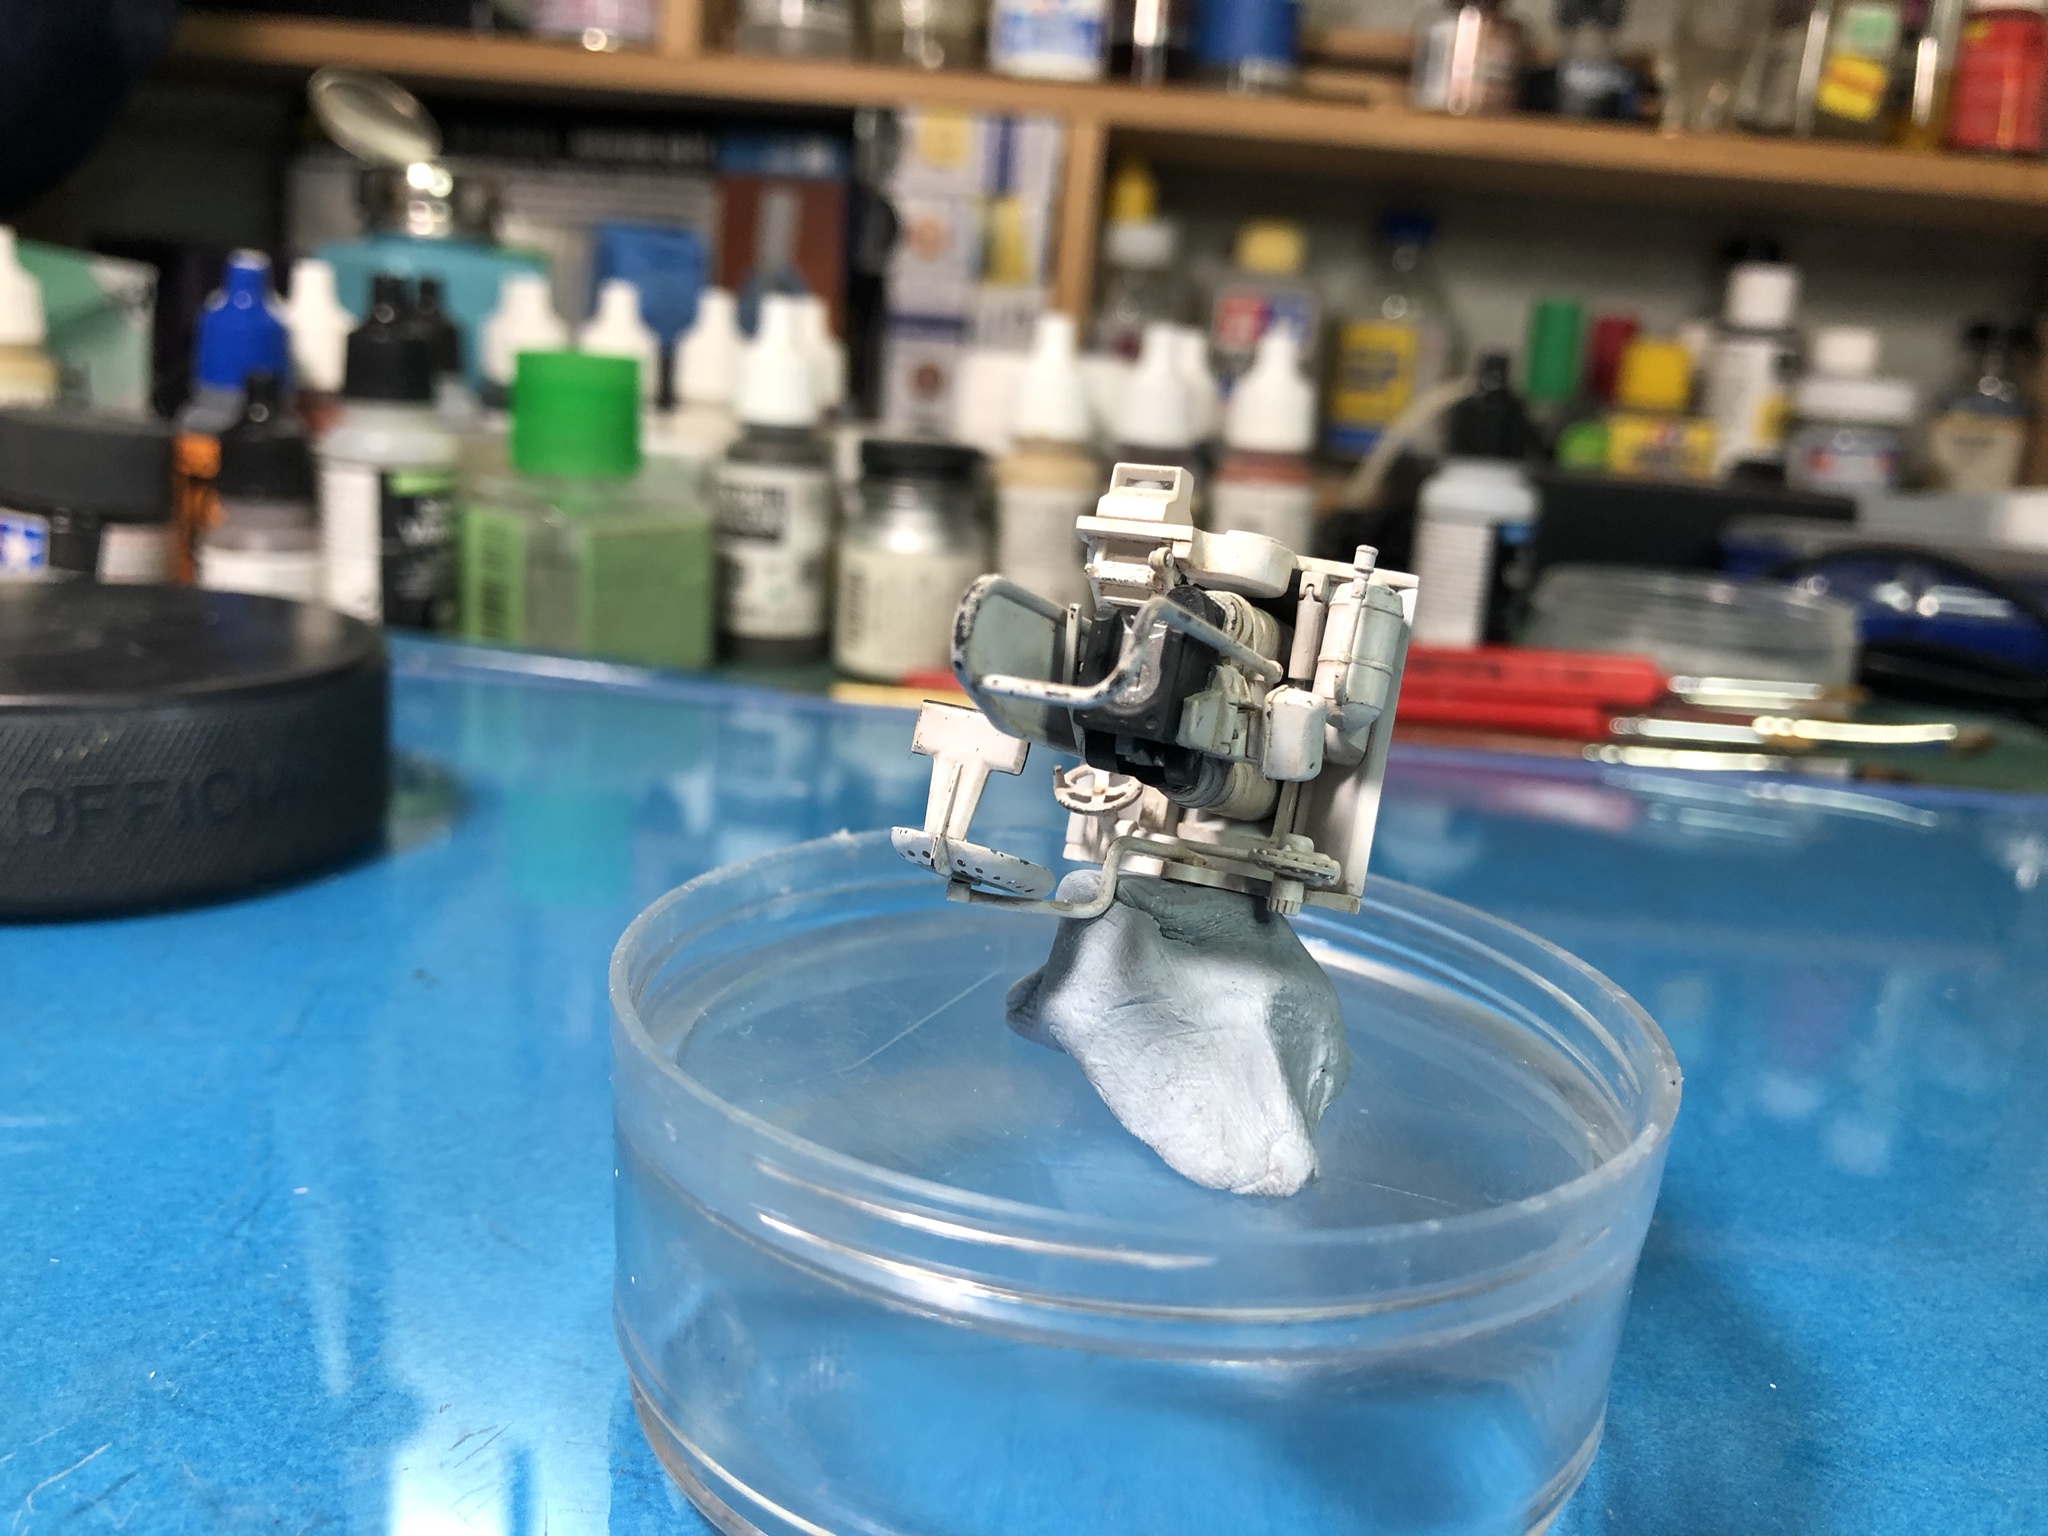
Colors used in these steps were:
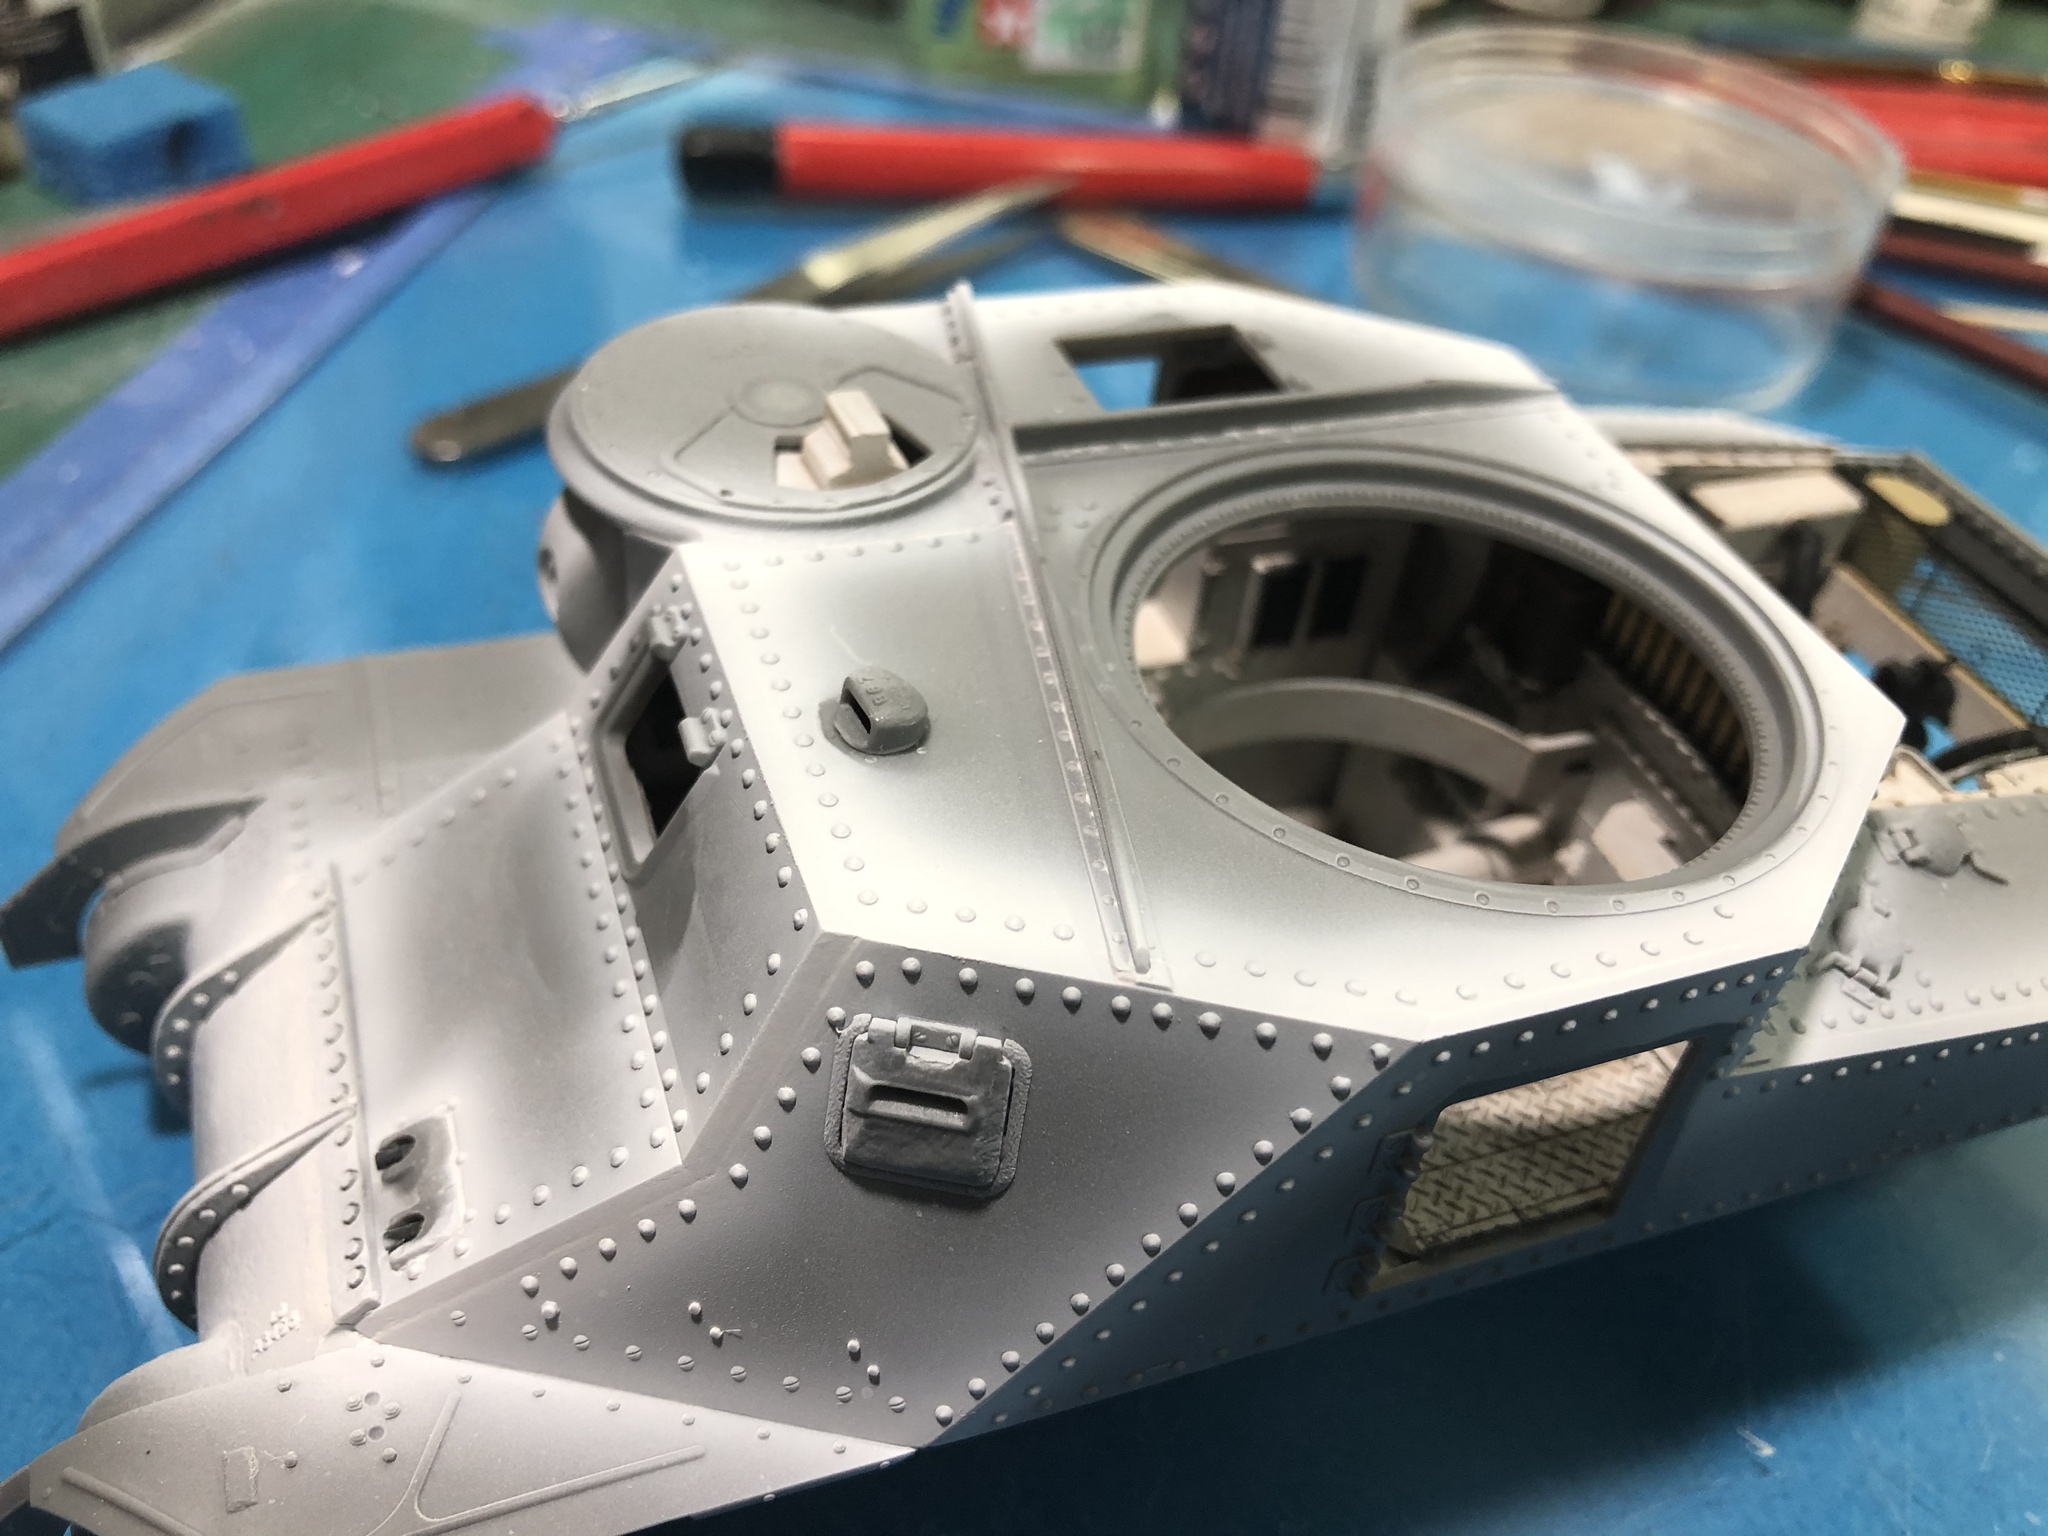
Tamiya White Primer overall,
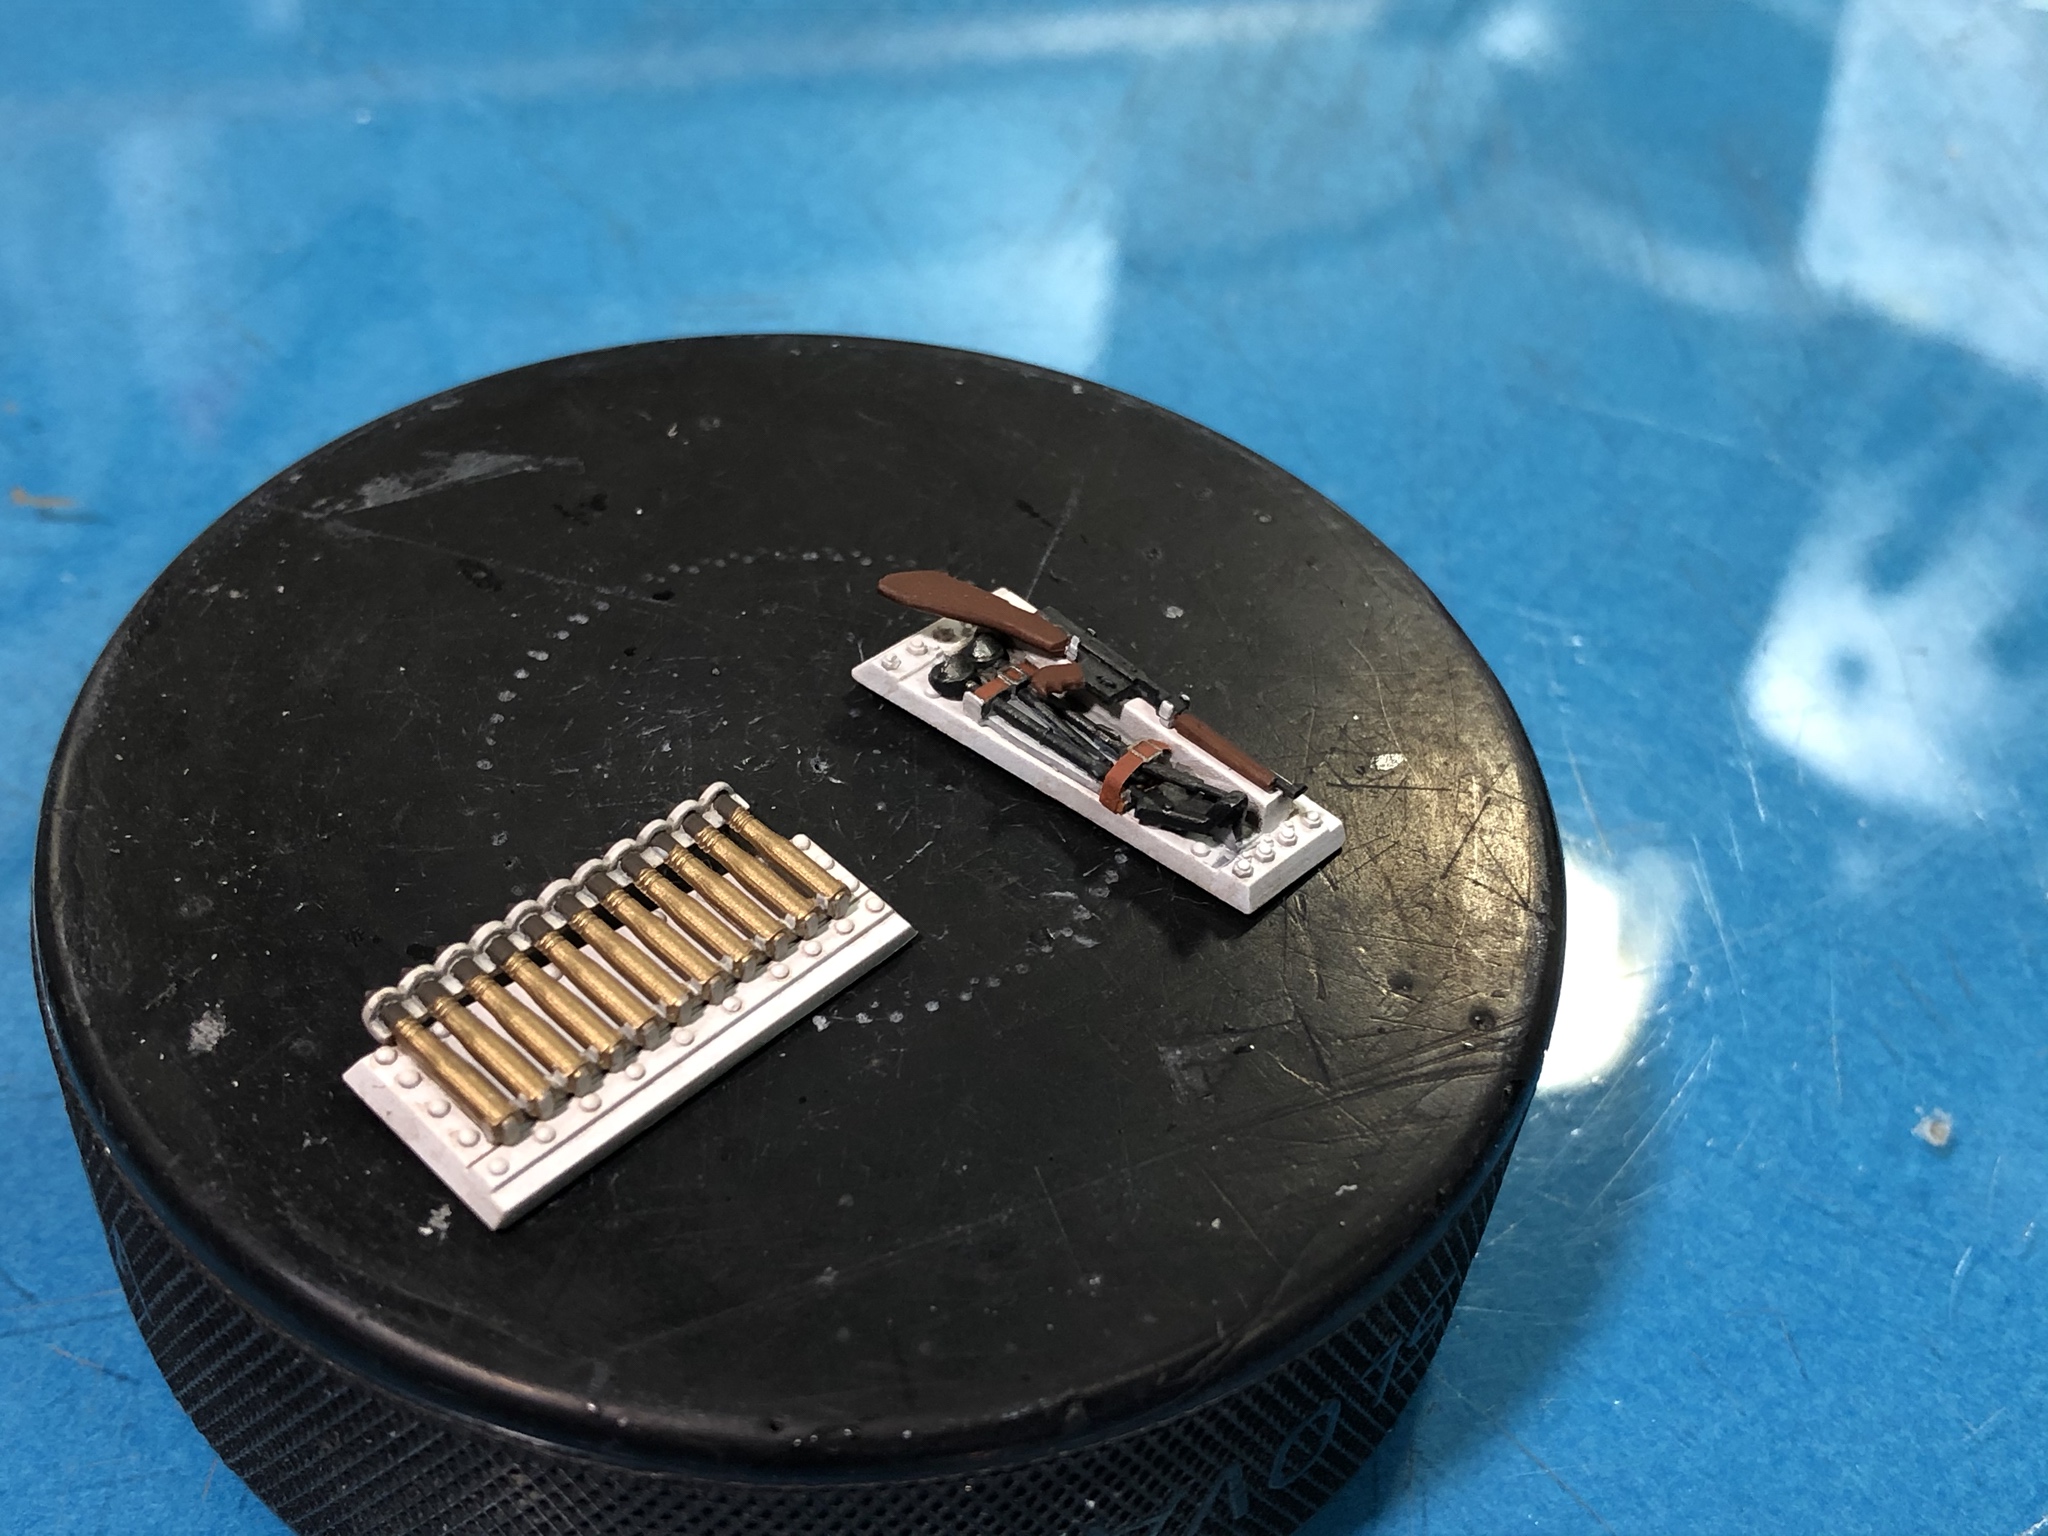
Vallejo Black Grey for chipping and Thompson MG magazines
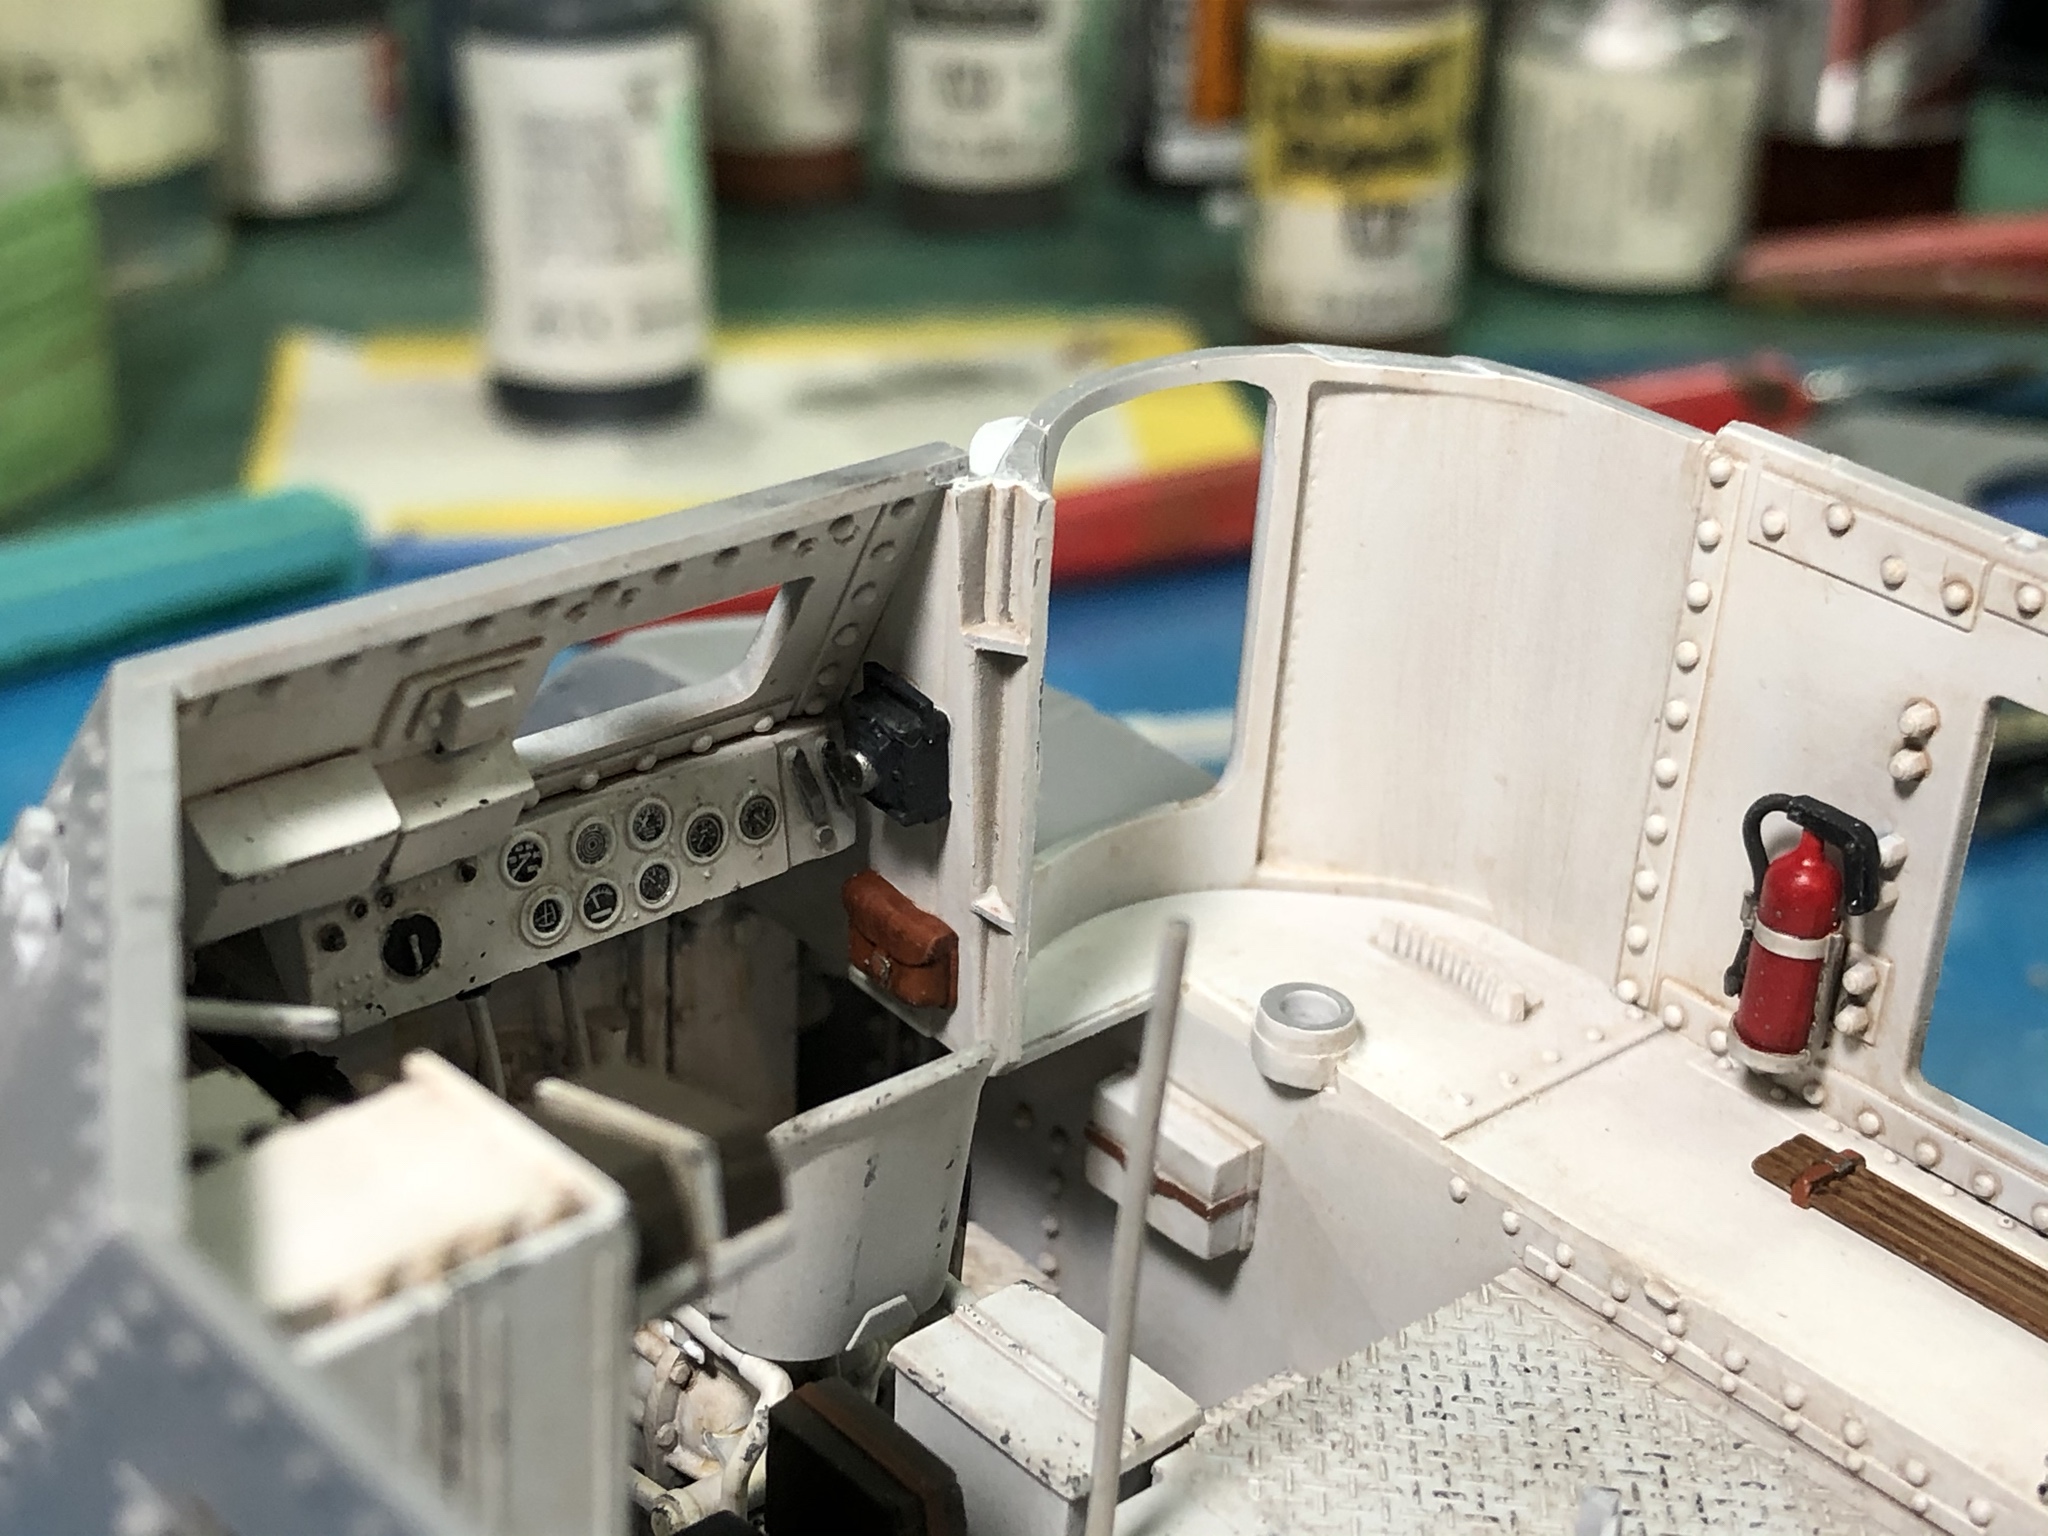
Vallejo Flat red for the fire extinguisher with Vallejo semi gloss topcoat
Vallejo Buff basecoat with Vallejo Brown Wash over it for the sticks
Vallejo Red Leather for the pouch with Vallejo Brown Wash and Vallejo Matt topcoat
Vallejo Black Grey with a wash of Tamiya Smoke for the camera, lens was painted silver and was covered by the same wash