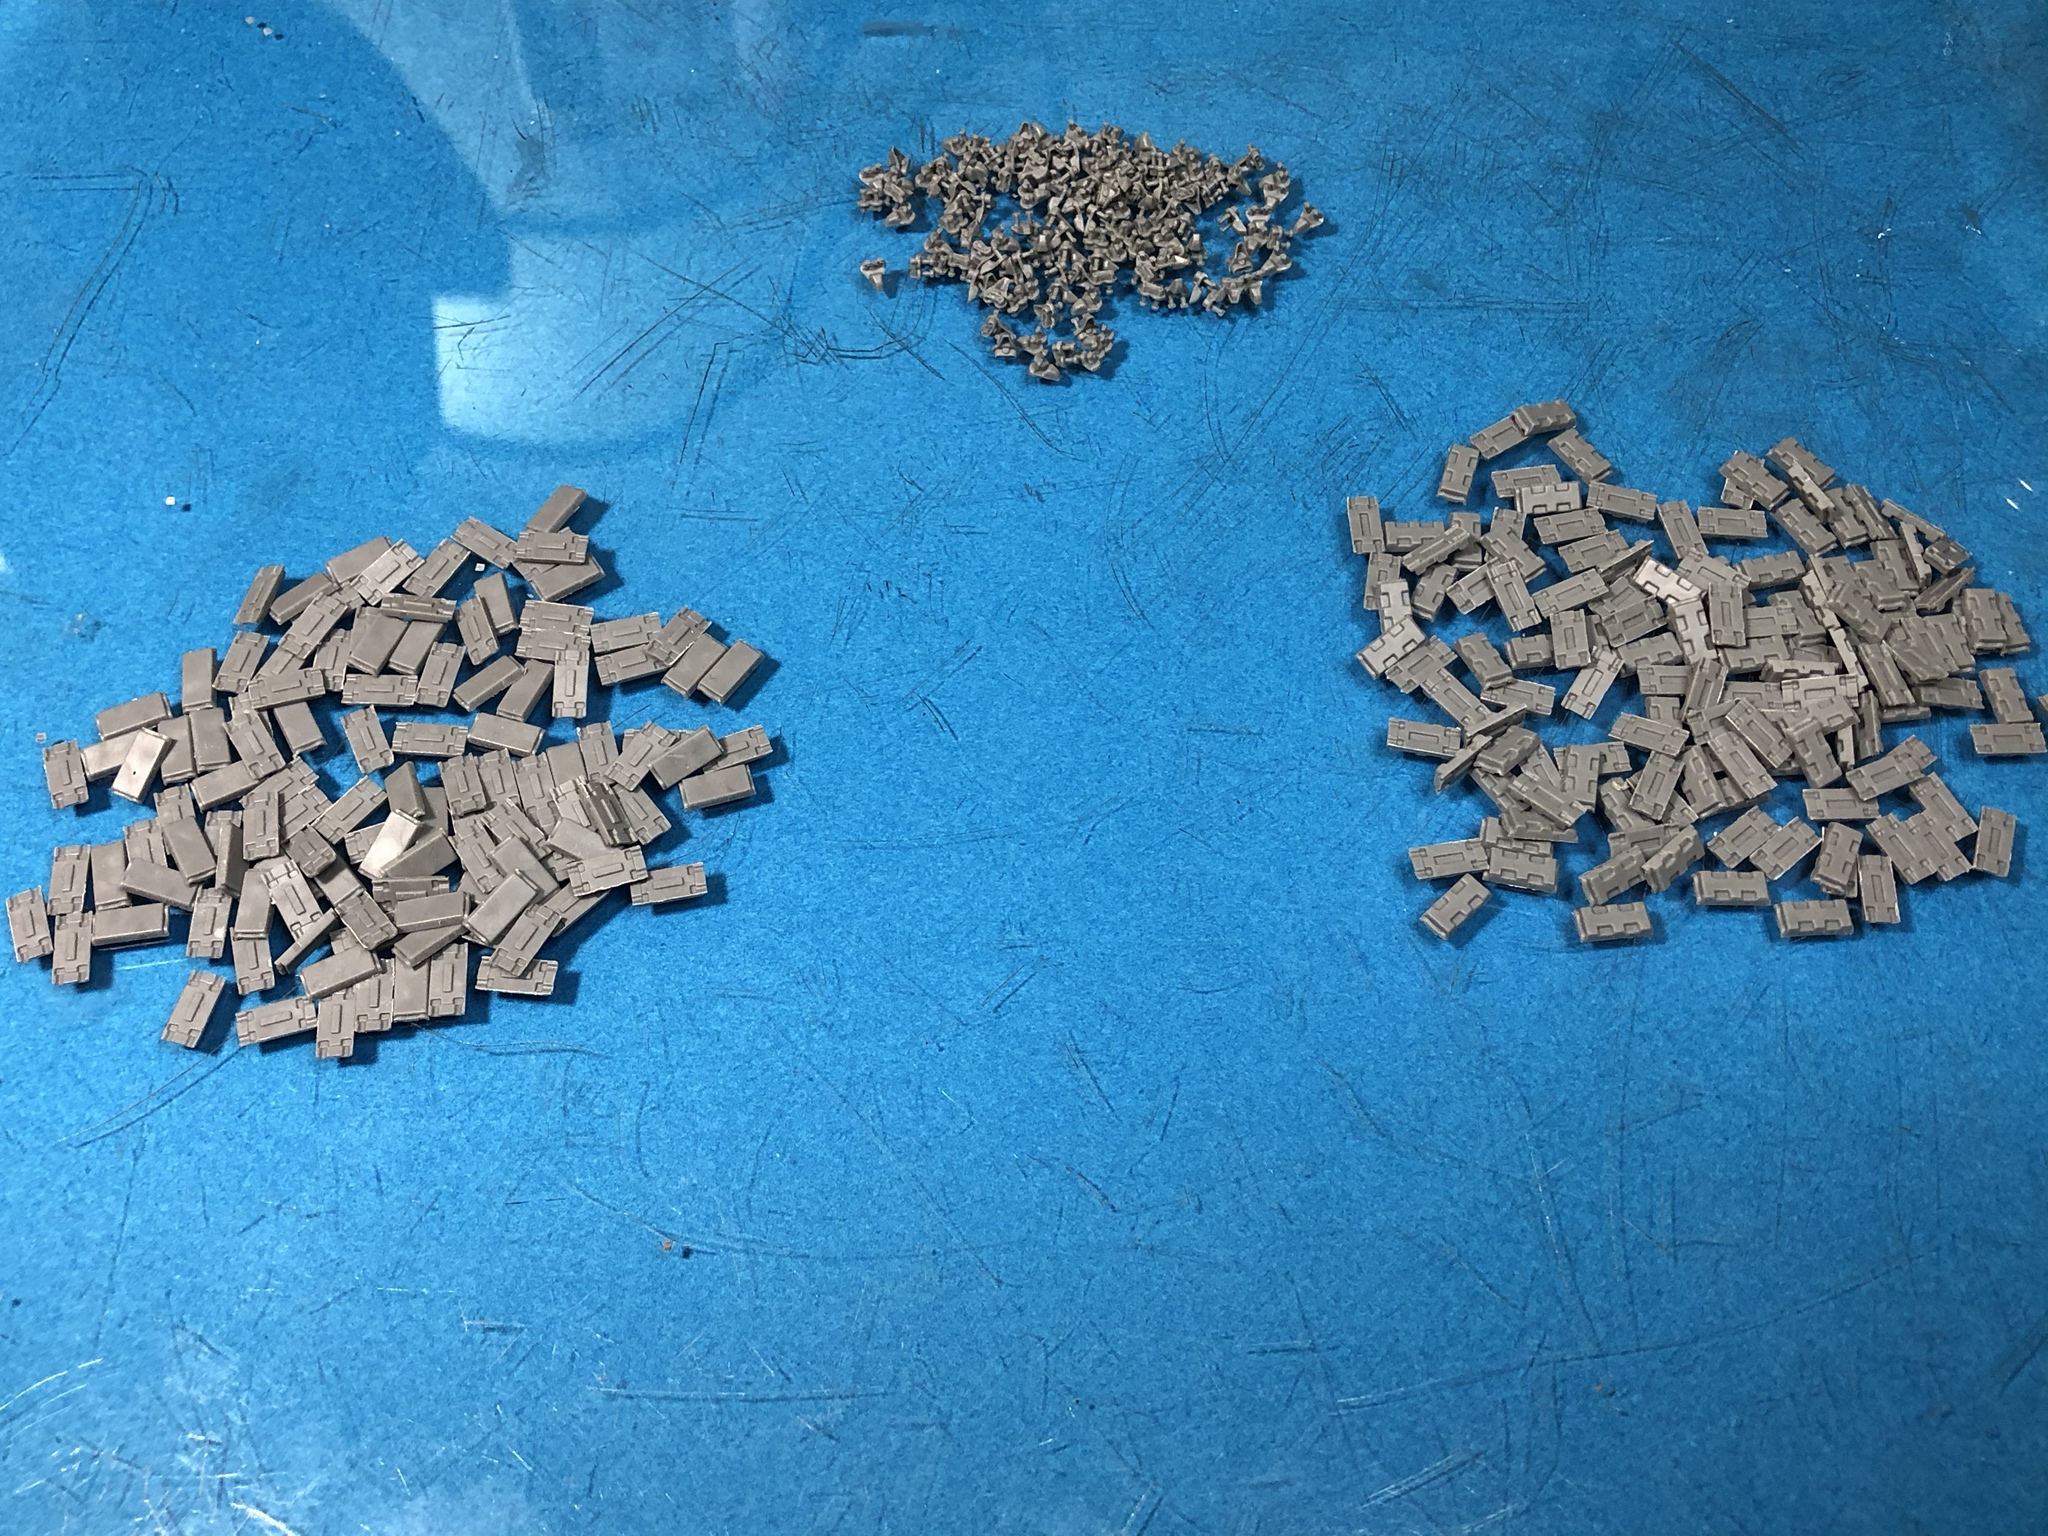
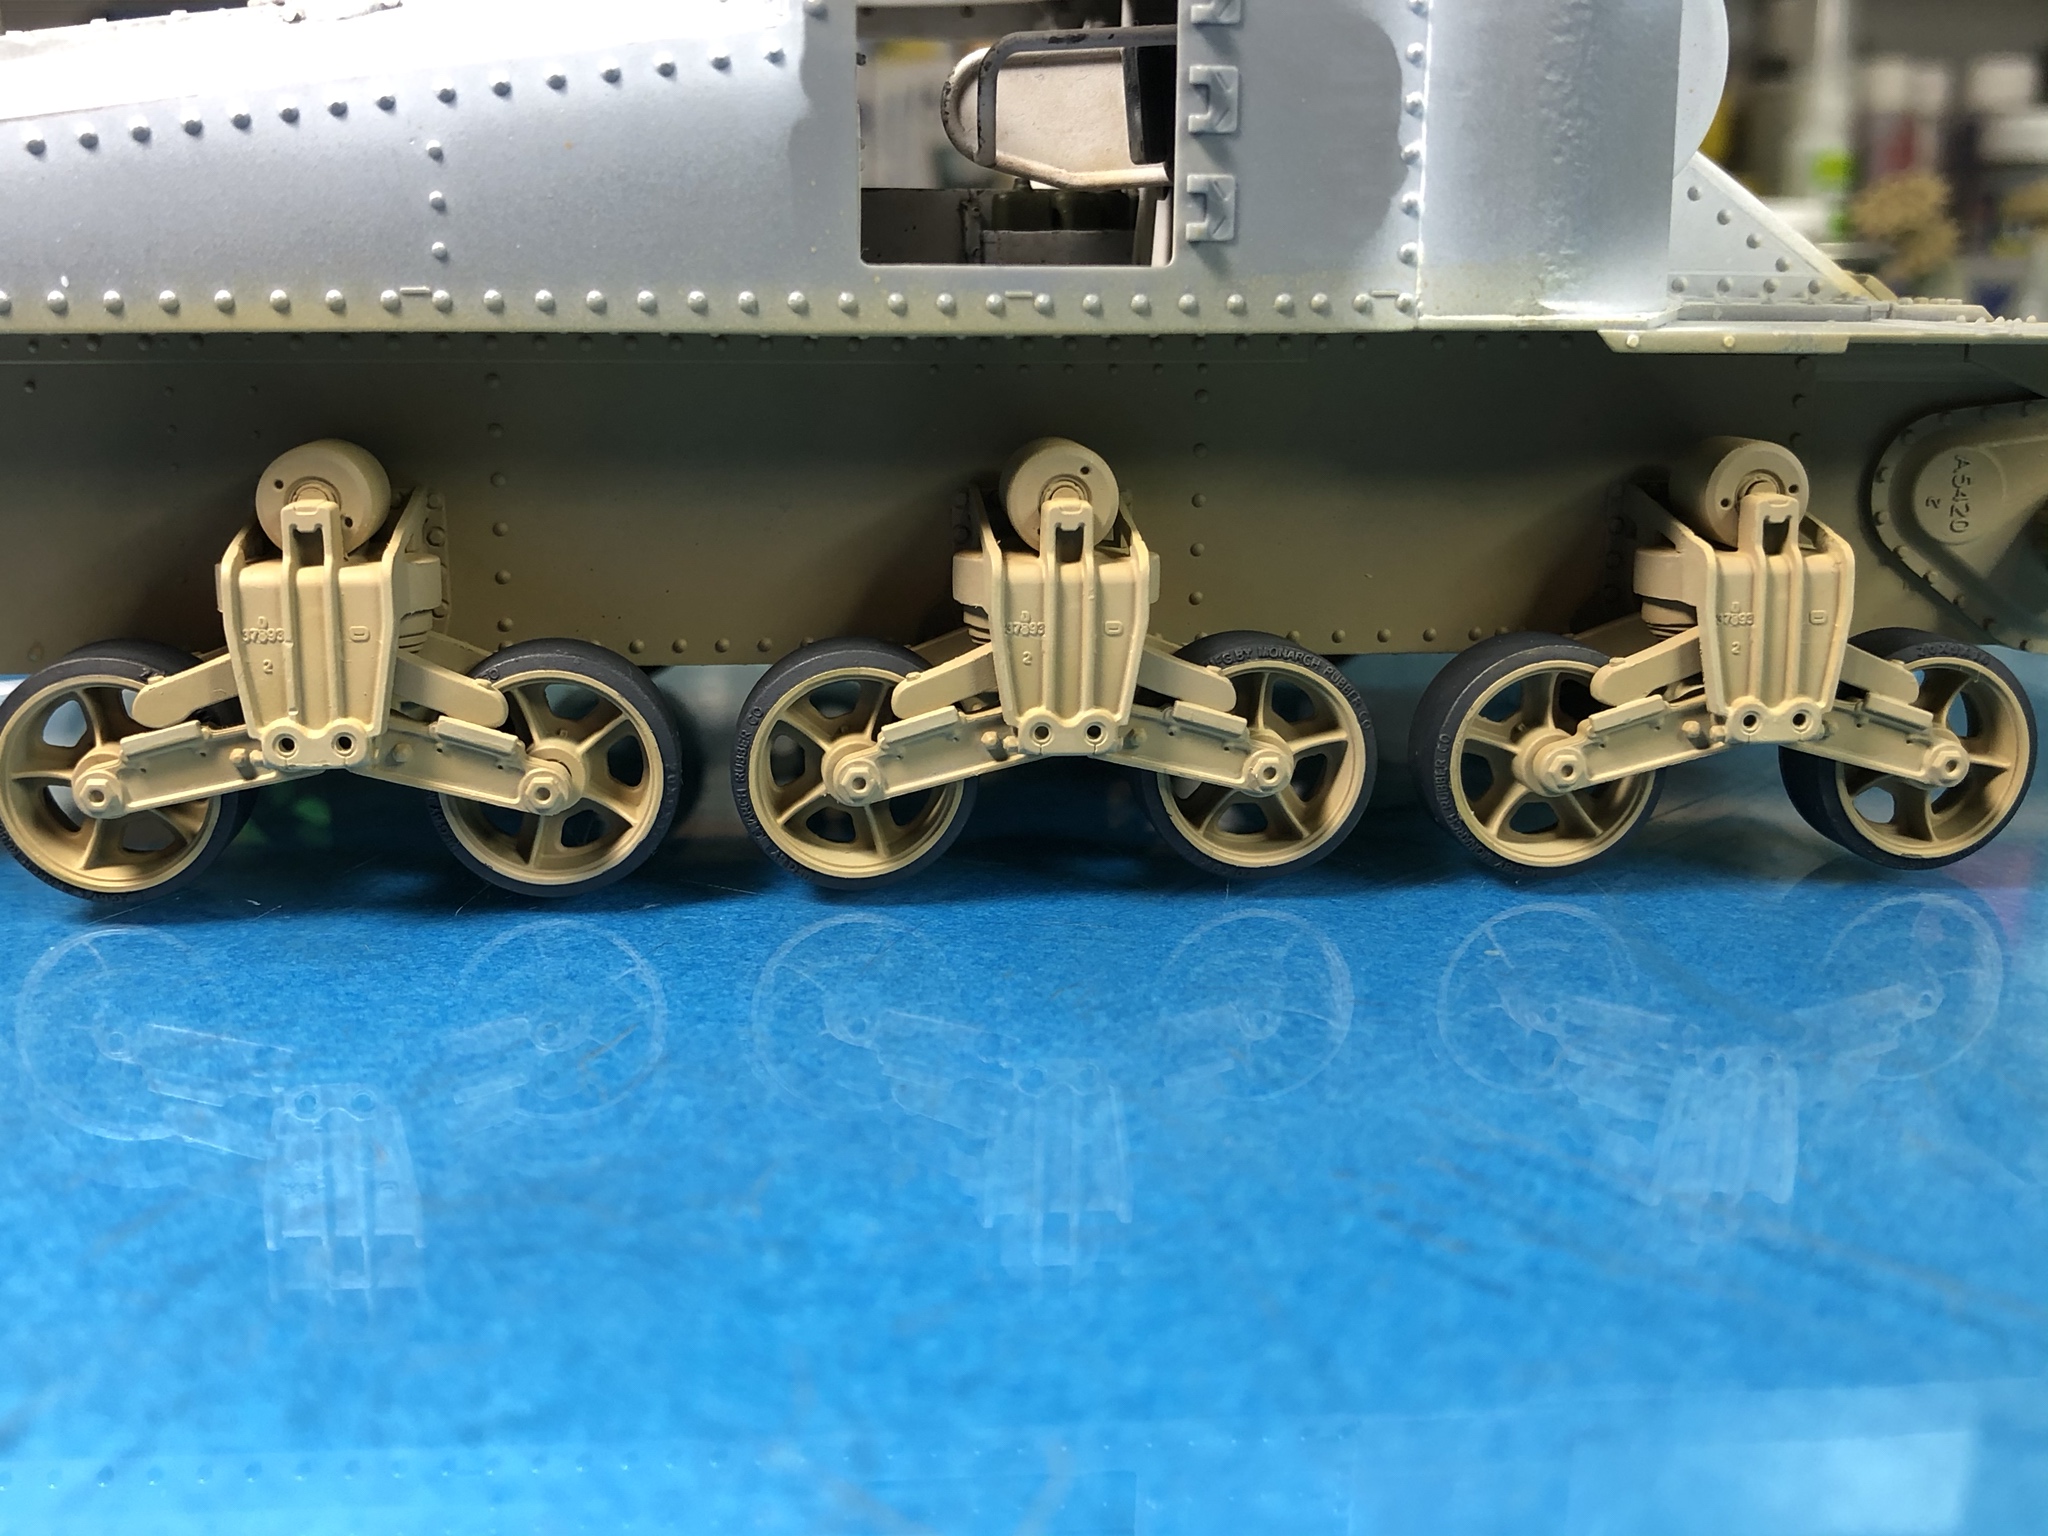
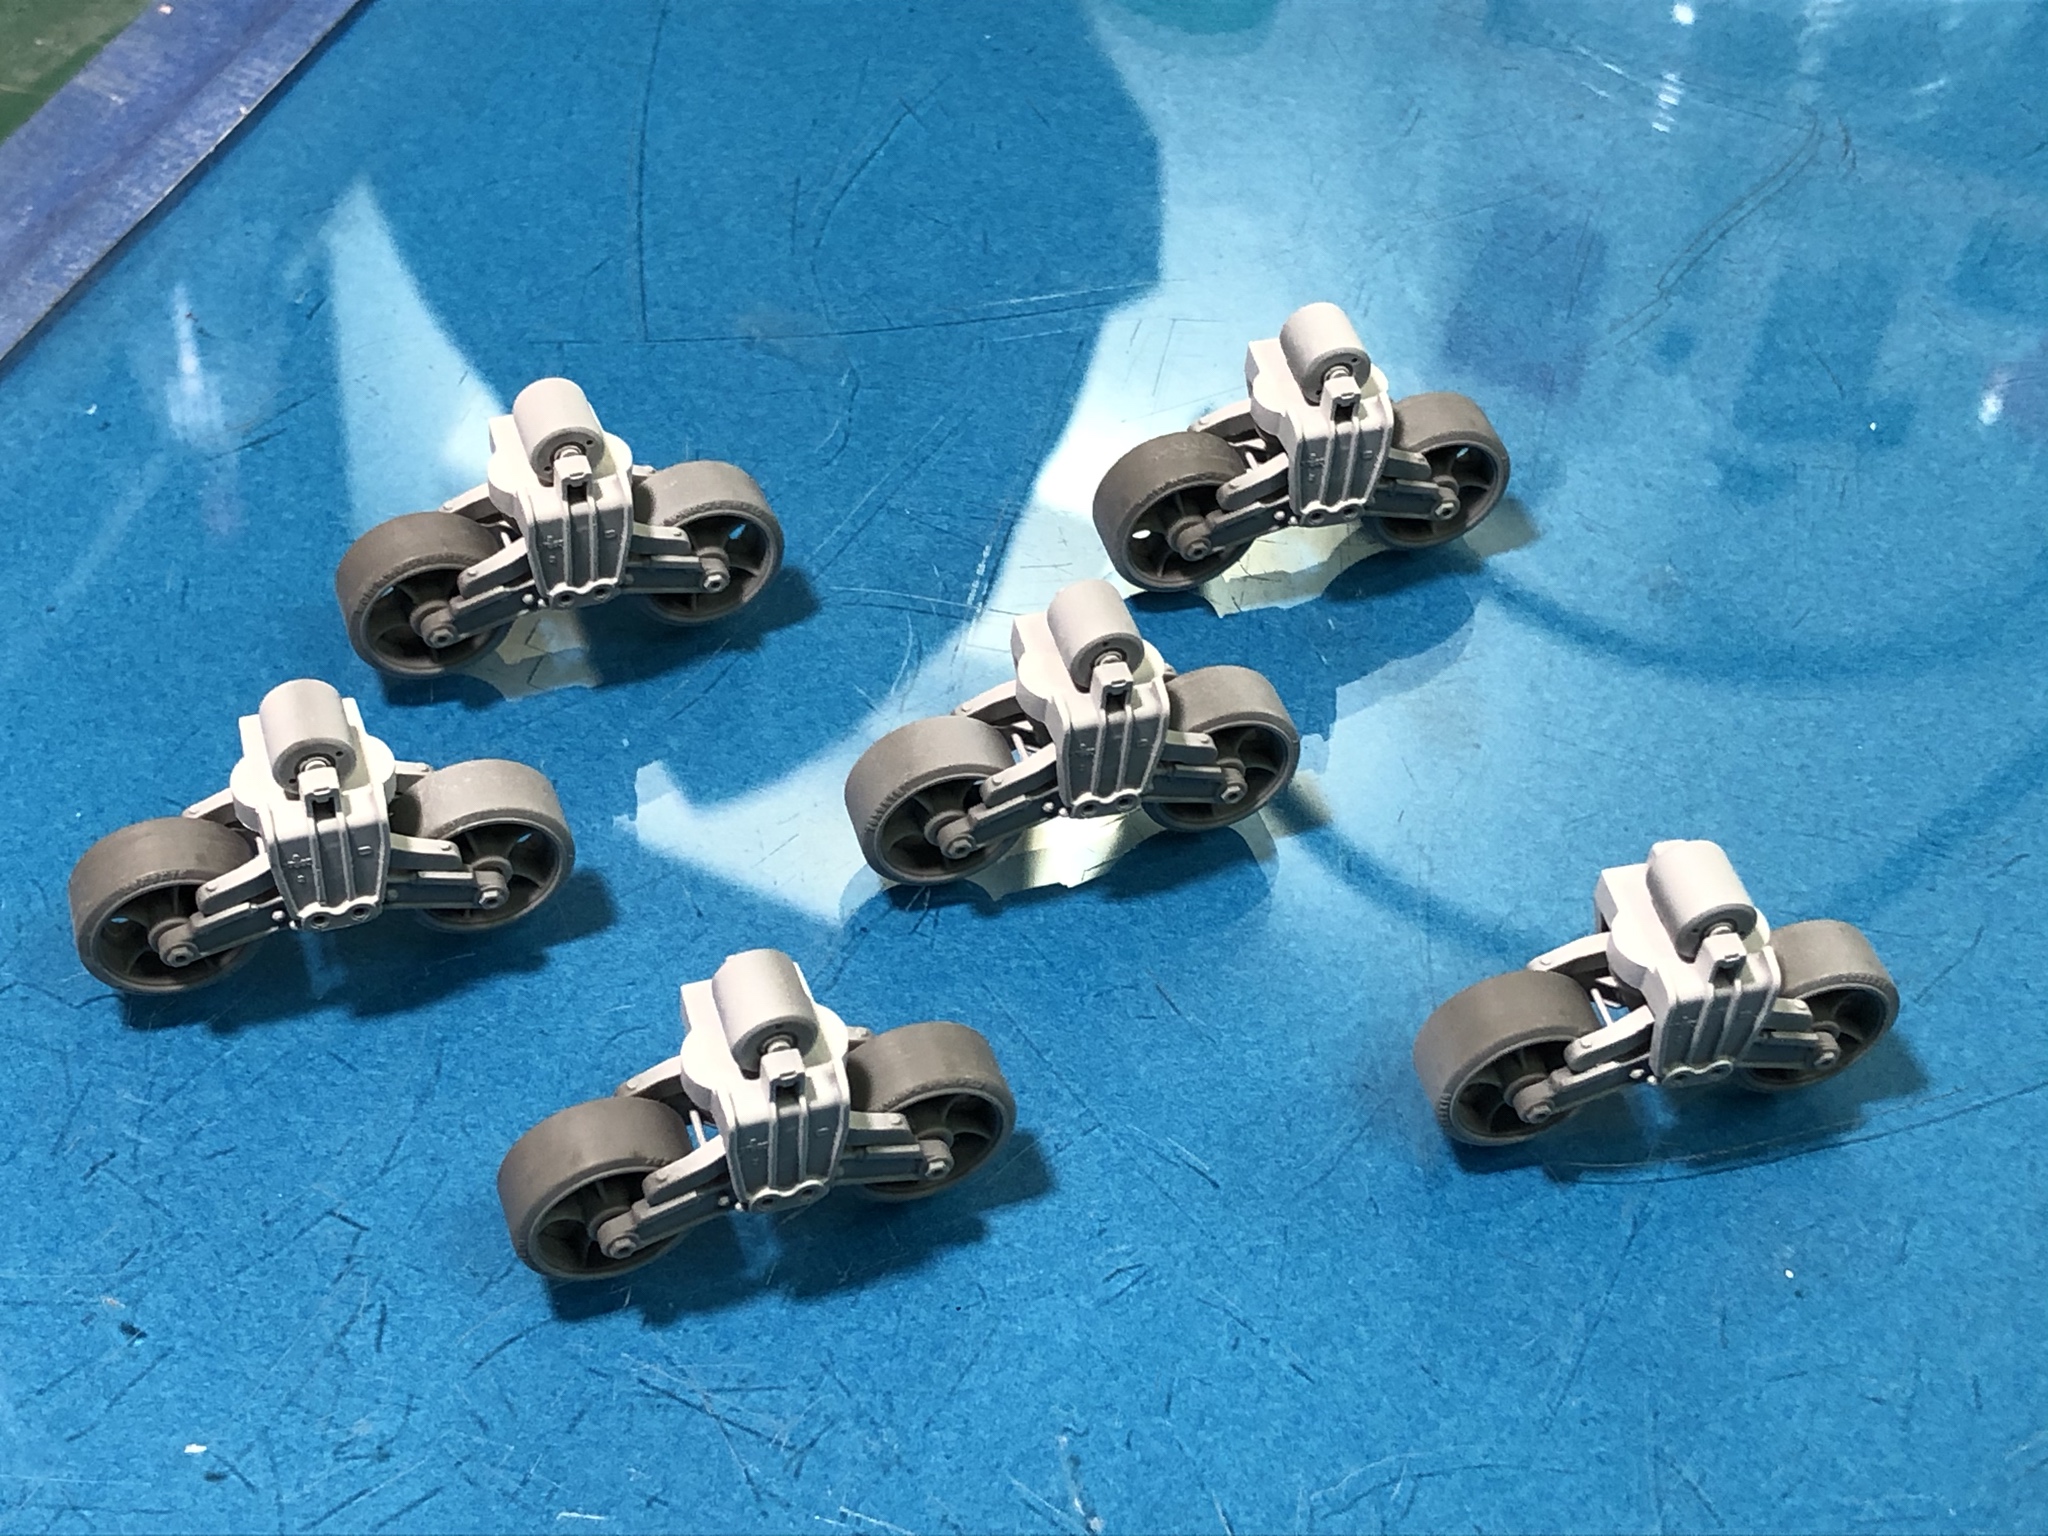
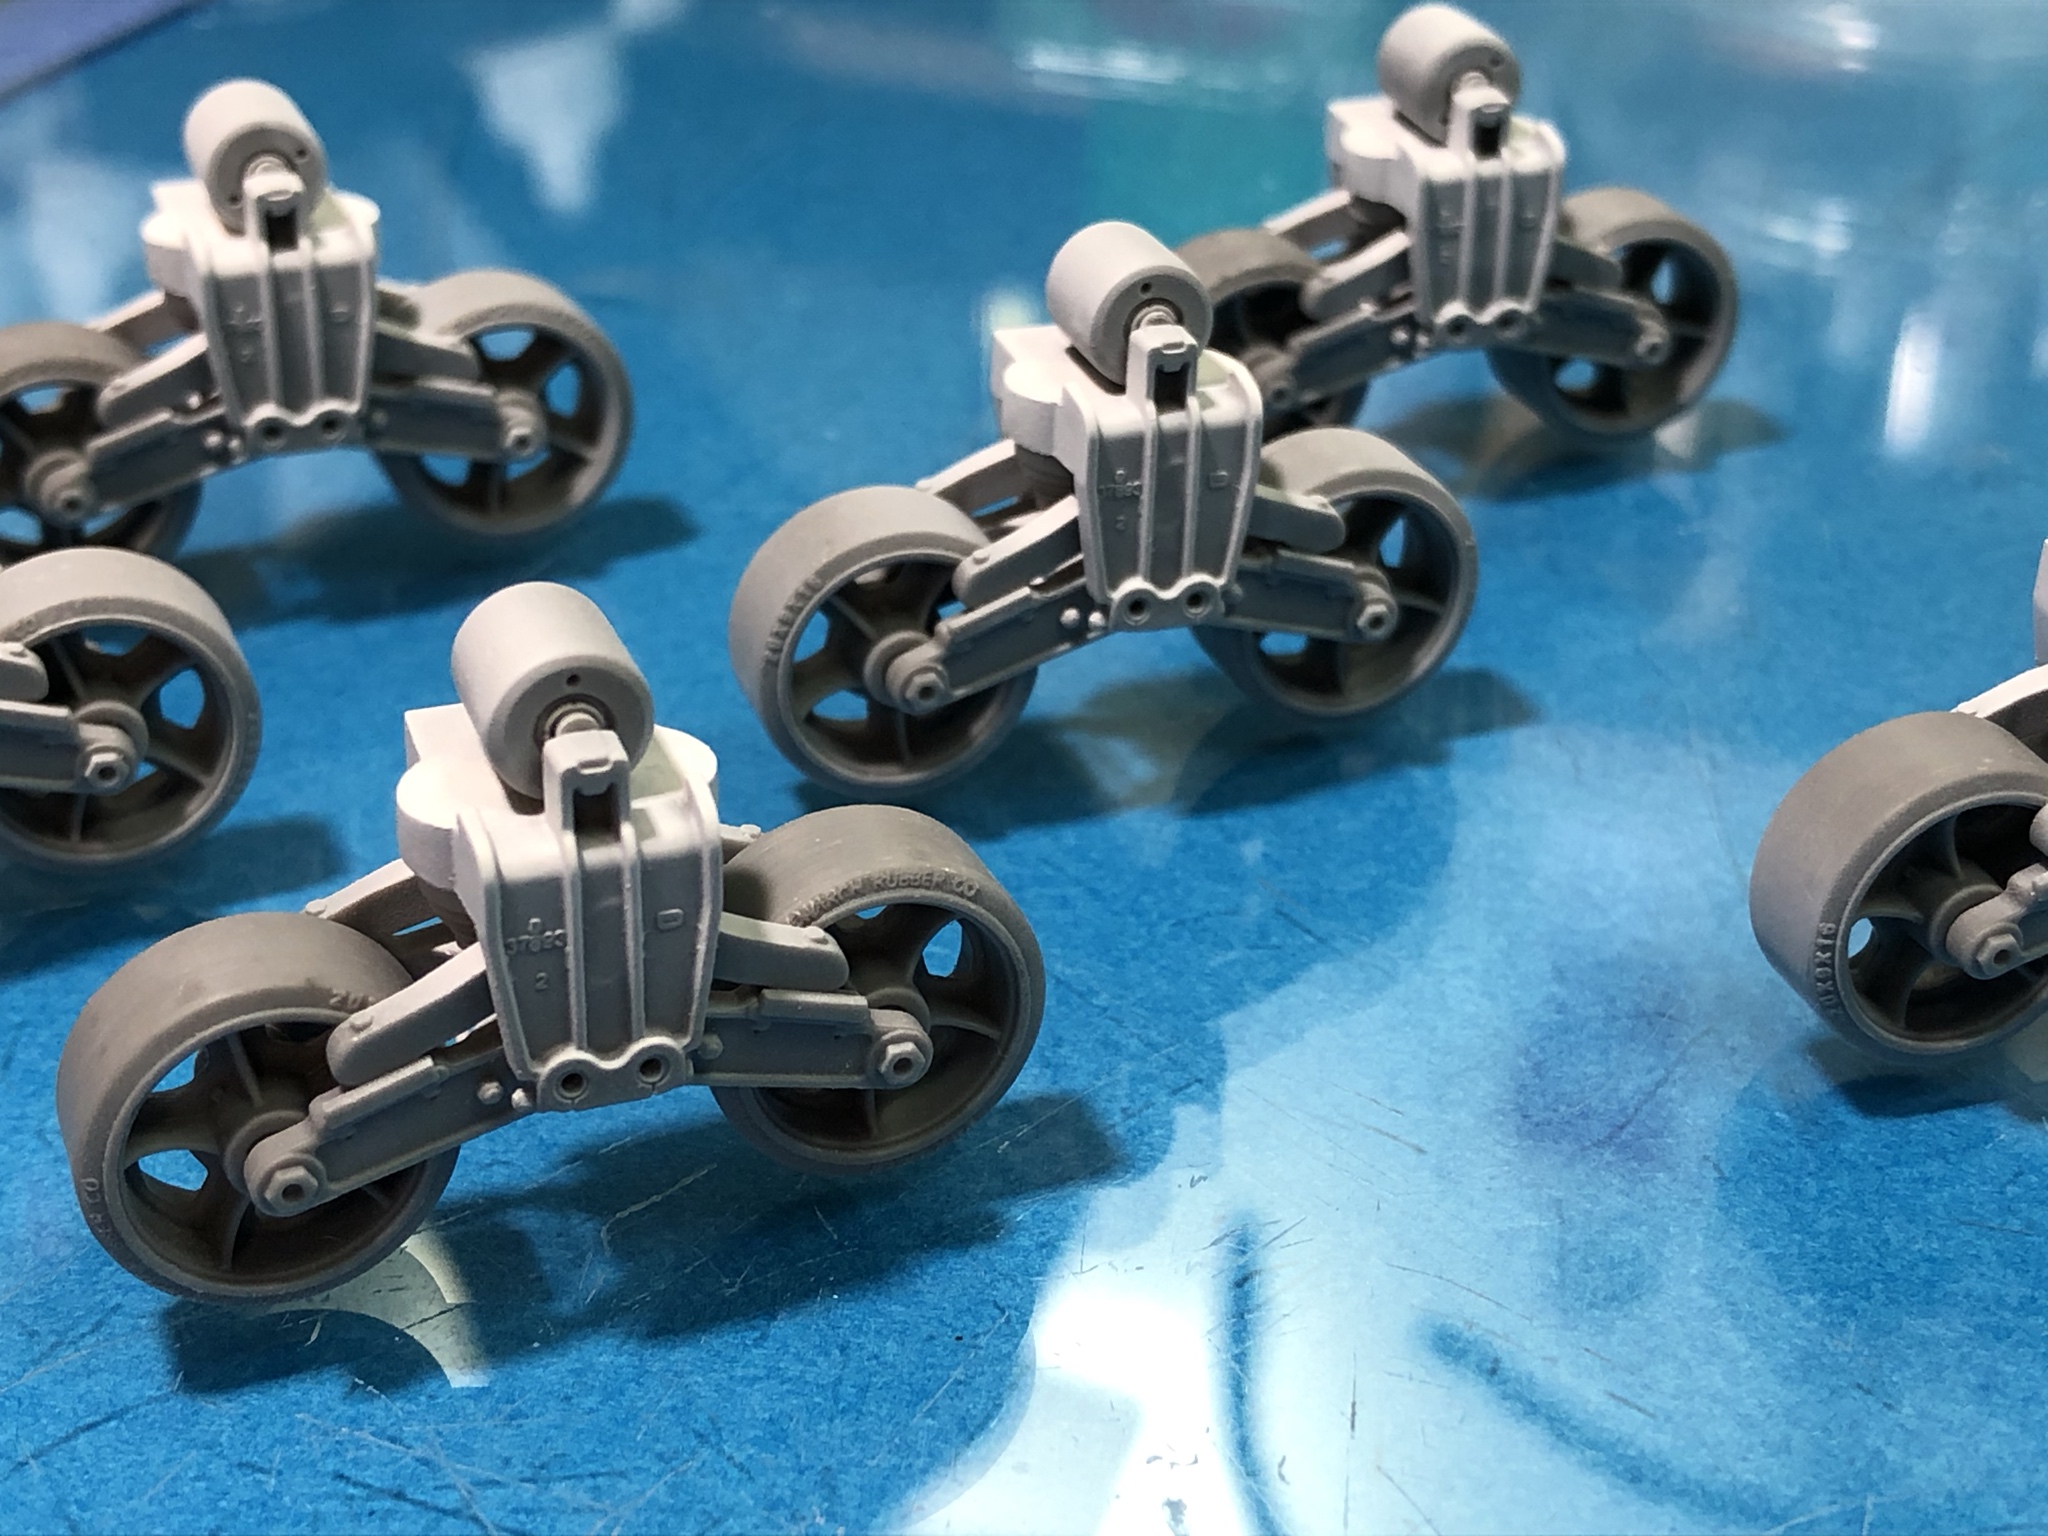
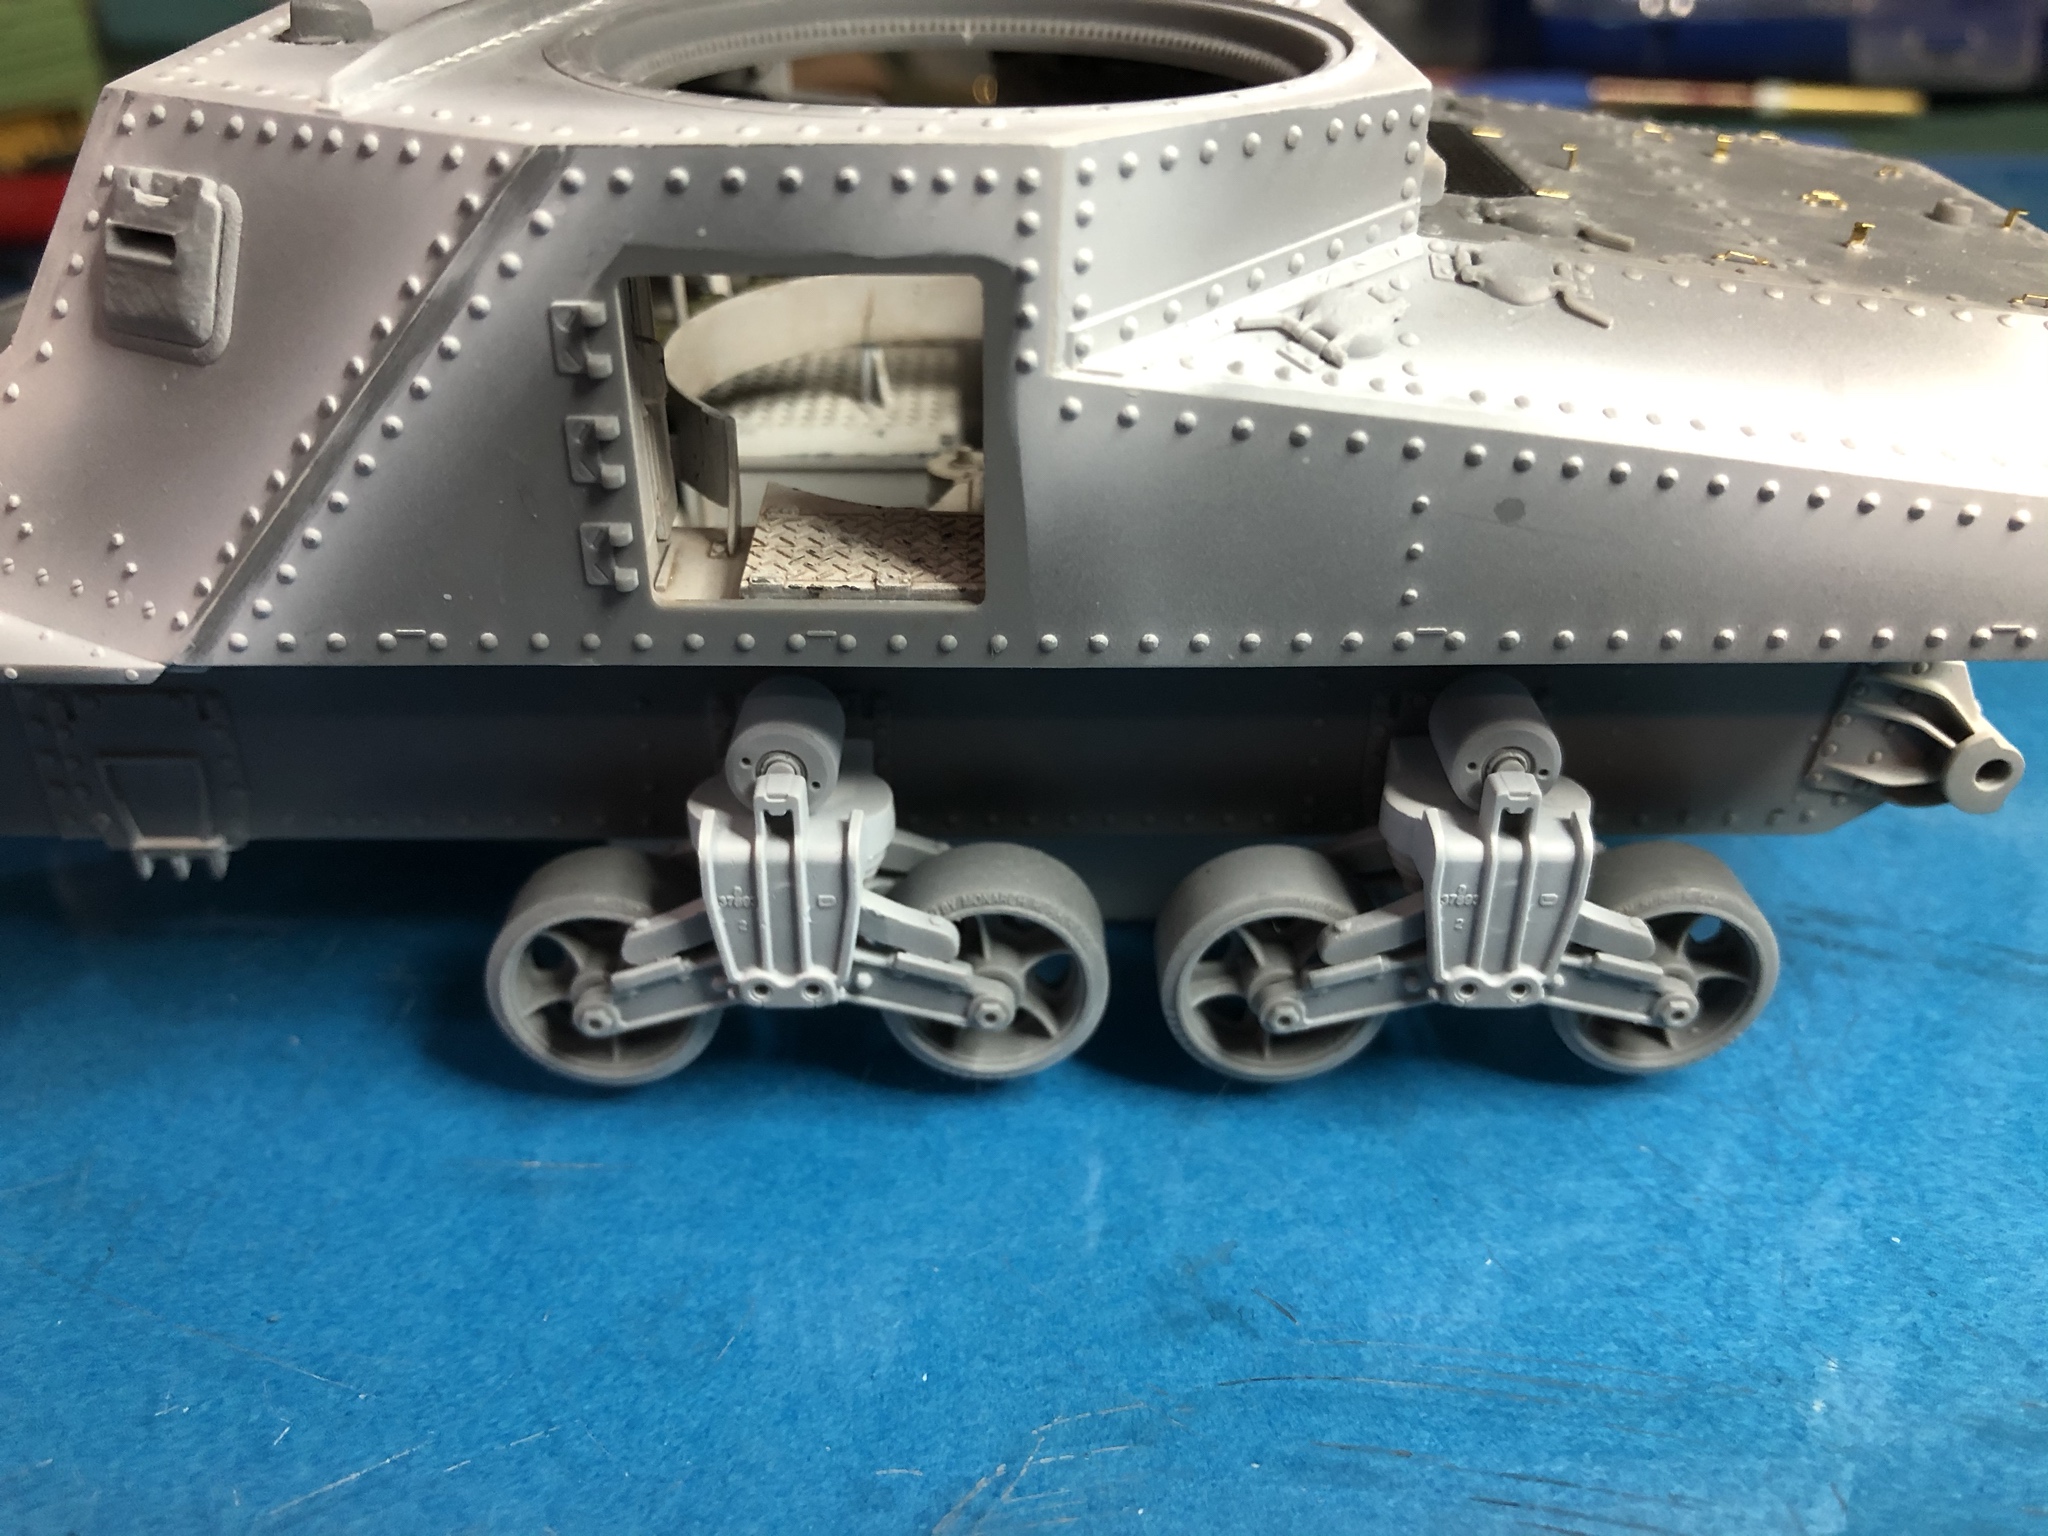
Before installing the bogey assemblies on the Grant, I wanted to knock out the idler wheel construction. Cleanup is done to remove the sprue attachment points and to remove some flash from the inner side of the parts. The retainer and hub are glued in place and then PE inner and outer rings are added during this step. This picture shows what one finished assembly and the other waiting for the PE rings.

While many modelers use photo etched parts regularly, some dont. With that in mind, I wanted to show the process I used to cut the PE rings from the runner, trim the attachment points, remove the attachment nubs and finish the cleanup.
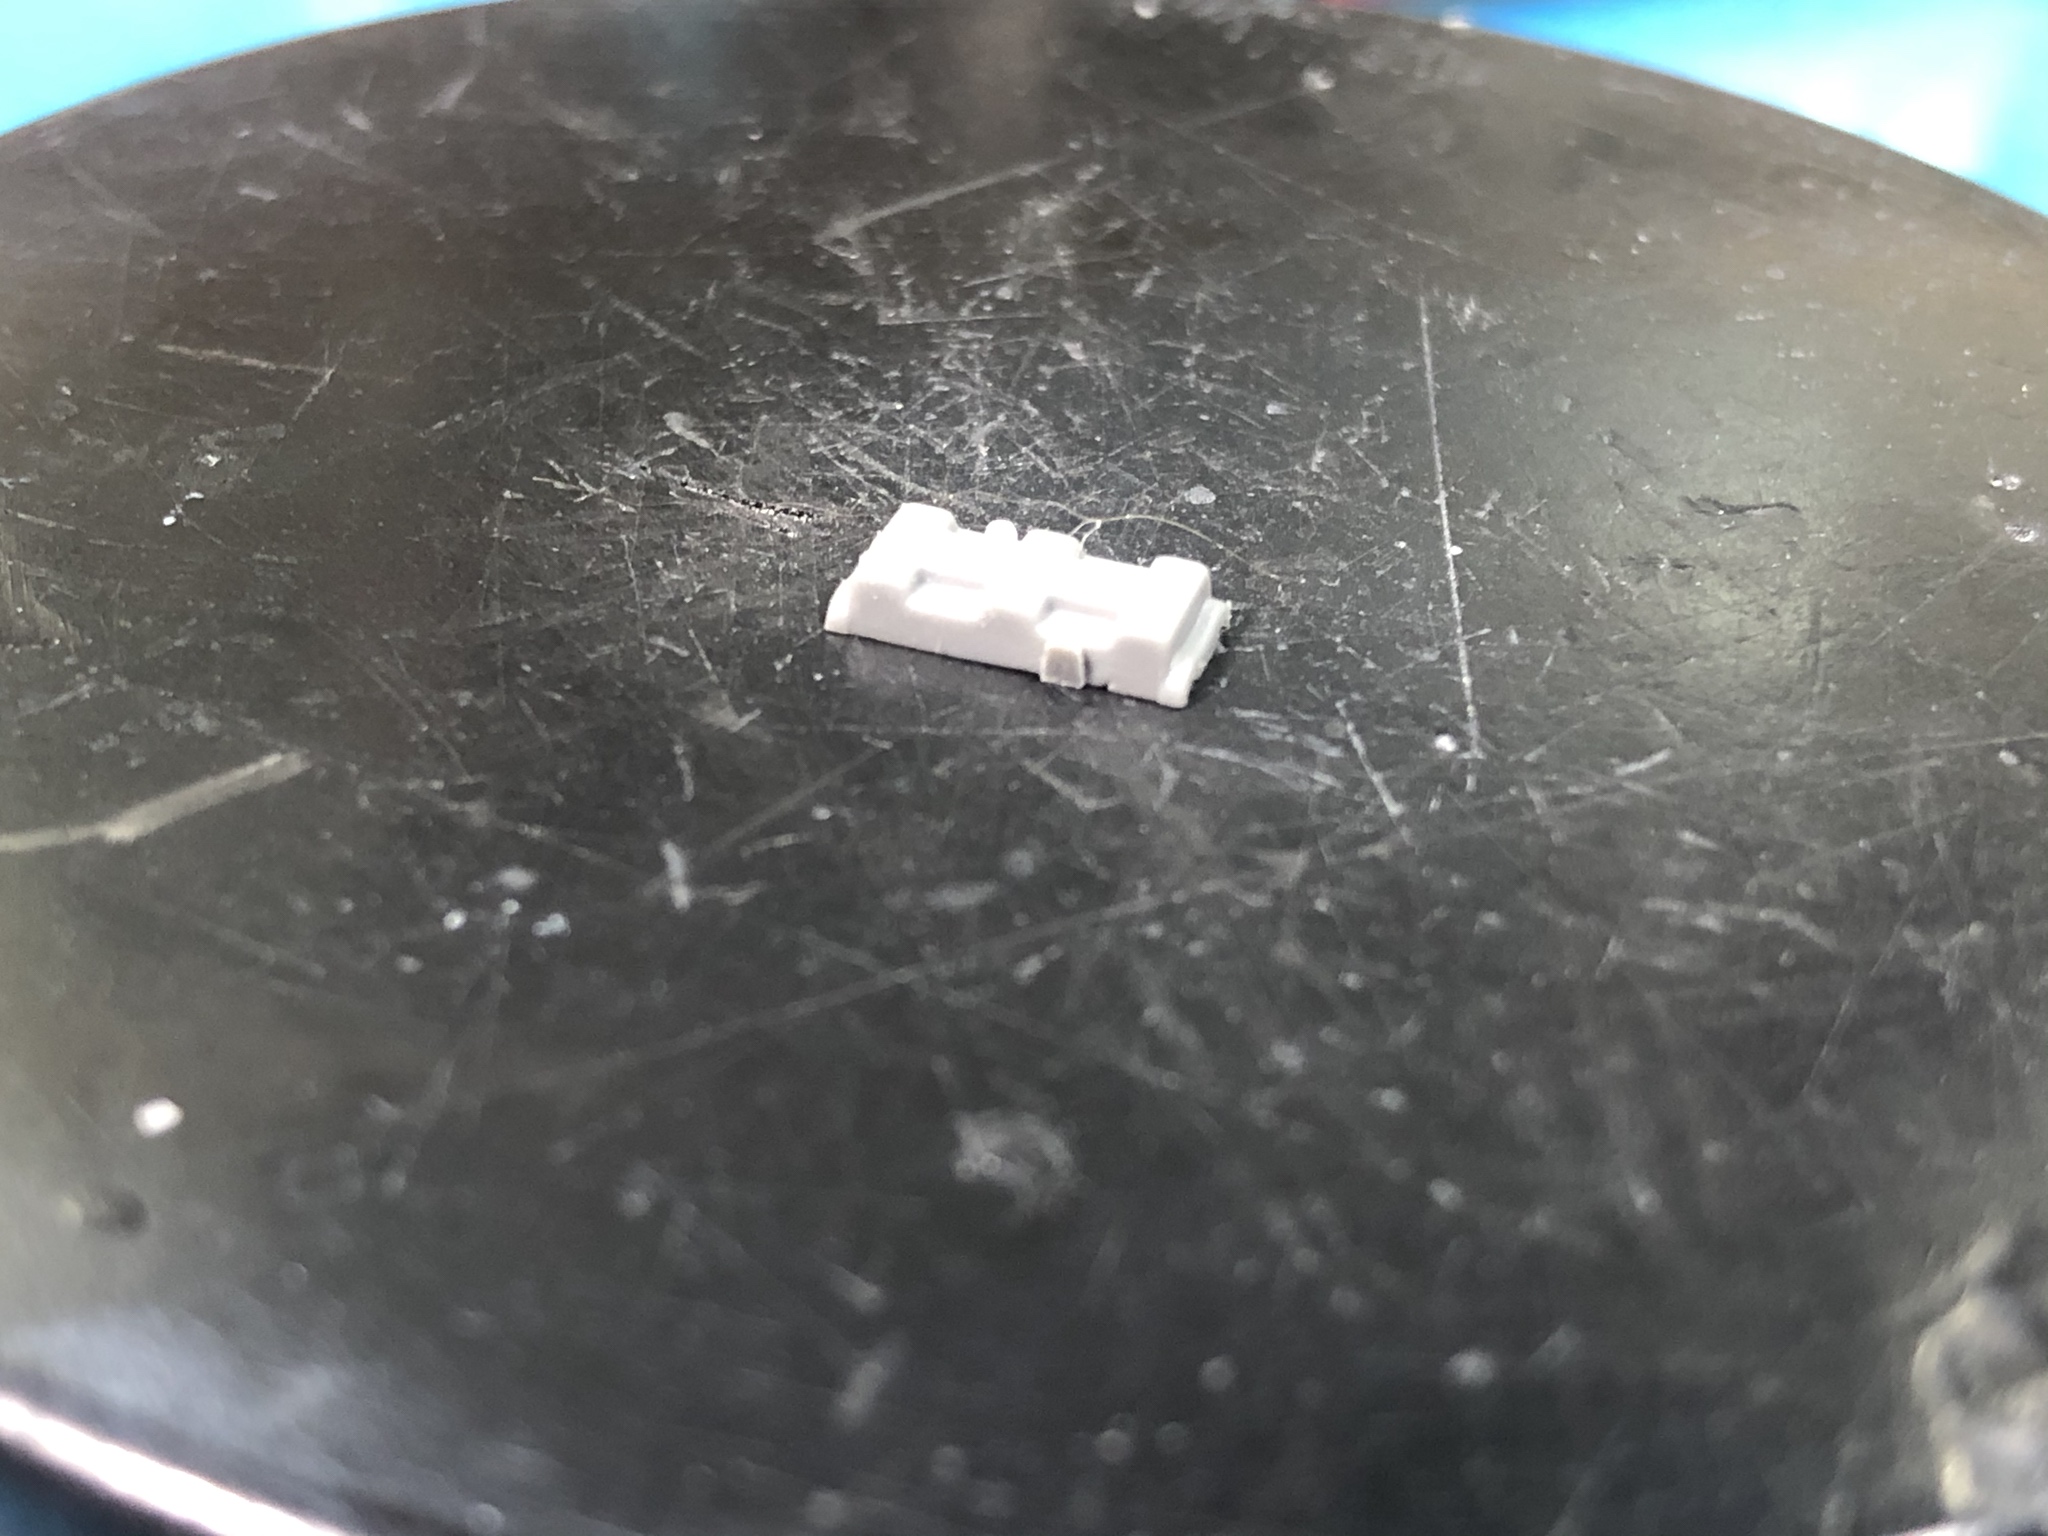
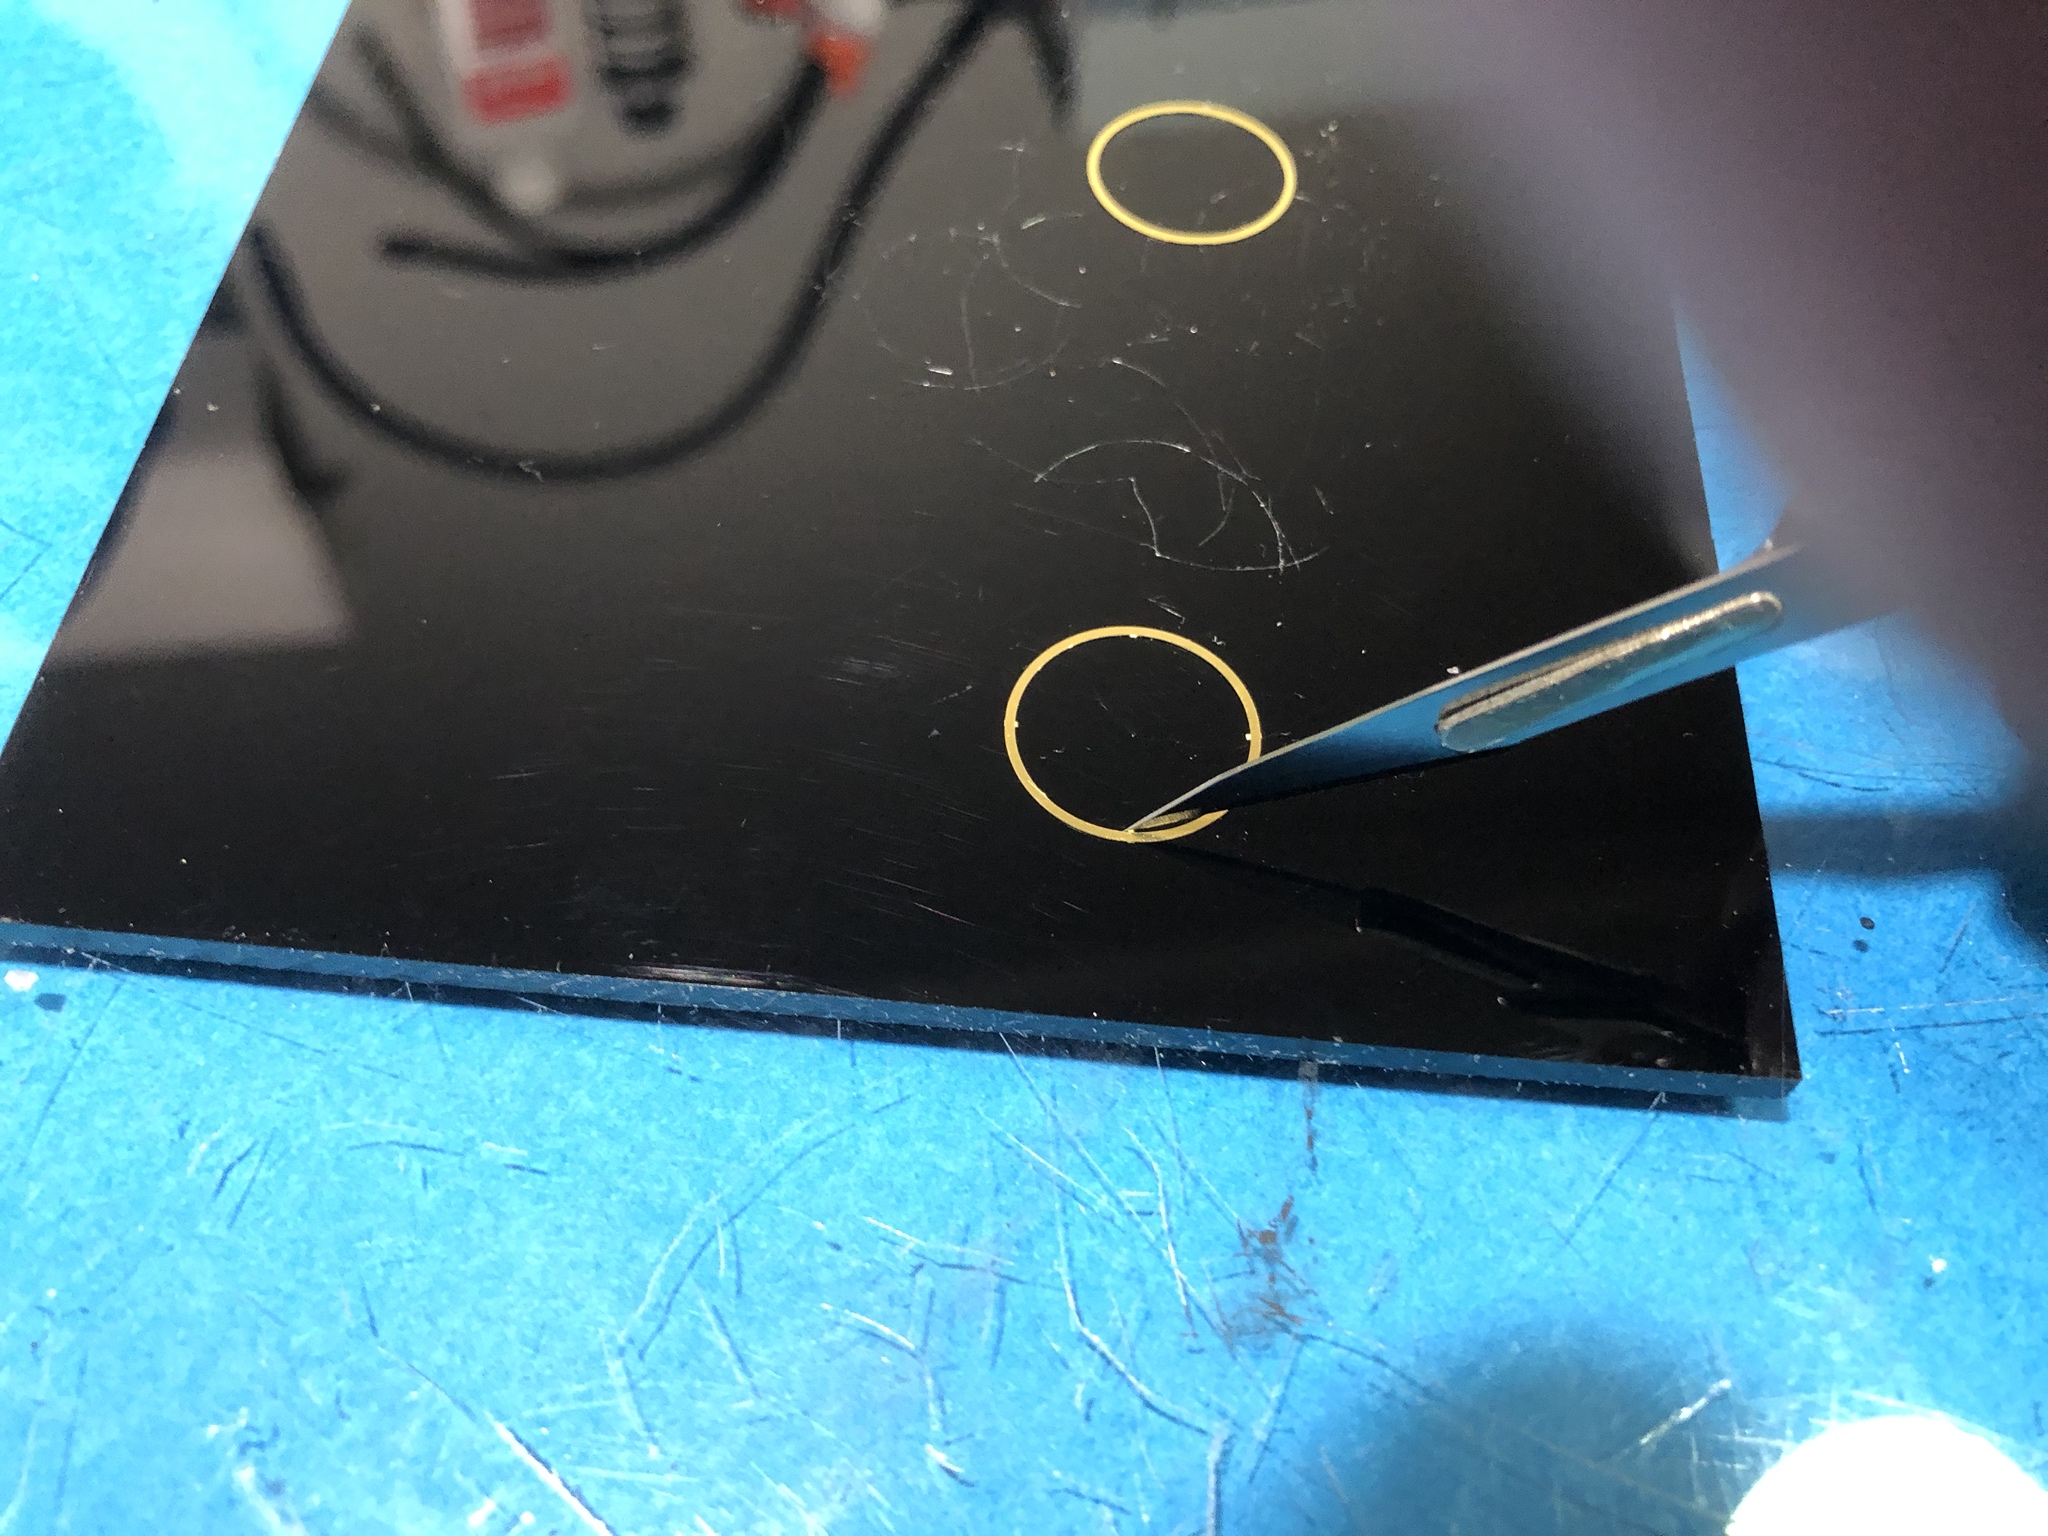
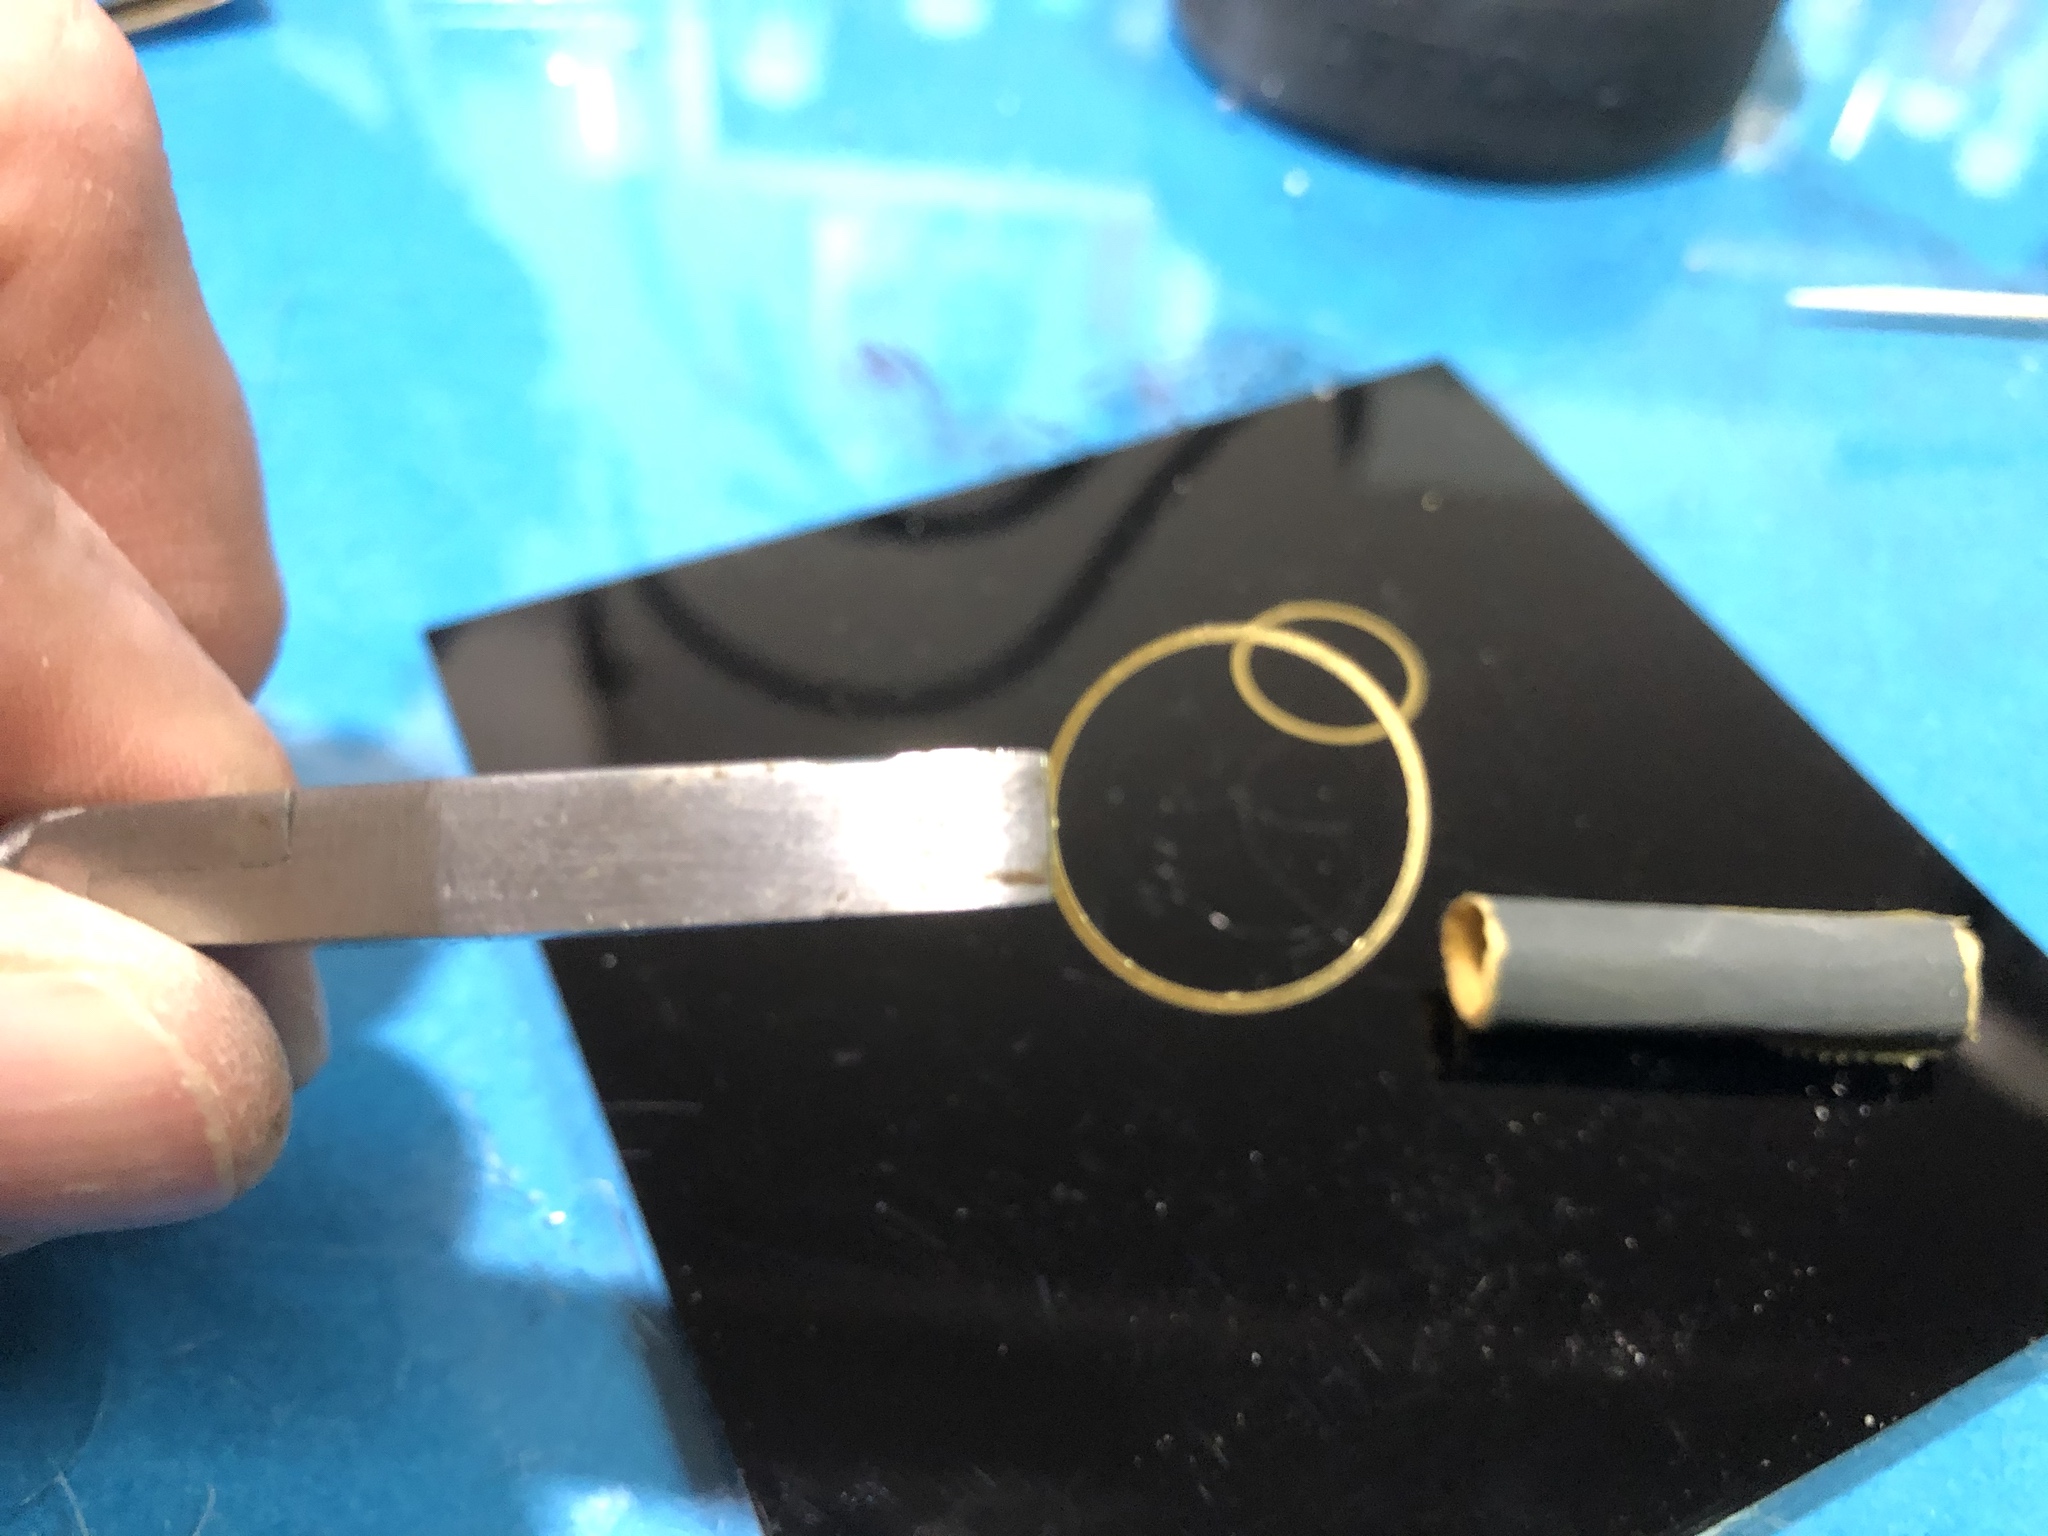
Here Im using a #15 scalpel blade to cut through the attachment point using a gentle rocking motion. The rocking follows the axis of the blade and avoids any side to side pressure which could cause the blade to snap.

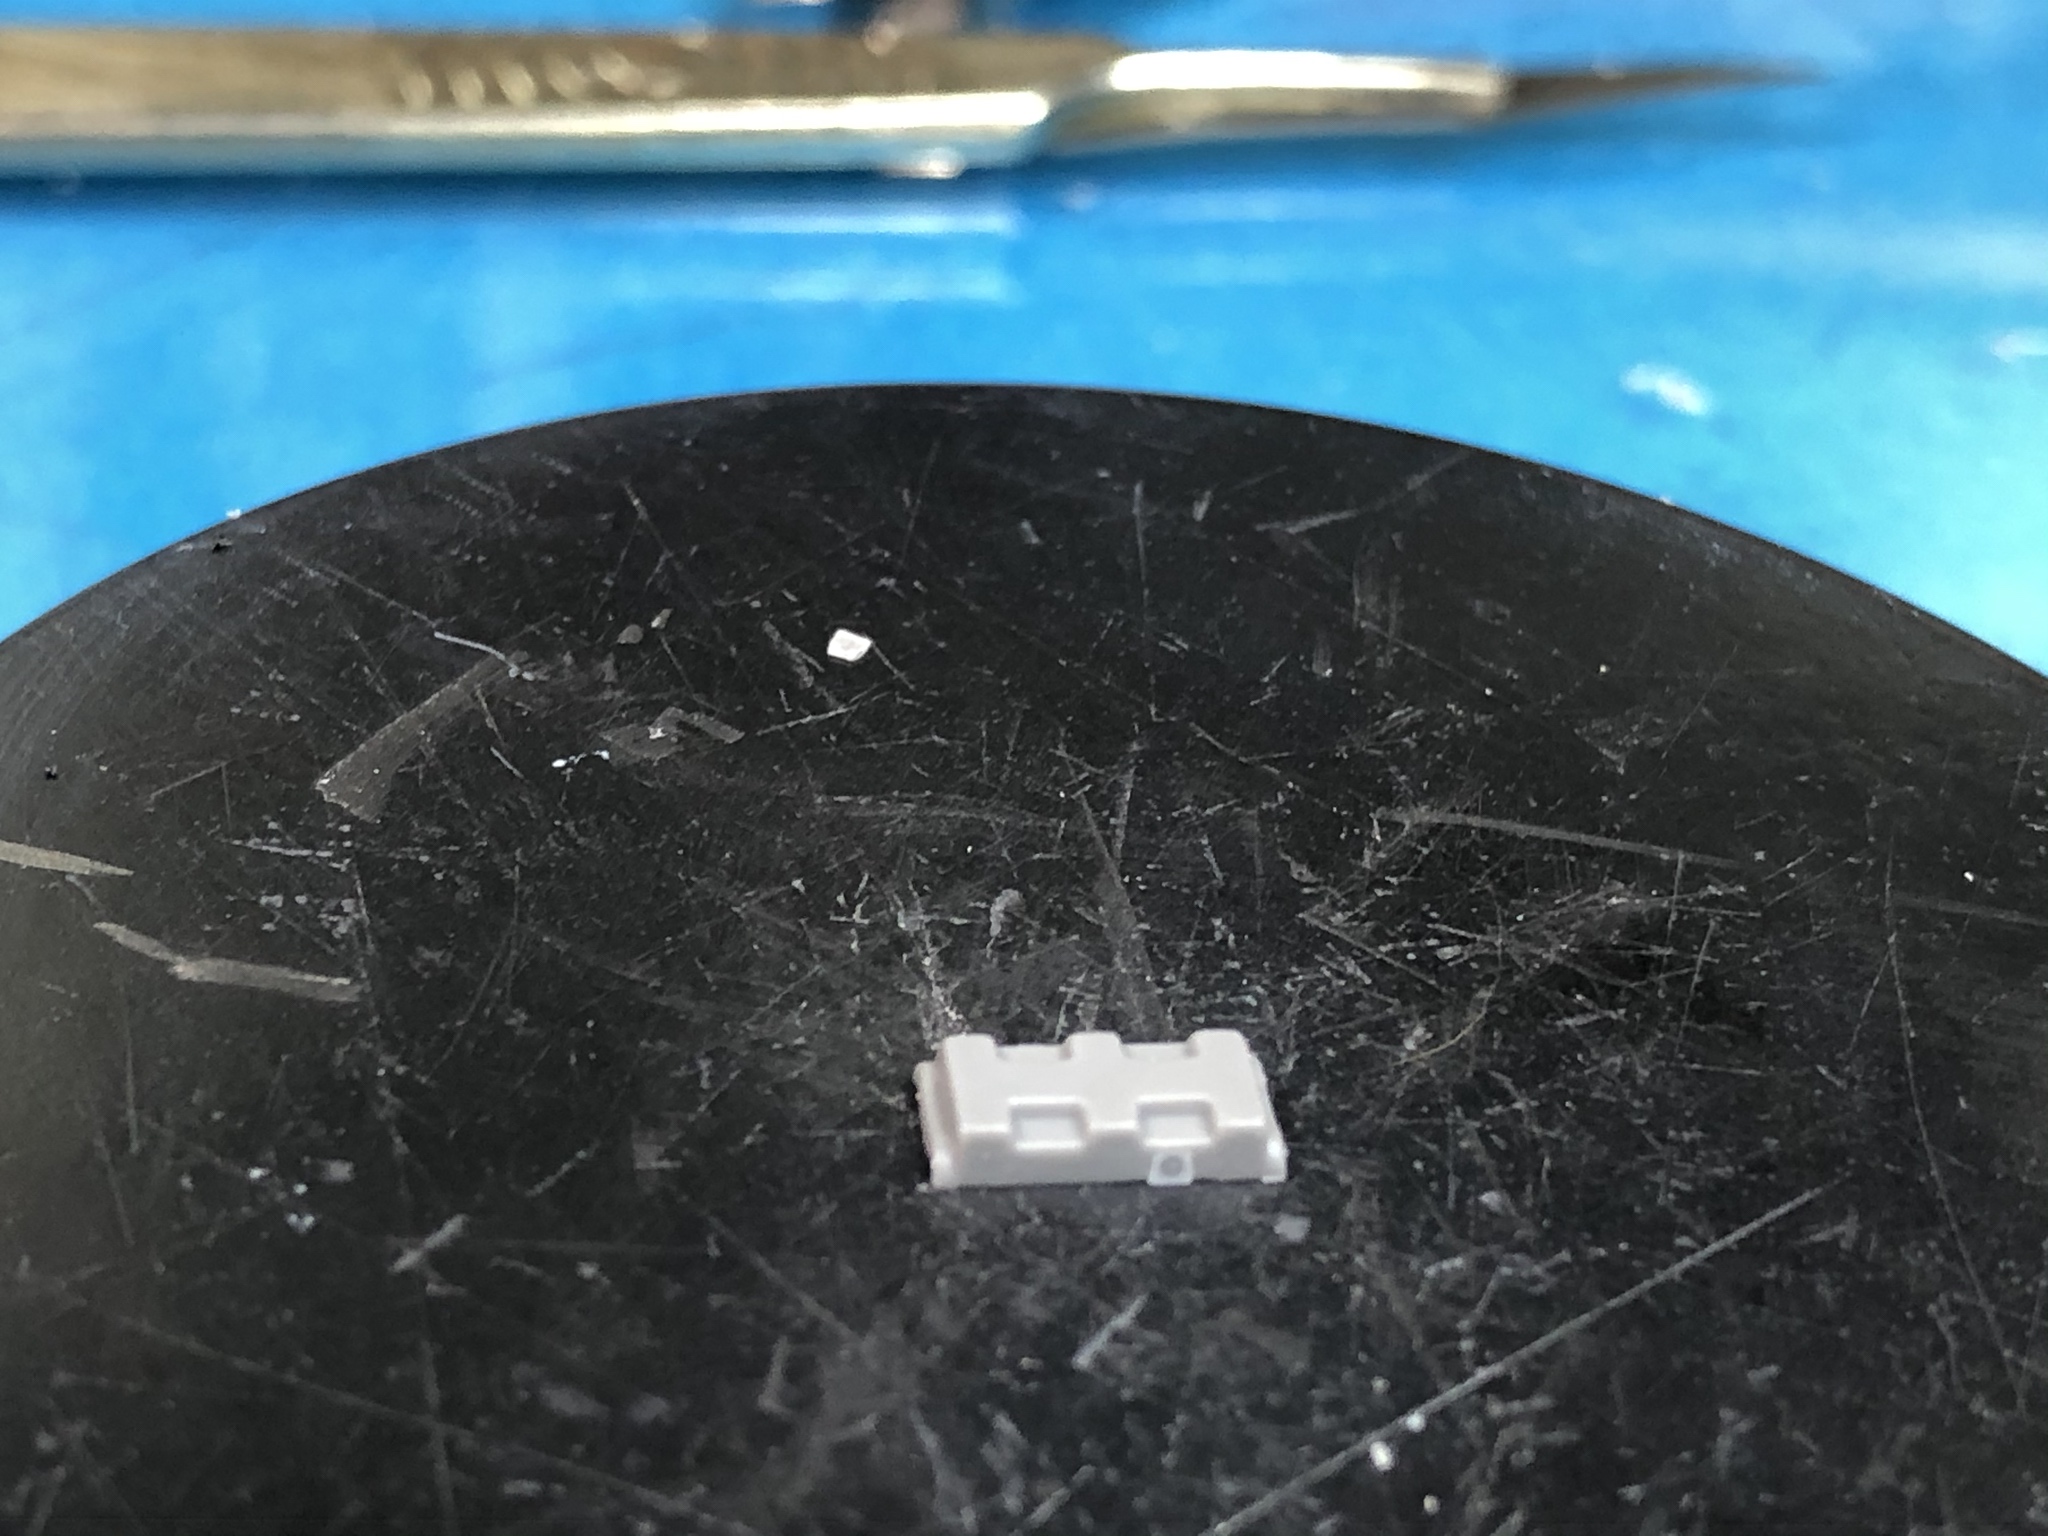
Once the part is removed, I trim away the outer attachment points using the same process.

Once the outside nubs are removed, switch to a #11 blade and trim away the attachment points fron the inside of the ring. The #11 tip is much more fragile and I use it only when the shape of the part Im working on prevents using the #15 blade.
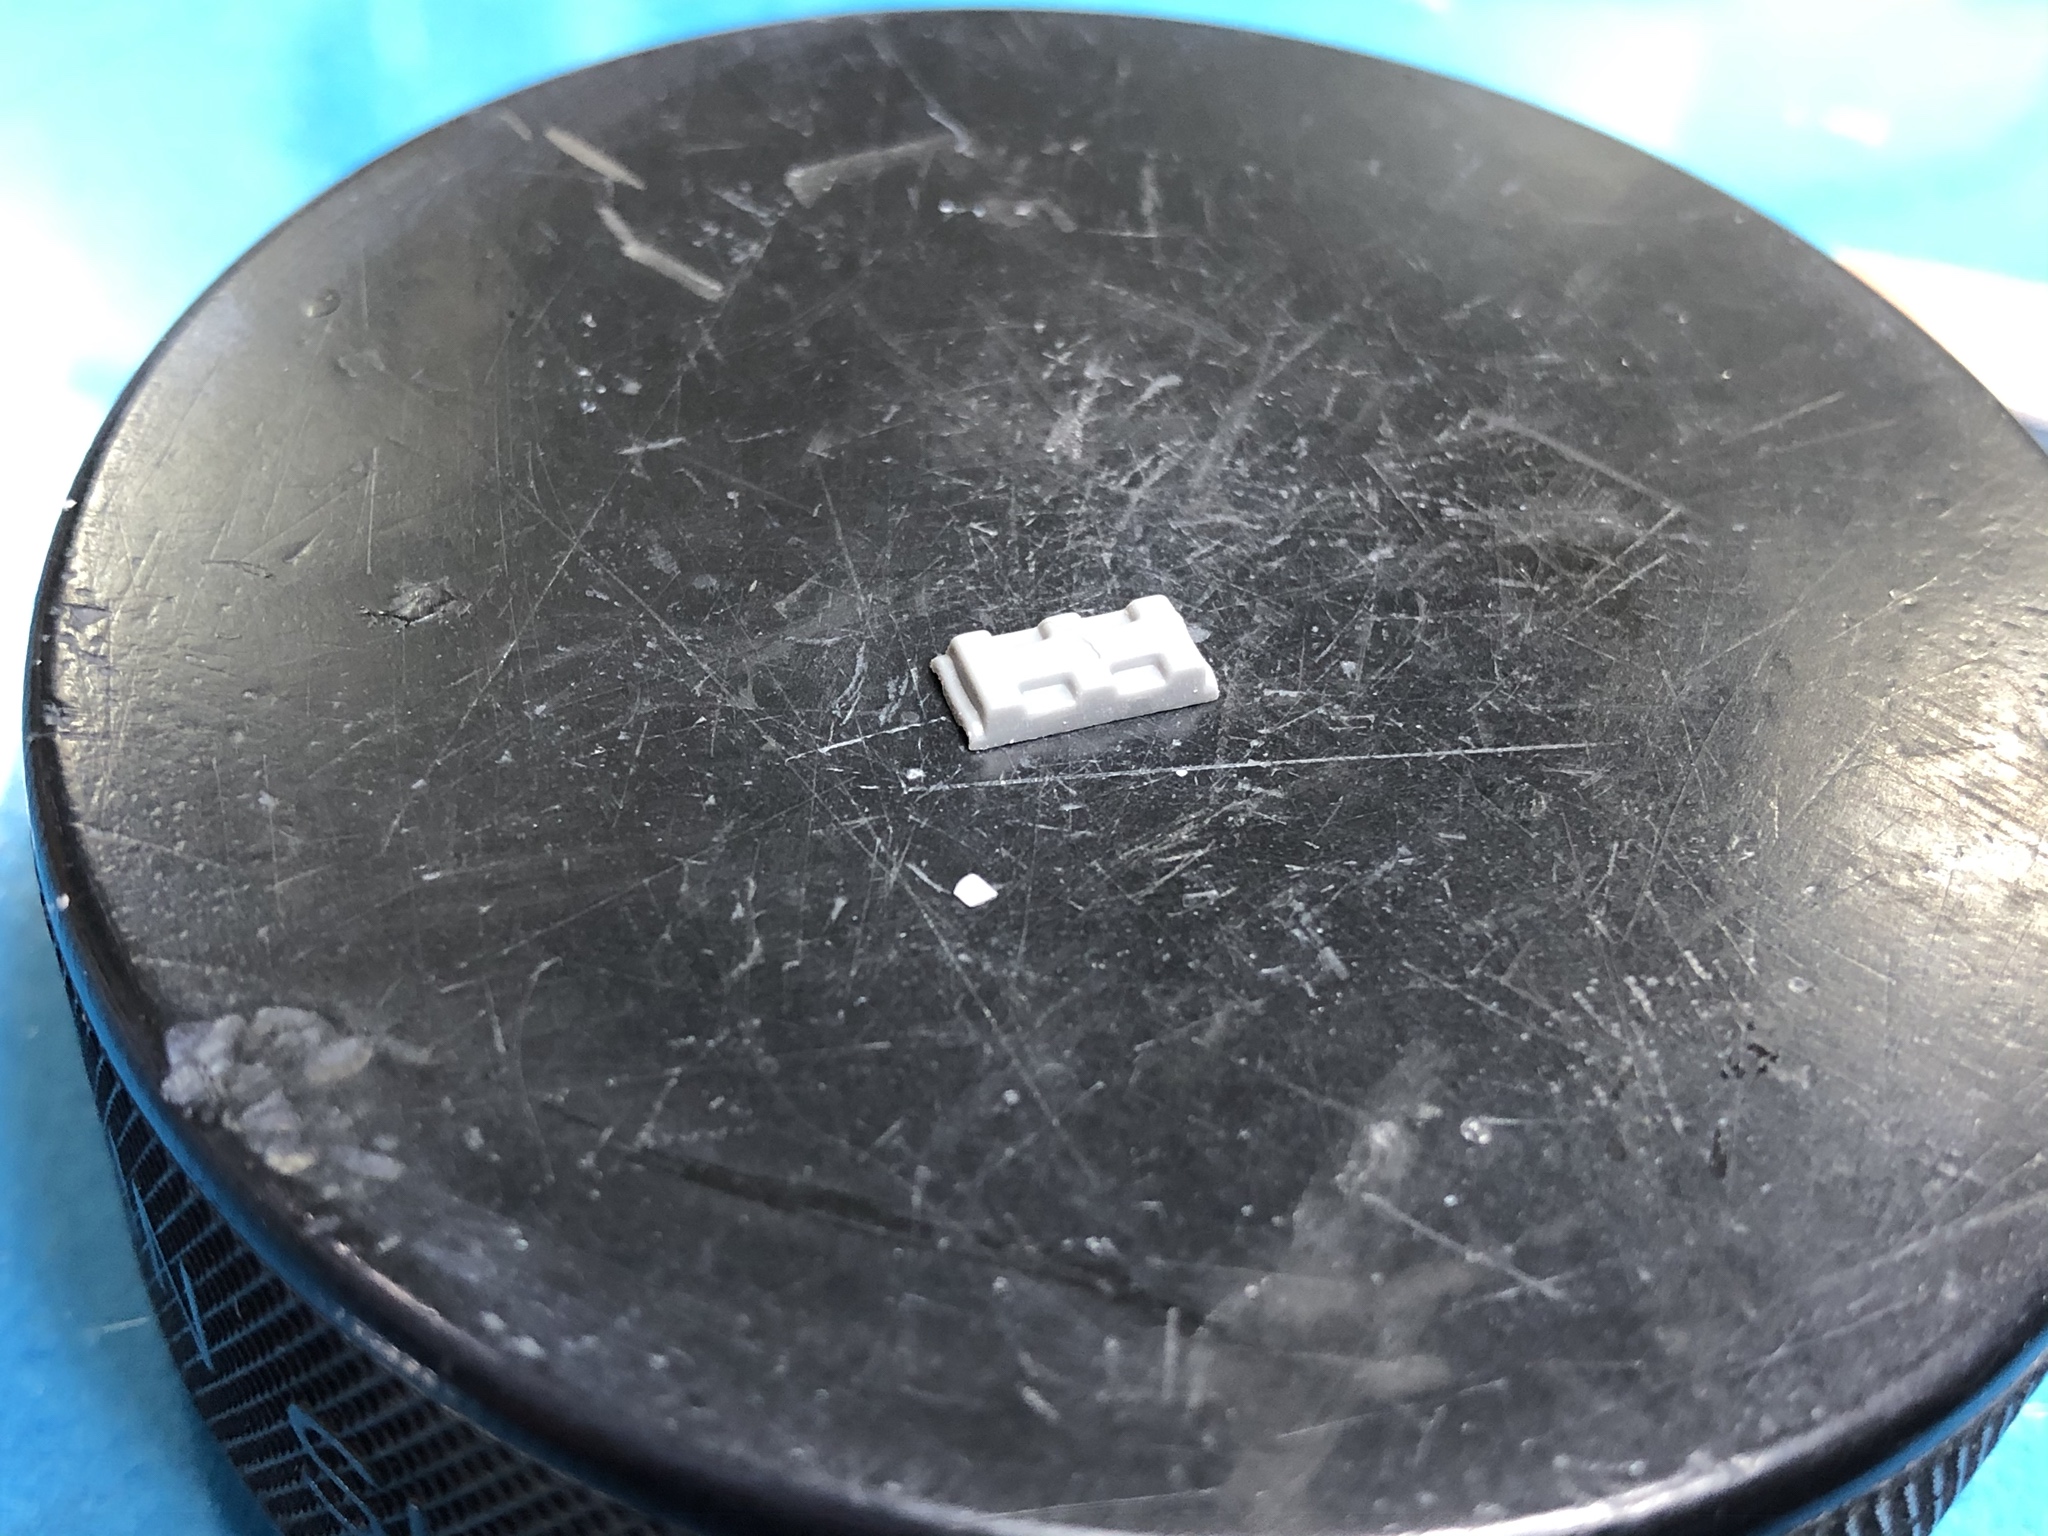
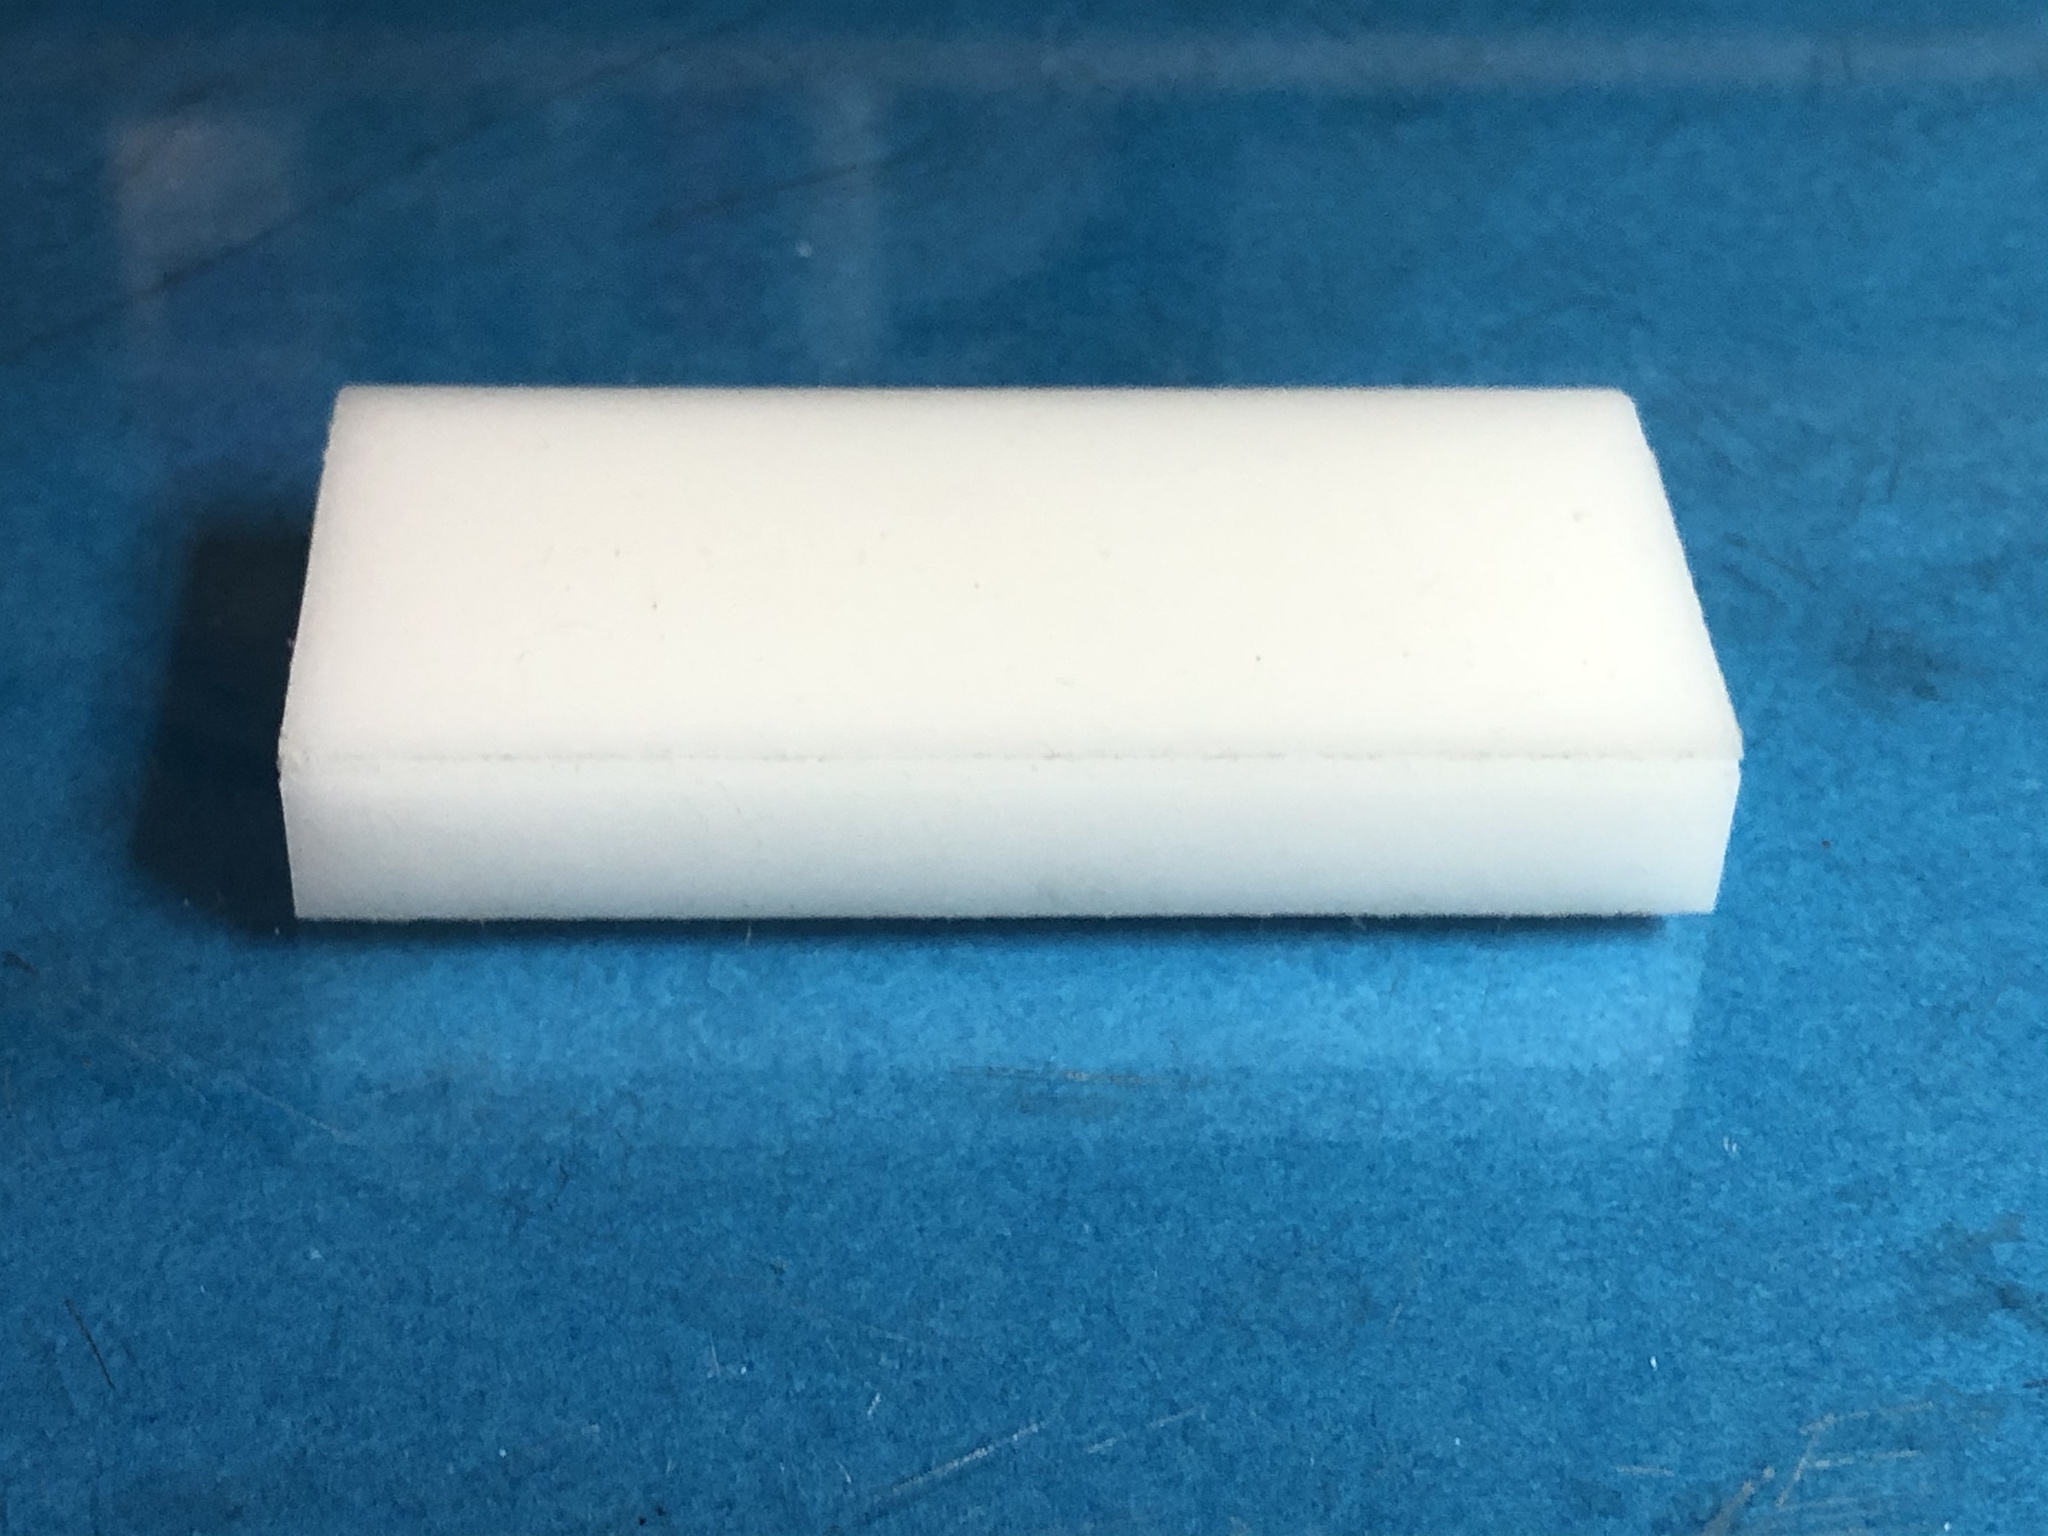
Next, I hold the part against a piece of sheet styrene to act as a brace and sand down then nubs from the outside of the ring. Sanding against the styrene prevents distortion of the PE part.

The inner nubs are eliminated by holding the part right next to a nub and using a rolled bit of 600 grit paper to sand the area smooth. Again, holding the part in this fashion allows putting enough pressure on the part to completely removed the nub without distorting its shape.
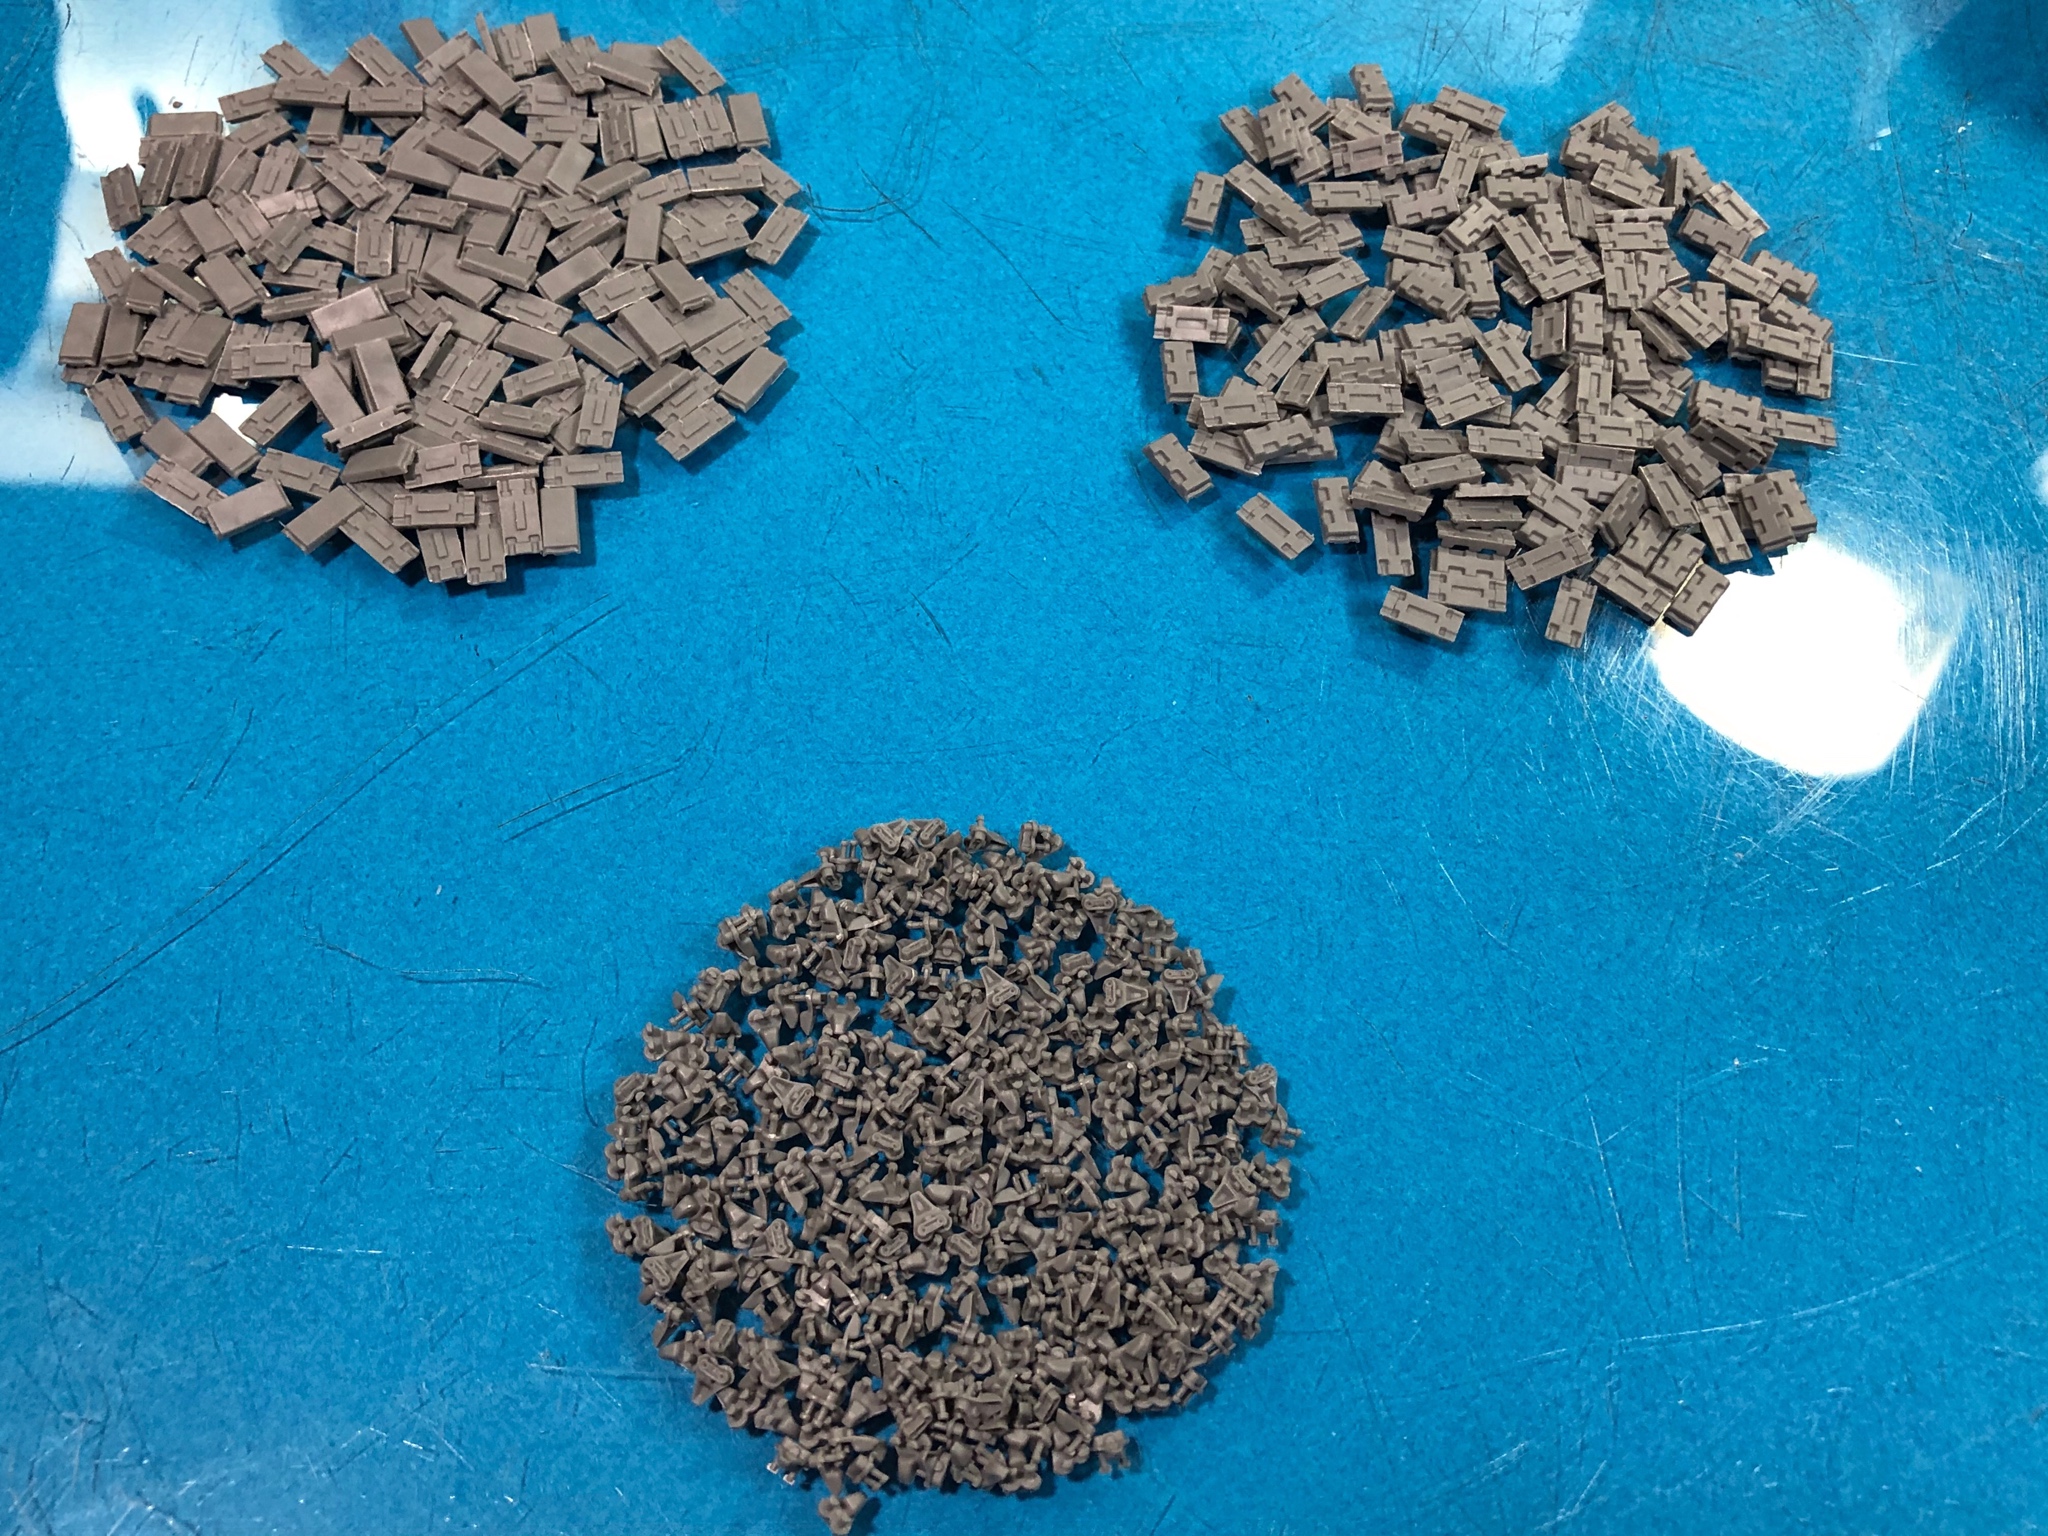
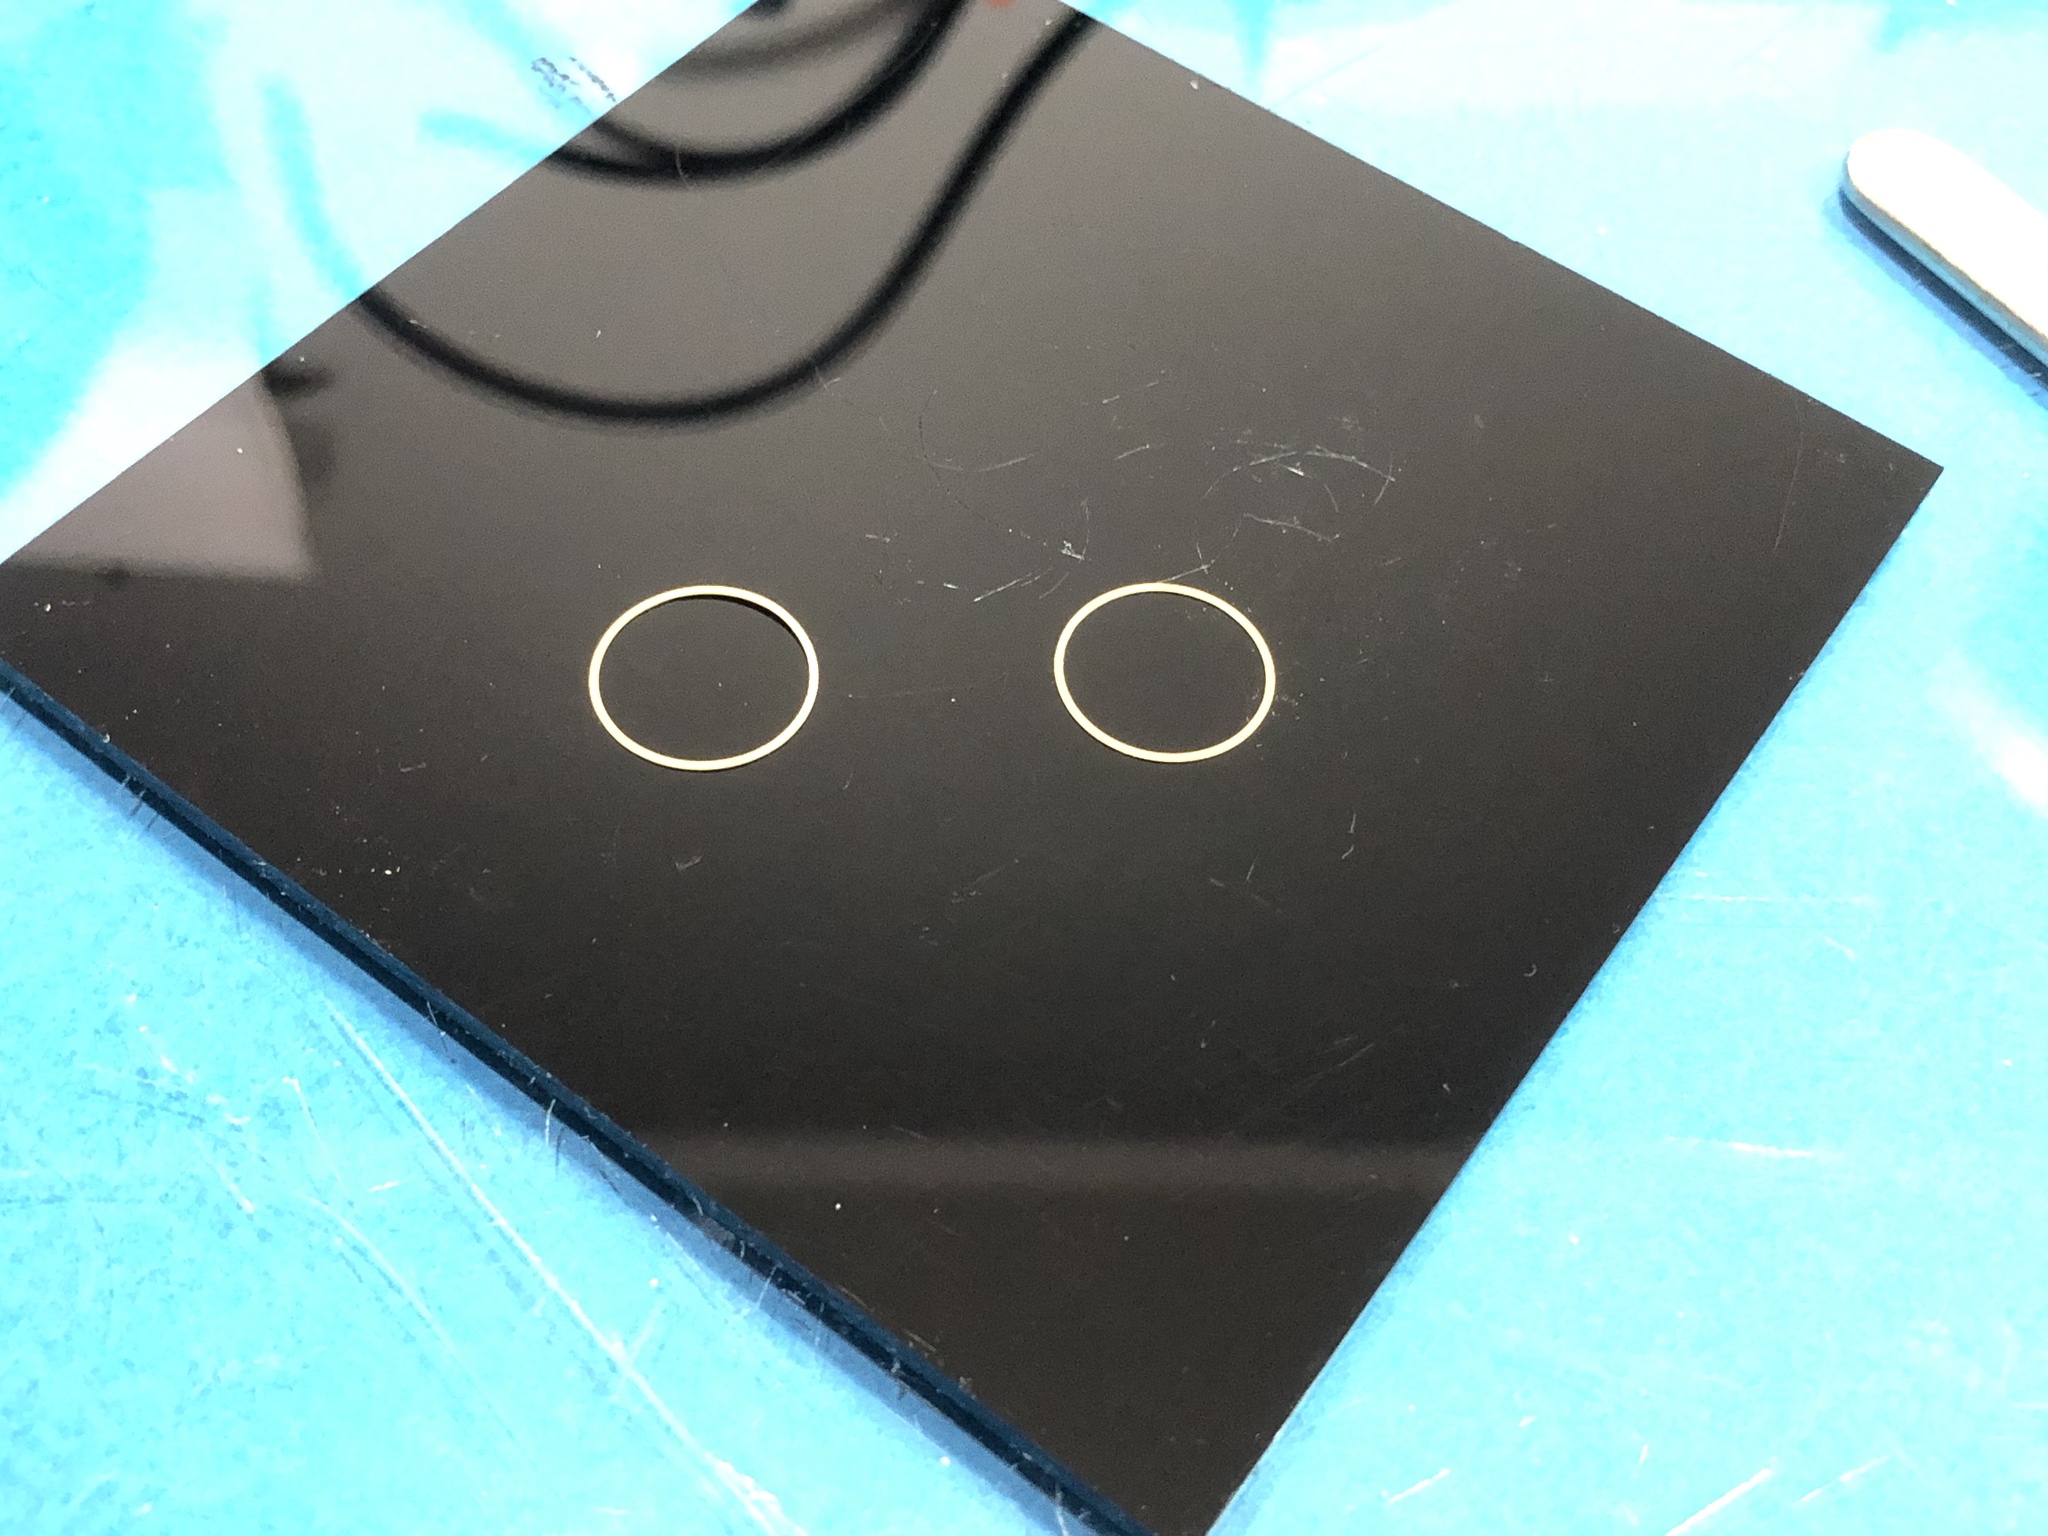
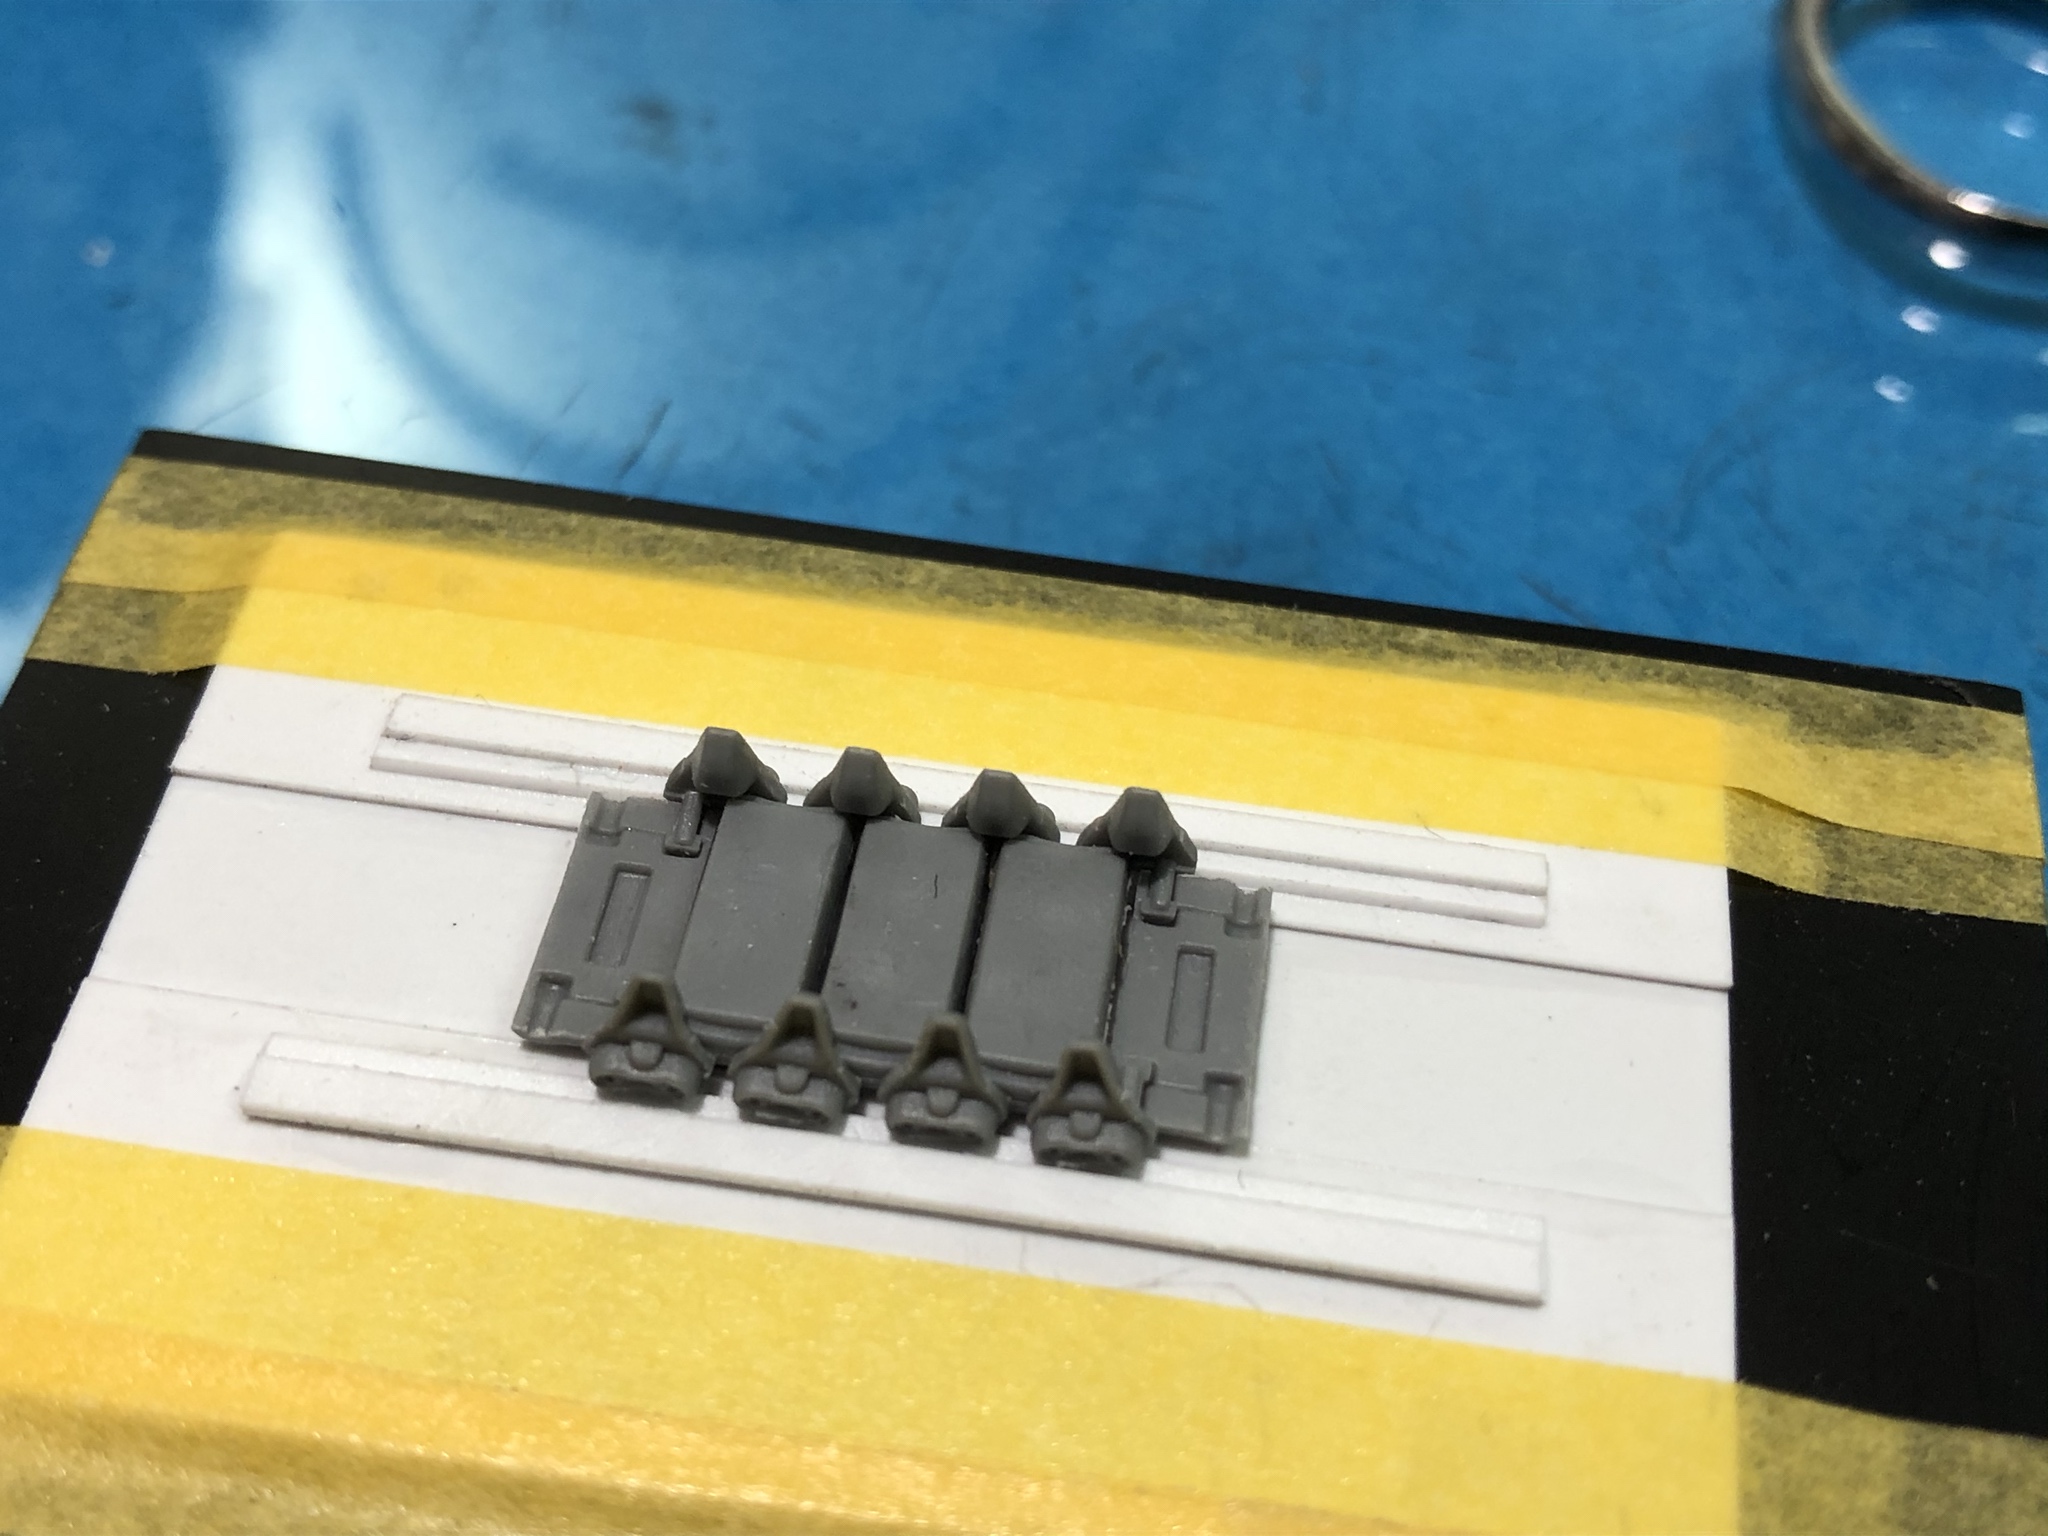
Here are the parts after cleanup.
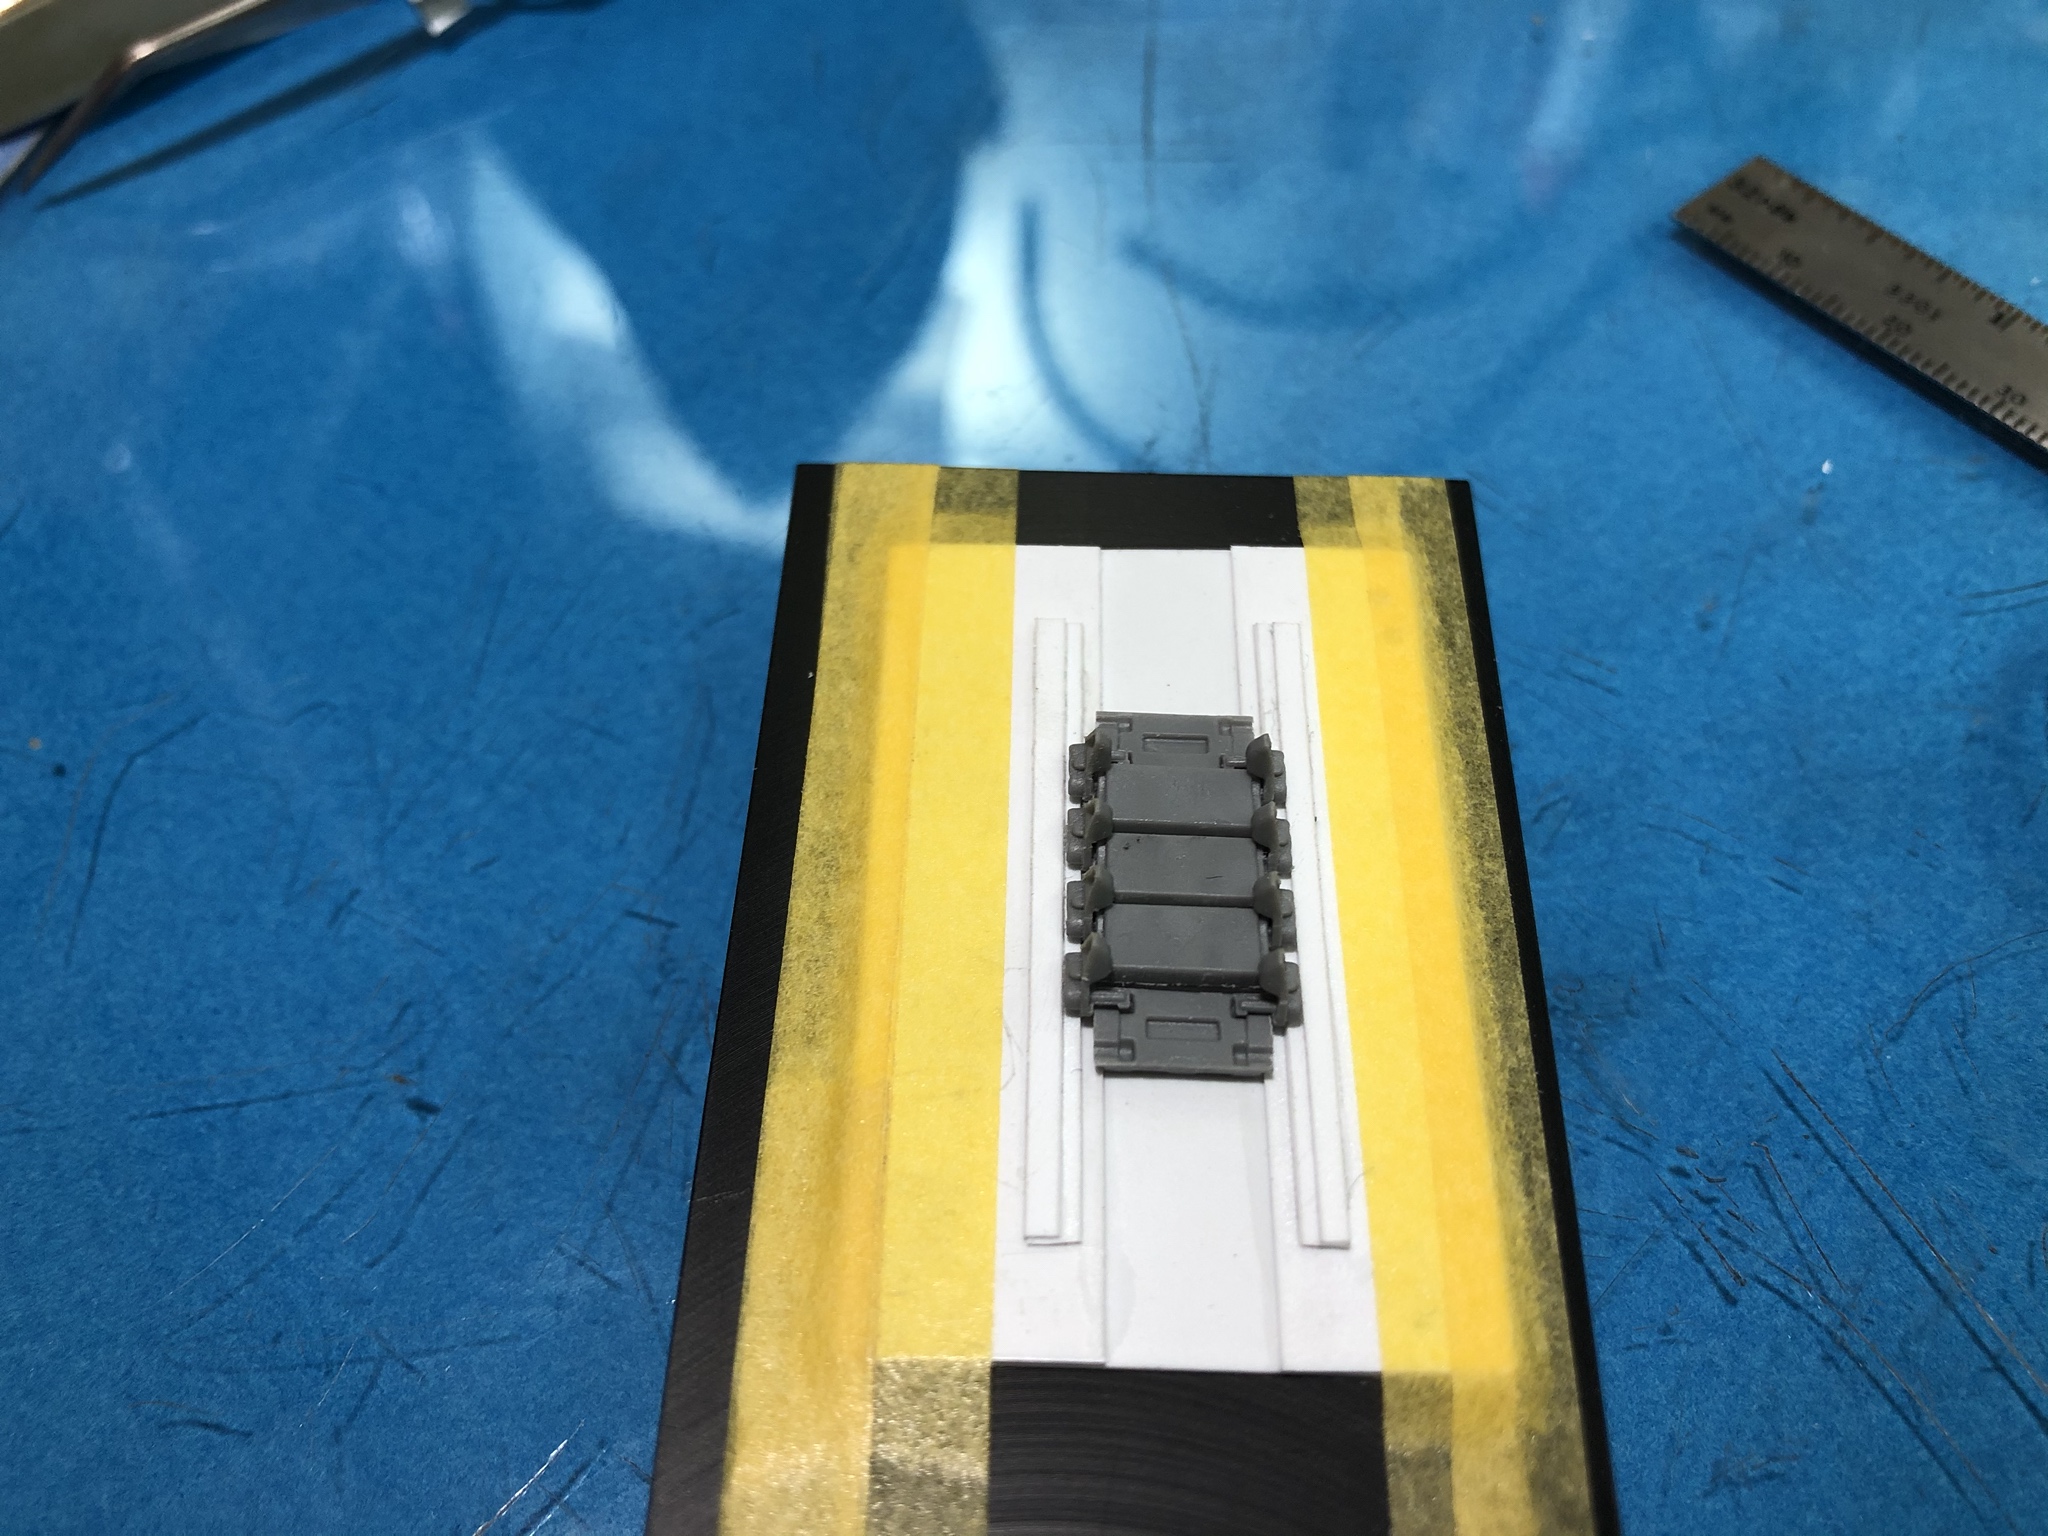
And here are the idler wheels after the rings have been attached with CA glue.

Im sure many may think this is just a common technique, but I wanted to make sure this build log caters to all levels of modeler. I hope someone finds this info useful.


 Happy New Year too!