I Like Big GUNS...And I Cannot Lie - Active
Bayern, Germany
Joined: December 11, 2009
KitMaker: 823 posts
Armorama: 170 posts
Posted: Sunday, January 05, 2020 - 05:38 AM UTC
Quoted Text
Impressive interior parts!
But you have placed the rear hatches upside down!!!
(Die Heckklappen stehen auf Kopf!)
Regards
- dutik
Auweia thank you for that hint - still easy to fix now

Grüße aus Franken

Västra Götaland, Sweden
Joined: May 29, 2018
KitMaker: 397 posts
Armorama: 388 posts
Posted: Sunday, January 05, 2020 - 07:59 AM UTC
Progress update
I started with smallest guns. One kit is oversimplified, the other too complicated...
I used industrial electric connectors to simulate barrels.
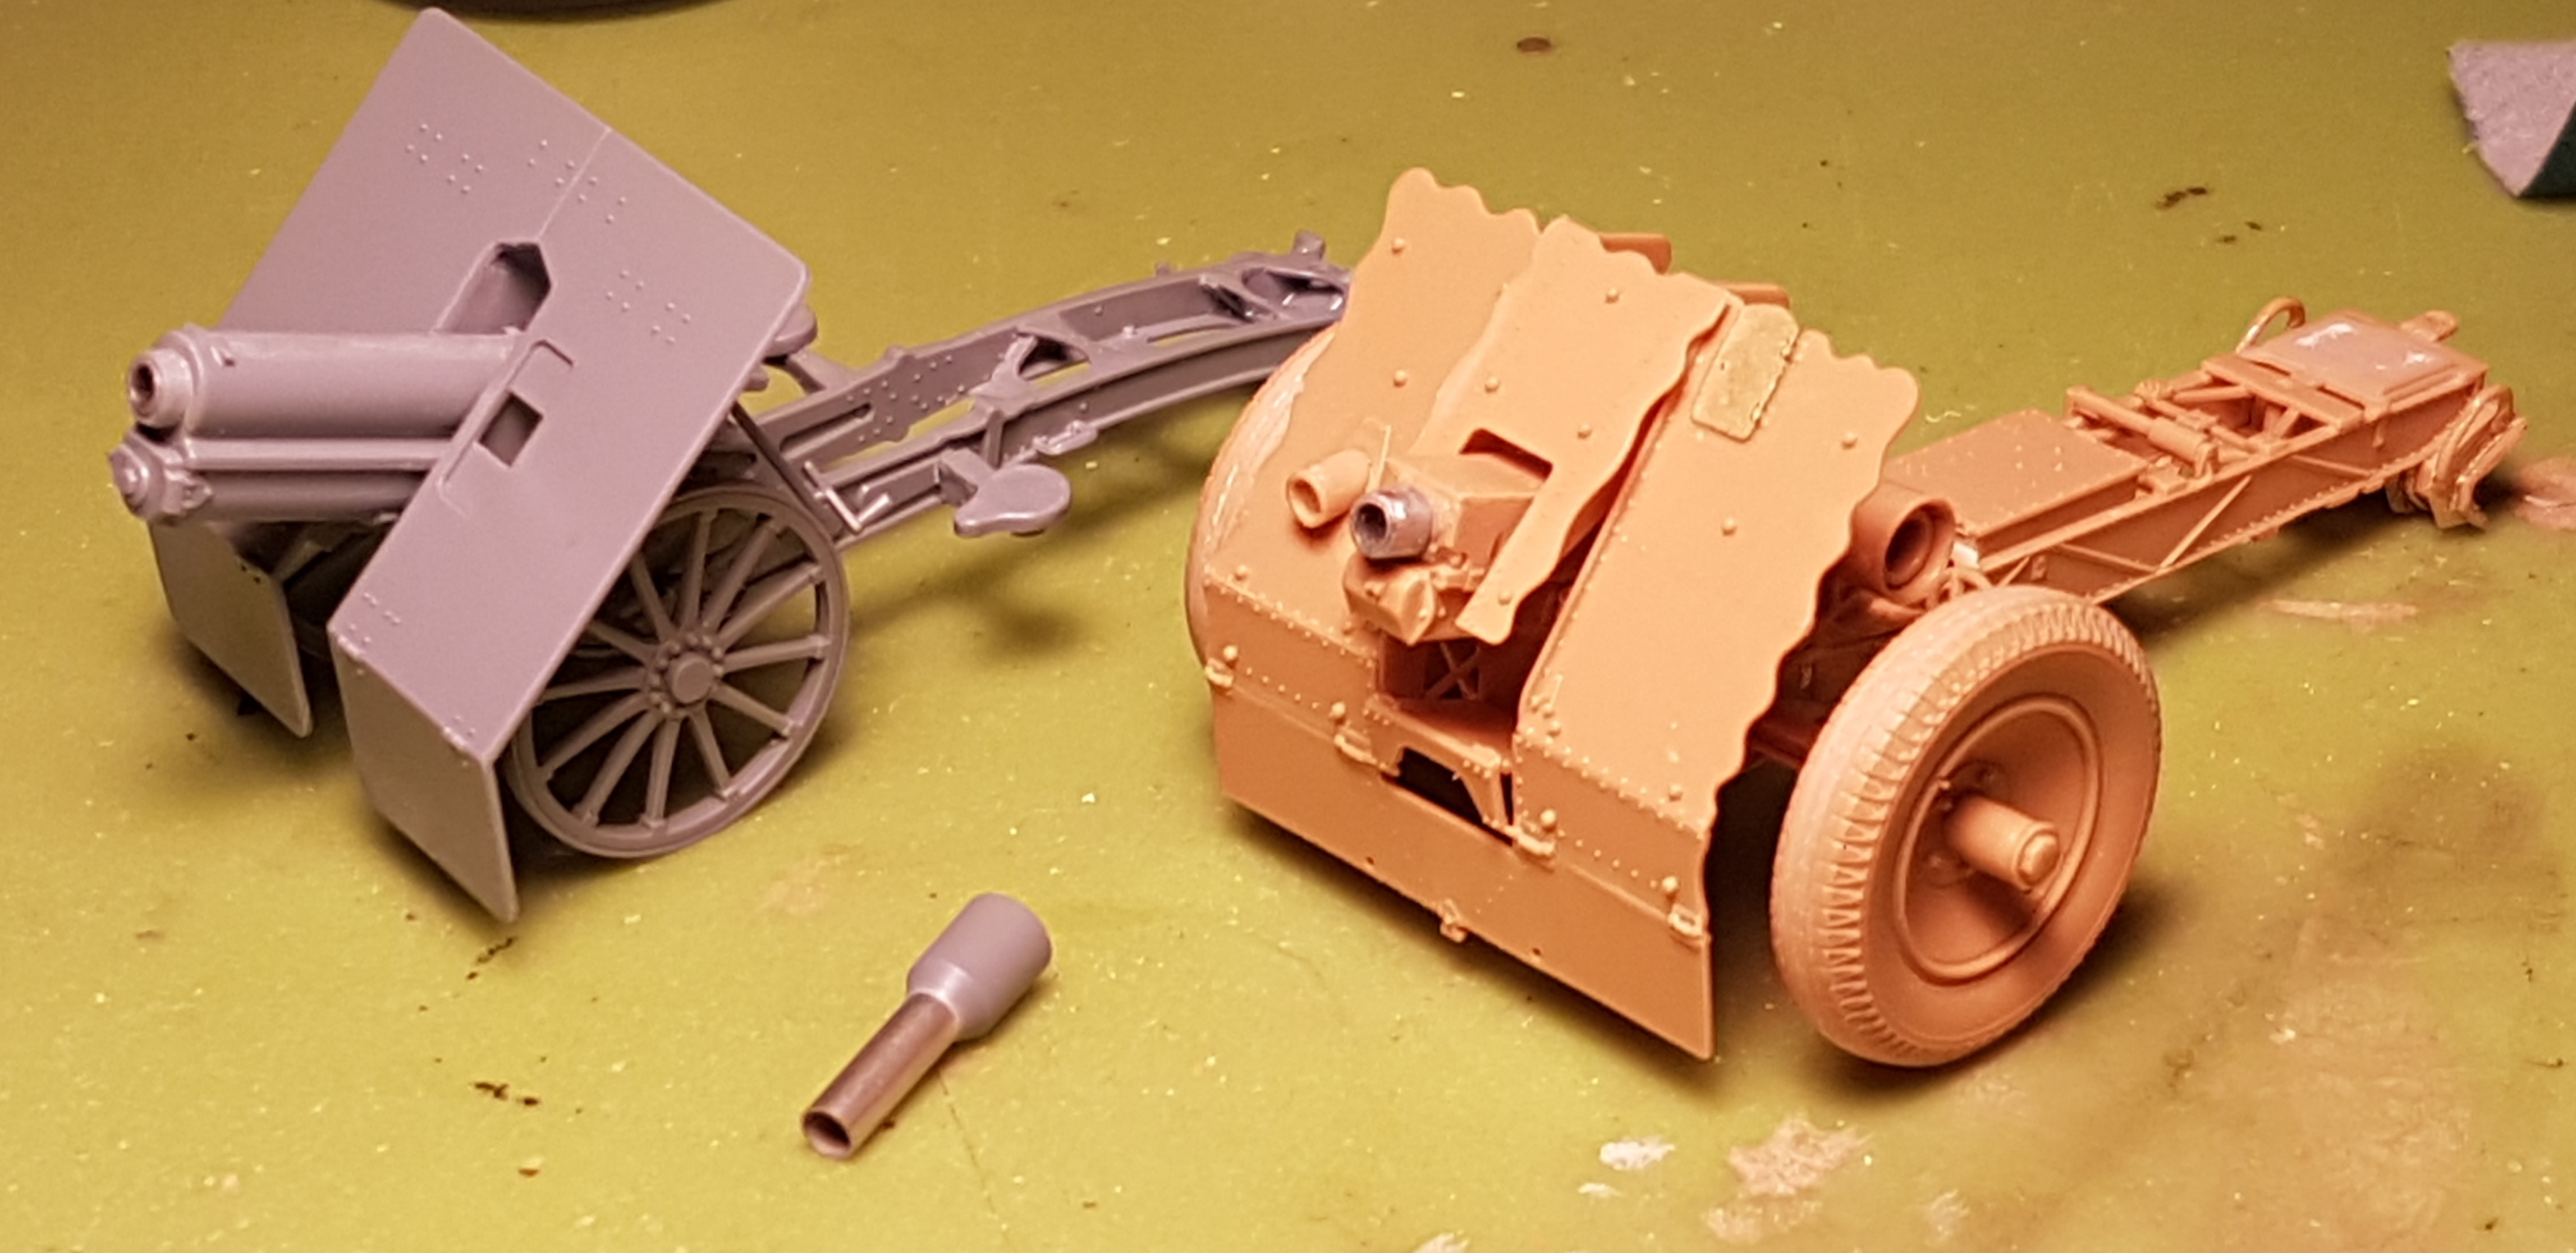
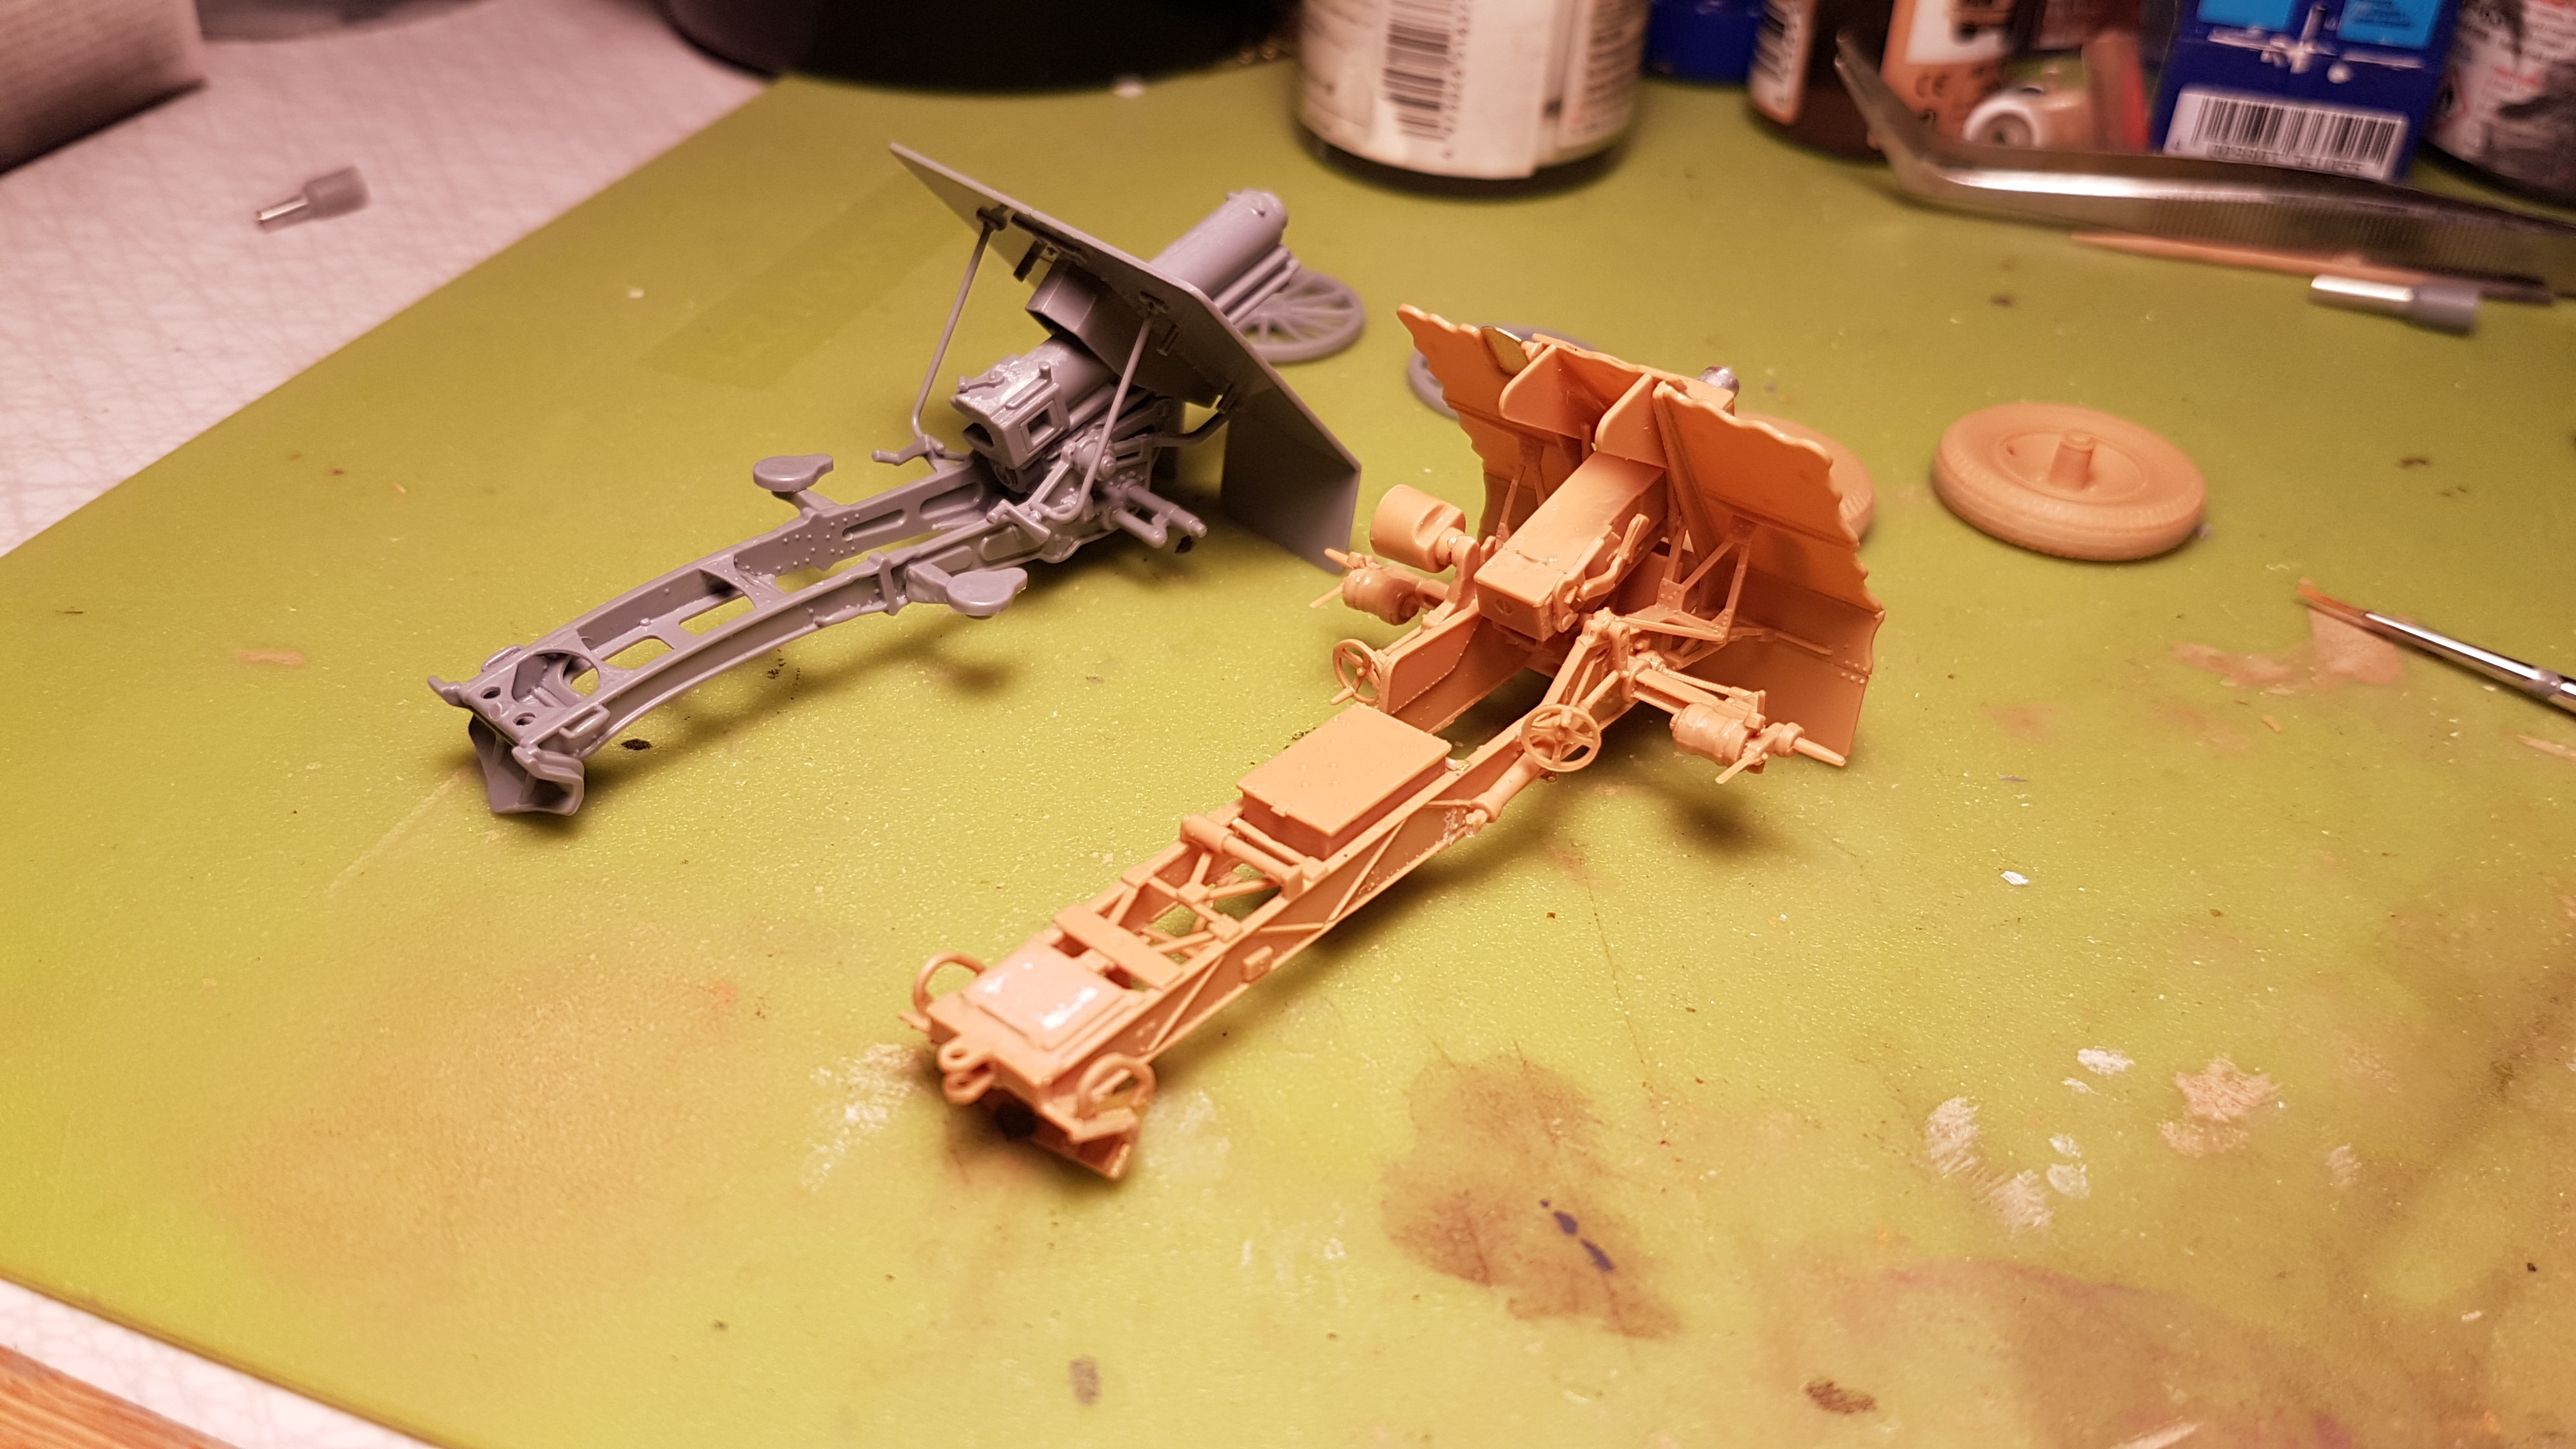
And with paint on...
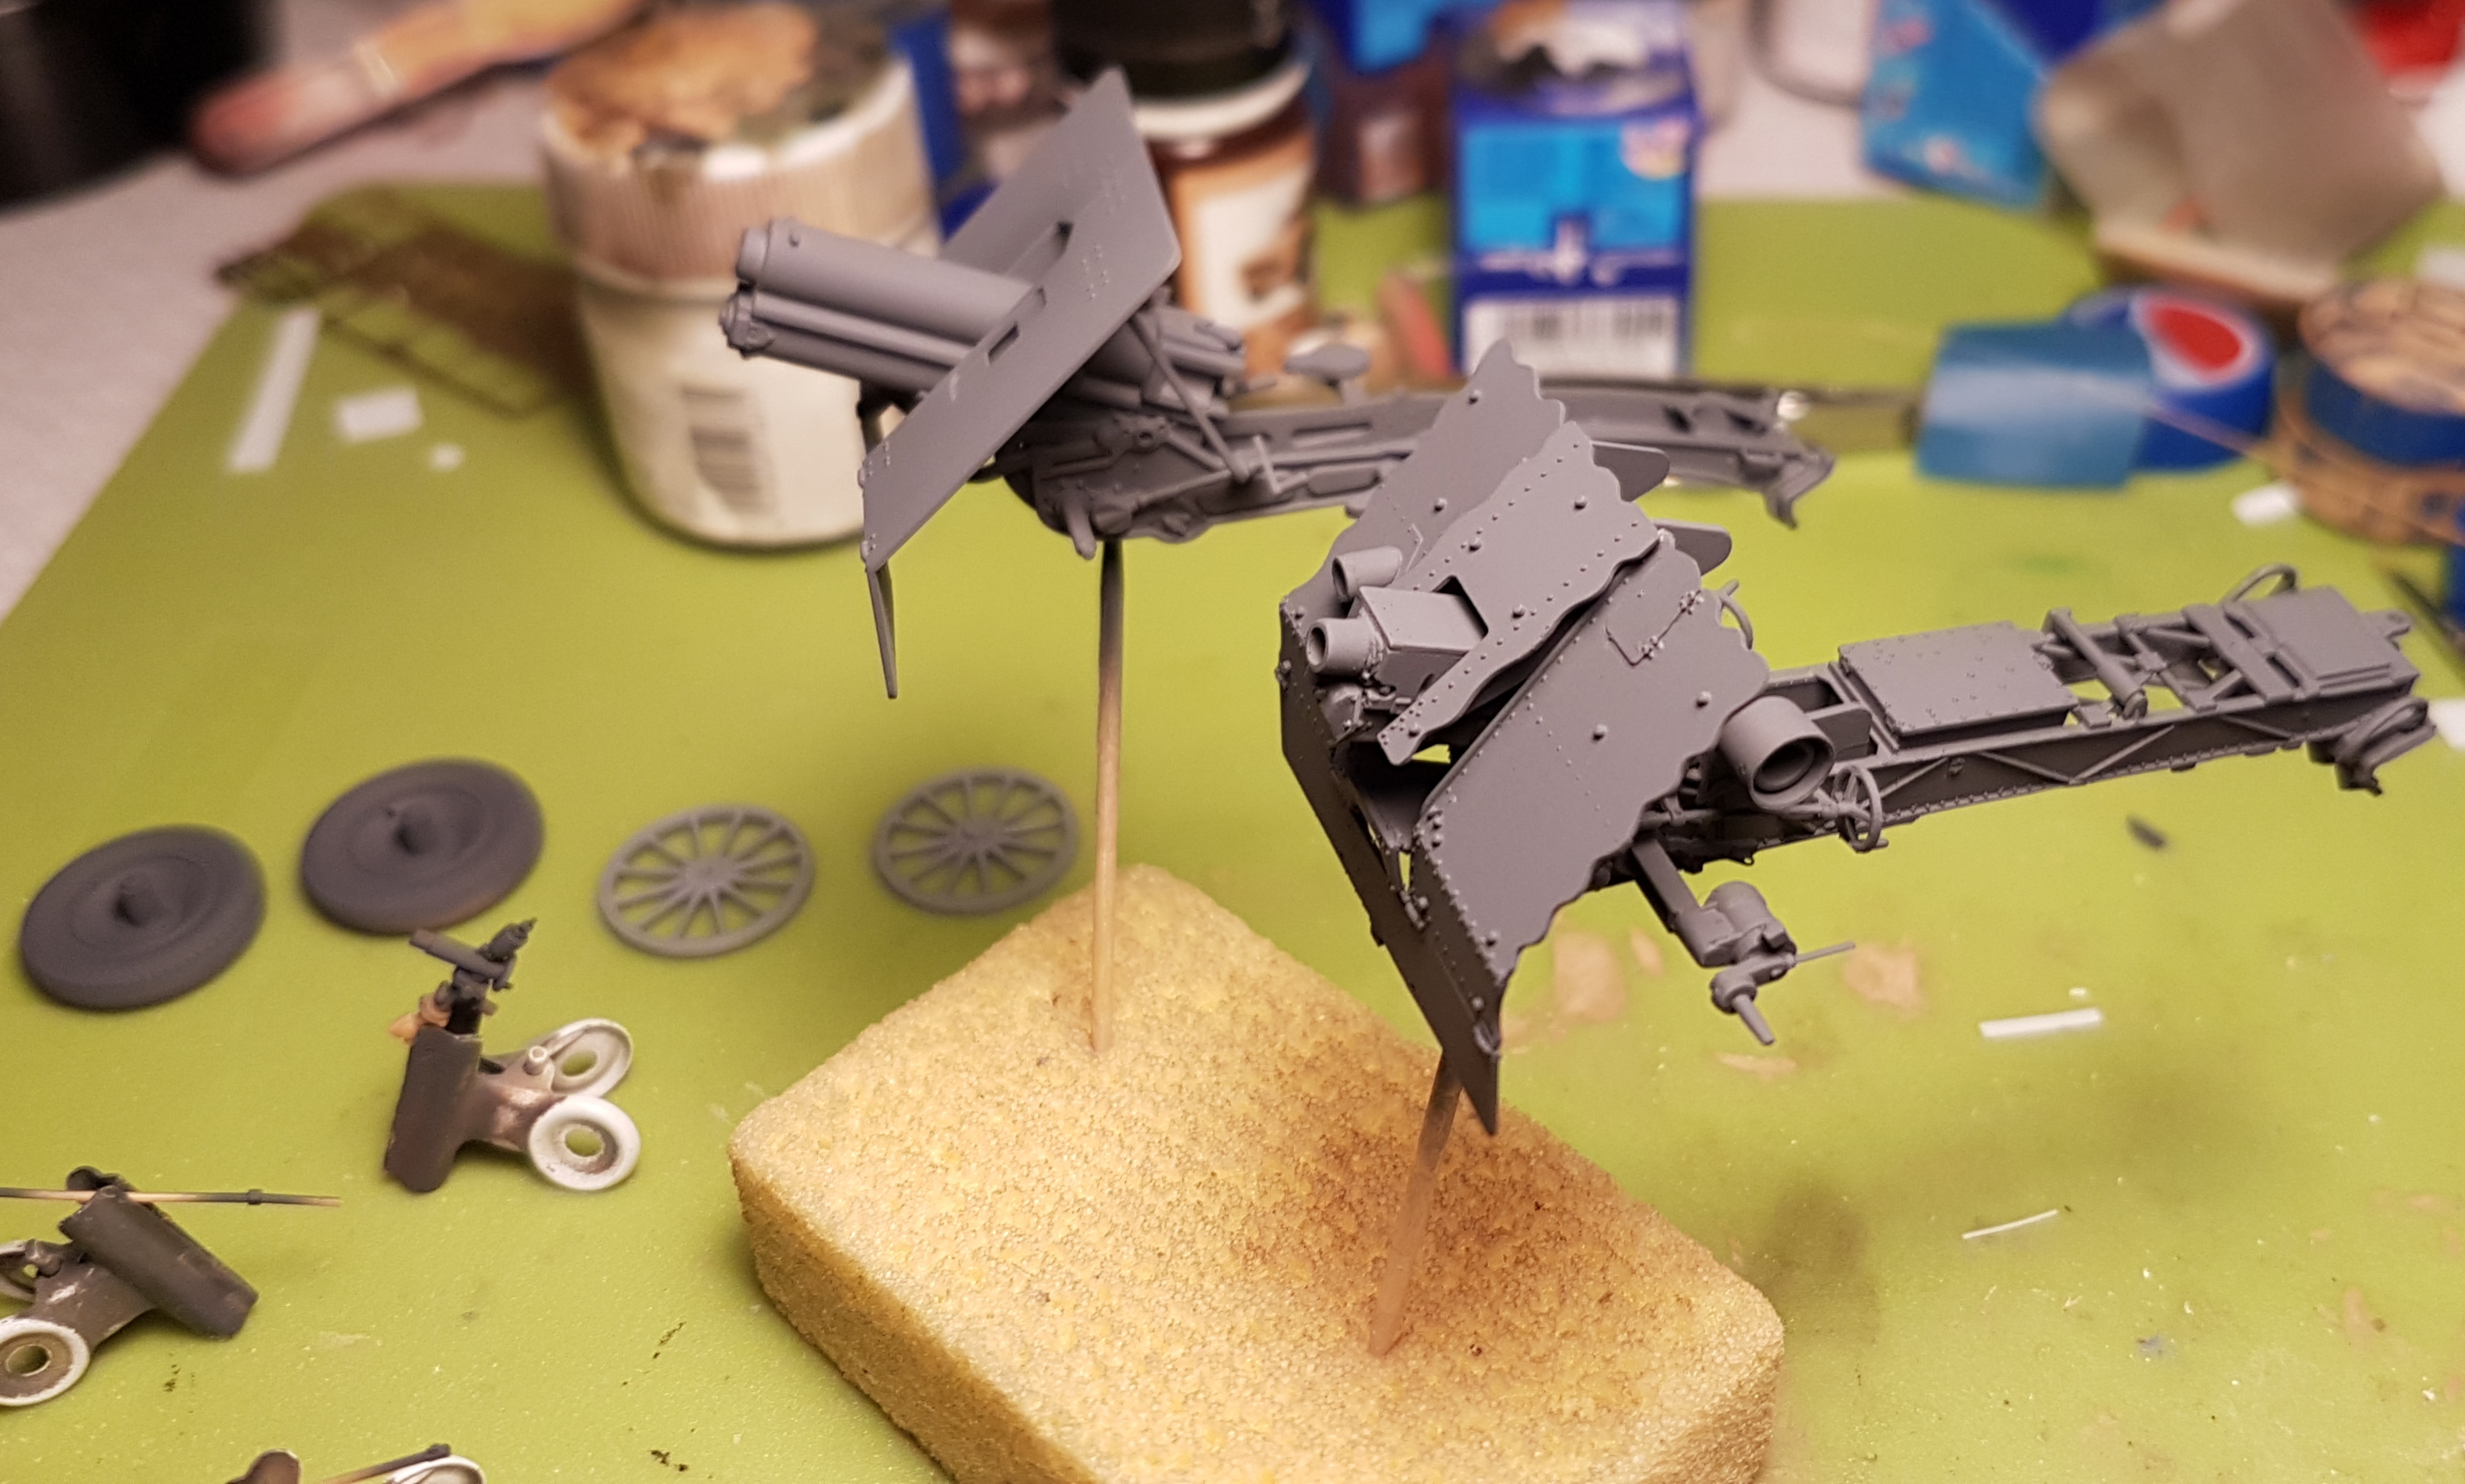
More in next few days.

ColinEdm
 Associate Editor
Alberta, Canada
Joined: October 15, 2013
KitMaker: 1,355 posts
Armorama: 1,229 posts
Posted: Sunday, January 05, 2020 - 11:49 AM UTC
Nice choices so far and some good progress already! Still trying to decide which one I will do (at my pace I can only do one model per campaign and sometimes even that is a stretch!)
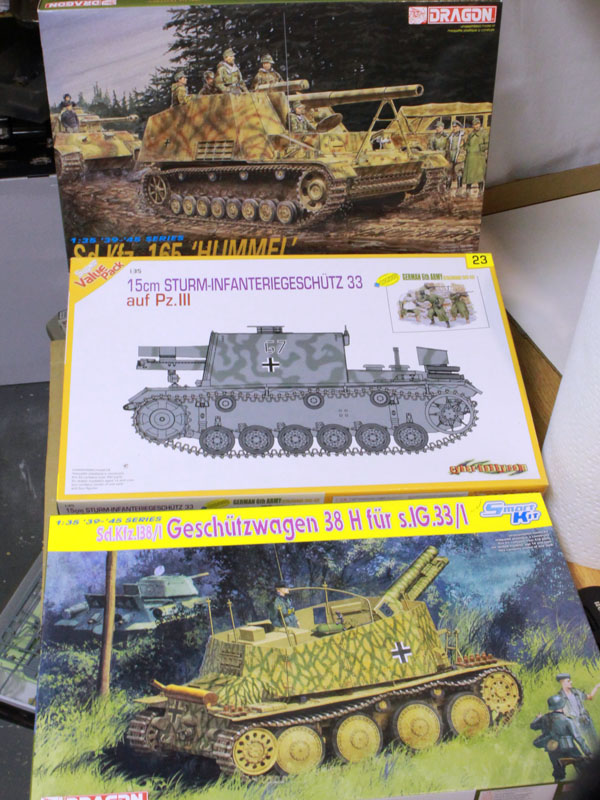

The voices are back.....excellent....
Bangkok, Thailand / ไทย
Joined: September 17, 2013
KitMaker: 1,617 posts
Armorama: 1,150 posts
Posted: Sunday, January 05, 2020 - 02:04 PM UTC
Quoted Text
Quoted Text
Impressive interior parts!
But you have placed the rear hatches upside down!!!
(Die Heckklappen stehen auf Kopf!)
Regards
- dutik
Auweia thank you for that hint - still easy to fix now 
Grüße aus Franken 
I had to look twice, (blinded maybe ), but hey what an extremely nice interior set you laid your hands on, never seen that.
I have the same troubles with Panzer Art AM wheels. To fit them to the model is a hell sometimes.
Nice subject you are building for this campaign, will be following this very close.
Happy modeling,
Robert Jan

Bangkok, Thailand / ไทย
Joined: September 17, 2013
KitMaker: 1,617 posts
Armorama: 1,150 posts
Posted: Sunday, January 05, 2020 - 02:16 PM UTC
Hello all.
I have a problem finding After Market Road Wheels for Panzer III.
Seems that only 'burned out sets' are available, like Panzer Art (RE35273) & Armor Scale (R35039).
Anyone have a good tip / advise for Pz. III road wheels (undamaged) ?
Thanks in advance,
Robert Jan


Colorado, United States
Joined: December 25, 2004
KitMaker: 3,770 posts
Armorama: 2,263 posts
Posted: Monday, January 06, 2020 - 09:35 AM UTC
My build, Trumpeter's ML-20 152mm Howitzer. This one will go behind the Russian ChTZ S-65 Tractor.
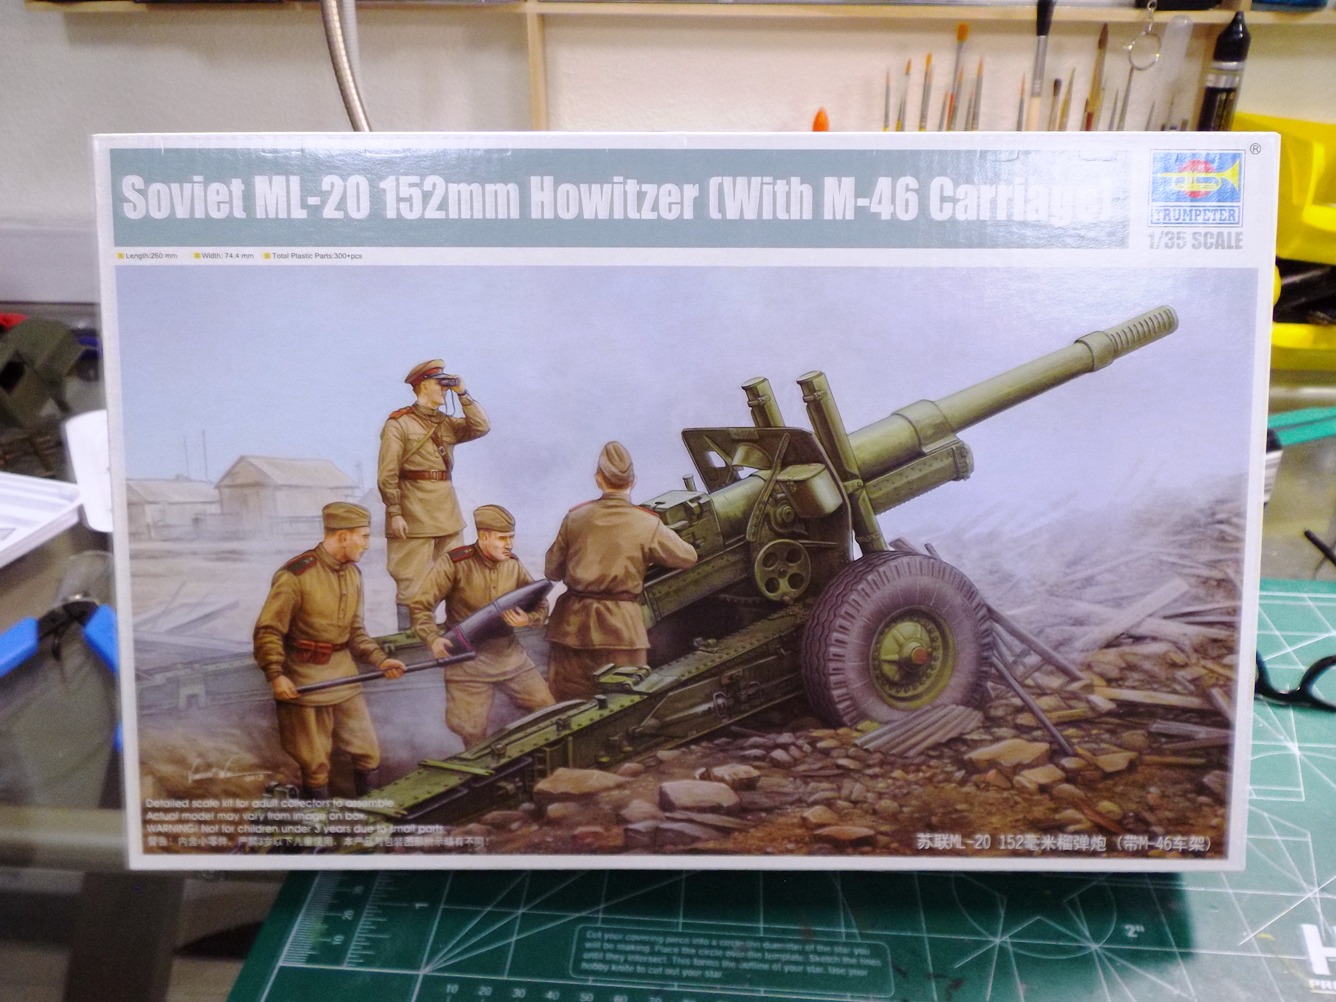
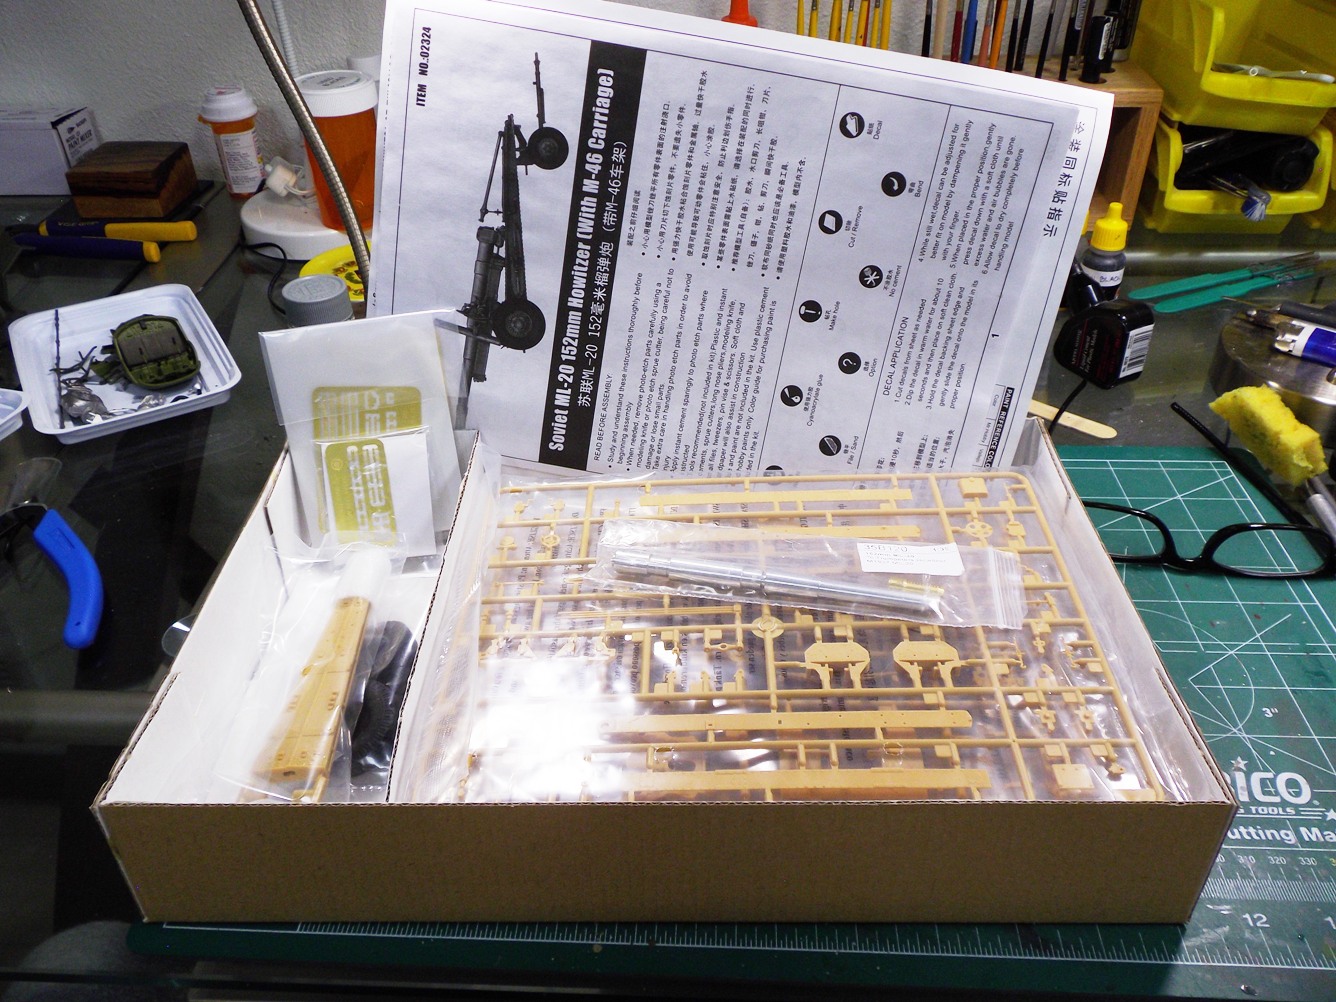
Mike

California, United States
Joined: June 11, 2009
KitMaker: 461 posts
Armorama: 370 posts
Posted: Tuesday, January 07, 2020 - 04:42 AM UTC
I was at work over the weekend to perform a system update. I was by myself and worked about 10-12 hours. I brought my ML-20 with me to work on while the database was updating. Boy, for a relatively small model (compared to a tank), this has way too many tiny parts! It was like building a 1/350 scaled ship! I needed my Optivisor big time! I think I completed 80% of the model. Here's how it looks.
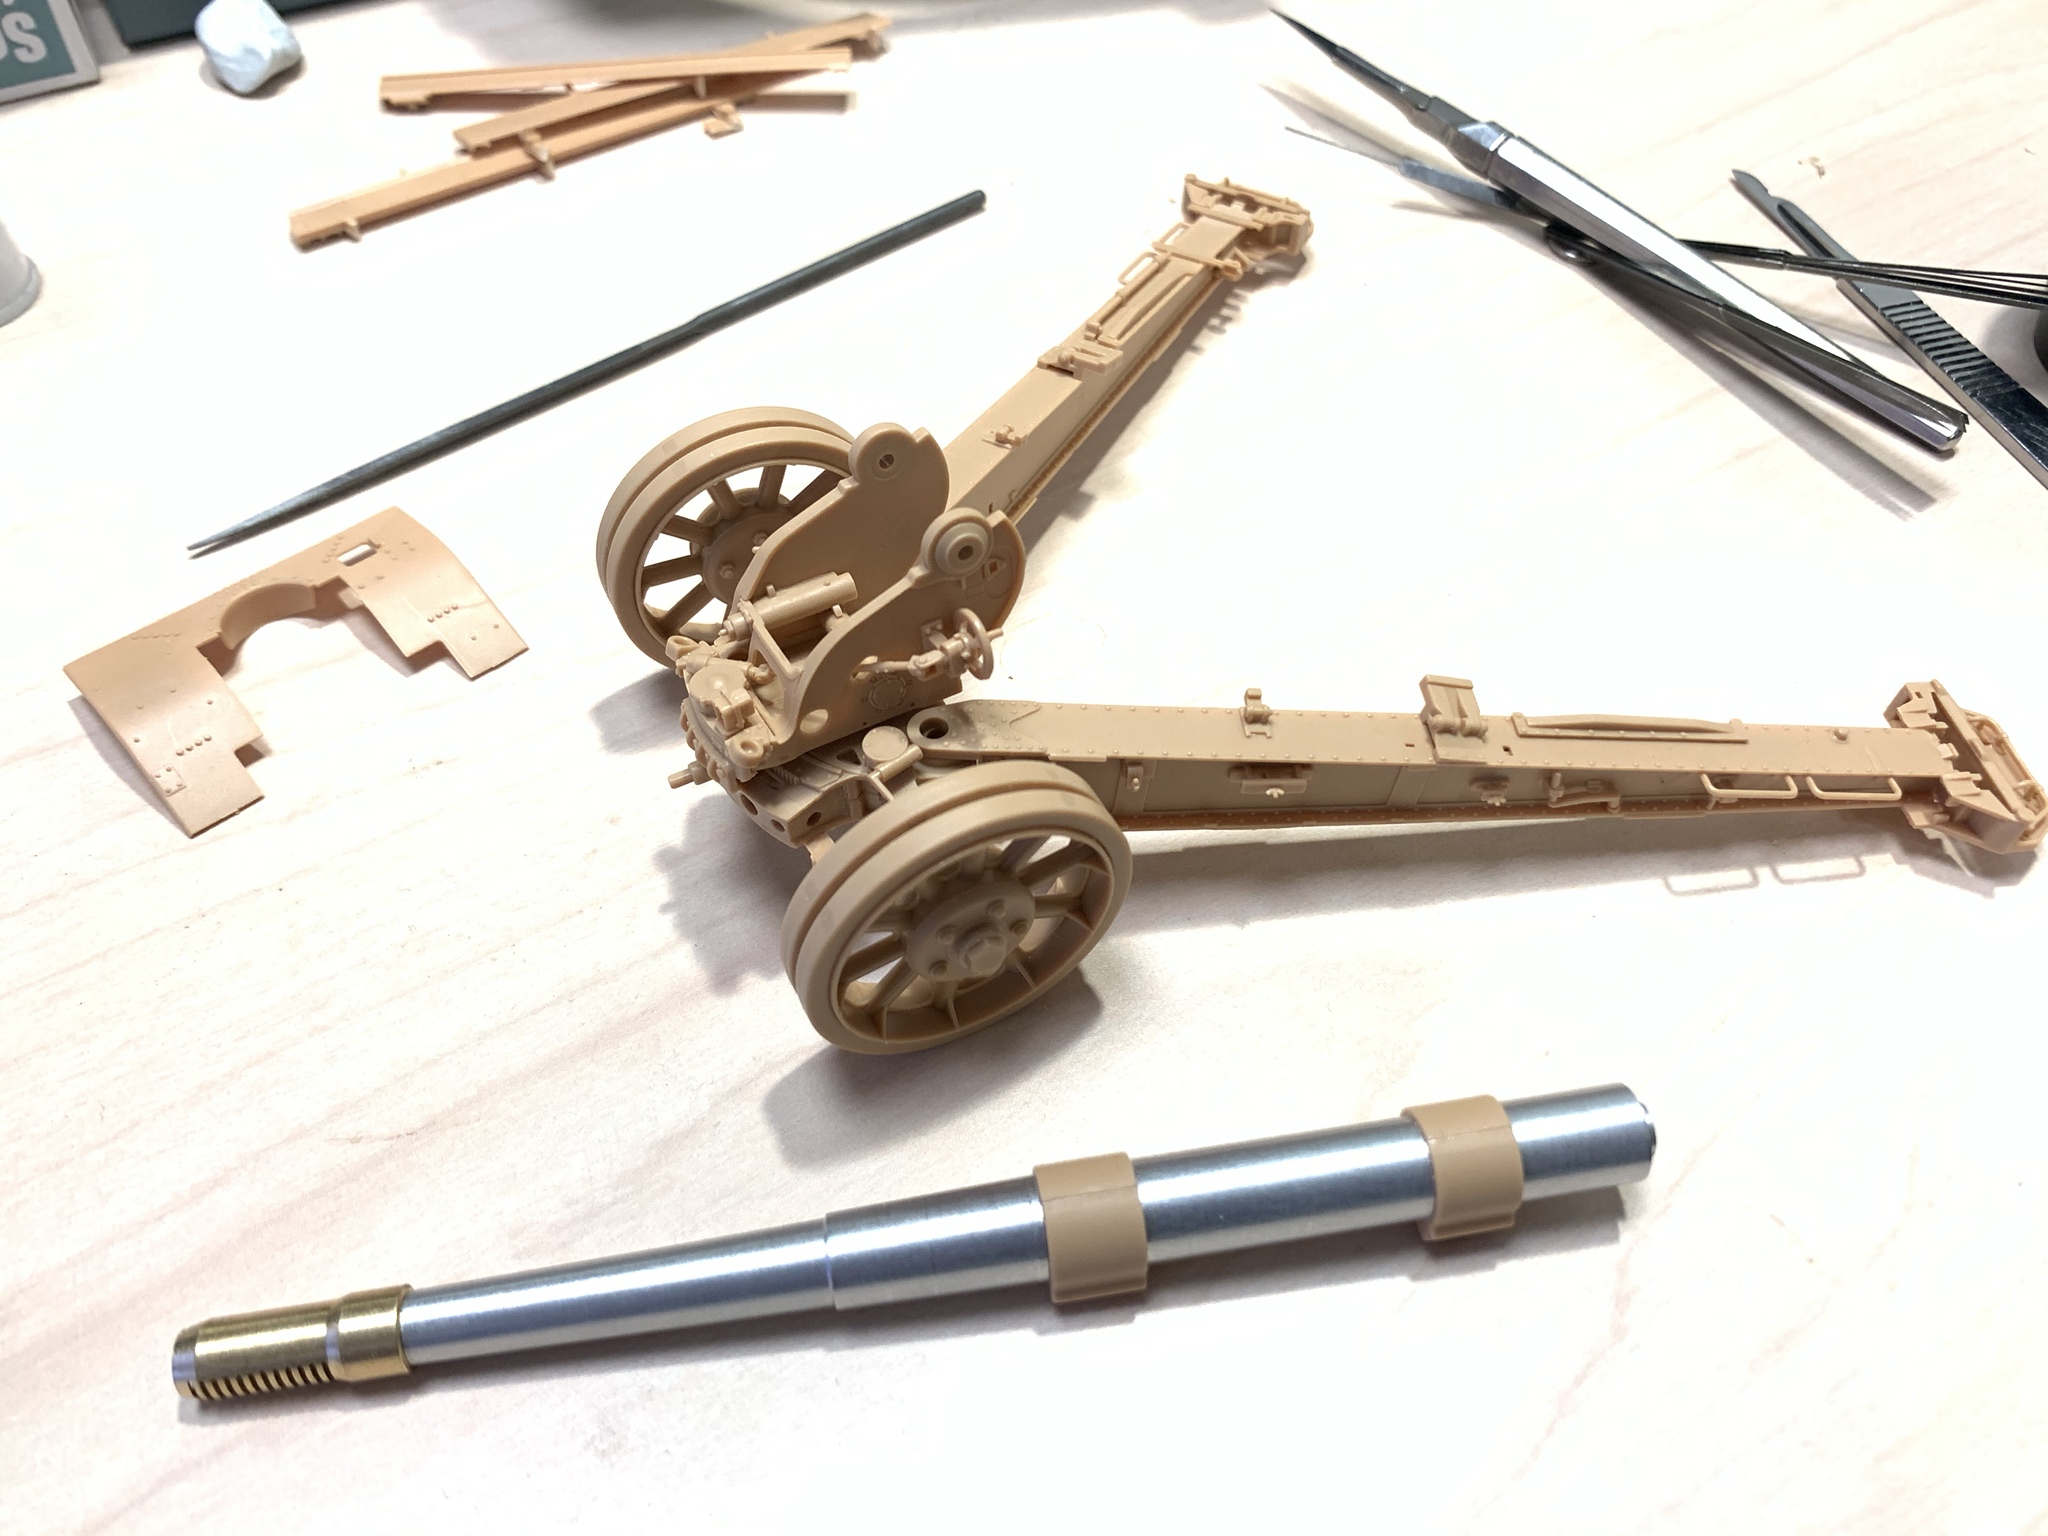
As can be seen, I replaced the kit barrel with an aluminum turned after market part. That barrel replacement is a beauty. I think it will make the ML-20 forward heavy though. We'll see when I mount it. I will be opting for having this in "combat" mode, as opposed to "towed". The remaining parts to be glued are the PE supplied ones. I may finish build phase this week.
-Joseph
GulfWarrior
 Campaigns Administrator
Texas, United States
Joined: January 05, 2010
KitMaker: 1,051 posts
Armorama: 1,029 posts
Posted: Tuesday, January 07, 2020 - 05:23 AM UTC
Current campaigns:
I Like Big GUNS...And I Cannot Lie (2S1 Gvozdika)
Operation Snow White (Maultier w/ 37mm Flak Gun)
Stryker Campaign (AFV Club Stryker Dragoon)
1st Gulf War, 30th Anniversary (Dragon MLRS)

#453
Texas, United States
Joined: August 28, 2016
KitMaker: 1,925 posts
Armorama: 601 posts
Posted: Tuesday, January 07, 2020 - 05:57 AM UTC
Joseph,
That new barrel really does look great!
Mark


#490
Sofiya, Bulgaria
Joined: September 22, 2016
KitMaker: 1,432 posts
Armorama: 1,390 posts
Posted: Tuesday, January 07, 2020 - 06:18 AM UTC
Very nice and clean work, Joseph!
As usual!
Be patient with the PE-especially with the supports for the gun shield


Colorado, United States
Joined: March 27, 2003
KitMaker: 345 posts
Armorama: 247 posts
Posted: Tuesday, January 07, 2020 - 10:48 AM UTC
Progress on the Hummel. The upper hull, tracks and a few others are just in place to highlight the gun. The kit is going together very easily and quickly, I've only lost one bit to the carpet monster so far, but there are a lot of tiny lift hooks and other bits to go, that I've been avoiding.


Bayern, Germany
Joined: May 13, 2018
KitMaker: 58 posts
Armorama: 36 posts
Posted: Tuesday, January 07, 2020 - 07:59 PM UTC
Hello everybody,
here's my starting picture of the 122mm D-74.

It's a nice little kit, which should not be too complicated.

BTW Joseph, your ML-20 already looks very inspiring, and I'll try to reach a standard which is as high as yours.

Happy modelling
- Alex
GulfWarrior
 Campaigns Administrator
Texas, United States
Joined: January 05, 2010
KitMaker: 1,051 posts
Armorama: 1,029 posts
Posted: Wednesday, January 08, 2020 - 02:06 AM UTC
Current campaigns:
I Like Big GUNS...And I Cannot Lie (2S1 Gvozdika)
Operation Snow White (Maultier w/ 37mm Flak Gun)
Stryker Campaign (AFV Club Stryker Dragoon)
1st Gulf War, 30th Anniversary (Dragon MLRS)
California, United States
Joined: June 11, 2009
KitMaker: 461 posts
Armorama: 370 posts
Posted: Wednesday, January 08, 2020 - 06:10 AM UTC
Thanks very much, Richard!
Quoted Text
Joseph,
That new barrel really does look great!
Mark 
I agree. I think we both like shiny things!
Quoted Text
Very nice and clean work, Joseph!
As usual!
Be patient with the PE-especially with the supports for the gun shield 

Thanks Angel. I noticed that the supports are PE! Man, I'm still in deep thought on how to tackle that. I might try to do a little soldering to give strength to the PE but what would make a good bond between the PE and the plastic? Hmmm....
Thanks, Alex. I have the D-74 in my stash. I'm looking forward to your build. You can do it!

#490
Sofiya, Bulgaria
Joined: September 22, 2016
KitMaker: 1,432 posts
Armorama: 1,390 posts
Posted: Wednesday, January 08, 2020 - 06:41 AM UTC
Quoted Text
... I might try to do a little soldering to give strength to the PE but what would make a good bond between the PE and the plastic? Hmmm....
Joseph,
I did solder the PE supports in my build 2 years ago, only to find out Trumpeter messed when designing them- the instructions how to bend/glue them were wrong.
My advice is- try obtaining the best fit for each support before soldering or applying any CA/epoxy.Then solder them and glue them with your preffered media(I used CA with some CA accelerator and they worked fine for me).
Looking forward to your next building steps and to the painting/weathering you'll apply,

Germany
Joined: October 03, 2010
KitMaker: 134 posts
Armorama: 134 posts
Posted: Wednesday, January 08, 2020 - 09:14 AM UTC
The siege of Port Arthur -
Japanese 28cm siege howitzer
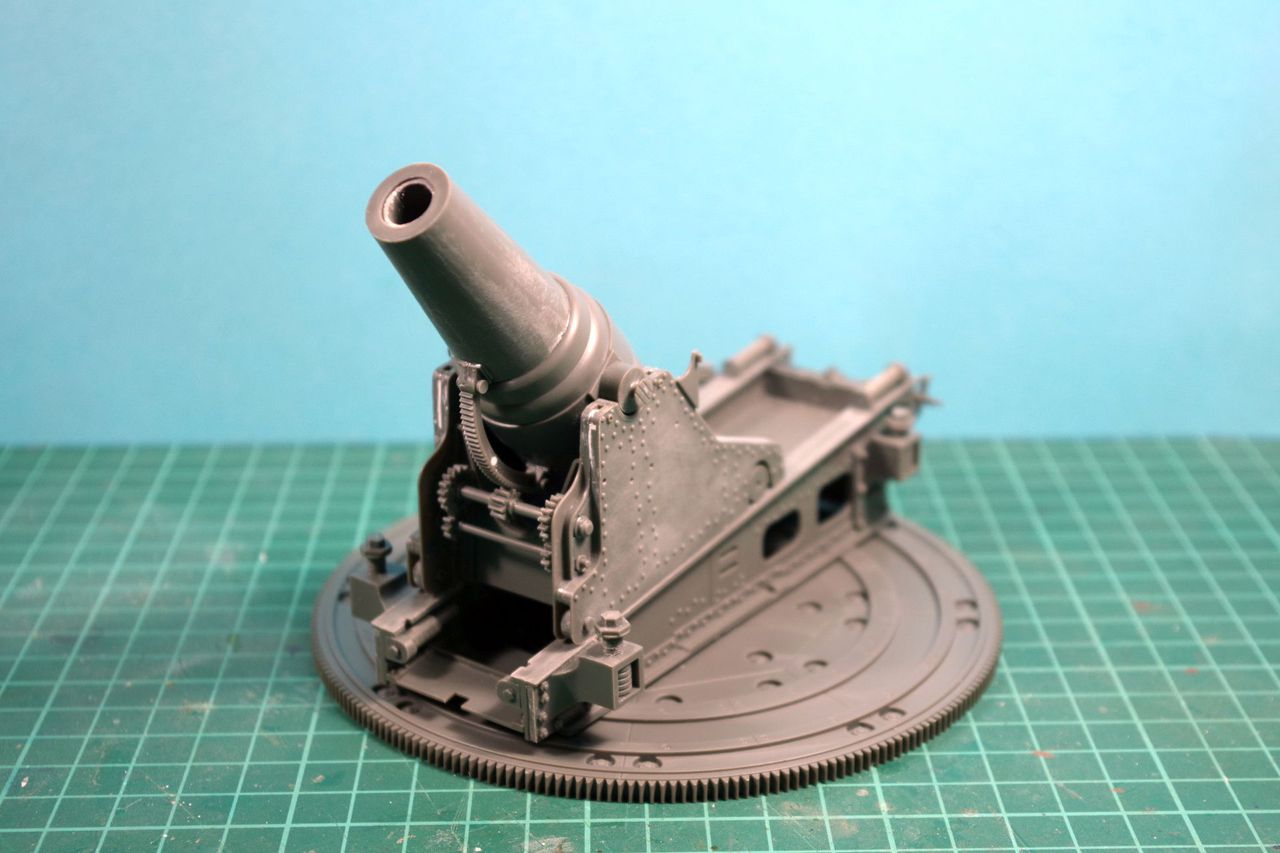
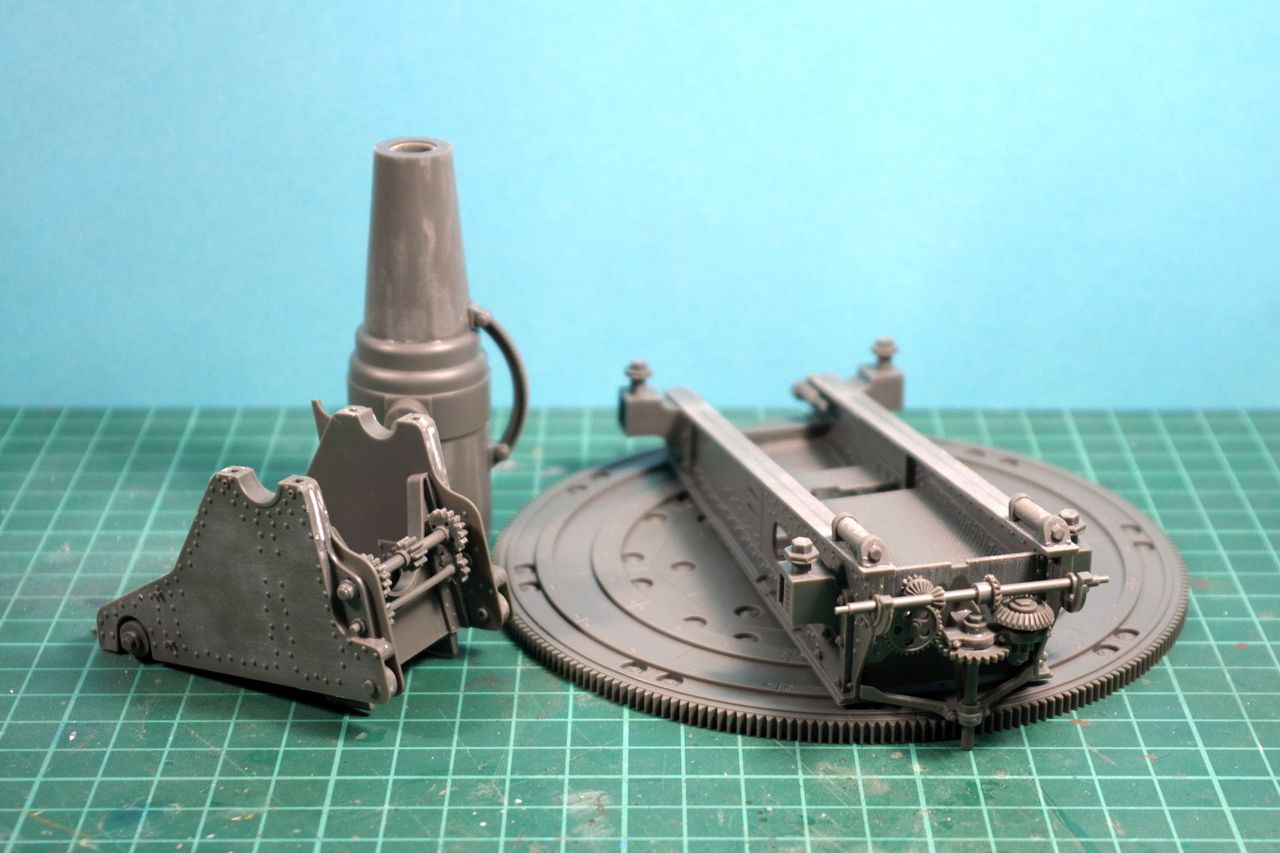
This kit is amazing. Look what I've got after just 2 evenings of modelling! Drop fit, only one knock-out mark in a visible spot (on the rack under the gun barrel), putty only used where the large carriage sides parts went together. The drive at the carriage end was even fully working until I secured it with some glue. Really amazing engeneering!
Now on the way to add small parts and to build up some more subassemblies. I'll leave the subassemblies apart until after painting an wheatering for easy access to all spaces. The build-up gun in the first image is just dryfitted. Great fit, indeed!
Regards
- dutik
Germany
Joined: October 03, 2010
KitMaker: 134 posts
Armorama: 134 posts
Posted: Saturday, January 11, 2020 - 04:38 AM UTC
This kit is a true Wiggum weekender:
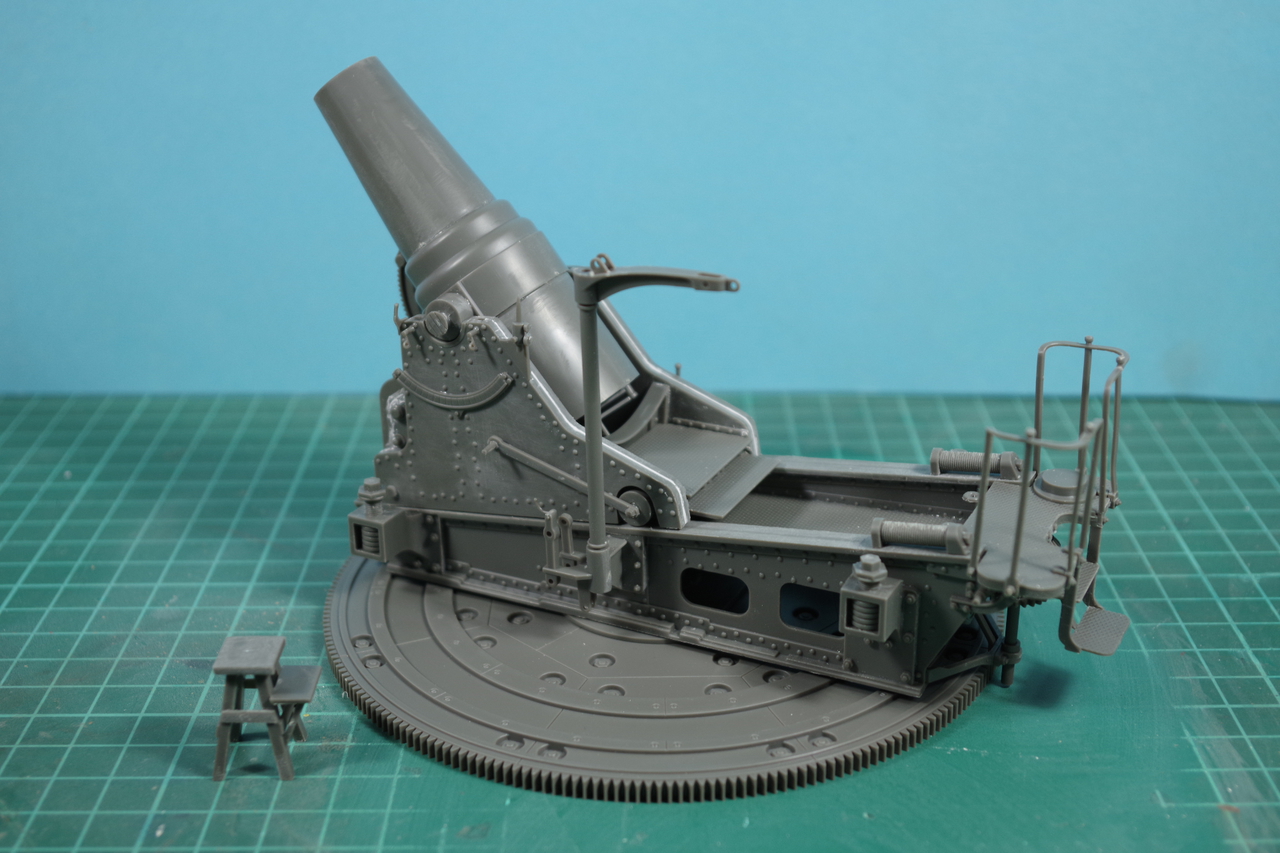
Dryfit of the subassemblies. The handrail at the rear platform caused some headaches, because the vertical supports got bent in the box. One rail broke into while I tried to straighten the supports. The supports are still not fully straight now, but that was the best result I was able to achieve. The hoist needs some small parts and there is an ammo cart to be build, but thats it with the construction. I've started painting now with a coat of black primer.
Enjoy!
- dutik

#453
Texas, United States
Joined: August 28, 2016
KitMaker: 1,925 posts
Armorama: 601 posts
Posted: Saturday, January 11, 2020 - 06:09 AM UTC
Dutik,
Very nice job with the assembly. Glad to hear it was an easy build, may have to pick one up for myself.
Mark

Bayern, Germany
Joined: December 11, 2009
KitMaker: 823 posts
Armorama: 170 posts
Posted: Saturday, January 11, 2020 - 07:10 AM UTC
Dutik schön gemacht! I am looking forward to see everything painted. Do you plan to make a diorama out of it?
Cheers

Queensland, Australia
Joined: August 06, 2005
KitMaker: 3,353 posts
Armorama: 3,121 posts
Posted: Saturday, January 11, 2020 - 07:53 AM UTC
Joseph that barrel looks fantastic. Hope it doesn't make it a nose sitter though.
Dutik, that looks like it was a sweet build. Nice subject too.
Looking great guys.
Dave, sorry but I can't see your pics. Reading through the huge string of data for the pic address, it looks like you may have forgotten to add the image type before the [/img] tag. i.e. .jpg, .gif, etc
On the Bench:
Dust, styrene scraps, paint splotches and tears.
Germany
Joined: October 03, 2010
KitMaker: 134 posts
Armorama: 134 posts
Posted: Saturday, January 11, 2020 - 08:14 AM UTC
Quoted Text
Dutik schön gemacht! I am looking forward to see everything painted. Do you plan to make a diorama out of it?
Cheers 
Indeed. A Port Arthur setting. I think about the moment of firing the gun, with a large smoke cloud and the shell just above the muzzle...
If you attend the upcoming Euro Model Expo you will see it live and in it's full glory

Regards
- dutik
Queensland, Australia
Joined: August 06, 2005
KitMaker: 3,353 posts
Armorama: 3,121 posts
Posted: Saturday, January 11, 2020 - 10:44 AM UTC
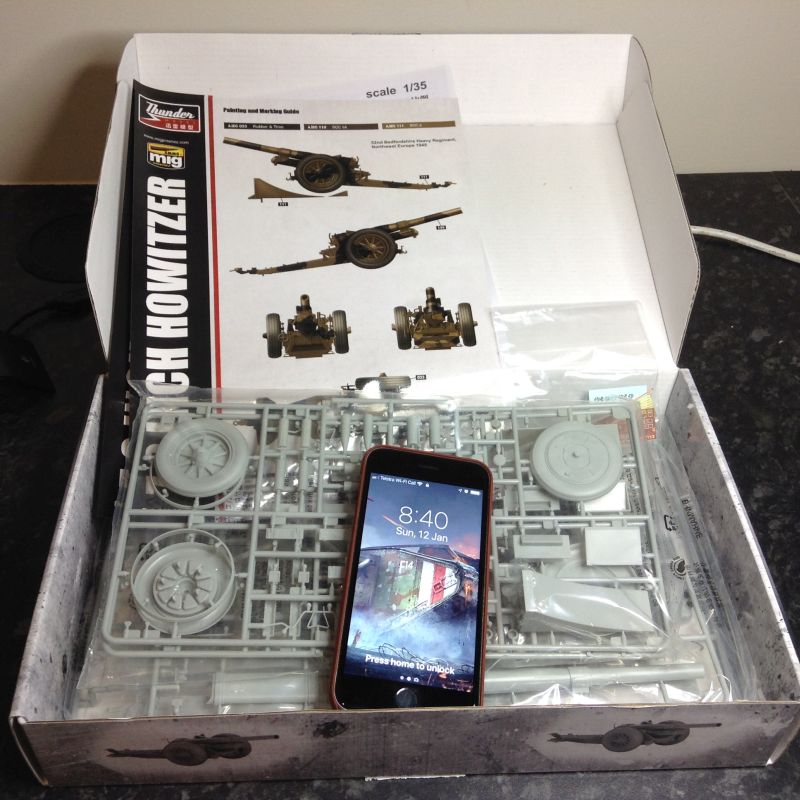
Okay my entry:
On the Bench:
Dust, styrene scraps, paint splotches and tears.
Colorado, United States
Joined: March 27, 2003
KitMaker: 345 posts
Armorama: 247 posts
Posted: Sunday, January 12, 2020 - 10:23 AM UTC
Tracks have been fitted (link and length) but I left the back disconnected so they can be removed for painting. Now I can move on to the upper structure, where the little bits are


#488
Colorado, United States
Joined: October 03, 2005
KitMaker: 30 posts
Armorama: 26 posts
Posted: Monday, January 13, 2020 - 08:38 AM UTC
Here is my starting photo for Panda's M109A7


#488
Colorado, United States
Joined: October 03, 2005
KitMaker: 30 posts
Armorama: 26 posts
Posted: Monday, January 13, 2020 - 09:39 AM UTC
Quick Question: I noticed a difference between the M109A6 and A7 on the right side of the hull, mid-way down. See these photos:


On some photos there is a great deal of soot around that area

Is that an exhaust outlet?
Thanks


