Campaigns: Active Campaigns
Campaigns that are either in planning or underway should be grouped here.
Hosted by Richard S.
I Like Big GUNS...And I Cannot Lie - Active
BravoTwoZero
Visit this Community
California, United States
Joined: June 11, 2009
KitMaker: 461 posts
Armorama: 370 posts
Posted: Tuesday, January 14, 2020 - 05:46 AM UTC
Dutik, you howitzer is looking great. I have an interest in that period, I have both a 1/350 scaled Mikasa and Suvorov as well as that same howitzer in 1/72. What is the final color you are going to apply?

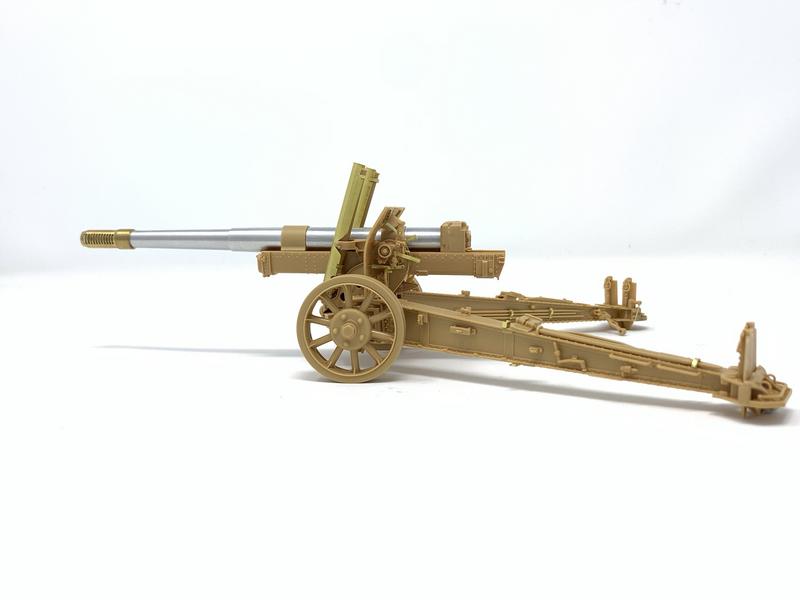
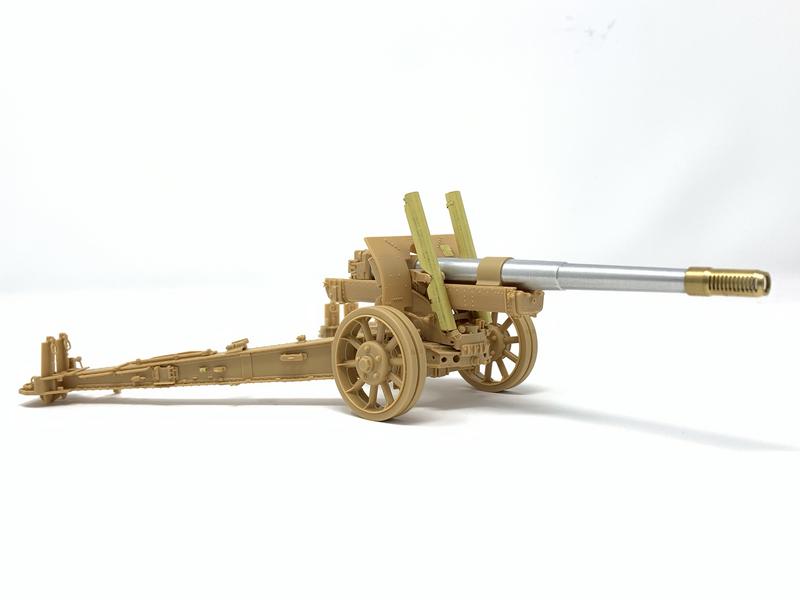
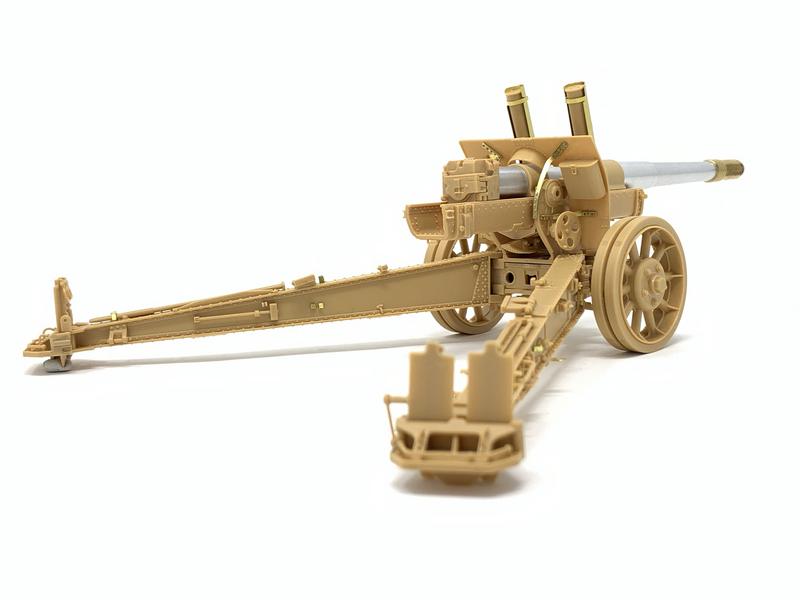
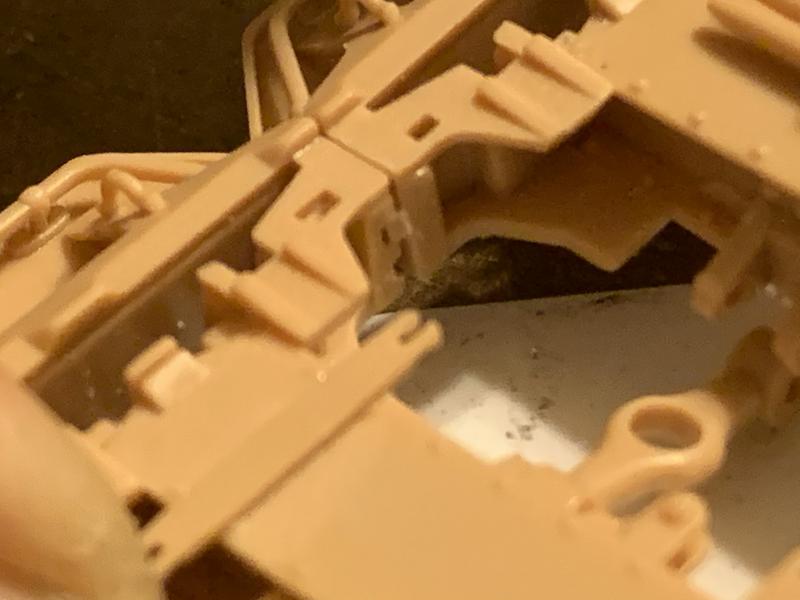
Petbat, thanks! Unfortunately, the barrel is making the gun tilt forward. Have to think of a way to display this.

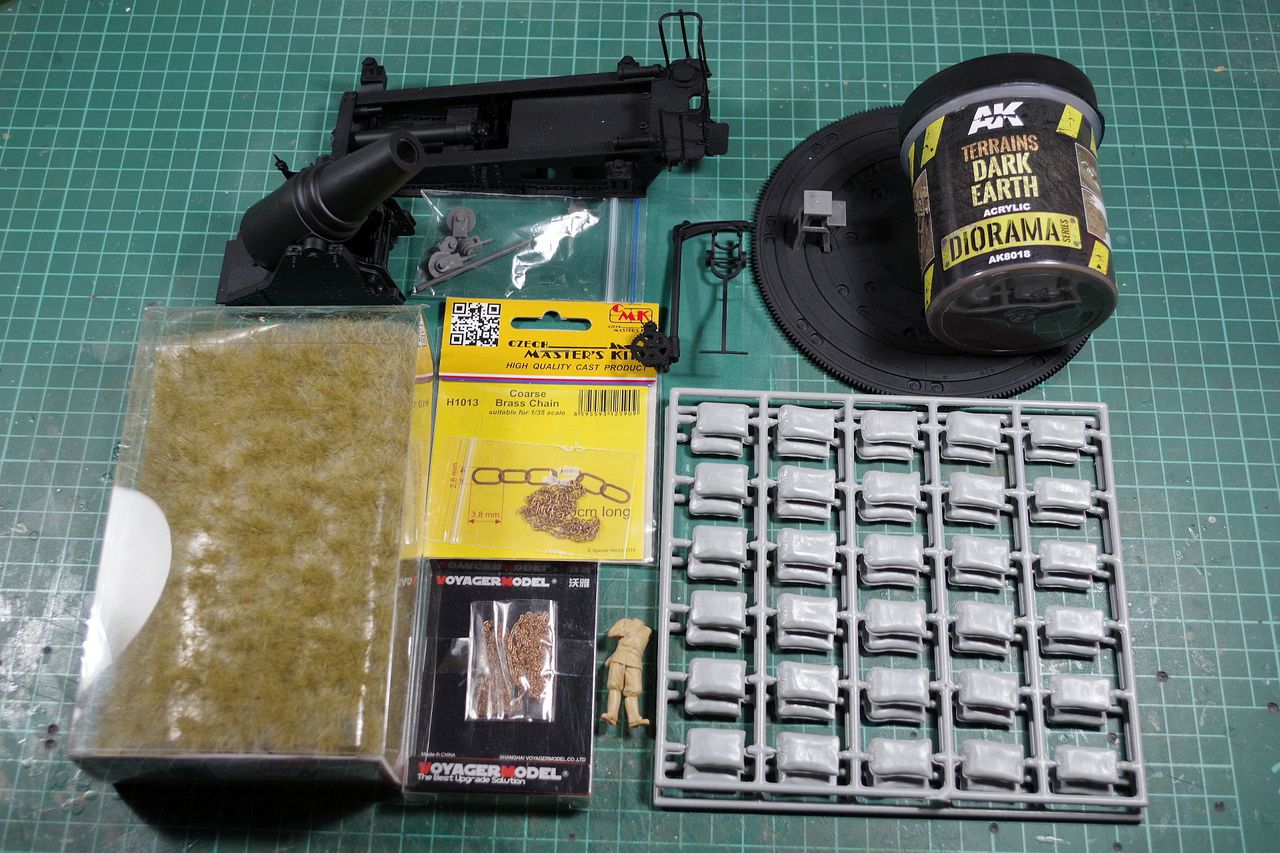
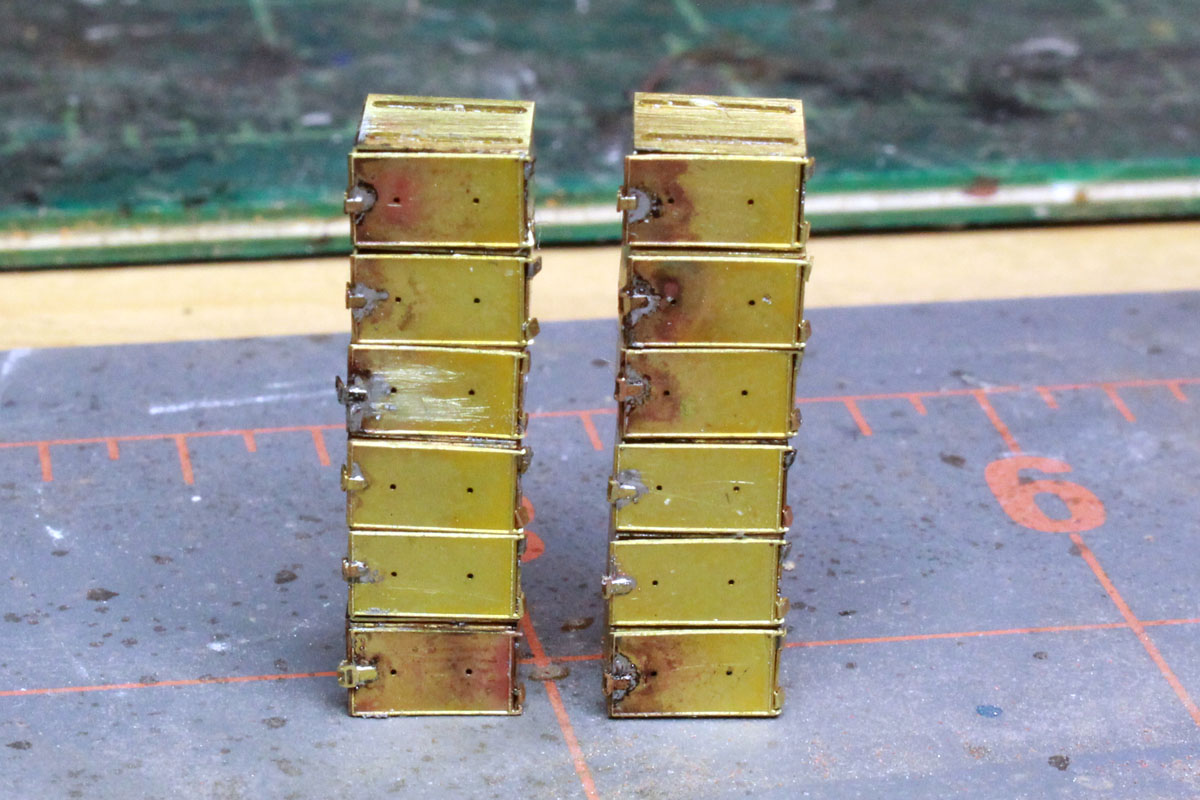
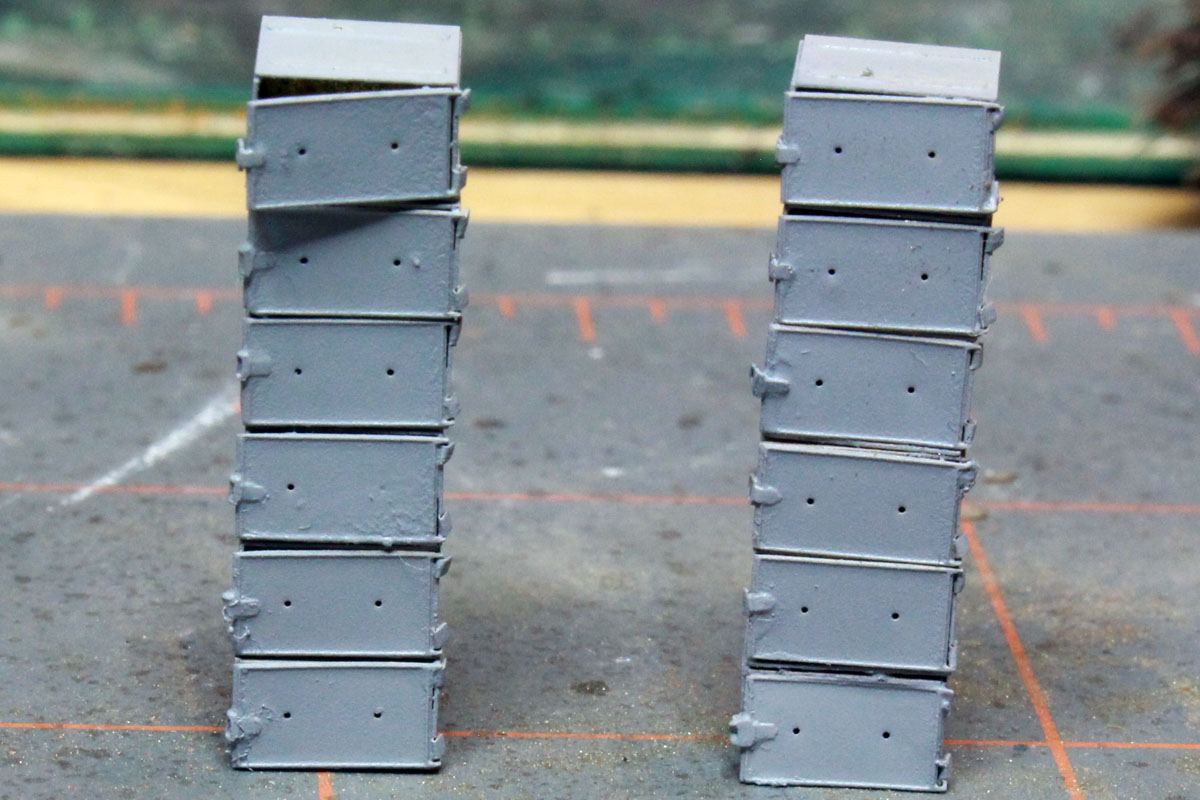
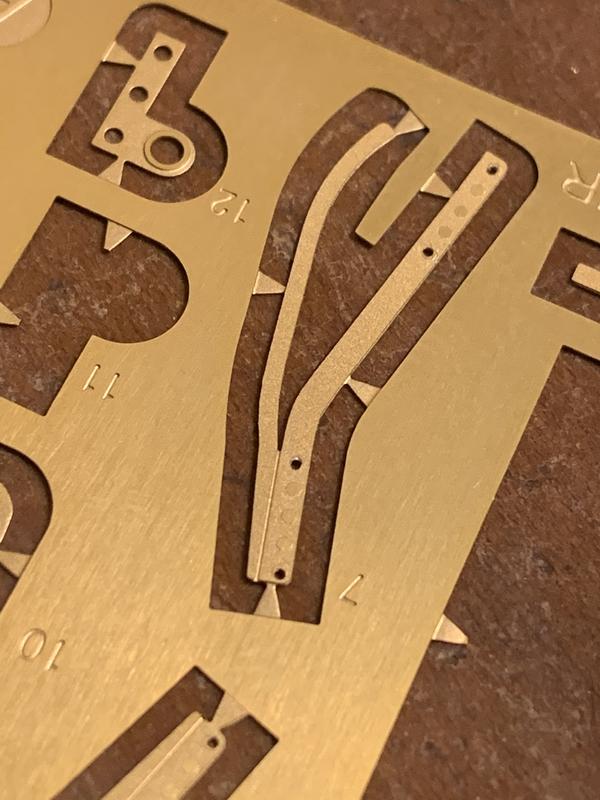
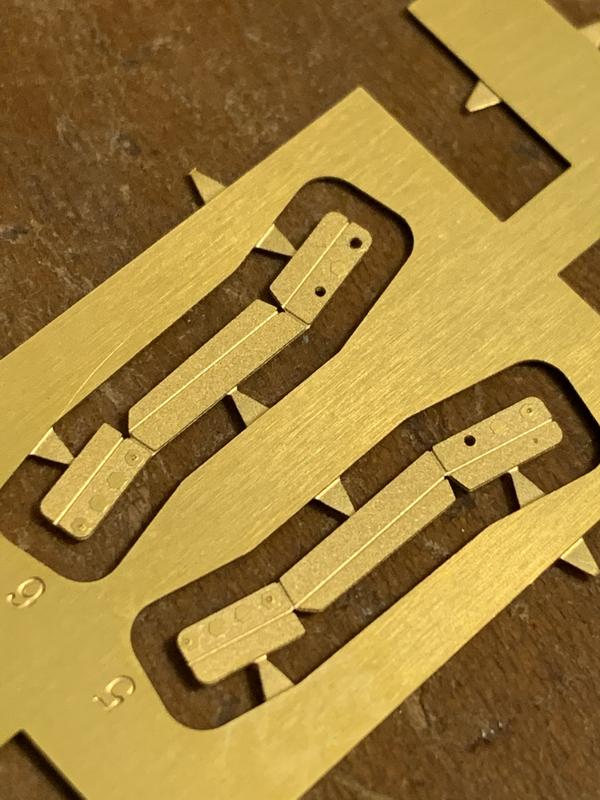
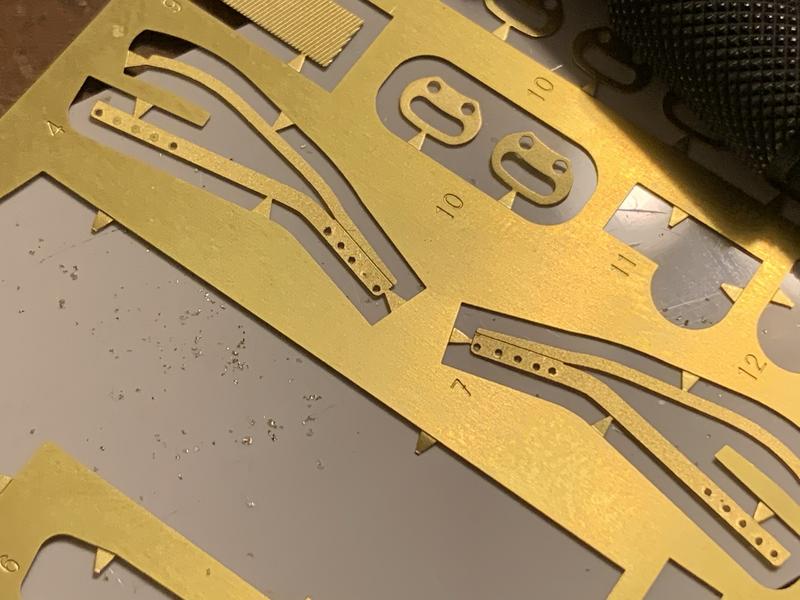
Here's a brief update. I have made some progress and tackled the photoetched parts.

Thanks to my previous experience with photoetch, this did not come out too bad.


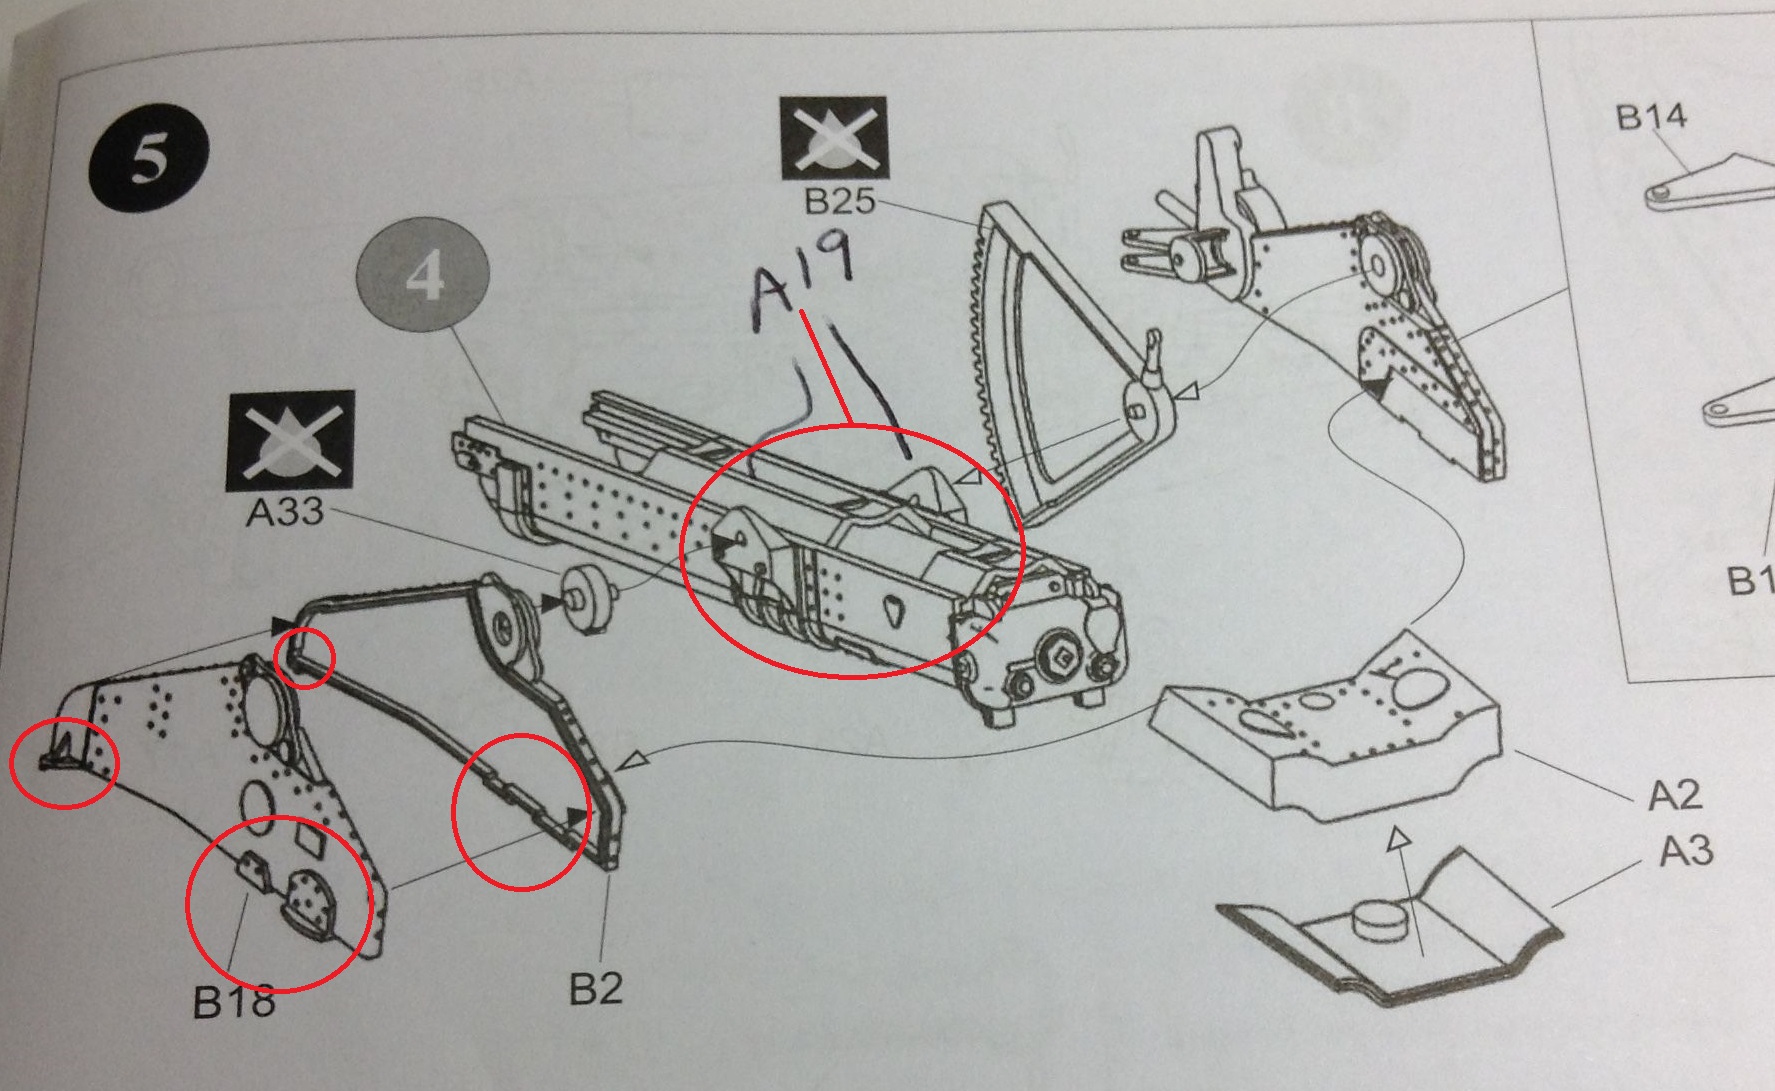
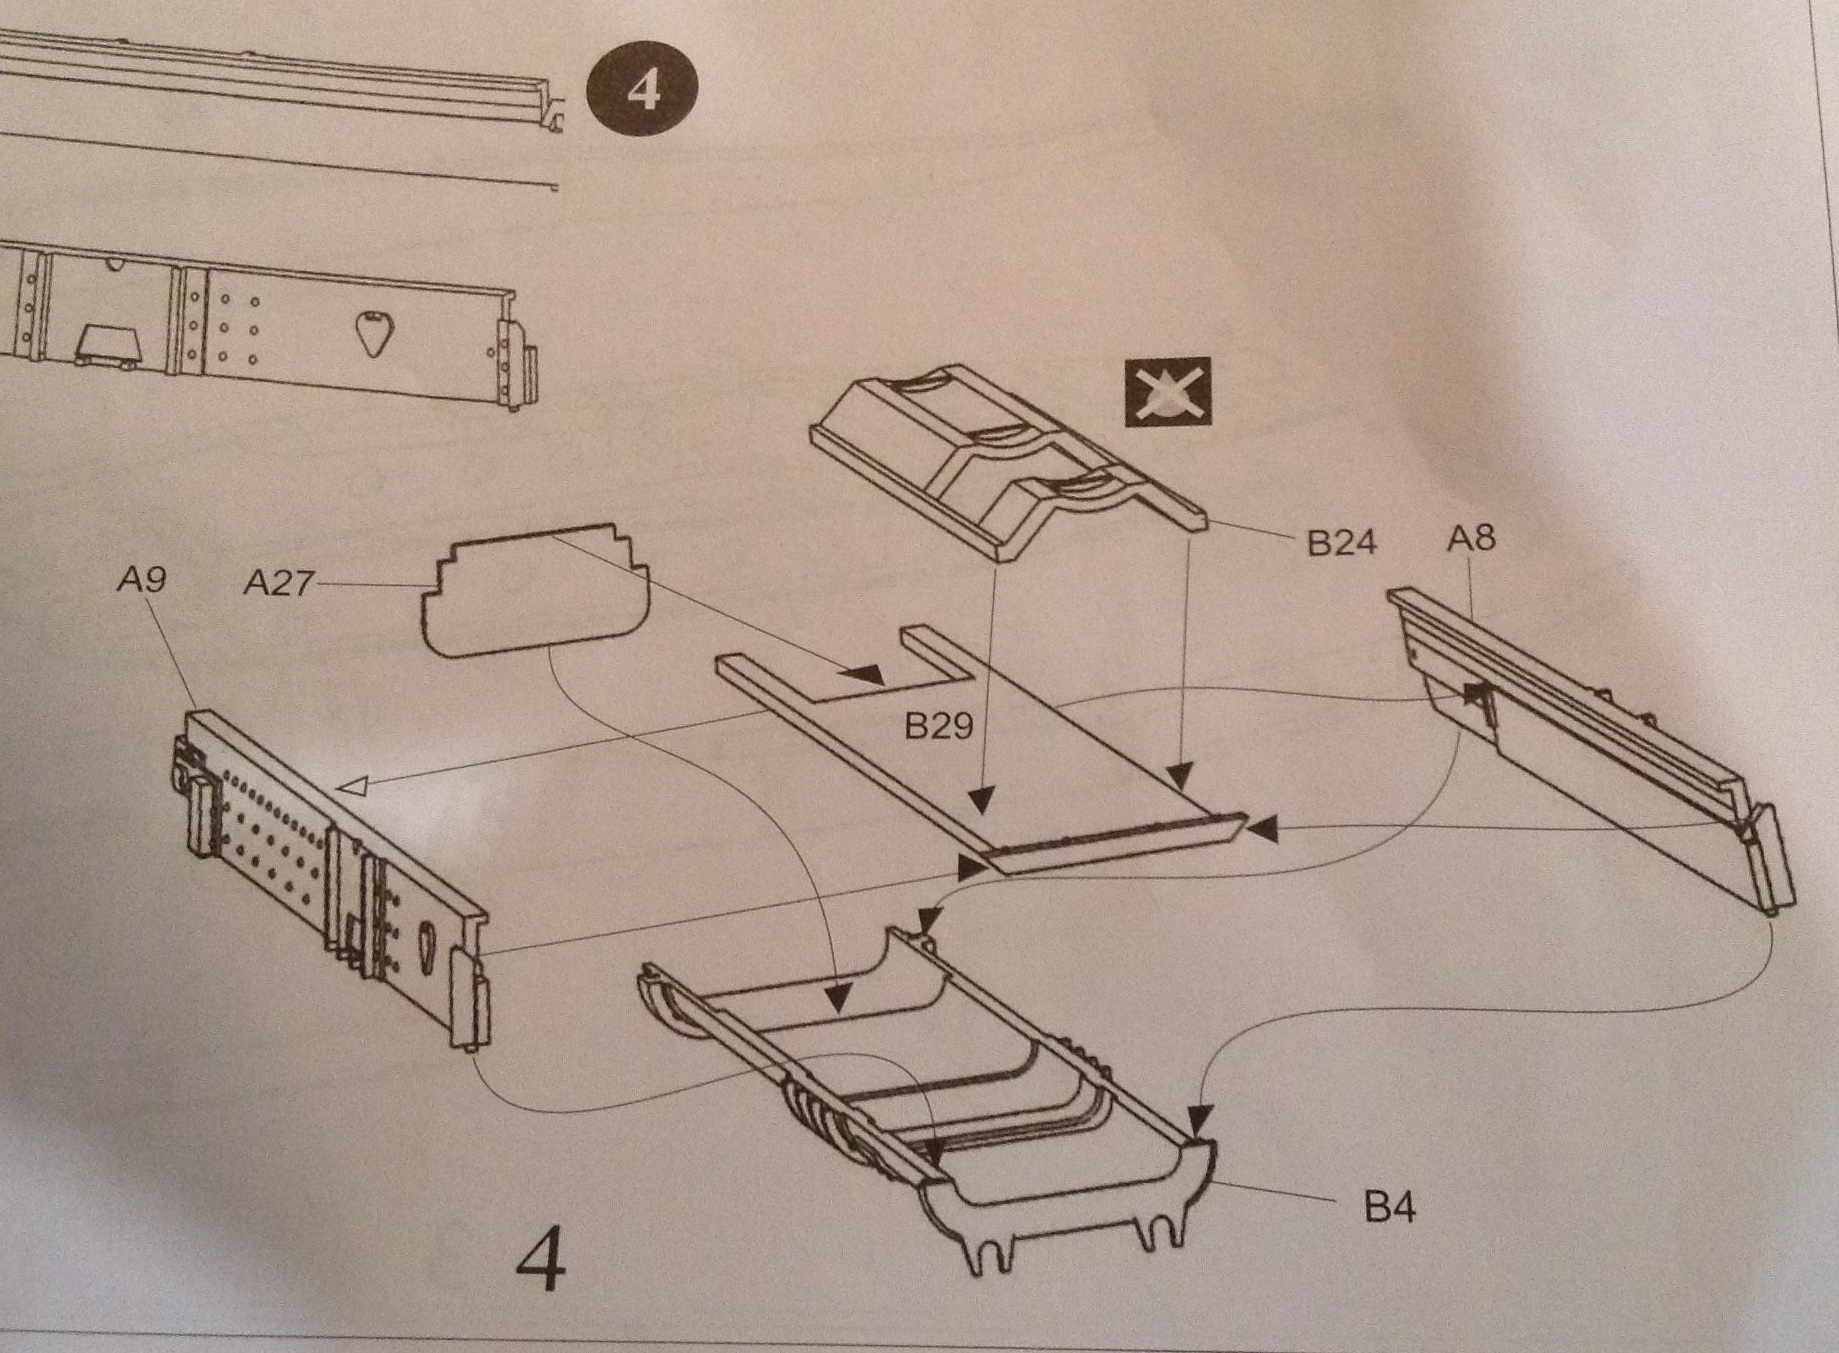
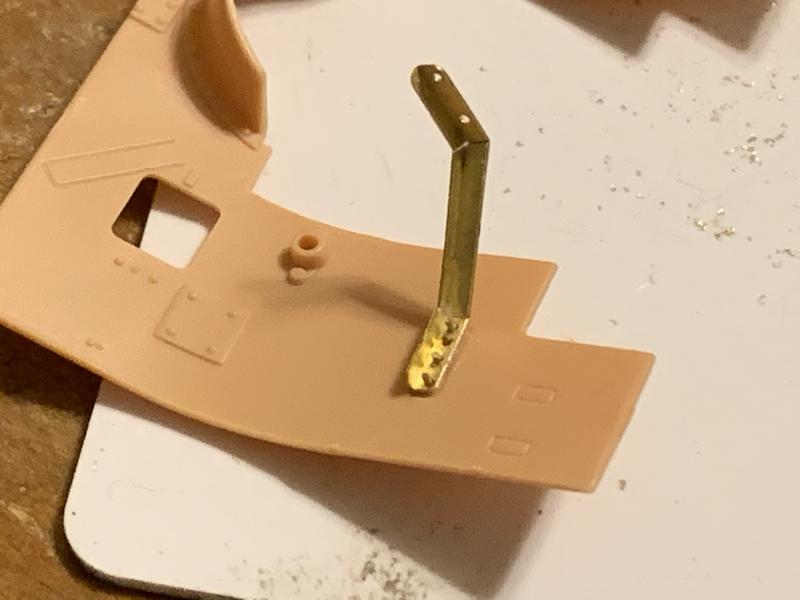
The real challenge I think is the mount for the shield. I have been warned by ayovtshev that Trumpeter messed up the parts. He was not kidding. In anticipation, I wanted to provide more support by drilling holes on to the PE parts and then inserting some brass wires to act like rivets. I first tried it on the edges.


When I glued the first support on to the shield, it did not look good, so, I went ahead and drilled holes on to where "bolts" are etched. Here's how one of the support looks mounted.


And here's the result after drilling the rest of the holes.


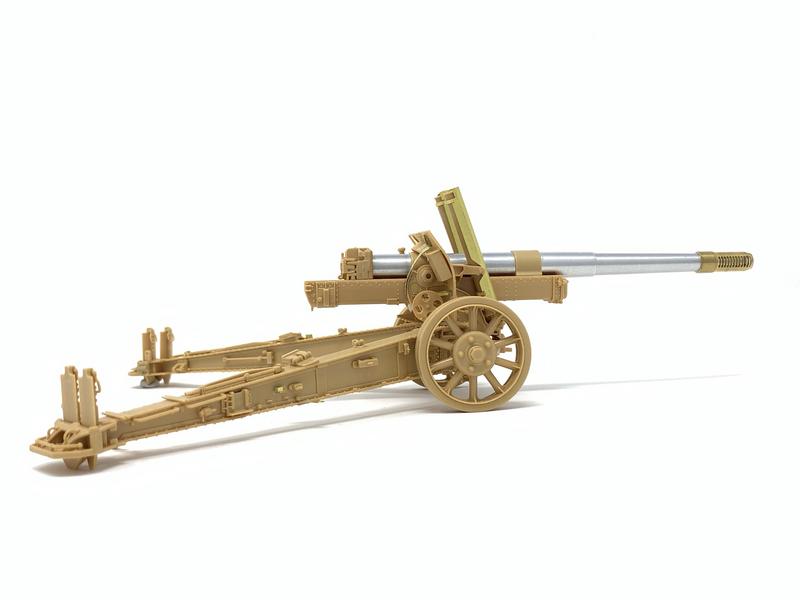
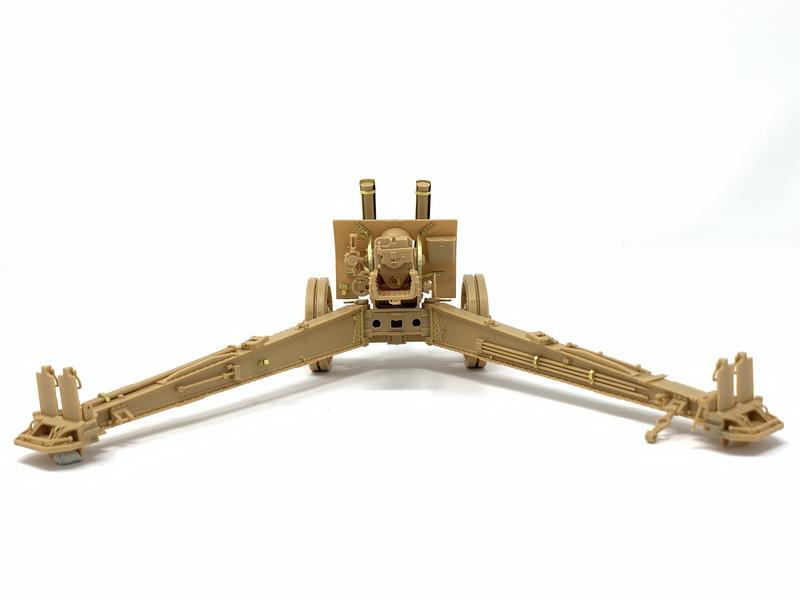
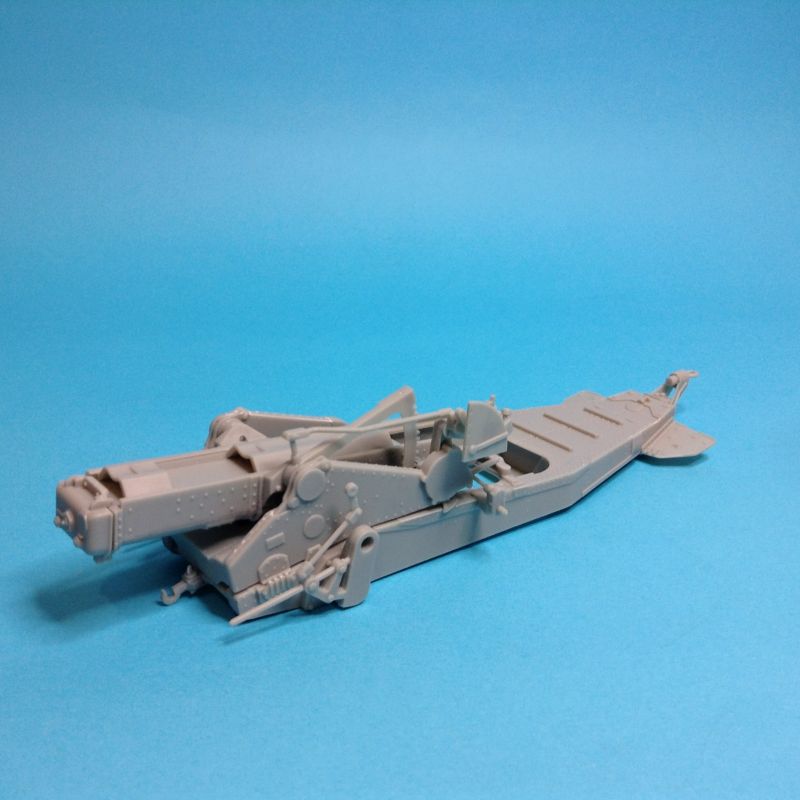
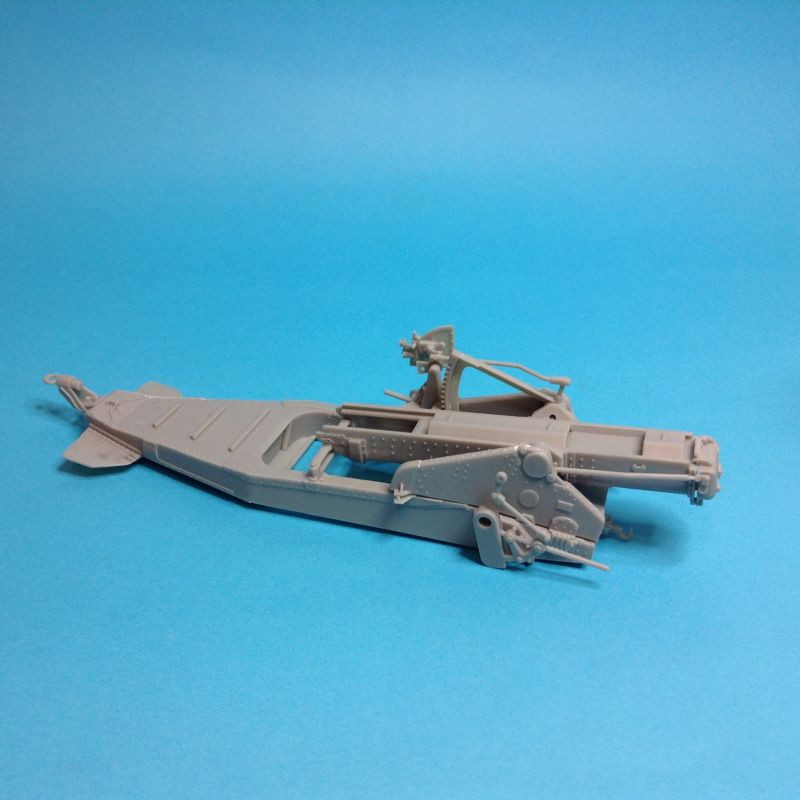
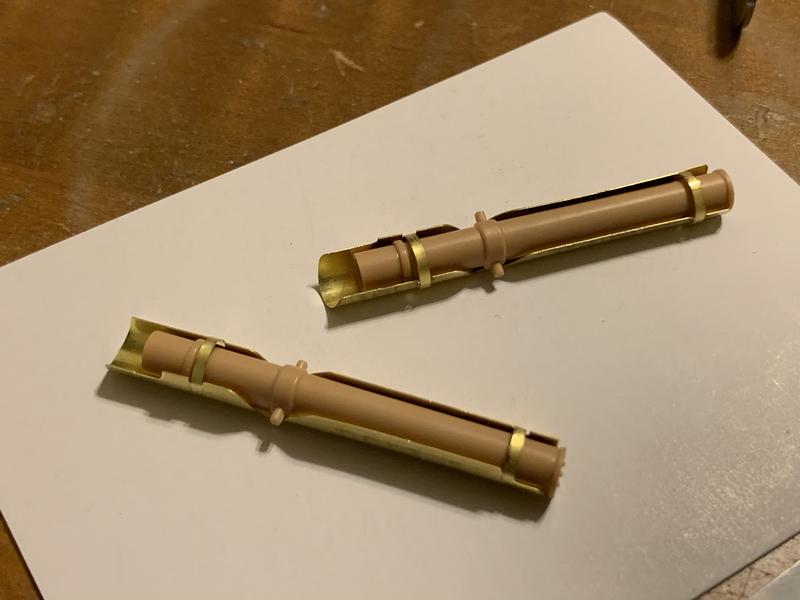
I also made some modification on the ends of the trails. I saw on a ML-20 walk around site that there were grooves. I tried to replicate it.


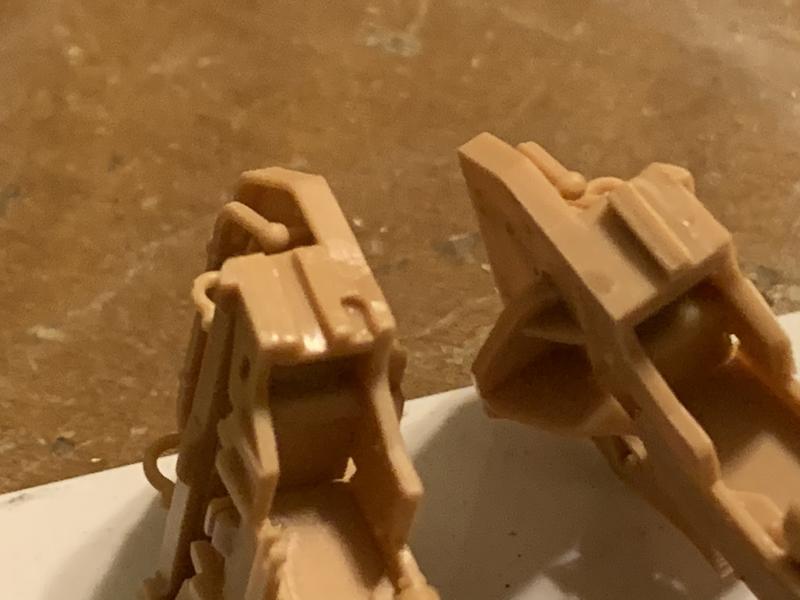
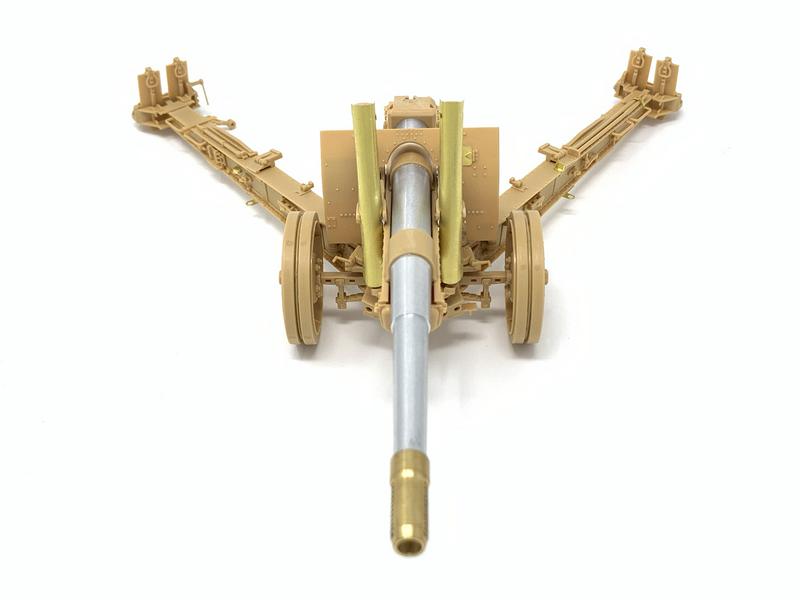
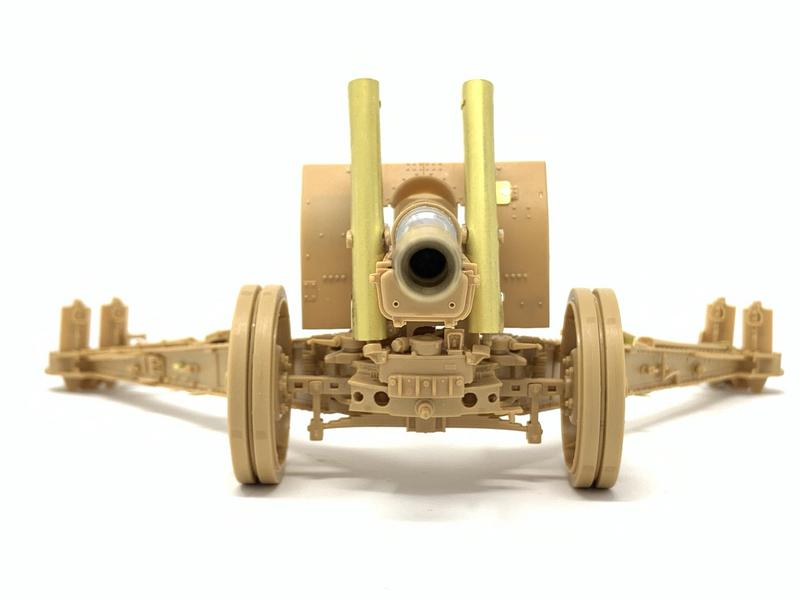
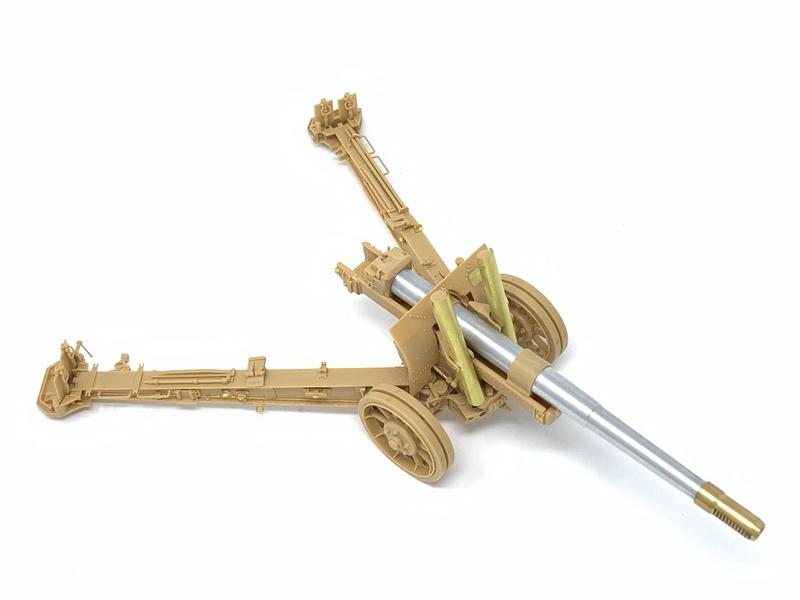
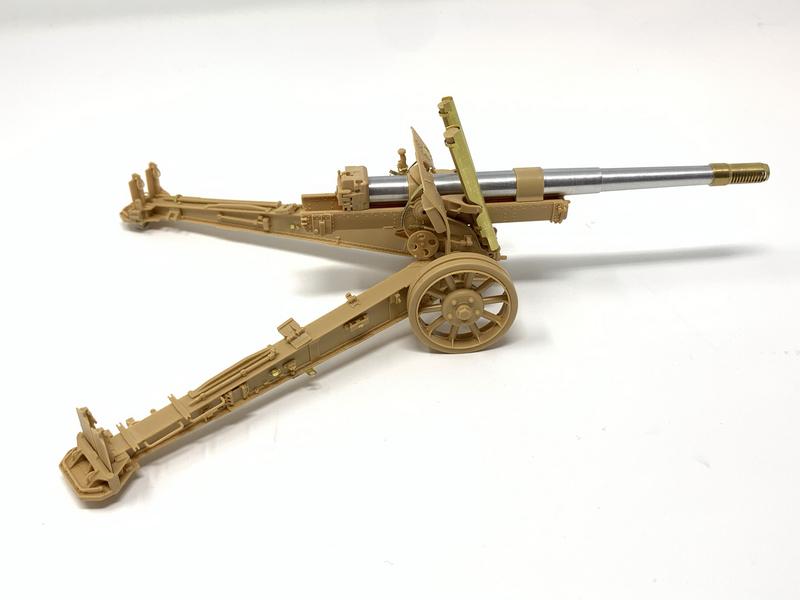
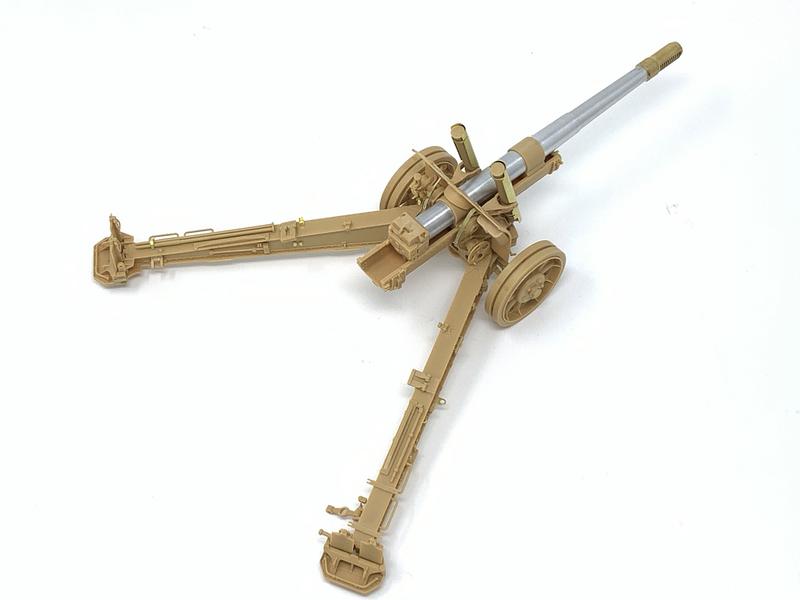
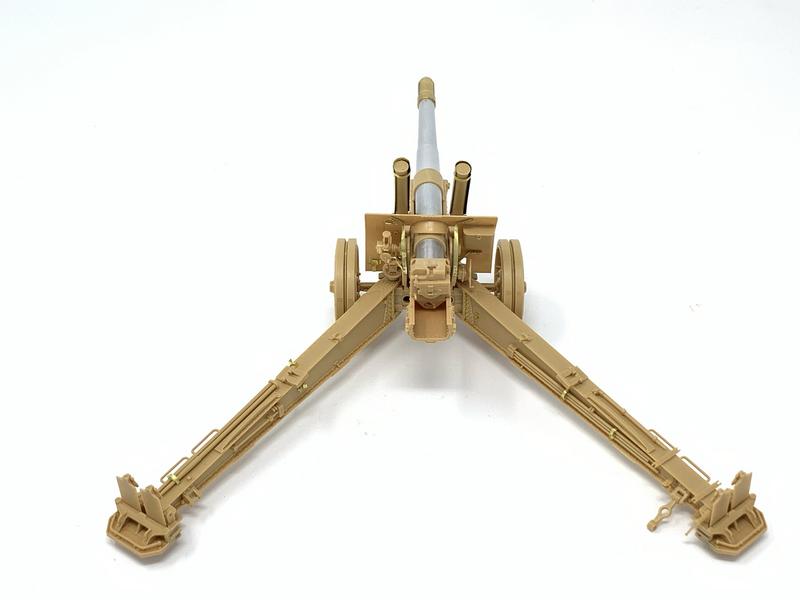
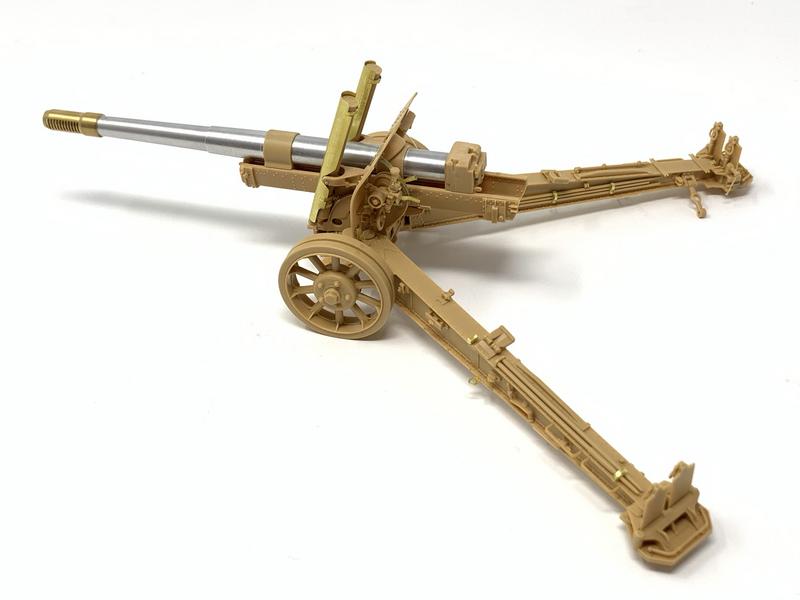
Here's how they look when in towed position.


Barring any distractions, hopefully build phase will be completed this week.

-Joseph
Namabiiru
Staff MemberAssociate Editor
MODEL SHIPWRIGHTS
#399
Visit this Community
Rhode Island, United States
Joined: March 05, 2014
KitMaker: 2,888 posts
Armorama: 1,920 posts
Posted: Wednesday, January 15, 2020 - 12:53 AM UTC
I really need to get going on this since I think LEOPOLD is going to take quite awhile to get through, but I couldn't resist laying into Meng's Terminator over the holidays so...first things first.

morcmarc
Visit this Community
England - East Anglia, United Kingdom
Joined: January 16, 2020
KitMaker: 6 posts
Armorama: 6 posts
Posted: Wednesday, January 15, 2020 - 07:52 PM UTC
Sign me up. I’m going to be building a Chinese PLZ05 from Meng. Still in the post, pictures and build log to follow in the coming weeks.

Is there a deadline btw? I assume it’s 31 December but thought I’ll double check since I’m a slow builder
GulfWarrior
Staff MemberCampaigns Administrator
ARMORAMA
Visit this Community
Texas, United States
Joined: January 05, 2010
KitMaker: 1,051 posts
Armorama: 1,029 posts
Posted: Thursday, January 16, 2020 - 02:50 AM UTC
Go to the campaigns page and enlist. The button is on the top right. The campaign runs until December 31st.


BravoTwoZero
Visit this Community
California, United States
Joined: June 11, 2009
KitMaker: 461 posts
Armorama: 370 posts
Posted: Thursday, January 16, 2020 - 04:47 AM UTC
Build phase for my ML-20 is pretty much done. The only things left are two photoetch parts which would form form the shield supports into L-Bars. It is not noticeable as it is, but ML-20 experts would see that these are missing. I am having trouble affixing them. I may or may not attach these. Here's how the gun looks so far.


If you noticed some mis-aligned parts, it is because this is still a dry fit stage. Also, visible in some of the photos is the blutac that holds the left trail down. The replacement barrel makes the gun tilt forward. And finally, since this post is photo intensive already, I'll share close up shots later.

-Joseph
GulfWarrior
Staff MemberCampaigns Administrator
ARMORAMA
Visit this Community
Texas, United States
Joined: January 05, 2010
KitMaker: 1,051 posts
Armorama: 1,029 posts
Posted: Thursday, January 16, 2020 - 05:24 AM UTC
Looks good! Big gun go BOOM!


dutik
Visit this Community
Germany
Joined: October 03, 2010
KitMaker: 134 posts
Armorama: 134 posts
Posted: Thursday, January 16, 2020 - 06:06 AM UTC
Definitly a nice build! Looking forward to see it painted!

Regards
- dutik
ayovtshev
#490
Visit this Community
Sofiya, Bulgaria
Joined: September 22, 2016
KitMaker: 1,432 posts
Armorama: 1,390 posts
Posted: Thursday, January 16, 2020 - 07:44 AM UTC
Well done, Joseph!

I see you built your ML-20 in firing position.

Maybe you can find remedy for the muzzle brake-heavy gun if you display it in transport mode(so pitty RB did not run weight balance test with their-otherwise splendid- metal barrel).
The barrel is transported in full recoil position, which will change the weight balance of the gun.

Trumpeter are giving transport position as an option, although-IIRC- some parts are mistakenly represented...

Looking forward to the painting and weathering!

dutik
Visit this Community
Germany
Joined: October 03, 2010
KitMaker: 134 posts
Armorama: 134 posts
Posted: Friday, January 17, 2020 - 07:36 AM UTC
The siege of Port Arthur

- japanese 28cm howitzer


All subassemblies are ready and primed. The ammo hoist caused some trouble at the alignment of the large gearwheel. The solution was to cut off the axle stub and to sand down the thicker rear center of this gearwheel. Now everything is fine. If you build this kit watch for the leaflet with the corrected instructions for the ammo hoist. The printed kit instructions are wrong about the cranc handle.

Got the wooden base and some stuff for the groundwork today, also two sorts of chain for the ammo hoist. Painted the base right now, so it is not in the photo. The sandbags are from Italeri. A little bit large, but they will do the trick. And they are cheap.

Started building the one figure I need. Fit is nice, but the overall sculpting is a bit chunky. The figures remind about old Tamiya figures, but there are no other IJA figures from 1900 around.. At least the fit is good. I have kitbashed parts from different crew figures to get the pose I want. I will replace the head with a Hornet head and the hands with resin parts too.

Thats it for now.
Enjoy -
dutik
d6mst0
#453
Visit this Community
Texas, United States
Joined: August 28, 2016
KitMaker: 1,925 posts
Armorama: 601 posts
Posted: Friday, January 17, 2020 - 09:23 AM UTC
Dutik,

Looking forward to the final assembly.

Mark
petbat
Visit this Community
Queensland, Australia
Joined: August 06, 2005
KitMaker: 3,353 posts
Armorama: 3,121 posts
Posted: Friday, January 17, 2020 - 10:53 AM UTC
Looks great Joseph. Glueing down to a base will solve your tipping issue. Good excuse for another dio like Dutik is doing.

Dutik, looking forward to seeing how this one turns out.
petbat
Visit this Community
Queensland, Australia
Joined: August 06, 2005
KitMaker: 3,353 posts
Armorama: 3,121 posts
Posted: Friday, January 17, 2020 - 11:12 AM UTC
Okay, managed to get some build time while I am waiting for paint on my Sherman Crab to dry (long story on that...)

Anyway, this is the first Thunder Models kit I have built so it has been an interesting journey. The kit really needs 'Old School' skills. There sink marks on some parts, a little flash about on some of the smaller parts, seam lines are quite noticeable and knock out pin marks to fill. Most of the latter are under the 'fish tail' on the rear trail and will not be seen if in deployed mode, but a couple here and there on other parts.

The kit needs a lot of test fitting and trimming at times, and locating pins shortened or removed as well. A little putty is required here and there, but if you are careful, this is quite minimal.

Overall though, this is nothing your average modeller can't deal with.

Thunder advises care in fitting the trail parts together and suggests glueing parts down a little at a time to ensure good fit, and yes, that is the best (and only) way to go here to avoid issues.

My only real gripe is the gun cradle mounts being split with the seam in the middle of all the rivets meaning 'fun' in trying to fill the gap and not loose detail. It would have been nice if the seam was on the outside edge.

Well here is where I am at present:

Black_sheep
Visit this Community
Bayern, Germany
Joined: December 11, 2009
KitMaker: 823 posts
Armorama: 170 posts
Posted: Saturday, January 18, 2020 - 01:35 AM UTC
Finally an update from my Malka gentlemen: I did finished the upper hull and frontal driving cabin. All details exept towing cables added - these will be installed later after the vehicle is painted.

I decided not to replace the kit´s fenders with TETRA´s as these are extraordinary fragile and somehow difficult to finish. I am convinced they would dismantle themselve many times during handling the kit. I therefore improved the kit´s rubber fenders a bit (sawed out and slightly bended the single segments.


Next comes the gun itself now
d6mst0
#453
Visit this Community
Texas, United States
Joined: August 28, 2016
KitMaker: 1,925 posts
Armorama: 601 posts
Posted: Saturday, January 18, 2020 - 02:11 AM UTC
Thomas,

Very nice work on the build.

Mark
d6mst0
#453
Visit this Community
Texas, United States
Joined: August 28, 2016
KitMaker: 1,925 posts
Armorama: 601 posts
Posted: Saturday, January 18, 2020 - 02:20 AM UTC
Peter,

I see what you mean on the fit issues. Looks like there is a nice gap between the side frames and the bottom carriage.

Mark
petbat
Visit this Community
Queensland, Australia
Joined: August 06, 2005
KitMaker: 3,353 posts
Armorama: 3,121 posts
Posted: Saturday, January 18, 2020 - 01:40 PM UTC

Quoted Text

Peter,

I see what you mean on the fit issues. Looks like there is a nice gap between the side frames and the bottom carriage.

Mark


The gaps on each side are actually supposed to be there Mark. The gun side frames sit on raised sections and only the front, rear and one part a little back from the front meet the carriage trail as per this image.


There is a clamp on the front and the rear is bolted to a fitting and that is what held it down.

The pic also shows my little note re the cradle pivots... and also shows the end piece with the bolt heads (Part B31) fitted - these magically appear (ala Dragon instructions) on the cradle in instruction 5 (withn the nice 4 in light gray showing that was the previous step), but neither being shown as to be added in the actual cradle assembly instruction 4...


And I have a mystery part B5 that is not shown anywhere in the instructions
petbat
Visit this Community
Queensland, Australia
Joined: August 06, 2005
KitMaker: 3,353 posts
Armorama: 3,121 posts
Posted: Saturday, January 18, 2020 - 02:04 PM UTC
Looking absolutely fabulous Thomas. The cage around the headlights looks like it might have been very fiddly, but they look superb!
Black_sheep
Visit this Community
Bayern, Germany
Joined: December 11, 2009
KitMaker: 823 posts
Armorama: 170 posts
Posted: Saturday, January 18, 2020 - 07:04 PM UTC

Quoted Text

Thomas,

Very nice work on the build.

Mark


Thank you Mark
Black_sheep
Visit this Community
Bayern, Germany
Joined: December 11, 2009
KitMaker: 823 posts
Armorama: 170 posts
Posted: Saturday, January 18, 2020 - 07:07 PM UTC

Quoted Text

Looking absolutely fabulous Thomas. The cage around the headlights looks like it might have been very fiddly, but they look superb!


Hi Peter, thank you. Actually the cage wasn´t too difficult. But you need to take care now because of all the small Details added inside and outside of the drivers cabin. I decided to glue all parts exept the single track links before I paint the whole part.

Cheers
dutik
Visit this Community
Germany
Joined: October 03, 2010
KitMaker: 134 posts
Armorama: 134 posts
Posted: Saturday, January 18, 2020 - 09:32 PM UTC
The Pion comes together nicely. It's a pity that most of the interior will be hidden.

Regards
- dutik
Black_sheep
Visit this Community
Bayern, Germany
Joined: December 11, 2009
KitMaker: 823 posts
Armorama: 170 posts
Posted: Saturday, January 18, 2020 - 10:56 PM UTC

Quoted Text

The Pion comes together nicely. It's a pity that most of the interior will be hidden.

Regards
- dutik


Thank you Actually I have an endoscopic camera with which I will try to shoot some nice interior pics after completion of my build.
dutik
Visit this Community
Germany
Joined: October 03, 2010
KitMaker: 134 posts
Armorama: 134 posts
Posted: Sunday, January 19, 2020 - 12:34 AM UTC

Quoted Text


Quoted Text

The Pion comes together nicely. It's a pity that most of the interior will be hidden.

Regards
- dutik


Thank you Actually I have an endoscopic camera with which I will try to shoot some nice interior pics after completion of my build.


3D printing is soooo yesterday.

Endoscopic cameras are the new modelling hotness!


Wow, was es alles gibt. Ich bin erschuettert
Regards
- dutik
ColinEdm
Staff MemberAssociate Editor
ARMORAMA
Visit this Community
Alberta, Canada
Joined: October 15, 2013
KitMaker: 1,355 posts
Armorama: 1,229 posts
Posted: Sunday, January 19, 2020 - 11:23 AM UTC
Great work so far everyone! Guess I am in with my Geschutzwagen 38H since my other options are already being done. Here it is with a lot of *shudder* PE to kill my mojo:

It was a second hand kit and the previous own decided to remove the charge containers for some reason, so I contacted Dragon and have asked for replacements, we`ll see if they come through *cough*. In the meantime I started on the PE charge boxes, the macro lens really shows off my lack of PE skill, but I guess I can make a very battered vehicle:

Raw they look terrible, my technique did get a bit better as I went but still got a lot to learn about soldering PE lol. Thankfully E.T. provided extra bits. Primed they look a bit better, still have some cleanup to do:

If I get replacement parts from Dragon (any bets?:-X) I will see if I use the PE, otherwise guess I have no choice. Gonna keep on with the PE interior bits for the time being
d6mst0
#453
Visit this Community
Texas, United States
Joined: August 28, 2016
KitMaker: 1,925 posts
Armorama: 601 posts
Posted: Monday, January 20, 2020 - 02:02 AM UTC
Colin,

No complaints on the PE work. With my skills I would rate yours an outstanding.

Mark
gbrame
#488
Visit this Community
Colorado, United States
Joined: October 03, 2005
KitMaker: 30 posts
Armorama: 26 posts
Posted: Monday, January 20, 2020 - 04:57 AM UTC
Making progress on the M109A7. It is an interesting kit to be sure. Panda has left some details from the instructions leaving me to see what parts should go where. Most notably is the driver's vision block, which had to be scratch built. The metal tracks are nice, but it seems you have to glue the horns on which impairs the ability for the tracks to flex.