
Campaigns: Active Campaigns
Campaigns that are either in planning or underway should be grouped here.
Campaigns that are either in planning or underway should be grouped here.
Hosted by Richard S.
Bundeswehr 2020 Group Build
terminators

Joined: February 20, 2012
KitMaker: 1,932 posts
Armorama: 1,907 posts

Posted: Thursday, May 21, 2020 - 02:10 AM UTC
Thank you ! 


bison126

Joined: June 10, 2004
KitMaker: 5,329 posts
Armorama: 5,204 posts

Posted: Thursday, May 21, 2020 - 03:20 AM UTC
That's a lot of extra job Alex. Congratulations!
Olivier
Olivier
terminators

Joined: February 20, 2012
KitMaker: 1,932 posts
Armorama: 1,907 posts

Posted: Thursday, May 21, 2020 - 04:17 AM UTC
Thank you Olivier. A lot of missing details however necessary for this version. The title on the box is a bit exaggerated ! But this kit has the advantage to be cheap in comparison with chinese kits.
Have you choose a model for this campaign ?
Have you choose a model for this campaign ?

bison126

Joined: June 10, 2004
KitMaker: 5,329 posts
Armorama: 5,204 posts

Posted: Thursday, May 21, 2020 - 05:39 AM UTC
I'll enter the campaign with the Meng Panzerhaubitze 2000 with add-on armor.
It has been in the stash for too long.
Olivier
It has been in the stash for too long.
Olivier
terminators

Joined: February 20, 2012
KitMaker: 1,932 posts
Armorama: 1,907 posts

Posted: Thursday, May 21, 2020 - 06:28 AM UTC
Wow, this is a very big kit. With workable tracks ! Good luck !
petbat

Joined: August 06, 2005
KitMaker: 3,353 posts
Armorama: 3,121 posts

Posted: Thursday, May 21, 2020 - 08:37 AM UTC
Just a heads up Olivier - I have heard that the tracks do not fit between the wheels on the later version Meng Issued. Suggest you check that before you assemble.

bison126

Joined: June 10, 2004
KitMaker: 5,329 posts
Armorama: 5,204 posts

Posted: Thursday, May 21, 2020 - 09:50 PM UTC
Thank you Peter. I'll check that point soon.
Olivier
Olivier

bison126

Joined: June 10, 2004
KitMaker: 5,329 posts
Armorama: 5,204 posts

Posted: Saturday, May 23, 2020 - 03:49 AM UTC
I started the build yesterday. I first check the issue raised by Peter and found that the space between the two faces of the idler is too narrow. I added a 0.5 mm spacer and that solved the issue.
I assembled the suspension and glued both halves of the hull unlike what the instructions tell. I find it easier to glue the halves first and add the details later.
I also started to assemble the tracks and it is a real pain!

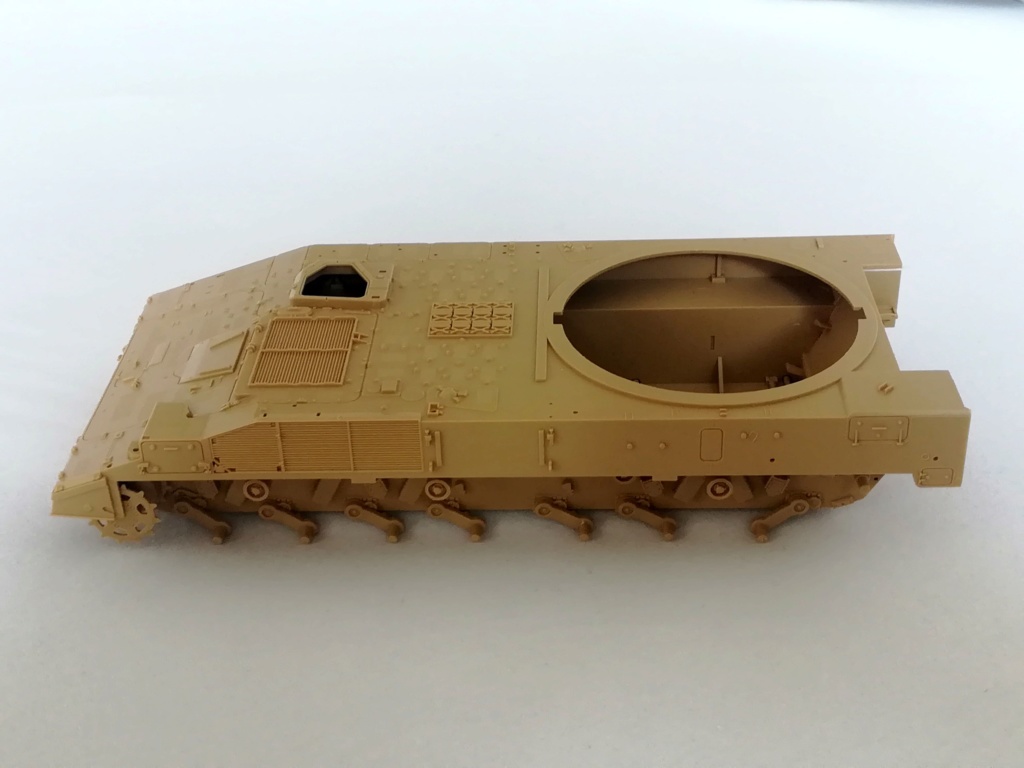
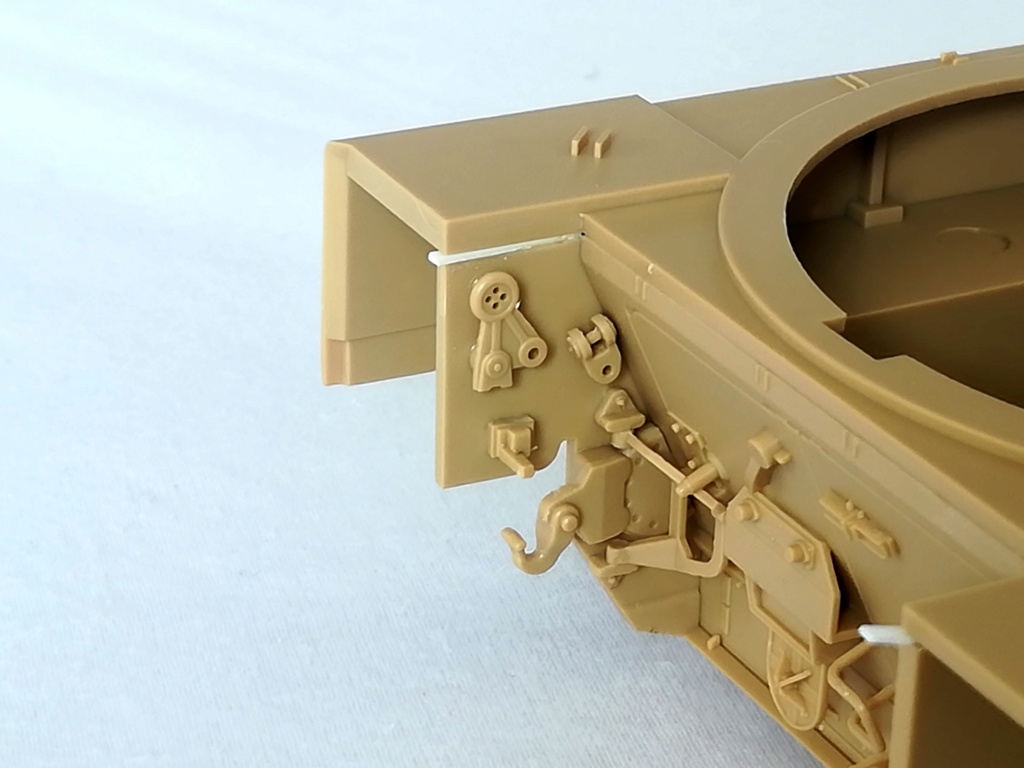
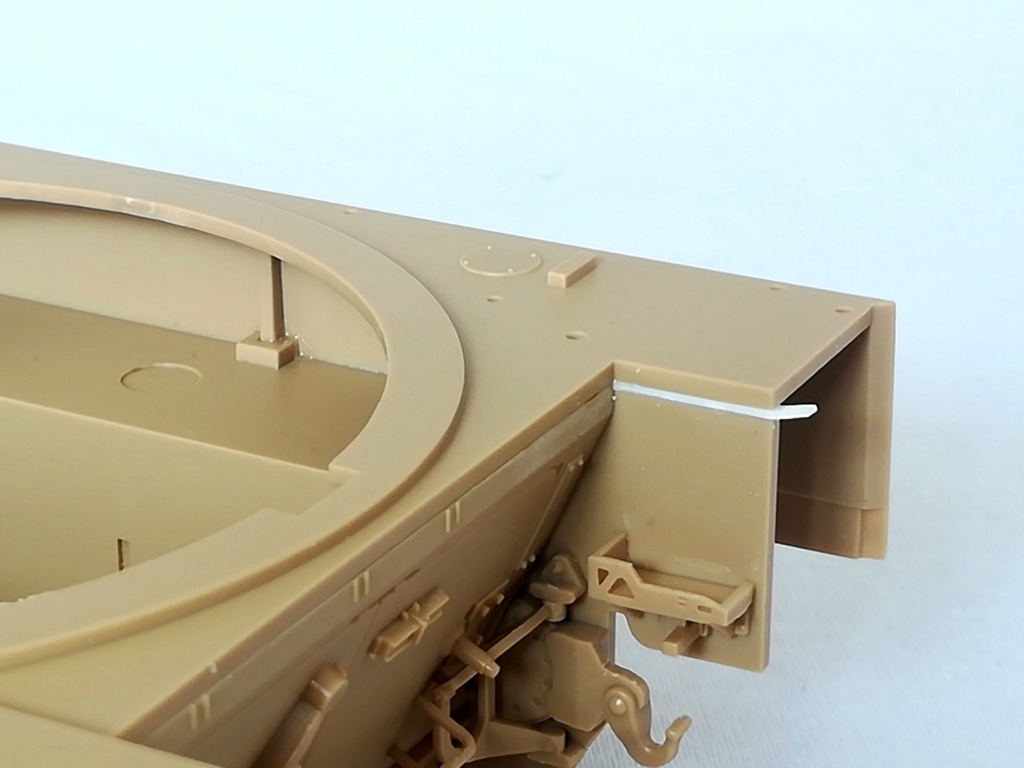
Olivier
I assembled the suspension and glued both halves of the hull unlike what the instructions tell. I find it easier to glue the halves first and add the details later.
I also started to assemble the tracks and it is a real pain!


Olivier
terminators

Joined: February 20, 2012
KitMaker: 1,932 posts
Armorama: 1,907 posts

Posted: Saturday, May 23, 2020 - 05:15 AM UTC
A challenge !
I wonder what is the easiest proced or at least the less complicated one for workable tracks.
Build lengh tracks entirely, paint them, and put on the model ?
But in this case, track links must be still movable to fit the wheels. I don't know.
I wonder what is the easiest proced or at least the less complicated one for workable tracks.
Build lengh tracks entirely, paint them, and put on the model ?
But in this case, track links must be still movable to fit the wheels. I don't know.
petbat

Joined: August 06, 2005
KitMaker: 3,353 posts
Armorama: 3,121 posts

Posted: Saturday, May 23, 2020 - 07:23 AM UTC
Alex. I usually build then paint my workable tracks. Painting via airbrush still allows movement later. Only issue is you need to make sure that you paint in the joins where the tracks will be curved around idler and Sprocket as, laying flat, these are not exposed. I usually spray flat first, then when dry, I hang the track loop on a plastic tube and then rotate it around tube spraying in the joints as I go.
Nice start Olivier. I'm glad it was only the idlers, not all of them!
I also started my PXH 2000 - a friend and fellow model club member came over and we spent the day building and talking... more of the latter so I am not quite as far along as you.
I have the older kit:

I intend this to be a therapeutic, out of the box, build while I give my nerves a rest from the 3 super detail projects I have on the go. However, I could not resist undercutting the moulded on rear hatch handle:
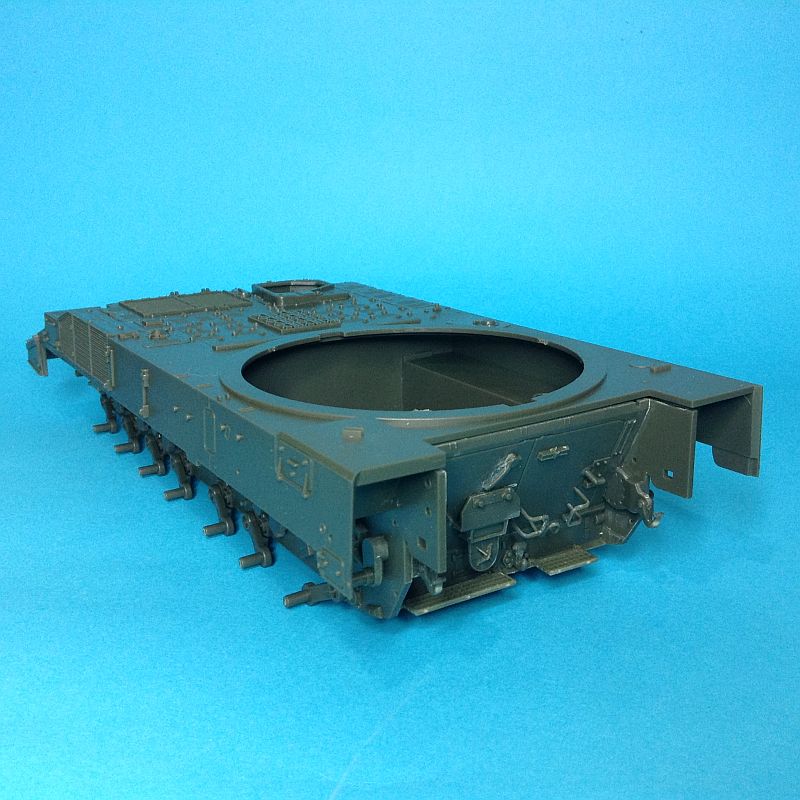
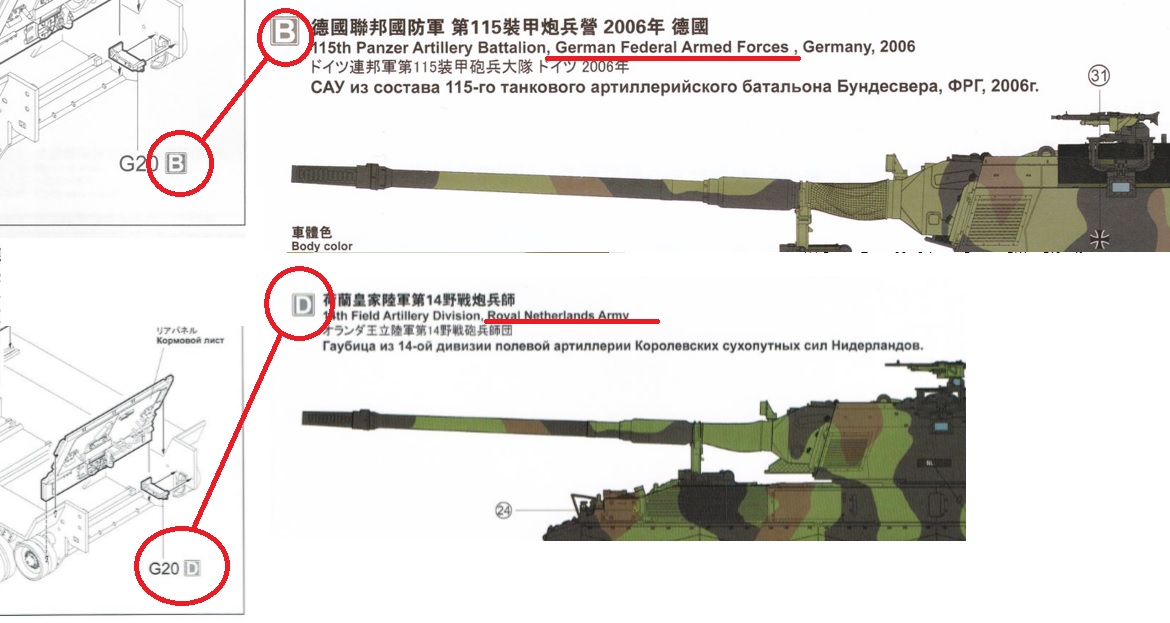
Interestingly, my early version instructions show the extra tray like part on the right side inner wall of your build is only applicable to the Dutch Army version in my kit.
Nice start Olivier. I'm glad it was only the idlers, not all of them!
I also started my PXH 2000 - a friend and fellow model club member came over and we spent the day building and talking... more of the latter so I am not quite as far along as you.
I have the older kit:

I intend this to be a therapeutic, out of the box, build while I give my nerves a rest from the 3 super detail projects I have on the go. However, I could not resist undercutting the moulded on rear hatch handle:

Interestingly, my early version instructions show the extra tray like part on the right side inner wall of your build is only applicable to the Dutch Army version in my kit.
terminators

Joined: February 20, 2012
KitMaker: 1,932 posts
Armorama: 1,907 posts

Posted: Saturday, May 23, 2020 - 10:33 AM UTC
Peter thank you for sharing your method. I will try with my Bronco Models tracks.

GulfWarrior

Joined: January 05, 2010
KitMaker: 1,051 posts
Armorama: 1,029 posts

Posted: Saturday, May 23, 2020 - 01:51 PM UTC
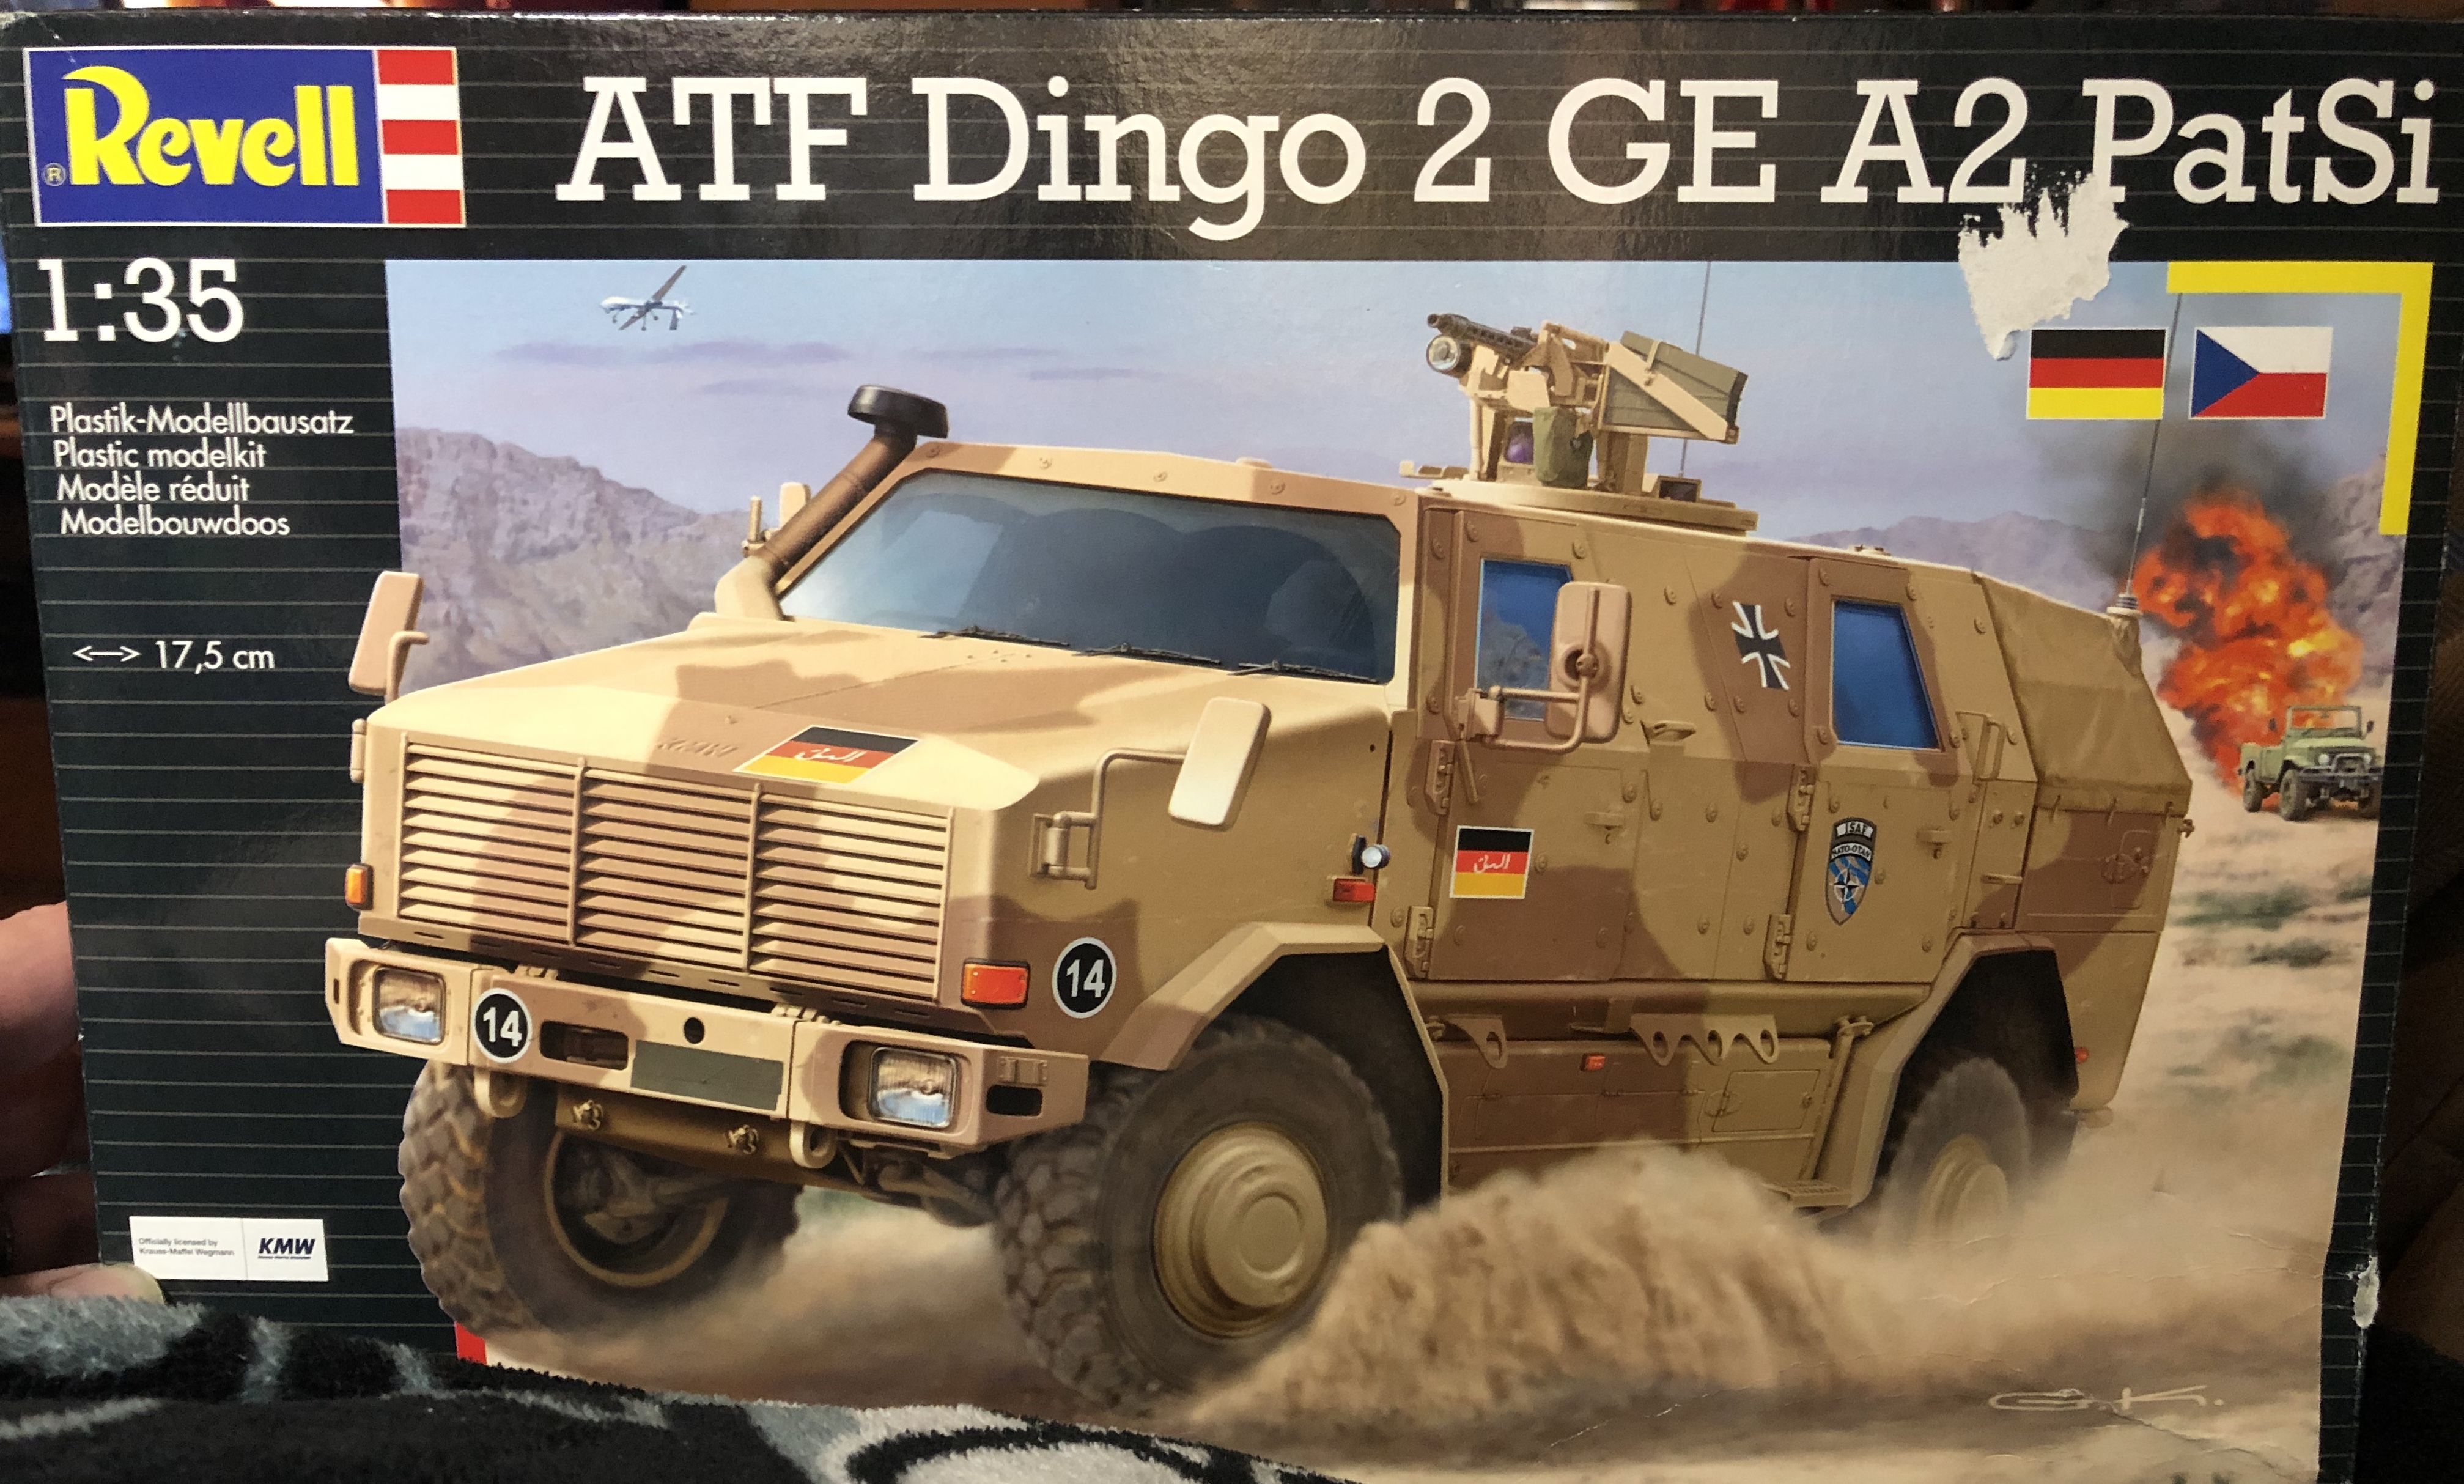
While I'm waiting on some paint to dry on the Chaparral for the Shep Paine Tribute campaign I thought I'd start on this for the Bundeswehr campaign...


terminators

Joined: February 20, 2012
KitMaker: 1,932 posts
Armorama: 1,907 posts

Posted: Sunday, May 24, 2020 - 12:58 AM UTC
A dingo 2 ! Cool!

bison126

Joined: June 10, 2004
KitMaker: 5,329 posts
Armorama: 5,204 posts

Posted: Sunday, May 24, 2020 - 05:34 AM UTC
Peter, Meng instructions can be tricky but I don't think I was mistaken with the part you mentioned.
I managed to build one full track today. How boring it was! I'll glue some parts to change before I tackle the second track.
Richard,
I hope your kit does not have warped doors like mine had. The kit is quite decent. The interior is basic and partly wrong. The worst part is the RWS. It definitely needs some extra work. Enjoy the build.
Olivier

GulfWarrior

Joined: January 05, 2010
KitMaker: 1,051 posts
Armorama: 1,029 posts

Posted: Sunday, May 24, 2020 - 07:11 AM UTC
Thanks the the warning, Olivier! How did you fix the warped doors?


petbat

Joined: August 06, 2005
KitMaker: 3,353 posts
Armorama: 3,121 posts

Posted: Sunday, May 24, 2020 - 11:04 AM UTC
I like your choice Richard. Looking forward to it.
I hear you on that Olivier! I nearly left off some parts myself, and only looking at your build prompted me go back and look at mine and then see my error.
Sorry if you think I meant you made an error. I only meant that Meng tells me it is only a Dutch mod in my instructions. Maybe, it was standardised later, as you have the updated version with the 'hedgehog matting' add on armour. Comparison of kit instructions - your kit on top - mine on bottom:
Quoted Text
Meng instructions can be tricky
I hear you on that Olivier! I nearly left off some parts myself, and only looking at your build prompted me go back and look at mine and then see my error.
Sorry if you think I meant you made an error. I only meant that Meng tells me it is only a Dutch mod in my instructions. Maybe, it was standardised later, as you have the updated version with the 'hedgehog matting' add on armour. Comparison of kit instructions - your kit on top - mine on bottom:

Posted: Sunday, May 24, 2020 - 05:50 PM UTC
Looks like I'm joining in on this one too. This will be my first Bundeswehr build. Picked one that a bit of an oldie, but a goodie. Revell M48A2GA2.
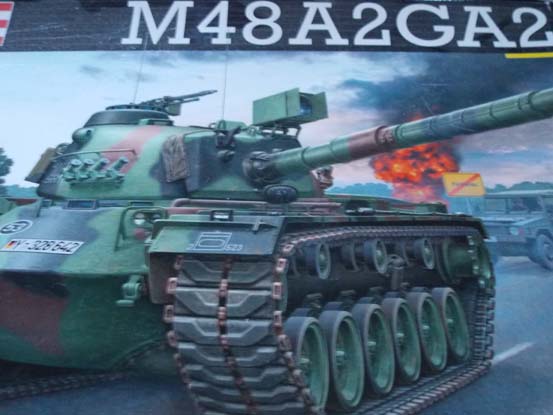
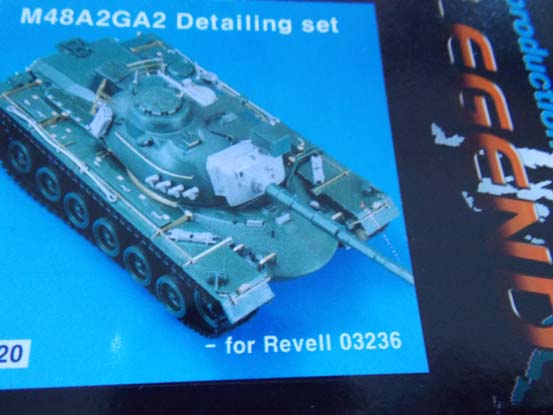
Bought a the Legend detail set from the other side of the country, got here in 3 days. Looks like the mail still working fine for me. Not sure how much of it I'm going to use. Mostly wanted it for the gun mantle, smoke launchers with pe chain, and the MG3.
Looks hull had some nice big gaps. Was a multi part hull, time for filler.
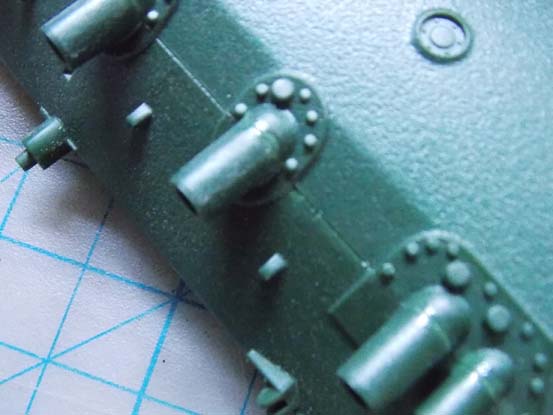
Was going to use the resin part here, but it didn't quite fit. There some big gaps on the top sides.
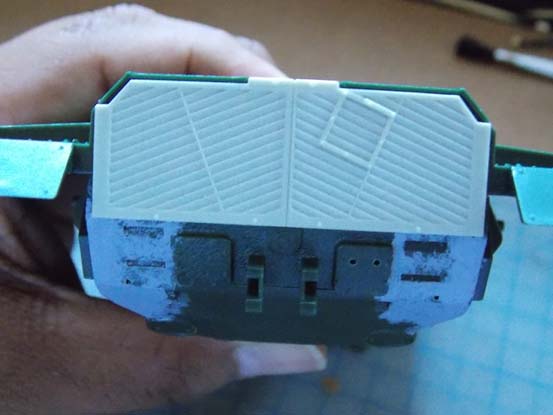
Suspension went together pretty quick, minor clean up on parts. Same for the roadwheels, the attachment point made them easy to clean up. Though the attachment points for other running gear parts were not the best.
Gun barrel, two halves. Quick glue and sand, then two passes with Mr.Surfacer 500 from a rattle can does the job. Spent quite a bit of time removing excess resin from the back of the mantle with my dremel. Fits fairly good, though where and how much I cut factors in. Shelved an M48A3 mod. b with a resin set where my cuts weren't so great.
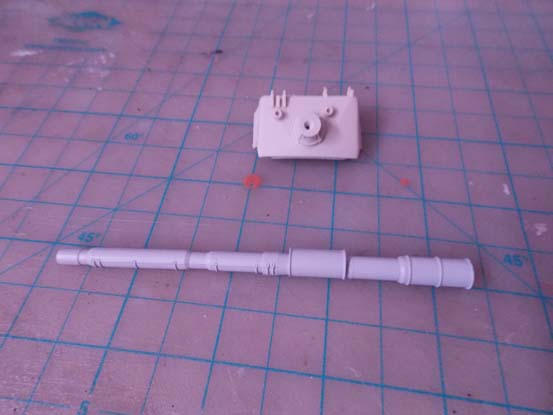
Made a hole on the gun barrel and resin part, used some epoxy with some brass rod and a ring of CA glue on the barrel base.
And here's where it's at now.
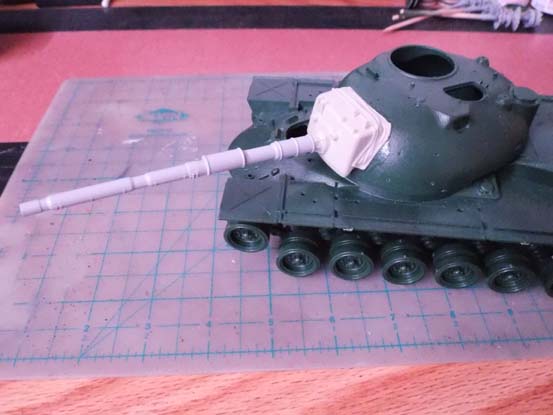
Lots of free time now so I should make some good progress. Even learning how to use new video editing software on my new computer I built. For your viewing pleasure, Trumpeter IS-5

Bought a the Legend detail set from the other side of the country, got here in 3 days. Looks like the mail still working fine for me. Not sure how much of it I'm going to use. Mostly wanted it for the gun mantle, smoke launchers with pe chain, and the MG3.

Looks hull had some nice big gaps. Was a multi part hull, time for filler.

Was going to use the resin part here, but it didn't quite fit. There some big gaps on the top sides.

Suspension went together pretty quick, minor clean up on parts. Same for the roadwheels, the attachment point made them easy to clean up. Though the attachment points for other running gear parts were not the best.

Gun barrel, two halves. Quick glue and sand, then two passes with Mr.Surfacer 500 from a rattle can does the job. Spent quite a bit of time removing excess resin from the back of the mantle with my dremel. Fits fairly good, though where and how much I cut factors in. Shelved an M48A3 mod. b with a resin set where my cuts weren't so great.

Made a hole on the gun barrel and resin part, used some epoxy with some brass rod and a ring of CA glue on the barrel base.
And here's where it's at now.

Lots of free time now so I should make some good progress. Even learning how to use new video editing software on my new computer I built. For your viewing pleasure, Trumpeter IS-5
petbat

Joined: August 06, 2005
KitMaker: 3,353 posts
Armorama: 3,121 posts

Posted: Sunday, May 24, 2020 - 08:11 PM UTC
Coming together nicely Comrade. I'm surprised that the rear hull part is so poor a fit given the resin conversion seems to be made especially for the Revell kit.

bison126

Joined: June 10, 2004
KitMaker: 5,329 posts
Armorama: 5,204 posts

Posted: Monday, May 25, 2020 - 12:33 AM UTC
Nice job Comrade.
Peter, I didn't take your point personnally I noticed that nearly all the G sprue is dedicated to the Dutch version so I was surprised myself.
Richard, I had to glue the doors closed despite the detail job I did inside. I hope your kit will not come with this issue.
Olivier
Peter, I didn't take your point personnally
 I noticed that nearly all the G sprue is dedicated to the Dutch version so I was surprised myself.
 Richard, I had to glue the doors closed despite the detail job I did inside. I hope your kit will not come with this issue.
Olivier
petbat

Joined: August 06, 2005
KitMaker: 3,353 posts
Armorama: 3,121 posts

Posted: Monday, May 25, 2020 - 08:05 AM UTC
Olivier, did you have a problem with some of your track links? I started clean up of mine and several of the parts with the guide horns just fell apart as soon as they were removed from the sprue.
It seems at least one on every sprue run has a malformed guide horn where one side is paper thin and the join is almost non-existant:

It seems at least one on every sprue run has a malformed guide horn where one side is paper thin and the join is almost non-existant:


bison126

Joined: June 10, 2004
KitMaker: 5,329 posts
Armorama: 5,204 posts

Posted: Monday, May 25, 2020 - 08:34 AM UTC
Peter
I didn't have this problem with these link parts. However approximately 80% of the outer face parts were bent in a v shape so I had to carefully straighten them.
Olivier
I didn't have this problem with these link parts. However approximately 80% of the outer face parts were bent in a v shape so I had to carefully straighten them.
Olivier

iam2brb

Joined: December 31, 2016
KitMaker: 136 posts
Armorama: 95 posts

Posted: Monday, May 25, 2020 - 12:15 PM UTC
So here is where I sit! Still need the mirrors & a few minor items but pretty close!
https://i.imgur.com/MJ0GHjB.jpg
https://i.imgur.com/9c7K5In.jpg
https://i.imgur.com/XziuW4C.jpg
Will get better pics up soon but till then!
https://i.imgur.com/MJ0GHjB.jpg
https://i.imgur.com/9c7K5In.jpg
https://i.imgur.com/XziuW4C.jpg
Will get better pics up soon but till then!
petbat

Joined: August 06, 2005
KitMaker: 3,353 posts
Armorama: 3,121 posts

Posted: Monday, May 25, 2020 - 03:51 PM UTC
Nice Bruce. Amazing that the gun pod and barrel is about as long as the whole vehicle!
Tank1812

Joined: April 29, 2014
KitMaker: 1,112 posts
Armorama: 886 posts

Posted: Friday, May 29, 2020 - 01:52 AM UTC
Slowly moving along and soon everything will need paint before next steps.
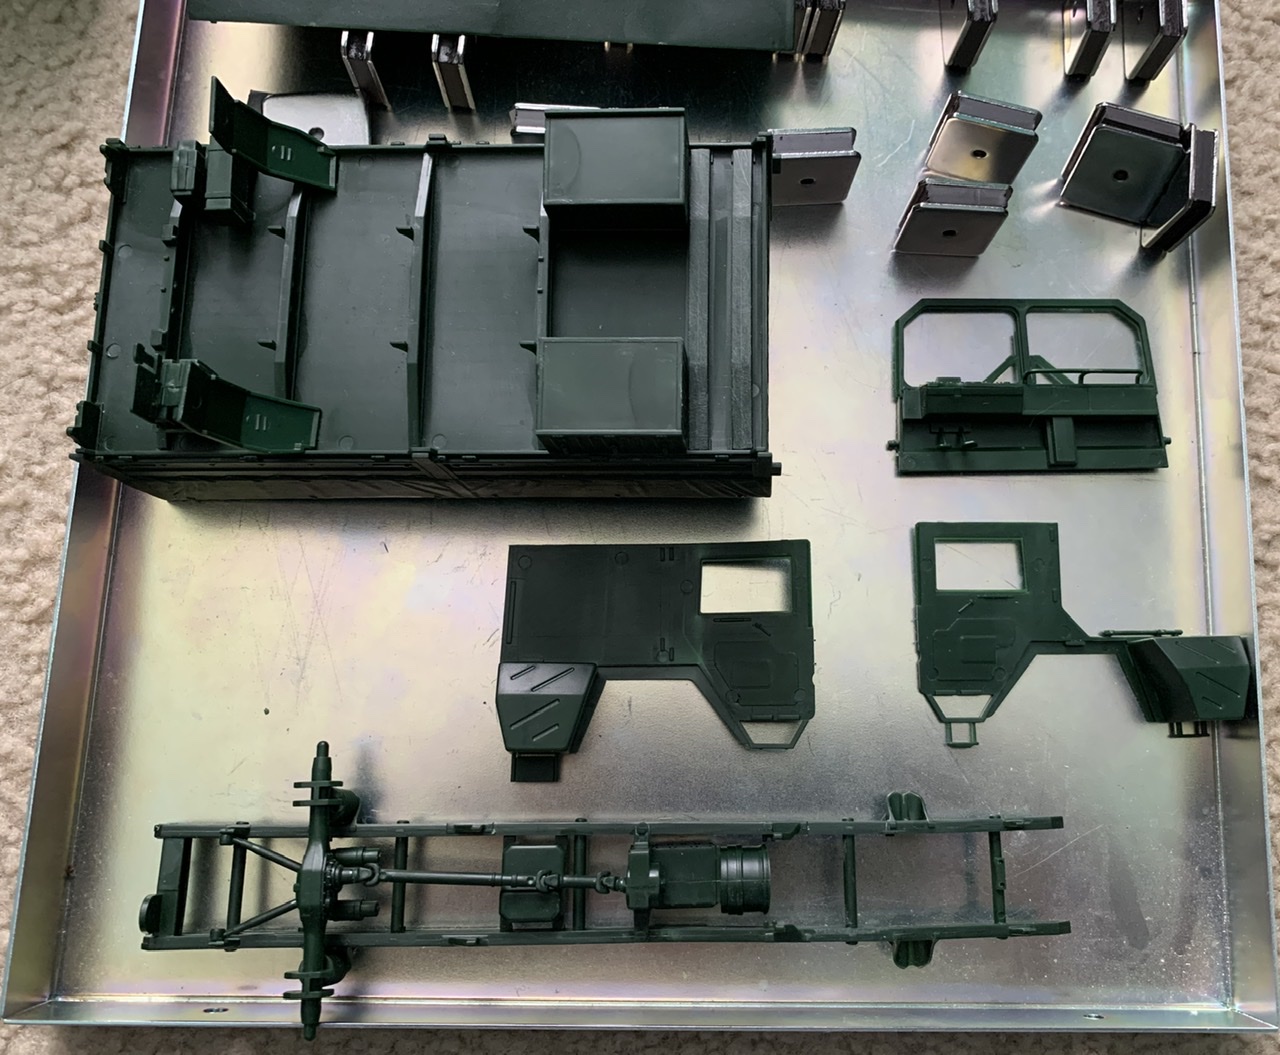
I get the Def Model wheels. Not ready to trust the kit rubber tires and Modellbau lacked the same tread detail as Def Model.
Anybody know a good interior color for the cabin walls? Also was the cargo bed area repainted white to match the exterior on the UN scheme or was it left green?

I get the Def Model wheels. Not ready to trust the kit rubber tires and Modellbau lacked the same tread detail as Def Model.
Anybody know a good interior color for the cabin walls? Also was the cargo bed area repainted white to match the exterior on the UN scheme or was it left green?

BlackWidow

Joined: August 09, 2009
KitMaker: 1,732 posts
Armorama: 326 posts

Posted: Friday, May 29, 2020 - 02:44 AM UTC
NATO Green or Olive Green RAL 6014 should do it, Ryan.
 |


