
Campaigns
Where Armorama group builds can be discussed, organized, and updates posted.
Where Armorama group builds can be discussed, organized, and updates posted.
Hosted by Darren Baker, Richard S.
Big Cats Campaign
gamodelmaker

Joined: May 07, 2008
KitMaker: 186 posts
Armorama: 129 posts

Posted: Monday, December 08, 2008 - 04:15 PM UTC
well i have finally started on my leoprad. steps 1-6 have been done. i should have it all together by this thrusday. if only i can get over this darn bronchits. i do have one question. what will be the closet match for the nato colors for black brown and green. i only use model master paints i dont have the frist color to match it. i will post a few pics of my build 2mrrow. also that panther looks great. you done a outstanding job on it. 

Nito74

Joined: March 04, 2008
KitMaker: 5,386 posts
Armorama: 4,727 posts

Posted: Monday, December 08, 2008 - 11:21 PM UTC
Great builds so far !!
Welcome to the first bird around, a great F-9 !!
By the way how can I create a folder for the Big Cats Campaign in the Gallery section ??
Welcome to the first bird around, a great F-9 !!
By the way how can I create a folder for the Big Cats Campaign in the Gallery section ??
Red4

Joined: April 01, 2002
KitMaker: 4,287 posts
Armorama: 1,867 posts

Posted: Monday, December 08, 2008 - 11:50 PM UTC
Quoted Text
By the way how can I create a folder for the Big Cats Campaign in the Gallery section ??
I have no idea. I was looking for the gallery to post the pics in, but I couldn't find it...
 Maybe one of the guys who has run one of these before will be able to point you in the right direction. Thanks for the kudos. "Q"
markm

Joined: September 11, 2005
KitMaker: 1,757 posts
Armorama: 1,148 posts

Posted: Tuesday, December 09, 2008 - 01:54 AM UTC

Tojo72

Joined: June 06, 2006
KitMaker: 4,691 posts
Armorama: 3,509 posts

Posted: Tuesday, December 09, 2008 - 10:23 AM UTC
Matthew,nice Panther,nice clean build,not using to seeing them in natural finish,I can only remember the all blue ones,this one dresses up real nice,a good job and a nice change from all the armor.
Red4

Joined: April 01, 2002
KitMaker: 4,287 posts
Armorama: 1,867 posts

Posted: Tuesday, December 09, 2008 - 11:04 AM UTC
Thanks for the kudos. The markings are what led me to want to build this particular plane. Glad you like her. She has been posted to the gallery section for the campaign. Thanks. "Q" 

gamodelmaker

Joined: May 07, 2008
KitMaker: 186 posts
Armorama: 129 posts

Posted: Tuesday, December 09, 2008 - 02:13 PM UTC
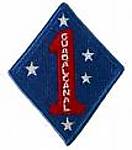
well here is my last up date for tonight. i have the roadwheels all done and ready for pain along with the main body of the tank. i say i am about 50% done with this. if ikeep it up i should be able to slap some paint on it if the weather holds out we are excepting some rain on wed and thru but with mild temps. so i can paint it out in the shop with no heat on this time. so enjoy the pics of whats been done so far.


SSgtMack

Joined: July 04, 2005
KitMaker: 117 posts
Armorama: 102 posts

Posted: Tuesday, December 09, 2008 - 06:15 PM UTC
Hello to all! This will be my second campaign participated in (in which I will actually finish the tank!).
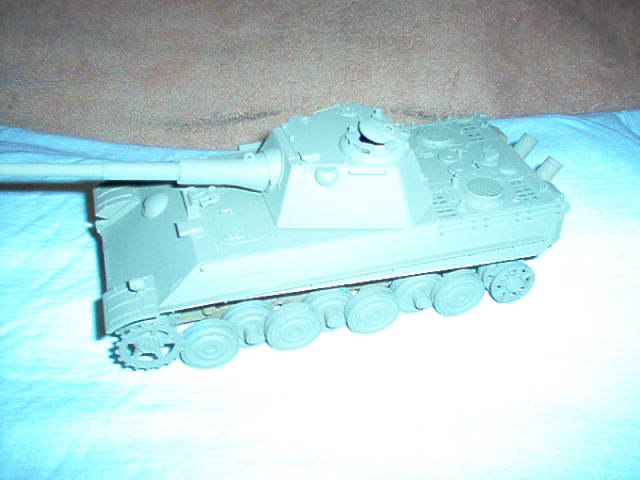
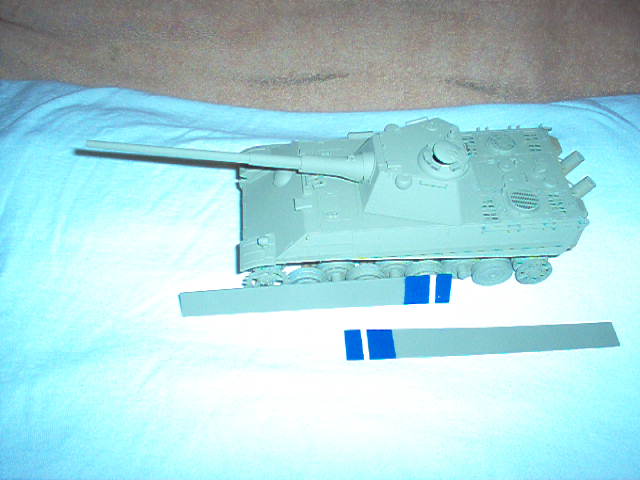
I am building the Panther II by Dragon. I love this kit! Everything is fitting with no additional modifications and I like the overall look of this Panther that never was.
I am fitting it with the side skirts with "Reichsverteidegund" (Defense of the Reich bands- Hey--- these tanks didn't make it to mass production level so who knows???).
The name of the tank will be panted on the barrel (Gott des Donners- God of Thunder).
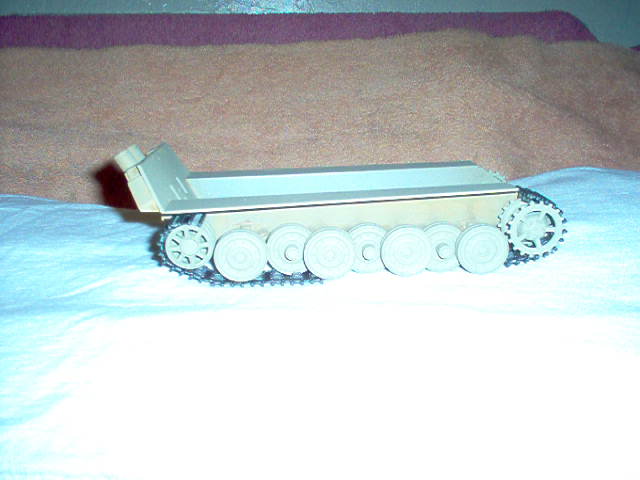
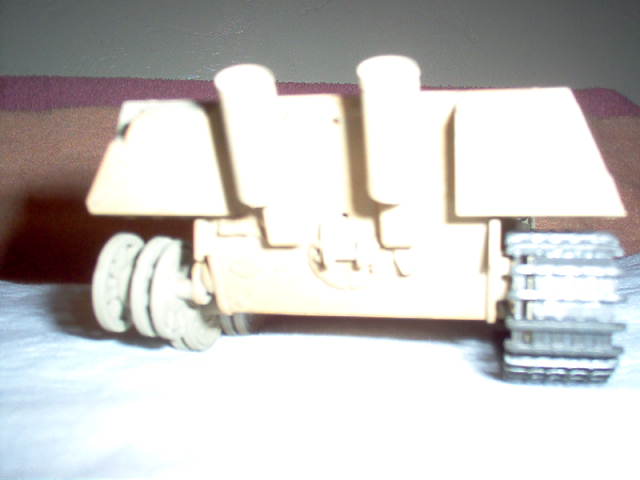
I have the base coat applied and I need to complete the tracks (my first time with INDY track links) and the tank accessories. Upper hull needs to be affixed to the lower hull. I haven't decided on the camouflage pattern yet.
Crew members are done but need to be weathered.
Sorry about the quality of the photos- I hope I get a new digital camera for Christmas.
Let me know any constructive critiques or advice. By the way- my first time usng INDY links... why haven't I used these before??? These are great!! I'll never use another rubber band track again.
Semper Fi!


D_J_W

Joined: December 30, 2005
KitMaker: 436 posts
Armorama: 367 posts

Posted: Tuesday, December 09, 2008 - 08:51 PM UTC
Greetings all,
At last I have made a start on my Big Cat, a Finnish Leopard 2A4 using the Hobby Boss Leopard 2A4 kit with modifications;
The rear needed few minor changes:


The smoke dischargers, detailed with scratch built chains:

Rear mudflaps, rebuilt:

Starting work on detailing the front:

I decided to use HKCW Lepopard 2 workable track. BUT the drive sprockets needed to be widened by 1mm:

Scratch built Grouser bin (the smaller) and rear stowage bin:

cheers
David
At last I have made a start on my Big Cat, a Finnish Leopard 2A4 using the Hobby Boss Leopard 2A4 kit with modifications;
The rear needed few minor changes:


The smoke dischargers, detailed with scratch built chains:

Rear mudflaps, rebuilt:

Starting work on detailing the front:

I decided to use HKCW Lepopard 2 workable track. BUT the drive sprockets needed to be widened by 1mm:

Scratch built Grouser bin (the smaller) and rear stowage bin:

cheers

David
Nito74

Joined: March 04, 2008
KitMaker: 5,386 posts
Armorama: 4,727 posts

Posted: Tuesday, December 09, 2008 - 11:22 PM UTC
Welcome DBM !
Looking good that Panther!
Great work on that Leopard David !!
Keep them coming... I really need a Leopard...
Looking good that Panther!
Great work on that Leopard David !!
Keep them coming... I really need a Leopard...

Posted: Tuesday, December 09, 2008 - 11:55 PM UTC
Now my Dragon 1/35 Panther Coelian is finished. It is a great kit that builds up into a really good replica although it is a little "What if". But that just gives you more camouflage possibilities. 
It has been a joy to participate in this campaign. If I find the time I might also join with a wingy thing. After all Eduards Royal Class Hellcat kit is out
Looking forward to follow all the great builds in this tread.


It has been a joy to participate in this campaign. If I find the time I might also join with a wingy thing. After all Eduards Royal Class Hellcat kit is out

Looking forward to follow all the great builds in this tread.


Nito74

Joined: March 04, 2008
KitMaker: 5,386 posts
Armorama: 4,727 posts

Posted: Wednesday, December 10, 2008 - 01:49 AM UTC
Great Coelian Jesper !!
About the camo paint, was it painted with an AB ? how did you mask it ?
The gun barrels are from the kit or some AM items ? what colour did you paint them ?
About the camo paint, was it painted with an AB ? how did you mask it ?
The gun barrels are from the kit or some AM items ? what colour did you paint them ?
jd_curran

Joined: August 16, 2005
KitMaker: 19 posts
Armorama: 18 posts

Posted: Wednesday, December 10, 2008 - 08:37 AM UTC
Hey is anyone doing the 1/16 Trumpeter King Tiger? I have mine already paid for, just awaiting it's arrival sometime next week I expect.

SSgtMack

Joined: July 04, 2005
KitMaker: 117 posts
Armorama: 102 posts

Posted: Wednesday, December 10, 2008 - 01:13 PM UTC
Where do I get one of those Panther Coelian? I have only seen a conversion kit for 1/72 scale. This kit is in 1/35 and out of the box?
This is great!
Semper Fi!
This is great!
Semper Fi!
Posted: Wednesday, December 10, 2008 - 08:56 PM UTC
Thanks for the comments, John and SSgtMack. I really appreciate it. I am also very satisfied myself with the end result 
The camouflage was painted by hand. I find this is easier than masking when it has to be hard edge. I build up the colour slowly with 2 or 3 thinned coats to avoid "steaks" in the paint surface.
The kit is the Dragon/DML 1/35 kit build straight from the box with only the engine grilles coming from Aber.
I think the kit is out of production, but I bet it is still in stock with some internet model shops and actually not that expensive either.
The guns are the ones included in the kit, carefully opened up in the end with pointed knife blade. The painted metallic, buffed with cotton and given several washes. One of the a mix of 50% black, 45% gun metal, 5% gold. This mix was then thinned with 50% thinner and applied carefully to allow the base coat to "shine through". After that normal weathering.
Thanks again for the comments. I hope the above answers help.

Nito74

Joined: March 04, 2008
KitMaker: 5,386 posts
Armorama: 4,727 posts

Posted: Friday, December 12, 2008 - 01:21 AM UTC
Thanks Jesper!
I got my Swedish Stridsvagn 122 from Hobbyboss for the Viking Campaign and got a Leopard too for the Big Cats.
Will post some shots of the slow progress of the SturmTiger and the old Tamyia JagdPanther soon
I got my Swedish Stridsvagn 122 from Hobbyboss for the Viking Campaign and got a Leopard too for the Big Cats.
Will post some shots of the slow progress of the SturmTiger and the old Tamyia JagdPanther soon
Posted: Friday, December 12, 2008 - 03:03 AM UTC
Glad you could use the answers.
I am looking forward to see what you get from that old Tamiya JagdPanther. You probably need lots of mud on that suspension.
I am planning to do the Danish Centurion or Leopard II for the Viking campaign. BTW: isn't it time you change your banner to support the new Viking campaign
I am looking forward to see what you get from that old Tamiya JagdPanther. You probably need lots of mud on that suspension.

I am planning to do the Danish Centurion or Leopard II for the Viking campaign. BTW: isn't it time you change your banner to support the new Viking campaign


Sudzonic

Joined: December 07, 2007
KitMaker: 2,096 posts
Armorama: 1,983 posts

Posted: Friday, December 12, 2008 - 03:35 AM UTC

Sudzonic

Joined: December 07, 2007
KitMaker: 2,096 posts
Armorama: 1,983 posts

Posted: Saturday, December 13, 2008 - 03:18 AM UTC

ppawlak1

Joined: March 14, 2006
KitMaker: 1,973 posts
Armorama: 1,843 posts

Posted: Sunday, December 14, 2008 - 10:22 PM UTC
Nice work Scotty !!
What do you think of the Legends 'Wings' in resin Vs the Tamiya ones from the kit ?
I have this conversion and will use it on my next Leo (Aussie Waht if ?), I'm not sure as to which wings to use ATM.
Cheers
Paul
What do you think of the Legends 'Wings' in resin Vs the Tamiya ones from the kit ?
I have this conversion and will use it on my next Leo (Aussie Waht if ?), I'm not sure as to which wings to use ATM.
Cheers
Paul

Sudzonic

Joined: December 07, 2007
KitMaker: 2,096 posts
Armorama: 1,983 posts

Posted: Sunday, December 14, 2008 - 11:46 PM UTC
Quoted Text
Nice work Scotty !!
What do you think of the Legends 'Wings' in resin Vs the Tamiya ones from the kit ?
I have this conversion and will use it on my next Leo (Aussie Waht if ?), I'm not sure as to which wings to use ATM.
Cheers
Paul
Hay Paul the wings are good they have a bit more detail on the inside witch is good although i had to thin the stowage bags a little as the wings would not close propely agianst tyhe turret side.
Nito74

Joined: March 04, 2008
KitMaker: 5,386 posts
Armorama: 4,727 posts

Posted: Monday, December 15, 2008 - 04:37 AM UTC
Some in progress shots of the Sturm Tiger and a JagdPanther


After these pics I primed the top of the Jagdpanther and added mud on the suspension and lower hull.


After these pics I primed the top of the Jagdpanther and added mud on the suspension and lower hull.

SSgtMack

Joined: July 04, 2005
KitMaker: 117 posts
Armorama: 102 posts

Posted: Monday, December 15, 2008 - 05:03 PM UTC
To update on my Panther II...
I have the right side of the tracks assembled and base painted. I need to complete the weathering on the right side of tracks and the weathering and details for the exterior. I will put a tank commander in the cupola but I haven't decided on which one yet.
I put markings on it for 3rd Panzer Division in Berlin 1945. I also played around and put 'Defense of the Reich' bands on the skirts (I know this was a Luftwaffe practice but I like the way they look) ....
....
Please-- any feedback or suggestions are welcome. I will post more as I progress in this campaign!
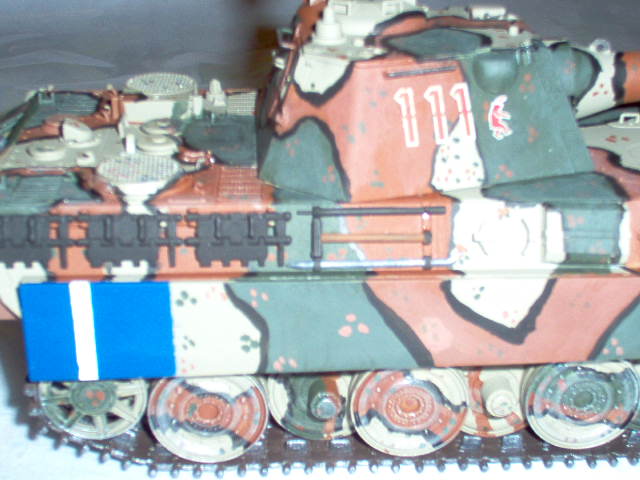
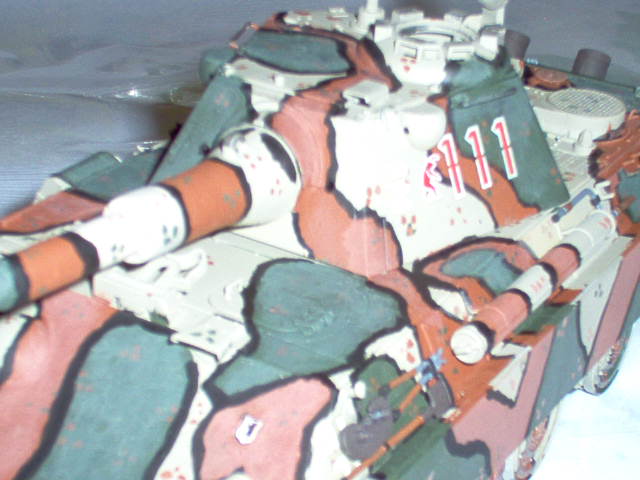
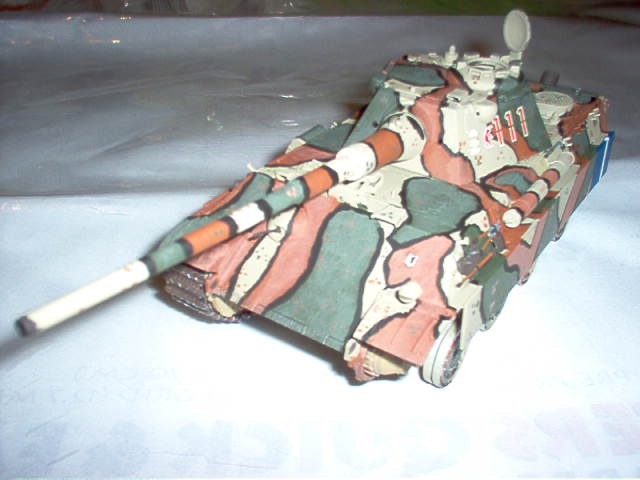
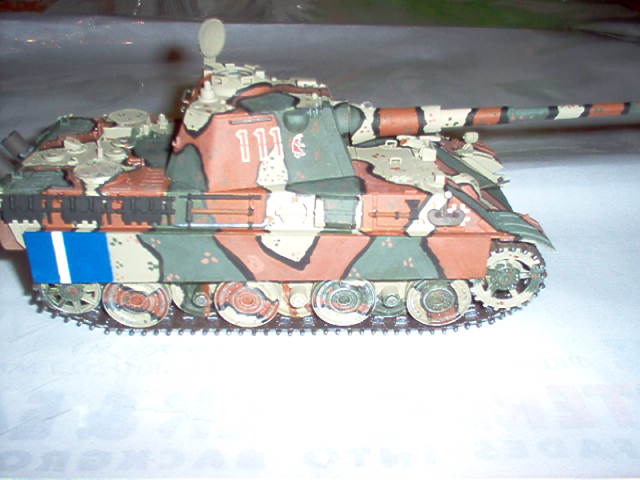
I'm trying to soften the edges of the hardline camo... Any suggestions? I have drybrushed about 4 times but it still seems a little bold. It was painted a base dark yellow ligtened with buff and white. I masked off the tank to get a 3 color camo scheme with dark yellow, panzer green, and red brown.

I have the right side of the tracks assembled and base painted. I need to complete the weathering on the right side of tracks and the weathering and details for the exterior. I will put a tank commander in the cupola but I haven't decided on which one yet.
I put markings on it for 3rd Panzer Division in Berlin 1945. I also played around and put 'Defense of the Reich' bands on the skirts (I know this was a Luftwaffe practice but I like the way they look)
 ....
.... Please-- any feedback or suggestions are welcome. I will post more as I progress in this campaign!


I'm trying to soften the edges of the hardline camo... Any suggestions? I have drybrushed about 4 times but it still seems a little bold. It was painted a base dark yellow ligtened with buff and white. I masked off the tank to get a 3 color camo scheme with dark yellow, panzer green, and red brown.

gamodelmaker

Joined: May 07, 2008
KitMaker: 186 posts
Armorama: 129 posts

Posted: Tuesday, December 16, 2008 - 04:38 AM UTC
well i am now ready for the paint booth. all thats left to put on this kitty is the side skirts paint and weather the tracks and granede launchers and the painting of the tank it self. i was going to do a 3 d painting but that whould have been a lot of cutting and a lot of tape plus time which i really didnt have. so here are a few pics of my kitty all comments are welcome.


Nito74

Joined: March 04, 2008
KitMaker: 5,386 posts
Armorama: 4,727 posts

Posted: Thursday, December 18, 2008 - 12:36 AM UTC
A small update, but no photos yet, the Jagdpanther was primed and got one coat of dark yellow and a second one this morning.
Started painting the tracks and some equipment, but i will change for some Dragon / Trumpeter spares for sure, the 1969 Tamyia ones are pretty crude...
Started painting the tracks and some equipment, but i will change for some Dragon / Trumpeter spares for sure, the 1969 Tamyia ones are pretty crude...
 |


