Campaigns
Where Armorama group builds can be discussed, organized, and updates posted.
Killer KVs
ltb073
Visit this Community
New York, United States
Joined: March 08, 2010
KitMaker: 3,662 posts
Armorama: 3,078 posts
Posted: Friday, February 11, 2011 - 01:44 PM UTC
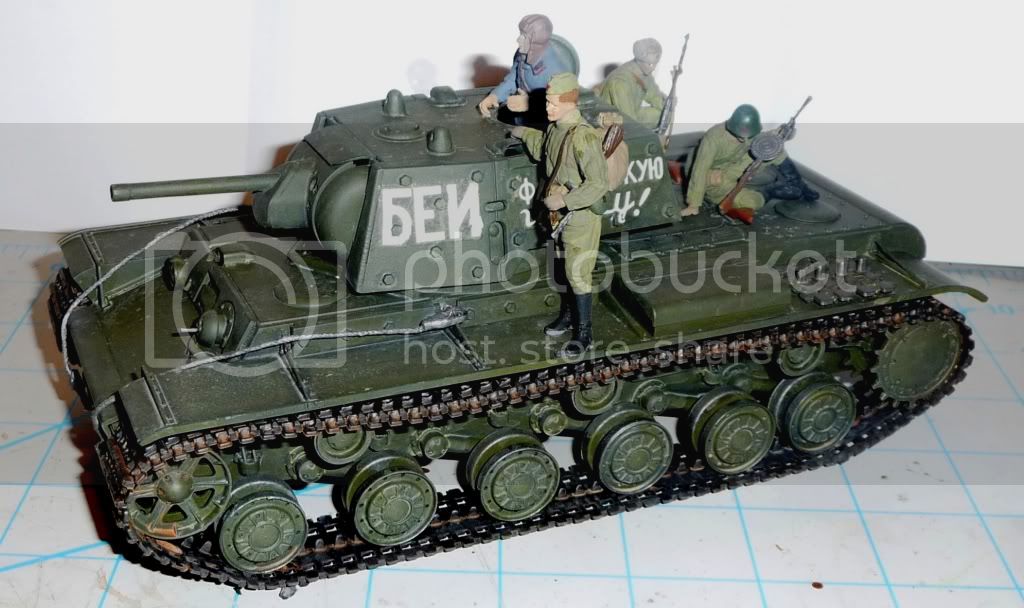
Ok guys I think I'm ready to call this 1 finished for now. Just needed to touch up some spots on the figure that was standing
Photobucket
This will be the main vehicle in the Urban Warfare Campaign so additional weathering will be done when that is completed along with a coat of dull
Photobucket
again this was the 1st time i was working with AM PE which had me a little nervous
Photobucket
Constructive comments help me improve so please feel free
vonHengest
Visit this Community
Texas, United States
Joined: June 29, 2010
KitMaker: 5,854 posts
Armorama: 4,817 posts
Posted: Friday, February 11, 2011 - 01:54 PM UTC
Jan: The only thing I'm not liking about that kit are the tops of the return rollers, otherwise I agree that the detail is pretty impressive

Sal: Your builds seriously just keep getting better bud, model on!
Bigrip74
Visit this Community
Texas, United States
Joined: February 22, 2008
KitMaker: 5,026 posts
Armorama: 1,604 posts
Posted: Friday, February 11, 2011 - 03:16 PM UTC
Sal, "DITTO" what Jeremy said.

Bob
meaty_hellhound
Visit this Community
Alberta, Canada
Joined: July 23, 2010
KitMaker: 786 posts
Armorama: 753 posts
Posted: Saturday, February 12, 2011 - 04:56 AM UTC
Sal, that is one Killer KV and like the guys have said your models are improving by leaps and bounds. wonderful poses for the figures. the one suggestion i may add is once you start painting the base of the diorama to take the colour of the groundwork and add some of the same colour to the roadwheels and tracks so they tie in really well. the inner surface of the tracks could use just a touch more dirt but i'd wait until the diorama is painted to make sure the colour is a match.

congrats on breaking the PE barrier. cheers, bd.
tread_geek
Visit this Community
Ontario, Canada
Joined: March 23, 2008
KitMaker: 2,847 posts
Armorama: 2,667 posts
Posted: Saturday, February 12, 2011 - 07:38 AM UTC
Sal - Beautiful looking KV! I wish I could find nice figures like those in my preferred scale.


Quoted Text

Jan: The only thing I'm not liking about that kit are the tops of the return rollers, otherwise I agree that the detail is pretty impressive


Jeremy - I agree with your comment about the return rollers but I wasn't too concerned. The worst facet of them is on the side facing the body that will never be see once built. The front or outward side isn't quite as bad but when you take the small scale into account and the fact that I used a 4X macro lens, I don't believe that it will be too noticeable, if at all.

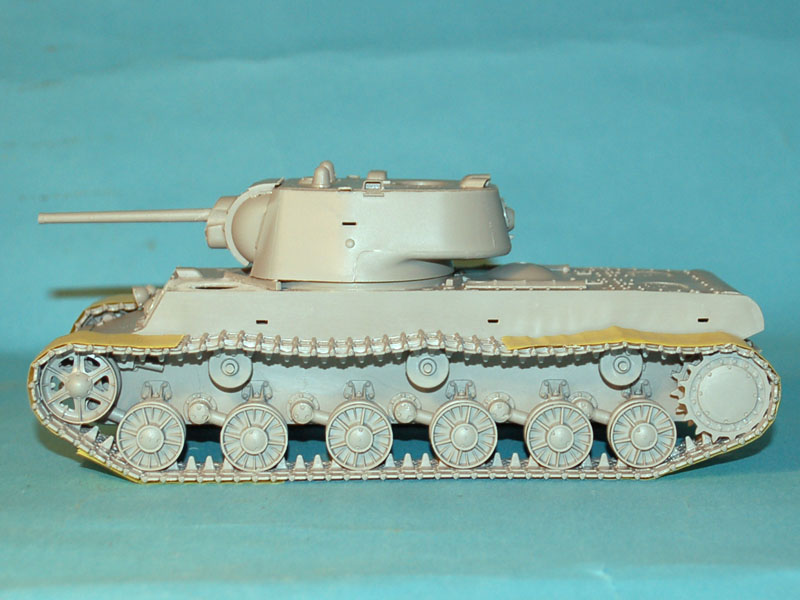
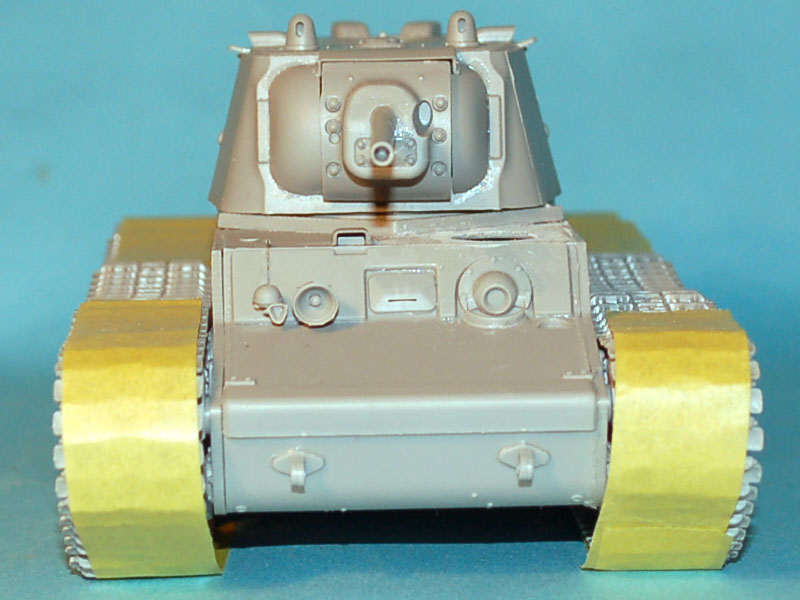
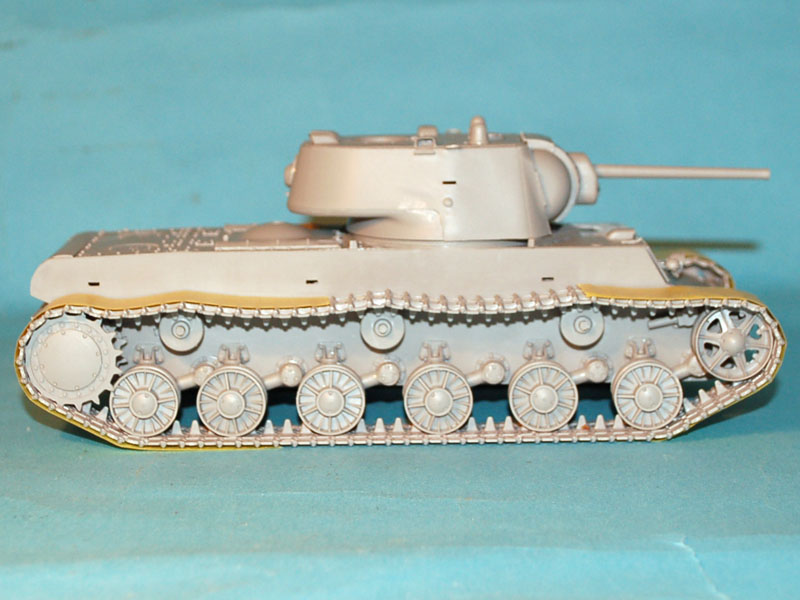
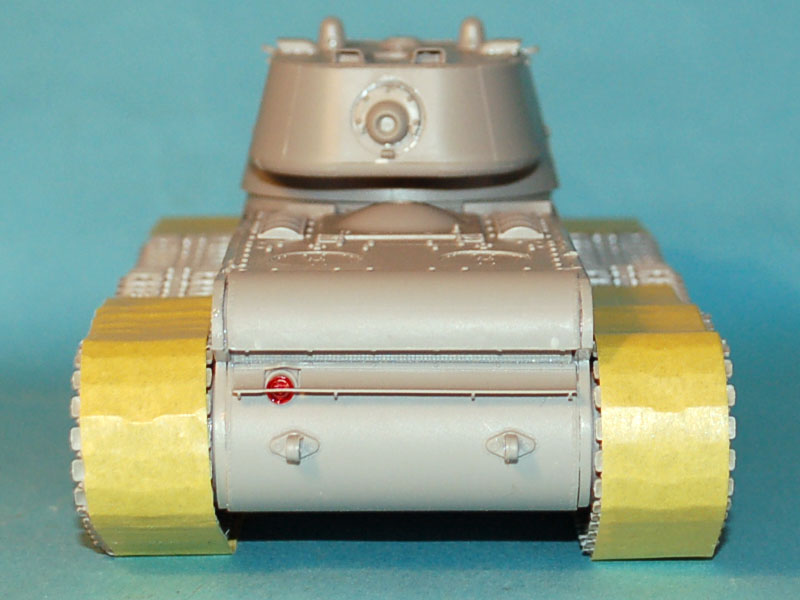
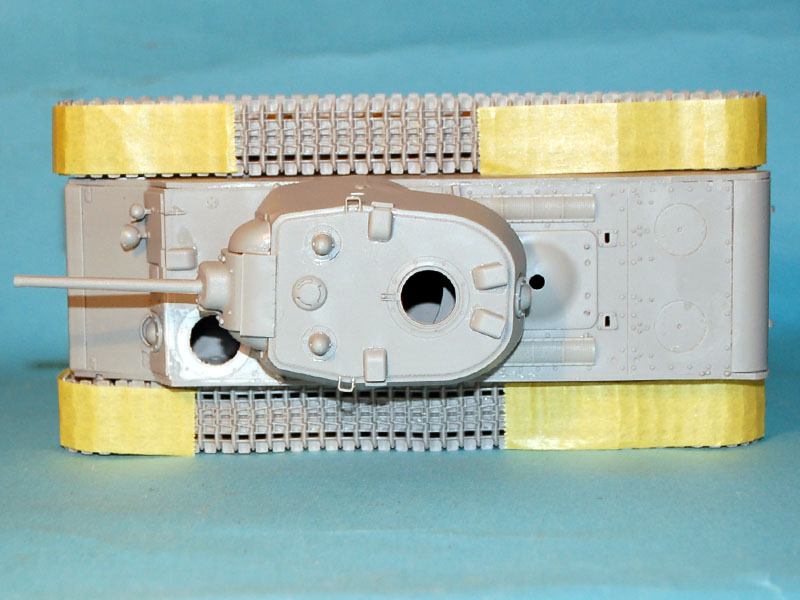
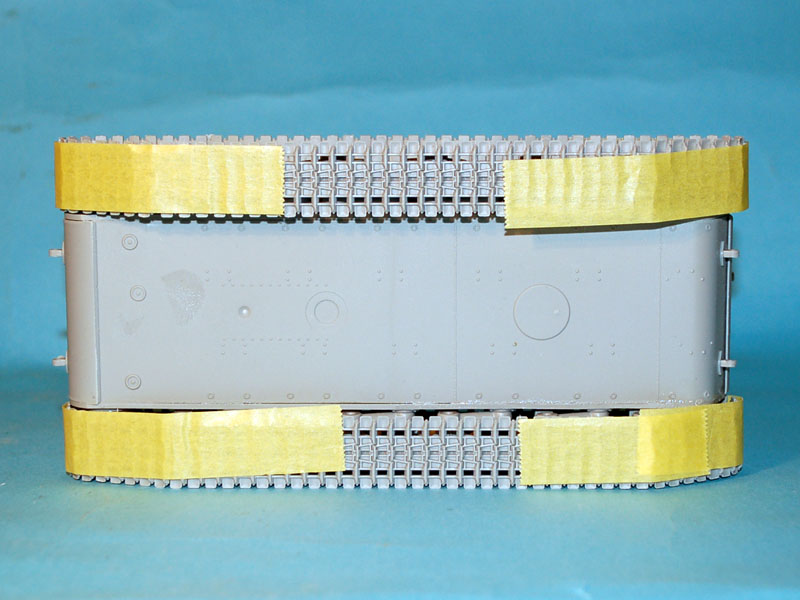
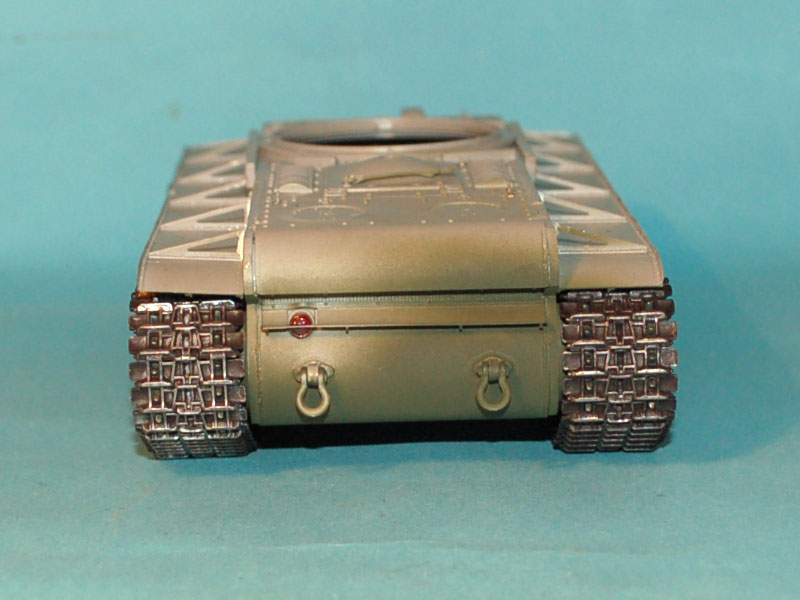
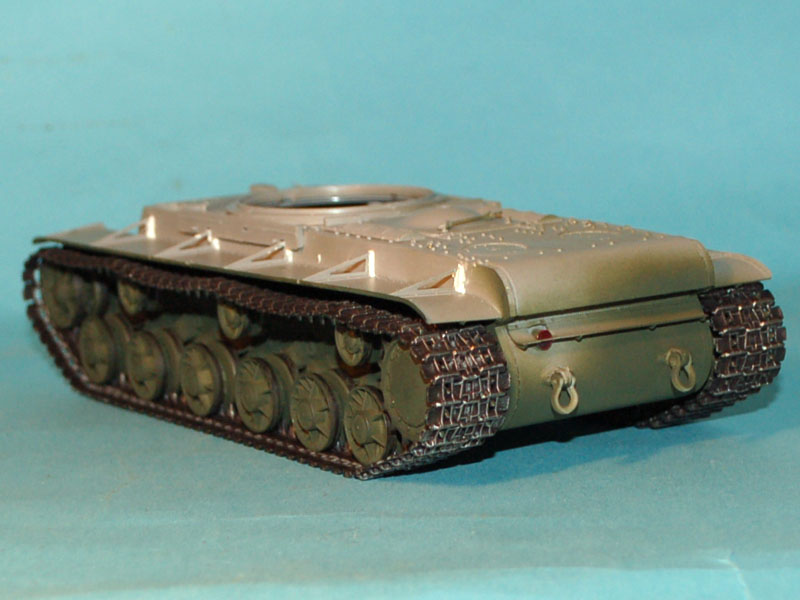
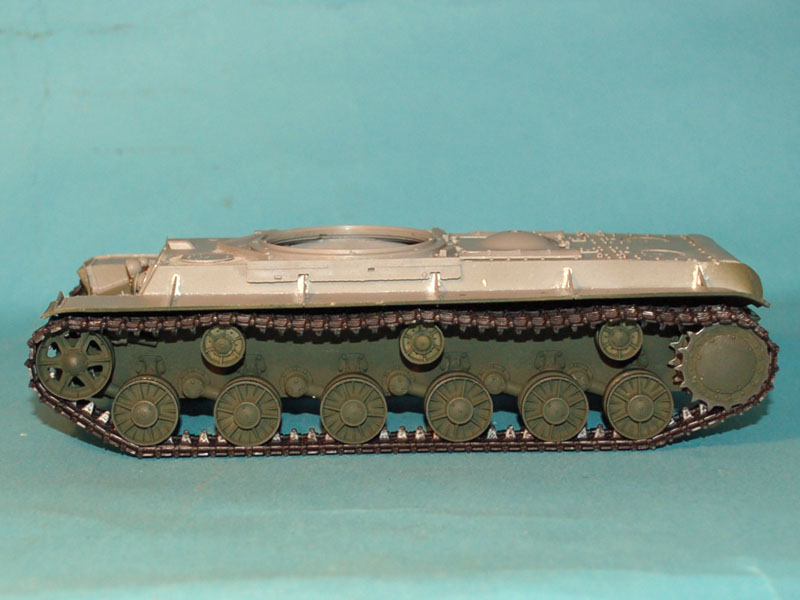
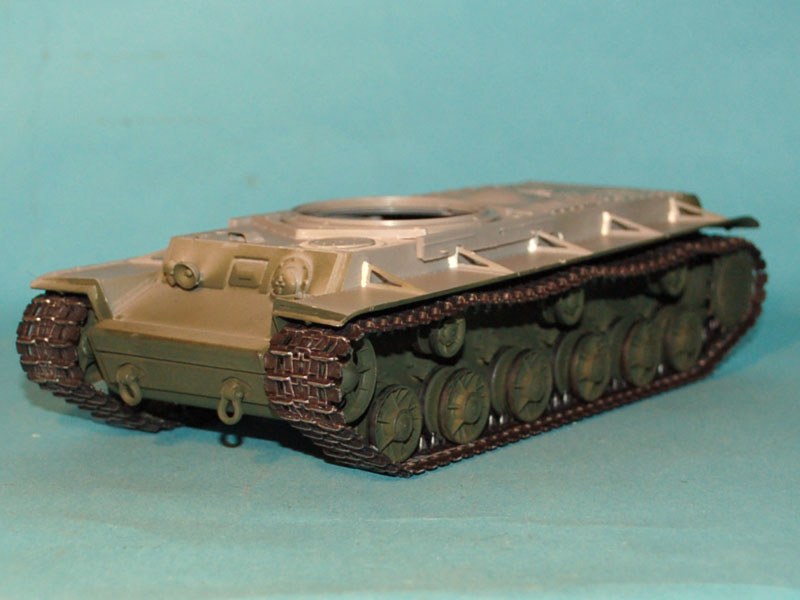
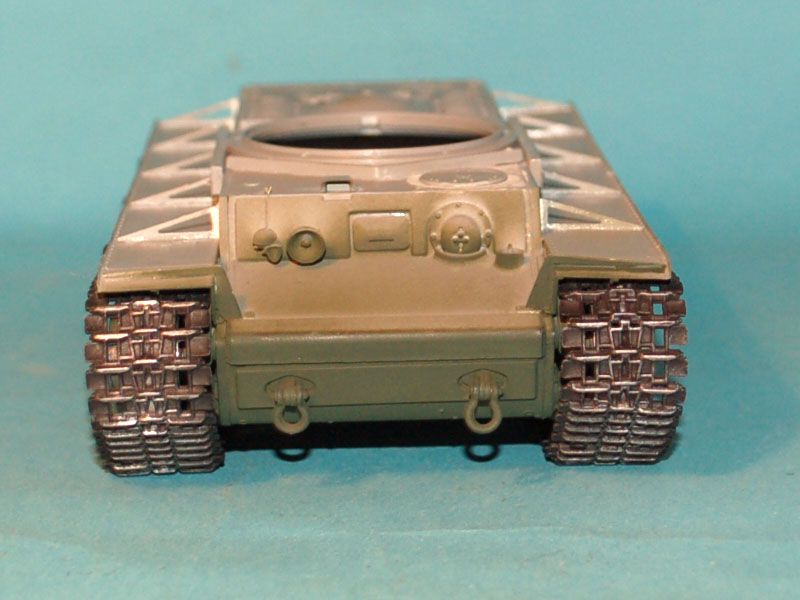
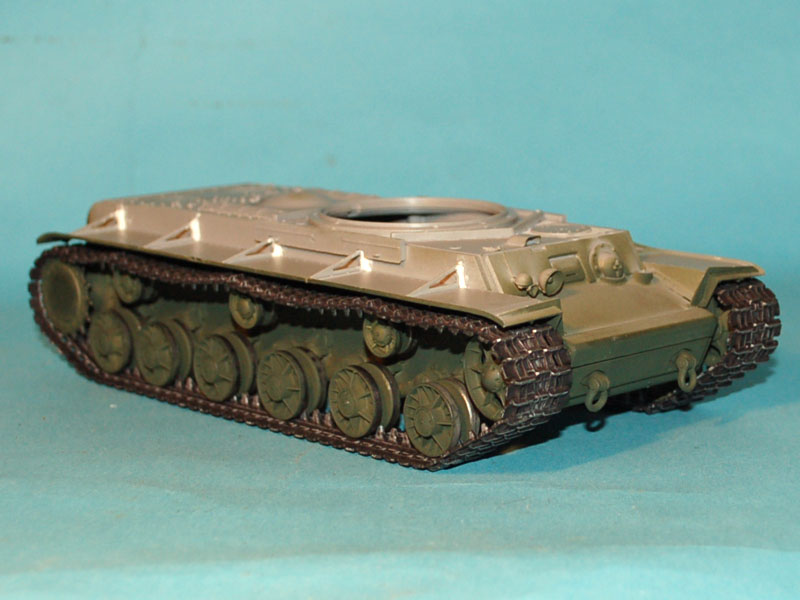
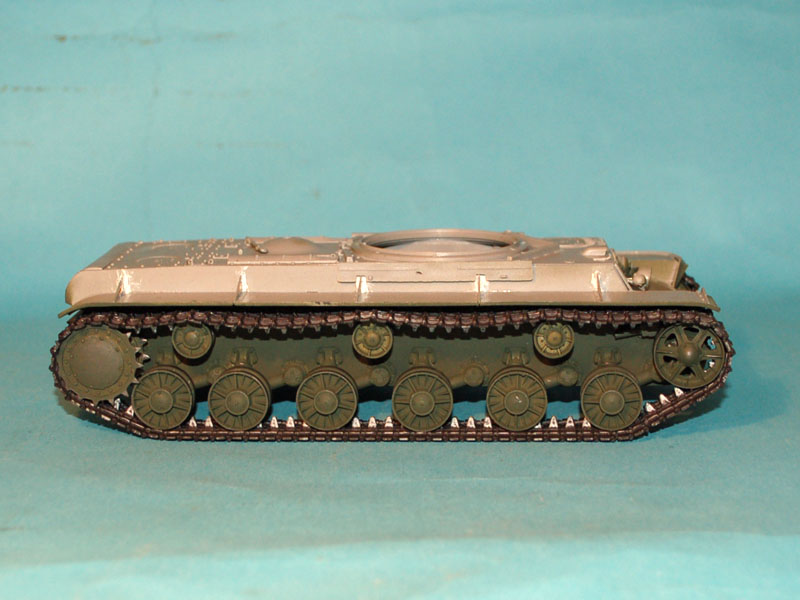
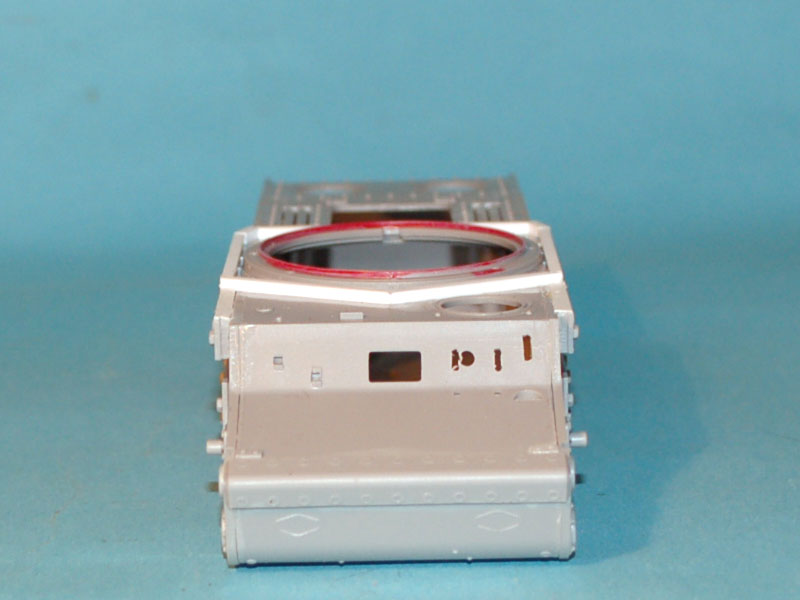
I got the first one mostly complete and am starting on the second. I've been pouring over pictures of these KV variants to see if I can jazz them up a bit. Searching the spares box I found some extra fuel tanks and a sprue of grab handles that might work to differentiate the two. Here's shots of the progress on the first of the "Twins."


Note how the top of the return rollers isn't visible despite the low camera angle. However, the pictures do sadly show how plain the tracks are.

With the upper hull dry fitted.


You can see the nice cast texture of the hull fairly well. I'll have to watch the paint thickness so I don't end up losing it. No decals come with the kit but I believe that I might have some left over decals from an old Fujimi KV-2.

Cheers,
Jan
ltb073
Visit this Community
New York, United States
Joined: March 08, 2010
KitMaker: 3,662 posts
Armorama: 3,078 posts
Posted: Saturday, February 12, 2011 - 09:39 AM UTC
Hey guys thank for all the positive comments they are greatly appreciated
@ Bruce thank for the suggestion that was exactly what I was planing on doing
CMOT
Staff MemberEditor-in-Chief
ARMORAMA
Visit this Community
England - South West, United Kingdom
Joined: May 14, 2006
KitMaker: 10,954 posts
Armorama: 8,571 posts
Posted: Tuesday, February 15, 2011 - 03:46 AM UTC
Jan your eyes must be far better than mine to tackle vehicles in this scale

Ok I have started building a KV1 model 1942 heavy cast turret (00359)and pictures will be uploaded tonight. In another piece of news I ordered another KV1 Ehkranami from Halifax Modellers World yesterday and thier excellent service meant it was delivered today so it looks like I will be tackling two builds for this campaign and I will at least get the out of the box build finished.

let scratch building commence on the Finnish Ehkranami.
CMOT
Staff MemberEditor-in-Chief
ARMORAMA
Visit this Community
England - South West, United Kingdom
Joined: May 14, 2006
KitMaker: 10,954 posts
Armorama: 8,571 posts
Posted: Tuesday, February 15, 2011 - 09:50 AM UTC
Here is the KV as it currently stands.


SGTJKJ
#041
Visit this Community
Kobenhavn, Denmark
Joined: July 20, 2006
KitMaker: 10,069 posts
Armorama: 4,677 posts
Posted: Tuesday, February 15, 2011 - 11:28 PM UTC
Nice build, Sal. As the others pointed out your builds keep improving.

I would suggest to give the figures a couple of washes. Especially the skin areas seem very pale. I can recommend the "Devlan Mud" wash from the citadel range from Games Workshop. It can be used right from the tin and works wonders.

I have finally started on my Zvezda 1/35 KV-1 early version. As the build progresses I will post some pictures.
ltb073
Visit this Community
New York, United States
Joined: March 08, 2010
KitMaker: 3,662 posts
Armorama: 3,078 posts
Posted: Wednesday, February 16, 2011 - 01:31 AM UTC
Jasper, thanks for the complement as always you tips are greatly apprieciated as I try to improve. I guess it's about time I start shelling out some extra cash for some of the more expensive paints and finishes instead of the cheap craft store acrylic paint
tread_geek
Visit this Community
Ontario, Canada
Joined: March 23, 2008
KitMaker: 2,847 posts
Armorama: 2,667 posts
Posted: Wednesday, February 16, 2011 - 08:58 AM UTC

Quoted Text

Jan your eyes must be far better than mine to tackle vehicles in this scale


Darren, I fear that I have always worn corrective lenses so that has always put me at a disadvantage (couldn't become a commercial pilot). However, my visual acuity has always been greater than average due to the nature of my lens correction. And let's not forget the 5X Opti-visor.


Getting back to the KV subject, here is the latest. SU-152/1 is built with the exception of the one hatch. I drilled out the two exhaust ports on the rear deck and cleaned up a seam or two. SU-152/2 was started and the suspension is done and base paint applied. For some reason the second suspension parts didn't align as nicely as the first and required a fair amount of coaxing with some heavy duty tweezers to get all 11 pins to line up.


I haven't decided but I "may" leave one SU fairly plain and almost OOTB. With the second I'll try to jazz it up to make it different. I found one picture that showed an SU-152 with two side by side fuel drums on the rear as opposed to them being tandem along the fender. I have some spare drums from a T-34 kit that appear to be virtually the exact same size as the ones in this kit.

Cheers,
Jan
SGTJKJ
#041
Visit this Community
Kobenhavn, Denmark
Joined: July 20, 2006
KitMaker: 10,069 posts
Armorama: 4,677 posts
Posted: Wednesday, February 16, 2011 - 07:54 PM UTC

Quoted Text

I guess it's about time I start shelling out some extra cash for some of the more expensive paints and finishes instead of the cheap craft store acrylic paint


Well, it is actually not that expensive. Check it out HERE There is also a Games Workshop on Manhattan. Down about 18th Street as I recall, but anyway a quick internet search will probably find more stores in the New York area.
warreni
Visit this Community
South Australia, Australia
Joined: August 14, 2007
KitMaker: 5,926 posts
Armorama: 712 posts
Posted: Thursday, February 17, 2011 - 06:59 AM UTC
Gunze and Tamiya paints leave Games Workshop paints for dead. They are just re-packaged el-cheapo stuff.
Bigrip74
Visit this Community
Texas, United States
Joined: February 22, 2008
KitMaker: 5,026 posts
Armorama: 1,604 posts
Posted: Thursday, February 17, 2011 - 08:01 AM UTC
@ Warren: ? I did quite understand the post would you enlighten me since I lost all of the mass between my ears.

Bob
SGTJKJ
#041
Visit this Community
Kobenhavn, Denmark
Joined: July 20, 2006
KitMaker: 10,069 posts
Armorama: 4,677 posts
Posted: Thursday, February 17, 2011 - 09:56 PM UTC
Well, for the most part I agree with you, Warren. But the Citadel washes - especially Devlan Mud - is really a very superior product. Very good for figures.
CMOT
Staff MemberEditor-in-Chief
ARMORAMA
Visit this Community
England - South West, United Kingdom
Joined: May 14, 2006
KitMaker: 10,954 posts
Armorama: 8,571 posts
Posted: Friday, February 18, 2011 - 05:02 AM UTC
Here is where I have got to so far and I am getting very close to the painting stage.


I have to say a big thank you to Neil Stokes as his site really helped in correcting minor issues that arose regarding accuracy, and minor scratch work that helps improve the overall look of the model. While looking at Neil’s site I also decided to add the lifting rings to the eyes on the engine deck. I wound some 5amp fuse wire around the shank of a 1.3mm drill bit, then slid off the shank it will look like a small spring. I then cut through the spring at the same point creating my wire loops which were then fed through the small eyes in the lifting lugs.

Jasonbee71
#009
Visit this Community
England - South East, United Kingdom
Joined: March 03, 2003
KitMaker: 686 posts
Armorama: 258 posts
Posted: Saturday, February 19, 2011 - 09:58 AM UTC


This is what I'm going to build, I've just finished the KV II for the 1/48 campaign and it went together so easily I thought I'd build another.


Jason
tread_geek
Visit this Community
Ontario, Canada
Joined: March 23, 2008
KitMaker: 2,847 posts
Armorama: 2,667 posts
Posted: Tuesday, February 22, 2011 - 09:03 AM UTC
@CMOT - Your KV is really marching along. Some very nice details on that kit, too bad it isn't my scale. Is your KV an early model. The reason I ask is that some had a hole in the track guide teeth and yours doesn't. I've also noticed that with pictures of the SU-152. Some have the solid teeth and others don't.

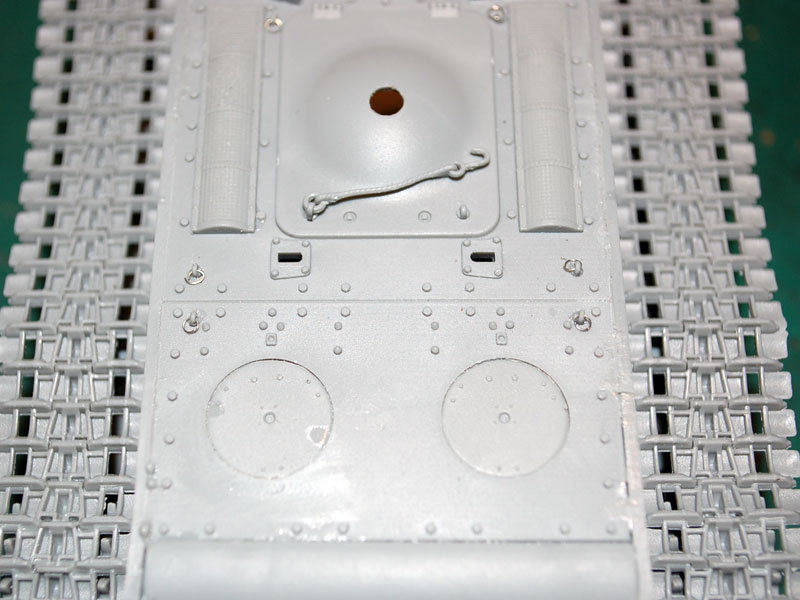
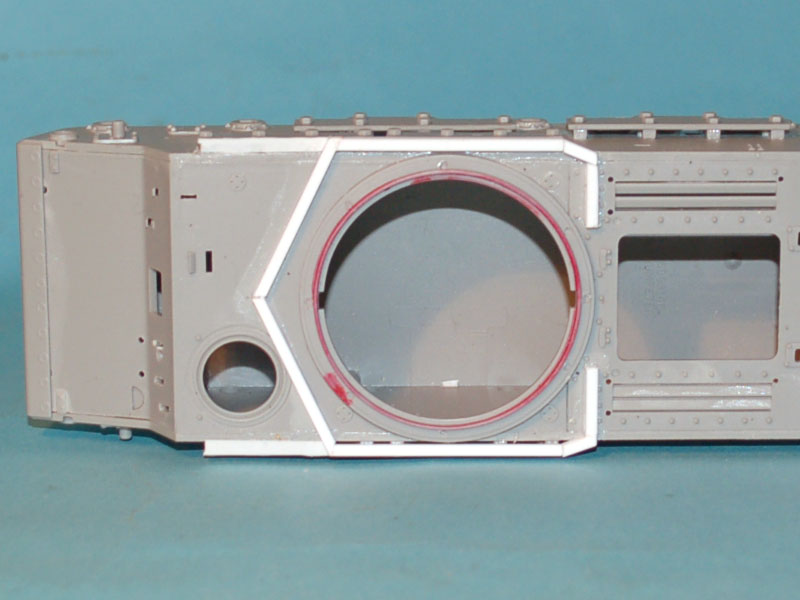
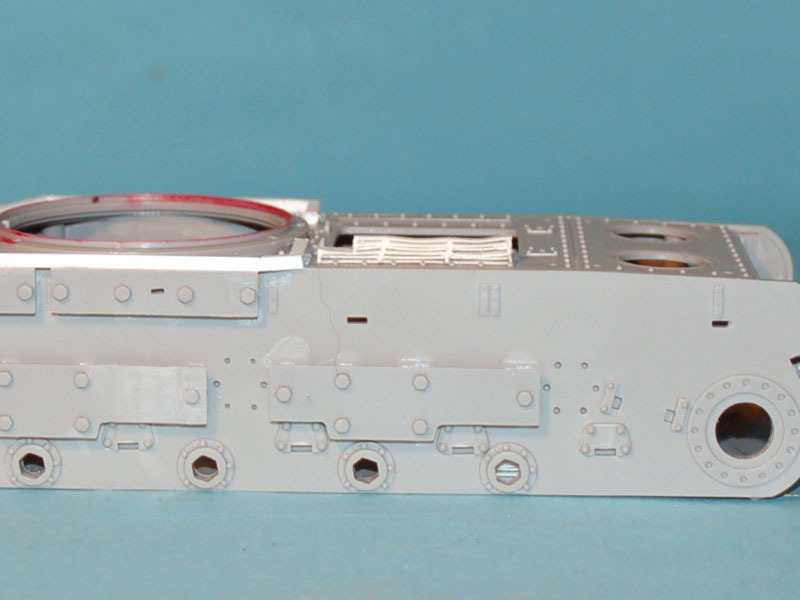
Here's a small, pun intended, update. After surveying hundreds of pictures of pertinent SU's I felt that the Pegasus one could use a bit more interest. The first addition was some T-34 grab handles from the spares box. They were okay, size wise, for the sides but not for the back of the fighting compartment. That one I had to resort to brass wire.


I also noted that there is some kind of support or latch thing (somewhat similar to the one on Darren's) by the dome on the engine deck. The dome had a bit of plastic jutting up from it so I took one of my finest drill bits (.0075" or about .2 mm) and put a hole through it. Bent some wire in the correct shape and...


To give an overall idea of the size I am working with.


For the first time ever, all the brass pieces worked out on the first try. Now to see if I can repeat the process with the second SU.

Cheers,
Jan
CMOT
Staff MemberEditor-in-Chief
ARMORAMA
Visit this Community
England - South West, United Kingdom
Joined: May 14, 2006
KitMaker: 10,954 posts
Armorama: 8,571 posts
Posted: Tuesday, February 22, 2011 - 09:19 AM UTC
I am aiming at early/mid 1942 with this KV and no there are no holes.
tread_geek
Visit this Community
Ontario, Canada
Joined: March 23, 2008
KitMaker: 2,847 posts
Armorama: 2,667 posts
Posted: Friday, February 25, 2011 - 07:45 AM UTC
Hello fellow KV'ers. Not exactly building at breakneck speed but progress is progress. I had to do some research and get some opinions on external fuel drum positioning. I saw a picture os a KV-152 type vehicle that had the drums/tanks in a side by side configuration at the back. From three separate sources it appears to only have been used on the ISU-152 versions. So much for a unique look.

Anyway, been busy with all the grab rails on both SU-152. Drilling holes and bending brass has occupied my attention. Progress shots.


Got a show coming up next Saturday but I strongly doubt that I'll have one finished.

Cheers,
Jan
Nito74
Visit this Community
Lisboa, Portugal
Joined: March 04, 2008
KitMaker: 5,386 posts
Armorama: 4,727 posts
Posted: Wednesday, March 02, 2011 - 03:14 PM UTC
Next week the KV-1 will be on my bench !!
great work so far !!
CMOT
Staff MemberEditor-in-Chief
ARMORAMA
Visit this Community
England - South West, United Kingdom
Joined: May 14, 2006
KitMaker: 10,954 posts
Armorama: 8,571 posts
Posted: Friday, March 04, 2011 - 11:32 AM UTC
Here is the KV1 as it currently stands and the Finnish KV1 still in the scratch building phase.


Jasonbee71
#009
Visit this Community
England - South East, United Kingdom
Joined: March 03, 2003
KitMaker: 686 posts
Armorama: 258 posts
Posted: Saturday, March 05, 2011 - 03:25 AM UTC


This is what I've done so far, tihs is the Tamiya 1/48 KV I,

The Turret


and the turret on the chassis


Jason
Maeusemelker
Visit this Community
England - North West, United Kingdom
Joined: January 10, 2011
KitMaker: 122 posts
Armorama: 113 posts
Posted: Tuesday, March 08, 2011 - 08:18 AM UTC
everybody,
Once again, apologies for not posting progress updates - I promise to mend my ways
Although not 100% satisfied with all aspects of the finished model, on the whole I don't think I have to hang my head in shame. It's my second model, but only my first tank since seeing the light and returning to the hobby.
Some of the things used are no longer available, bought from Mr. Missing who is now concentrating his efforts running a well-known website http://www.o5m6.de/ and is selling off his stash

Tamiya KV-1c, Modellkasten non-workable tracks, stowage by TAHK, PE by On-The-Mark and Verlinden, dry transfer by MB Models, Aber barrel (no rifling and very loose fit) and I cannot remember who the tow-cables are by

According to the English translation this is supposed to be a well-known poem about KV tanks and their crews - but my Russian friend thinks it sounds like it was written by a Korean or Japanese person. I'm quite happy with the way the cast metal effect has turned out (Mr. Surfacer 500 - lovely stuff!) And no, I didn't fix all the inaccuracies the Tamiya kit has - I might turn into a rivet-counter when my abilities improve The resin stowage by TAHK is not only excellent quality, it was also ideally suited to hiding the mess I made of the mudguards

Opened up the exhaust pipes and used engine-grilles by Verlinden. I had intended to use the engine upgrade kit that the grilles came from, and had already cut the engine deck out of the kit - only to find that the Verlinden stuff not only retains all the problems of the Tamiya kit, as it seems to be a direct copy, but adding a few of it's own; the resin engine deck is considerably smaller than the part is it supposed to replace, the engine itself looks like somebody's first effort at casting resin - not what I expected of such a well-known brand (I think someone has decided to rest on their laurels ) I opted to refit the original engine deck.

Figures by TAHK (T-35093) My current abilities can't really do them justice - and I'm really annoyed that I missed the seam on the boot. But like all the TAHK products I've come across so far: Excellent quality, I cannot recommend them highly enough!
On and off (mostly 'on' though) it took me two days to get the mudguards thin enough to introduce some denting

Horn and MG mantle by Mori, headlight donated by Italeri ZIS-5V - I spent ages making a light bulb made of solder to fit, but attached the lens with white glue too soon and the vapour from the CA glue that I used to fit the 'bulb' turned the lens cloudy Mudguard struts by On-The-Mark, much better than the ones in the Verlinden kit, but no longer available I think. Mud was created using coarse modelling paste (very good, bought from Lidl) a bit of shredded clematis bark and fine modelling paste (also from Lidl, but wish I hadn't bothered as I found it almost impossible to get the pigments to adhere to it). Battle damage courtesy of hot 1mm drill-bit (I'll let you in on a secret: the transfer slipped while I was rubbing it on, and the Germans being accurate marksmen managed to hit the tank exactly where the transfer failed )

The AA gun on the turret is partially by Verlinden. Partially, because not only was the casting very crude, it was also brittle and the 'stock' broke, so I made my own out of 5amp fuse wire and a bit of PE sprue. Had two near disasters with the tracks - the first was when I glued the bottom run together and left them on some masking tape overnight, next morning I was just browsing the forum and came across a thread by someone who's tracks had been ruined when he left the on masking tape after priming them, when I checked mine they had just started to melt due to the glue reacting with the tape (saved by a thread, so to speak) the other was after fitting them to the tank and leaving them overnight waiting for the glue to do it's thing, only to find that a couple of gaps had appeared, luckily they are not very noticeable (I hope)
Well, onwards and upwards. Comments and questions welcome.
warreni
Visit this Community
South Australia, Australia
Joined: August 14, 2007
KitMaker: 5,926 posts
Armorama: 712 posts
Posted: Tuesday, March 08, 2011 - 08:25 AM UTC
Great work Darren and Dierk.

I agree with you about that Russian Reference site Dierk. Fascinating to troll through the various drawings. But I never noticed anything for sale on the site.. Oh well..

Keep up the great work people.

Cheers
Warren