
Campaigns
Where Armorama group builds can be discussed, organized, and updates posted.
Where Armorama group builds can be discussed, organized, and updates posted.
Hosted by Darren Baker, Richard S.
Urban Warfare Campaign
gcdavidson

Joined: August 05, 2003
KitMaker: 1,698 posts
Armorama: 1,563 posts

Posted: Friday, December 23, 2011 - 01:27 PM UTC
Basecoated in NATO Green. It's going to be painted in "Shoot Me" white, but I want to try the hairspray technique for chipping the white away to reveal this green colour.


exer

Joined: November 27, 2004
KitMaker: 6,048 posts
Armorama: 4,619 posts

Posted: Saturday, December 24, 2011 - 12:27 AM UTC
Excellent Graeme, I'm looking forward to seeing the dio
mmeier

Joined: October 22, 2008
KitMaker: 1,280 posts
Armorama: 1,015 posts

Posted: Sunday, January 01, 2012 - 01:05 PM UTC
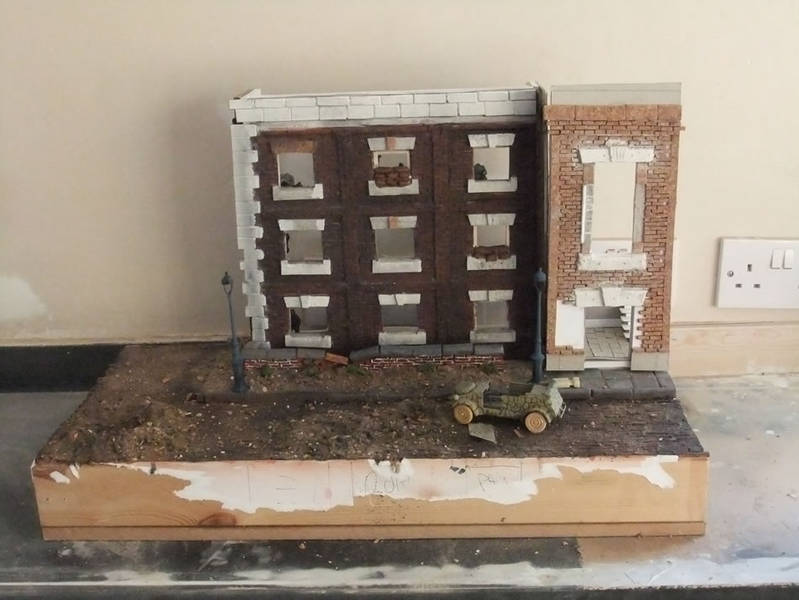
Finally got some progress. The PAK and crew are assembled, building is assembled, SdKfz 251 (the old Tamiya kit) is mostly assembled. Now for the diorama base. Looks like I get at least one campaign from 2011 finished
roman

Joined: July 20, 2004
KitMaker: 99 posts
Armorama: 95 posts

Posted: Sunday, January 15, 2012 - 05:47 PM UTC
my contribution to the campaign


gcdavidson

Joined: August 05, 2003
KitMaker: 1,698 posts
Armorama: 1,563 posts

Posted: Monday, January 16, 2012 - 01:53 AM UTC
paint chipping did not go so well... 


Panzerace

Joined: November 30, 2004
KitMaker: 459 posts
Armorama: 109 posts

Posted: Tuesday, January 17, 2012 - 01:39 AM UTC
The time is short to me, but I will try to finish it at the time. For the Urban Warfare Campaign, I have selected a 1/72 diorama on Warsaw Uprising in August 1944. I'm making Hasegawa Panther for another campaign and I have a half-made Esci Hetzer. They will be met in the diorama, including two T.M. ruins, one with a bunker and some soldiers from Preiser and Caesar sets.

I hope, I can finish.

I hope, I can finish.
Posted: Tuesday, January 17, 2012 - 08:33 AM UTC
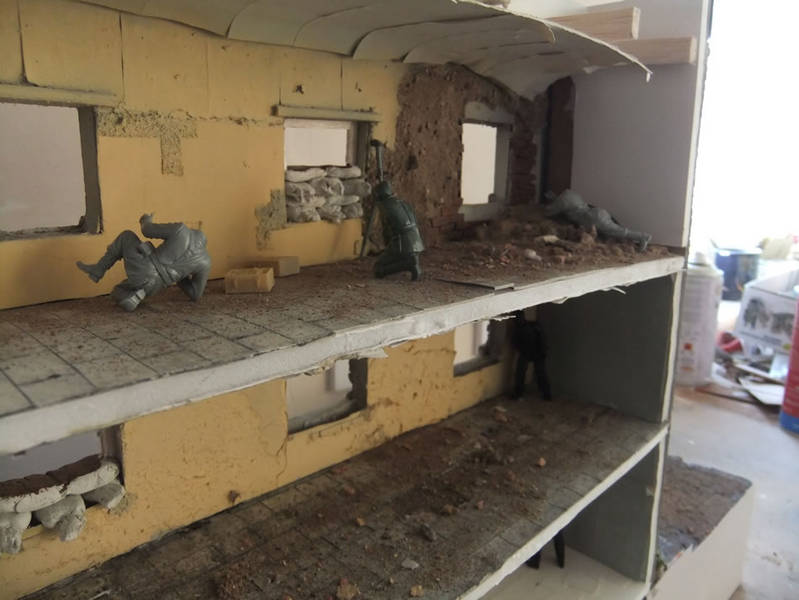
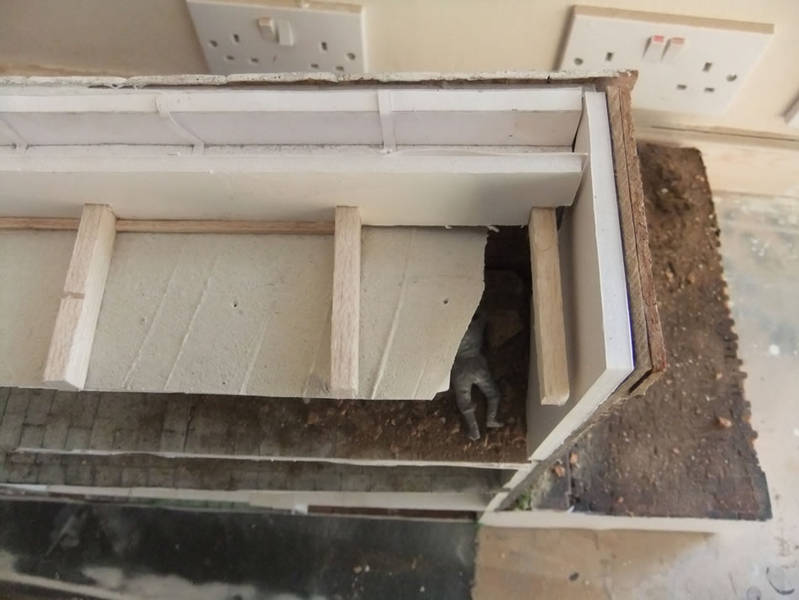
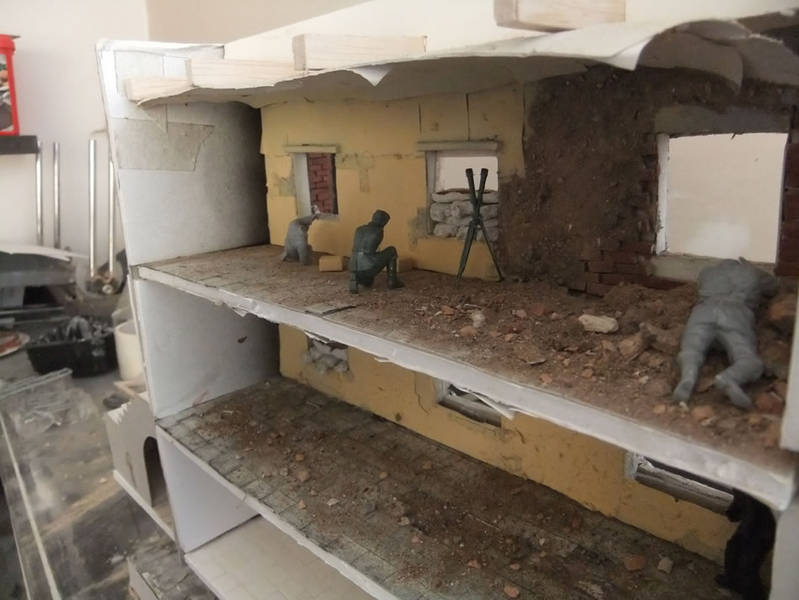
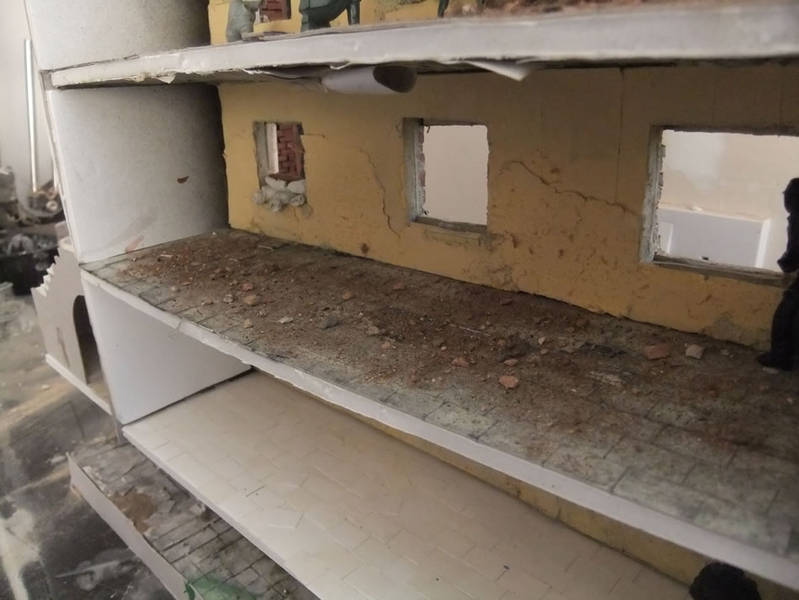
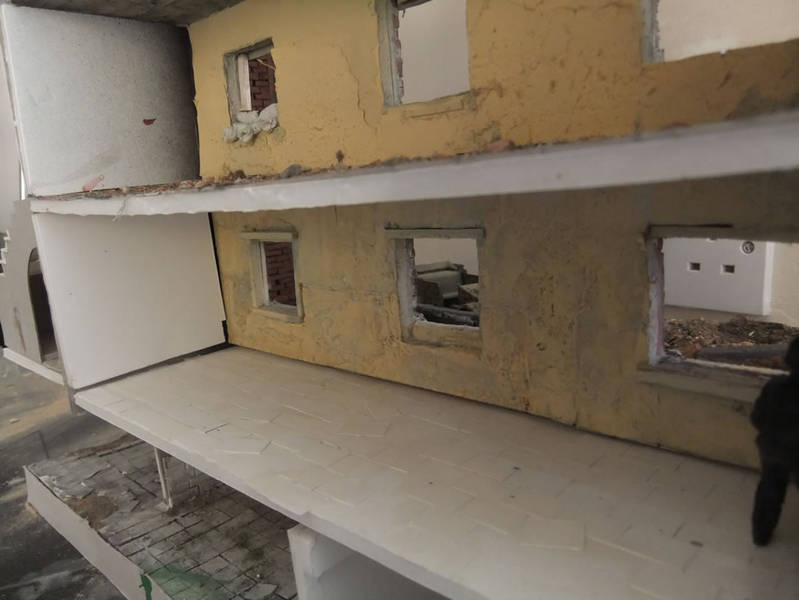
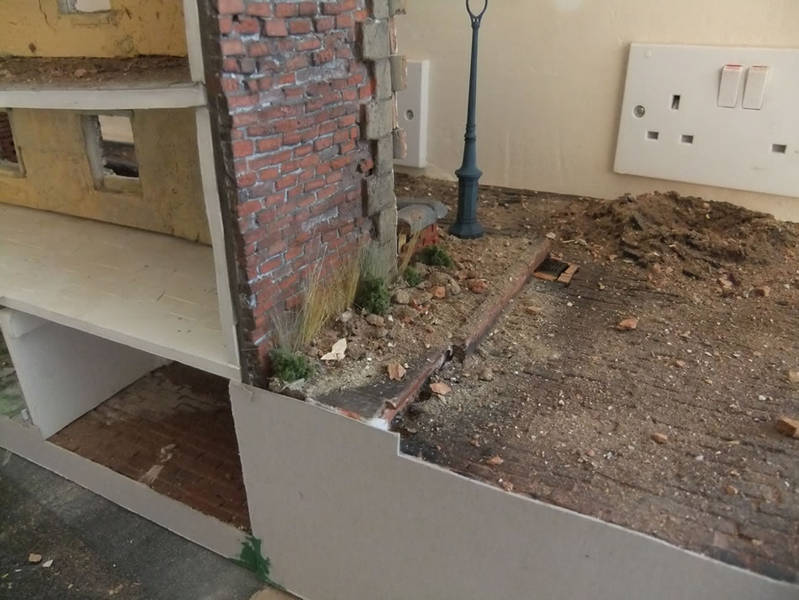
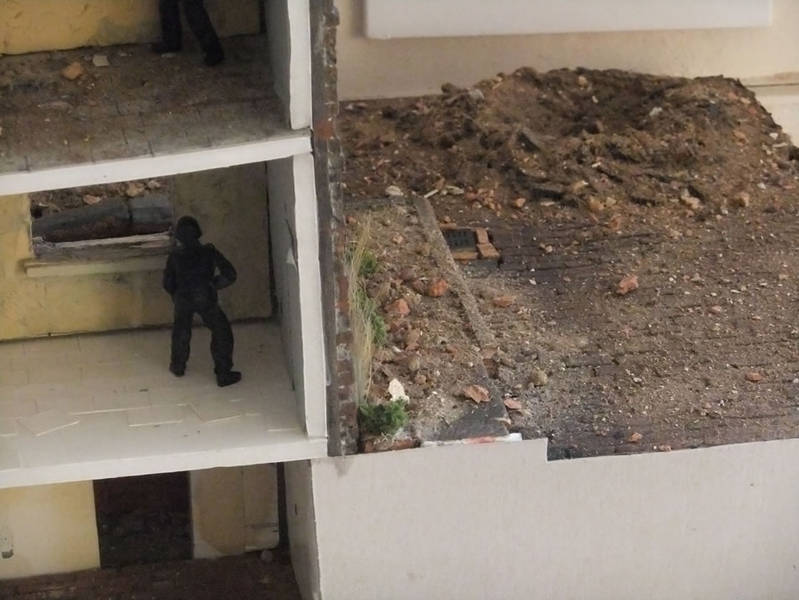
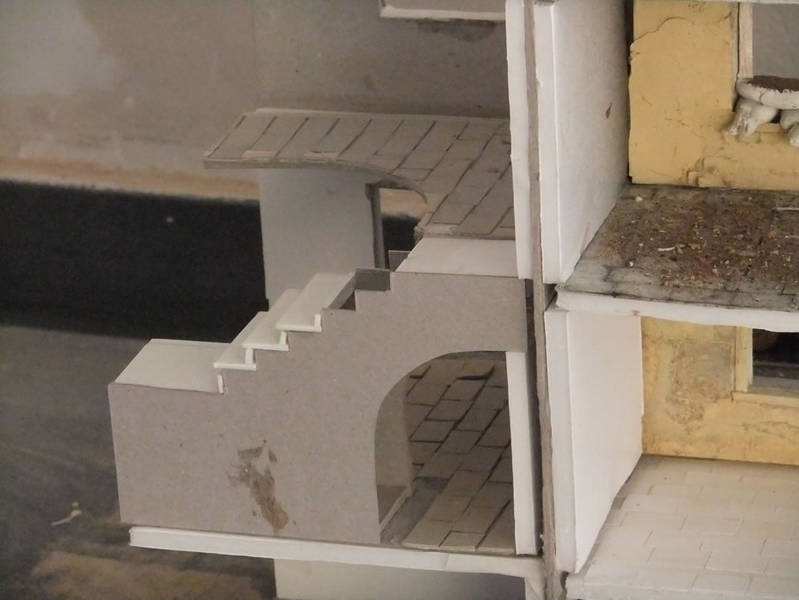
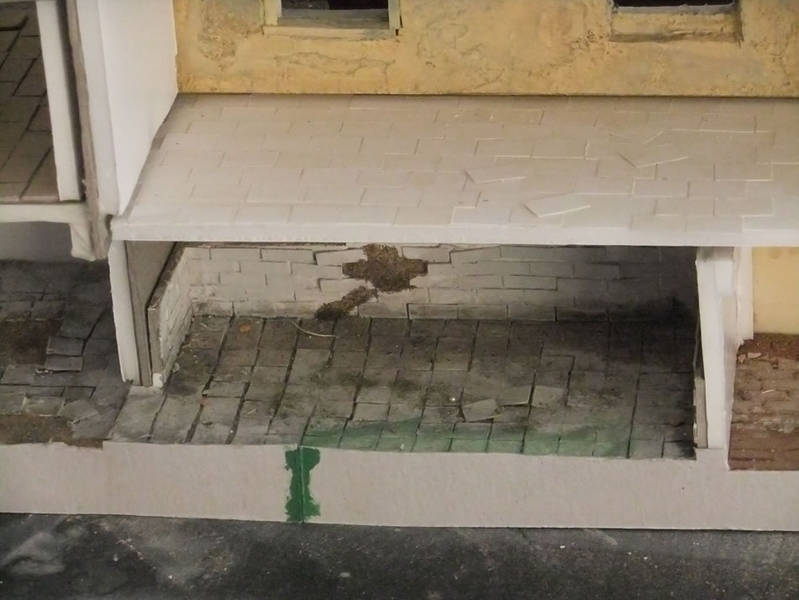
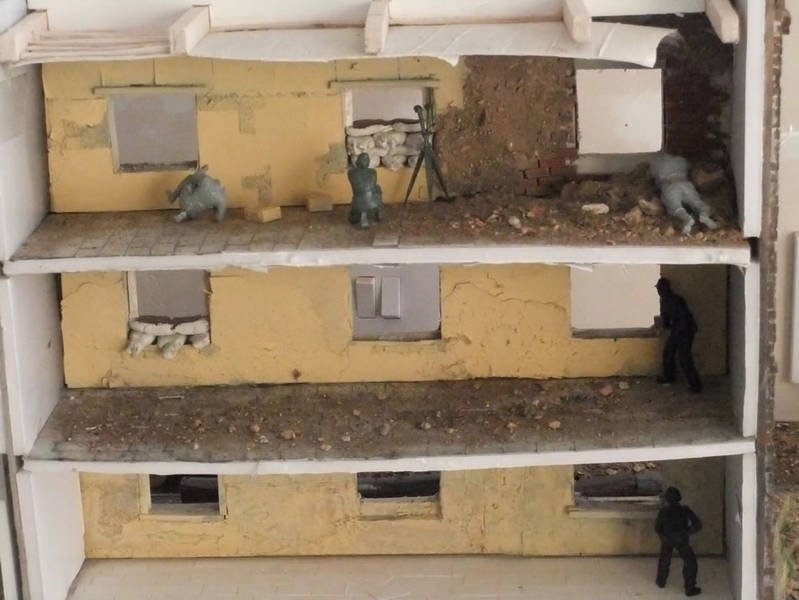
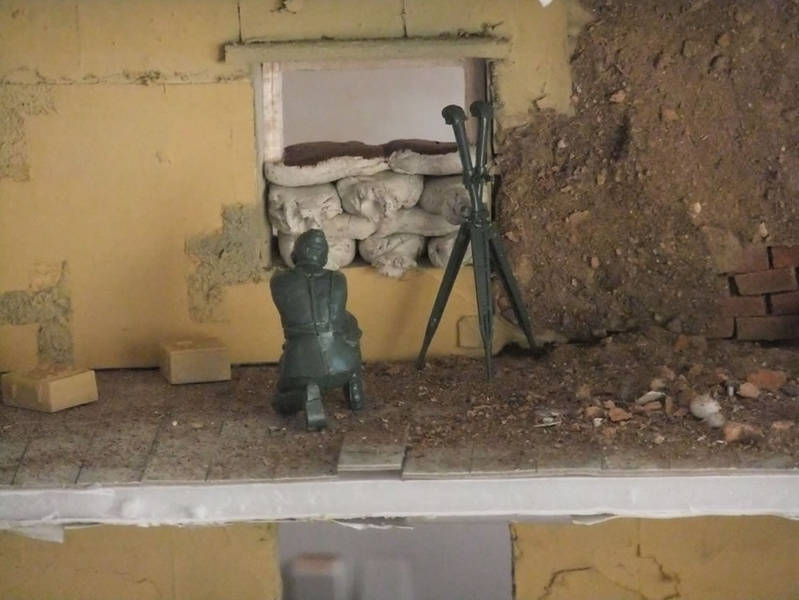
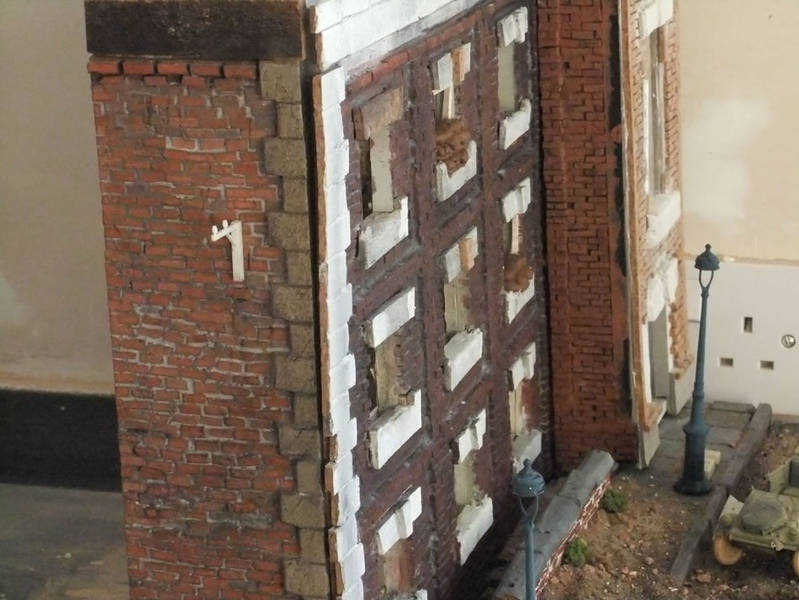
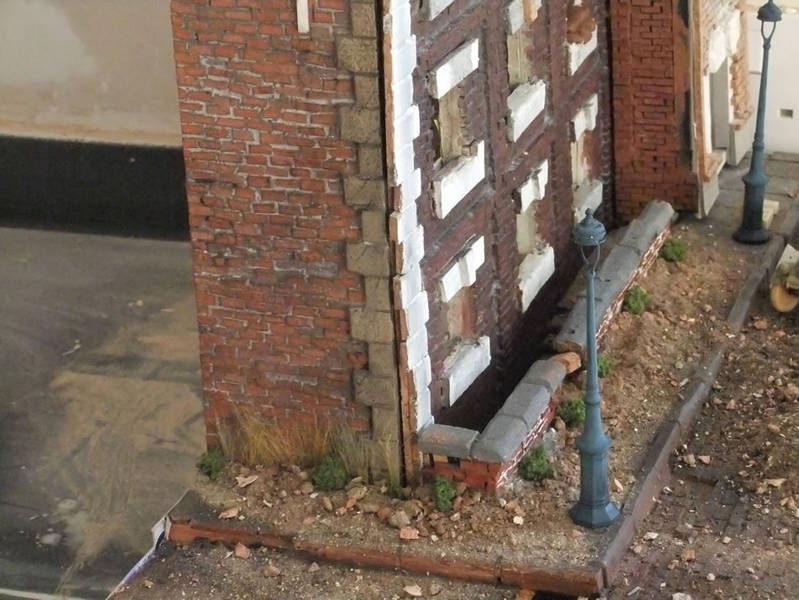
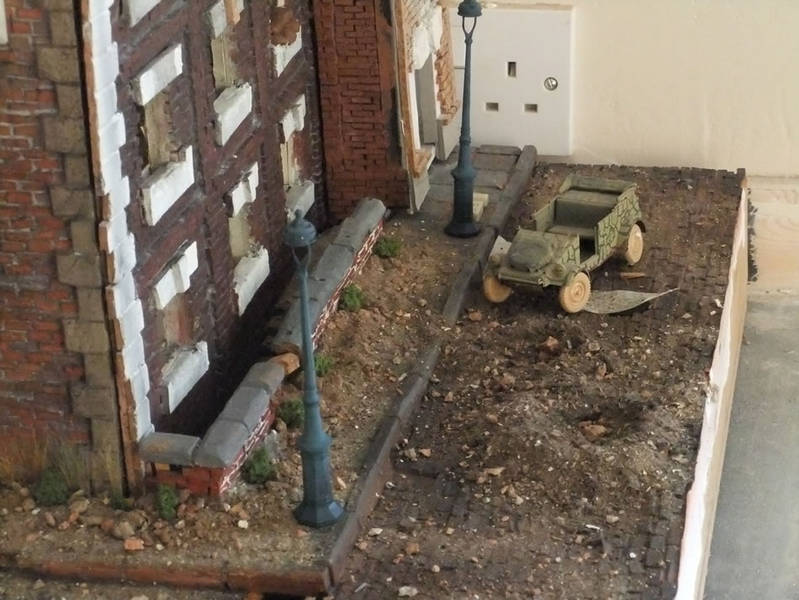
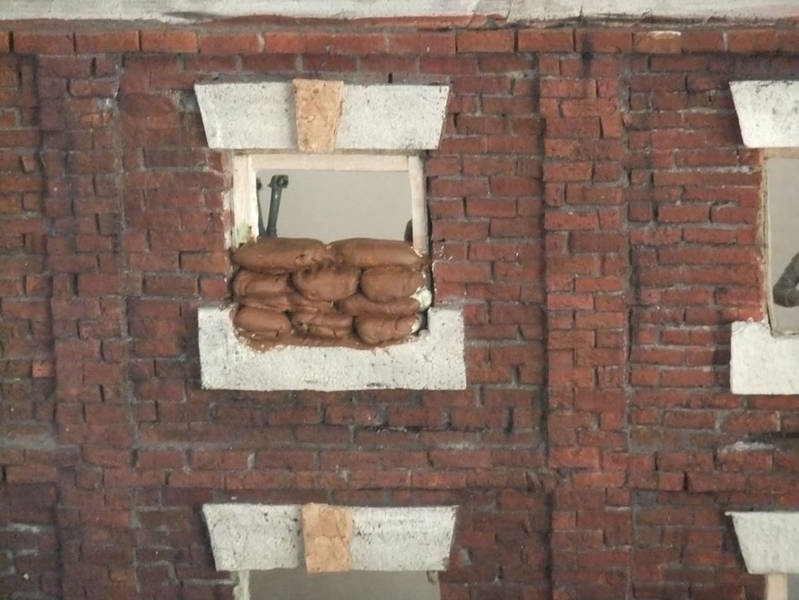
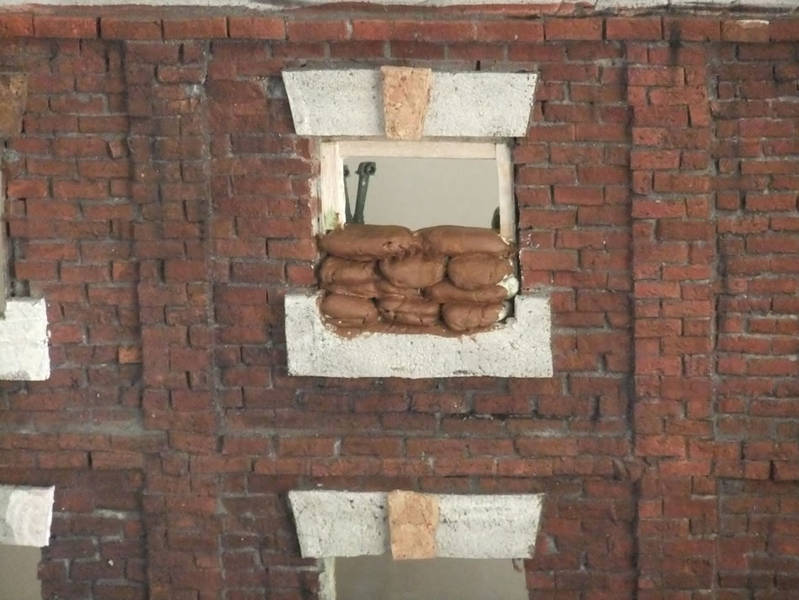
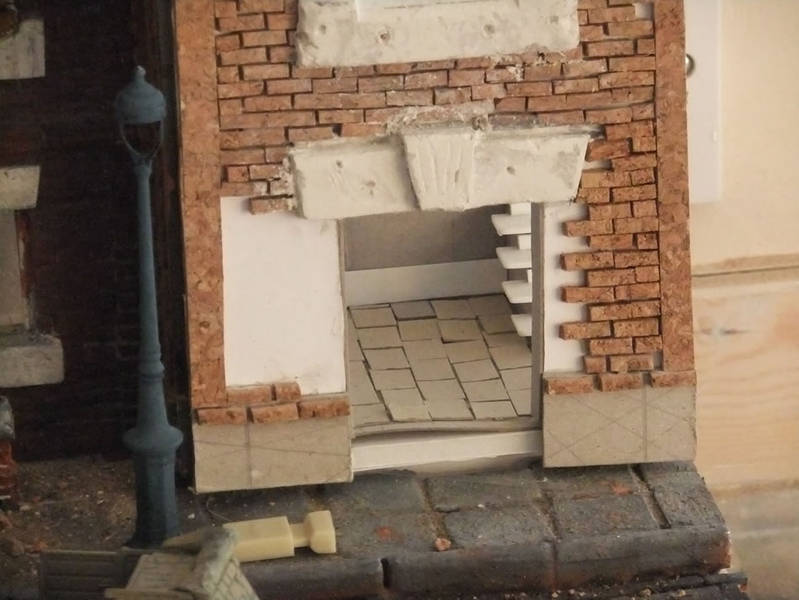
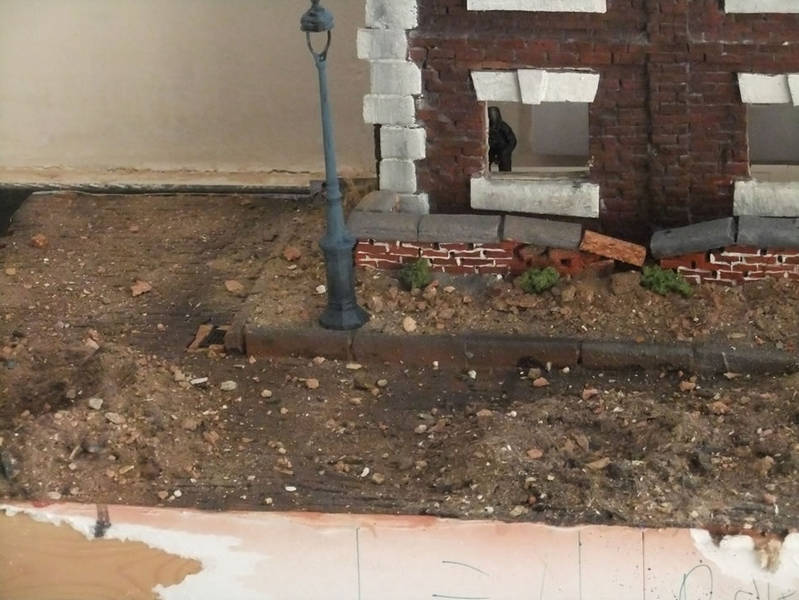
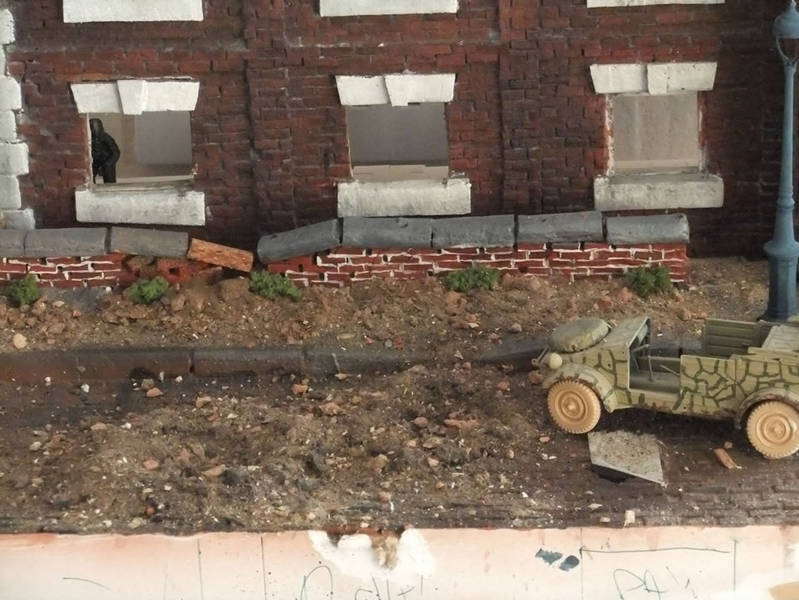
havnt posted any thing for a while been having problems getting pics into the gallery. Have made some good progress on the hospital base


GregCopplin

Joined: September 06, 2011
KitMaker: 212 posts
Armorama: 201 posts

Posted: Tuesday, January 17, 2012 - 02:14 PM UTC
Quoted Text
havnt posted any thing for a while been having problems getting pics into the gallery. Have made some good progress on the hospital base
This reminds me of a house I read about in Stalingrad, the Russians fortified it and turned it into a somewhat fortress, is this the house your portraying?
Posted: Tuesday, January 17, 2012 - 07:37 PM UTC
[quote]
no its just something that i came up with may of seen the picturessome where. its still a little untidy and am replacing the sand bags as im not happy with the ones i have done. and still a lot of work on the interior as well.
Quoted Text
havnt posted any thing for a while been having problems getting pics into the gallery. Have made some good progress on the hospital base
This reminds me of a house I read about in Stalingrad, the Russians fortified it and turned it into a somewhat fortress, is this the house your portraying?
no its just something that i came up with may of seen the picturessome where. its still a little untidy and am replacing the sand bags as im not happy with the ones i have done. and still a lot of work on the interior as well.

gcdavidson

Joined: August 05, 2003
KitMaker: 1,698 posts
Armorama: 1,563 posts

Posted: Sunday, January 22, 2012 - 09:43 AM UTC
insert sad trombone sound effect:
No luck getting this paint chip technique to work. Even milder thinners cause the paint to peel off in sheets:

SO, I stripped it completely and decided to re-paint it. Wanted to make sure all the thinner had evaporated before I started painting and decided to speed up the process with the hair dryer...
....and melted the marine drive cover...

...and a tie rod...
[
I'm thinking my urban warfare scene may depict a burned out vehicle at this point. Think I may de-list from this campaign and enlist in the KO'd one now!
No luck getting this paint chip technique to work. Even milder thinners cause the paint to peel off in sheets:

SO, I stripped it completely and decided to re-paint it. Wanted to make sure all the thinner had evaporated before I started painting and decided to speed up the process with the hair dryer...
....and melted the marine drive cover...

...and a tie rod...
[

I'm thinking my urban warfare scene may depict a burned out vehicle at this point. Think I may de-list from this campaign and enlist in the KO'd one now!

melonhead

Joined: July 29, 2010
KitMaker: 662 posts
Armorama: 457 posts

Posted: Sunday, January 22, 2012 - 10:46 AM UTC
are you soaking it in thinner when you do your white wash? your technique may be incorrect. you should just be doing it with a damp/wet brush.
its a bit easier to do when your whitewash is acrylic. that way, you dont have to worry about using mild/strong thinners. can just use water or IPA
its a bit easier to do when your whitewash is acrylic. that way, you dont have to worry about using mild/strong thinners. can just use water or IPA

gcdavidson

Joined: August 05, 2003
KitMaker: 1,698 posts
Armorama: 1,563 posts

Posted: Sunday, January 22, 2012 - 10:52 AM UTC
I tried it using a damp brush and the same wrinkled paint thing happened, albeit on a smaller scale. The photo of rear hull above is me intentionally trying to strip the paint, but it gives the same idea as what was going on in localized areas.

exer

Joined: November 27, 2004
KitMaker: 6,048 posts
Armorama: 4,619 posts

Posted: Sunday, January 22, 2012 - 11:07 AM UTC
Wow Graeme, I feel for you man, what a disaster. I'm sure you'll pull it back together somehow
zontar

Joined: August 27, 2006
KitMaker: 1,646 posts
Armorama: 1,557 posts

Posted: Sunday, January 22, 2012 - 01:22 PM UTC
Graeme: Huge bummer!! I feel for you. When I tried the hairspray thing, I found that it worked best to let the hairspray dry completely, but to do the damp brush / cotton swab while the white wash was fresh, just after application and before it had time to set. As mentioned previously, the white wash should be acrylic, and often I let the water "soak in" before attacking with the brush. I believe the idea is for the water to get through the paint and dissolve the hairspray, allowing the paint above to "chip" off. HTH.
Happy Modelling, -zon
Happy Modelling, -zon

Posted: Sunday, January 22, 2012 - 10:06 PM UTC
Quoted Text
Graeme: Huge bummer!! I feel for you. When I tried the hairspray thing, I found that it worked best to let the hairspray dry completely, but to do the damp brush / cotton swab while the white wash was fresh, just after application and before it had time to set. As mentioned previously, the white wash should be acrylic, and often I let the water "soak in" before attacking with the brush. I believe the idea is for the water to get through the paint and dissolve the hairspray, allowing the paint above to "chip" off. HTH.
i tried the approach as descried above and found that it worked really well. except i used hot water to speed things up and a wooden tooth pike cocktail stick
Happy Modelling, -zon
Posted: Sunday, January 22, 2012 - 10:18 PM UTC
Hi David,
Impressive building, great work so far. The road looks excellent.
Not much progress my end, finishing off some other projects but I did make some small kit for the sleeping soldiers


Players so far

Al
Impressive building, great work so far. The road looks excellent.
Not much progress my end, finishing off some other projects but I did make some small kit for the sleeping soldiers


Players so far

Al
Posted: Monday, January 23, 2012 - 10:52 AM UTC
thanks alan its my first attempt at cork bricks so am quite pleased its still a little untidy but getting there. your build is coming on well the building looks great have just bought 2 verlinden buildings of ebay there pretty good quality a lot better than i though they would be.
figures are looking good that is the one thing i hate and always put of.
GC depending on the base you plan to do you could probably hide the damaged on the rear of the LAV with a carefully constructed building and or foliage and attempt a re pare on the tie rod. but its a nasty thing to happen. I was photographing a AFV club centurion and was moving it and dropped on the floor which broken of two of the wheel but it could of been worse.

vonHengest

Joined: June 29, 2010
KitMaker: 5,854 posts
Armorama: 4,817 posts

Posted: Monday, January 23, 2012 - 05:49 PM UTC
I have a quick question for anyone who's worked with foam before. My base has a large industrial boiler tank on it that is molded from a dense yellow foam that was unfortunately nicked and dented during production. Is there a good way to repair this? I'm hesitant to use the putties that we normally would use on styrene kits because I've had them eat through standard craft foams before.
I would post a photo, but I still can't access the gallery.
Any help here would be appreciated, thanks!
I would post a photo, but I still can't access the gallery.
Any help here would be appreciated, thanks!
Posted: Monday, January 23, 2012 - 07:35 PM UTC
you could use a pre mixed drywall or wood filler.

exer

Joined: November 27, 2004
KitMaker: 6,048 posts
Armorama: 4,619 posts

Posted: Tuesday, January 24, 2012 - 12:18 AM UTC
Quoted Text
you could use a pre mixed drywall or wood filler.
Or an acrylic modelling paste from the art shop

exer

Joined: November 27, 2004
KitMaker: 6,048 posts
Armorama: 4,619 posts

Posted: Tuesday, January 24, 2012 - 12:36 AM UTC

vonHengest

Joined: June 29, 2010
KitMaker: 5,854 posts
Armorama: 4,817 posts

Posted: Tuesday, January 24, 2012 - 05:13 AM UTC
Great, sounds like a plan guys!
I just realized that it's oddly warped, but only noticeable from the top. I'm wondering if it's worth contacting the manufacturer about it? It's made by Masterpiece Models.
I just realized that it's oddly warped, but only noticeable from the top. I'm wondering if it's worth contacting the manufacturer about it? It's made by Masterpiece Models.
ltb073

Joined: March 08, 2010
KitMaker: 3,662 posts
Armorama: 3,078 posts

Posted: Tuesday, January 31, 2012 - 11:33 AM UTC
Hey guys I haven't been around here for a while but there is some great work happening. I posted photos of the inside of my ruined garage back on page 10 but now I have finally finished the Knocked Out Campaign and added that vehicle to the street area of my dio


So now I believe I am finally finished. This was a great campaign for me being that I tried new things and learned a lot of other methods and techniques I really had fun with this 1 and used 6 different kits


So now I believe I am finally finished. This was a great campaign for me being that I tried new things and learned a lot of other methods and techniques
 I really had fun with this 1 and used 6 different kits

exer

Joined: November 27, 2004
KitMaker: 6,048 posts
Armorama: 4,619 posts

Posted: Tuesday, January 31, 2012 - 11:50 AM UTC
Good work Sal- don't forget to upload your Three photos of the completed dio to the campaign gallery
Posted: Wednesday, February 01, 2012 - 04:49 AM UTC
Hi Sal,
Nice one, looks excellent.
Hi Pat,
Great progress, I was wondering where the pile of bricks on the facing LHS are coming from as you seem to be adding a partial roof? Just a thought?
Cheers
Al
Nice one, looks excellent.
Hi Pat,
Great progress, I was wondering where the pile of bricks on the facing LHS are coming from as you seem to be adding a partial roof? Just a thought?
Cheers
Al

 |


