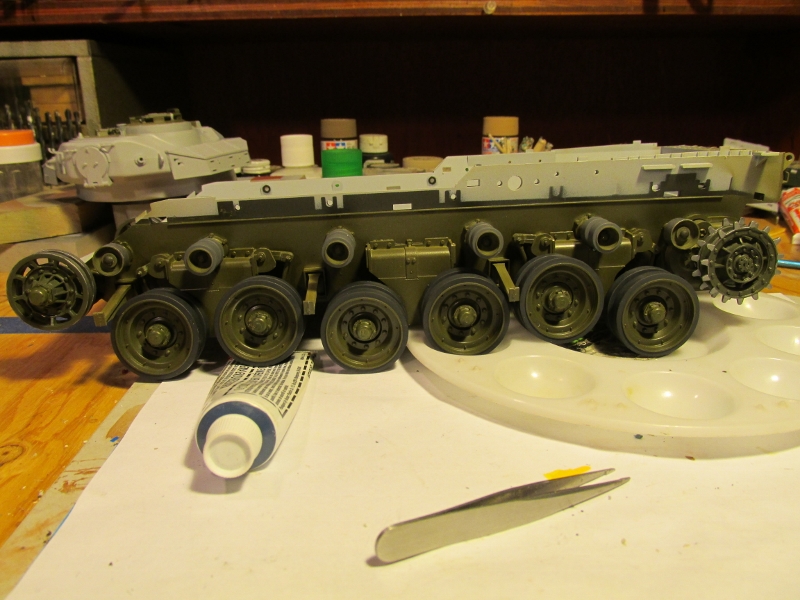
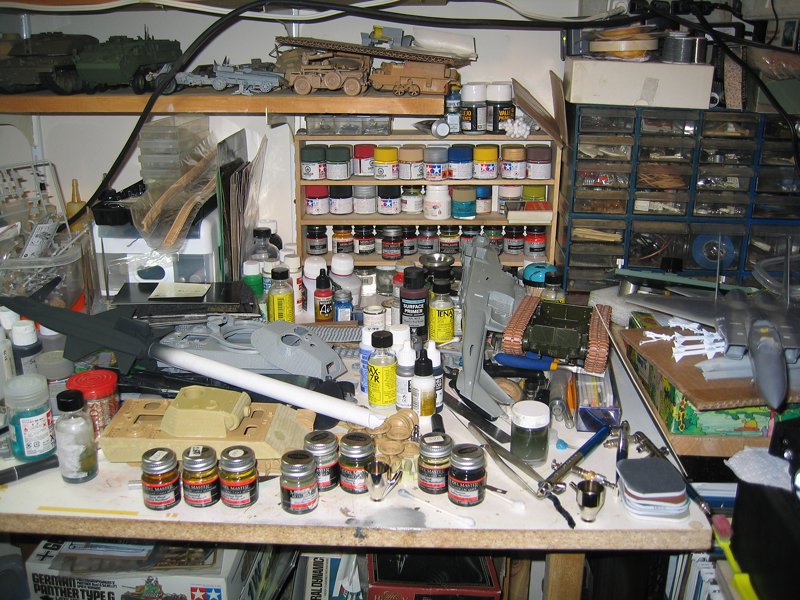
Sure Jeff,
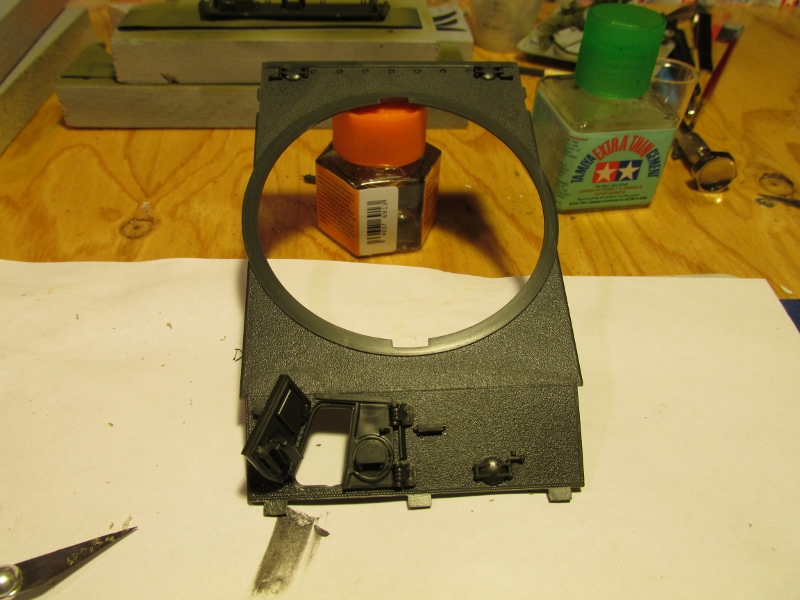
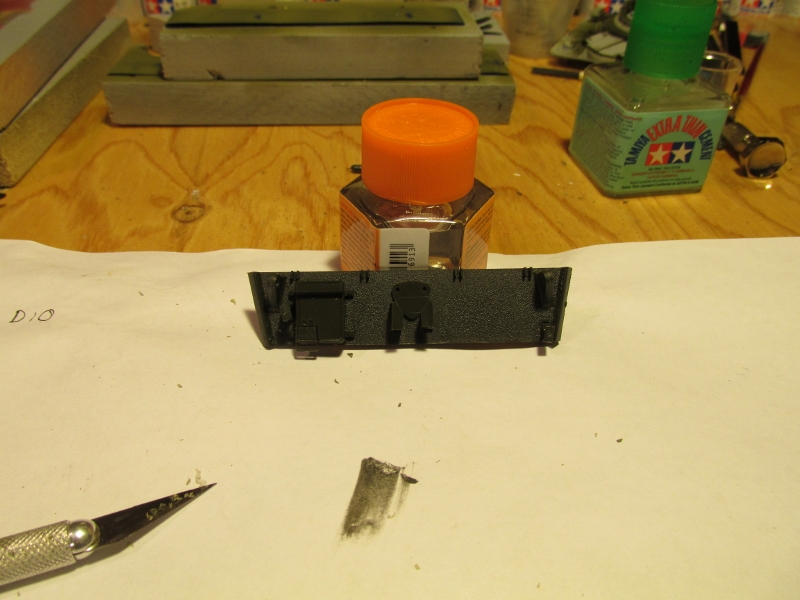
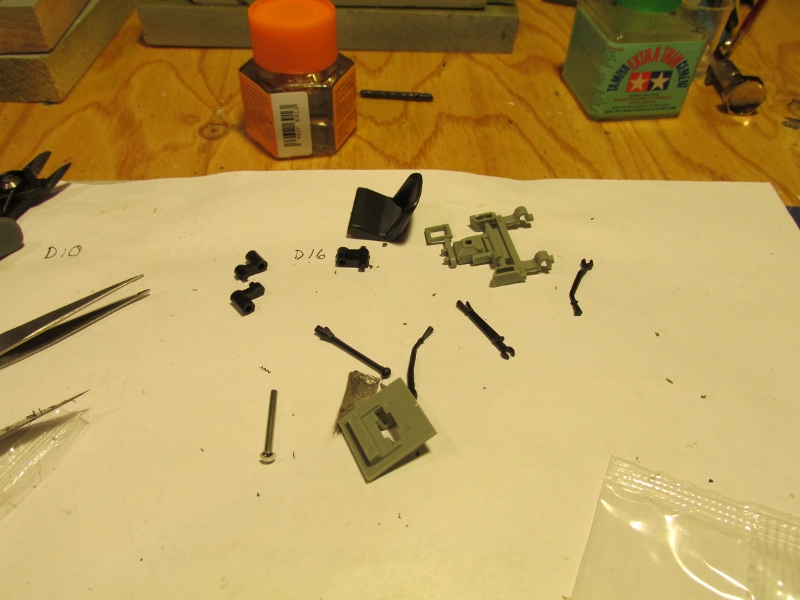
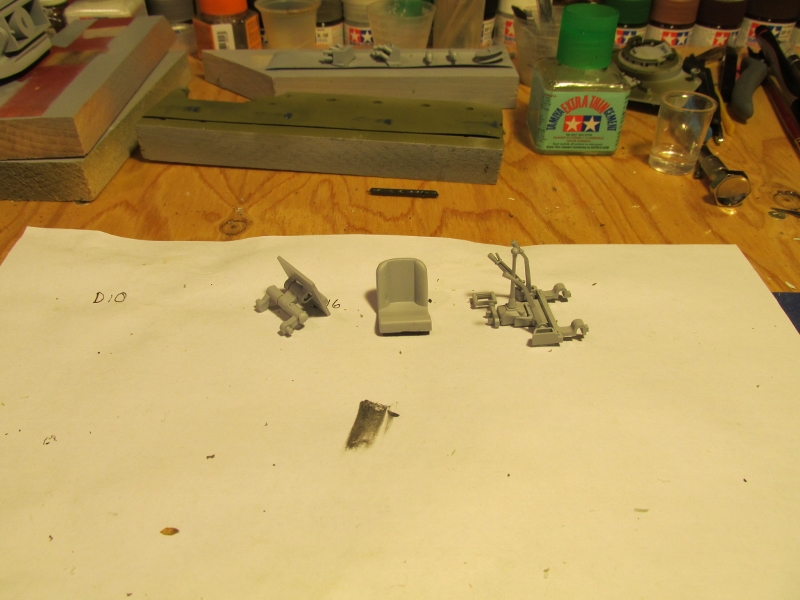
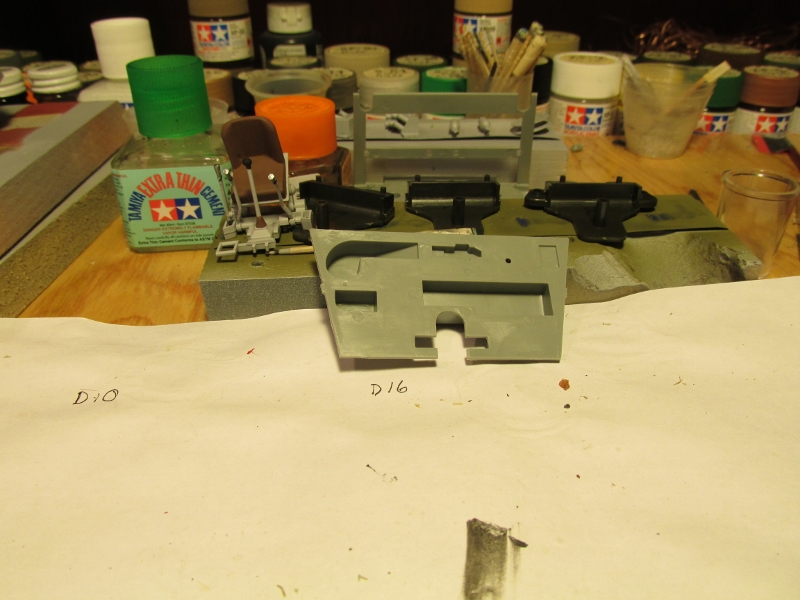
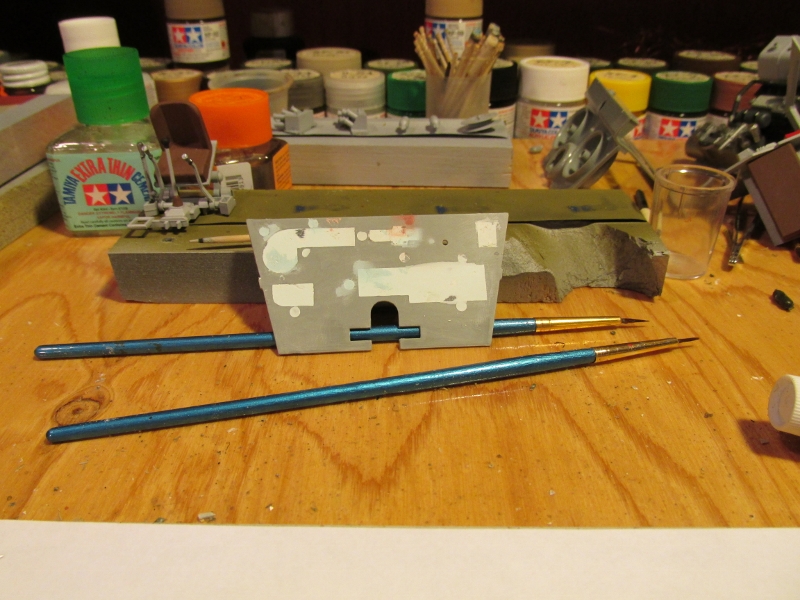
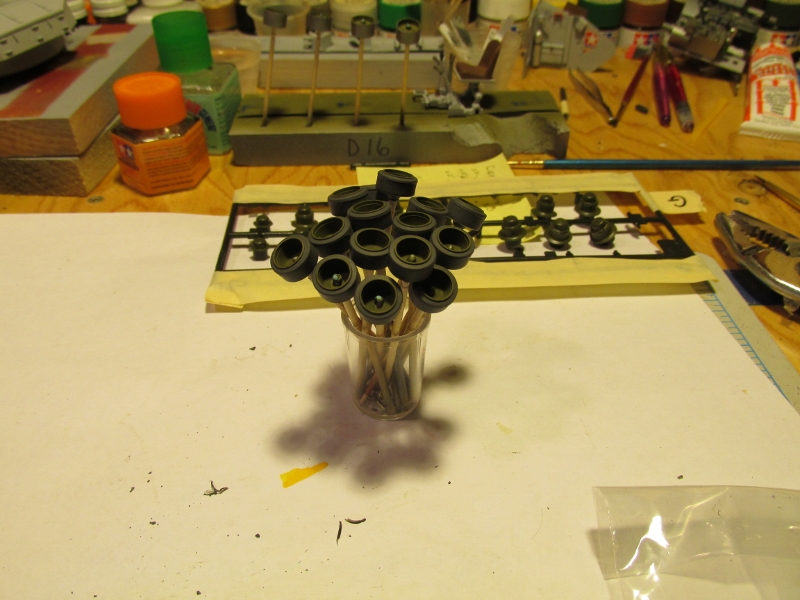
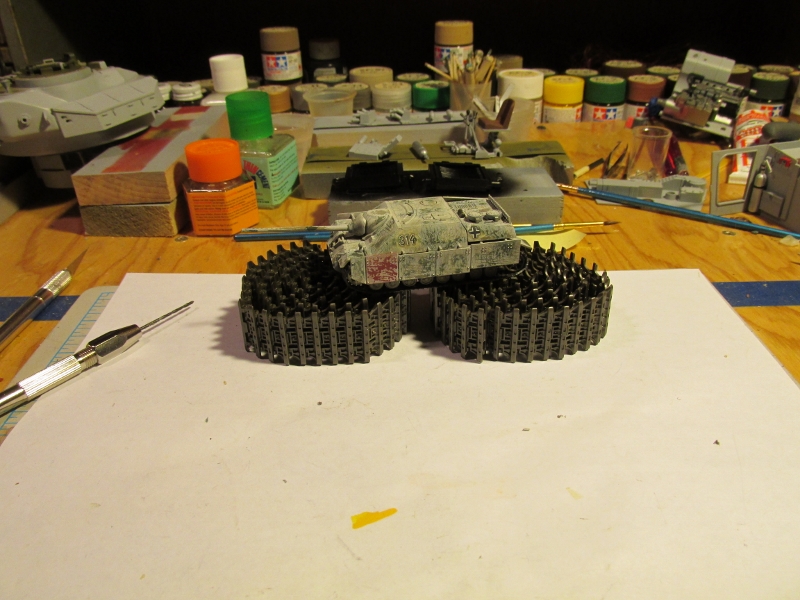
Here it is next to a 1/35 Panther oh, and that small package of PE in the first pic that is all for the Sutton harness.
Cheers Rob.
Campaigns
Where Armorama group builds can be discussed, organized, and updates posted.
Hosted by Darren Baker, Richard S.
Large Scale Build Campaign 1/24 ~ 1/6
Posted: Tuesday, April 02, 2013 - 10:56 AM UTC
imatanker
Maine, United States
Joined: February 11, 2011
KitMaker: 1,654 posts
Armorama: 1,565 posts
Joined: February 11, 2011
KitMaker: 1,654 posts
Armorama: 1,565 posts
Posted: Tuesday, April 02, 2013 - 11:27 AM UTC
Rob,thanks for the pic,that's a good sized hull.Any ideas for painr yet?
Posted: Tuesday, April 02, 2013 - 11:53 AM UTC
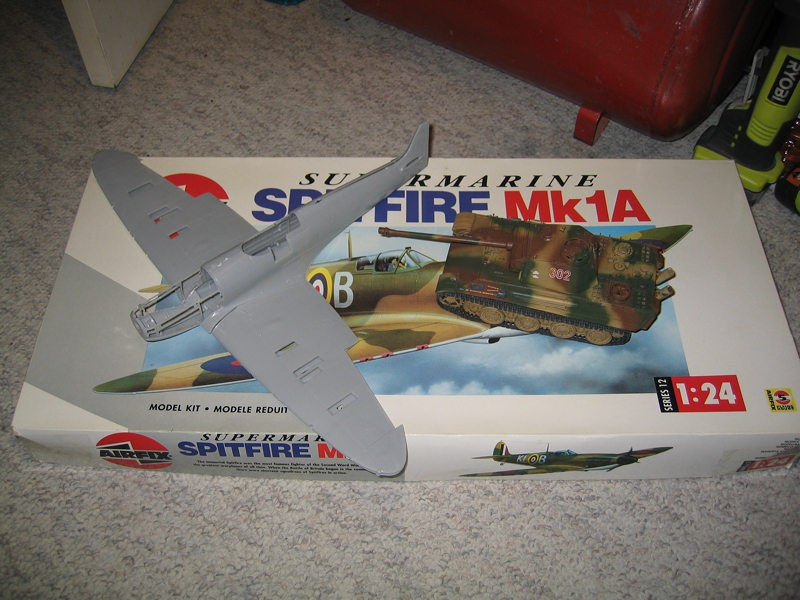
The plan is to do a Battle of Britain with a Canadian pilot, a quick look and I may have to do some of the markings myself.
Cheers Rob.
Cheers Rob.
strongarden
Florida, United States
Joined: May 14, 2012
KitMaker: 730 posts
Armorama: 624 posts
Joined: May 14, 2012
KitMaker: 730 posts
Armorama: 624 posts
Posted: Tuesday, April 02, 2013 - 03:05 PM UTC
Hello All
Rob- I'm jealous, I always wanted to tackle the Airfix 1/24 Spit!
That's going to be beautiful dude.
Jeff- You're right. It was fun, sorta, to jump in and start the T34/85.
I dug thru some more really old things and found more ref material on the T34. You see, many yrs ago I went a lil' overboard w/ this particular Russian Armor. To say the least.
Try kits= 1/76-1, 1/72-3, 1/35-3, 1/25-1, and of course Trumpeter's 1/16- 1 each T34/76 and 85.
And can't forget more ref material
yes I even bought one of these, and it's awesome
Began w/ some slight corrections: beef up the rear drive covers, wasted some time on the kit's barrel
Not really much at all, spent too much time digging around the 'auxillary' stash.
Thanks for this Campaign, Cheers Dave
PantherF
Indiana, United States
Joined: June 10, 2005
KitMaker: 6,188 posts
Armorama: 5,960 posts
Joined: June 10, 2005
KitMaker: 6,188 posts
Armorama: 5,960 posts
Posted: Tuesday, April 02, 2013 - 10:57 PM UTC
That's funny Dave... I myself have so much information on the T34 and that CD-Rom too.
As a matter of fact I have all the Tamiya tank CD-Roms. The Tiger, Sherman and T34.
You can never have too much material on anything. Especially the Sherman for which I have yet to get the grandad of them all, the Hunnicutt book.
Looks to be an interesting build!
~ Jeff
As a matter of fact I have all the Tamiya tank CD-Roms. The Tiger, Sherman and T34.
You can never have too much material on anything. Especially the Sherman for which I have yet to get the grandad of them all, the Hunnicutt book.
Looks to be an interesting build!
~ Jeff
woltersk
Utah, United States
Joined: May 27, 2003
KitMaker: 1,026 posts
Armorama: 654 posts
Joined: May 27, 2003
KitMaker: 1,026 posts
Armorama: 654 posts
Posted: Wednesday, April 03, 2013 - 12:29 AM UTC
I decided to get off my high horse and get back to work on the knight. Pun fully intended.
I went old school on making the helmet extension: tacked the form to a paint bottle, melted a goodly sized piece of sheet styrene over a stove burner, then when it started to sag quickly stretched it over the form vacu-form style. Voila!
With this hurdle crossed I can get back to the kit in ernest.
Keith
PantherF
Indiana, United States
Joined: June 10, 2005
KitMaker: 6,188 posts
Armorama: 5,960 posts
Joined: June 10, 2005
KitMaker: 6,188 posts
Armorama: 5,960 posts
Posted: Wednesday, April 03, 2013 - 11:44 AM UTC
Looks good Keith!
Man oh man... I need to pick something fast. I don't think I have time for the interior rich Centurion like Jeff T's. Maybe a Chieftain or Panther A in 1/25th?
I was looking out (and holding out) for a 1/32 F-105 but that isn't going to happen so what to do guys?
I just gotta build what I have and I almost have all the 1/25-24th armor kits except the TI, which I will eventually.
~ Jeff
imatanker
Maine, United States
Joined: February 11, 2011
KitMaker: 1,654 posts
Armorama: 1,565 posts
Joined: February 11, 2011
KitMaker: 1,654 posts
Armorama: 1,565 posts
Posted: Wednesday, April 03, 2013 - 12:33 PM UTC
Man,this thread is getting crowded Good to see the activety
Dave...Yaaaa Buddy keep it up.With all that info you should be able to make that sucker look 100% right.
Keith... So we did get some progress by Knight Fall. Did you see the vid clips I posted?
Jeff S....Tick,tick,tick...... Do one of the Cheifs man,the're cool.
I don't know if you could call the interior of the Centurion rich.At this point,I'm thinking pain in the a$$ is a better choice of words. Jeff T.
Dave...Yaaaa Buddy keep it up.With all that info you should be able to make that sucker look 100% right.
Keith... So we did get some progress by Knight Fall. Did you see the vid clips I posted?
Jeff S....Tick,tick,tick...... Do one of the Cheifs man,the're cool.
I don't know if you could call the interior of the Centurion rich.At this point,I'm thinking pain in the a$$ is a better choice of words. Jeff T.
PantherF
Indiana, United States
Joined: June 10, 2005
KitMaker: 6,188 posts
Armorama: 5,960 posts
Joined: June 10, 2005
KitMaker: 6,188 posts
Armorama: 5,960 posts
Posted: Wednesday, April 03, 2013 - 12:57 PM UTC
Quoted Text
Jeff S....Tick,tick,tick...... Do one of the Cheifs man,the're cool.
I don't know if you could call the interior of the Centurion rich.At this point,I'm thinking pain in the a$$ is a better choice of words. Jeff T.
Well, glad you said it.
At this point, no interiors are needed! I'll look at the Chieftain because I do want the Panther A to have zimm on it.
No time for that either!
~ Jeff
woltersk
Utah, United States
Joined: May 27, 2003
KitMaker: 1,026 posts
Armorama: 654 posts
Joined: May 27, 2003
KitMaker: 1,026 posts
Armorama: 654 posts
Posted: Thursday, April 04, 2013 - 02:09 AM UTC
The helmet extension is coming along. I trimmed and sanded the excess to make the bottom flush. Next is some filler and sanding to blend the two together.
Keith
Keith
imatanker
Maine, United States
Joined: February 11, 2011
KitMaker: 1,654 posts
Armorama: 1,565 posts
Joined: February 11, 2011
KitMaker: 1,654 posts
Armorama: 1,565 posts
Posted: Thursday, April 04, 2013 - 09:02 AM UTC
Jeff S.... It will be good to see some WIP pics from you,my friend
Keith... Old school is the best school.Your Helm looks great.
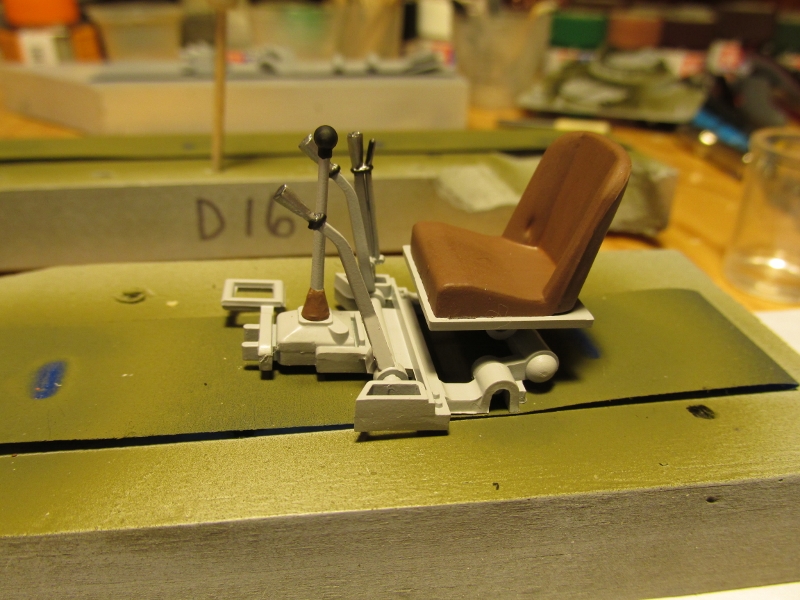
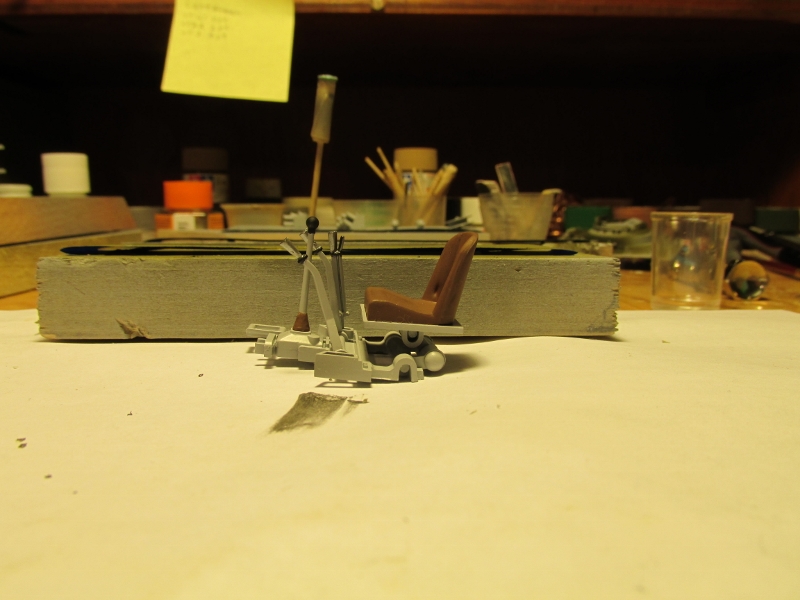
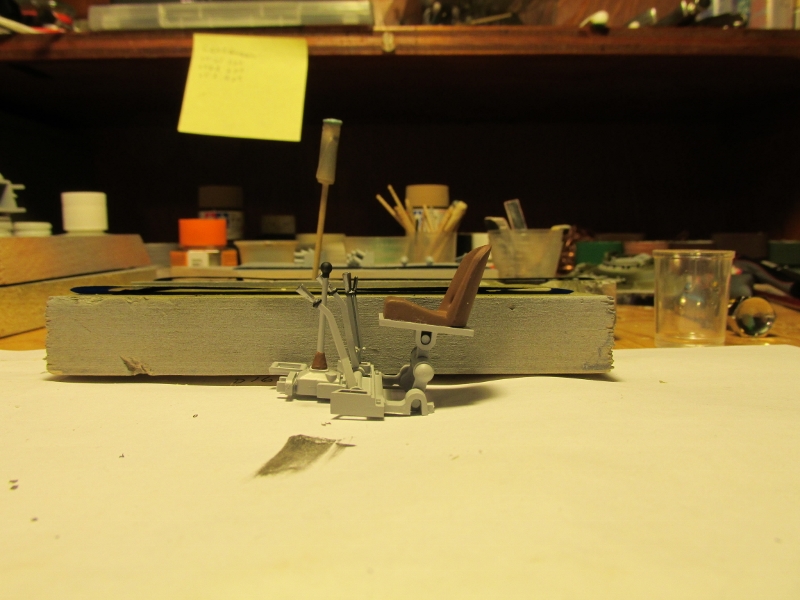
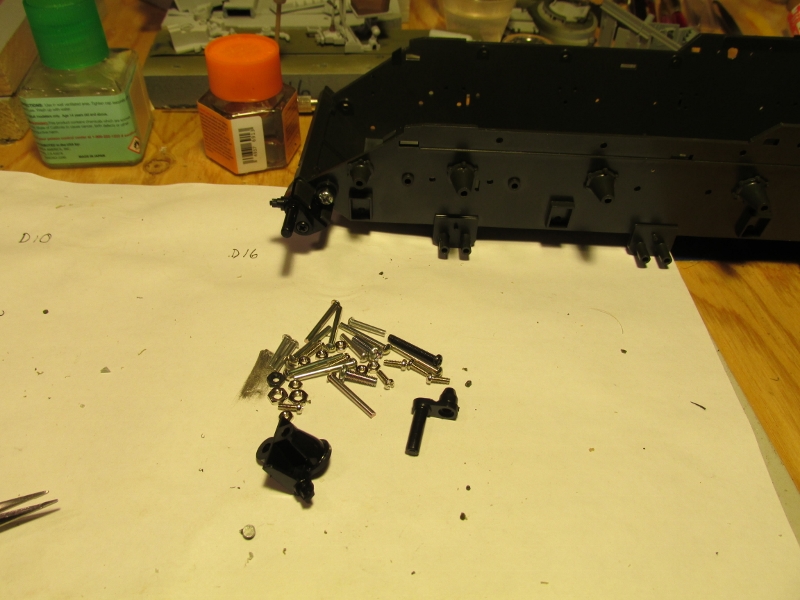
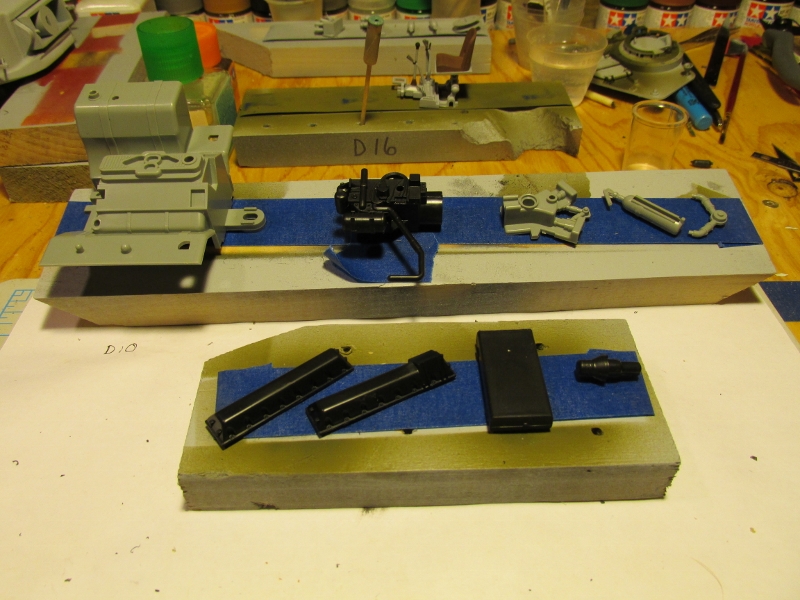
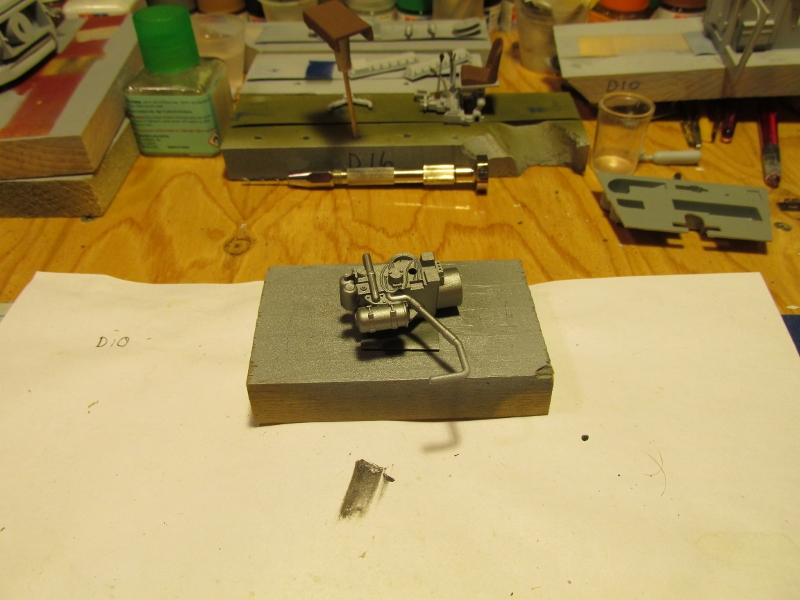
I've spent the last couple of nights doing sub assemblies.
Drivers seat parts
Subs,Assembled and primed
Put together and painted
And it even moves up and down
That's all for now.Model on,Jeff T.
Keith... Old school is the best school.Your Helm looks great.
I've spent the last couple of nights doing sub assemblies.
Drivers seat parts
Subs,Assembled and primed
Put together and painted
And it even moves up and down
That's all for now.Model on,Jeff T.
imatanker
Maine, United States
Joined: February 11, 2011
KitMaker: 1,654 posts
Armorama: 1,565 posts
Joined: February 11, 2011
KitMaker: 1,654 posts
Armorama: 1,565 posts
Posted: Wednesday, April 10, 2013 - 11:52 AM UTC
Time for a BIG update.Got busy over the week end and did not have time to do one,Then the site was down.Glad that's fixed,Thanks Jim.
So here we go...
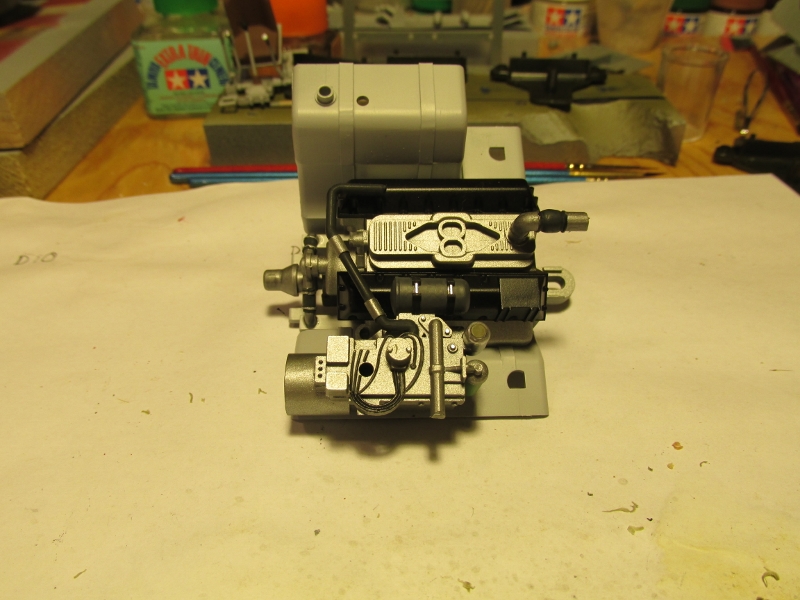
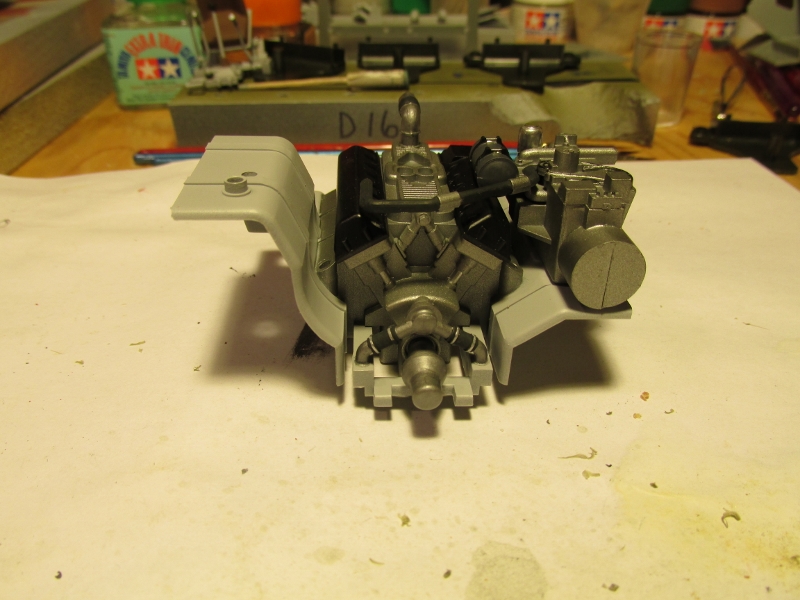
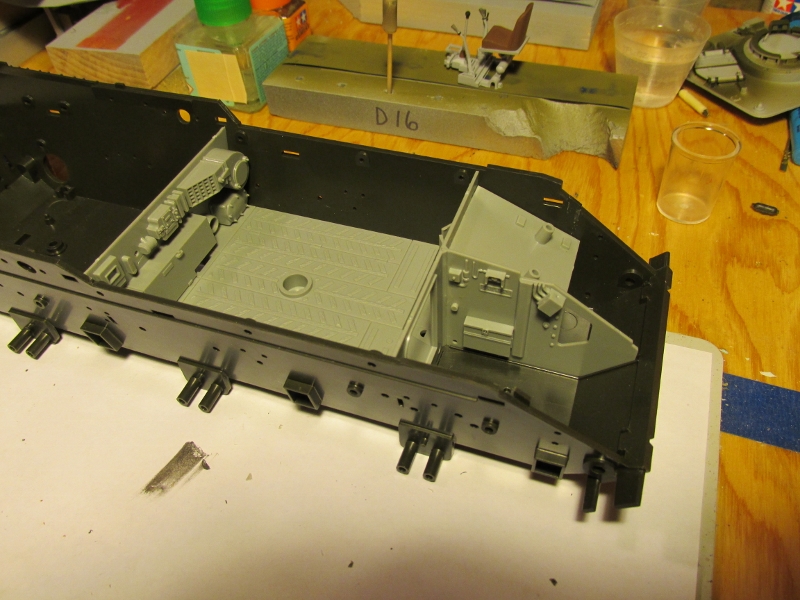
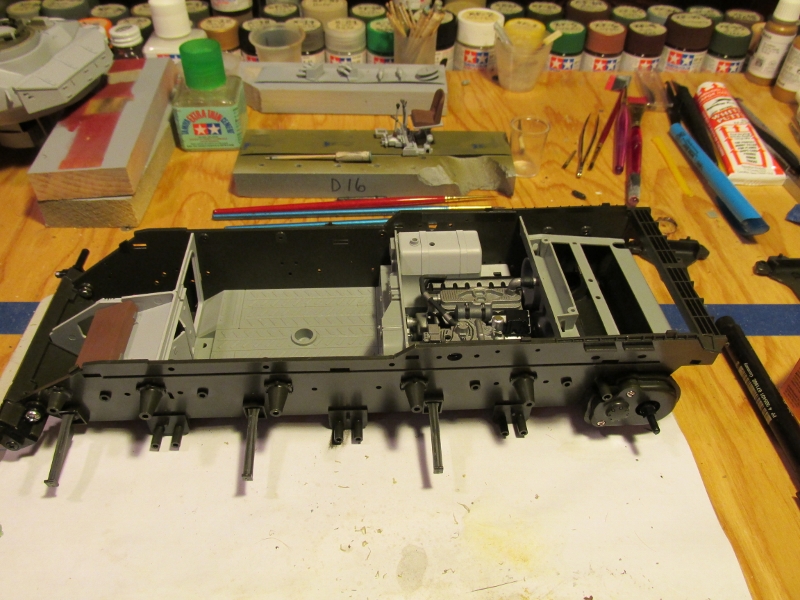
Started putting the hull together
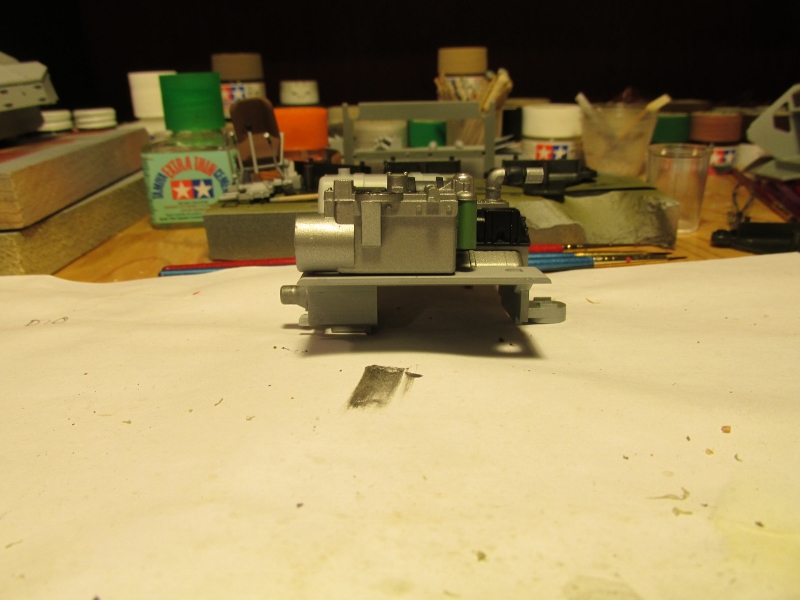
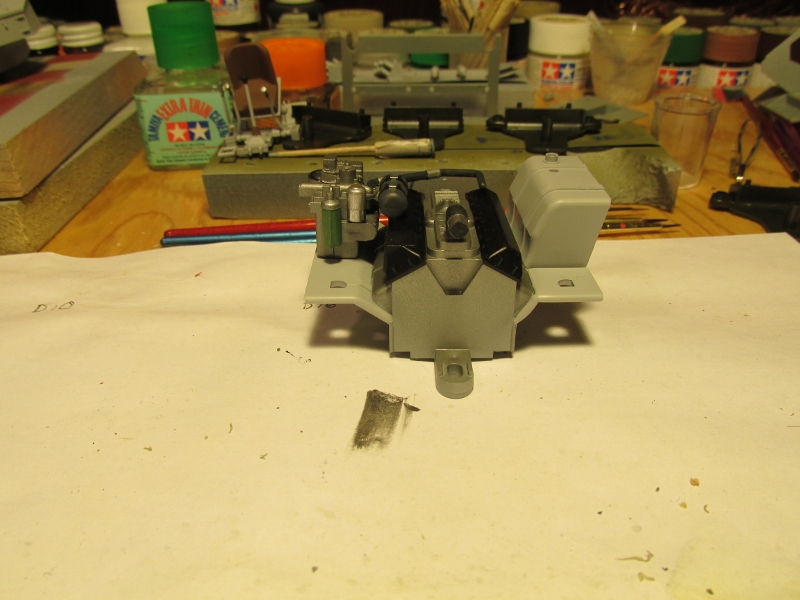
and the engine
And some of the interior,dry fitted...
Now I have to figure out what to do with this
Model on,J.T.
So here we go...
Started putting the hull together
and the engine
And some of the interior,dry fitted...
Now I have to figure out what to do with this
Model on,J.T.
strongarden
Florida, United States
Joined: May 14, 2012
KitMaker: 730 posts
Armorama: 624 posts
Joined: May 14, 2012
KitMaker: 730 posts
Armorama: 624 posts
Posted: Thursday, April 11, 2013 - 05:38 AM UTC
Hello All-
@Jeff S.- Yes you're right this is rather interesting.
Just having fun with it and checking against the pics and specs etc....
@Keith- Excellent looking results with the helm, nice!
@Murdo- I just paged thru and spied your 1/35 Challenger, really like that tank. Nice job!
@Jeff T.- Well, I'll start by saying I'm not a T34 expert, nor is this a T34 build log... BUT I AM enjoying messin' around w/ it (thank god it's molded in soft plastic!)
It won't be 100% correct, not even close (but I'll be 100% T34 wiser!) try 50% wrong, but it's still early in the game!
I suspect it was designed as a toy w/ those dual motors, batteries etc etc. whatever....
Offset axle holes on housing disc's (?!) filled and re-centered.
Cut some short tube, sandwiched by thin styrene disc, to beef up the shaft dia btwn wheel and hull. Dry fit and compared with the T34/85 (Tamiya) from my Juraissic Plastic Campaign.
At least this naughty bad boy is not molded in that Black-Green of the old Tamiya kits
More to follow this wknd!
Cheers Dave
imatanker
Maine, United States
Joined: February 11, 2011
KitMaker: 1,654 posts
Armorama: 1,565 posts
Joined: February 11, 2011
KitMaker: 1,654 posts
Armorama: 1,565 posts
Posted: Thursday, April 11, 2013 - 11:01 AM UTC
Dave,now you're cookin'.Seeing your pictures gave Me an idea.I may have to build a smaller scale kit of my Centurion .I should have some more progress to show this week end also.Jeff T.
imatanker
Maine, United States
Joined: February 11, 2011
KitMaker: 1,654 posts
Armorama: 1,565 posts
Joined: February 11, 2011
KitMaker: 1,654 posts
Armorama: 1,565 posts
Posted: Tuesday, April 16, 2013 - 11:36 AM UTC
Progress to show
Interior bulkhead holes filled
Upper roadwheels ready to go
Tracks assembled,painted and ready for weathering
And AT LAST,We have a lower hull,with working suspension
I really need to start putting things together.I have so many sub assemblies on my bench,I have no room to do anything I'm hoping it will go pretty quickly from here.Model on,Jeff T.
PantherF
Indiana, United States
Joined: June 10, 2005
KitMaker: 6,188 posts
Armorama: 5,960 posts
Joined: June 10, 2005
KitMaker: 6,188 posts
Armorama: 5,960 posts
Posted: Tuesday, April 16, 2013 - 11:44 AM UTC
Looking good there Jeff.
~ Jeff
~ Jeff
Posted: Tuesday, April 16, 2013 - 11:57 AM UTC
Jeff,
You think your bench is cluttered.
Cheers Rob.
You think your bench is cluttered.
Cheers Rob.
woltersk
Utah, United States
Joined: May 27, 2003
KitMaker: 1,026 posts
Armorama: 654 posts
Joined: May 27, 2003
KitMaker: 1,026 posts
Armorama: 654 posts
Posted: Tuesday, April 16, 2013 - 01:58 PM UTC
This helmet has been the bane of my modeling existence. I file and sand and paint and file and sand... Chrome paint is so unforgiving. A little more sanding on the seam and it should be done.
@Jeff T.--nice job on the suspension. The whole tank is coming along well.
@Rob--I count..is that 11...unbuilt kits on your workbench(?) And half as many airbrushes? My bench stays uncluttered...thanks to my OCD inflicted SWMBO.
Keith
@Jeff T.--nice job on the suspension. The whole tank is coming along well.
@Rob--I count..is that 11...unbuilt kits on your workbench(?) And half as many airbrushes? My bench stays uncluttered...thanks to my OCD inflicted SWMBO.
Keith
Posted: Tuesday, April 16, 2013 - 10:26 PM UTC
Keith,
That is only part of the bottom of three shelves of unfinished kits. I have been considering starting a personal get'r done thread.
Cheers Rob.
That is only part of the bottom of three shelves of unfinished kits. I have been considering starting a personal get'r done thread.
Cheers Rob.
asmodeuss
Quebec, Canada
Joined: November 19, 2011
KitMaker: 1,389 posts
Armorama: 1,388 posts
Joined: November 19, 2011
KitMaker: 1,389 posts
Armorama: 1,388 posts
Posted: Wednesday, April 17, 2013 - 01:28 AM UTC
Wow guys!!! This is really great to follow.
Keep this up.
Keep this up.
18Bravo
Colorado, United States
Joined: January 20, 2005
KitMaker: 7,219 posts
Armorama: 6,097 posts
Joined: January 20, 2005
KitMaker: 7,219 posts
Armorama: 6,097 posts
Posted: Wednesday, April 17, 2013 - 03:00 AM UTC
Quoted Text
Jeff S.... I don't know about ALWAYS going big.Steve Martin made a lot of money "Getting Small"
Phil...Don't sell yourself short Man,I just checked out your T-72 build,and I have to say,it's pretty sweet.
So here's where I am.Doesn't look like much,but I'm spending a lot of time cleaning and filling.
So,I have two questions.
1.The instructions call for most of the interior to be light grey.Am I correct in thinking that it would be semi-gloss?Could I use Vallejo's or Tamiya's light grey primer and be close?
2.I really haven't figured out what color scheme I"m going to use on the outside yet.The instructions show 6 options.I'm all set with the dark yellow and camo choices,but if I deside to "go green" and save the planet,what green should I use? Jeff T.
I like your choice of kits! None of mine came with an Iphone though. Gotta talk to Mr. Tamiya about that.
The instructions are incorrect as to the interior color. The entire interior should be silver. I know it sounds odd, but it is.
If you want to go with Green, the correct color is British Bronze Green, unless you build it as the Berlin variant, in which case it's US OD Green from the 60's.
Wish I'd seen this thread sooner, I might have tried to get something done.
Good luck with it, can't wait to see it finished.
imatanker
Maine, United States
Joined: February 11, 2011
KitMaker: 1,654 posts
Armorama: 1,565 posts
Joined: February 11, 2011
KitMaker: 1,654 posts
Armorama: 1,565 posts
Posted: Wednesday, April 17, 2013 - 08:28 PM UTC
Jeff S... Thanks Dude,coming along a little at a time.
Rob... I will say that is impressive.It is more cluttered than mine,but not much Is that a rocket I see?
Keith... Don't give up man,cause it's looking really nice
Phil... Glad you're enjoying it Bub.
Robert... Thanks for the paint info.I'm not looking to be super accurate with this build,so it's no big deal,as you can see I went with the light grey.Looks O.K. I think.
This campaign doesn't end until the 26th of December,so you can still get in. Jeff T.
Posted: Wednesday, April 17, 2013 - 10:14 PM UTC
Jeff,
Not a rocket, it's an X-15 for another campaign.
Cheers Rob.
Not a rocket, it's an X-15 for another campaign.
Cheers Rob.
18Bravo
Colorado, United States
Joined: January 20, 2005
KitMaker: 7,219 posts
Armorama: 6,097 posts
Joined: January 20, 2005
KitMaker: 7,219 posts
Armorama: 6,097 posts
Posted: Thursday, April 18, 2013 - 03:35 AM UTC
Yeah, the grey is fine. I read further down the thread aftyer I posted.
December of 2015 probably wouldn't be enough time at the rate I build, butI'll keep weatching. good stuff!
imatanker
Maine, United States
Joined: February 11, 2011
KitMaker: 1,654 posts
Armorama: 1,565 posts
Joined: February 11, 2011
KitMaker: 1,654 posts
Armorama: 1,565 posts
Posted: Thursday, April 18, 2013 - 08:56 AM UTC
Quoted Text
Jeff,
Not a rocket, it's an X-15 for another campaign.
Cheers Rob.
Upon closer inspection.I do now see the wings,and it does look very much like an X-15.It was early and I didn't have my glasses on Jeff T.