Campaigns
Where Armorama group builds can be discussed, organized, and updates posted.
Where Armorama group builds can be discussed, organized, and updates posted.
Hosted by Darren Baker, Richard S.
JEEP Campaign
steph2102

Joined: April 23, 2011
KitMaker: 735 posts
Armorama: 606 posts

Posted: Saturday, November 24, 2012 - 08:30 AM UTC
PAUL assembly is very nice and original
Posted: Saturday, November 24, 2012 - 09:25 AM UTC
Hey Paul.
your assembly is looking good. I'm going to do a SAS jeep also, have the verlinden conversion set.
to me the holes in your sand channels appears a little bit on the large side. I know the PE ones in the verlinden set are fairly small just under 1 mm in diameter.
here is a good photo showing the holes in one.. if it comes out..

I'm watching everyone for the ideas.. LOL
Delbert
your assembly is looking good. I'm going to do a SAS jeep also, have the verlinden conversion set.
to me the holes in your sand channels appears a little bit on the large side. I know the PE ones in the verlinden set are fairly small just under 1 mm in diameter.
here is a good photo showing the holes in one.. if it comes out..

I'm watching everyone for the ideas.. LOL
Delbert
Posted: Saturday, November 24, 2012 - 10:25 AM UTC
Howdy Y'all 
@Paul-I forgot to tell you to use a dark base coat. I've tried Olive Drab and German Brown, both worked well. Keep up the good work.
Don "Lakota"

@Paul-I forgot to tell you to use a dark base coat. I've tried Olive Drab and German Brown, both worked well. Keep up the good work.
Don "Lakota"
AngryEchoSix

Joined: October 19, 2012
KitMaker: 93 posts
Armorama: 61 posts

Posted: Saturday, November 24, 2012 - 07:53 PM UTC
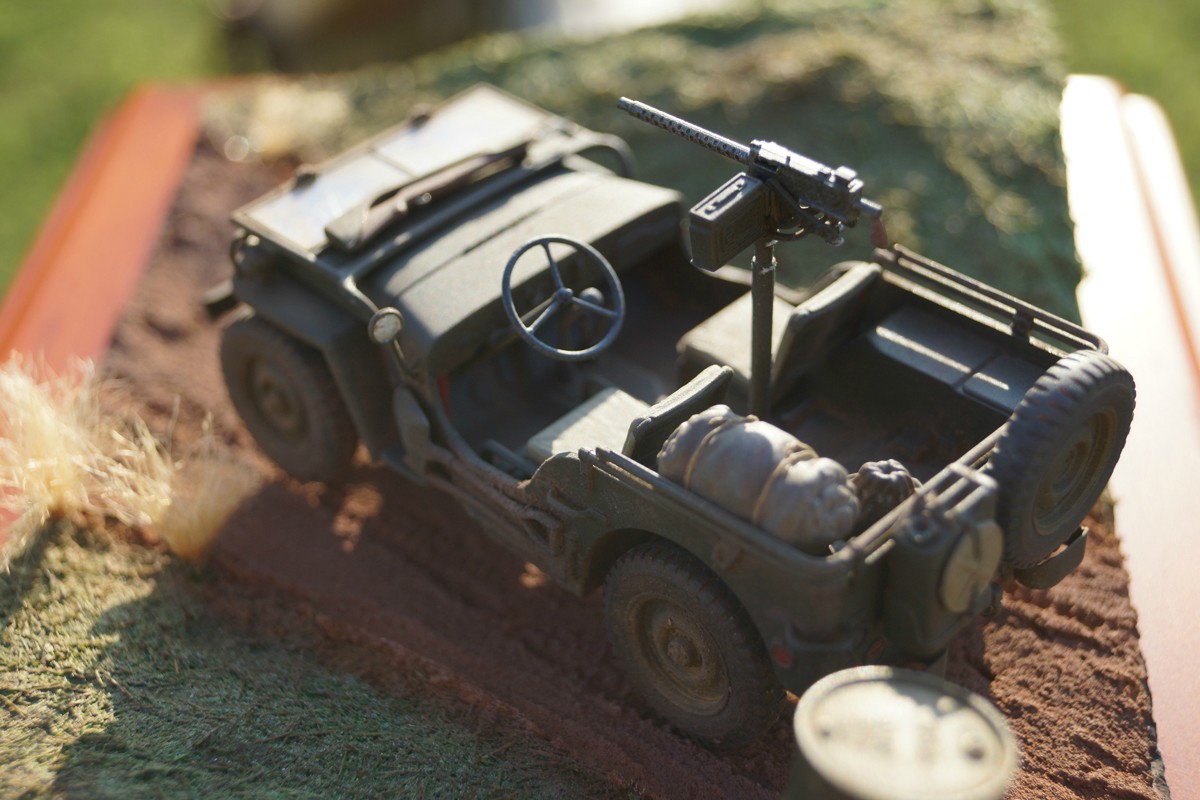
Well, here are my progress and finished shots. Still waiting on my WW2 Marine figures to get in from Verlinden, then it will REALLY be complete. But for now, enjoy!
All Primered Up!

First Coat of Olive Drab going on...

Some detail work of the windshield mounted M1 Garand

And now, a series of finished shots! This was my first try at weathering a kit. I used pastel chalk pigments and enamel thinner to apply them. I think it came out quite good for my first time. I did quite a bit of reading on the subject before I did it.
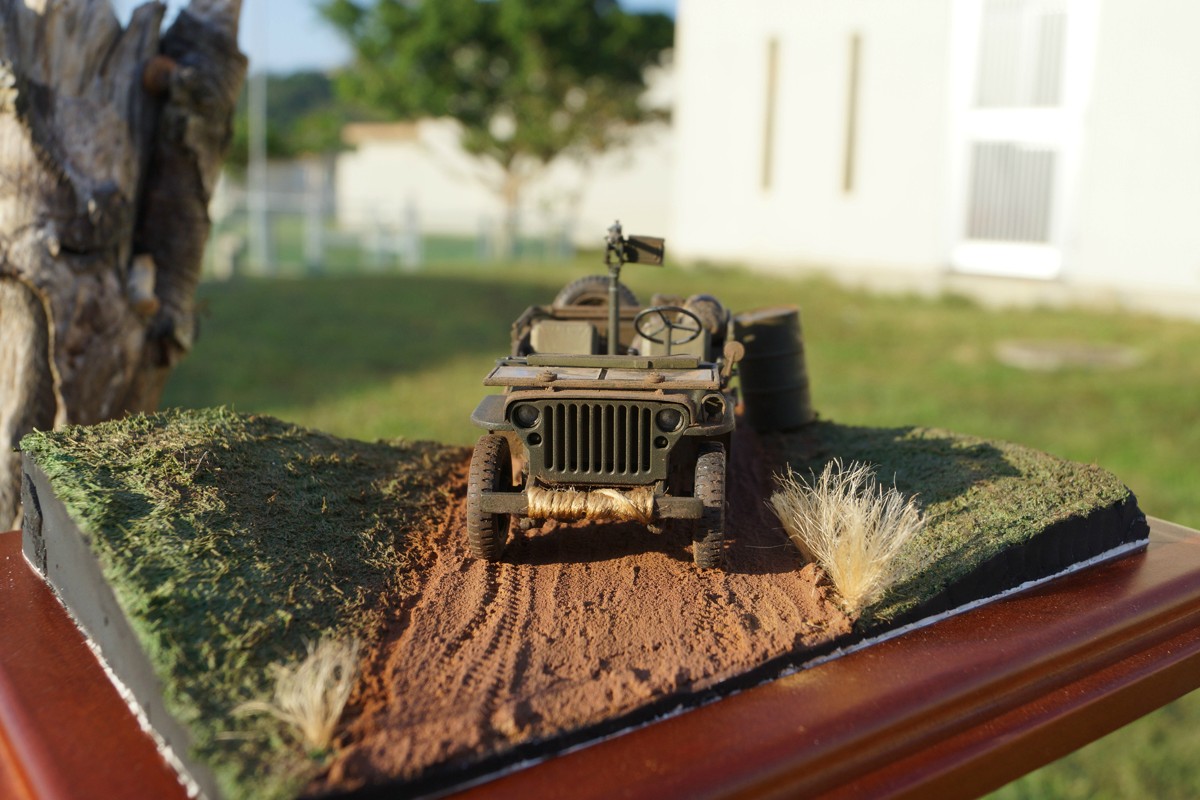
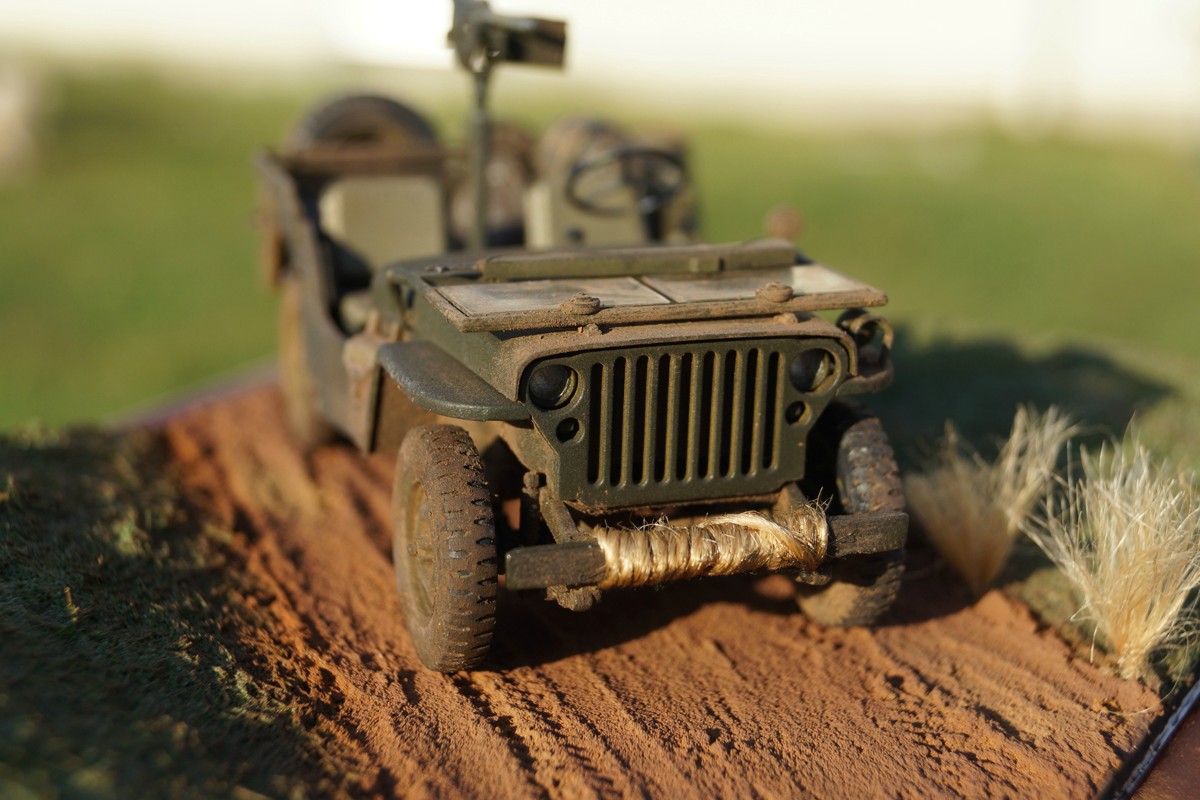
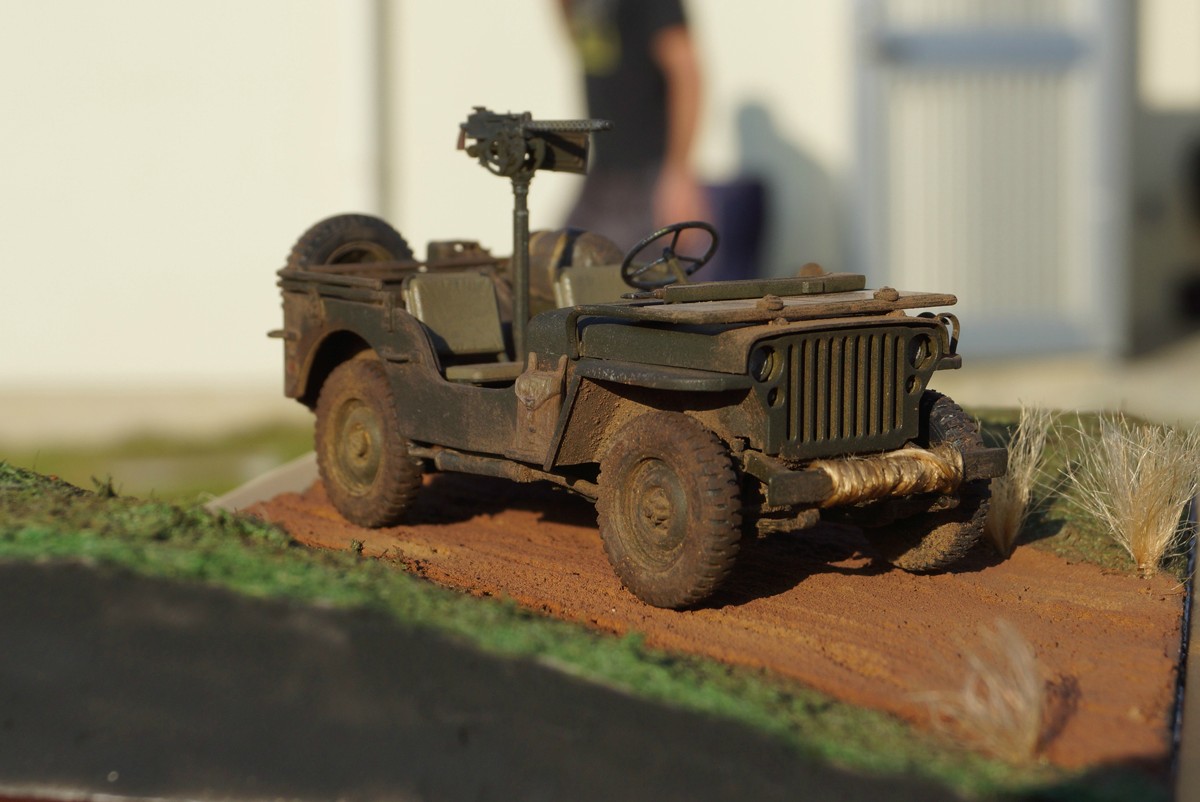
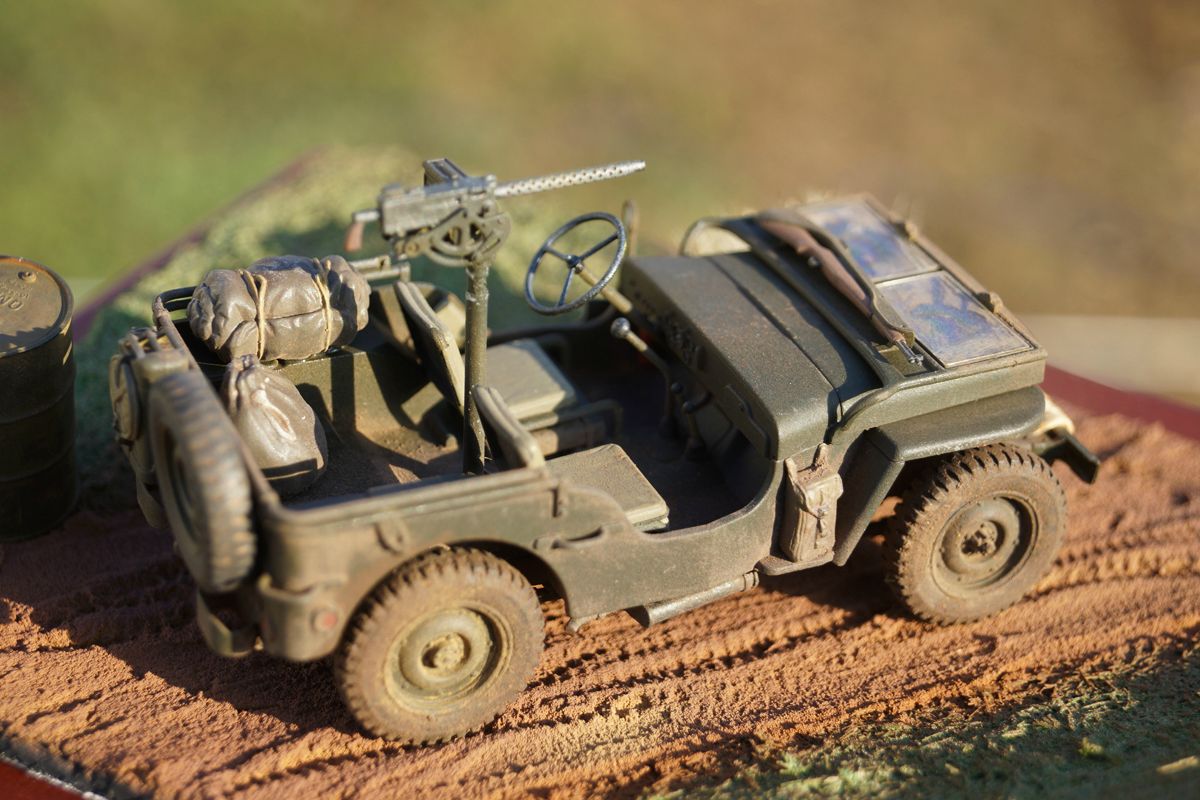
All Primered Up!

First Coat of Olive Drab going on...

Some detail work of the windshield mounted M1 Garand

And now, a series of finished shots! This was my first try at weathering a kit. I used pastel chalk pigments and enamel thinner to apply them. I think it came out quite good for my first time.
 I did quite a bit of reading on the subject before I did it.


ltb073

Joined: March 08, 2010
KitMaker: 3,662 posts
Armorama: 3,078 posts

Posted: Sunday, November 25, 2012 - 01:51 AM UTC
Quoted Text
@ Sal: nice one, now get loads of dust on it and maybe change the color of the straps. All those I have seen to now are a canvas color.But that´s only my 2 cents going
of again.
Paul
Paul I looks through some photos
 It appears that the straps were metal and canvas
  I just assumed that they were leather changes were made this morning to reflect the body color I still have a way to go with this 1

Excellent looking scratch work by the way


1721Lancers

Joined: March 21, 2012
KitMaker: 1,673 posts
Armorama: 1,640 posts

Posted: Sunday, November 25, 2012 - 05:34 AM UTC
@ Delbert:
Yes that is what I also thought, but then I found a picture on "photobucket" that has the large holes.
Doesn´t matter now as they were really not that good anyway.
They´re now in the bin, and I don´t know if I´ll try some more.
@ Don:
That´s ok, I always prime with black or anthracite anyhow.
@ S.Sgt O´Marines:
looks cute dude, I like the little dio for it too.
@ Sal:
You must slow down a bit mate, you got all the time
in the world.
Well I did want to get some paint on today , but then I realised I only had a couple (12) of jerry cans for the stowage
  . That certainly will not do, so I went town on
bits and bobs today and yes it does all fit.
Paint tomorrow
Bits and bobs ready for the paint shop:

 Paul
Paul
Yes that is what I also thought, but then I found a picture on "photobucket" that has the large holes.
Doesn´t matter now as they were really not that good anyway.
They´re now in the bin, and I don´t know if I´ll try some more.
@ Don:
That´s ok, I always prime with black or anthracite anyhow.
@ S.Sgt O´Marines:
looks cute dude, I like the little dio for it too.
@ Sal:
You must slow down a bit mate, you got all the time
in the world.
Well I did want to get some paint on today
 , but then I realised I only had a couple (12) of jerry cans for the stowage
  . That certainly will not do, so I went town on
 bits and bobs today
 and yes it does all fit.
Paint tomorrow

Bits and bobs ready for the paint shop:

 Paul
Paul AngryEchoSix

Joined: October 19, 2012
KitMaker: 93 posts
Armorama: 61 posts

Posted: Sunday, November 25, 2012 - 10:43 AM UTC
Quoted Text
@ S.Sgt O´Marines:
looks cute dude, I like the little dio for it too.
Cute??? Jeeps aren't cute, they are manly and war like!


1721Lancers

Joined: March 21, 2012
KitMaker: 1,673 posts
Armorama: 1,640 posts

Posted: Sunday, November 25, 2012 - 11:39 PM UTC
yeah, like a viking smiley smiling 
next time I´ll the "mouth I kiss my loved ones wth" ,
,
 ask Jeff he knows what I´m talking about.
And I personally think "cute" sounds better than "sweet"

 Paul
Paul

next time I´ll the "mouth I kiss my loved ones wth"
 ,
, ask Jeff he knows what I´m talking about.
And I personally think "cute" sounds better than "sweet"

 Paul
Paul35th-scale

Joined: November 21, 2007
KitMaker: 3,212 posts
Armorama: 2,807 posts

Posted: Monday, November 26, 2012 - 11:09 AM UTC
Quoted Text
@ Sean: I like your vietnam jeep espescially the ammo belt
for M60, nice to see some formed plastic instead of the flat etch.
Paul
Thanks Paul. I must admit I don't like the PE ammo belts flat look, but the plastic ons aren't too easy to manipulate into shape either. They break too easy....
Anyway, lots and lots of great jeeps on here so far.
As for mine it's just the weathering left to do.....I'm quite pleased with how it's turned out so far, but knowing me will ruin that with the final step!


If you spot anything I've missed please shout!
Posted: Tuesday, November 27, 2012 - 04:05 AM UTC
Finally got my jeep and managed to come up for air... now to get building!


HeavyArty


Joined: May 16, 2002
KitMaker: 17,694 posts
Armorama: 13,742 posts

Posted: Tuesday, November 27, 2012 - 04:26 AM UTC
Quoted Text
If you spot anything I've missed please shout!
Your Vietnam M151A1 looks good overall, but it has a few issues.
First off, the slits you have painted red on the grill should be black. They are blackout drive markers and used when driving at night w/o headlights. The same for the rear slits under the main stop lights. The two lights on top of the front fenders are turn signals and should be amber.
The rear wheel opening is molded incorrectly by Academy. The M151A1 hada straight line from the top to the bottom on the rear part. There should be no step in the line. Simply cut the tab off and file the opening into a straight line, see pic.

Also there is an issue with the weapons. The two M16s you have in back are not correct for Vietnam. They are M16A2s which were not fielded until the late '80s-early '90s. The correct weapons are M16A1s, which have triangular-shaped forward stocks. Also, the shorter, 20 rd magazine was used in Vietnam, not the banana-shaped 30 round one on M16A2s.
The ammo box on the pintle mounted M60 is incorrect, and backwards as well. It is a .50 cal can and the end with the handle is the side that opens (facing away from your gun). The proper one comes in the kit, has a molded on braket, and is smaller.
Lastly is the items you have painted black. The wheel hubs, hood hold-downs, fuel cap, upper part of pintle, etc. should not be black. The Army paints everything the same OD color. If it doesn't move out of the way, it gets painted. Not much originality or bling allowed.
Check this thread for more info on the M151A1.
Like I said, the M151A1 looks good. A few tweaks and it can look great.
35th-scale

Joined: November 21, 2007
KitMaker: 3,212 posts
Armorama: 2,807 posts

Posted: Tuesday, November 27, 2012 - 10:20 AM UTC
Thanks Gino. I really appreciate the detail....
awd261

Joined: January 20, 2010
KitMaker: 24 posts
Armorama: 23 posts

Posted: Thursday, November 29, 2012 - 12:16 AM UTC
awd261

Joined: January 20, 2010
KitMaker: 24 posts
Armorama: 23 posts

Posted: Thursday, November 29, 2012 - 01:26 AM UTC
Hi Sean (35th-scale)
in fact the black out light in the gril are not black.
They are plexiglass, with a polarised filter.
This allow to send polarised light with horizontal light.
Just to enlight the reflector of the car front of you.
Have a look to the detail picture , here are only the door light:

cheers
in fact the black out light in the gril are not black.
They are plexiglass, with a polarised filter.
This allow to send polarised light with horizontal light.
Just to enlight the reflector of the car front of you.
Have a look to the detail picture , here are only the door light:

cheers


hofpig

Joined: March 04, 2007
KitMaker: 1,330 posts
Armorama: 1,017 posts

Posted: Thursday, November 29, 2012 - 03:13 AM UTC
Hi All,
Finall msde some headway....


Paul
Finall msde some headway....


Paul
AngryEchoSix

Joined: October 19, 2012
KitMaker: 93 posts
Armorama: 61 posts

Posted: Thursday, November 29, 2012 - 03:34 AM UTC
That red....it's so....BRIGHT! 


hofpig

Joined: March 04, 2007
KitMaker: 1,330 posts
Armorama: 1,017 posts

Posted: Thursday, November 29, 2012 - 04:01 AM UTC
Quoted Text
That red....it's so....BRIGHT!
Yup awfyl isn't it (and It's worse in real life!)
Paul
AngryEchoSix

Joined: October 19, 2012
KitMaker: 93 posts
Armorama: 61 posts

Posted: Thursday, November 29, 2012 - 04:11 AM UTC
Quoted Text
Quoted TextThat red....it's so....BRIGHT!
Yup awfyl isn't it (and It's worse in real life!)
Paul
I can't even begin to imagine....i probably would have primered it just so I could work on it!

HeavyArty


Joined: May 16, 2002
KitMaker: 17,694 posts
Armorama: 13,742 posts

Posted: Thursday, November 29, 2012 - 04:48 AM UTC
Quoted Text
Hi Sean (35th-scale)
in fact the black out light in the gril are not black.
They are plexiglass, with a polarised filter.
This allow to send polarised light with horizontal light.
Just to enlight the reflector of the car front of you.
You are correct. The best way to represent them in 1/35 is with black paint and a couple layers of clear gloss over top.
samkidd

Joined: January 06, 2006
KitMaker: 530 posts
Armorama: 450 posts

Posted: Thursday, November 29, 2012 - 08:41 AM UTC
Paul A. That's a real retina burner alright. Italeri used the same bright red plastic to make their Opel Blitz Firetruck. Nearly went blind building that one! Seriously, your build is making excellent progress and I'm looking forward to seeing it done.
Just out of curiosity how are you planning to finish it? Gloss red or yellow? I tried to make mine OD like it was a fire vehicle at a WWII airstrip. The results were less than inspiring to say the least. If you go that route I want to see how you do it as I never liked my finished piece.
BTW, does anyone know what the color schemes used for airstrip emergency vehicles was on wartime air fields? Just curious.
Jim
Large Scale Armory

HeavyArty


Joined: May 16, 2002
KitMaker: 17,694 posts
Armorama: 13,742 posts

Posted: Friday, November 30, 2012 - 12:37 AM UTC
Quoted Text
in fact the black out light in the gril are not black.
They are plexiglass, with a polarised filter.
This allow to send polarised light with horizontal light.
Just to enlight the reflector of the car front of you.
Whoops, I thought you were talking about the blackout marker lights.
What you are describing is the blackout drive light on the left fender.
The lights on the grill are actually blackout marker lights used to maintain distance between vehicles at night without using white-light headlights. The front ones have two slits of light. At the proper distance, the two merge together and look like one. If you see two, you are too close. See none (or both sides merge into one point of light), you are too far.

On the rear, there are for slits of light on each side. At the proper distance, the following vehicle should see two slits of light per side. If you see one, you are too far. If you see four slits, you are too close. The single slit above on the rear is the blackout stop light, it only comes on when the brake is applied to signal a stop or slowing of the vehicle.

The best way to represent them in 1/35 is still with black paint and a couple layers of clear gloss over top. Until the lights are on (only at night) they are dark and appear as black slits.

hofpig

Joined: March 04, 2007
KitMaker: 1,330 posts
Armorama: 1,017 posts

Posted: Friday, November 30, 2012 - 12:43 AM UTC
Quoted Text
Paul A. That's a real retina burner alright. Italeri used the same bright red plastic to make their Opel Blitz Firetruck. Nearly went blind building that one! Seriously, your build is making excellent progress and I'm looking forward to seeing it done.
Just out of curiosity how are you planning to finish it? Gloss red or yellow? I tried to make mine OD like it was a fire vehicle at a WWII airstrip. The results were less than inspiring to say the least. If you go that route I want to see how you do it as I never liked my finished piece.
BTW, does anyone know what the color schemes used for airstrip emergency vehicles was on wartime air fields? Just curious.
Jim
Large Scale Armory
Your right the red is a lot of a headache! But I think I will finish it in red just the same although I am still pondering over all the masking Lol.
Paul a

HeavyArty


Joined: May 16, 2002
KitMaker: 17,694 posts
Armorama: 13,742 posts

Posted: Friday, November 30, 2012 - 01:43 AM UTC
I'll enter the fray with a model I finished recently (mid-Sep).
My recent piece was a unique jeep that is not often seen. The Willys M606 was the military version of the CJ3B.
A little history:
The CJ3B was an improved version of the WWII Willys MB, which had the civilian designation of CJ3A. In the early '50s, Willys offered an updated jeep wth the taller F-head engine in the form of the CJ-3B, a CJ-3A body with a taller hood. This was quickly turned into the M606 jeep by equipping it with the available heavy-duty options such as larger tires and springs, and by adding black-out lighting, olive drab paint, and a tow pintle. The Willys M606 and CJ3B also had a tailgate on the rear as opposed to the earlier solid rear plate of the MB series. The CJ3B/M606 was also license built around the world and was built by Majindra of India up until the late '90s.


I first was inspired to build the M606 after seeing Jim "Gunny" Lewis' build of one on his site, Guntruck Studios. Jim used the Okuno Mitsubishi CJ3B J4A toy and a Skybow M38A1 to build a Mitsubishi CJ3B model. You can see Jim's awesome build here.
I wanted to build mine as the original Willys version.
From my research, the Willys M606 Military version of the CJ3B was described in a four-page Service Manual Supplement (SM-1018 R1) to the Universal Jeep Service Manual (SM-1002-R5) which describes and illustrates "special equipment items as installed on Jeep model M606 (CJ-3B modified)." They are as follows:
Blackout Driving Light: According to the Supplement, a blackout light was installed on the left fender only.
Magnetic Drain Plugs: Intended to attract small bits of metal so they can be removed when fluids are changed, these plugs were installed in oil pan, transmission and transfer case.
Trailer Coupling Electrical Receptacle: A 12-pin metal connector covered by a spring-loaded door.
Stop and Tail Lights: Body-mounted reflectors, and blackout covers for the tail lights.
Pintle Hook: Trailer towing hitch. A picture also shows rear "bumperettes" on either side of the hitch.
Tires and Tubes: 700 x 16 (4 ply) nylon tires, with low inflation pressures recommended, ranging from 10 - 25 lbs. depending on conditions.
Headlight Brush Guard: Only a single brush bar over the headlights.
Some do not have the pioneer tool cutouts on the right side as well, while some do.
To start, I got a spare Okuno CJ3B from Gunny and used the running gear (sprue A) from a Skybow/AFV Club M38A1.
The Okuno toy is really very nice. It is believed to have been molded by Skybow and the body scales out perfectly to 1/35 and the detail is right on par with the Skybow M38A1. The frame and wheels are toylike and unusable though.

For the Willys specific changes, I modified the rear of the Okuno jeep by using the tailgate out of the Accurate Armour CJ5 conversion and cut the opening out of an M38A1 rear panel.
The M38A1 frame is almost a perfect fit for the CJ3B body. However, the CJ3B body is about 2mm shorter just in front of the rear axle. I matched up the front shock cutouts on the CJ3B body and the M38A1 frame, then shortened the frame as needed. I also filled in the hollows under the seats.
I made various other changes that can be seen in the pictures. The brighter green color body parts and black parts are from the Okuno kit. The OD parts are from the M38A1 kit. Everything else is scratch built by me.
Here are some in-progress pictures.


...and the finished M606 / CJ3B.


I also used the M38A1 engine (which was introduced in the CJ3B) and engine compartment parts with a few mods such as shortening the radiator shroud, adding a battery, rerouting the upper radiator hose, and rerouting the air cleaner and its hose. I also plumed and wired everything as well; to include wires for the starter, battery, spark plugs distributor, lights, horn, windshield wipers, fuel lines, and a few others thrown in for good measure. I also added covered chain and retaining loops for the rear tail gate.


Here it is with a WWII Willys MB to compare the stance and size differences.


I have since started an early Willys Script MB w/slat gill using the Lymes Models conversion grill and rear panel. I'll post some pics of it soon.
My recent piece was a unique jeep that is not often seen. The Willys M606 was the military version of the CJ3B.
A little history:
The CJ3B was an improved version of the WWII Willys MB, which had the civilian designation of CJ3A. In the early '50s, Willys offered an updated jeep wth the taller F-head engine in the form of the CJ-3B, a CJ-3A body with a taller hood. This was quickly turned into the M606 jeep by equipping it with the available heavy-duty options such as larger tires and springs, and by adding black-out lighting, olive drab paint, and a tow pintle. The Willys M606 and CJ3B also had a tailgate on the rear as opposed to the earlier solid rear plate of the MB series. The CJ3B/M606 was also license built around the world and was built by Majindra of India up until the late '90s.


I first was inspired to build the M606 after seeing Jim "Gunny" Lewis' build of one on his site, Guntruck Studios. Jim used the Okuno Mitsubishi CJ3B J4A toy and a Skybow M38A1 to build a Mitsubishi CJ3B model. You can see Jim's awesome build here.
I wanted to build mine as the original Willys version.
From my research, the Willys M606 Military version of the CJ3B was described in a four-page Service Manual Supplement (SM-1018 R1) to the Universal Jeep Service Manual (SM-1002-R5) which describes and illustrates "special equipment items as installed on Jeep model M606 (CJ-3B modified)." They are as follows:
Blackout Driving Light: According to the Supplement, a blackout light was installed on the left fender only.
Magnetic Drain Plugs: Intended to attract small bits of metal so they can be removed when fluids are changed, these plugs were installed in oil pan, transmission and transfer case.
Trailer Coupling Electrical Receptacle: A 12-pin metal connector covered by a spring-loaded door.
Stop and Tail Lights: Body-mounted reflectors, and blackout covers for the tail lights.
Pintle Hook: Trailer towing hitch. A picture also shows rear "bumperettes" on either side of the hitch.
Tires and Tubes: 700 x 16 (4 ply) nylon tires, with low inflation pressures recommended, ranging from 10 - 25 lbs. depending on conditions.
Headlight Brush Guard: Only a single brush bar over the headlights.
Some do not have the pioneer tool cutouts on the right side as well, while some do.
To start, I got a spare Okuno CJ3B from Gunny and used the running gear (sprue A) from a Skybow/AFV Club M38A1.
The Okuno toy is really very nice. It is believed to have been molded by Skybow and the body scales out perfectly to 1/35 and the detail is right on par with the Skybow M38A1. The frame and wheels are toylike and unusable though.

For the Willys specific changes, I modified the rear of the Okuno jeep by using the tailgate out of the Accurate Armour CJ5 conversion and cut the opening out of an M38A1 rear panel.
The M38A1 frame is almost a perfect fit for the CJ3B body. However, the CJ3B body is about 2mm shorter just in front of the rear axle. I matched up the front shock cutouts on the CJ3B body and the M38A1 frame, then shortened the frame as needed. I also filled in the hollows under the seats.
I made various other changes that can be seen in the pictures. The brighter green color body parts and black parts are from the Okuno kit. The OD parts are from the M38A1 kit. Everything else is scratch built by me.
Here are some in-progress pictures.


...and the finished M606 / CJ3B.


I also used the M38A1 engine (which was introduced in the CJ3B) and engine compartment parts with a few mods such as shortening the radiator shroud, adding a battery, rerouting the upper radiator hose, and rerouting the air cleaner and its hose. I also plumed and wired everything as well; to include wires for the starter, battery, spark plugs distributor, lights, horn, windshield wipers, fuel lines, and a few others thrown in for good measure. I also added covered chain and retaining loops for the rear tail gate.


Here it is with a WWII Willys MB to compare the stance and size differences.


I have since started an early Willys Script MB w/slat gill using the Lymes Models conversion grill and rear panel. I'll post some pics of it soon.

1721Lancers

Joined: March 21, 2012
KitMaker: 1,673 posts
Armorama: 1,640 posts

Posted: Friday, November 30, 2012 - 06:12 AM UTC
all this talk about red (Rhett (GWTW))  almost had me think I was on the forum
  . But then I woke up.. phew it was only a nightmare
Cool things going on here and the real life pictures that are being thrown around are also cool . Good builds guys keep it up all.
Now here´s what I´ve been up to the last 2 days:
Green prime/ base coat-

after hair spray, sand color-

watered and chipped-


Happy weekend and cheers all
Paul B
 almost had me think I was on the forum
  . But then I woke up.. phew it was only a nightmare
Cool things going on here and the real life pictures that are being thrown around are also cool
 . Good builds guys keep it up all.
Now here´s what I´ve been up to the last 2 days:
Green prime/ base coat-

after hair spray, sand color-

watered and chipped-


Happy weekend and cheers all
Paul B
steph2102

Joined: April 23, 2011
KitMaker: 735 posts
Armorama: 606 posts

Posted: Friday, November 30, 2012 - 06:58 AM UTC
hello,
GINO superb job. it's a pity that no kit manufacturers is interested in this model of jeep
steph
GINO superb job. it's a pity that no kit manufacturers is interested in this model of jeep
steph
 |


