Armor/AFV
For discussions on tanks, artillery, jeeps, etc.
For discussions on tanks, artillery, jeeps, etc.
Hosted by Darren Baker, Mario Matijasic
White 666 Semi-Tractor
Posted: Tuesday, July 07, 2015 - 09:34 AM UTC
Posted: Tuesday, July 07, 2015 - 09:36 AM UTC
Posted: Tuesday, July 07, 2015 - 10:21 PM UTC
Quoted Text
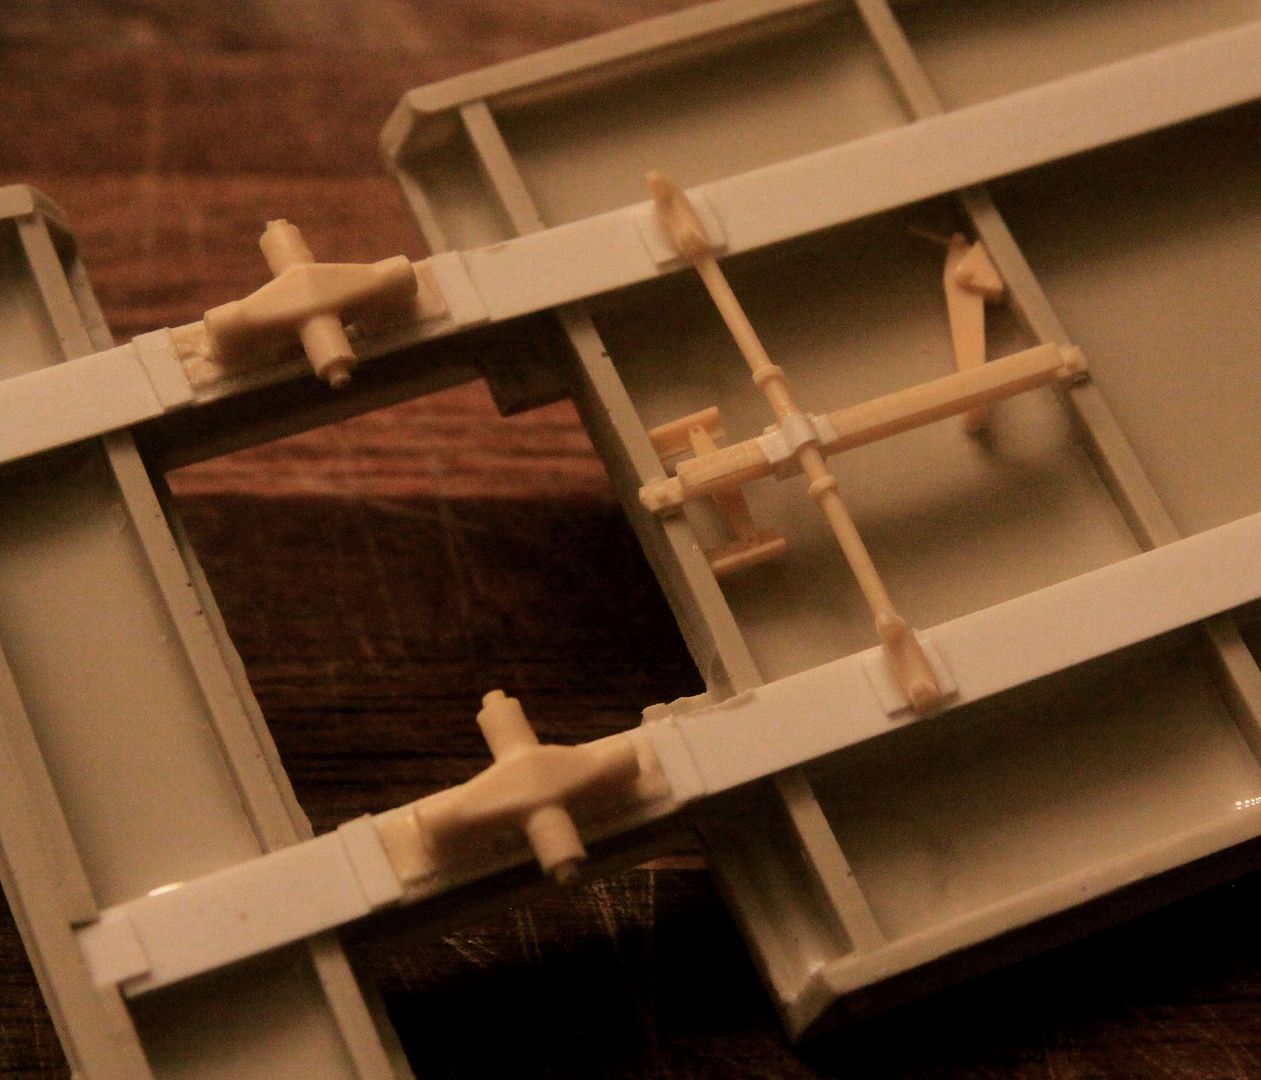
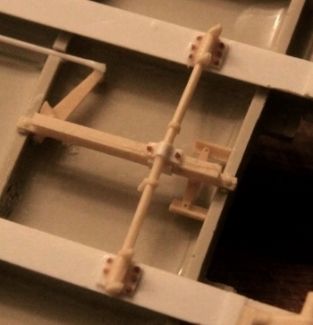
That forward most large lever is for the manual brake. I put it together as per the instructions but it seems to me to be on the wrong side of the trailer as the manual brake wheel is located on the front right corner.
This will require some more research to answer the question. I have the TM so I will see what I can figure out.
Well here we go . . .
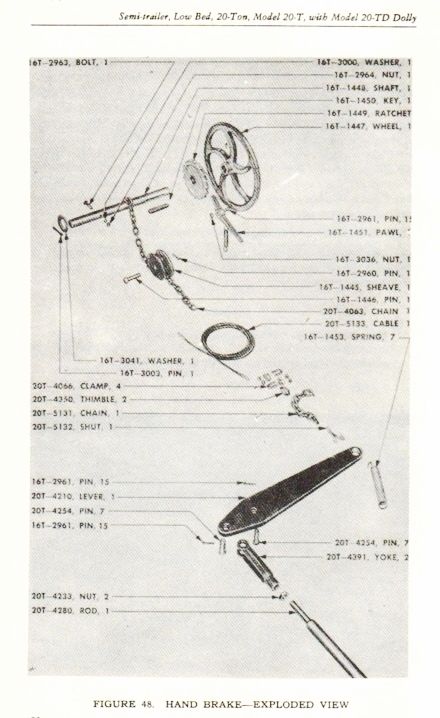
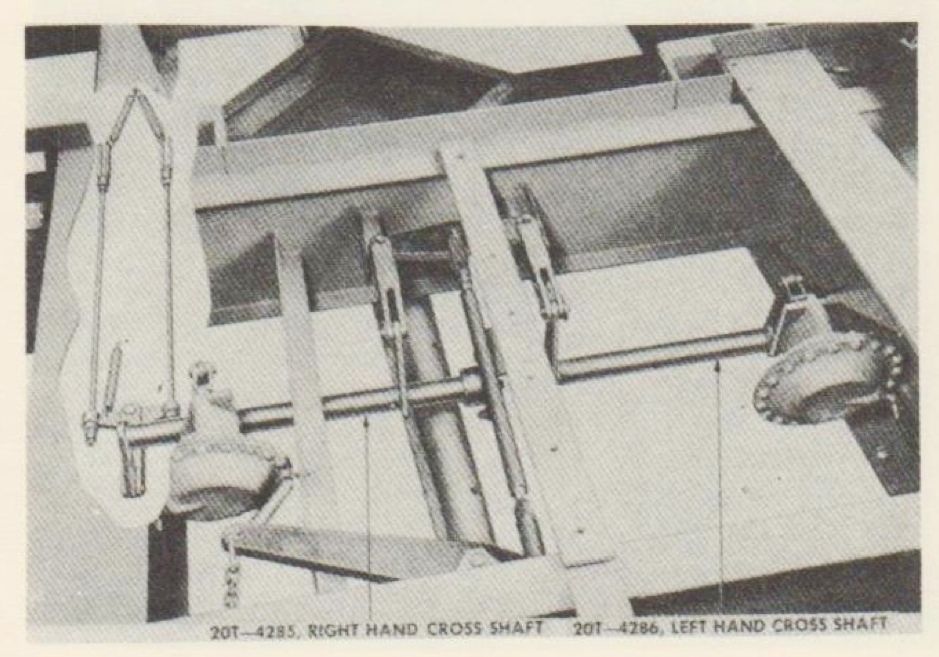
I think where PSP went wrong was that they did not realize the photo above is being viewed right side up - we are looking down from above with the wood decking removed. They thought the photo was being viewed from below, therefore putting the manual brake on the wrong side of the frame.
Posted: Tuesday, July 07, 2015 - 10:21 PM UTC
I cut a notch into those cross members with a Dremmel tool cut-off wheel so I could lay in that brake rod. I will go back with some Evergreen plastic strip and cover the tops of the cross bars and they will look like they have been drilled instead of cut.
Posted: Wednesday, July 08, 2015 - 03:34 AM UTC
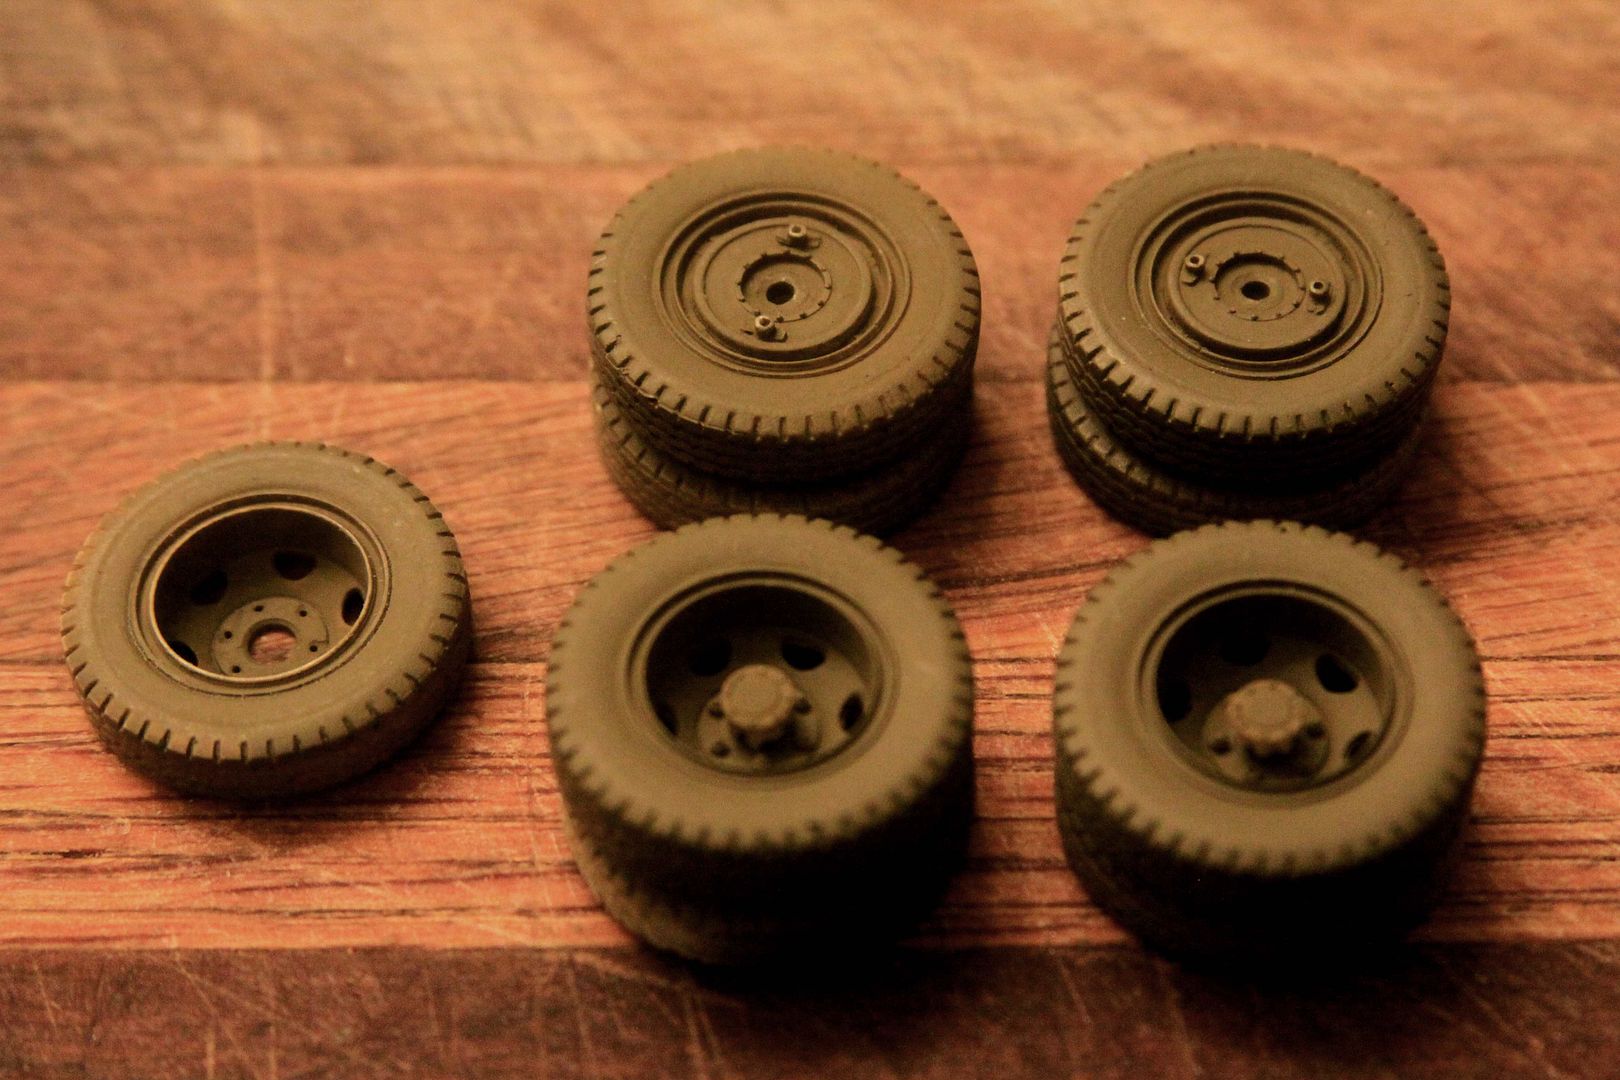
Wheels and tires for the trailer:
Casting of these civilian pattern tires is nice and sharp. They look good.
HOWEVER . . . . .
Assembly of tires:
When trying to assemble each pair of dual tires the large central alignment pin on the inside tire is too large to insert into the mating (i.e. doesn't mate) outside tire. It makes keeping each pair of tires properly centered, relative to each other, nearly impossible while the glue dries.
Center bearing head of each wheel hub has the same problem, the alignment pin is too large to insert into the hole in the wheel rim casting???


Marknasim

Joined: January 03, 2010
KitMaker: 54 posts
Armorama: 35 posts
Posted: Wednesday, July 08, 2015 - 05:45 AM UTC
Man that is looking great….can I have it..?  Keep us posted……I make sure I come back here everyday to see the progress….looking good there buddy!!!
 Keep us posted……I make sure I come back here everyday to see the progress….looking good there buddy!!!
 Posted: Wednesday, July 08, 2015 - 06:21 AM UTC
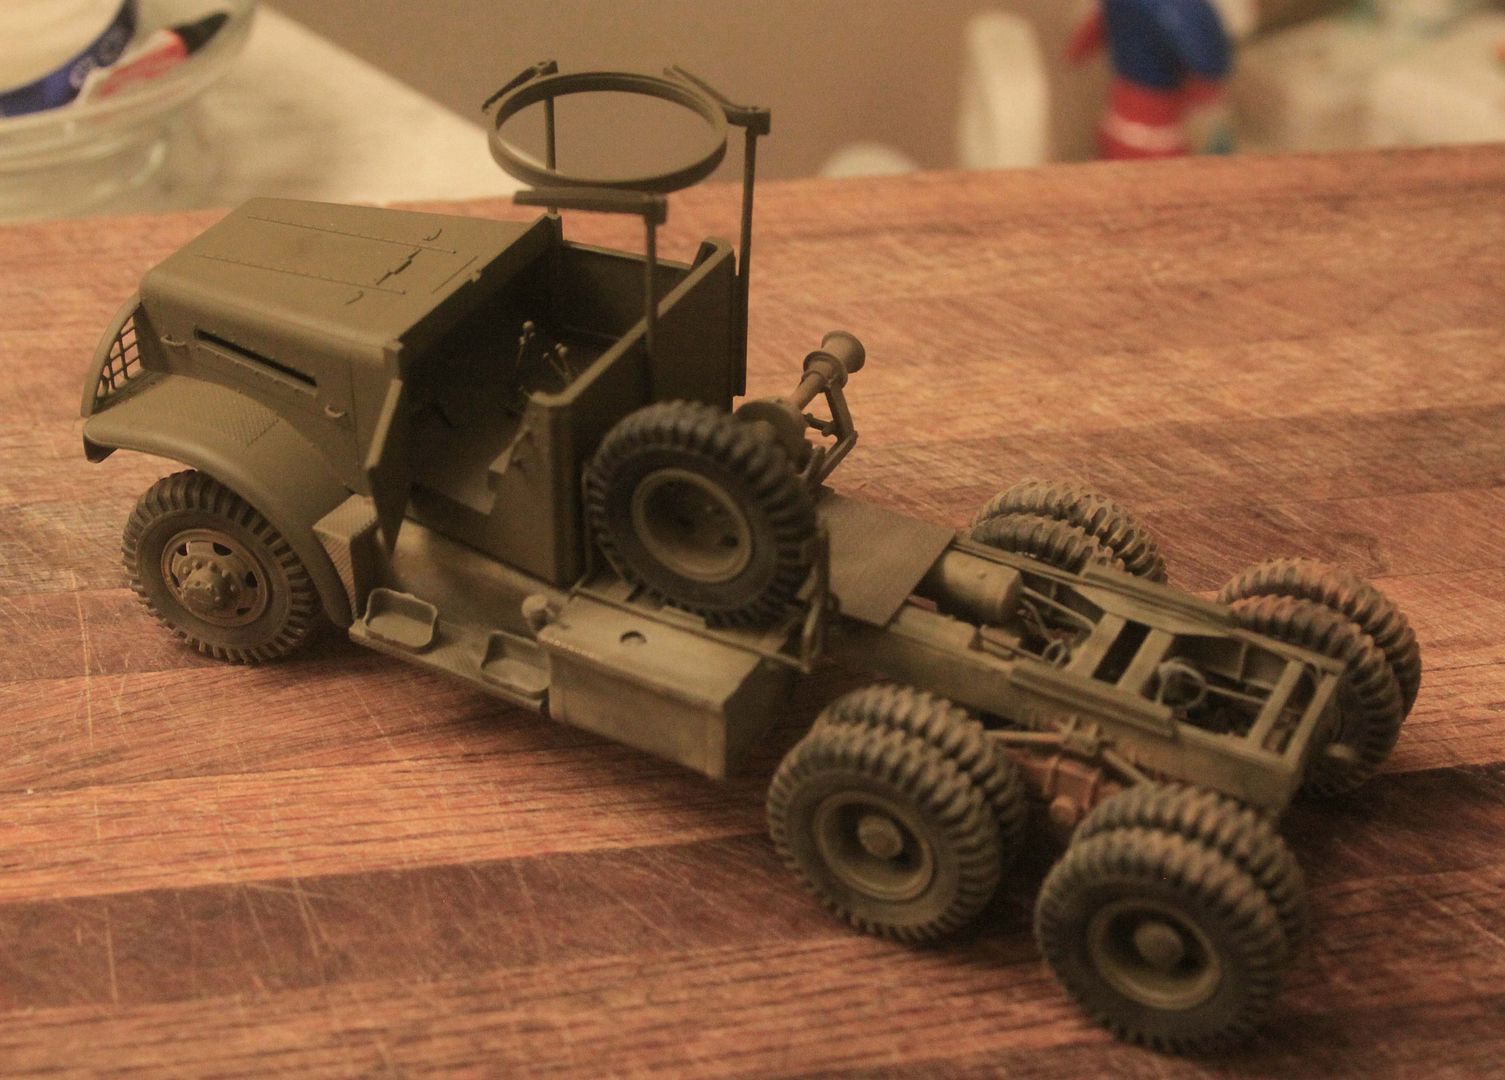
Did not want anyone to think I had given up on the tractor. I am still moving ahead on both the tractor AND the trailer.
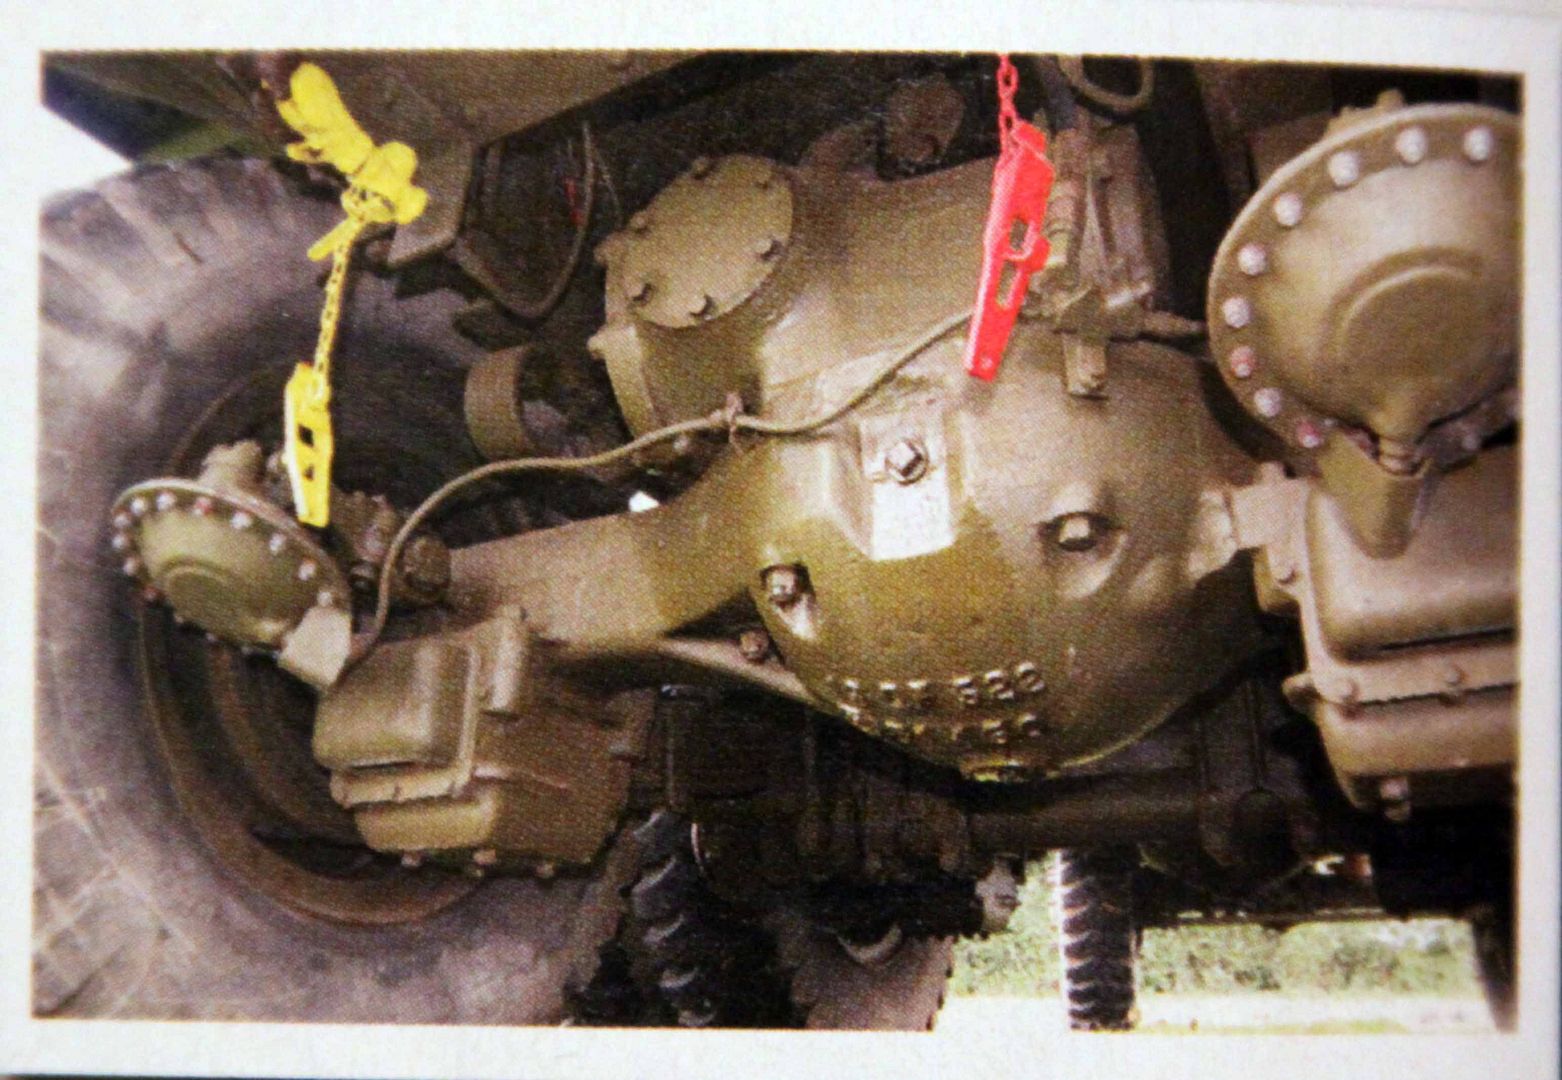
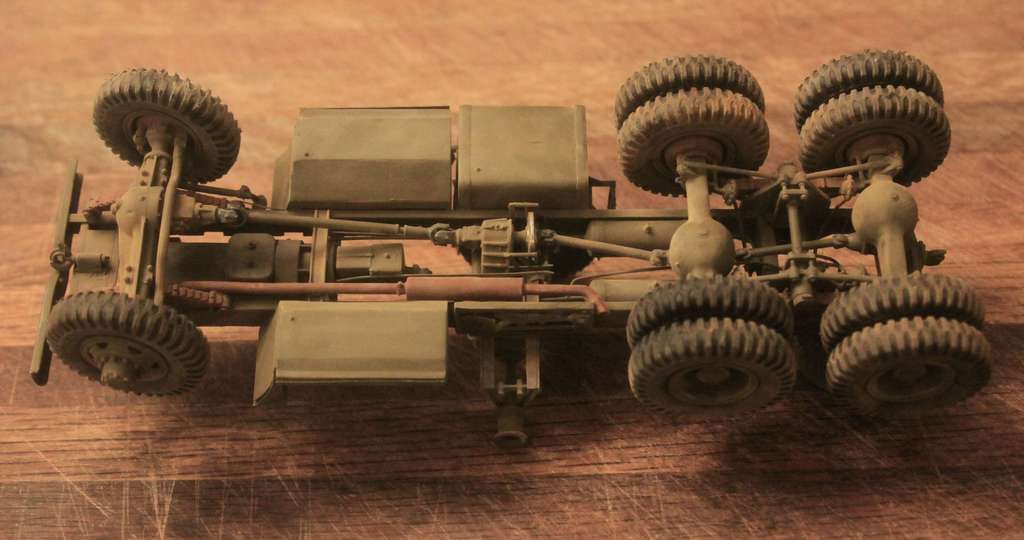
I have now completed the finish detail painting on the underbody and chassis (rusted muffler, rubber brake lines, rust on the leaf springs, rust on the brake drums, oil on the U-joints and drain plugs) and also added my favorite dose of pastel chalk "dusty" weathering to bring out the detail.
But still there is plenty of work left to do!


Posted: Wednesday, July 08, 2015 - 06:26 AM UTC
Posted: Thursday, July 09, 2015 - 06:56 PM UTC
Posted: Thursday, July 09, 2015 - 07:28 PM UTC
WHY DO THEY CALL THEM "GLADHANDS"?

Railroad Definition:
Gladhand connector: - "A quick coupling and uncoupling connector at the end of a trainline air hose that resembles a pair of shaking hands when hoses are connected."
(There is one "hand" on each end of every railroad car and engine that controls the brakes for the entire train.)
All semi-tractors have gladhands at the rear to attach to an identical set on the semi-trailer controlling ALL the vehicle brakes.
Trucks pulling multiple trailers will have gladhand connectors on both ends of every trailer, just like railroad cars.
Posted: Friday, July 10, 2015 - 07:57 PM UTC
Removed by original poster on 07/13/15 - 02:33:04 (GMT).
Removed by original poster on 07/13/15 - 02:35:32 (GMT).
Posted: Sunday, July 12, 2015 - 09:52 PM UTC
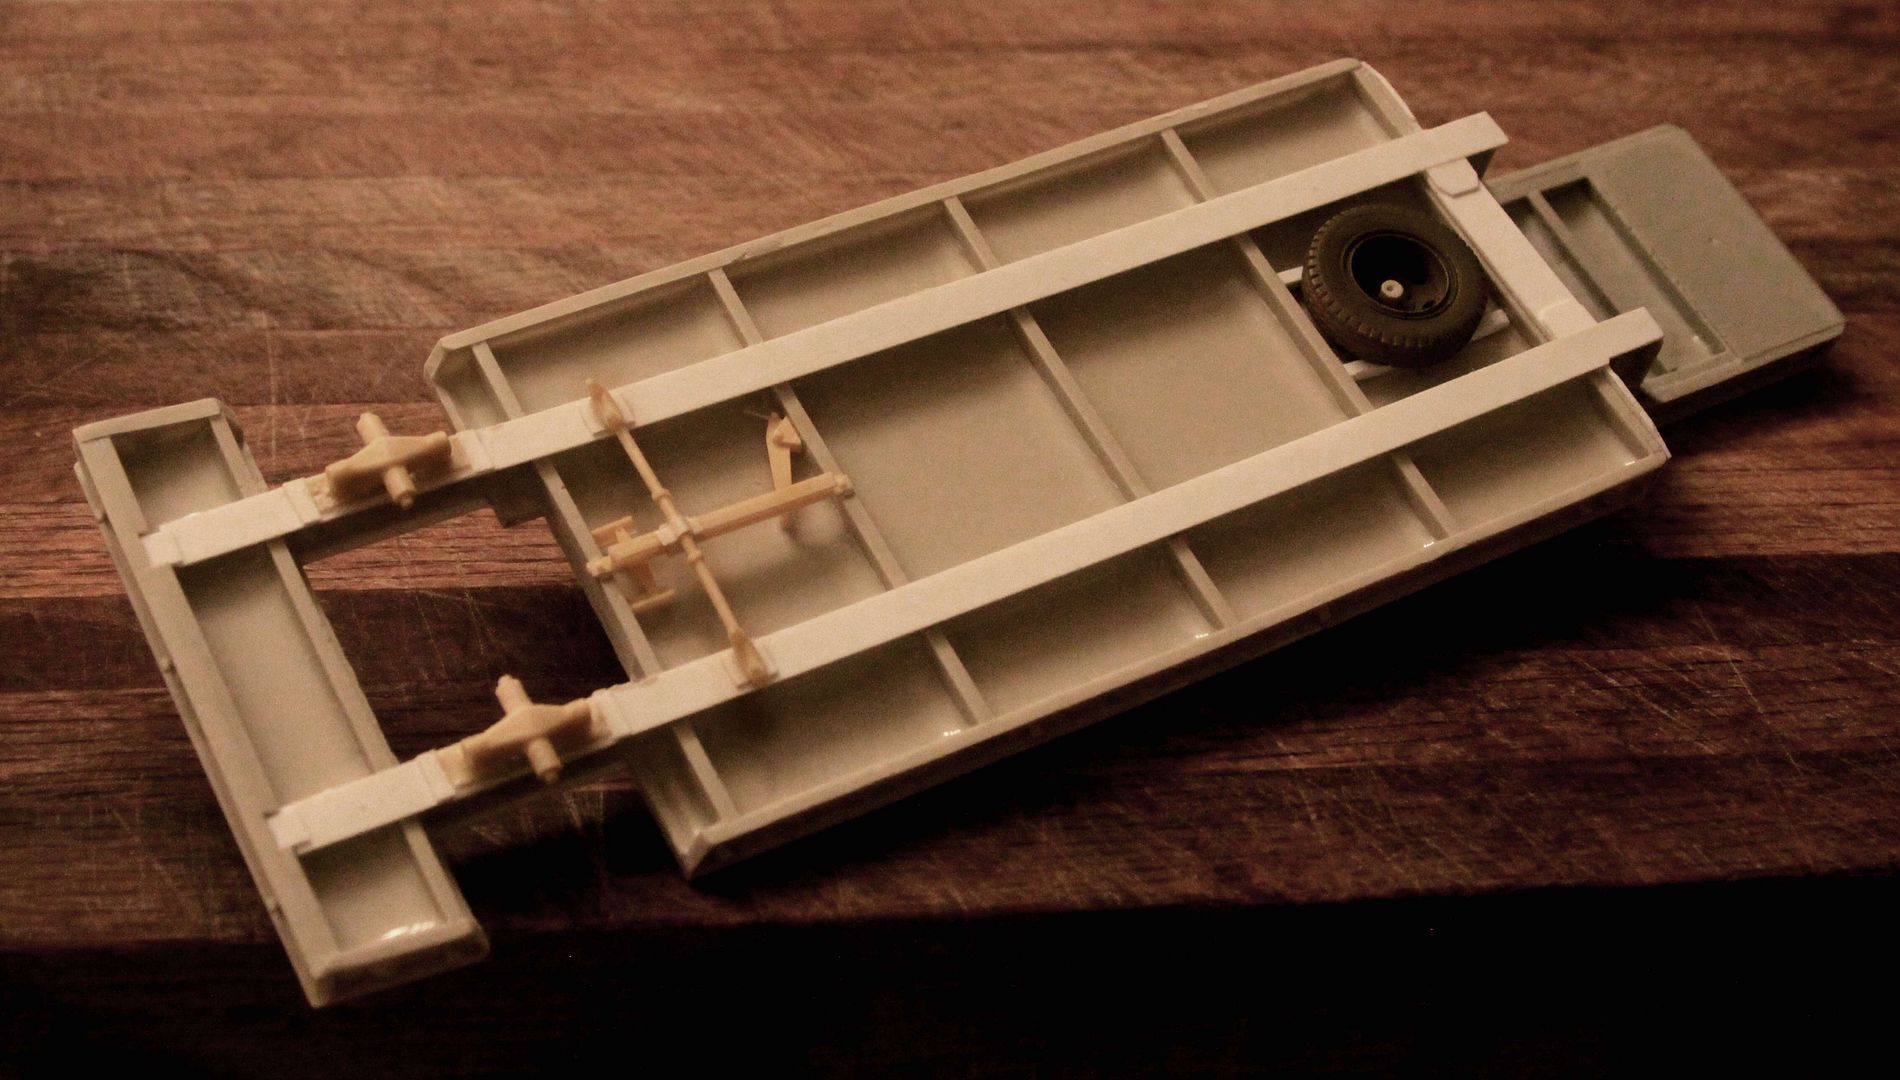
I had to backup and do some restructuring on the trailer this weekend, I had to strip out all the existing brake rigging!
The P.S.P. instructions had the brake shaft and rigging hanging down below the main structural members. In reality this would put it in the perfect location to get knocked off wherever the trailer went over a high spot in the terrain. In actuality all this gear is intended to be mounted BETWEEN the structural members and out of harm's way.
. . . . . . . . . . . . . . . BEFORE . . . . . . . . . . . . . . . . . . . . . . . . . . . . . . . . . AFTER . . . . . . . . . . . . . . . . . .


Posted: Monday, July 13, 2015 - 11:59 PM UTC
Posted: Tuesday, July 14, 2015 - 08:02 PM UTC
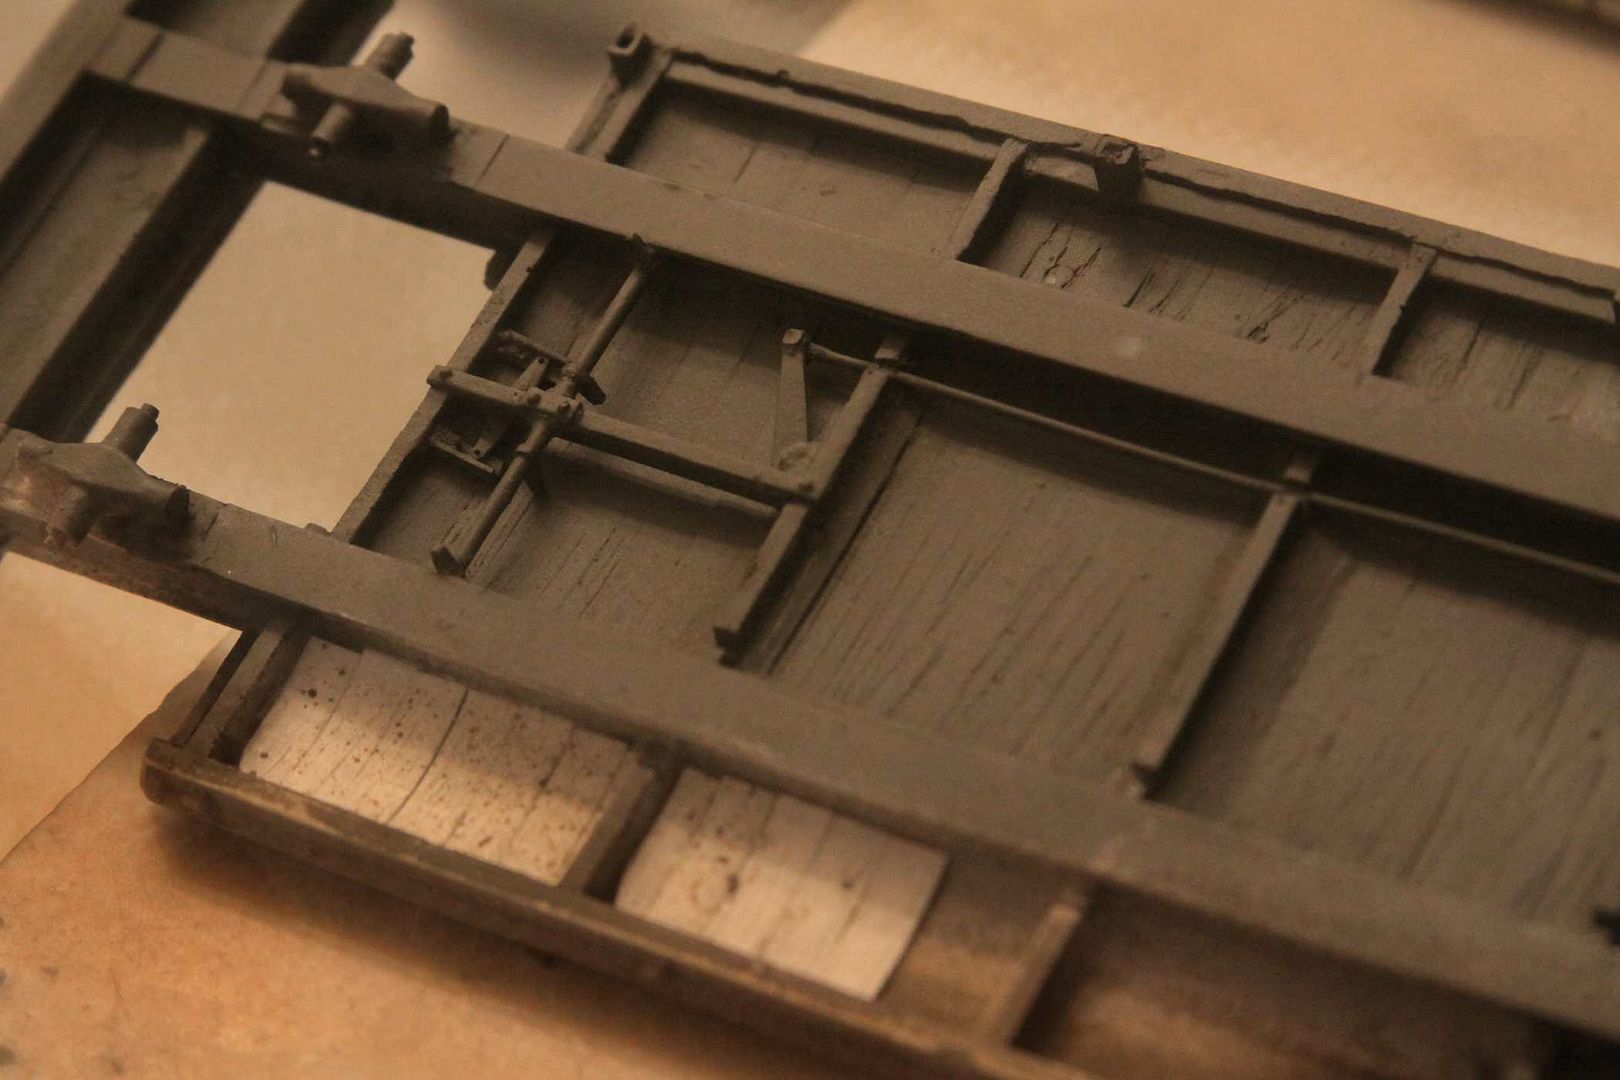
Trailer underbody detail is coming along. Still need to add brake cylinders, air tank and piping details.

Posted: Tuesday, July 14, 2015 - 09:35 PM UTC
OK, only slightly off topic; but check out this White fuel truck with fuel trailer all covered up and disguised!


pgb3476

Joined: March 11, 2007
KitMaker: 977 posts
Armorama: 976 posts

Posted: Tuesday, July 14, 2015 - 09:38 PM UTC
That does look cool.
Posted: Wednesday, July 15, 2015 - 12:32 AM UTC
Check out this thread and see what you think:
https://armorama.kitmaker.net/forums/237158

https://armorama.kitmaker.net/forums/237158
https://armorama.kitmaker.net/forums/237158

https://armorama.kitmaker.net/forums/237158
covkid

Joined: March 13, 2015
KitMaker: 252 posts
Armorama: 194 posts
Posted: Wednesday, July 15, 2015 - 01:30 AM UTC
Hi Michael,
your build is looking awesome.In relation to the double trailer rig I know that the USAAF in Australia did this quite regularly using Autocar U4144T tractors. The rig shown appears to be a Corbitt and may be early post war.Hope this is of interest.
Regards Jason
Posted: Wednesday, July 15, 2015 - 05:33 AM UTC
Hey what's up with these nice little etched hood grills? The instructions clearly show them as going on from the outside. So I held off installing them till later in the process but they are way oversized and must be glued on from the inside of the hood.
Really wish I had known this sooner; as in from the first moment!
To anyone else building this vehicle; you've been forewarned.


Way too large to fit in the grooves!
Really wish I had known this sooner; as in from the first moment!
To anyone else building this vehicle; you've been forewarned.


Way too large to fit in the grooves!
Marknasim

Joined: January 03, 2010
KitMaker: 54 posts
Armorama: 35 posts
Posted: Wednesday, July 15, 2015 - 06:37 AM UTC
Looking good…can’t believe that photo etched part does not fit…..looks like we need to hope for a replacement PE set for this kit…like really soon….. how could they have messed up with something so simple…WOW
Posted: Wednesday, July 15, 2015 - 08:26 AM UTC
Had to stand on my head and get Ant-Man to get in there and hold the grill screens steady while I handled the CA glue but we made it! The screens are glued in from the inside.
Posted: Wednesday, July 15, 2015 - 08:40 AM UTC
MrRoo

Joined: October 07, 2002
KitMaker: 3,856 posts
Armorama: 2,984 posts

Posted: Wednesday, July 15, 2015 - 10:28 AM UTC
nope they are way too big as they are meant to go in from the outside. Only hope is too try and cut them down by removing the bar on each side. 

 |


