

1⁄35Tasca Sherman III
8
Comments
Construction
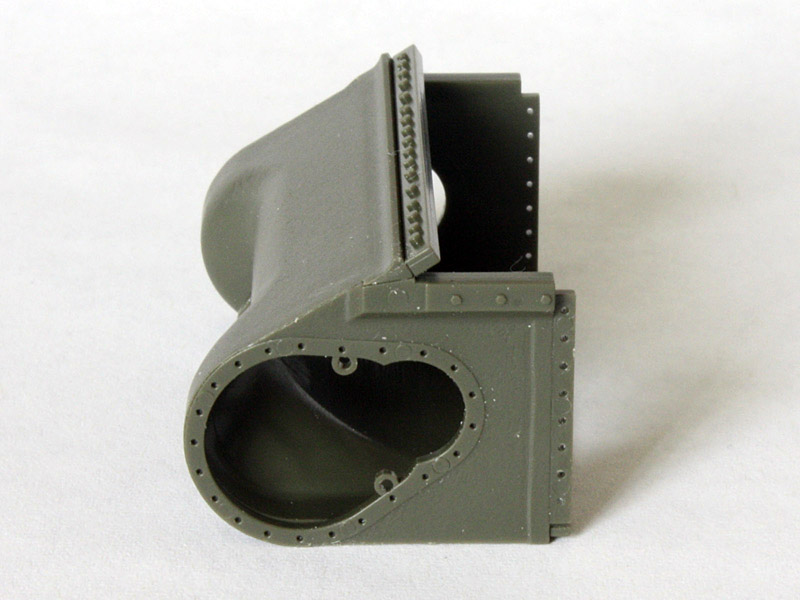
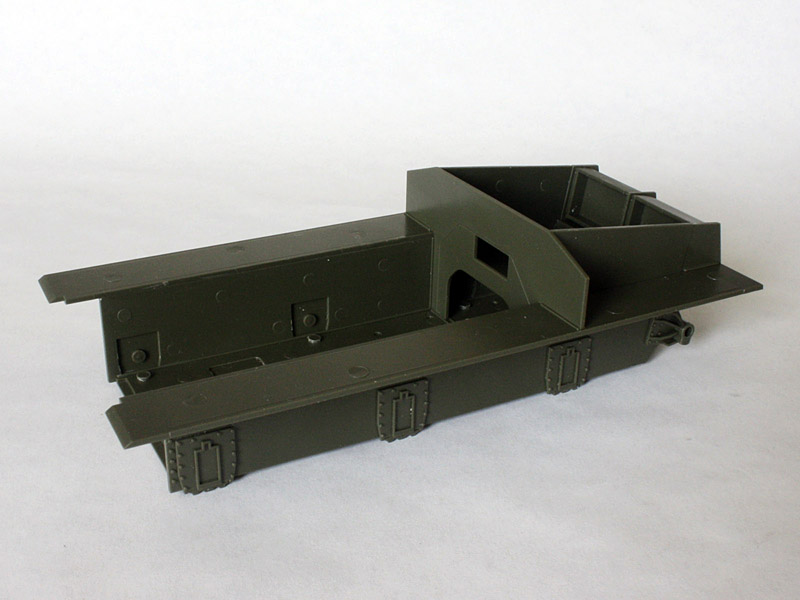
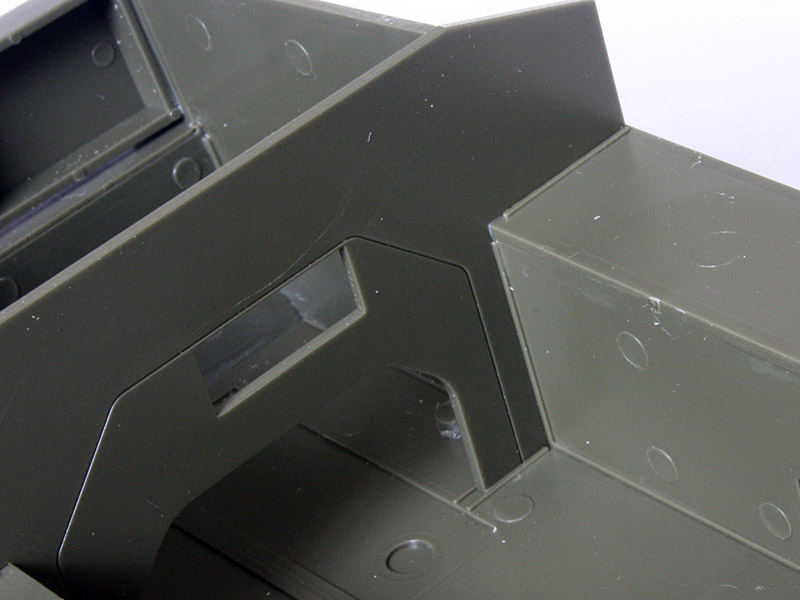
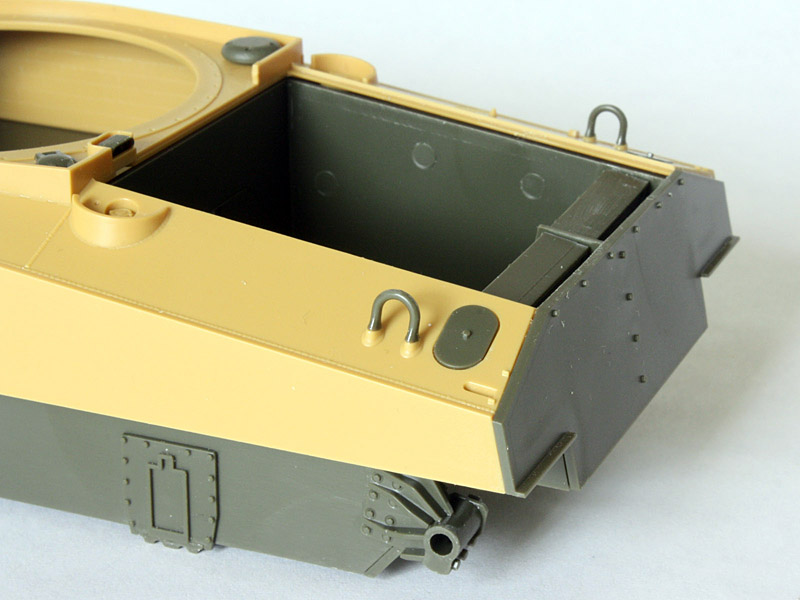
Starting with the transmission I found this went together extremely well, even compared to the new Dragon M7. The fit of parts is just painfully precise. And, the flanges where the real thing is bolted to the hull sides have a row of empty holes in case you want to try to model the housing removed from the tank except without an inner face this would be an empty armoured shell. When I added the lugs for the towing shackles I noticed the joint will need to be blended in with a little Mr Surfacer or good-old glue stippling. And I had to add some appropriate foundry marks from the Archer casting symbols set (AR88007). Next up I assembled the lower hull, and again the parts fit perfectly. (Other manufacturers should take note!) There are guide ridges that effectively create slots for panel edges to ensure exact fit, and in no time I had a fully 3-D hull tub. The gussets for the idler axles pull the rear corners tight, and the radiator screen assembly stiffens the whole box. My only grumble with this stage was that the little plates (B1) under the bogie mounts didnt always fit perfectly. I didnt install part J24 (a bridging strip for the lower edge of the transmission) because frankly it wasnt needed or even visible. After assembling the tub I dry-fitted the upper hull and transmission and was pleasantly surprised to see that there were absolutely no gaps at all. Tasca really did their engineering on these parts! And this despite substituting an upper hull from a different Tasca kit I started adding details to the upper hull as per the kit instructions with three exceptions. I didnt open the mounting holes for tools on the rear plate (my model will have a parcel shelf here), I added the direct-vision visors, and I added pads under the front lifting loops from 0.010x0.080 strip. I added the flat covers for the grouser bins for want of information (the kit offers two different styles of vent too), but the whole rear deck will be covered in a tarpaulin so they wont be seen. For the visors I used parts E11 and E12 from the lower hull sprue, and flaps (M23). I then added the appliqué armour plates referring to the photos to make sure they were in the right places. Note that this all but hides the visors

About the Author


FROM: ENGLAND - EAST ANGLIA, UNITED KINGDOM
A Yank living overseas on a long-term basis, I've been building tanks since the early '70s. I relish the challenges of older kits (remember when Tamiya was "new"?...) because I love to scratch-build.
Comments

Hi Tom,
Cracking build with and excellent finish. Congrats you have a real gem here.
Enjoyed the build story very infomrative.
Al
JUL 24, 2011 - 08:04 AM

Tom, congrats on another great one form you! the scribing on the sponsons is first class.
Cheers!
Stefan
JUL 31, 2011 - 12:12 AM

Tom,
thanks for sharing your build with us.
Outstanding your "assembly guide".
Did I interpreted it correctly.
You show a "re-furbished" SHERMAN III with cast DV hoods that was upgrade by the so-called "Blitz Program", i.e. applique armor, and M34A1 mantlet!
Outstanding work!
Cheers
Hauke Krapf
AUG 05, 2011 - 09:02 AM
Hauke,
Yes - it definitely looks to have been refurbished at some point. The applique armour, wide mantlet, and MG stowage brackets on the turret are late features, but the sun compass bracket tells me the turret was used in the Africa campaign. I have no other detail - just what can be seen in the three original photos. But then that's half the fun!
Tom
AUG 06, 2011 - 05:39 AM

Very comprehensive review, Tom. Makes me wish I wasn't putting a stop to my WWII era. Maybe I'll try to fit one in as a "waiting for the glue to set and paint to dry" kit.
AUG 06, 2011 - 05:53 AM

Tom,
That is artistry. What a wonderful job you did mate. Thank you for taking the time to walk us through.
Cheers, Stu
SEP 11, 2011 - 02:10 AM
Copyright ©2021 by Tom Cromwell. Images and/or videos also by copyright holder unless otherwise noted. The views and opinions expressed herein are solely the views and opinions of the authors and/or contributors to this Web site and do not necessarily represent the views and/or opinions of Armorama, KitMaker Network, or Silver Star Enterrpises. All rights reserved. Originally published on: 2011-07-24 00:00:00. Unique Reads: 25139

WEB HOSTING BY


Copyright ©2021 Armorama and Kitmaker Network, a subsidiary of Silver Star Enterprises
All Rights Reserved. Please read our Conditions of Use and Privacy Policy.
All Rights Reserved. Please read our Conditions of Use and Privacy Policy.