

1⁄35Tasca Sherman III
8
Comments
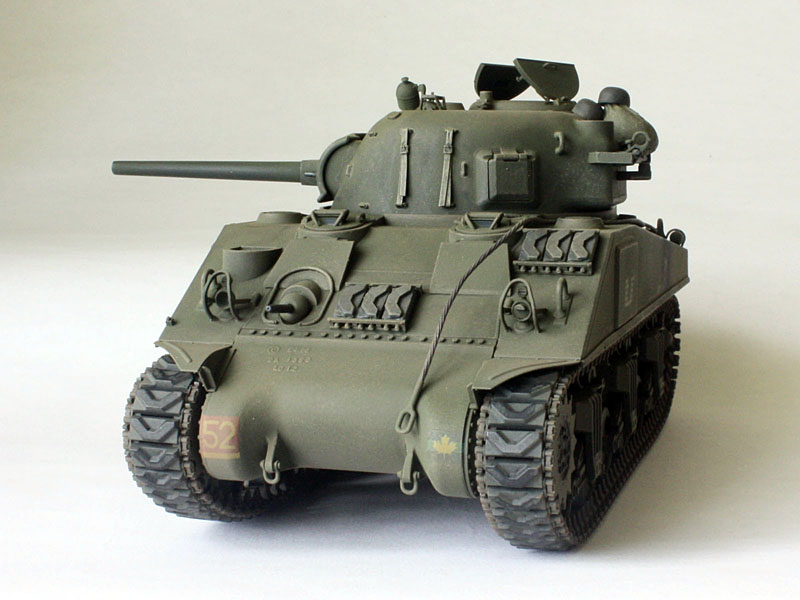
Weathering and tracks
Weathering is a tricky business. I wanted a tank that was lightly dusty from fighting its way into town, so no real wet mud build-up. To start, I used a grimy wash made from Pollyscale Grimy Black and some Boxcar Red, diluted heavily with wet water made from de-ionised water with a few drops of Ilfotol flow enhancer added. (I got a pint bottle of Ilfotol years ago it should see me through a career! Works great for thinning carpenters glue for woodworking too Of course, Kodak Photo Flow is just as good.) This grime wash only just about wetted the tank, toning down the green like a filter and settling into the crevices. With the tank still damp I could then add pin washes of black and of dirt, again acrylics with wet water. The results look a bit gaudy, but an overall subtle dry-brush of dirt & dust colours soon tames it. The final touch was a targeted overspray of thinned Tamiya Earth (XF-52) mainly on the sides and lower parts to add recent road dust. Then came those tracks. I glued them into loops first, and found that the Tasca vinyl takes a little time for the plastic cement to get a grip. I found it best to clamp the joints overnight, and used some plastic strip between the teeth on the inside to spread the force until the next day. Painting started with an airbrush of Tamiya NATO Black (XF-69) followed by Red Brown (XF-64) on the end connectors. (I used an old business card held behind the teeth to shield the rubber pads. Scrubbing my earthen fingers reminded me I need to get some rubber gloves!) Once done, I then sprayed on thinned Tamiya Earth mainly on the outside pad faces and end connectors. Then I dry-brushed the rubber chevrons with a mix of Vallejos Dark Rubber and some black to simulate where road contact has scraped the dirt off. The bogies got the same treatment as the hull, but with the added touch of some gun-metal along the wheel rims and edges of the return roller where contact with the track teeth scrapes the paint away. The roller faces were then streaked with reddish-brown rust where the tracks grind over them with all that grit. After the bogies had been glued on I added the tracks and sprockets, saving the idlers for last. These were then twisted on their eccentric-crank mounts to tighten up the track, just like the real thing. A drop of liquid cement on these mounts sealed the deal. Note however that the tracks float above the return skids and rollers I had to glue them down around the top of the idler and the track skids. Ill also need to add some ballast to keep it sitting squarely, since the tracks tend to pull the outer wheels up, but this is less pronounced once the tracks are glued down.
About the Author


FROM: ENGLAND - EAST ANGLIA, UNITED KINGDOM
A Yank living overseas on a long-term basis, I've been building tanks since the early '70s. I relish the challenges of older kits (remember when Tamiya was "new"?...) because I love to scratch-build.
Comments

Hi Tom,
Cracking build with and excellent finish. Congrats you have a real gem here.
Enjoyed the build story very infomrative.
Al
JUL 24, 2011 - 08:04 AM

Tom, congrats on another great one form you! the scribing on the sponsons is first class.
Cheers!
Stefan
JUL 31, 2011 - 12:12 AM

Tom,
thanks for sharing your build with us.
Outstanding your "assembly guide".
Did I interpreted it correctly.
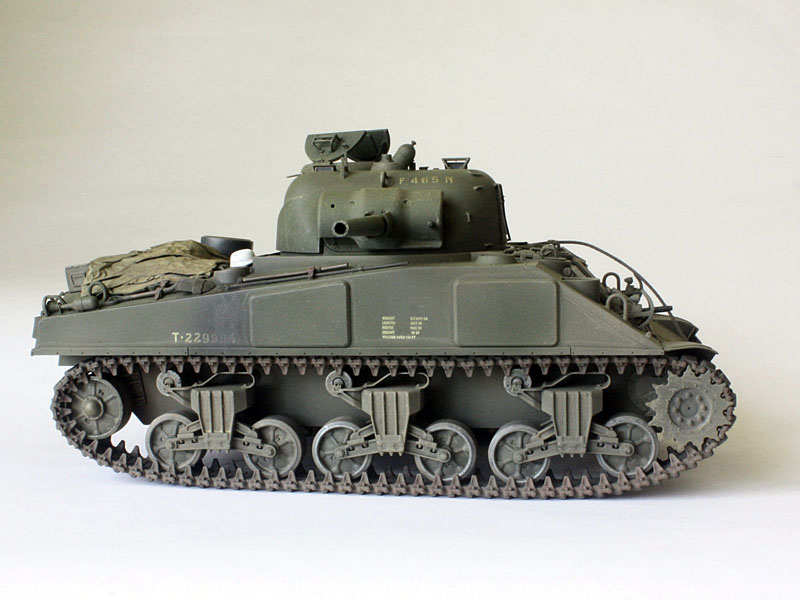
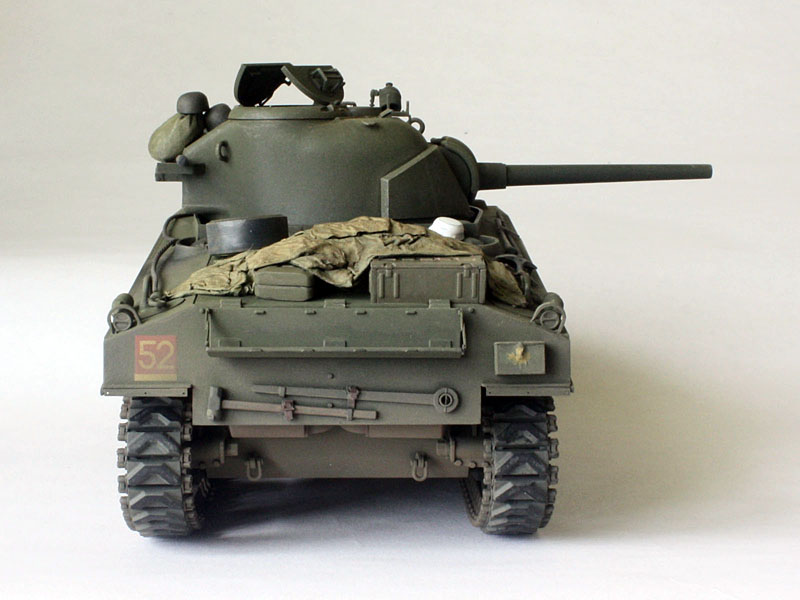
You show a "re-furbished" SHERMAN III with cast DV hoods that was upgrade by the so-called "Blitz Program", i.e. applique armor, and M34A1 mantlet!
Outstanding work!
Cheers
Hauke Krapf
AUG 05, 2011 - 09:02 AM
Hauke,
Yes - it definitely looks to have been refurbished at some point. The applique armour, wide mantlet, and MG stowage brackets on the turret are late features, but the sun compass bracket tells me the turret was used in the Africa campaign. I have no other detail - just what can be seen in the three original photos. But then that's half the fun!
Tom
AUG 06, 2011 - 05:39 AM

Very comprehensive review, Tom. Makes me wish I wasn't putting a stop to my WWII era. Maybe I'll try to fit one in as a "waiting for the glue to set and paint to dry" kit.
AUG 06, 2011 - 05:53 AM

Tom,
That is artistry. What a wonderful job you did mate. Thank you for taking the time to walk us through.
Cheers, Stu
SEP 11, 2011 - 02:10 AM
Copyright ©2021 by Tom Cromwell. Images and/or videos also by copyright holder unless otherwise noted. The views and opinions expressed herein are solely the views and opinions of the authors and/or contributors to this Web site and do not necessarily represent the views and/or opinions of Armorama, KitMaker Network, or Silver Star Enterrpises. All rights reserved. Originally published on: 2011-07-24 00:00:00. Unique Reads: 25139

WEB HOSTING BY


Copyright ©2021 Armorama and Kitmaker Network, a subsidiary of Silver Star Enterprises
All Rights Reserved. Please read our Conditions of Use and Privacy Policy.
All Rights Reserved. Please read our Conditions of Use and Privacy Policy.