

1⁄35Tasca Sherman III
8
Comments
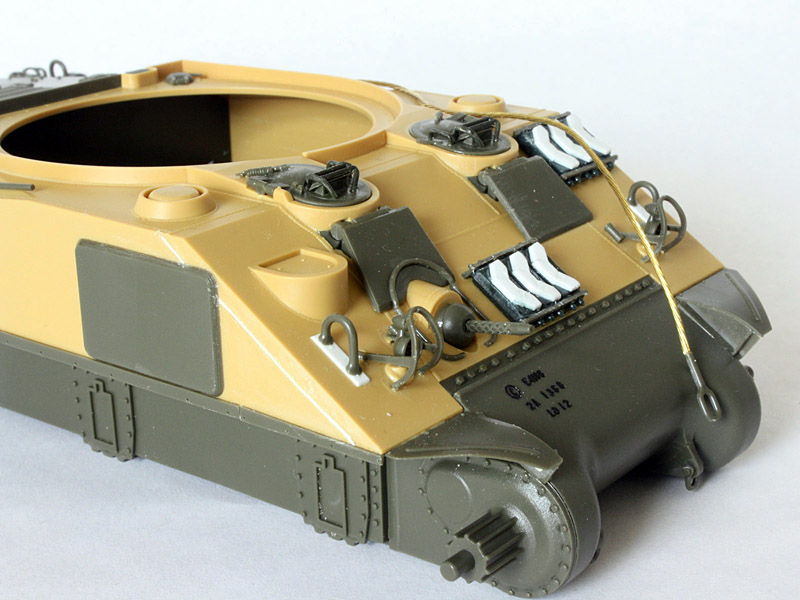
The other detail at the front end is the set of foundry marks I added to the transmission. These early one-piece transmissions were marked with E4186 (the Ordnance drawing number), a serial number for the individual casting, and a batch reference (LO ###) for heat treatment. The marks could be on the upper left side under the hull MG, dead centre of the upper edge (in extra-big lettering), or underneath near the lower bolt strip where nobody can see them. I used Archers excellent resin casting marks decal sheet for the job, cutting as close to the marks as I could since the whole sheet is effectively one big decal. (I needed a magnifying glass to find some of the marks
) As usual, I placed some Micro-Set in the intended spot, added the decal, and top-coated with Micro-Sol to make them snuggle down.
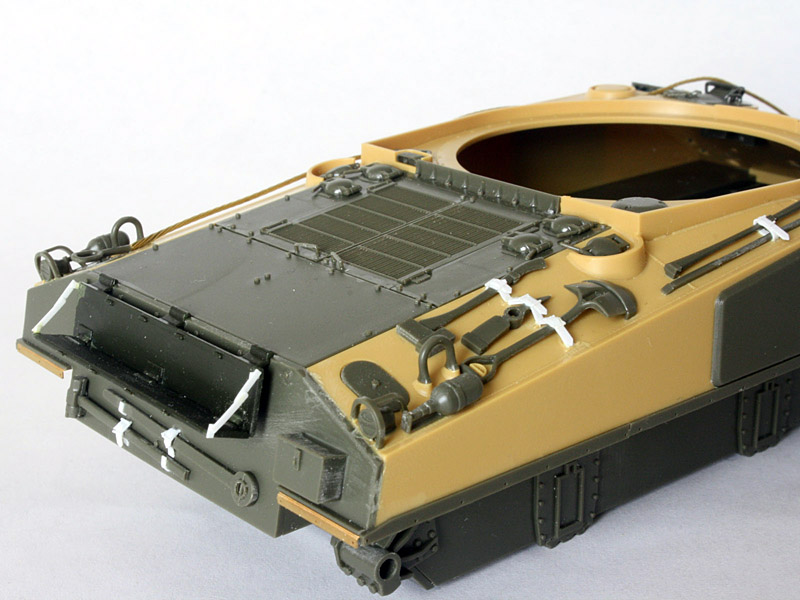
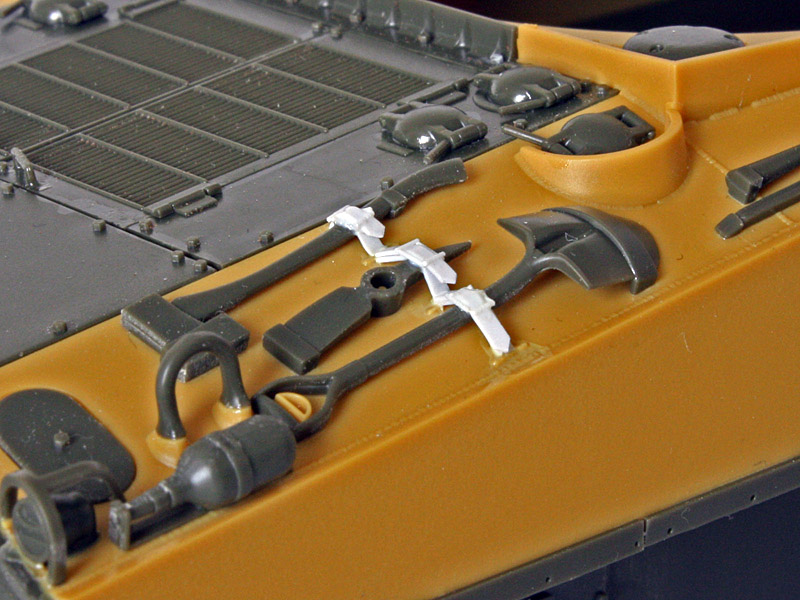
Moving round to the back I added the parcel shelf again from Italeri, but with side braces from 0.010x0.030 strip. Most of the kit details went on as advertised except the spanner and sledge-hammer on the rear plate, which were relocated lower down. None of the tools have any securing straps, so I made mine from 0.010x0.040 strip. I laid one strip over the tool from tie-down to tie-down, and then a second slightly shorter strip with a pointed end, secured at one end only. The buckles are from four short lengths of 0.010 rod laid out in a box shape at the crest of the strap. While this looks ok, the extra work is a shame Tasca ought to include straps.
About the Author


FROM: ENGLAND - EAST ANGLIA, UNITED KINGDOM
A Yank living overseas on a long-term basis, I've been building tanks since the early '70s. I relish the challenges of older kits (remember when Tamiya was "new"?...) because I love to scratch-build.
Comments

Hi Tom,
Cracking build with and excellent finish. Congrats you have a real gem here.
Enjoyed the build story very infomrative.
Al
JUL 24, 2011 - 08:04 AM

Tom, congrats on another great one form you! the scribing on the sponsons is first class.
Cheers!
Stefan
JUL 31, 2011 - 12:12 AM

Tom,
thanks for sharing your build with us.
Outstanding your "assembly guide".
Did I interpreted it correctly.
You show a "re-furbished" SHERMAN III with cast DV hoods that was upgrade by the so-called "Blitz Program", i.e. applique armor, and M34A1 mantlet!
Outstanding work!
Cheers
Hauke Krapf
AUG 05, 2011 - 09:02 AM
Hauke,
Yes - it definitely looks to have been refurbished at some point. The applique armour, wide mantlet, and MG stowage brackets on the turret are late features, but the sun compass bracket tells me the turret was used in the Africa campaign. I have no other detail - just what can be seen in the three original photos. But then that's half the fun!
Tom
AUG 06, 2011 - 05:39 AM

Very comprehensive review, Tom. Makes me wish I wasn't putting a stop to my WWII era. Maybe I'll try to fit one in as a "waiting for the glue to set and paint to dry" kit.
AUG 06, 2011 - 05:53 AM

Tom,
That is artistry. What a wonderful job you did mate. Thank you for taking the time to walk us through.
Cheers, Stu
SEP 11, 2011 - 02:10 AM
Copyright ©2021 by Tom Cromwell. Images and/or videos also by copyright holder unless otherwise noted. The views and opinions expressed herein are solely the views and opinions of the authors and/or contributors to this Web site and do not necessarily represent the views and/or opinions of Armorama, KitMaker Network, or Silver Star Enterrpises. All rights reserved. Originally published on: 2011-07-24 00:00:00. Unique Reads: 25139

WEB HOSTING BY


Copyright ©2021 Armorama and Kitmaker Network, a subsidiary of Silver Star Enterprises
All Rights Reserved. Please read our Conditions of Use and Privacy Policy.
All Rights Reserved. Please read our Conditions of Use and Privacy Policy.