

1⁄35StuG.III Ausf.G Late Production Dec.1944
19
Comments
Brushes to the forefront
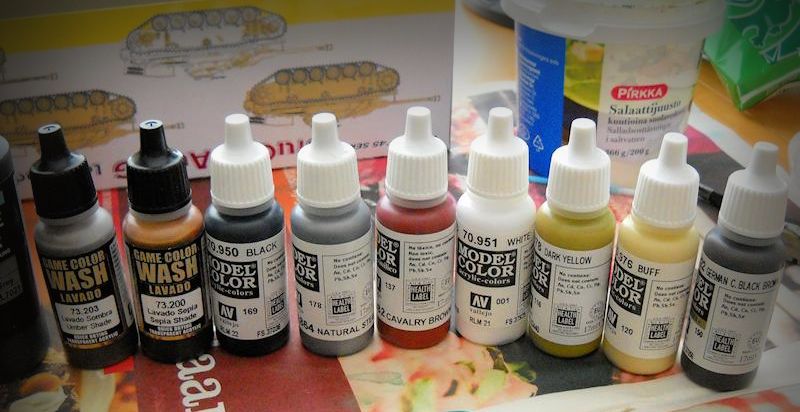
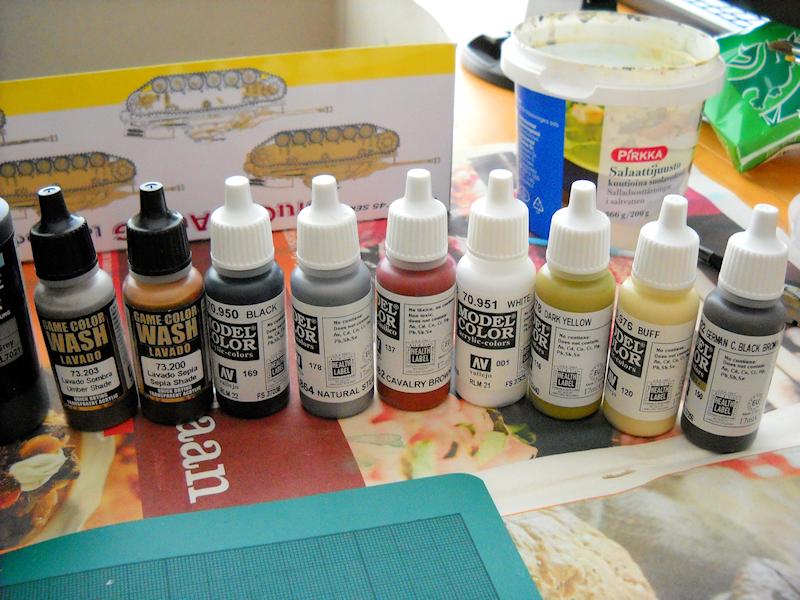
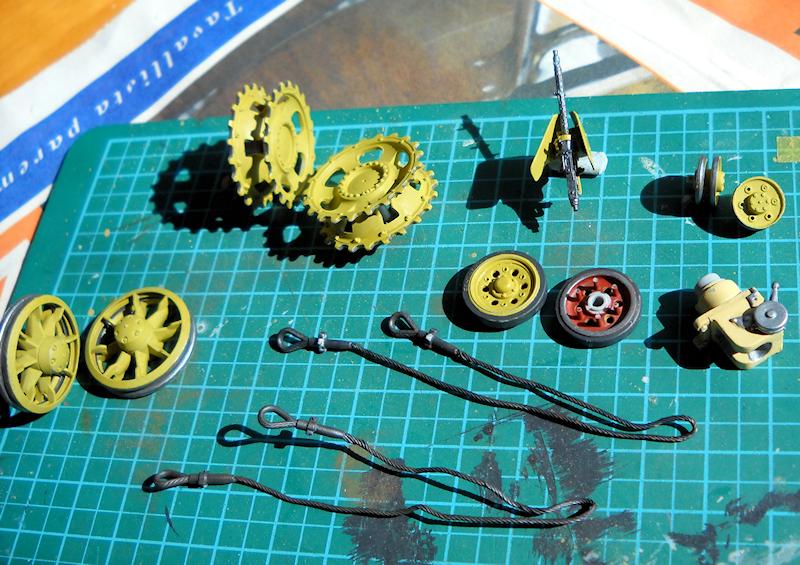
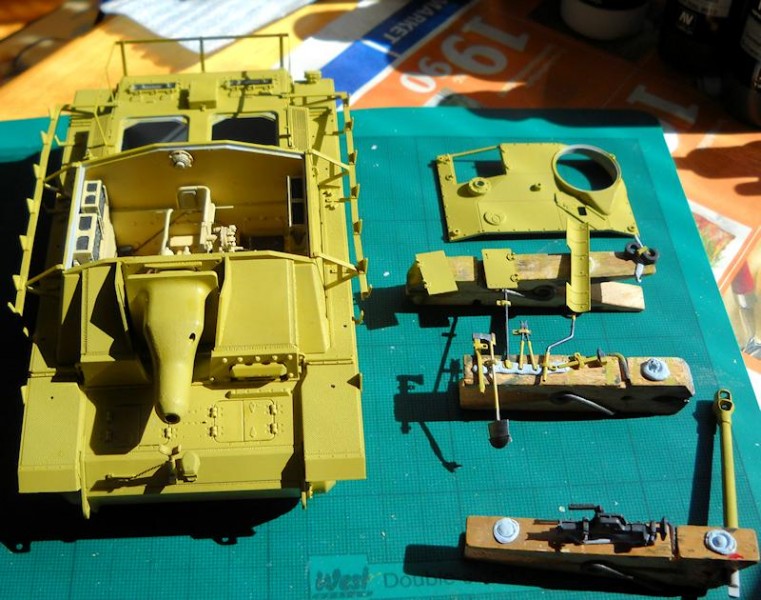
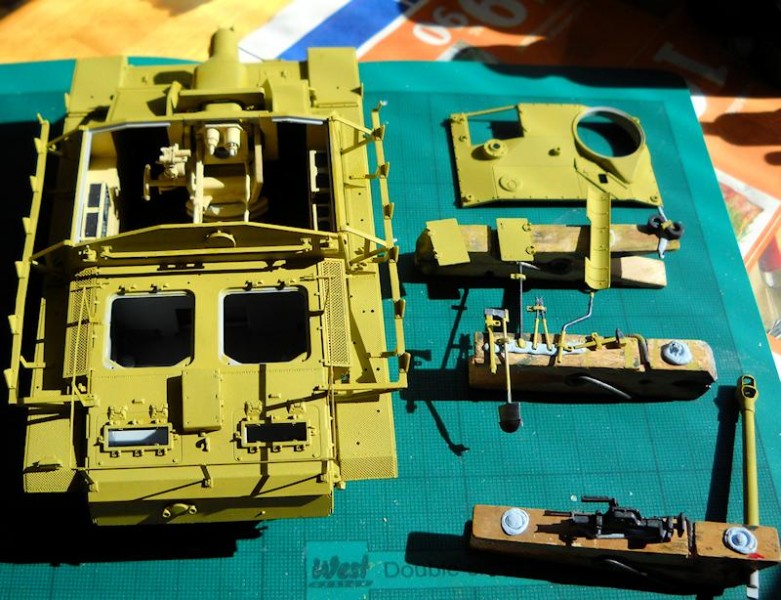
Now that we've got all the sub-assemblies done, it's time for some more painting; as I mentioned earlier, I paint as I go wherever possible. I'm using Vallejo paints and primers, and both Model Color and Game Color with the exception of testing AK Grey Primer for the interior and a few repair coats (AK's grey covers better than Vallejo's and is sandable). If you've never used acrylics, or think they don't work well, let's go over a few basics first. There seems to be a misconception that you need to prime with a solvent based paint, or to base coat from a spray can etc., to get the acrylics to stick. This is not true. While it is true that solvent based paints will stick to bare plastic more easily, acrylics will do just fine on their own, they just need a little more encouragement. What I mean is that water and plastic don't like each other very much, similar to oil and water. When you first apply acrylics, you may notice the paint doesn't want to stick to anything, and will just sort of pool and puddle in corners and so on. That's surface tension. To overcome this, you can add flow enhancer, or even regular liquid soap to reduce the tension, but this alone won't do the trick. You will need to pull the paint around a little at first. Each time you make a pass with the brush, a tiny amount of paint will stick to the surface, each subsequent pass adds more, and so on, and so on until it covers completely. Don't be tempted to smear paint all over the place; the paints do self-level nicely, but only up to a point. You will need patience and a bit of practice. Several light coats work better than one heavy coat, though that applies to all paints, not just acrylics. Acrylics offer a few advantages to enamels. First off, they dry very quickly, so no need to wait hours to add the next coat or colour. You can add better looking translucent layers (in my opinion), they clean up and thin with water, and lastly, don't stink up your modeling area. The only thing they don't do as well as enamels or oils, is wet blend. They dry too quickly for that, even when you add retarder. However, as I mentioned, they produce lovely translucent layers, so it's just a matter of practicing a new technique. Brush selection plays an important part too. For general coverage, flats or blunt rounds are best. Don't overload the brush either, work in small sections, and remember to swish your brushes every minute or so to keep the paint form drying on the bristles. Wash them thoroughly after each session and preserve the points of detail brushes by pulling them between your lips. I base coated with Dark Yellow with a touch of Light Grey Vallejo primer. The Dark Yellow looks a little too green to me. Vallejo's primers are quite nice to work with, they coat well for the most part, the lightness of the colour is the biggest factor, and are quite durable when cured. One thing they don't do well is sand or react well with super glue. This is probably due to the polymer formula used. When applied properly, the paint actually forms a skin, and this is an added bonus; it helps to keep photoetched pieces in place. The paint levels well on its own, and really gets into nooks and crannies. Two to three coats is usually plenty for good coverage, this just being a base coat, remember. For the top coat I used Dark Yellow, and then applied some thinned, lightened layers to high points and various protrusions to achieve a modulated affect. I prefer this technique to dry brushing, its a little more subtle and provides a more random feel. Some pin washes and a filter with pigments and voila, one dunkelgelb StuG. Weathering is kept to a bare minimum as I wanted a new vehicle just delivered to the unidentified unit on the Eastern Front that Dragon is so fond of providing as a marking option. Speaking of marking options, there is a plethora of dearth with this kit. Four options, two of which are adorned with, well, nothing. Seriously?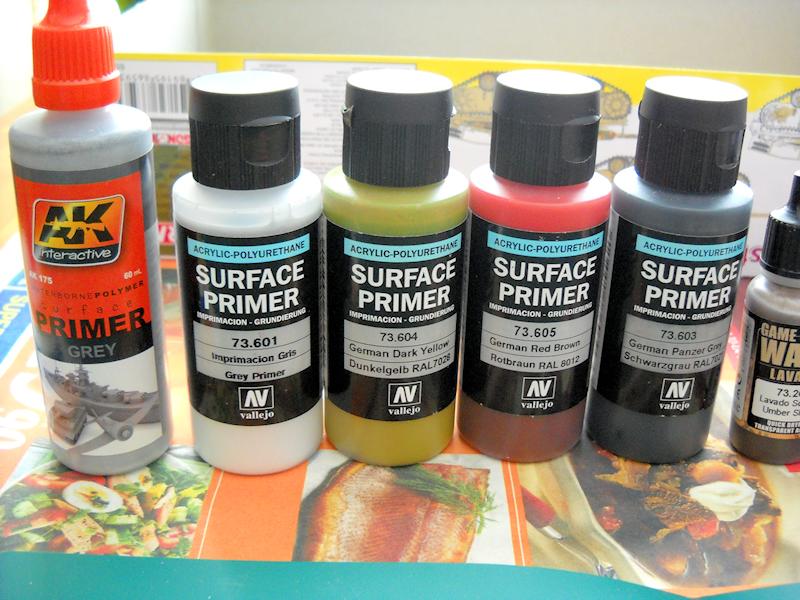


About the Author


FROM: UUSIMAA, FINLAND
I got my first kit when I was about 7 or 8 and was immediately hooked. Magazines such as Fine Scale Modeler helped to push me to go beyond what kits had to offer before photo etch and resin were commonplace. I took a break of about 8 years and now I'm back at it making up for lost time. When I'm not...
Comments
Do you sometimes get the impression that Dragon has become so overconfident in their 3D modelling and prototyping that they actually don't bother sitting a guy down at a table with a tube of glue to test assemble one of these before they run the production and ship? I am seriously beginning to think so.
SEP 13, 2013 - 06:27 PM

Does a bear wear funny hats at birthday parties?
But in all seriousness, I am amazed, and not in a pleasant way, at the number of parts that have fit issues and it's not just with this kit either. The worst seem to be the simplest too. For instance, a simple drop in part will have a hole that needs filler. You would think that the CAD driver would check measurements against each other, but maybe that's just me. In contrast, I recently fiddled with a Griffon early smoke candle rack and the fit was impossibly bang on for pieces that small, taking into consideration that etch has a bit of give and take with the process used. While the issues can be overcome, they are issues that should not be present for a major player like Dragon. I can forgive cottage industry manufacturers with engineering and fit, but not so easily with a major manufacturer. Even the ancient Tamiya Leopard 1A4 I had started a while back fit well.
Kimmo
SEP 13, 2013 - 11:17 PM

nice review, I read for some place the only wrong in this kit is because is dont final production for some part in the ass of this tank. But is really nice kit (except for the tracks, I prefer the Tamiya tracks or old Dragon in plastic).
SEP 14, 2013 - 06:46 AM
Thanks. As I said in the review, I'm not a Stug expert so I can't say too much about what is and isn't correct. Fortunately, there are a lot of unused parts and I think one could practically make any variant of the G/40.
Kimmo
SEP 15, 2013 - 02:12 AM

Very Nice review. I also bought this kit. I've been looking through your masterpiece and how you made it. But I think there might be a bit of an issue...
JAN 06, 2015 - 01:09 PM
This was my first Dragon kit in 1/35. I think I'll stick with Tamiya 1/35...
JAN 08, 2015 - 08:58 AM
This was actually my first modern Dragon as well, there is definitely an adjustment to be made going from Tamiya to Dragon, or any of the other new manufacturers these days. Lots of detail, lots of potential to get frustrated. Patience is the key.
Kimmo
JAN 08, 2015 - 01:57 PM
Uh, no, thanks.
Tamiya kits are for the most part too simplified.
Kimmo, that's a very extensive review and a credit to the site. I like your yellow pre-shading under the Dunkelgelb.
JAN 09, 2015 - 02:40 AM
Thanks Bill. When I was writing it up, I thought it was far too lengthy but I wasn't really sure where to start trimming text so just left it as is. I was rather pleased with the end result of the dunkelgelb, and going over the pics again, I can't help but notice those tracks really don't do the kit justice.
Kimmo
JAN 09, 2015 - 06:44 PM
Copyright ©2021 by Kimmo Happonen. Images and/or videos also by copyright holder unless otherwise noted. The views and opinions expressed herein are solely the views and opinions of the authors and/or contributors to this Web site and do not necessarily represent the views and/or opinions of Armorama, KitMaker Network, or Silver Star Enterrpises. All rights reserved. Originally published on: 2013-09-10 22:05:54. Unique Reads: 35745

WEB HOSTING BY


Copyright ©2021 Armorama and Kitmaker Network, a subsidiary of Silver Star Enterprises
All Rights Reserved. Please read our Conditions of Use and Privacy Policy.
All Rights Reserved. Please read our Conditions of Use and Privacy Policy.