1⁄35Stug III Ausf A Build
11
Comments
Painting
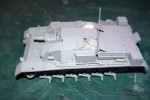
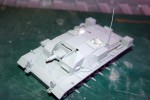
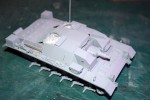
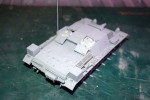
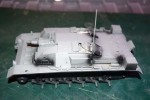
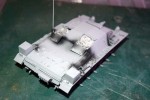
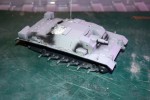
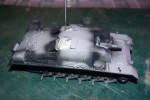
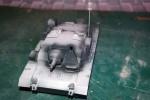
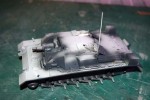
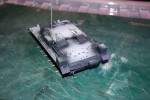
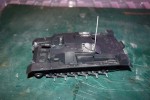
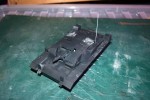
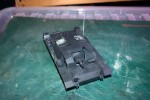
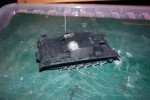
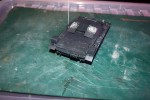
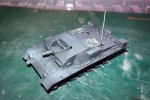
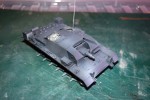
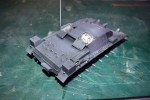
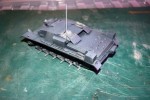
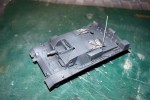
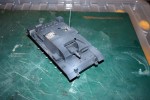
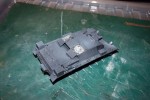
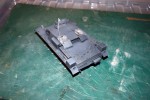
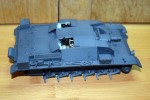
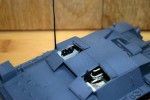
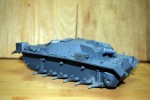
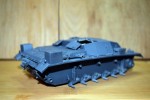
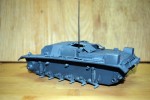
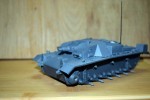
I started the painting with an undercoat of Tamiya surface primer from a rattle can as I like the result this product gives me. The recesses I filled in the left mudguard are the only area where I would have liked a better finish, but I can hide this defect easily enough with some added stores or a tarpaulin. All of the finishing options provided for this Stug III A are grey; accurate for the vehicle, but not an easy finish to get a good result with; yes I know some get great results, I struggle though. To paint the model I used one of the Vallejo AFV Painting Systems, The Dunkelgrau German Dark Grey. This set consists of six 8ml or 0.27 fluid ounces which break down as follows: 601 Grey Primer 054 Dark Grey 053 Dark Sea Grey 052 German Grey 050 Light Grey 522 Satin Varnish The paint used is the air colour from Vallejo and each and every paint colour and the varnish sprayed perfectly straight from the bottle; I sprayed at 15psi which looking at the photographs should have been an even lower psi setting of around 10. With that said the paint looks good to the naked eye and so I am happy in that respect. I did find the three dark greys to similar for my eye to really detect any differences and the light grey was too stark when sprayed on the model and so a change was called for in my opinion. I applied the 054 Dark Grey to areas that would be in shade and so the darkest areas. I did not use the 053 Dark Sea Grey and instead I went with the 052 German Grey spraying around the sides of the model, I did keep the paint light where the dark grey had been applied. I then added a 30% 050 Light Grey to 70% 052 German Grey, I sprayed this on the top of the model and found I was much happier with the colour achieved. I have included images showing both attempts as your opinion may differ to mine.Comments
Darren, nice to see you've been able to fit some "proper modelling" in among the unbelievable amount of work you put in on this site, and I hope you manage to get your plans for the diorama around this through to completion.
I know the feeling about having to go buy additional tracks for a review sample kit.
By the way, last sentence on page 11 - "I should also add..."
OCT 11, 2017 - 10:00 PM
Perfect timing! I was getting ready to start this one soon. Appreciate the tips & insights.
OCT 12, 2017 - 11:15 PM
Darren,
I really appreciate all the helpful tips. Very inspiring!
vr
Tim
OCT 13, 2017 - 04:53 PM
Well done build guide. I really appreciate showing those workable track links but for the many modelers who don't/can't manage aftermarket items, I would also like to see what the kit tracks look like on the model. Maybe just one side as an example, then pull them off?
OCT 14, 2017 - 10:41 PM
Darren, thank you for this excellent review. It's a StuG III building manual, if you ask me. Saved the link for further references - I have the CyberHobby edition which I intend to build one day.
Cheers!
Gabriel
OCT 25, 2017 - 06:44 PM
Thank you for a very inspiring approach, however Dragon made a big mistake, there's no radiorack on the backwall of the fighting compartment, leading to the motorroom, I don't know where they got this information from, I have the German workshop manual on the Stug 111 A-D, and on none of them there's any evidence o this radiorack.
APR 17, 2018 - 12:41 AM
Copyright ©2021 by Darren Baker. Images and/or videos also by copyright holder unless otherwise noted. The views and opinions expressed herein are solely the views and opinions of the authors and/or contributors to this Web site and do not necessarily represent the views and/or opinions of Armorama, KitMaker Network, or Silver Star Enterrpises. All rights reserved. Originally published on: 2017-10-12 05:20:00. Unique Reads: 20767


