

1⁄35Stug III Ausf A Build
11
Comments
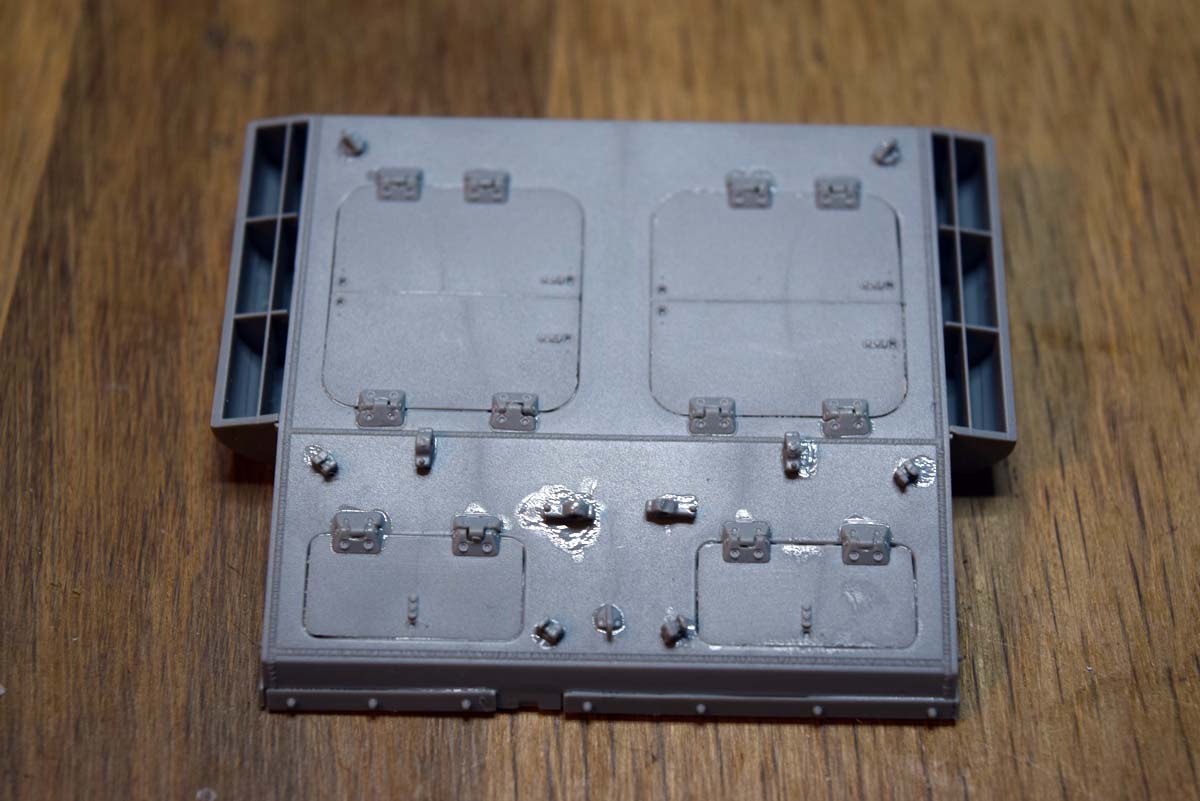
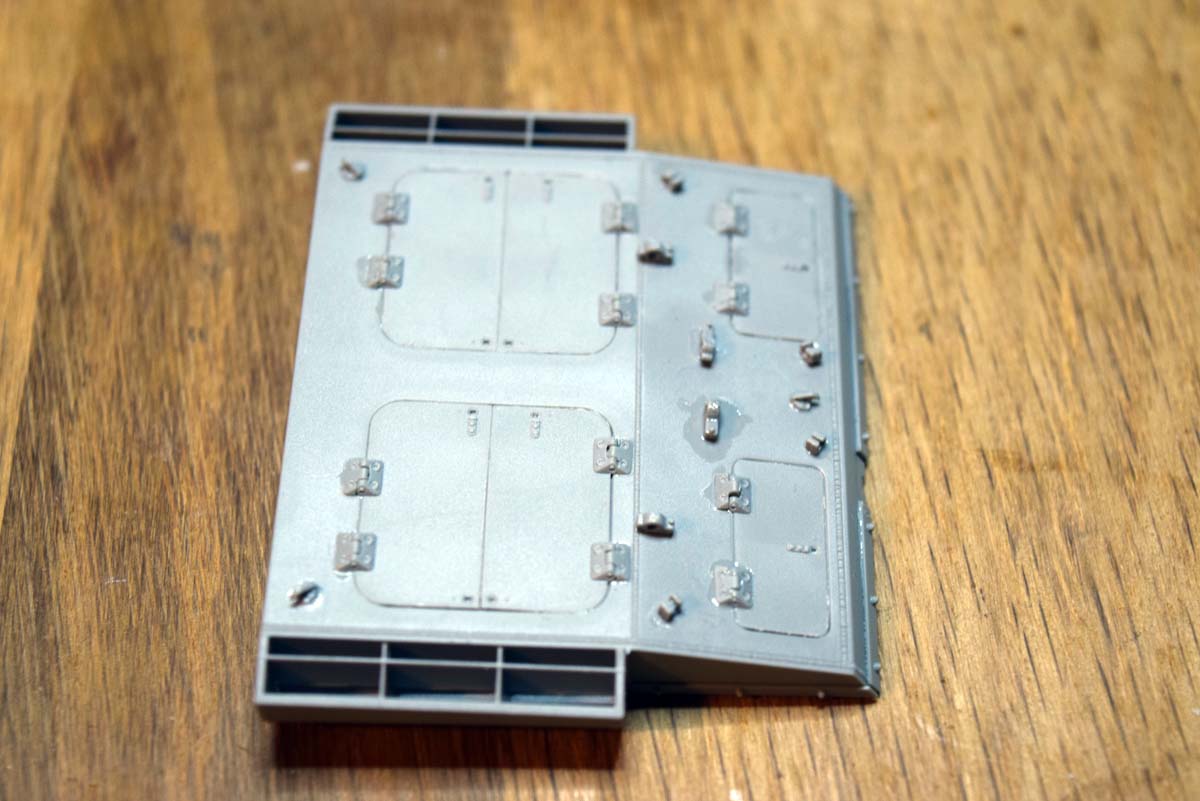
Stage 13
Here we move onto the engine deck and for me there are mixed blessing to consider. The hatches could be displayed open if an engine set has been acquired for the model, but having to add the hinge portion on the engine deck is an unexpected nuisance. The air intake housings fit well and the photo etched grills fit well and easily. The biggest complaint I have is that all of the small detail pieces you are directed to add at this point have no designated locaters to indicate placement, the result is that you are left to make best guess while using the instructions. I consider this poor in a kit that will cost in the £60 range in the UK.
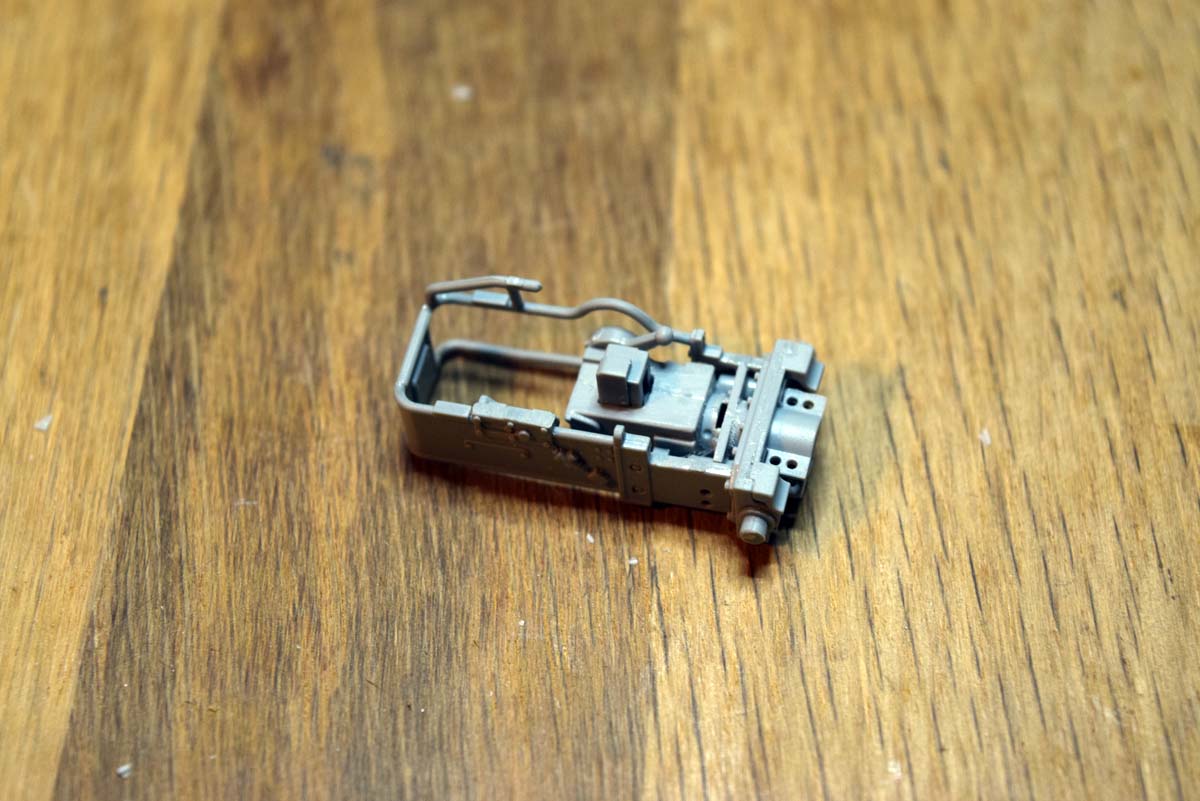
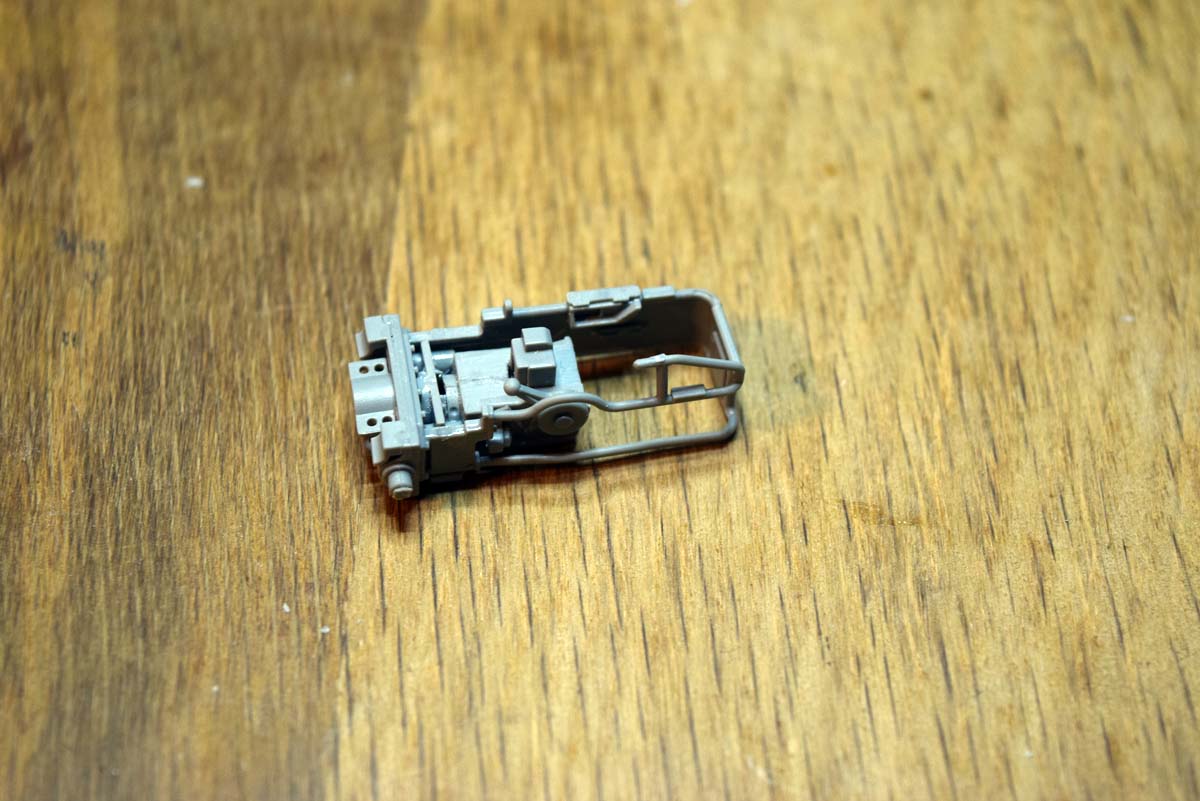
Stage 14
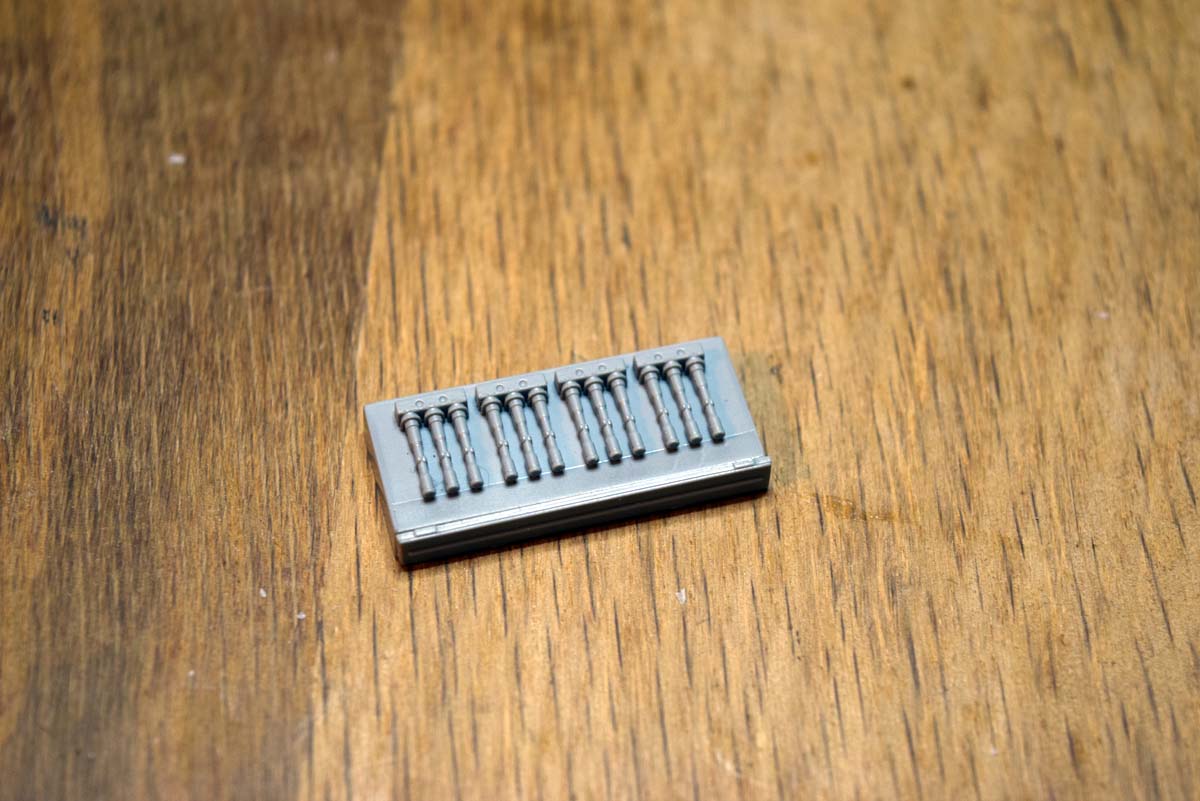
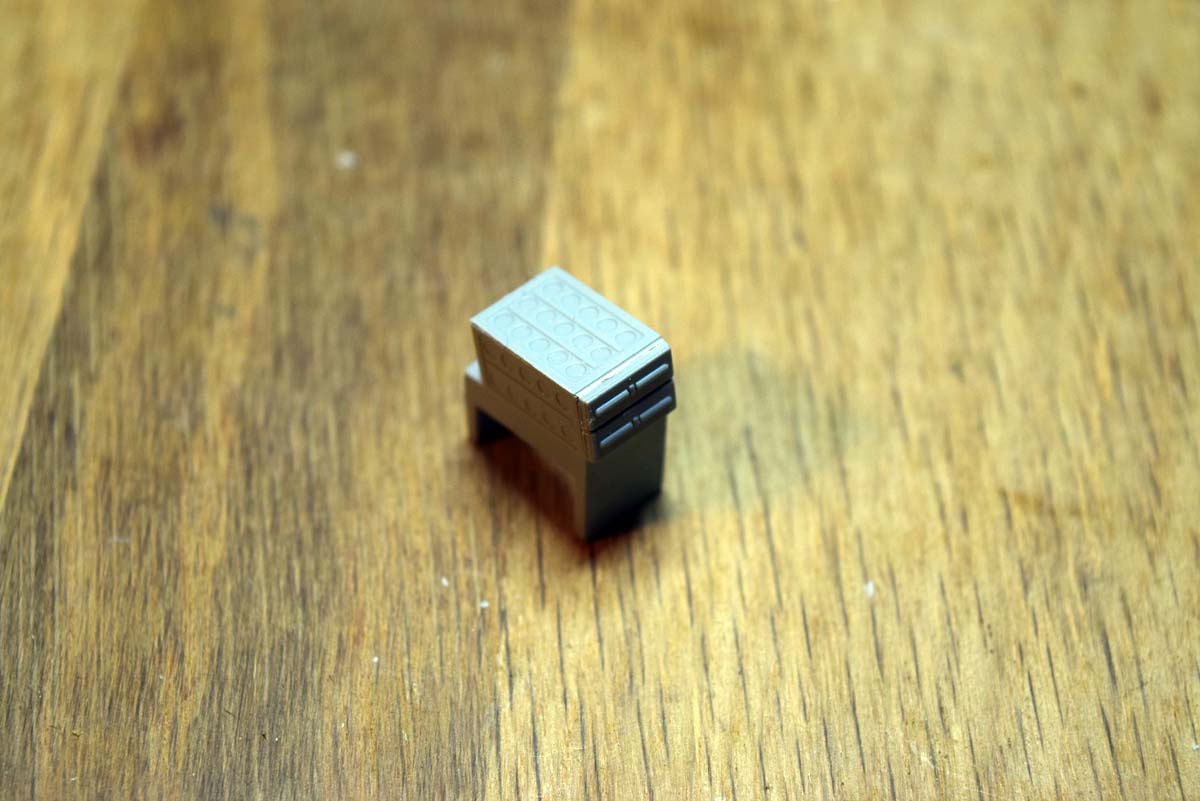
Work now starts on some of the internal fighting compartment structures. This takes the form of a couple of ammunition bins and the breech of the main gun. The breech can be assembled open or closed which is good in my opinion. You again encounter the add bolt detail here, this means adding 12 bolts to the exterior face of the main gun mount. I did not do this as I do not believe the bolts can be seen on the finished model.
About the Author


FROM: ENGLAND - SOUTH WEST, UNITED KINGDOM
I have been building model kits since the early 70s starting with Airfix kits of mostly aircraft, then progressing to the point I am at now building predominantly armour kits from all countries and time periods. Living in the middle of Salisbury plain since the 70s, I have had lots of opportunitie...
Comments


Darren, nice to see you've been able to fit some "proper modelling" in among the unbelievable amount of work you put in on this site, and I hope you manage to get your plans for the diorama around this through to completion.
I know the feeling about having to go buy additional tracks for a review sample kit.
By the way, last sentence on page 11 - "I should also add..."
OCT 11, 2017 - 10:00 PM

Perfect timing! I was getting ready to start this one soon. Appreciate the tips & insights.
OCT 12, 2017 - 11:15 PM

Darren,
I really appreciate all the helpful tips. Very inspiring!
vr
Tim
OCT 13, 2017 - 04:53 PM

Well done build guide. I really appreciate showing those workable track links but for the many modelers who don't/can't manage aftermarket items, I would also like to see what the kit tracks look like on the model. Maybe just one side as an example, then pull them off?
OCT 14, 2017 - 10:41 PM

Darren, thank you for this excellent review. It's a StuG III building manual, if you ask me. Saved the link for further references - I have the CyberHobby edition which I intend to build one day.
Cheers!
Gabriel
OCT 25, 2017 - 06:44 PM

Thank you for a very inspiring approach, however Dragon made a big mistake, there's no radiorack on the backwall of the fighting compartment, leading to the motorroom, I don't know where they got this information from, I have the German workshop manual on the Stug 111 A-D, and on none of them there's any evidence o this radiorack.
APR 17, 2018 - 12:41 AM
Copyright ©2021 by Darren Baker. Images and/or videos also by copyright holder unless otherwise noted. The views and opinions expressed herein are solely the views and opinions of the authors and/or contributors to this Web site and do not necessarily represent the views and/or opinions of Armorama, KitMaker Network, or Silver Star Enterrpises. All rights reserved. Originally published on: 2017-10-12 05:20:00. Unique Reads: 20767

WEB HOSTING BY


Copyright ©2021 Armorama and Kitmaker Network, a subsidiary of Silver Star Enterprises
All Rights Reserved. Please read our Conditions of Use and Privacy Policy.
All Rights Reserved. Please read our Conditions of Use and Privacy Policy.