

1⁄35Stug III Ausf A Build
11
Comments
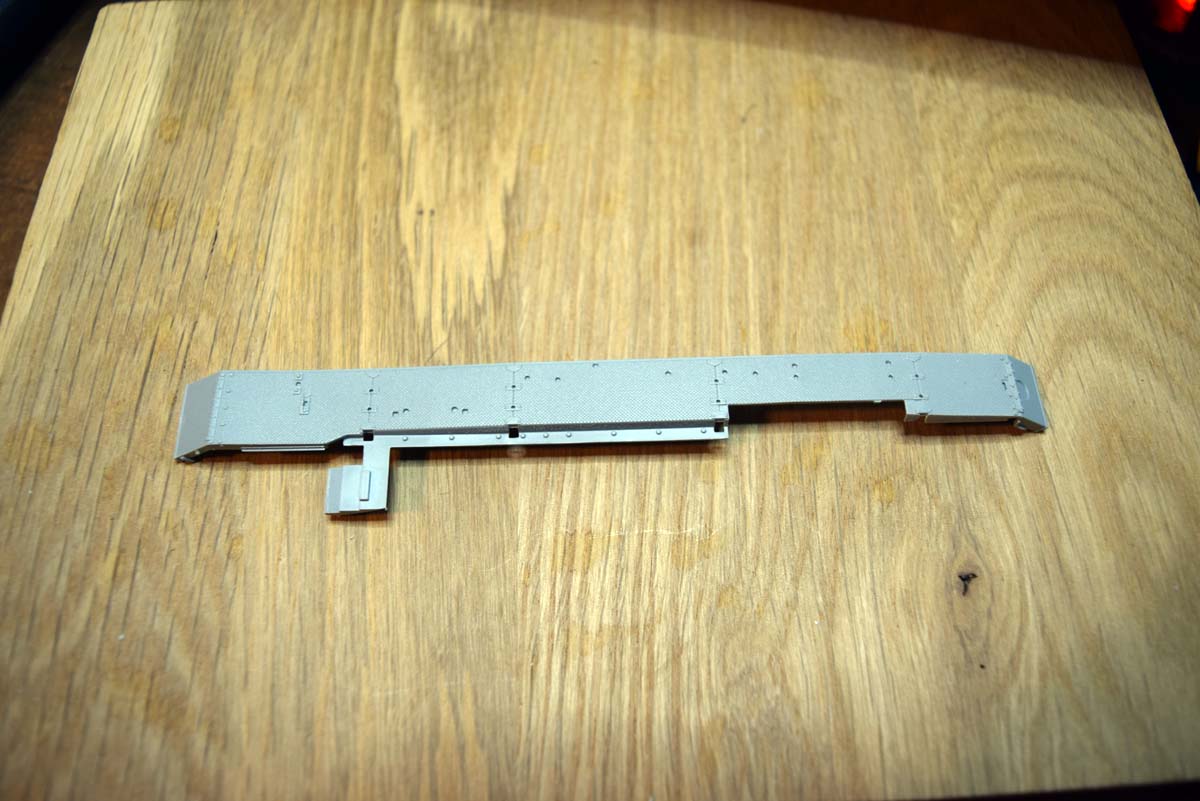
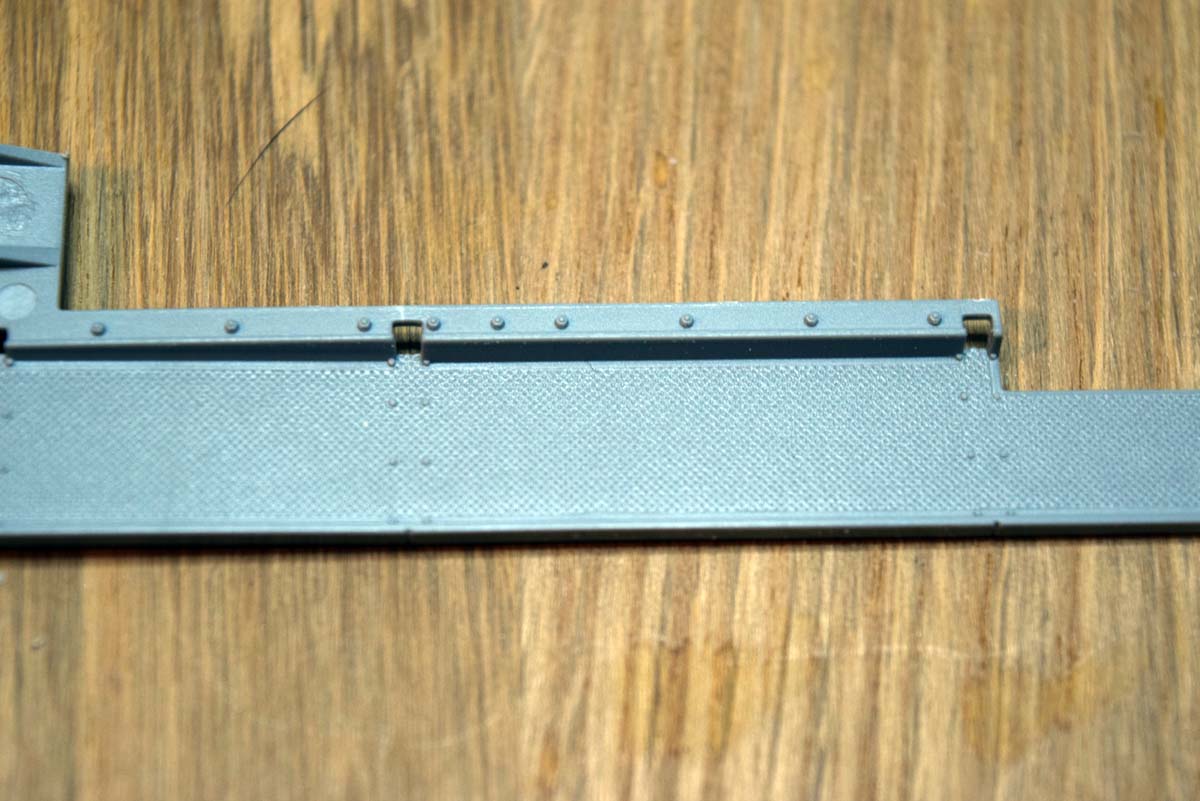
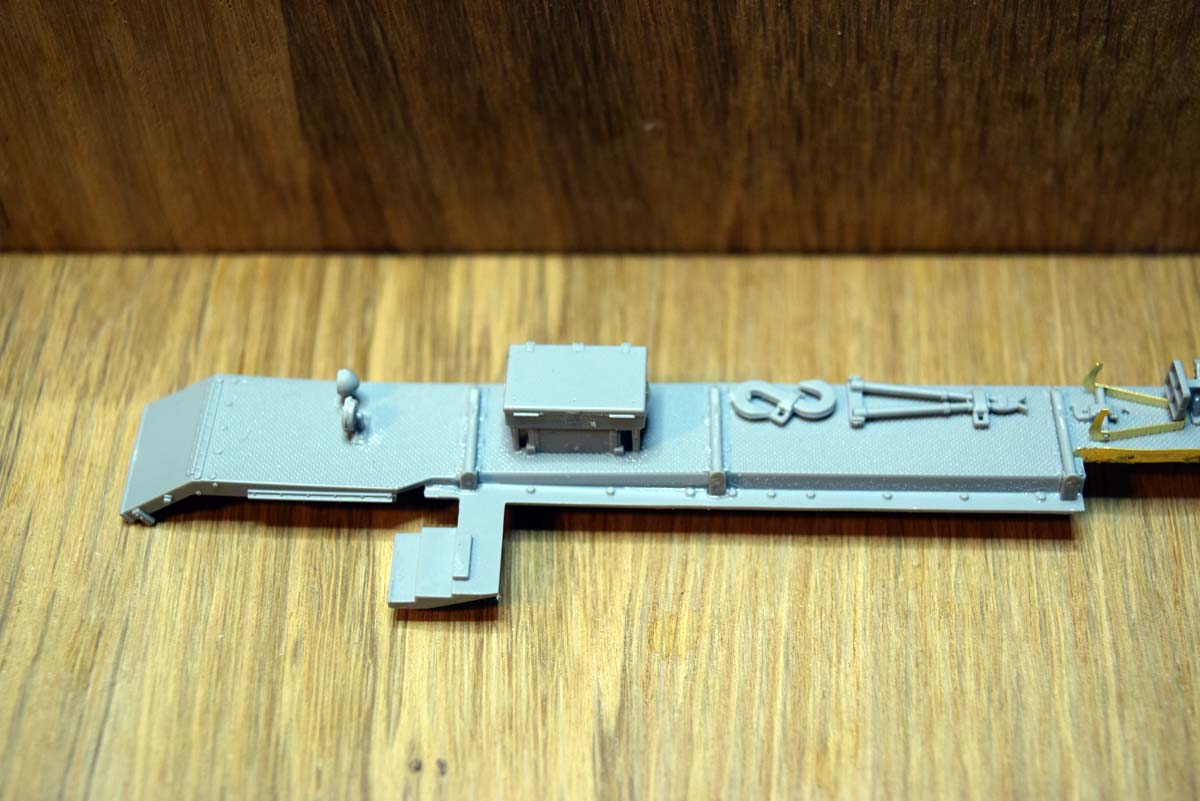
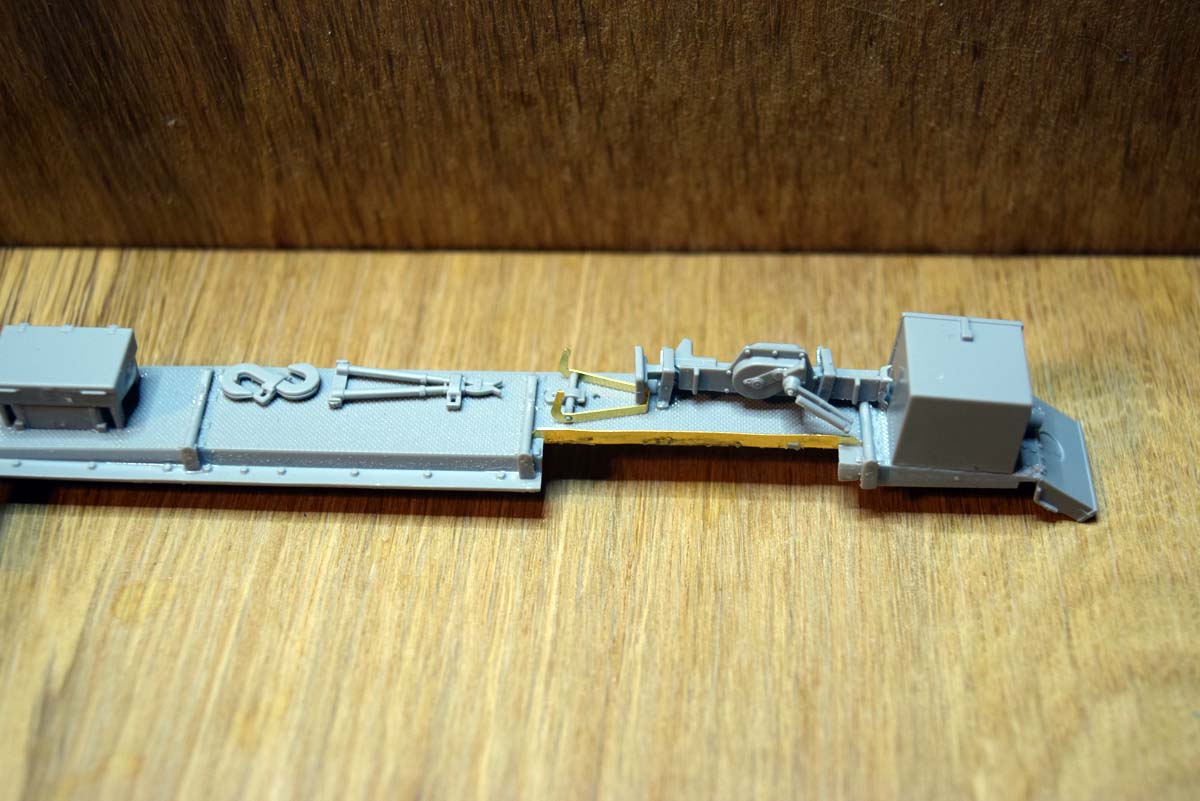
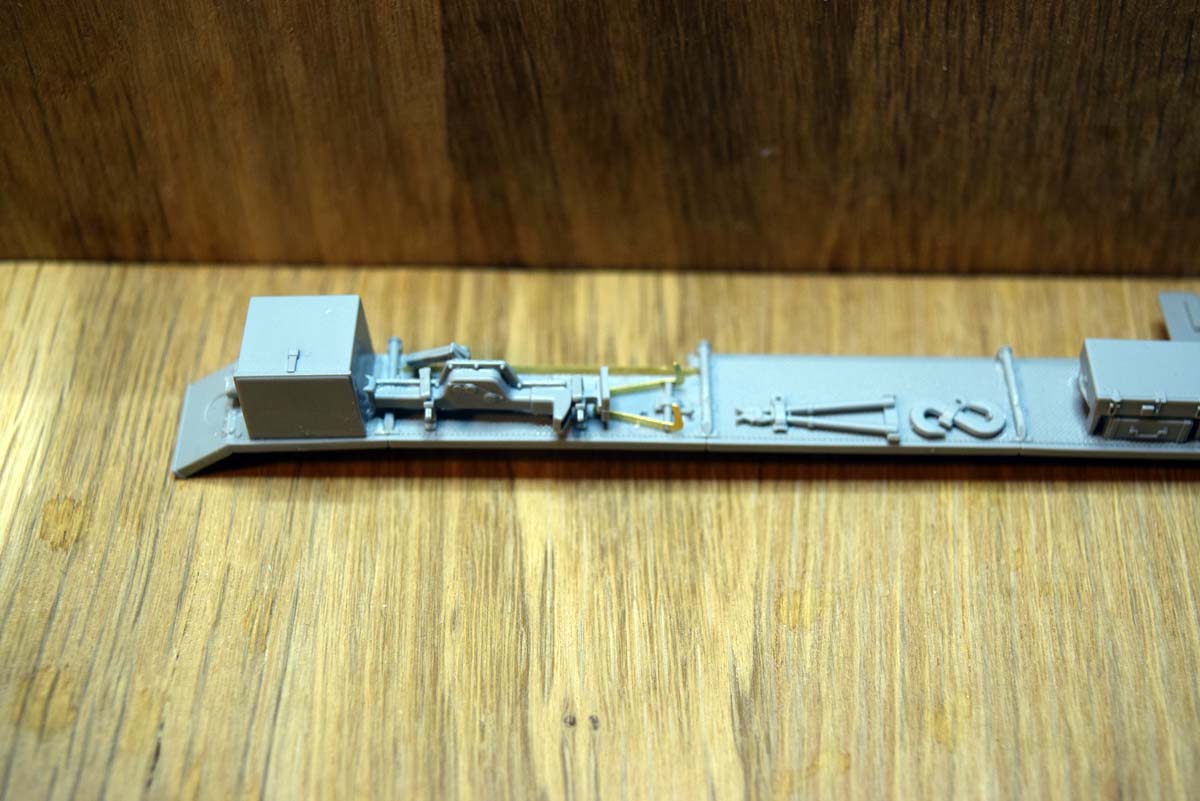
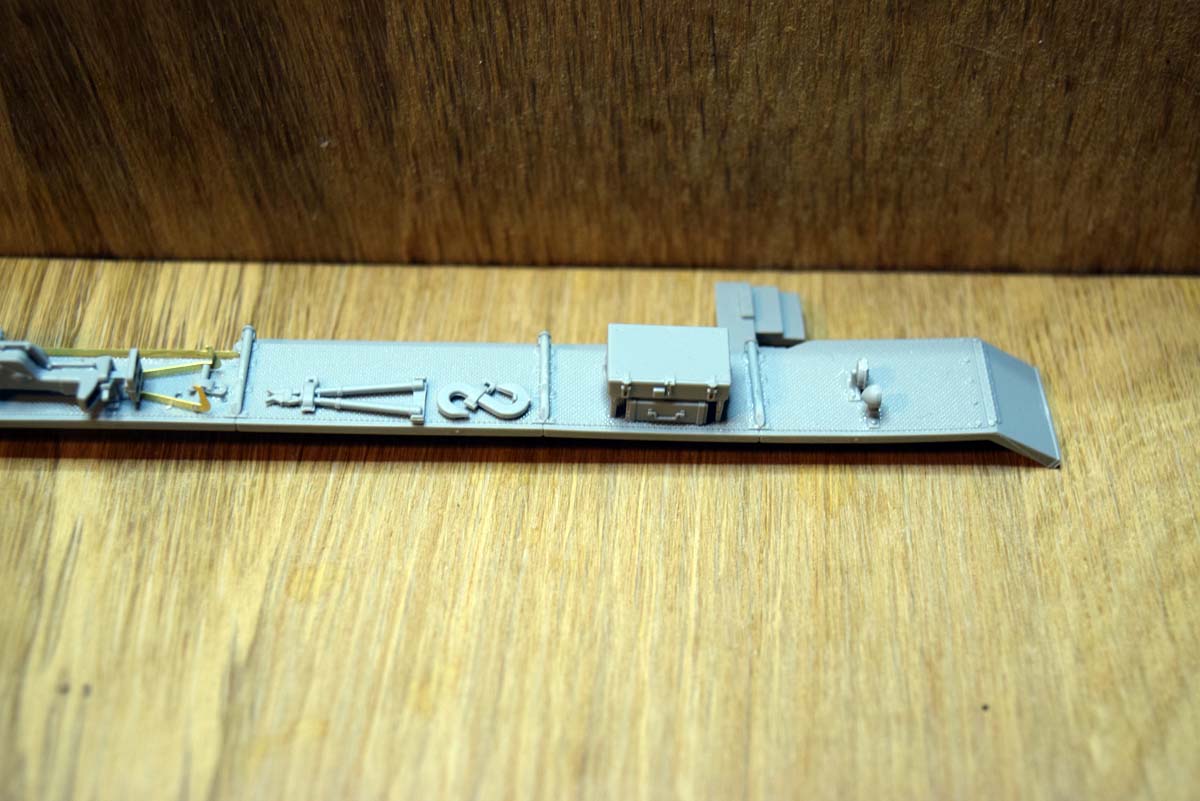
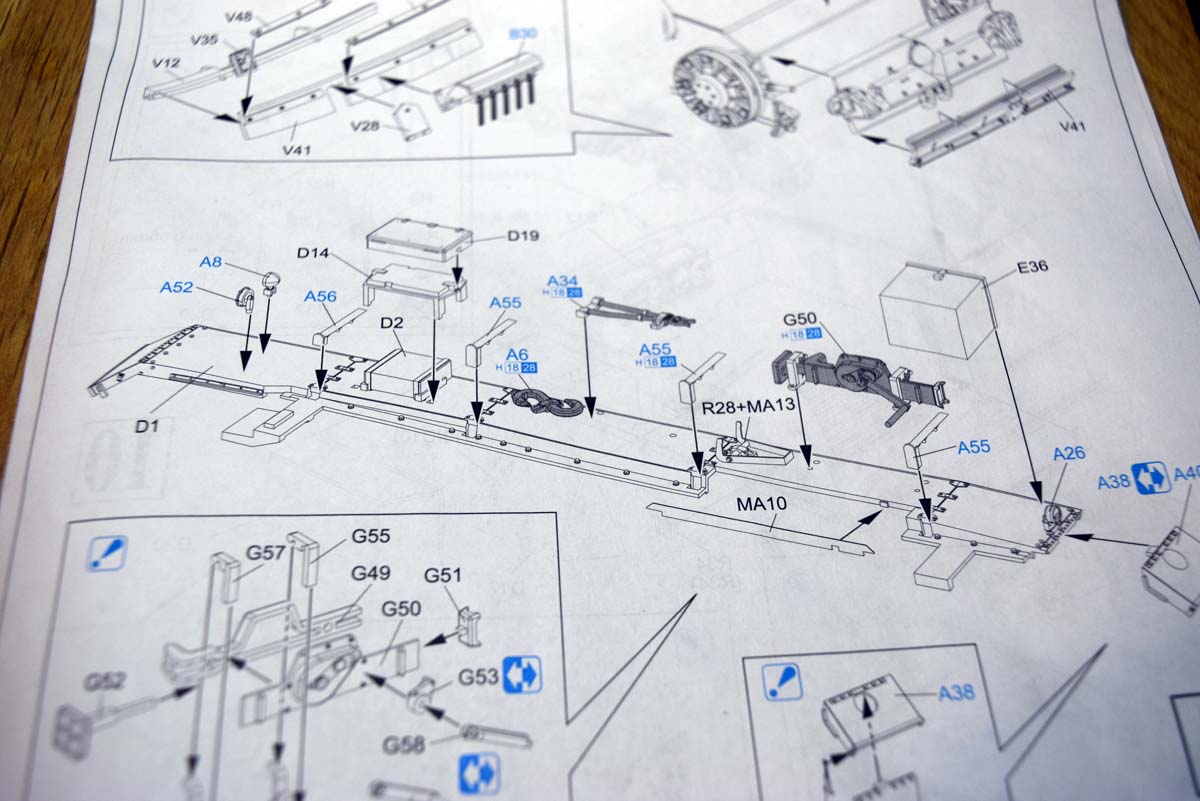
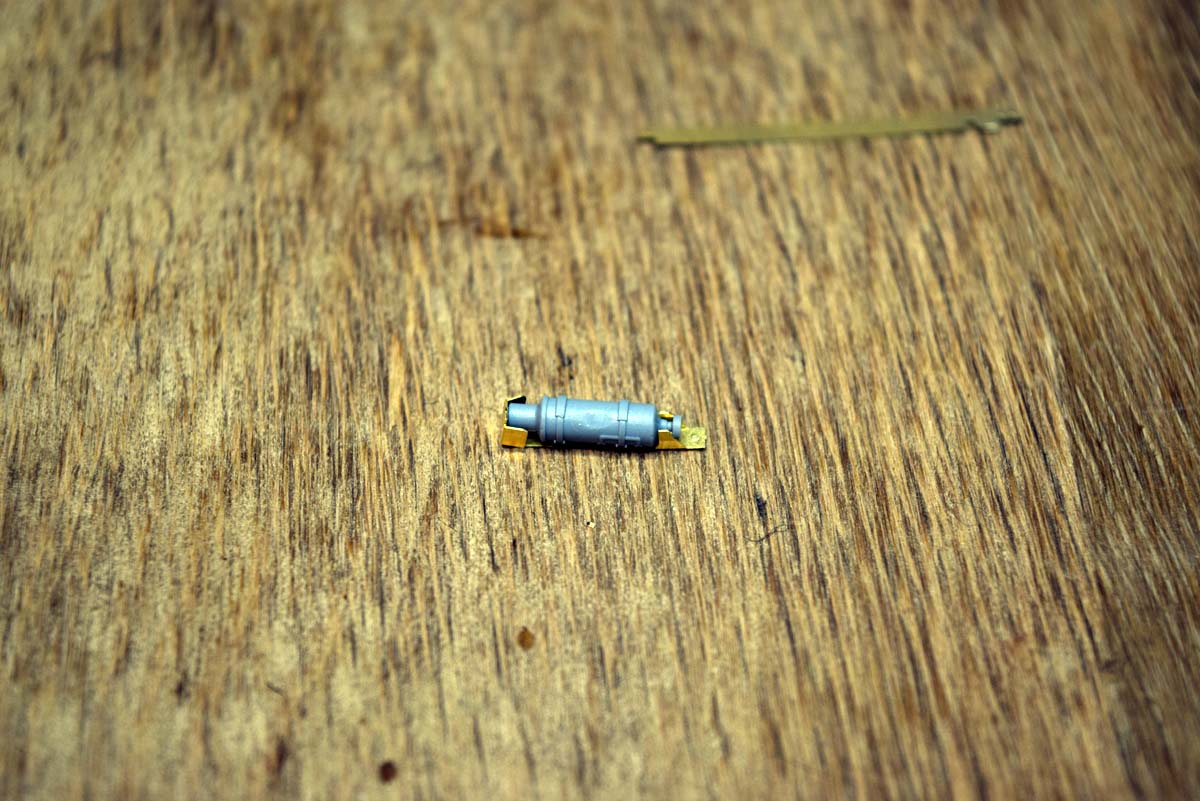
Stage 7
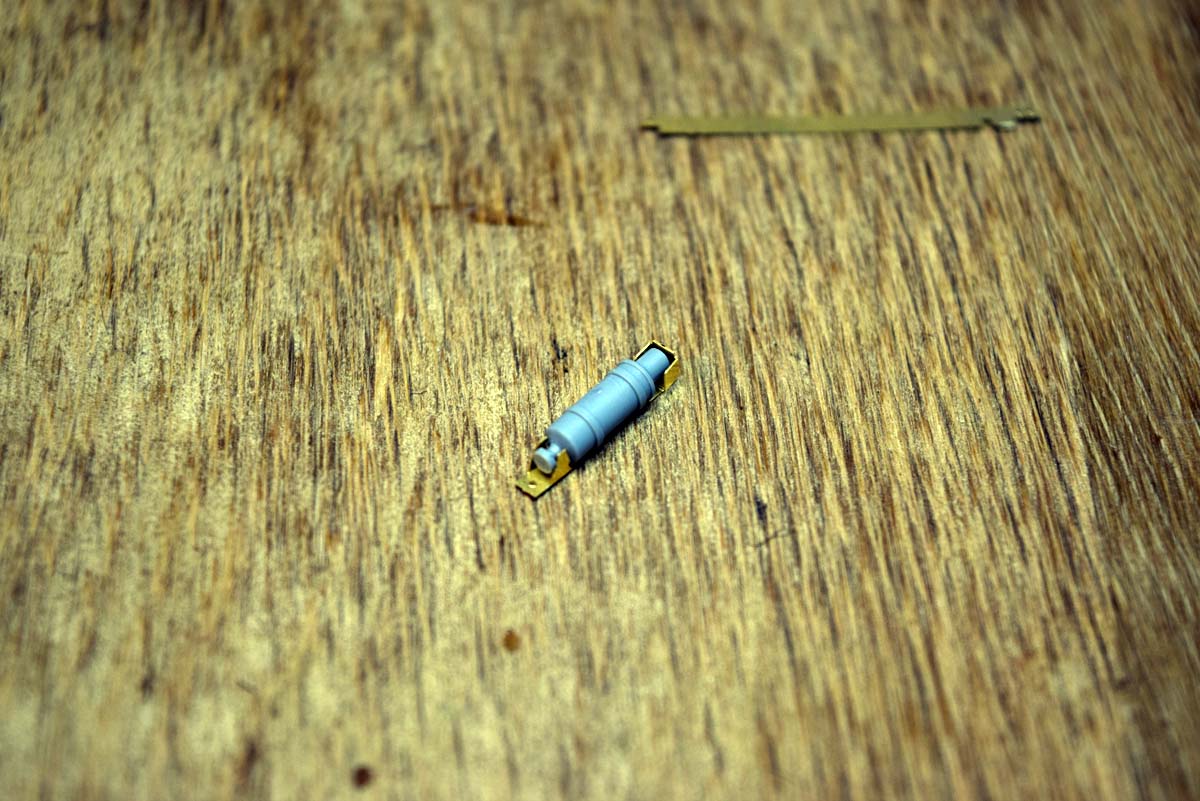
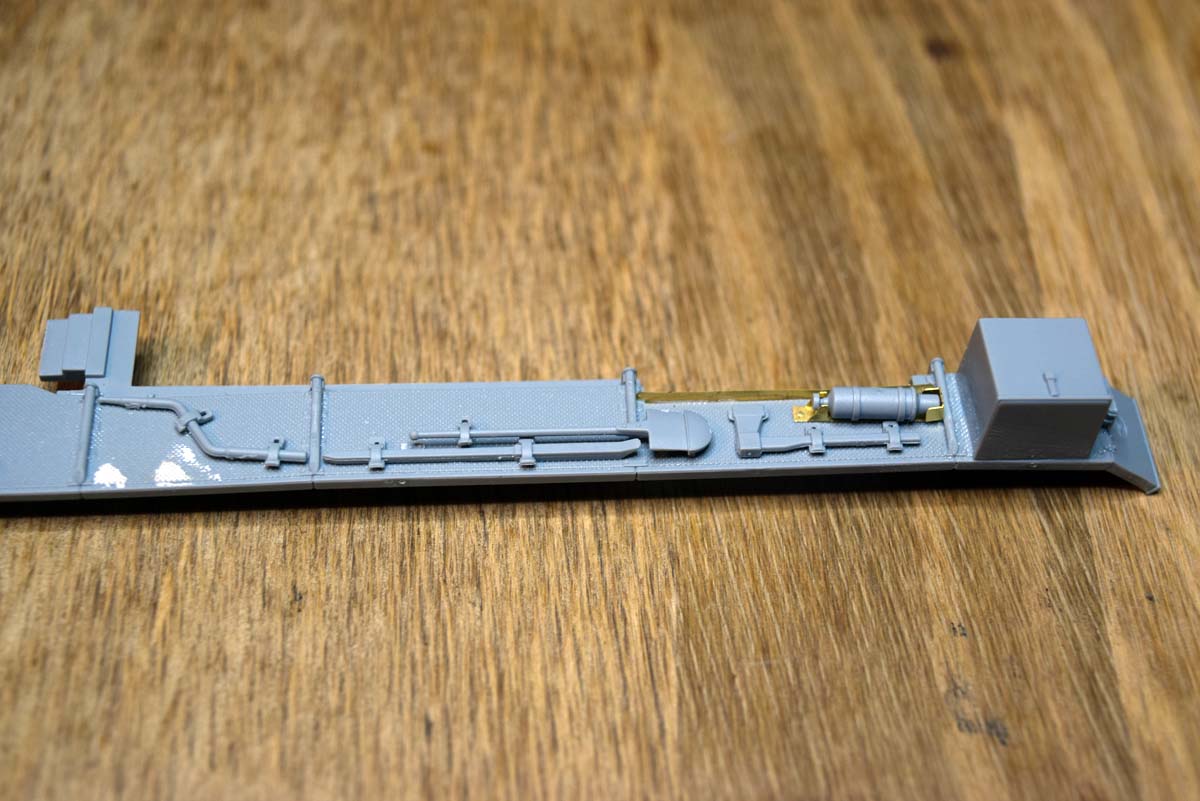
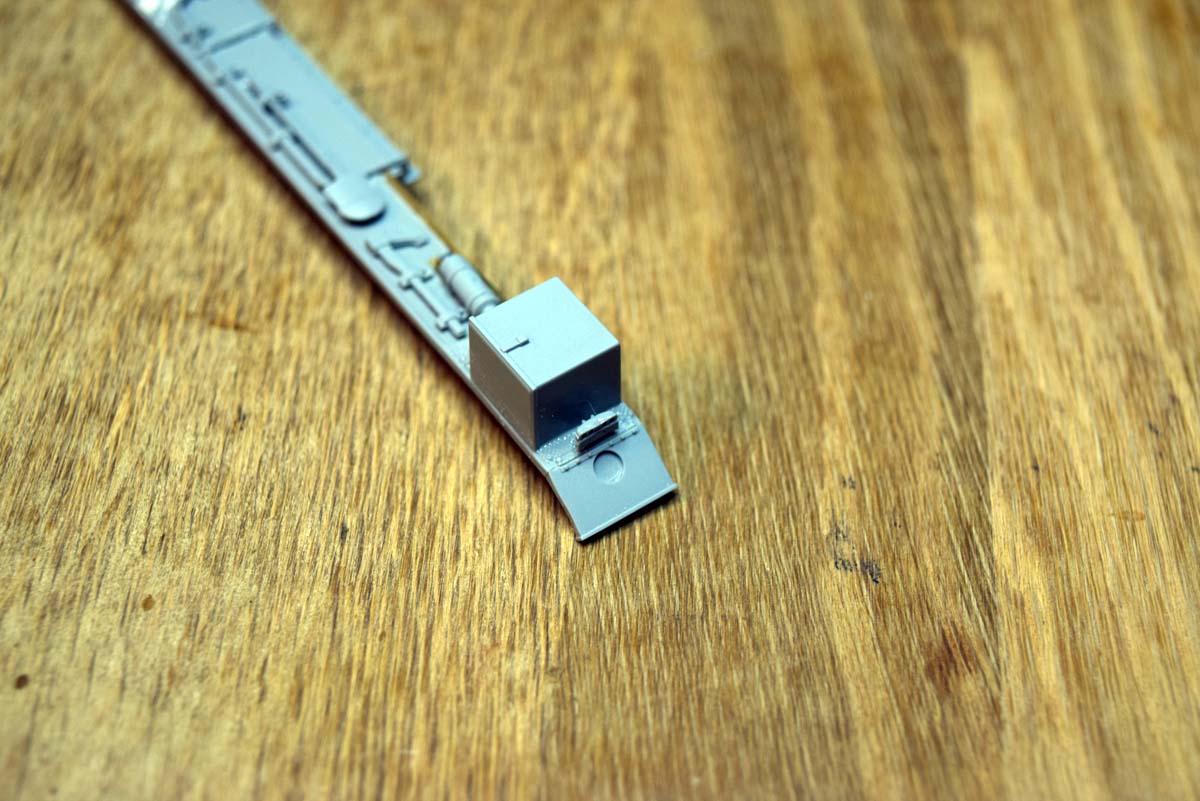
This covers the right hand fender, and there is a surprising amount of work here to tackle. The main fender has nice checker pattern on both the top and bottom, but it should be noted that the image in the instructions is not correct; a tab is shown near the rear and I spent some time thinking I had the wrong part before realising the image must be wrong. With that said the parts do fit as instructed. Parts R28 and MA13 (I believe the parts replicate a tool for securing track ends together) have some locating recesses under them that need to be filled and I missed until too late. There is a large storage box that fits at the rear and this should be fitted after the jack due to space requirements.
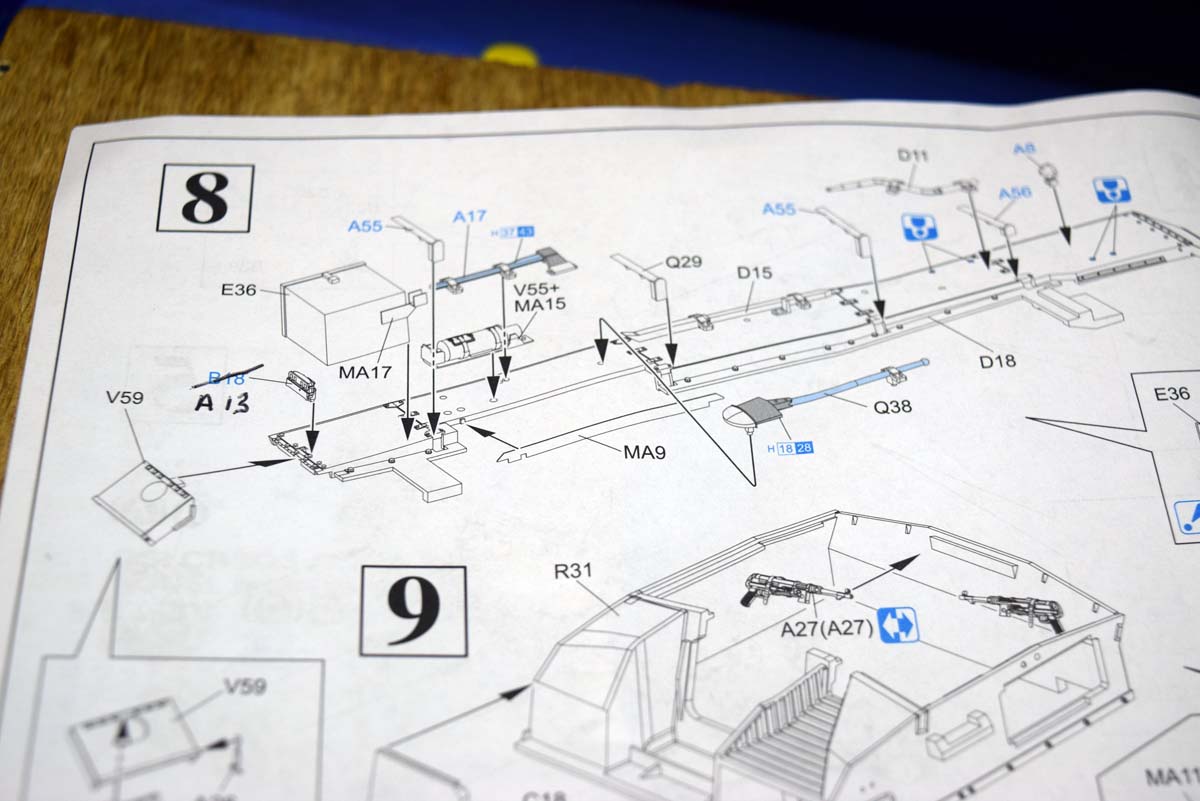
Stage 8
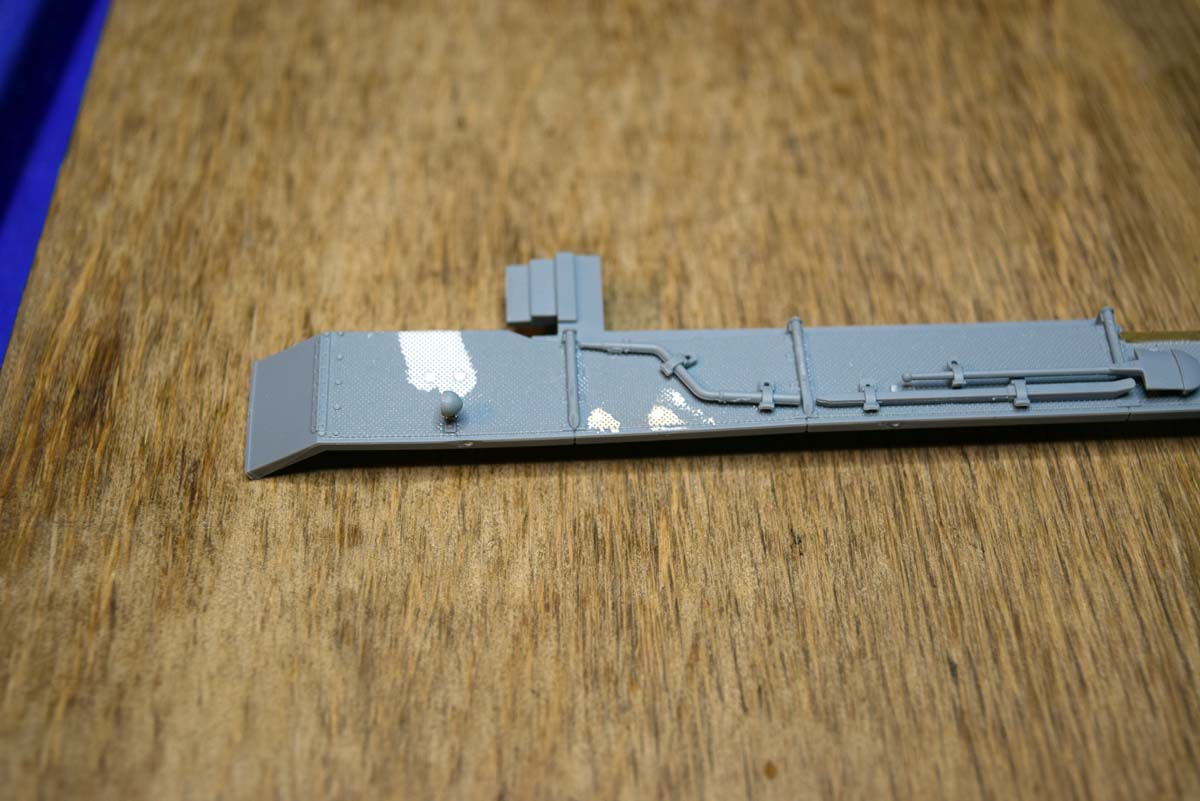
Now we get to the left hand fender and I find my first miss identified part; the instructions show Part (B18) and the image is of a convoy light, Part (B18) is a tail light and the convoy light is part (A13); I used the convoy light as my limited reference material would seem to indicate that is what should be there. There is again some locater tabs that need to be filled and I again tackled this with Perfect Plastic Putty this allowed me to apply and wipe and so retain the checker pattern that sanding would have destroyed.

About the Author


FROM: ENGLAND - SOUTH WEST, UNITED KINGDOM
I have been building model kits since the early 70s starting with Airfix kits of mostly aircraft, then progressing to the point I am at now building predominantly armour kits from all countries and time periods. Living in the middle of Salisbury plain since the 70s, I have had lots of opportunitie...
Comments


Darren, nice to see you've been able to fit some "proper modelling" in among the unbelievable amount of work you put in on this site, and I hope you manage to get your plans for the diorama around this through to completion.
I know the feeling about having to go buy additional tracks for a review sample kit.
By the way, last sentence on page 11 - "I should also add..."
OCT 11, 2017 - 10:00 PM

Perfect timing! I was getting ready to start this one soon. Appreciate the tips & insights.
OCT 12, 2017 - 11:15 PM

Darren,
I really appreciate all the helpful tips. Very inspiring!
vr
Tim
OCT 13, 2017 - 04:53 PM

Well done build guide. I really appreciate showing those workable track links but for the many modelers who don't/can't manage aftermarket items, I would also like to see what the kit tracks look like on the model. Maybe just one side as an example, then pull them off?
OCT 14, 2017 - 10:41 PM

Darren, thank you for this excellent review. It's a StuG III building manual, if you ask me. Saved the link for further references - I have the CyberHobby edition which I intend to build one day.
Cheers!
Gabriel
OCT 25, 2017 - 06:44 PM

Thank you for a very inspiring approach, however Dragon made a big mistake, there's no radiorack on the backwall of the fighting compartment, leading to the motorroom, I don't know where they got this information from, I have the German workshop manual on the Stug 111 A-D, and on none of them there's any evidence o this radiorack.
APR 17, 2018 - 12:41 AM
Copyright ©2021 by Darren Baker. Images and/or videos also by copyright holder unless otherwise noted. The views and opinions expressed herein are solely the views and opinions of the authors and/or contributors to this Web site and do not necessarily represent the views and/or opinions of Armorama, KitMaker Network, or Silver Star Enterrpises. All rights reserved. Originally published on: 2017-10-12 05:20:00. Unique Reads: 20767

WEB HOSTING BY


Copyright ©2021 Armorama and Kitmaker Network, a subsidiary of Silver Star Enterprises
All Rights Reserved. Please read our Conditions of Use and Privacy Policy.
All Rights Reserved. Please read our Conditions of Use and Privacy Policy.