1⁄35Stug III Ausf A Build
11
Comments
Stage 18
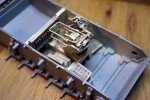
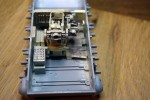
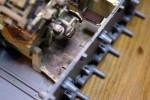
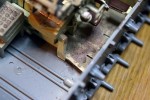
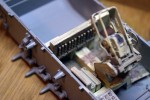
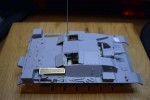
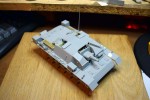
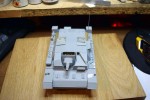
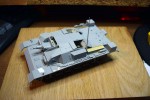
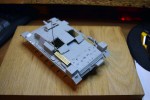
This stage finally brings all of the main elements together. I started by adding the floor and fire wall to the lower hull, I did need to cut out one of the torsion bars added near the start to make the floor fit, but this is covered at the start in the instructions. I then added the drivers’ hull roof and the two mud guards; when adding the mudguards take your time and think ahead to avoid fit issues. I then added the fighting compartment roof and engine deck, these parts fitted very well with no issues of which I was aware. The main gun did require a bit more force than I expected to fully bed onto the model. This is followed with the addition of the front lights, towing points, a fillet on each of the mudguards and an armour plate behind the gun. These parts all fitted well with no major issues, but I did need to hold the fillets on the mudguards for a while to get a good placement. The headlights are the old type and not the NOTEK lights we are used to seeing, however my searches indicate that this is correct. The tracks should also be added at this point, but as I could not make the supplied tracks fit and so they are very poor in my opinion, I have invested in a set of workable tracks from MiniArt; I feel these will be a big improvement over the kit offering. The build is now finished and the paint needs to be applied.
Build Thoughts
On the plus side it is good to see that Dragon Models appears to have got the instructions largely correct where this model is concerned. The part fit is generally good throughout and did not present any major issues other than trying to find the location of some parts. I am also very pleased with the result of my build at this time. On the negatives I was not happy at have to take the razor saw to a number of parts and make changes to parts that should have been supplied considering the cost of this product. I was not happy about the engine deck not having any indicators for attachment of some small pieces; this means you have to exercise best guess from the images in the instructions. The track not fitting the model without stretching is an unbelievable situation; I have gone to MiniArt and purchased a set of their workable tracks that I feel are a vast improvement. I have noted that the holes I filled in the mud guards have not worked as well as I thought and I would suggest drilling the recess all the way through and then filling from the bottom. Some parts in the instructions are vaguely placed and so require some thought on the part of the modeller, not so much a complaint as a warning as you progress.Comments
Darren, nice to see you've been able to fit some "proper modelling" in among the unbelievable amount of work you put in on this site, and I hope you manage to get your plans for the diorama around this through to completion.
I know the feeling about having to go buy additional tracks for a review sample kit.
By the way, last sentence on page 11 - "I should also add..."
OCT 11, 2017 - 10:00 PM
Perfect timing! I was getting ready to start this one soon. Appreciate the tips & insights.
OCT 12, 2017 - 11:15 PM
Darren,
I really appreciate all the helpful tips. Very inspiring!
vr
Tim
OCT 13, 2017 - 04:53 PM
Well done build guide. I really appreciate showing those workable track links but for the many modelers who don't/can't manage aftermarket items, I would also like to see what the kit tracks look like on the model. Maybe just one side as an example, then pull them off?
OCT 14, 2017 - 10:41 PM
Darren, thank you for this excellent review. It's a StuG III building manual, if you ask me. Saved the link for further references - I have the CyberHobby edition which I intend to build one day.
Cheers!
Gabriel
OCT 25, 2017 - 06:44 PM
Thank you for a very inspiring approach, however Dragon made a big mistake, there's no radiorack on the backwall of the fighting compartment, leading to the motorroom, I don't know where they got this information from, I have the German workshop manual on the Stug 111 A-D, and on none of them there's any evidence o this radiorack.
APR 17, 2018 - 12:41 AM
Copyright ©2021 by Darren Baker. Images and/or videos also by copyright holder unless otherwise noted. The views and opinions expressed herein are solely the views and opinions of the authors and/or contributors to this Web site and do not necessarily represent the views and/or opinions of Armorama, KitMaker Network, or Silver Star Enterrpises. All rights reserved. Originally published on: 2017-10-12 05:20:00. Unique Reads: 20767


