

1⁄35Stug III Ausf A Build
11
Comments
Weathering
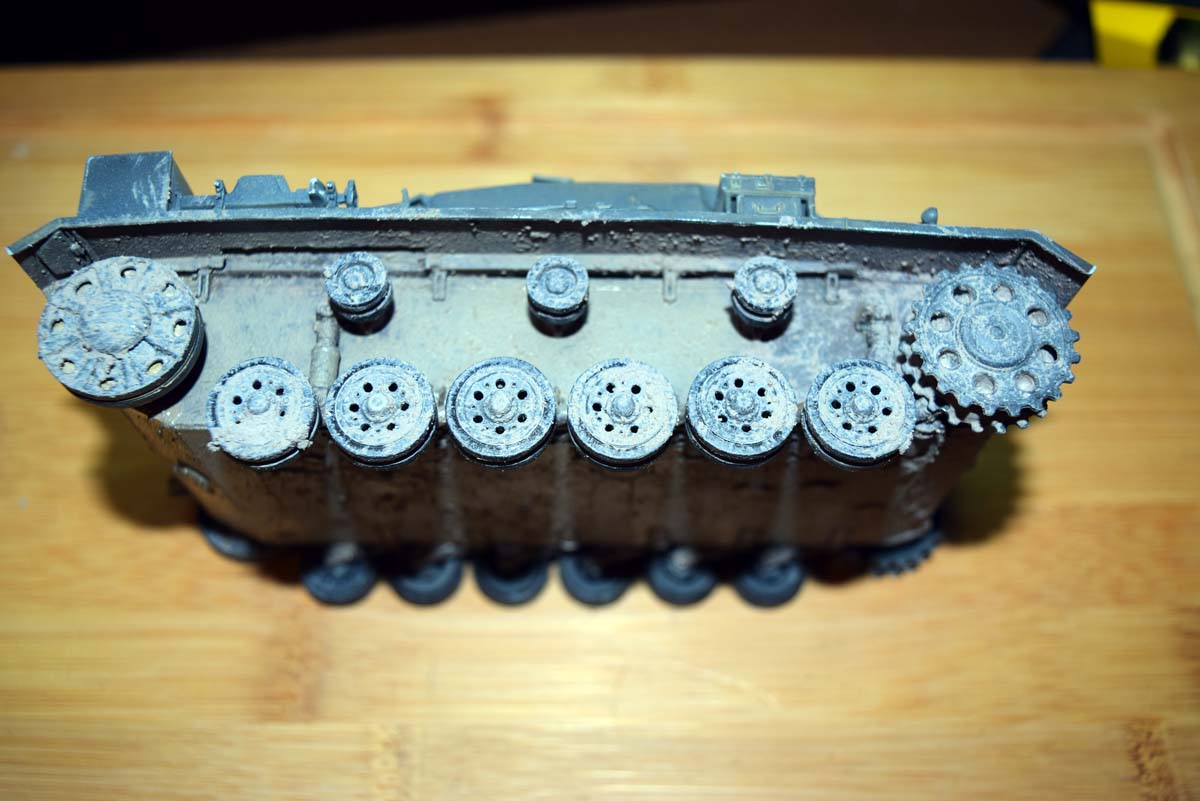
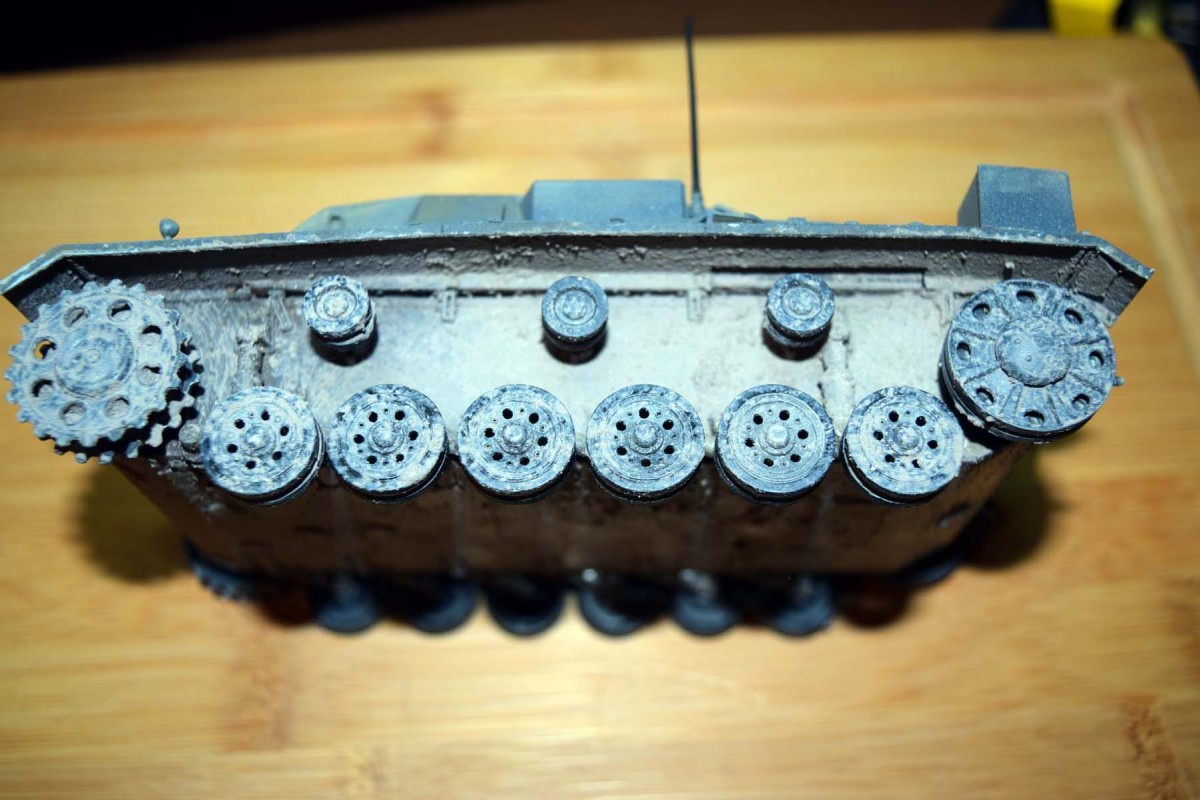
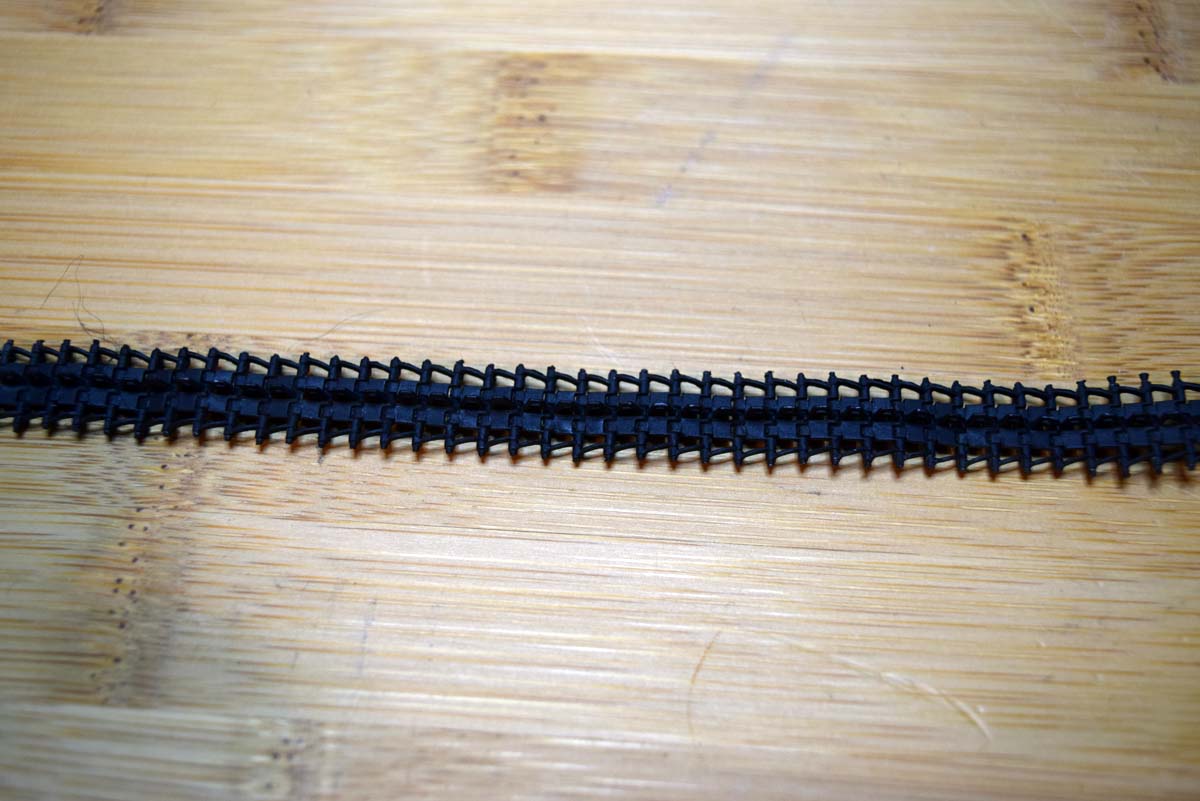
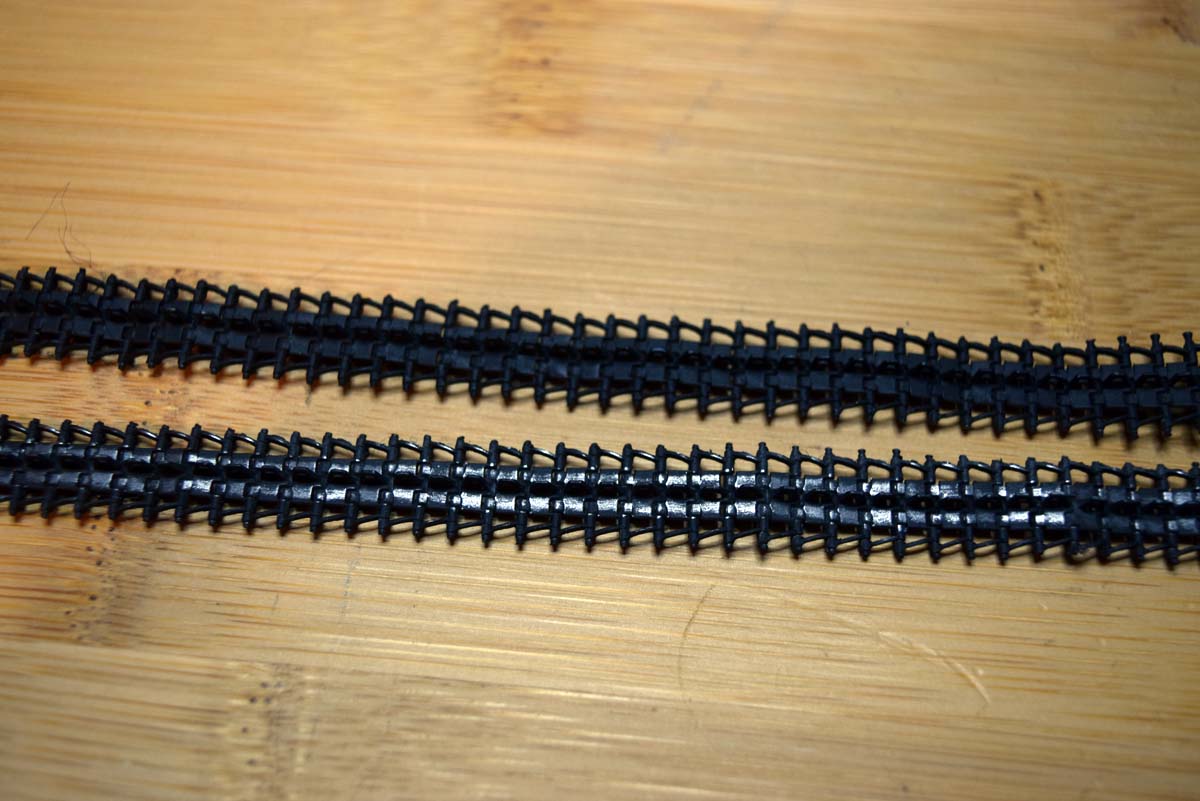
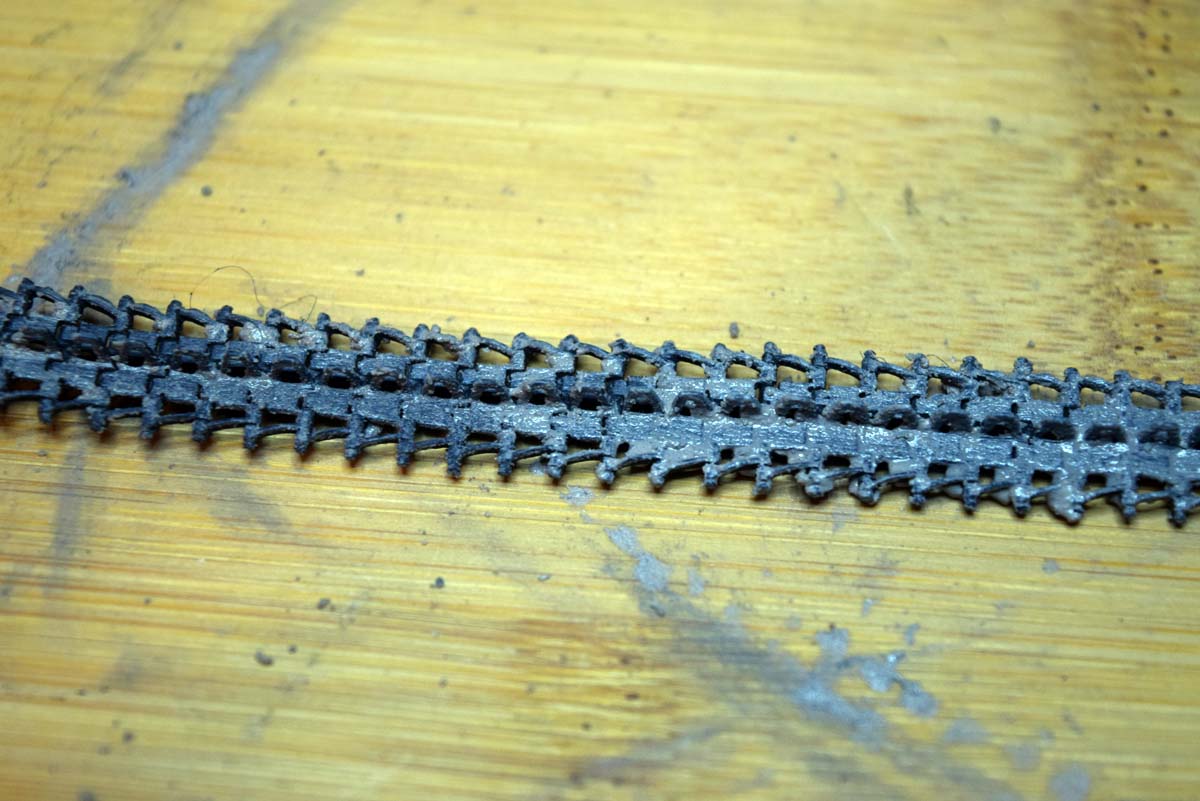
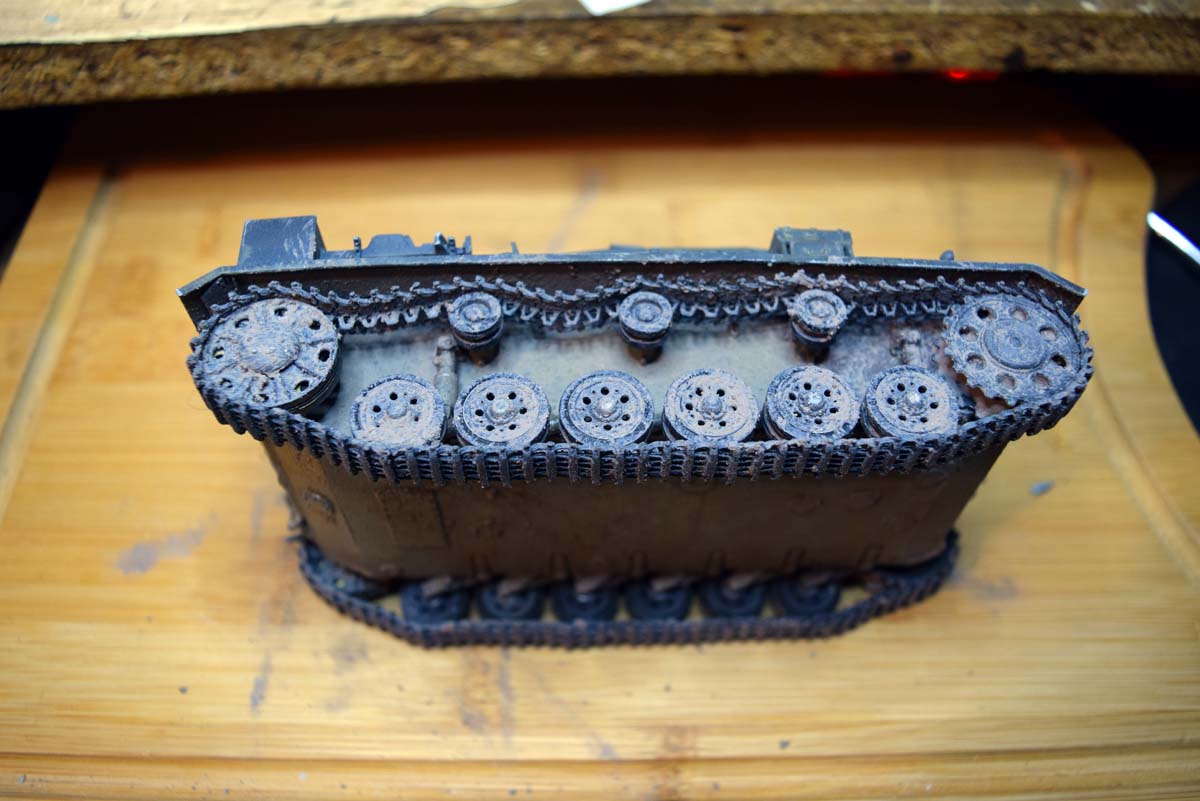
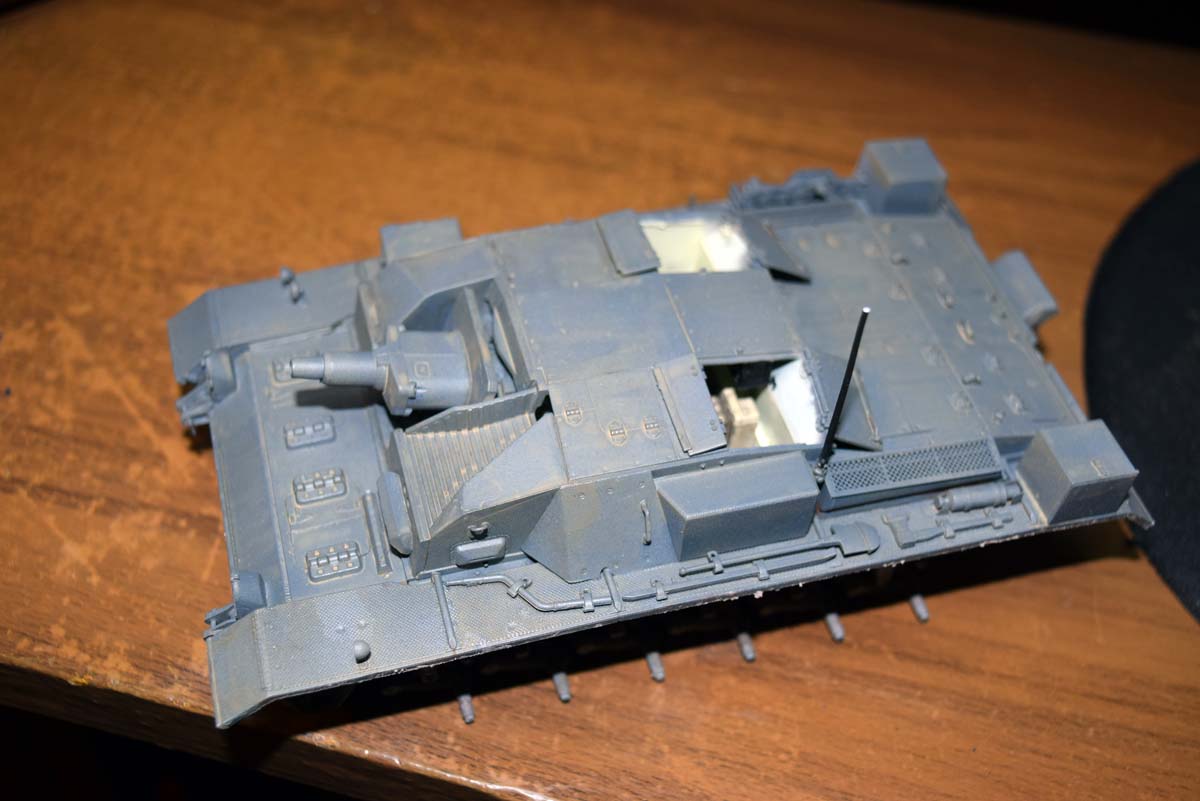
I began the finishing on the lower hull area with the application of some washes produced by Flory Models, I did this prior to adding the wheels as I find the required work easier to manage. Next up I applied Light Brown Textured Earth by Wilder, This was applied over the entire length of the lower hull. The result was very pleasing to my eye, particularly how it looks on the front plate. This was followed with the use of Brown Mud Splatter also from Wilder. I really like these products and the result that can be reasonably easily achieved, but I would have liked to find more carrier in these products as I can see them drying out before fully used. When applying these two products do not use a good brush, I used a hog bristle that was a pig to get anything like clean afterwards, excuse the pun. The wheels received the application of Light Brown Textured Earth by Wilder with a toothpick between the wheels; I wiped the contacting service of the wheels leaving behind a very light coat. The wheels were then glued to the model with the exception of the drive wheel and a light coat applied to the face. I did not attach the drive wheels at this point as it would make application of the tracks difficult. The tracks I have kept simple with a coat of matt black Tamiya paint and then the areas of the track that touches the ground and on the other side the wheels I have rubbed a graphite pencil. I like to keep it simple when weathering is going to be applied in the form of mud and the like. I know many people prefer the rusty track look which is accurate for a vehicle that has been static for a while, but tanks that are in use quickly rid themselves of the very light rust coat that develops even though remnants remain. Finally I added the mud mix to the tracks making sure everything was touched, but I also made sure it was not a universal coat as nothing in nature is exactly the same. The top side of the model got a mix of Flory Models clay based weathering products, Alclad II Warpig Hogwash products and AK interactive washes and streaking grime. I am still not 100% happy with the results I have managed, but I am close enough to calling it finished to share with you in this build feature. The tools were painted in place on the model with paper slid underneath to protect the finish on the vehicle. The wooden handles were painted with Tamiya XF49 Khaki and then when cured a light application of AK Interactive streaking grime to provide a mix of colours on the wood. The metal section of the tools were painted with Mr Metal Color, and these are by a very long way the best metallic range of colours I have applied with a brush. I should also add that they dry very quickly which I consider a plus.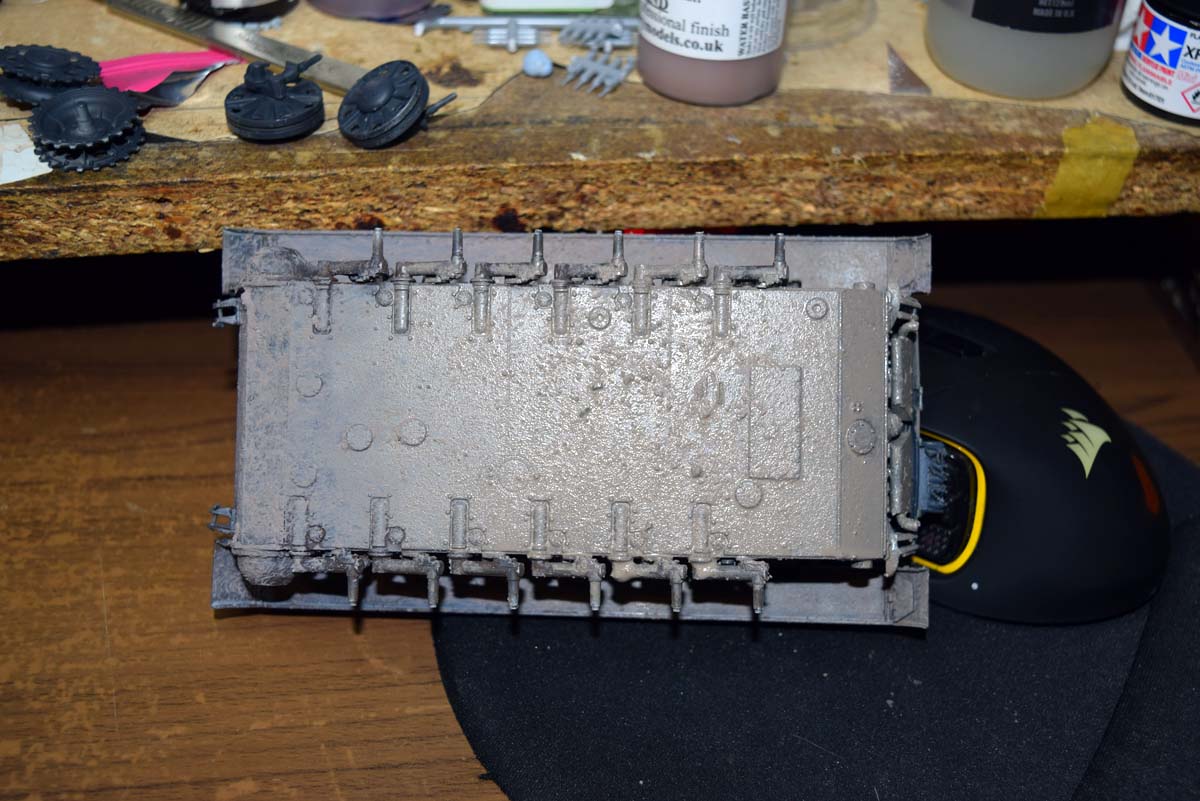


About the Author


FROM: ENGLAND - SOUTH WEST, UNITED KINGDOM
I have been building model kits since the early 70s starting with Airfix kits of mostly aircraft, then progressing to the point I am at now building predominantly armour kits from all countries and time periods. Living in the middle of Salisbury plain since the 70s, I have had lots of opportunitie...
Comments


Darren, nice to see you've been able to fit some "proper modelling" in among the unbelievable amount of work you put in on this site, and I hope you manage to get your plans for the diorama around this through to completion.
I know the feeling about having to go buy additional tracks for a review sample kit.
By the way, last sentence on page 11 - "I should also add..."
OCT 11, 2017 - 10:00 PM

Perfect timing! I was getting ready to start this one soon. Appreciate the tips & insights.
OCT 12, 2017 - 11:15 PM

Darren,
I really appreciate all the helpful tips. Very inspiring!
vr
Tim
OCT 13, 2017 - 04:53 PM

Well done build guide. I really appreciate showing those workable track links but for the many modelers who don't/can't manage aftermarket items, I would also like to see what the kit tracks look like on the model. Maybe just one side as an example, then pull them off?
OCT 14, 2017 - 10:41 PM

Darren, thank you for this excellent review. It's a StuG III building manual, if you ask me. Saved the link for further references - I have the CyberHobby edition which I intend to build one day.
Cheers!
Gabriel
OCT 25, 2017 - 06:44 PM

Thank you for a very inspiring approach, however Dragon made a big mistake, there's no radiorack on the backwall of the fighting compartment, leading to the motorroom, I don't know where they got this information from, I have the German workshop manual on the Stug 111 A-D, and on none of them there's any evidence o this radiorack.
APR 17, 2018 - 12:41 AM
Copyright ©2021 by Darren Baker. Images and/or videos also by copyright holder unless otherwise noted. The views and opinions expressed herein are solely the views and opinions of the authors and/or contributors to this Web site and do not necessarily represent the views and/or opinions of Armorama, KitMaker Network, or Silver Star Enterrpises. All rights reserved. Originally published on: 2017-10-12 05:20:00. Unique Reads: 20767

WEB HOSTING BY


Copyright ©2021 Armorama and Kitmaker Network, a subsidiary of Silver Star Enterprises
All Rights Reserved. Please read our Conditions of Use and Privacy Policy.
All Rights Reserved. Please read our Conditions of Use and Privacy Policy.