Churchill Mk III Interior Build
England - East Anglia, United Kingdom
Joined: August 12, 2005
KitMaker: 14,499 posts
Armorama: 11,675 posts
Posted: Friday, March 12, 2010 - 09:30 PM UTC
Hi Guys,
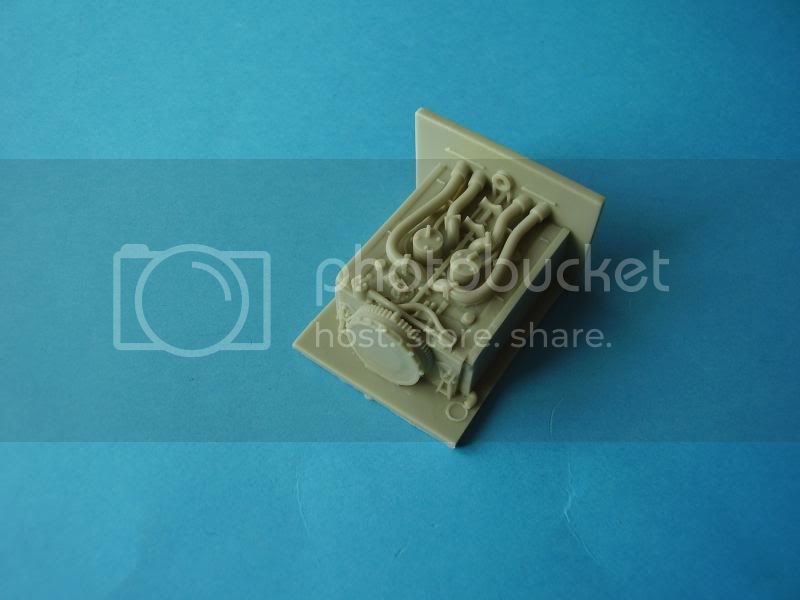
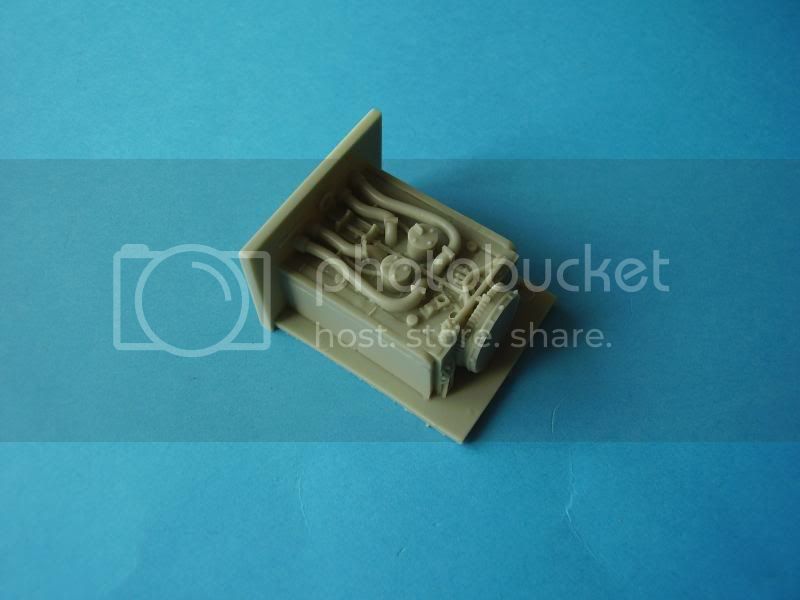
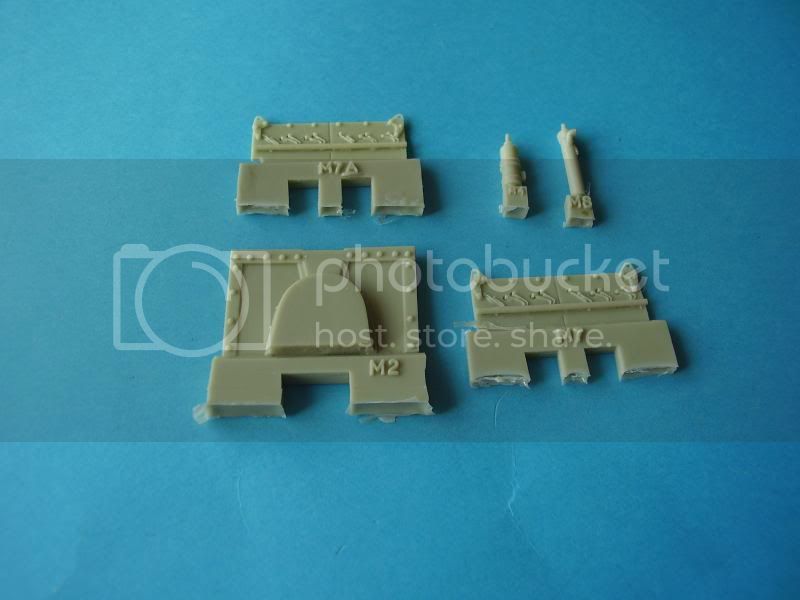
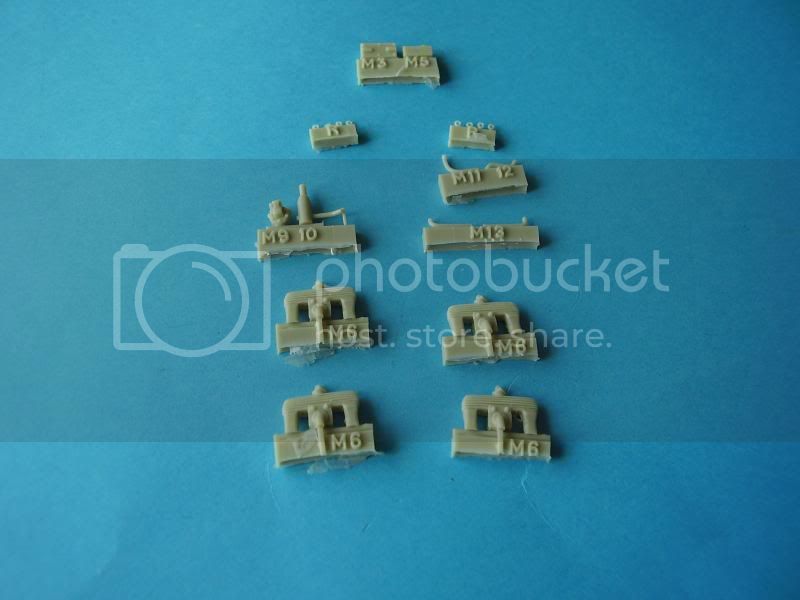
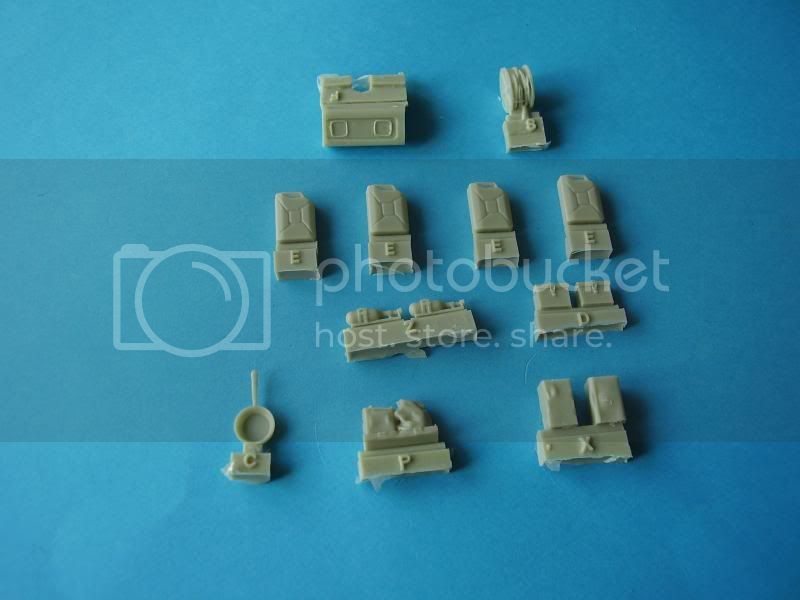
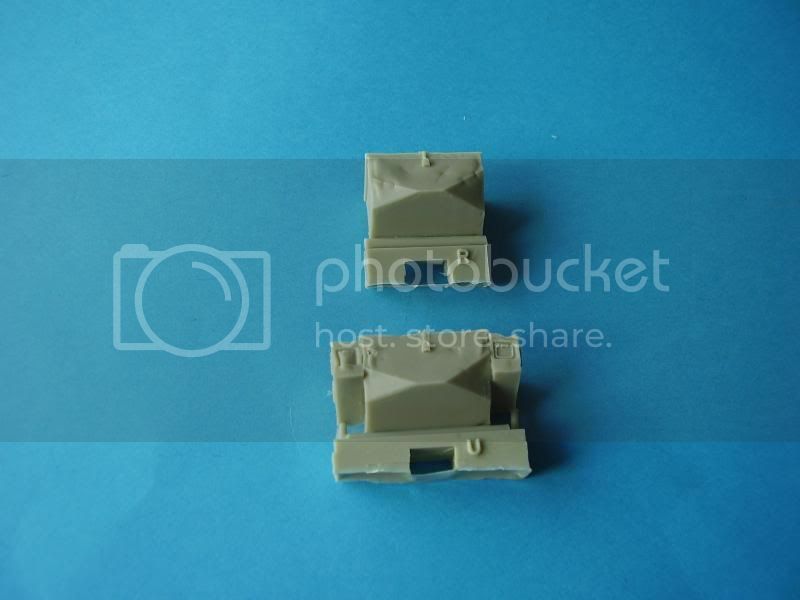
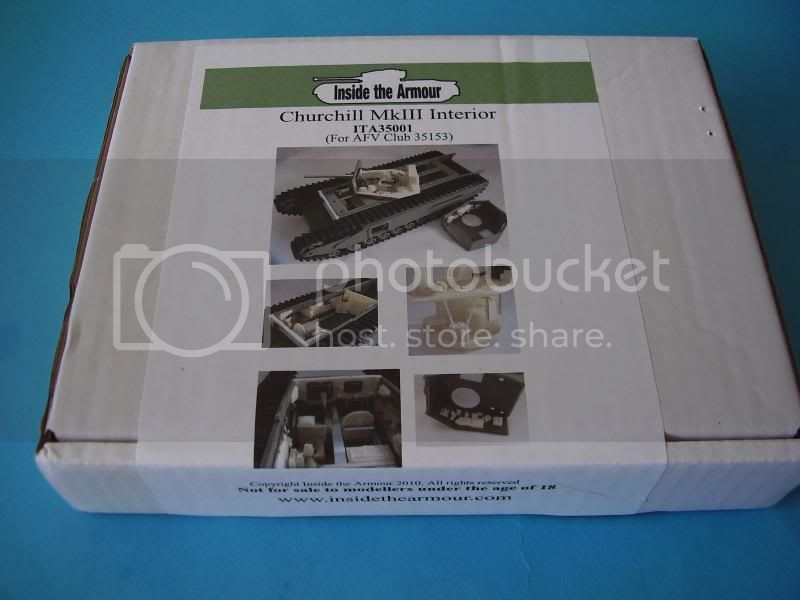
I was fortunate enough to get the new Inside The Armour interior conversion set. I'm workign on a review of the kit at the moment but thought I would give you a few tasters of what's to come.
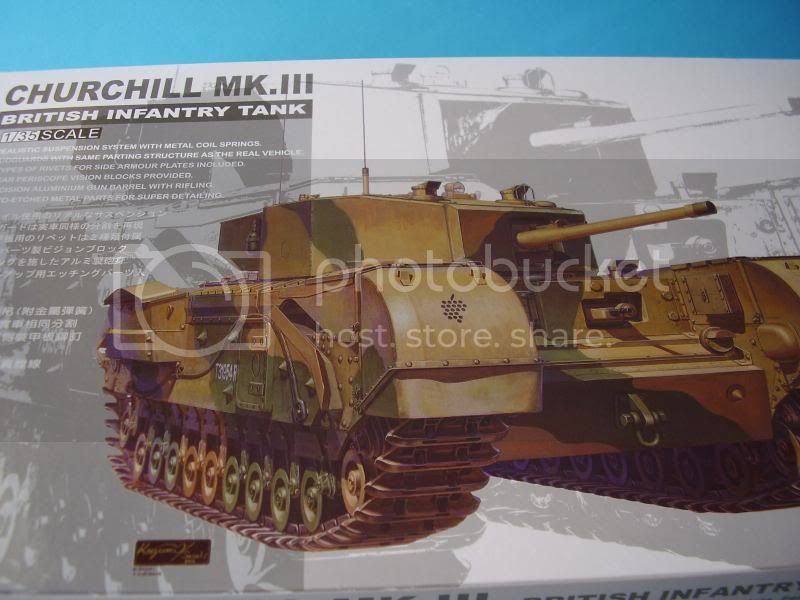
Firstly the main kit will be the AFV Chuurchill Mk III kit, box yet to be opened!!
The Inside the Armour conversion set:
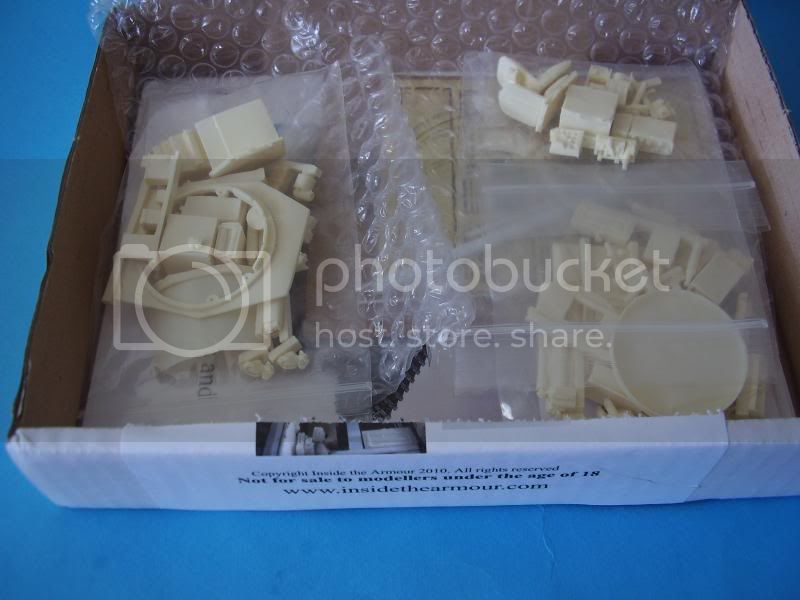
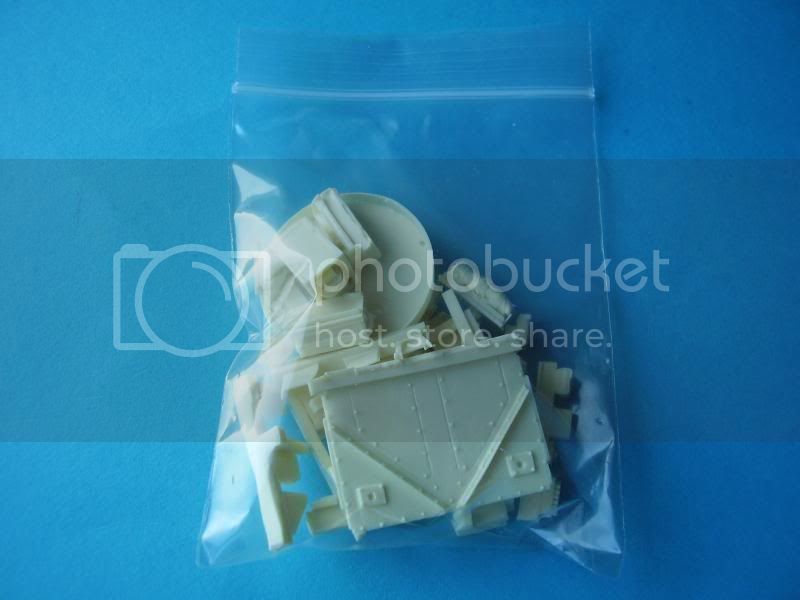
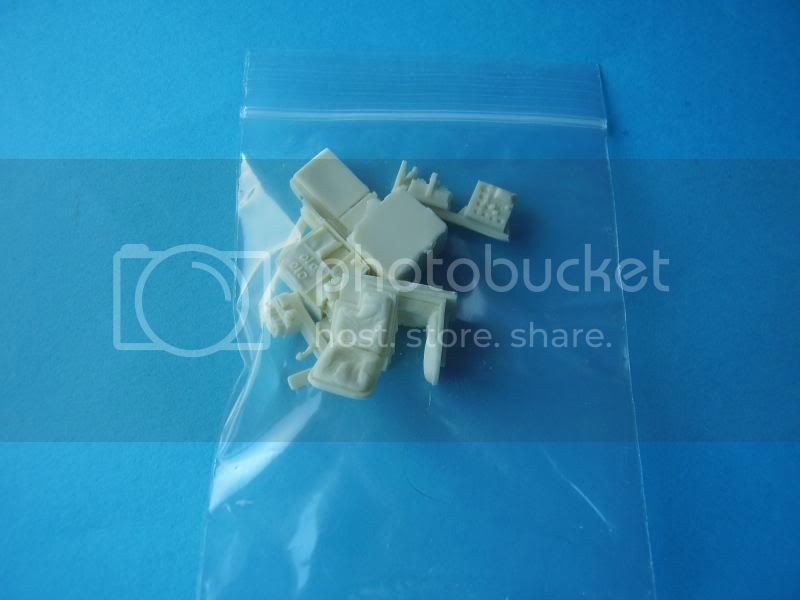
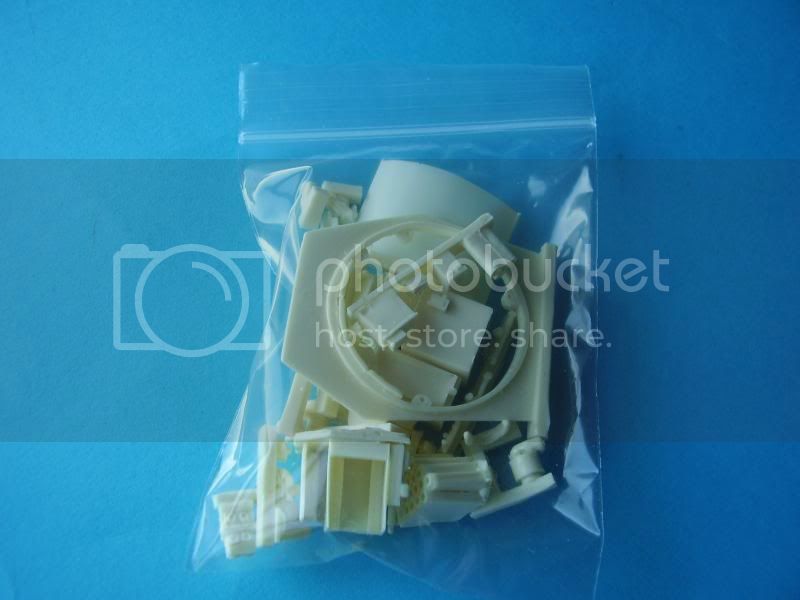
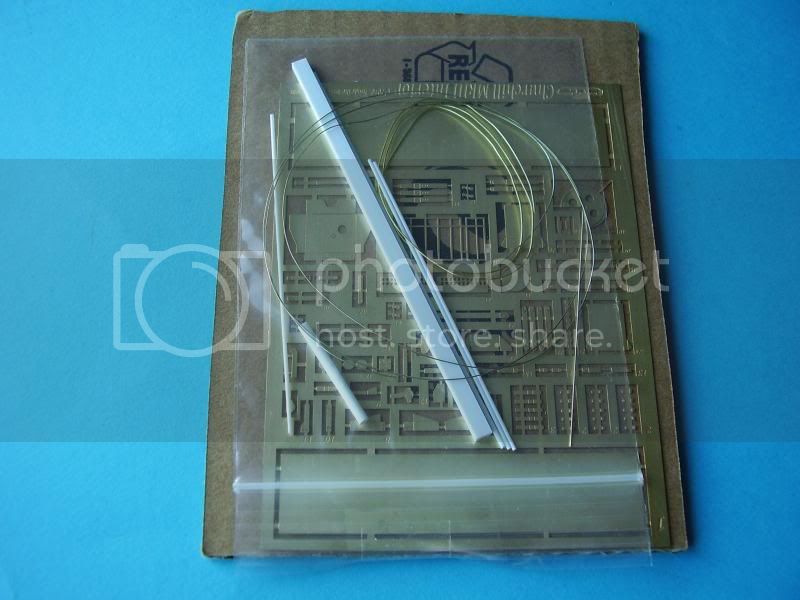
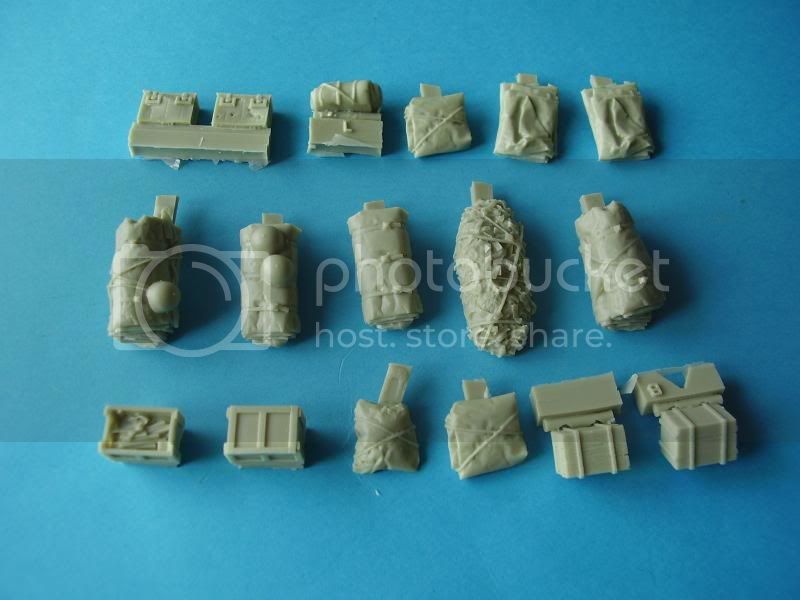
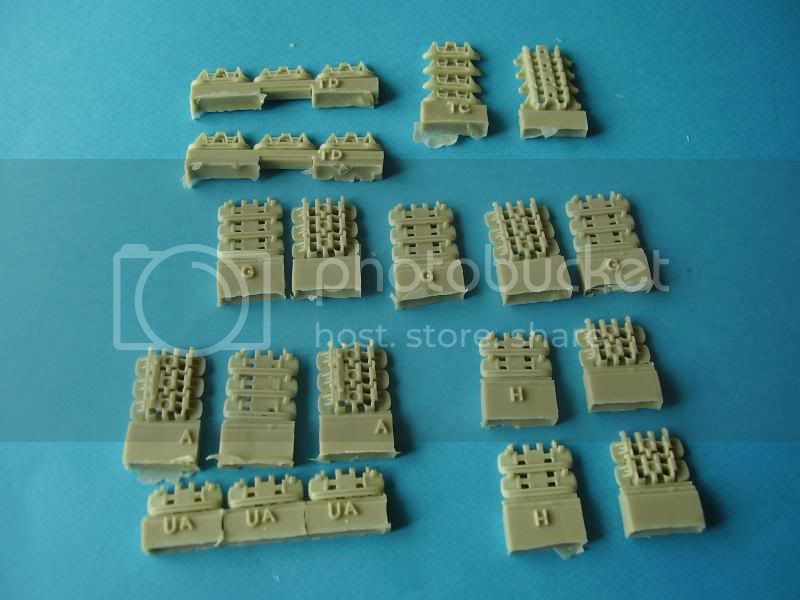
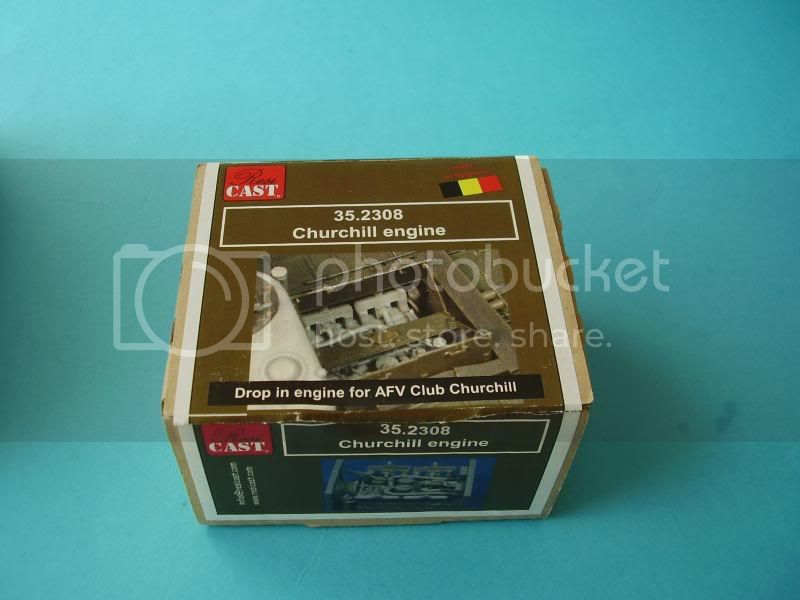
Some additonal Items from Resicast
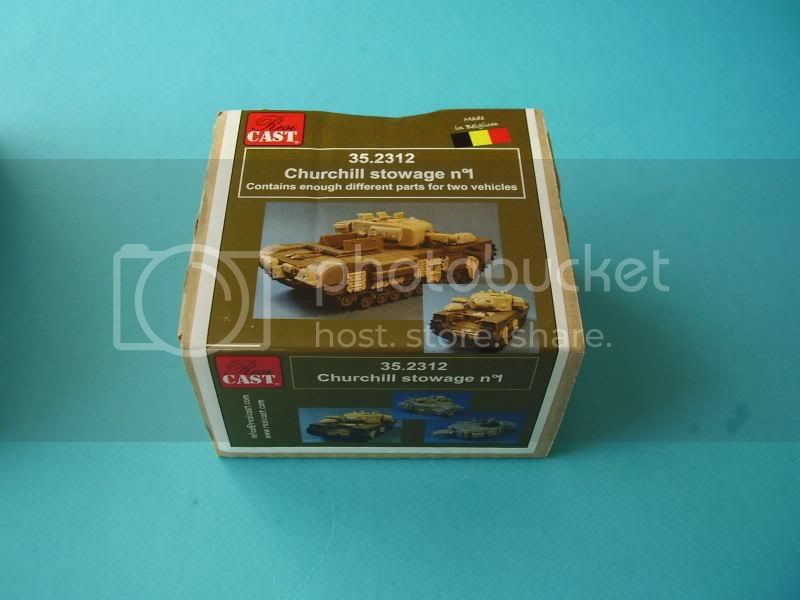
I haven't yet given much thought as to actual finish, but if I can complete it as a Scots Guards vehicle then Americans come to mind!
Cheers
Al
'Action this Day'
Winston Spencer Churchill

#011
Jerusalem, Israel
Joined: February 06, 2009
KitMaker: 1,507 posts
Armorama: 1,304 posts
Posted: Saturday, March 13, 2010 - 02:33 AM UTC
will be following with great interest. Might be going for that one even with my dislike of resin.
George: "If we do happen to step on a mine, Sir, what do we do ?"
Blackadder: "Normal procedure, Lieutenant, is to jump 200 feet in the air and scatter oneself over a wide area."
England - East Anglia, United Kingdom
Joined: August 12, 2005
KitMaker: 14,499 posts
Armorama: 11,675 posts
Posted: Saturday, March 13, 2010 - 10:48 AM UTC
Hi Matan,
The parts look very well done, they will need a bit opf clean up and some study of the interior but should build up into a detailed re[presentation of the real thing. The bin boxes, 6pdr ammo racks all check out well with the stowagre diagrams, Nice no 19 radio, and underbin and the 6pdr breech parts look good.
Still checking the details but very impressive so far.
Al
'Action this Day'
Winston Spencer Churchill
Illinois, United States
Joined: March 29, 2009
KitMaker: 1,135 posts
Armorama: 1,030 posts
Posted: Saturday, March 13, 2010 - 11:05 AM UTC
Woah. With my limited knowledge of WWII british operations I'm assuming this is going to be an abandoned Churchill based off of the pictures I've seen. Needless to say, I can't wait to see this one progress. Good Luck!!!
Currently taking back the fight to beat modeling ADD
England - East Anglia, United Kingdom
Joined: August 12, 2005
KitMaker: 14,499 posts
Armorama: 11,675 posts
Posted: Sunday, March 14, 2010 - 01:25 AM UTC
Hi Sean,
I'm thinking more of a maintainence/repair type scene as I'll be adding the Resicast engine and I want to leave all the doors/hatches open to make best use of the set.
Cheers
Al
'Action this Day'
Winston Spencer Churchill

#011
Jerusalem, Israel
Joined: February 06, 2009
KitMaker: 1,507 posts
Armorama: 1,304 posts
Posted: Sunday, March 14, 2010 - 06:25 AM UTC
Alan, could you please take a picture of the "wiring" part of the instructions? I'm curios how inside the armor put that in the kit.
cheers!
George: "If we do happen to step on a mine, Sir, what do we do ?"
Blackadder: "Normal procedure, Lieutenant, is to jump 200 feet in the air and scatter oneself over a wide area."
England - East Anglia, United Kingdom
Joined: August 12, 2005
KitMaker: 14,499 posts
Armorama: 11,675 posts
Posted: Sunday, March 14, 2010 - 07:00 AM UTC
Hi Matan,
I've just finished off the review on the kit and will be send it along probably tomorrow evening. After I received the kit I spoke to Chris about the instructions and he re-worked them a little and issued a new set, so I need to take a new set of pictures, which unfortunately I didn't manage to get done to day, but will get tomorrow so I'll post up a couple of pics then OK,
Al
'Action this Day'
Winston Spencer Churchill
England - East Anglia, United Kingdom
Joined: August 12, 2005
KitMaker: 14,499 posts
Armorama: 11,675 posts
Posted: Sunday, March 21, 2010 - 12:36 AM UTC
Hi Guys,
Well the review is now up on this one: Link here:
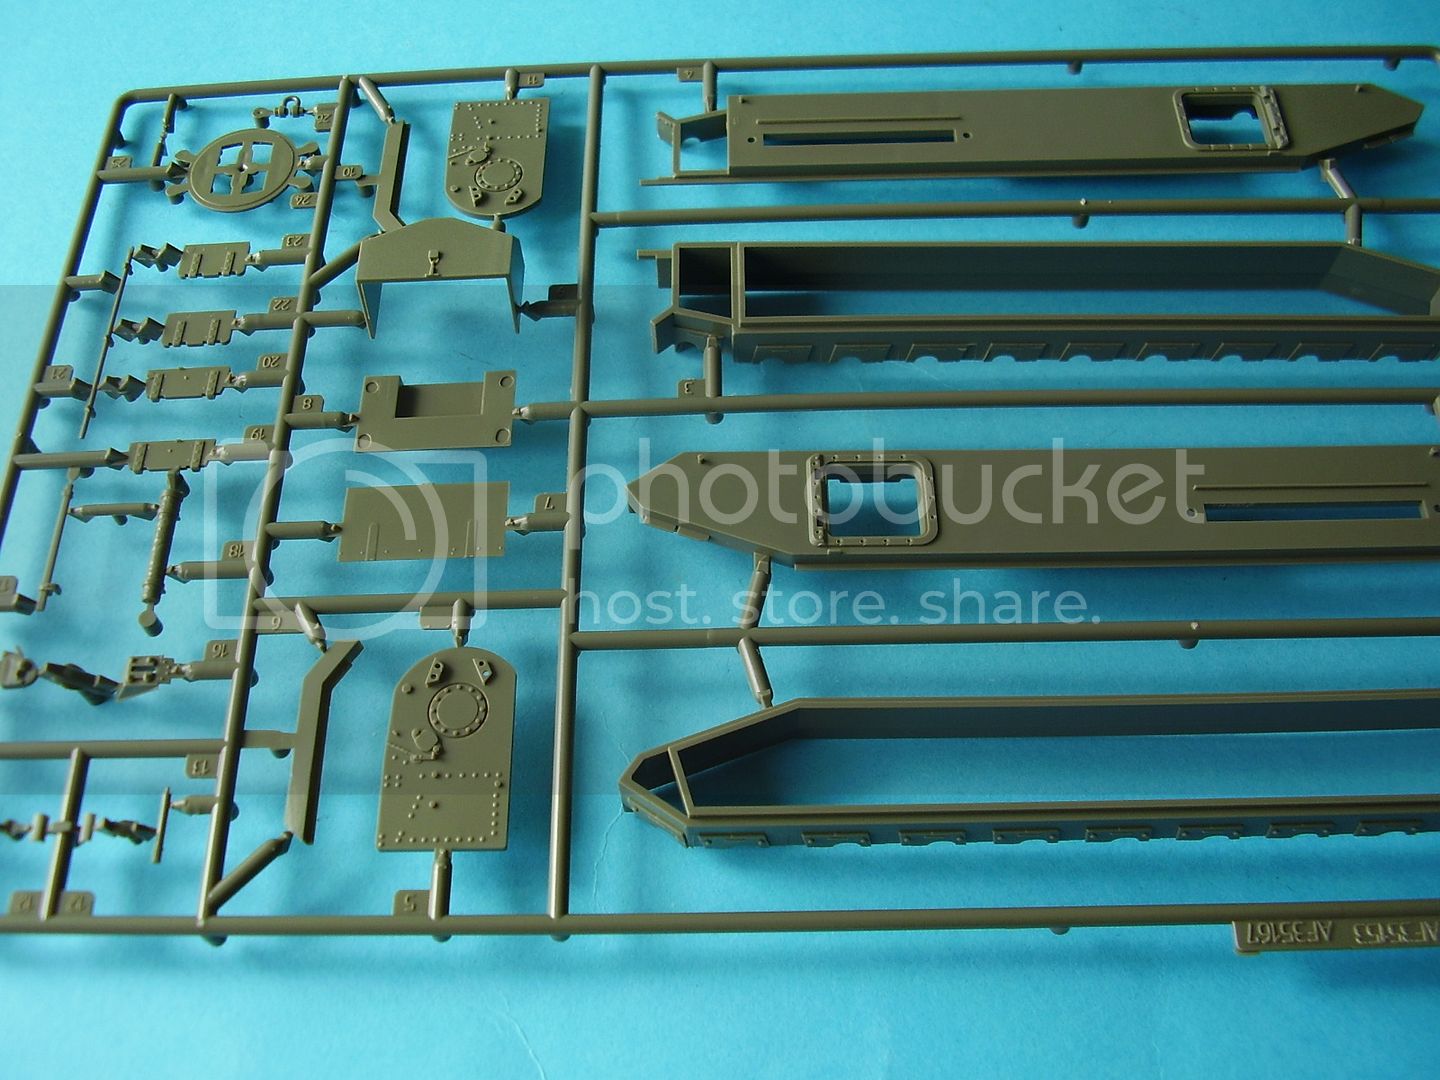
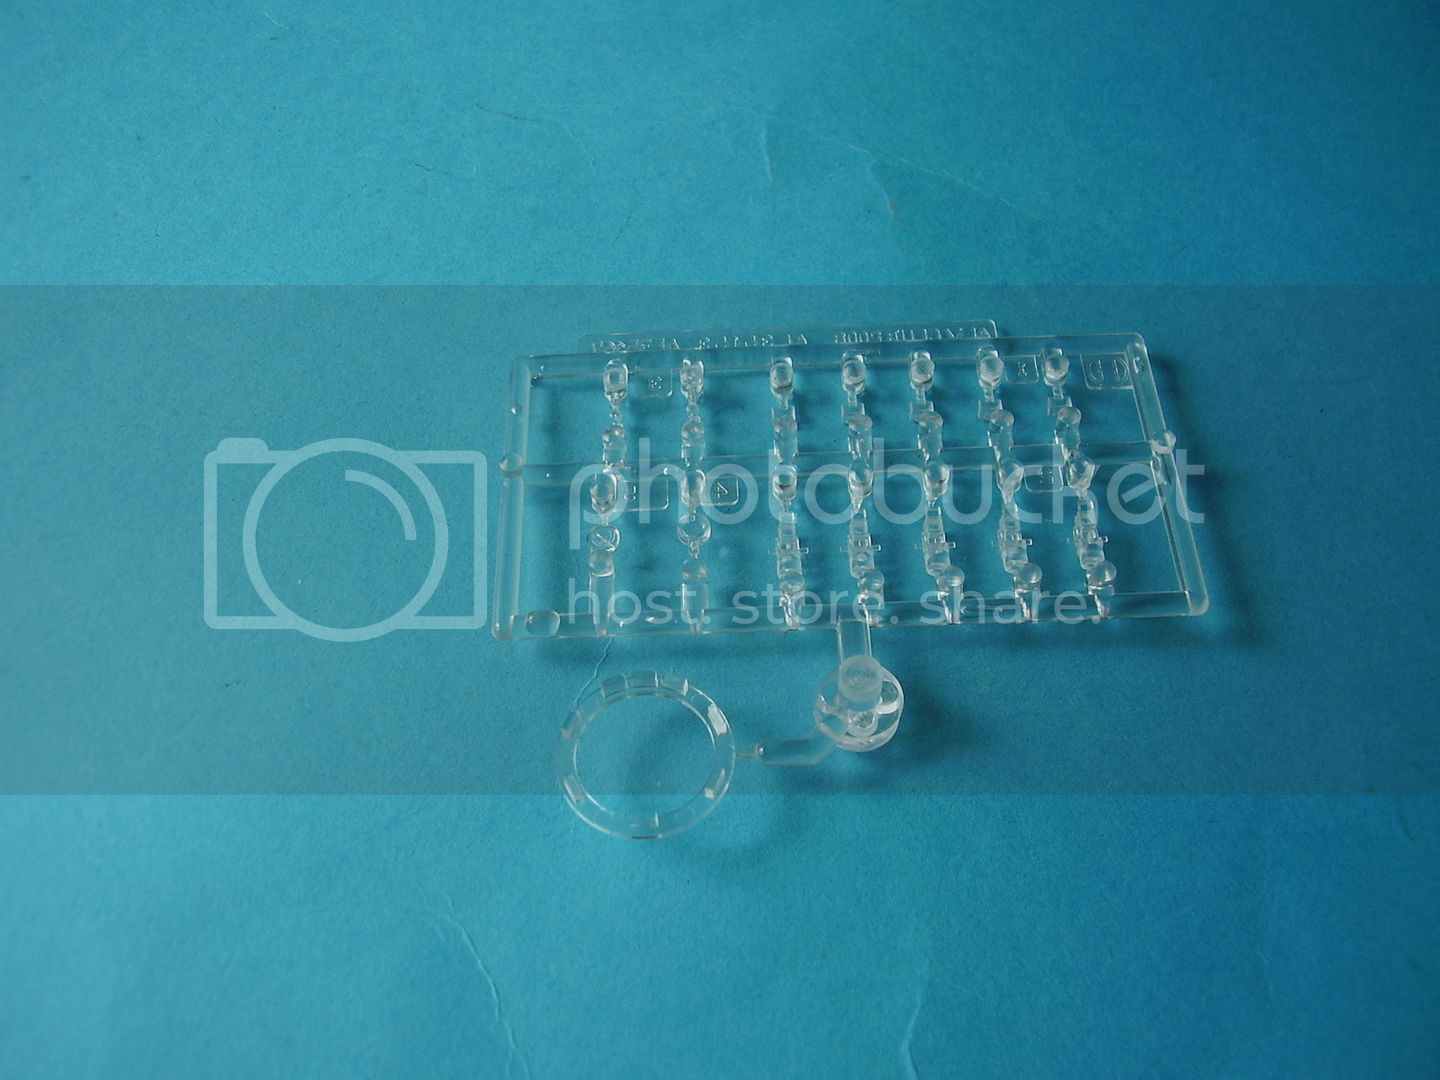
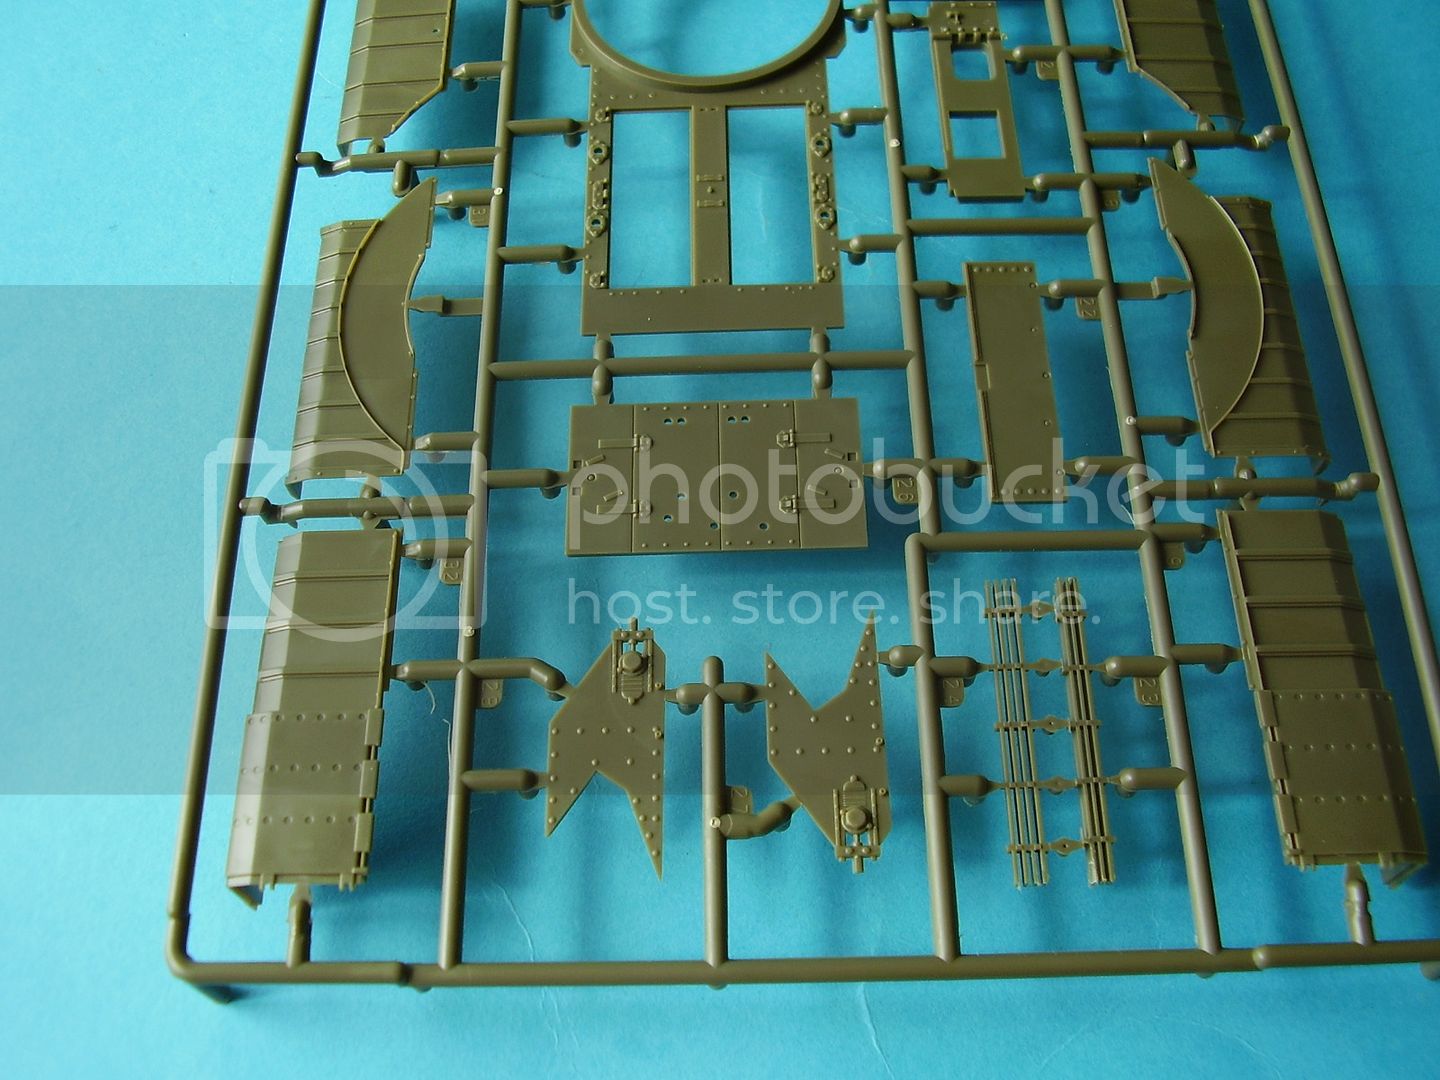
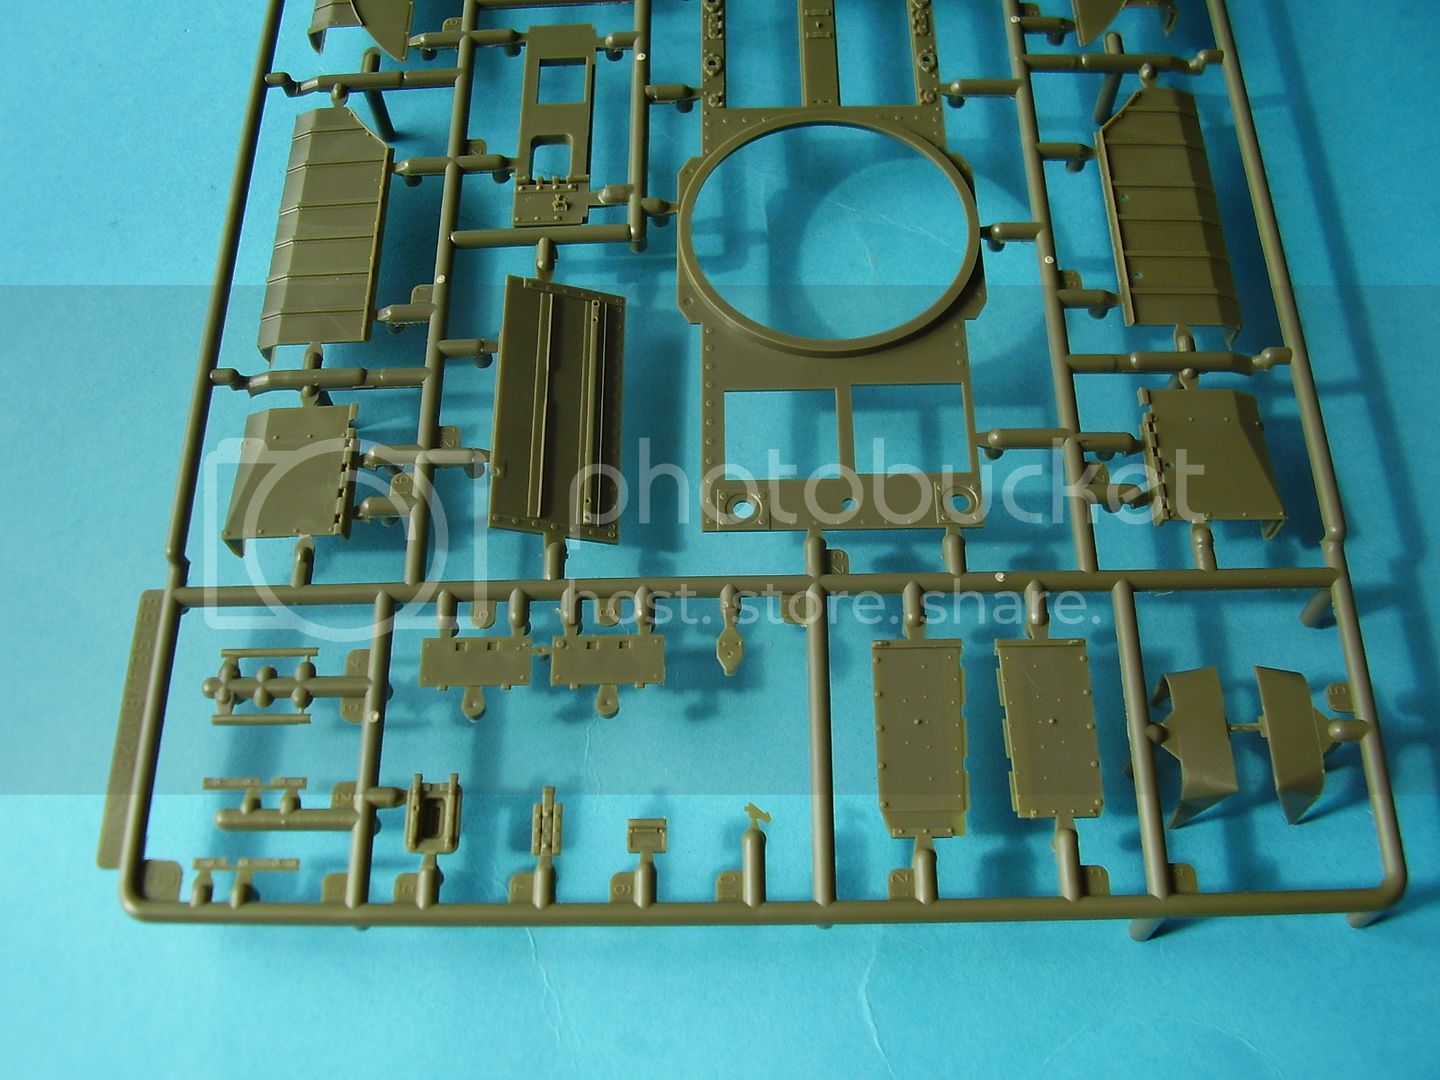
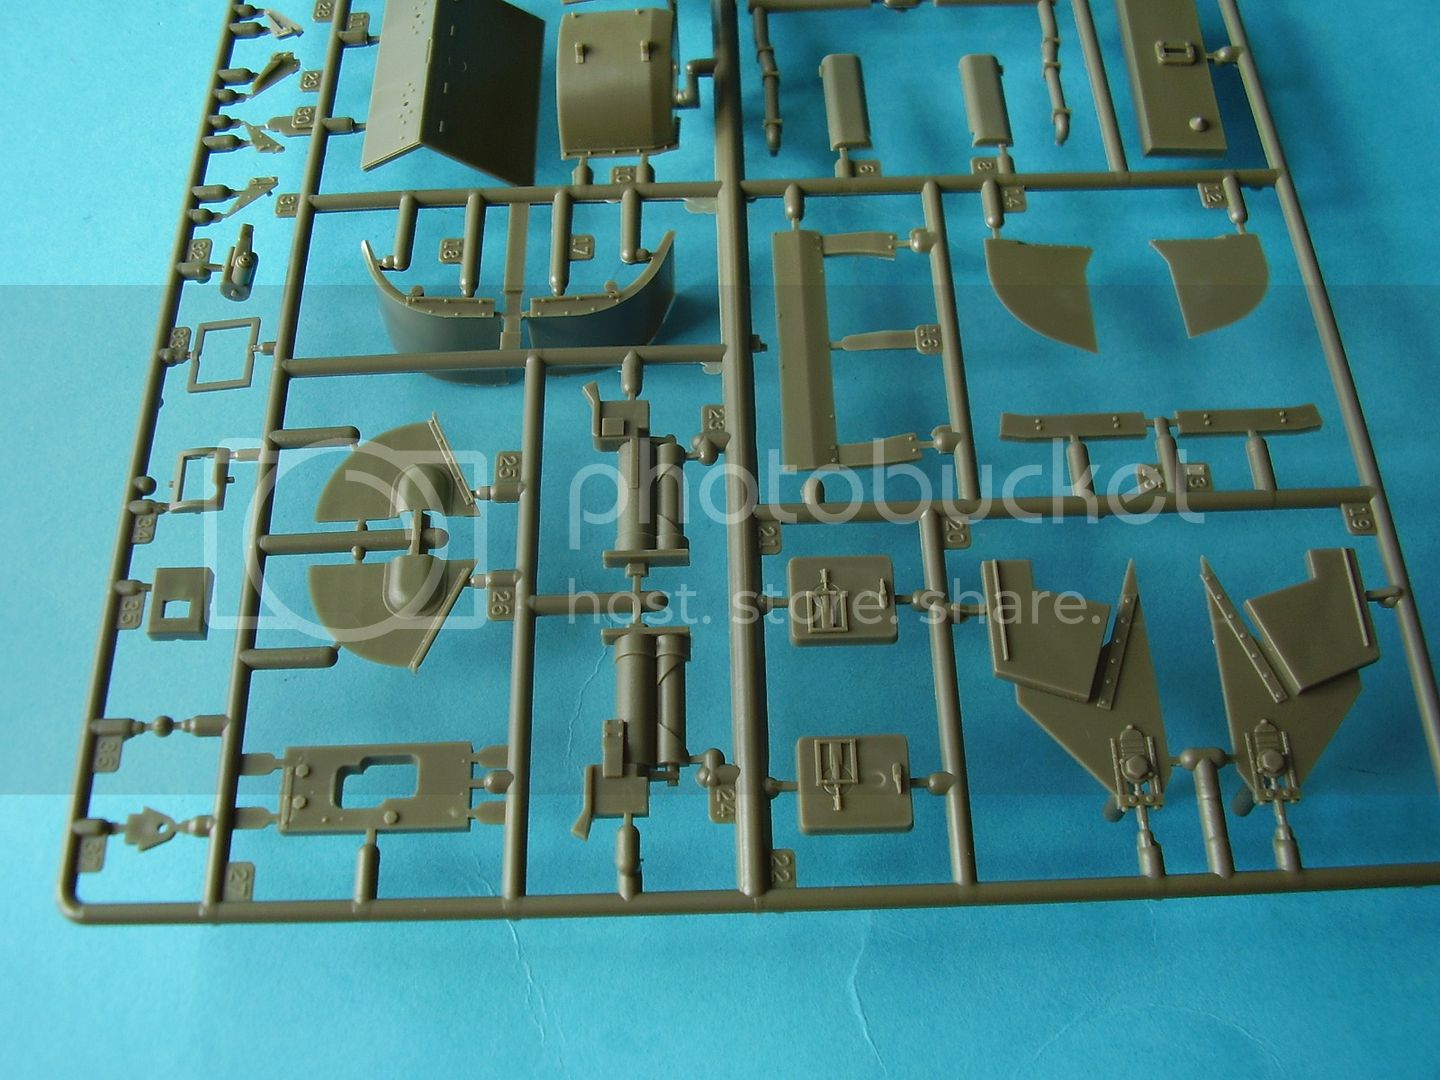
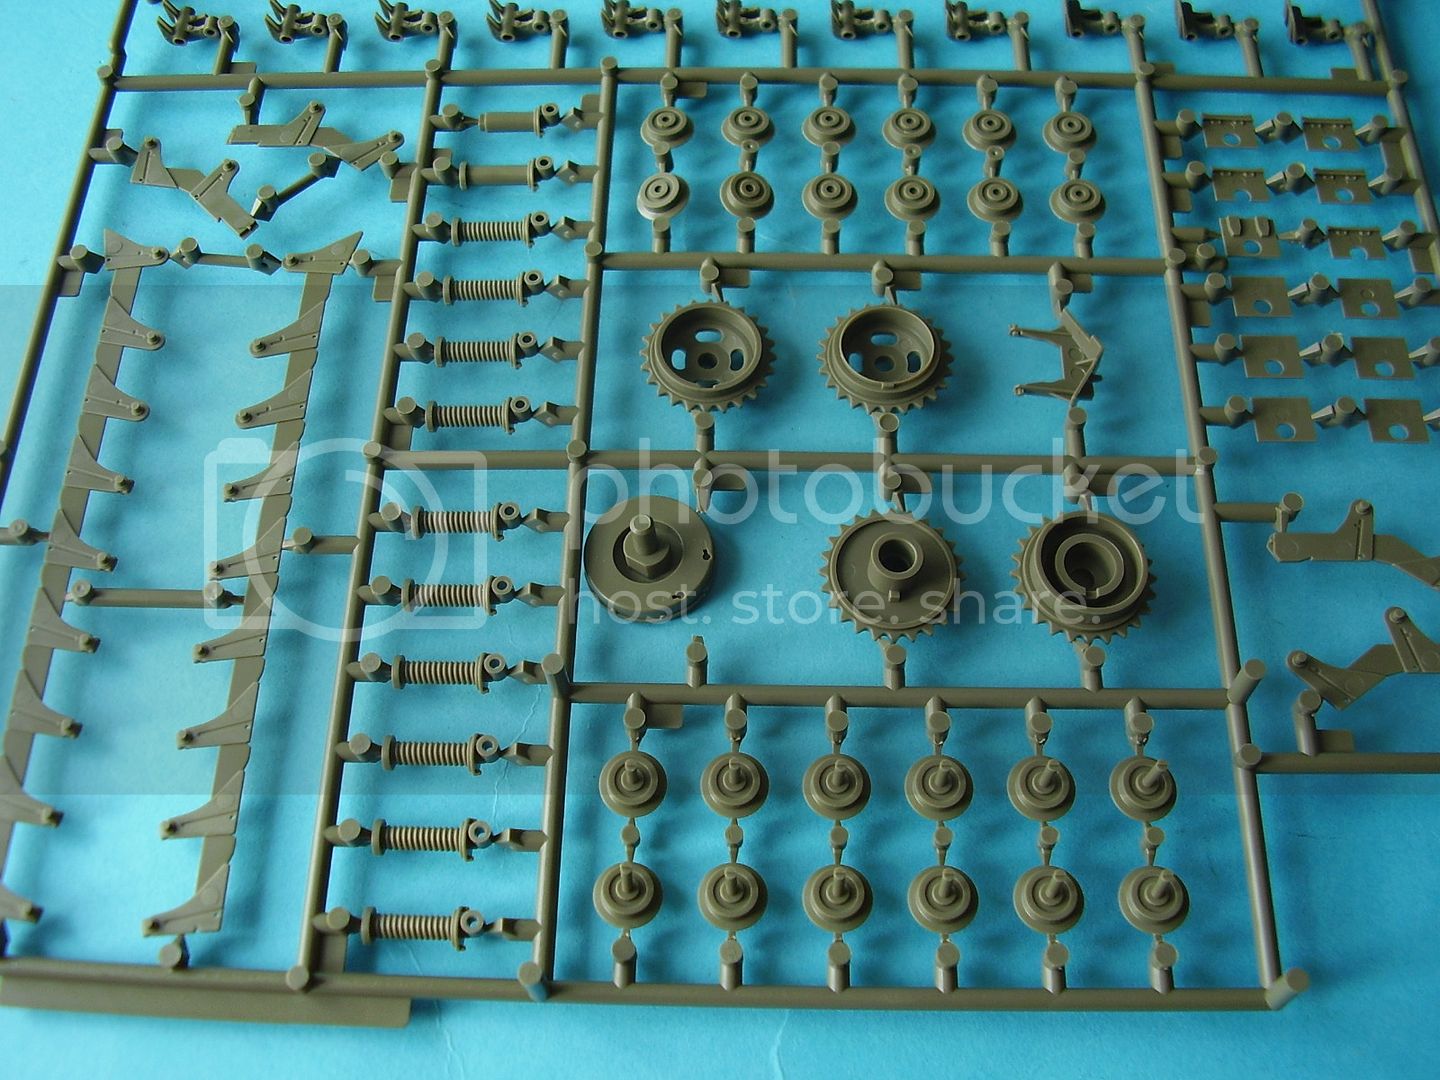
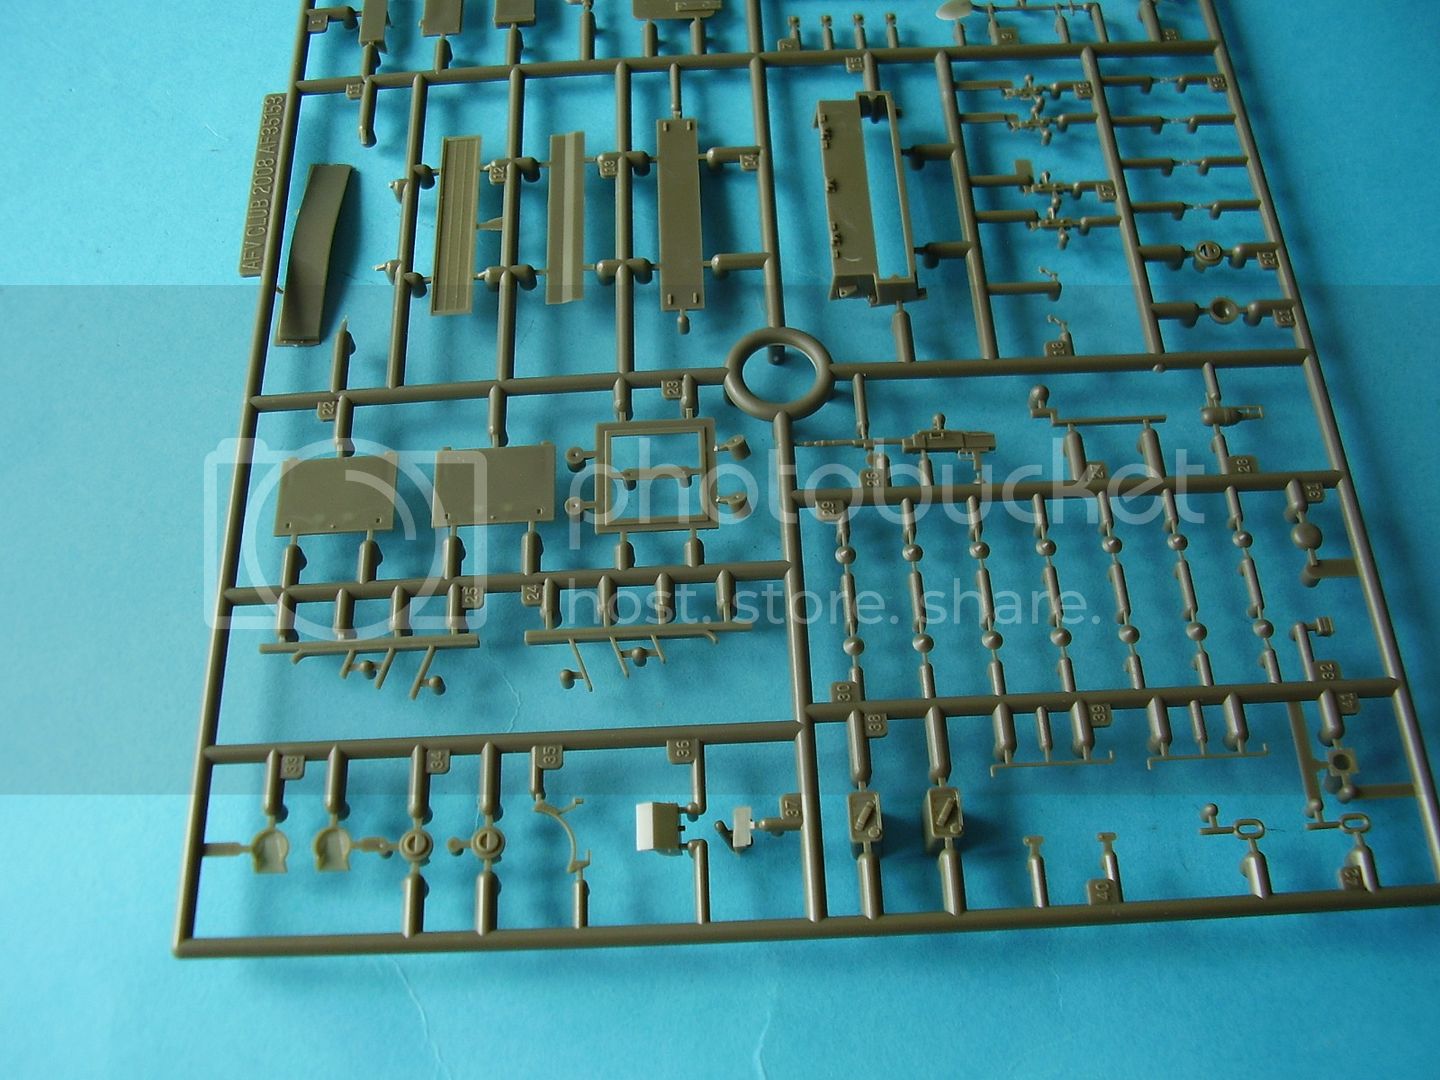
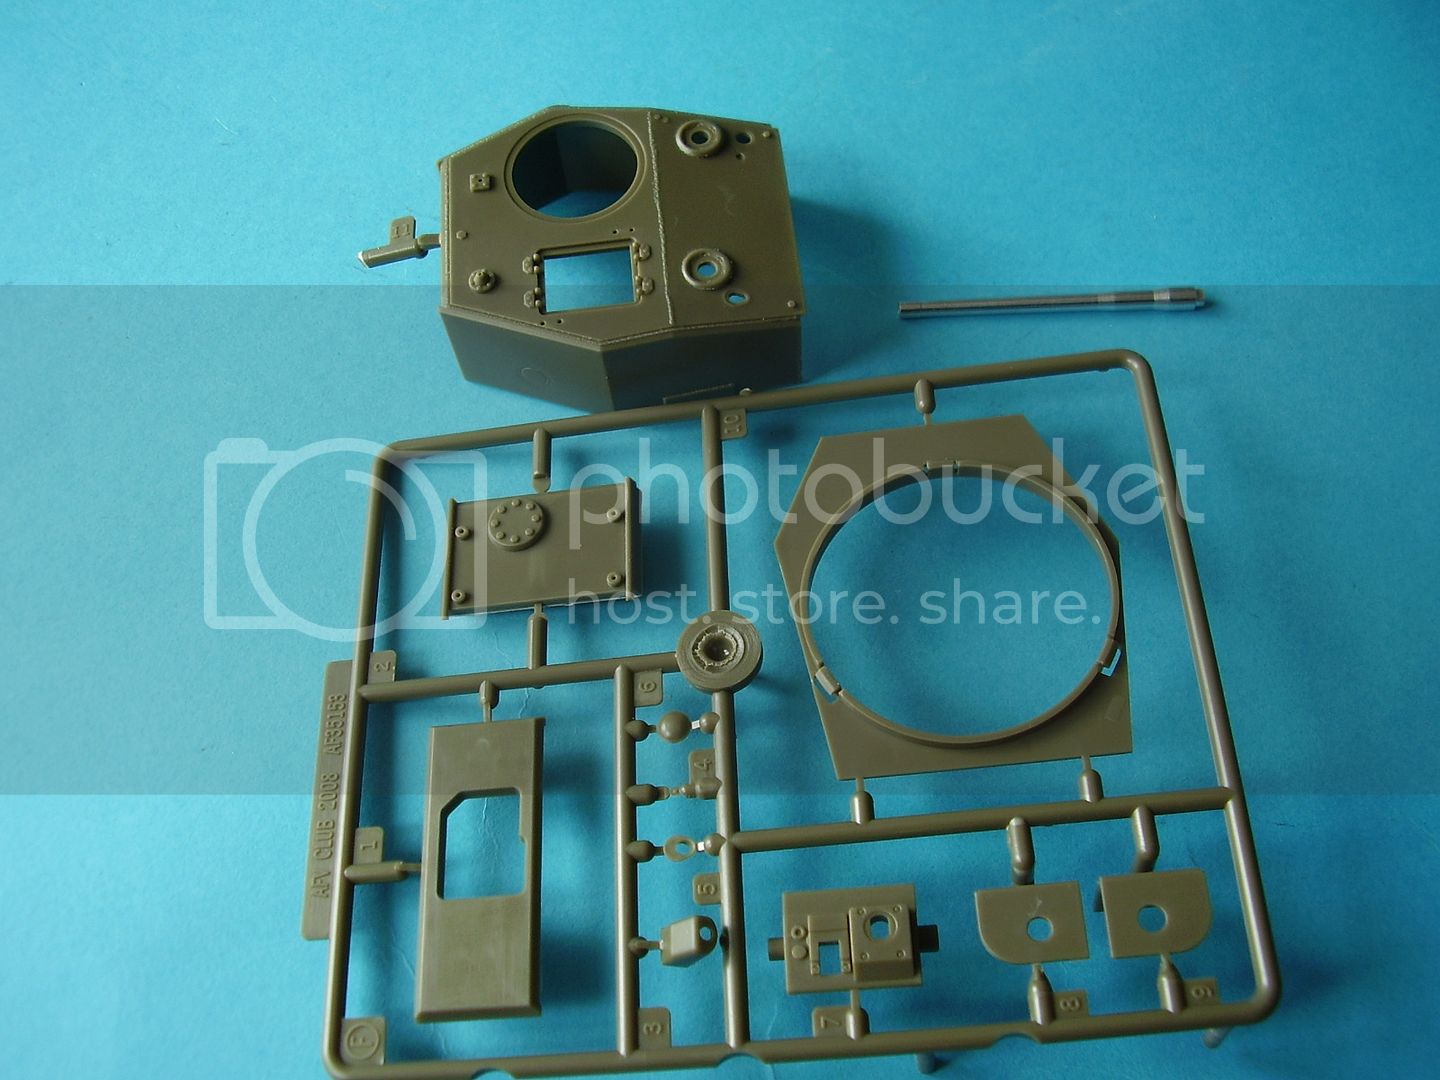
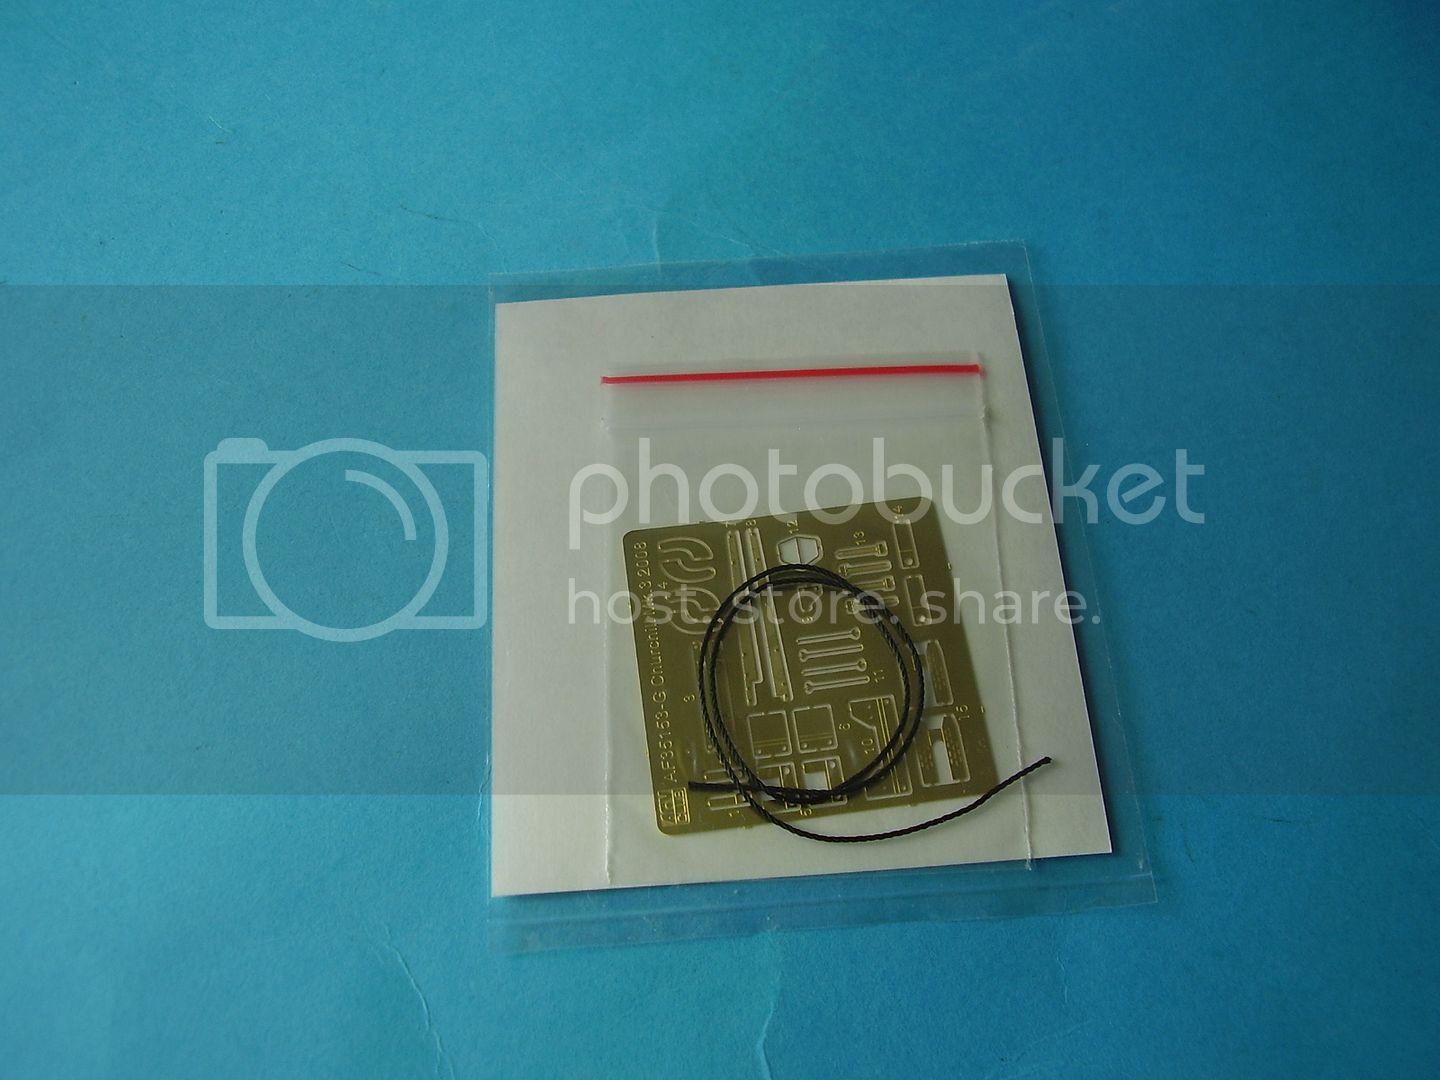
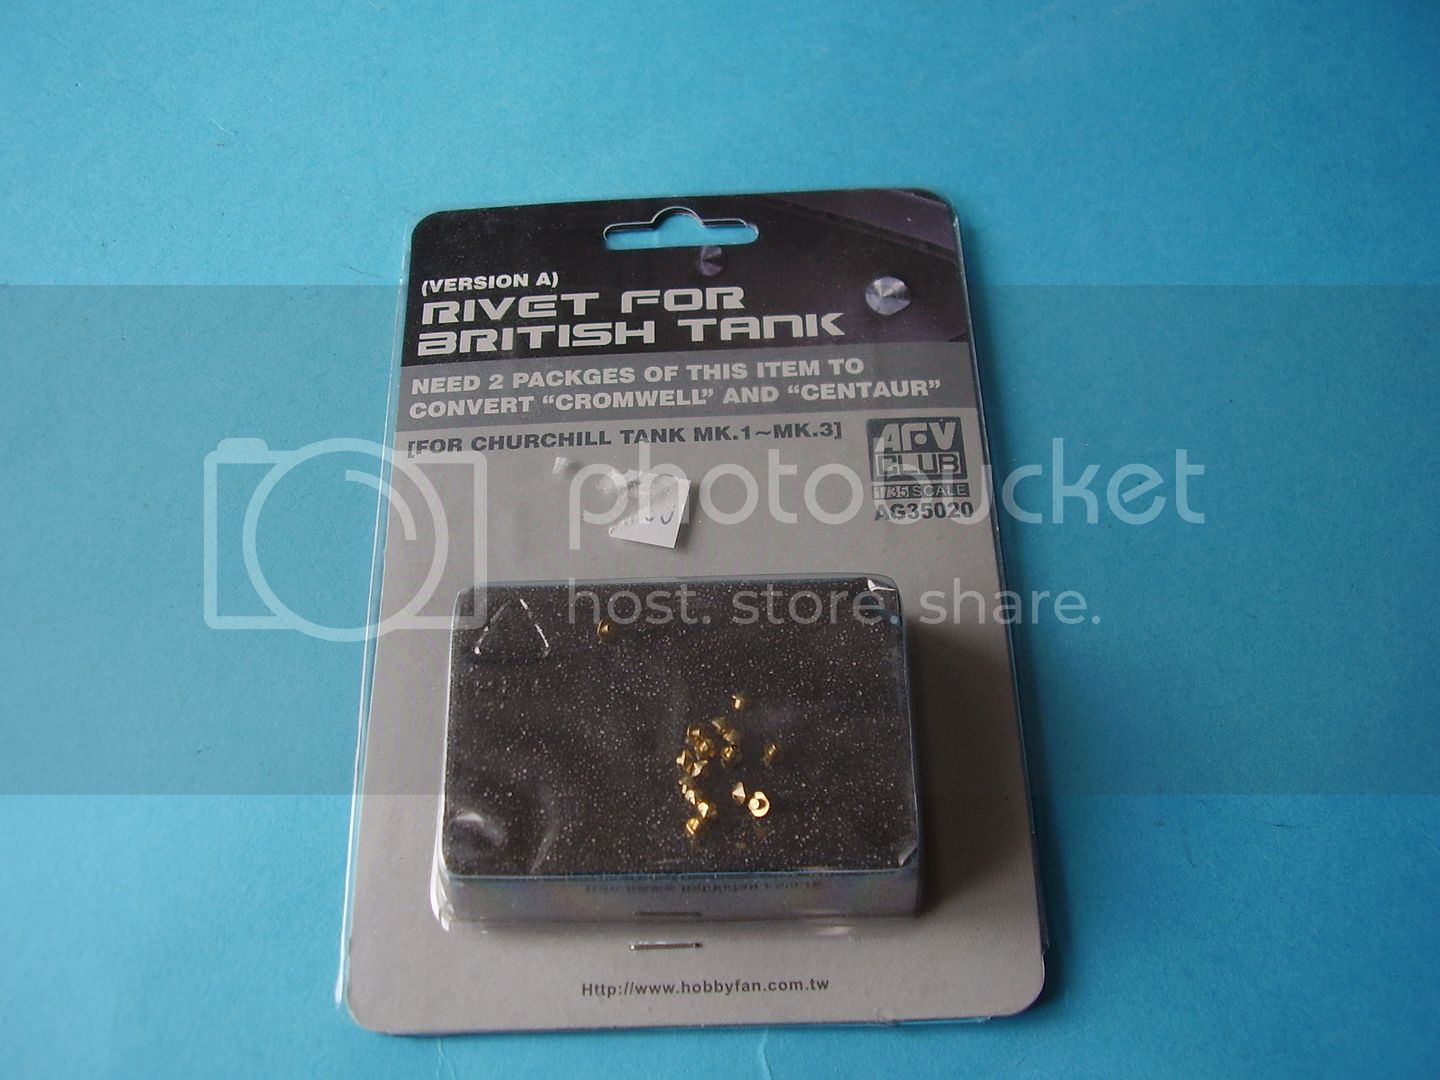
http://armorama.kitmaker.net/review/5014 Some pics of the parts:
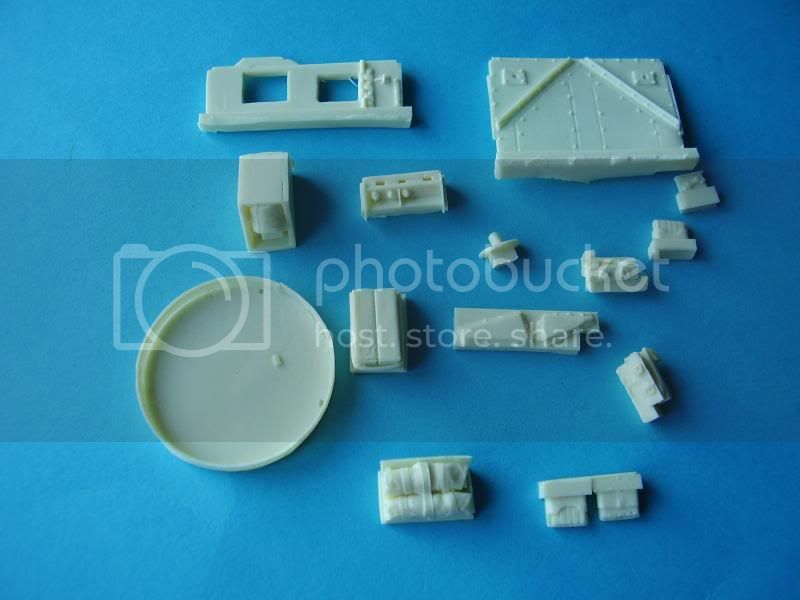
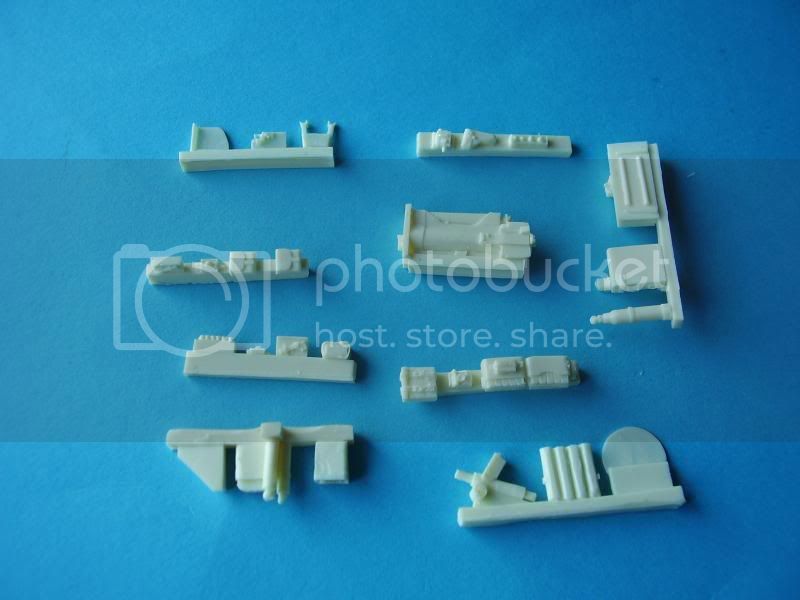
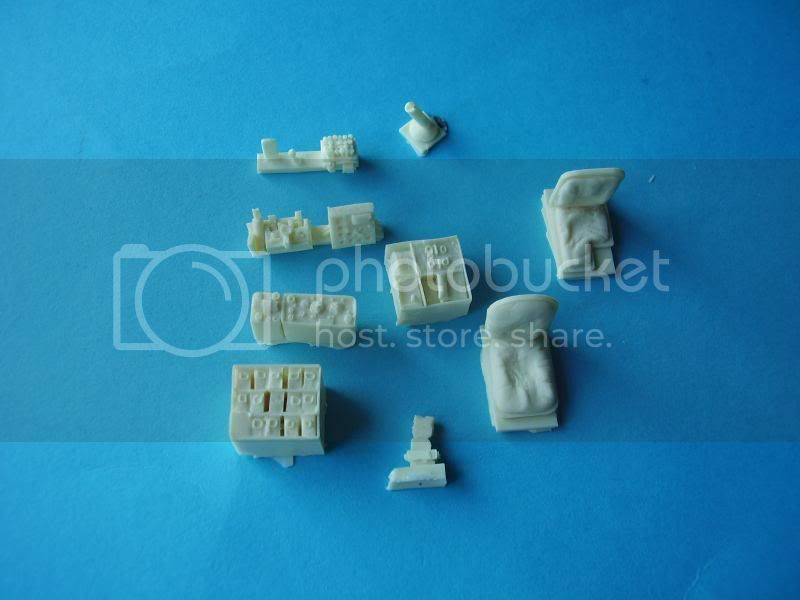
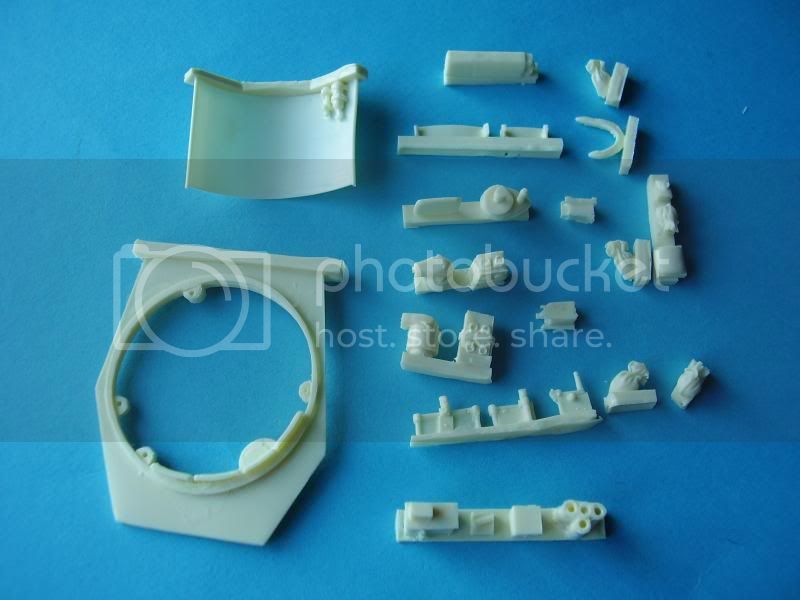
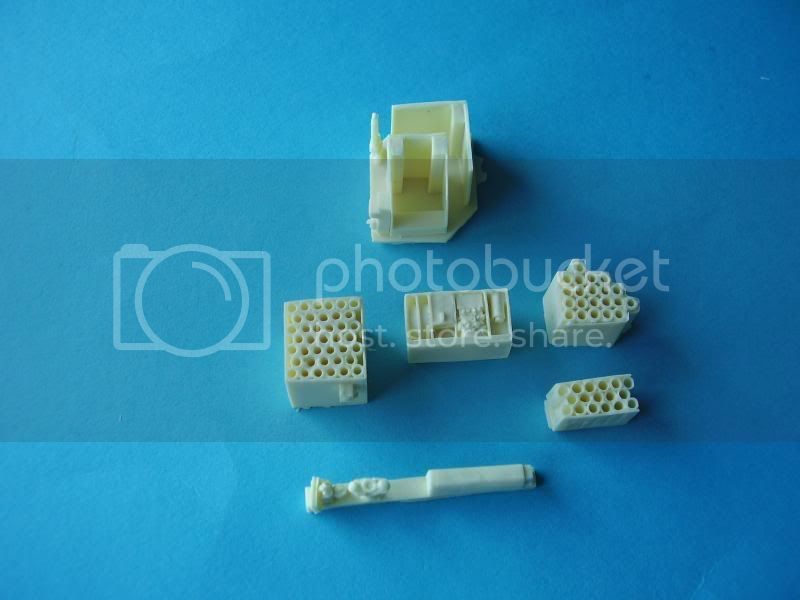
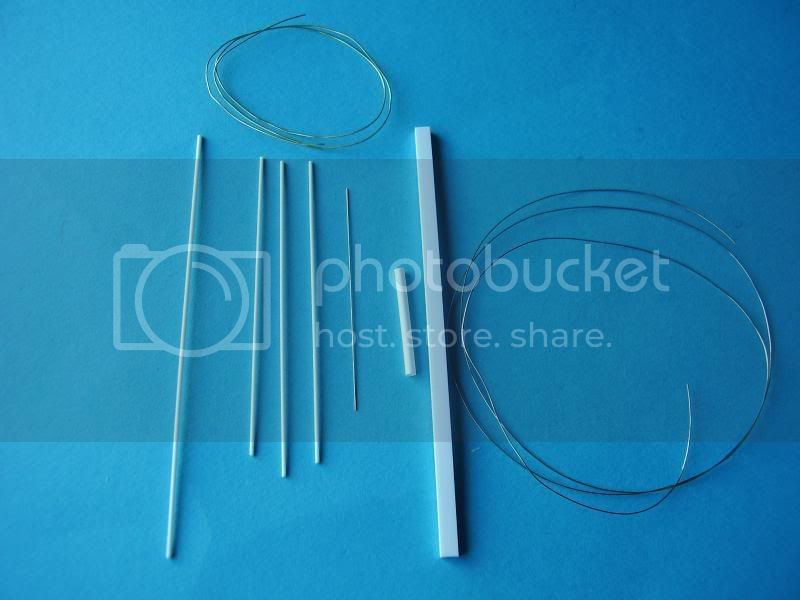
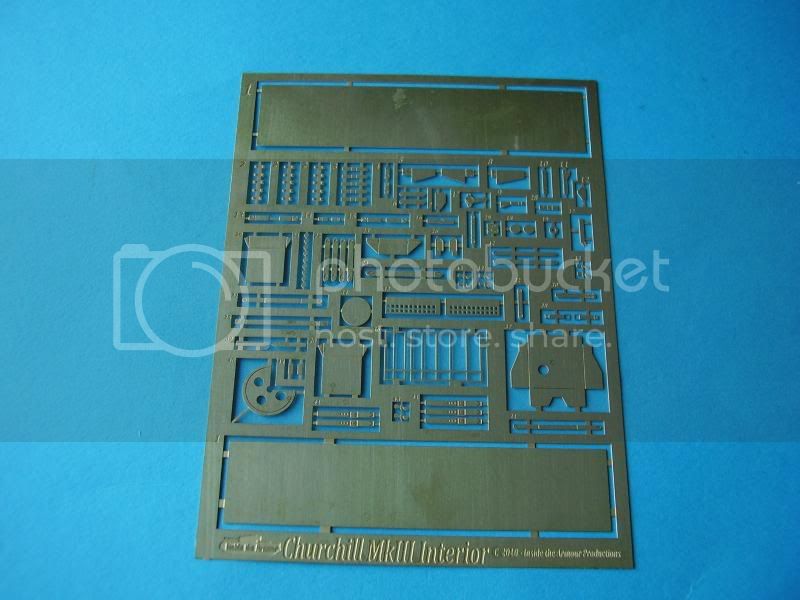
Jim Rea did a review of the AFV Club Churchill Mk III kit here:
http://armorama.kitmaker.net/review/3918 and I did a brief review of the Resicast Churchill Engine here:
http://armorama.kitmaker.net/review/4012and their Churchill stowage Set No 1 here:
http://armorama.kitmaker.net/review/4067Now all that remains is to photograph the AFV kit and put things in the tub to soak and production can get underway.
Cheers
Al
'Action this Day'
Winston Spencer Churchill
England - East Anglia, United Kingdom
Joined: August 12, 2005
KitMaker: 14,499 posts
Armorama: 11,675 posts
Posted: Monday, March 22, 2010 - 10:03 AM UTC
'Action this Day'
Winston Spencer Churchill
CMOT
 Editor-in-Chief
England - South West, United Kingdom
Joined: May 14, 2006
KitMaker: 10,954 posts
Armorama: 8,571 posts
Posted: Monday, March 22, 2010 - 10:25 AM UTC
After our chat in the review thread Alan I will watch with interest what you manage here.
England - East Anglia, United Kingdom
Joined: August 12, 2005
KitMaker: 14,499 posts
Armorama: 11,675 posts
Posted: Sunday, March 28, 2010 - 05:18 AM UTC
'Action this Day'
Winston Spencer Churchill
England - South West, United Kingdom
Joined: January 01, 2010
KitMaker: 717 posts
Armorama: 697 posts
Posted: Sunday, March 28, 2010 - 10:56 AM UTC
Hi Alan,
This is a great kit. I've built about 4 of them now, although all as conversions to other Marks.
Have you built one of these before?
Chris

#011
Jerusalem, Israel
Joined: February 06, 2009
KitMaker: 1,507 posts
Armorama: 1,304 posts
Posted: Sunday, March 28, 2010 - 11:45 AM UTC
the engine kits looks great. can't wait to see some more pictures of the build.
By the by, I'm building the AVRE version,
I have a method for the suspension George: "If we do happen to step on a mine, Sir, what do we do ?"
Blackadder: "Normal procedure, Lieutenant, is to jump 200 feet in the air and scatter oneself over a wide area."
England - East Anglia, United Kingdom
Joined: August 12, 2005
KitMaker: 14,499 posts
Armorama: 11,675 posts
Posted: Sunday, March 28, 2010 - 11:02 PM UTC
Hi Chris and Matan,
Thanks for looking I guys.
Chris,
No, this will be my first AFV Churchill.
Matan,
I'll be following you AVRE III build with interest.
Cheers
Al
'Action this Day'
Winston Spencer Churchill
England - East Anglia, United Kingdom
Joined: August 12, 2005
KitMaker: 14,499 posts
Armorama: 11,675 posts
Posted: Friday, April 02, 2010 - 10:30 PM UTC
Hi Guys,
Some cool Churchill builds going on on site at the moment. As I have almost finished my household chores, I hope to make a start on the suspesnion units to day and get some priogress going on the build.
With a bit of luck some updates later as I should get underway about 11am.
Al
'Action this Day'
Winston Spencer Churchill
Goias, Brazil
Joined: March 29, 2002
KitMaker: 730 posts
Armorama: 688 posts
Posted: Friday, April 02, 2010 - 10:54 PM UTC
Waiting for....
regards, from Brazil...
Marcos Serra (Panzerserra)
England - South East, United Kingdom
Joined: August 05, 2009
KitMaker: 1,019 posts
Armorama: 933 posts
Posted: Friday, April 02, 2010 - 11:11 PM UTC
Great looking project Alan, those Aftermarket kits look great.
I followed the development of the Inside the Armour kit on various forums and was really impressed. It actually made me want to buy the AFV Club kit just to use it! I don't usually do British WW2 but would certainly be a great project and theres so many cool British Tanker figures out on the market a modeller is really spoilt for choice!
I'll be following this blog very closely and with great interest!
England - East Anglia, United Kingdom
Joined: August 12, 2005
KitMaker: 14,499 posts
Armorama: 11,675 posts
Posted: Saturday, April 03, 2010 - 12:13 AM UTC
Hi Marcos,
Here you go.
Hi Jon,
My interest in the Churchill really got going when I converted the Old Tamiya kit to an AVRE. It was the first time I'd really looked closely at the vehicle and once I got into the research I was hooked.
Righ back to some work.
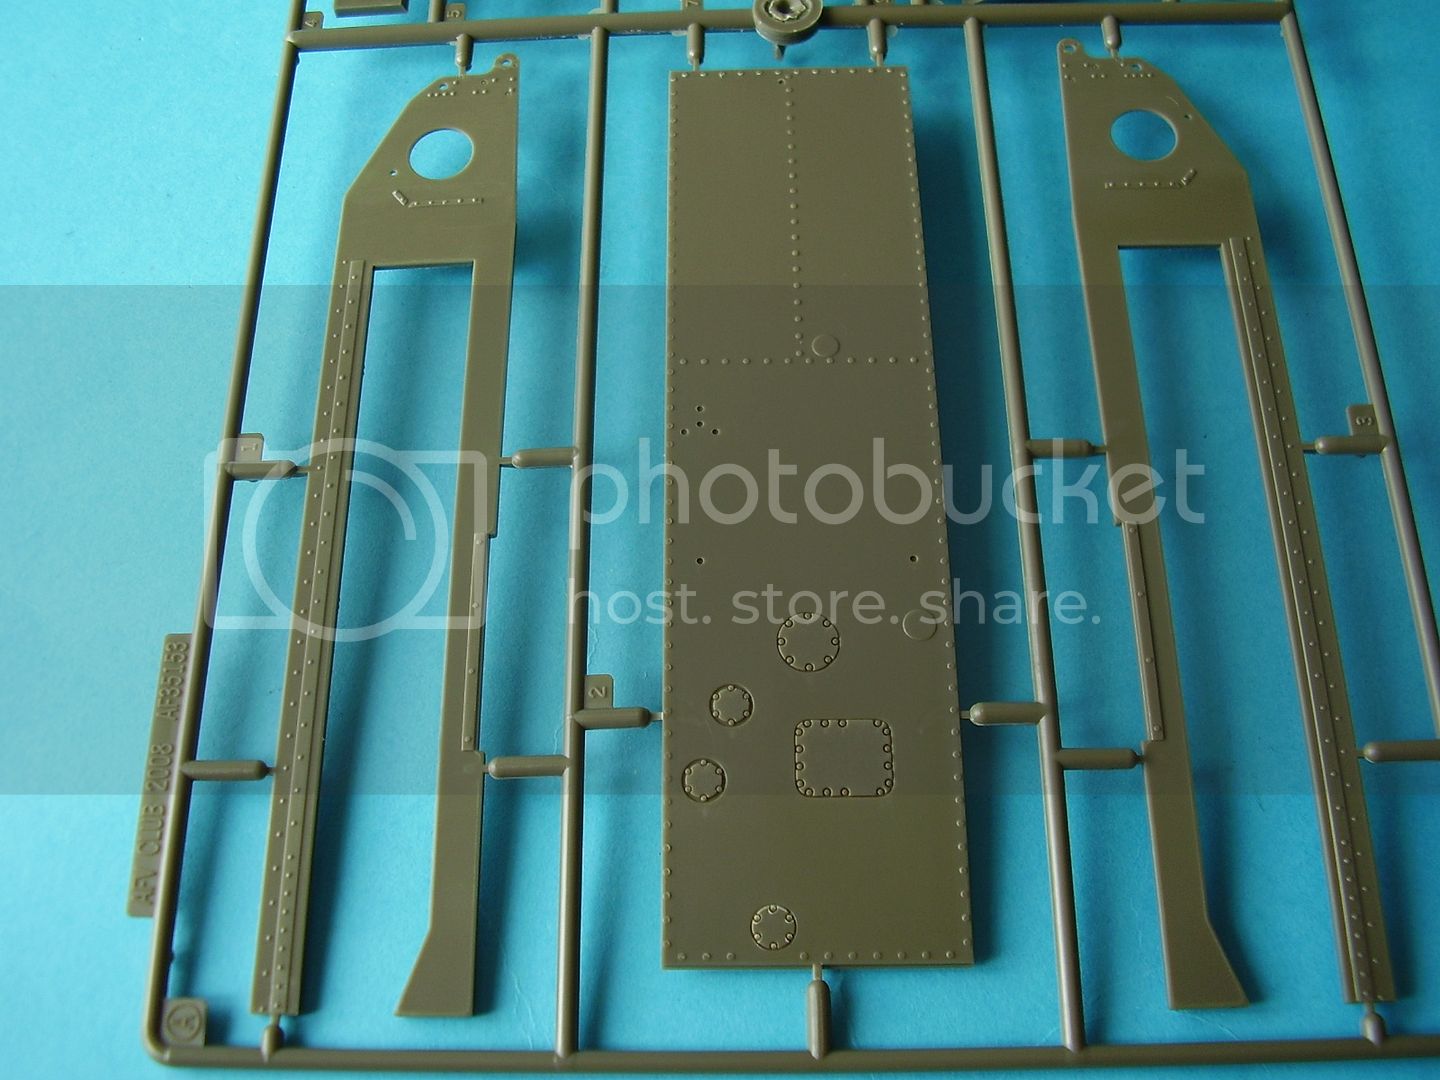
The first thing I did was to drill out the holes in the side panels. (Parts C2 and C 4). I used a 1.4mm drill bit and the AFV Club Riverts (which I think are a bit expensive), but save some work. I recommend you check Terry's review on PMMS as he has these clearly marked out so you don't drill the wrong holes.
http://perthmilitarymodelling.com/reviews/vehicles/afvclub/afv35153.html 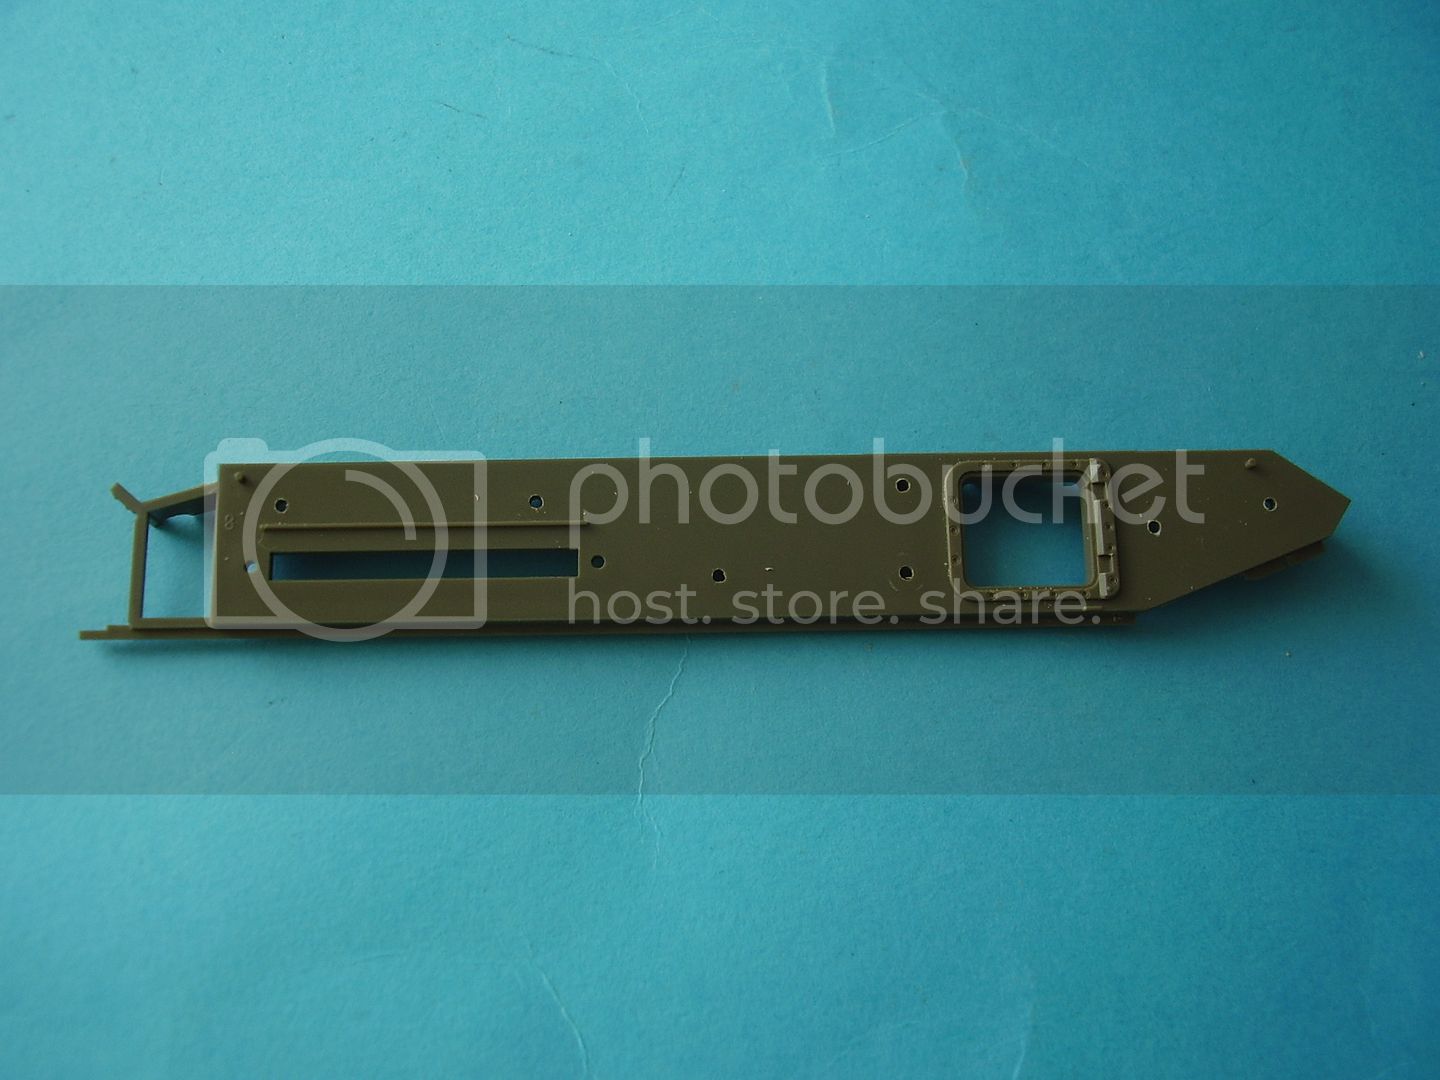
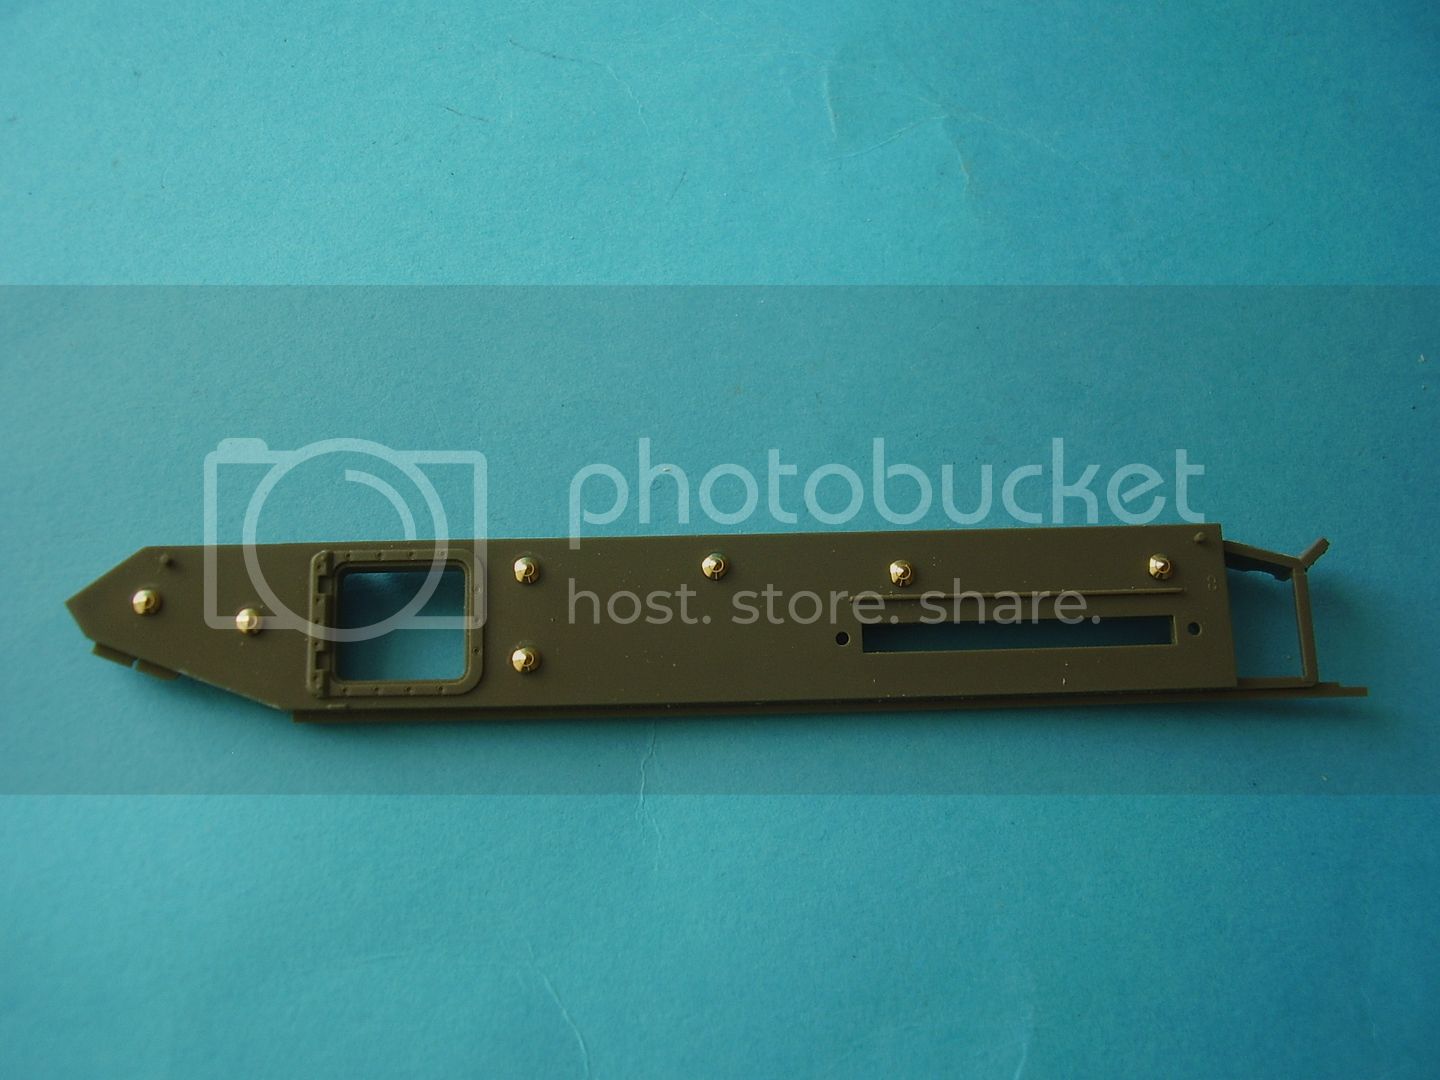
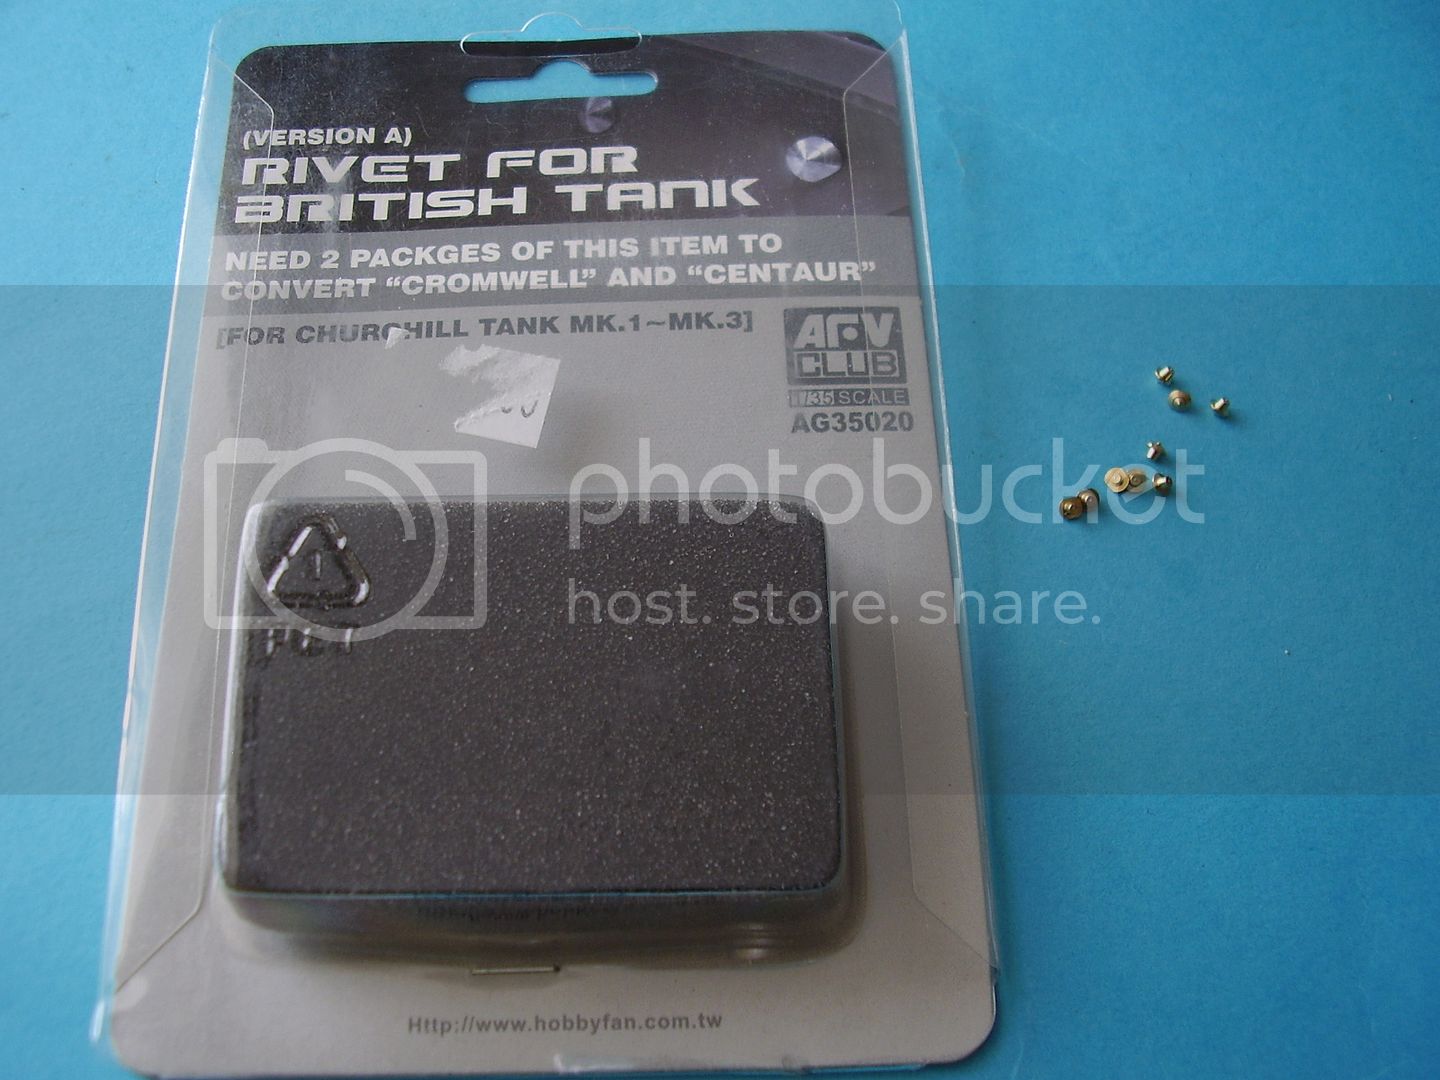
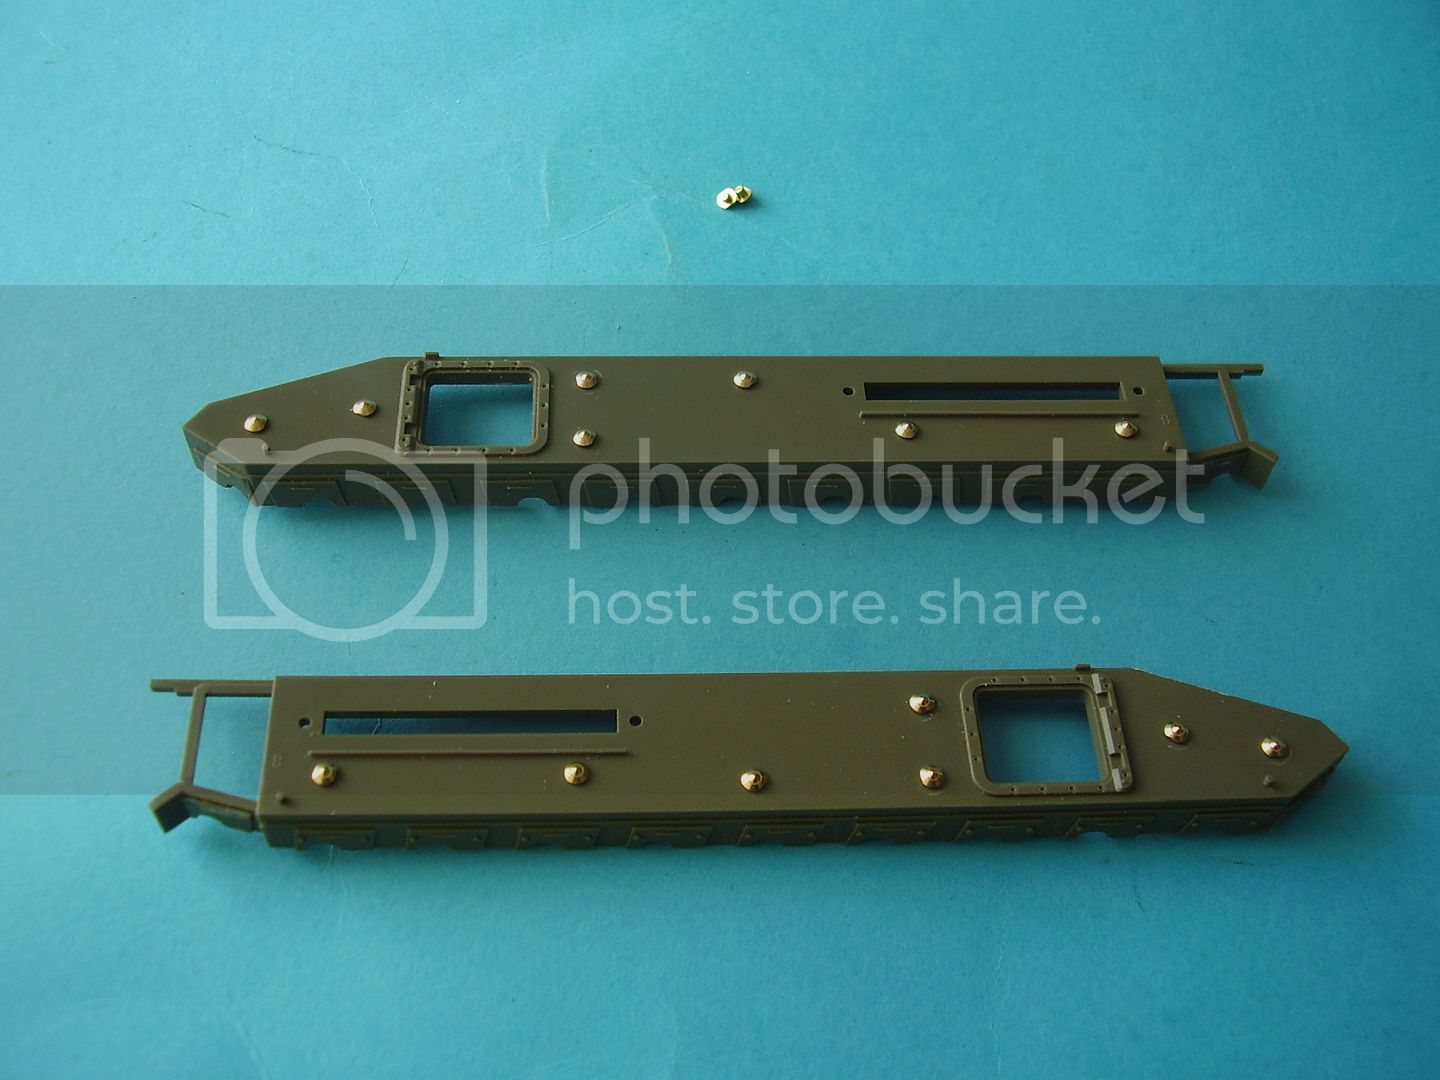
These can then be super glue'd form the inside.
Next I started on cleaning up some of the suspension parts, lots more work to go yet.
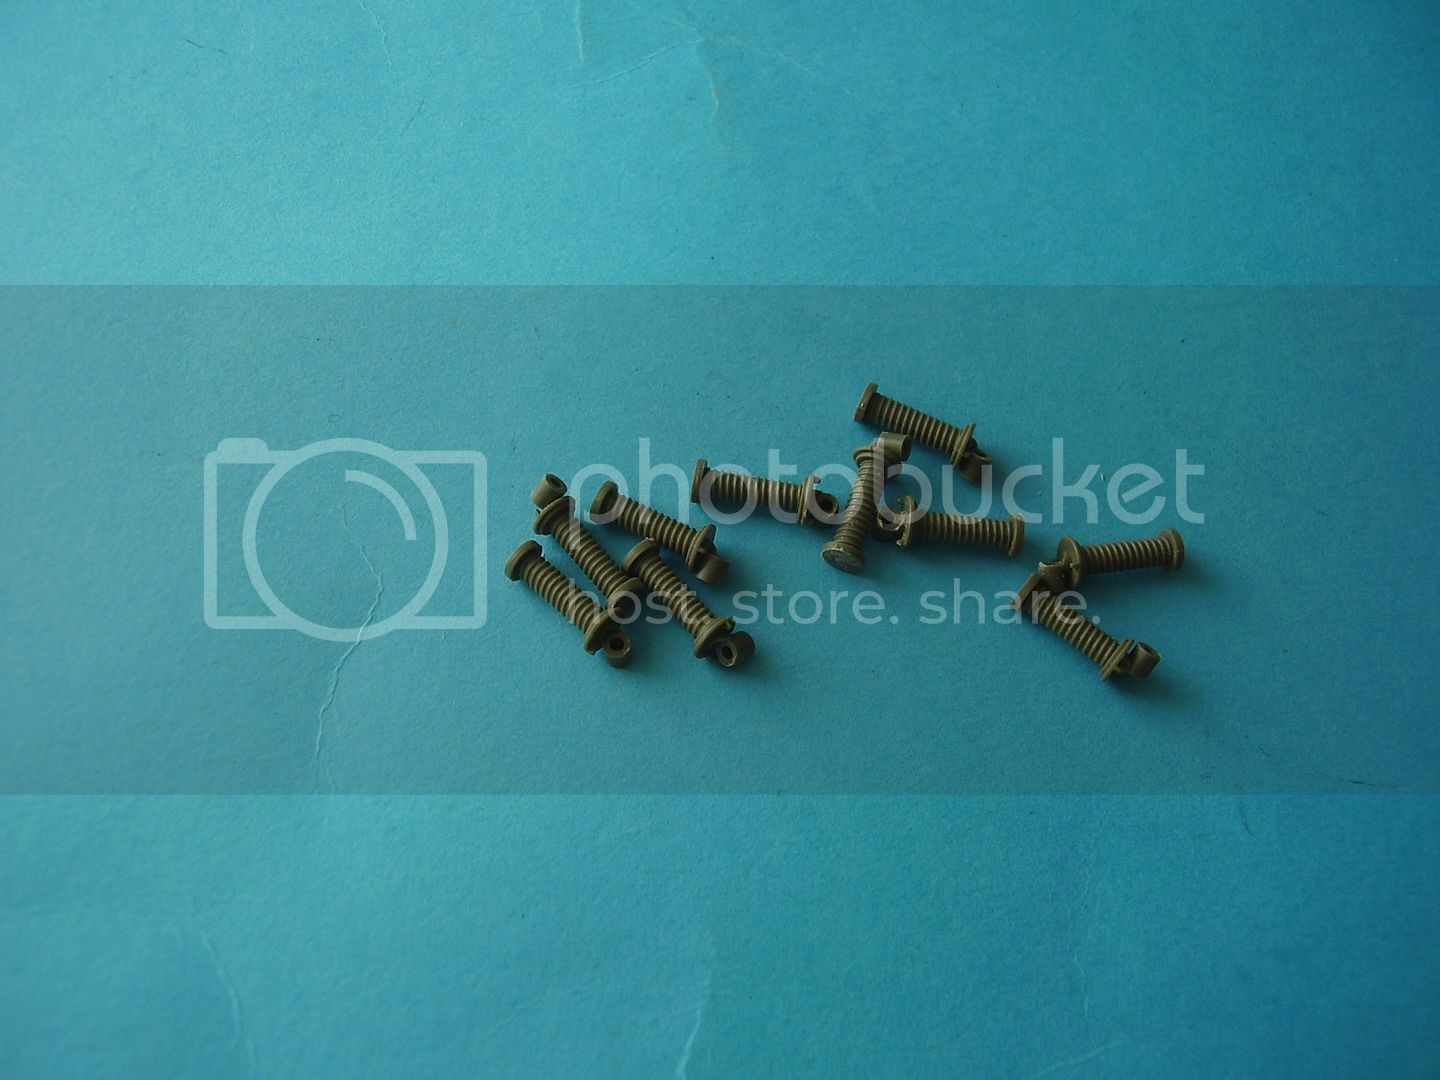
Cheers
Al
'Action this Day'
Winston Spencer Churchill
England - East Anglia, United Kingdom
Joined: August 12, 2005
KitMaker: 14,499 posts
Armorama: 11,675 posts
Posted: Saturday, April 03, 2010 - 03:01 AM UTC
Ok next bit,
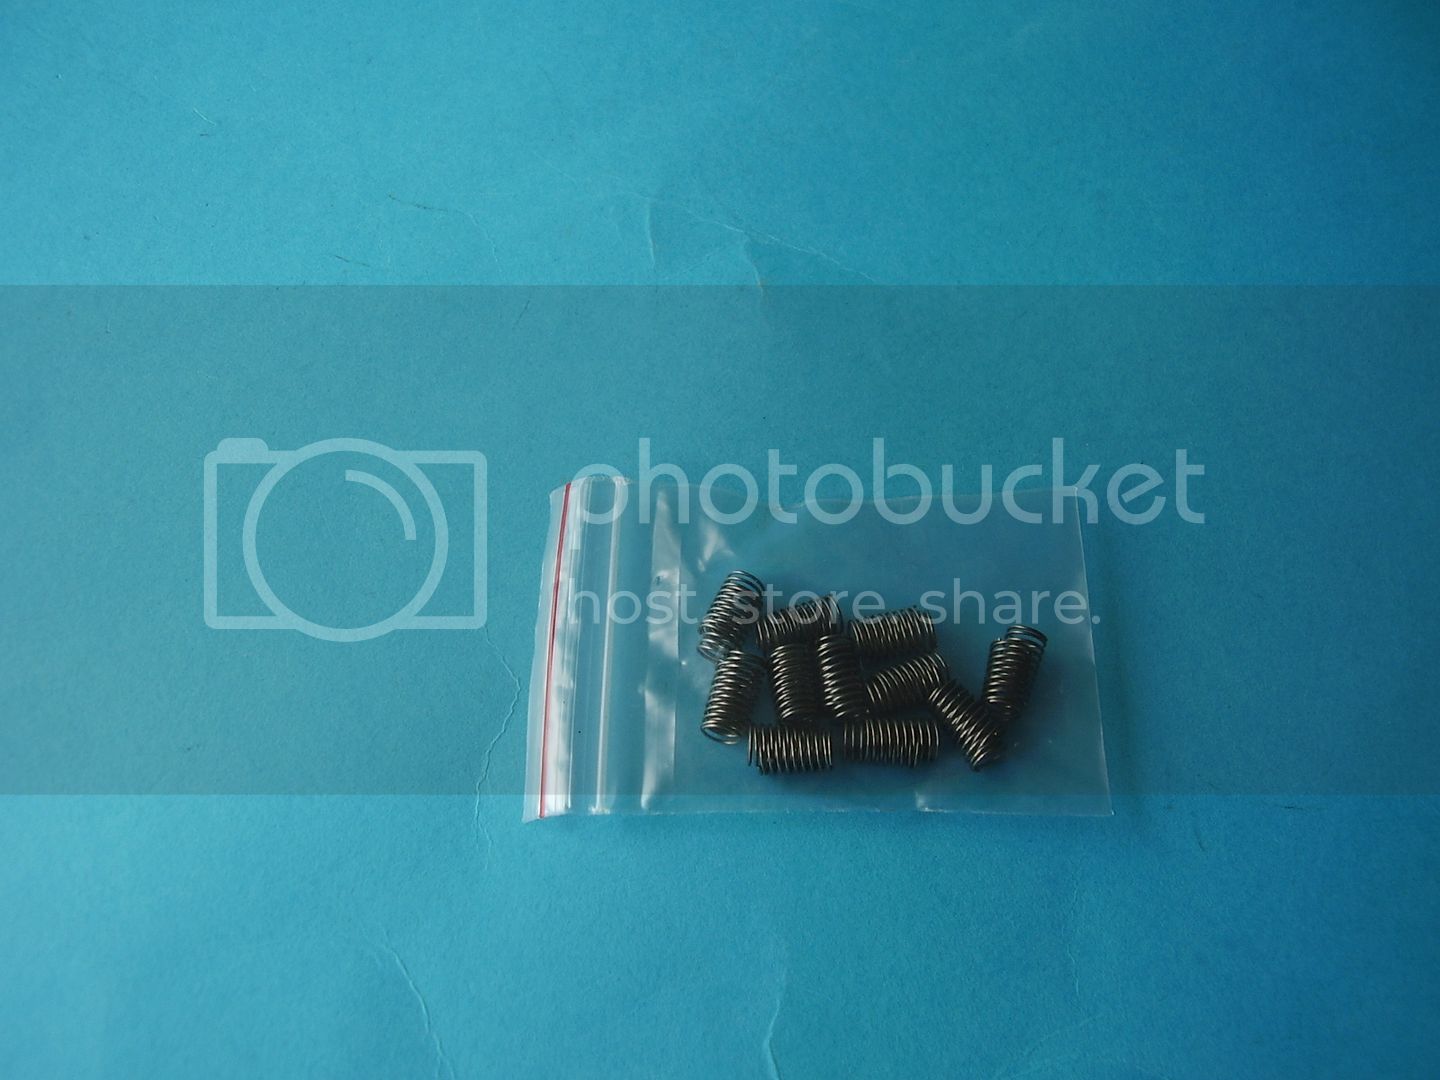
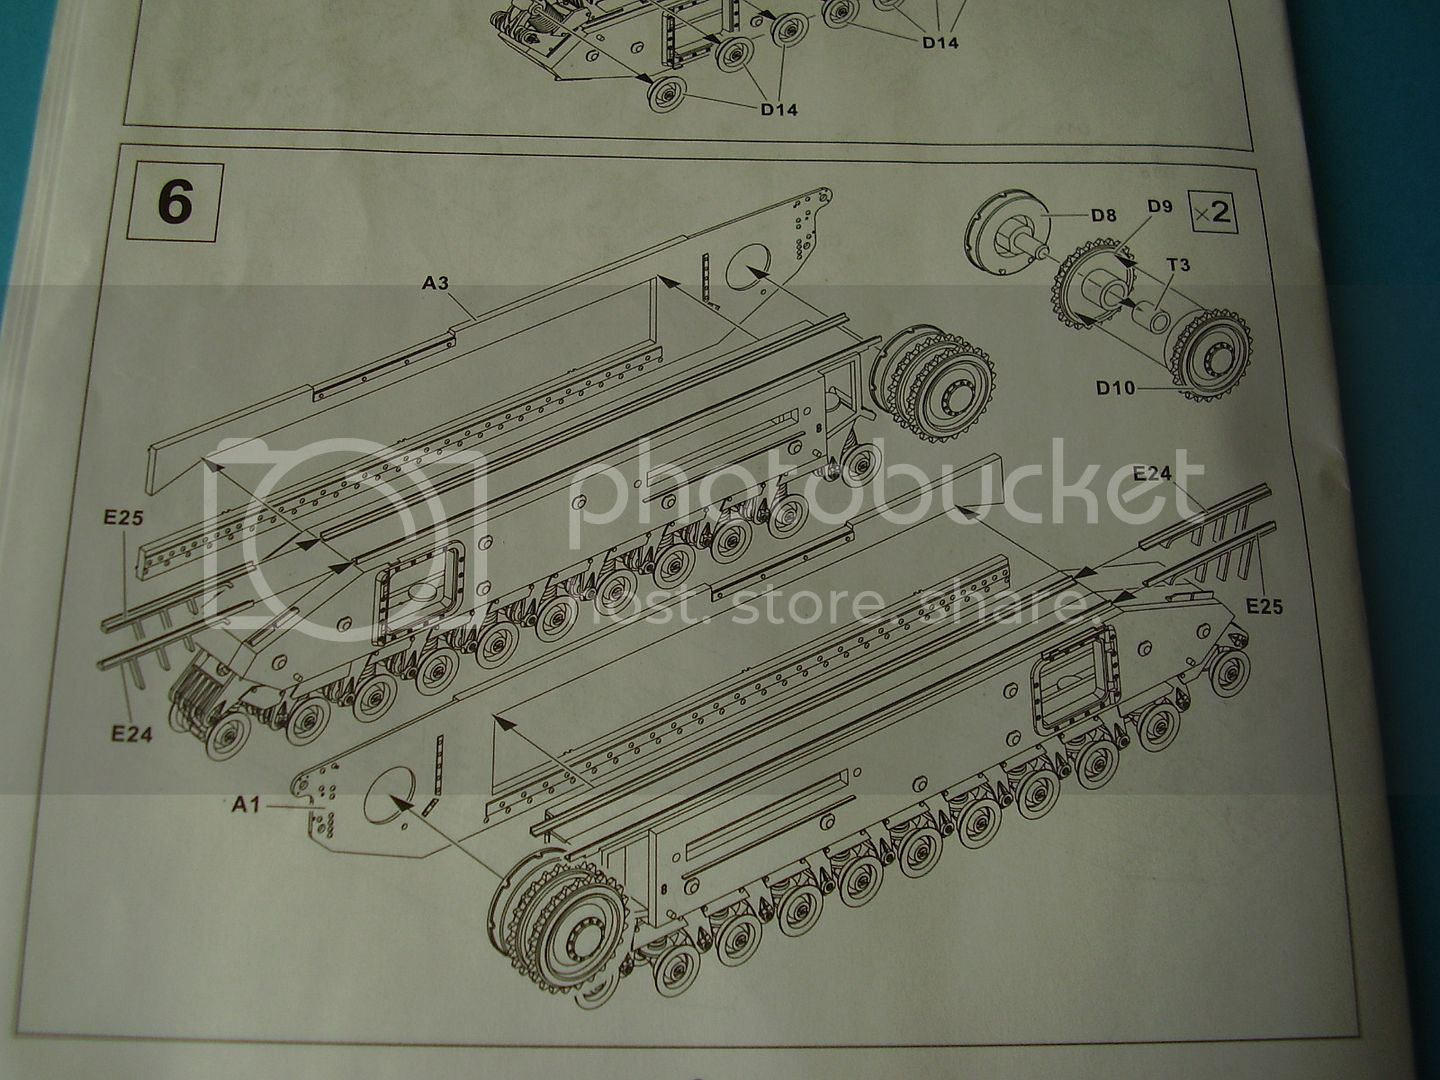
I painted parts D 5 and D 6 and then fitted the springs and mounted them on the frame. This was much more painless than I thought it might be. Whilst that parts C1/c2 and C3/C4 were drying I made the rear drive wheels. This caused a moments panic as parts T3 the poly caps are actually located on the end of the tracks and it took me a moment to realise this


.
Then I dry fitted the drive wheels into parts A1/A3. The next part of the suspension looks a little more complex but so far the kit has gone together really well.
I also used some Mr surface on the inside plates to cover the holes and pin marks but it needs a little more to fill in the holes.
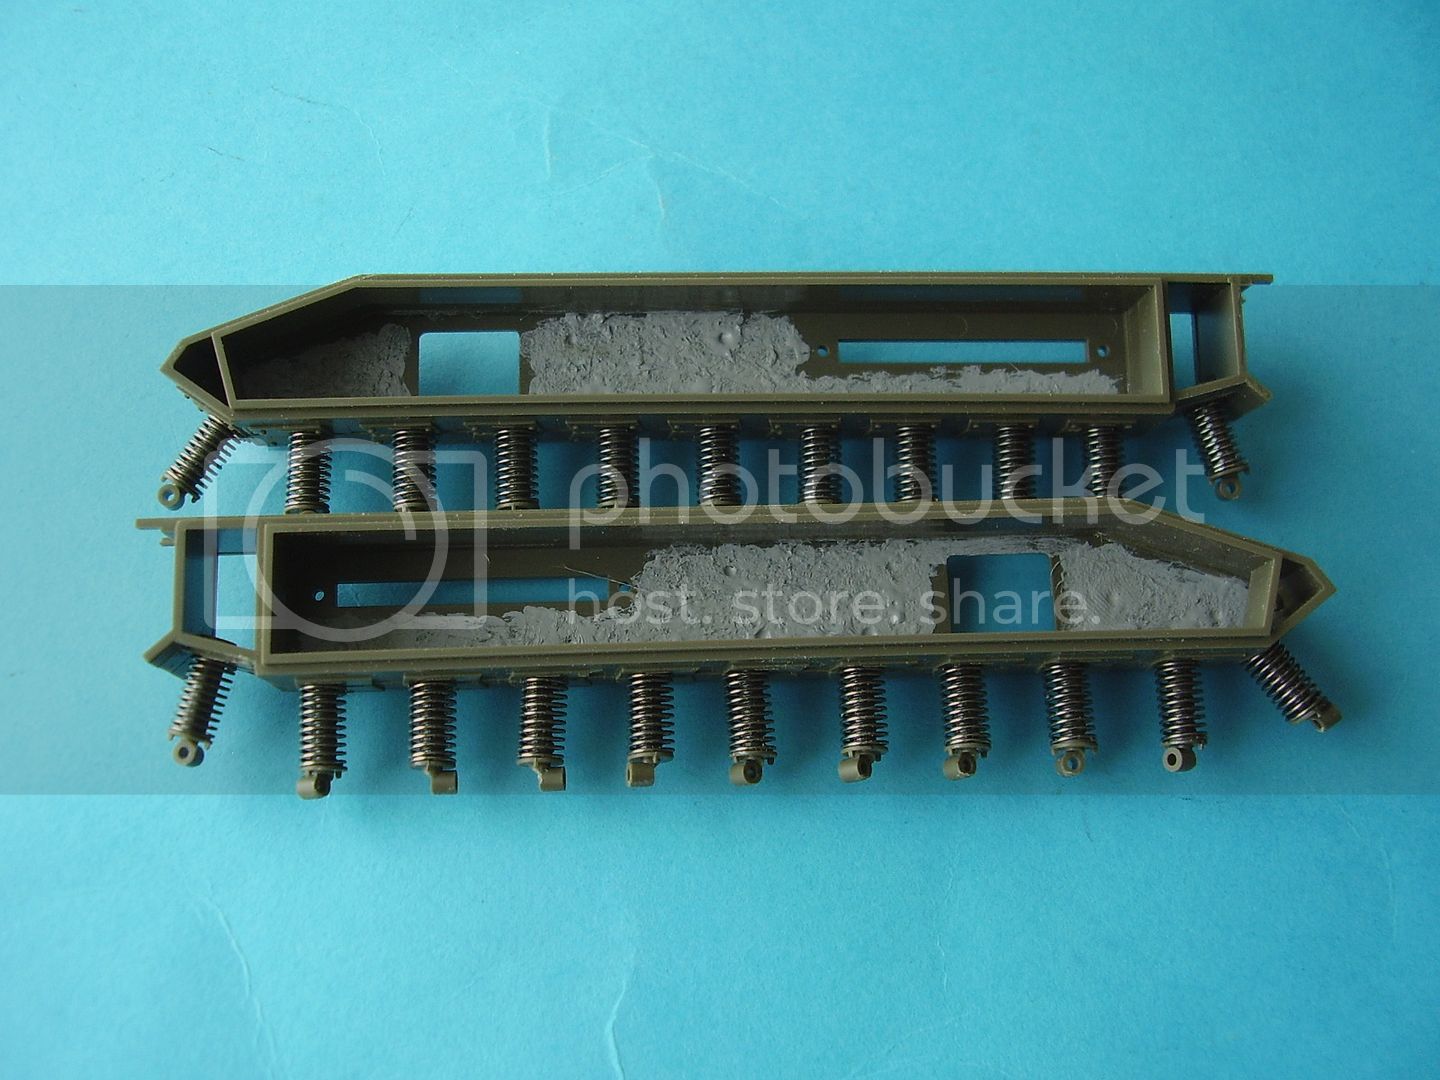
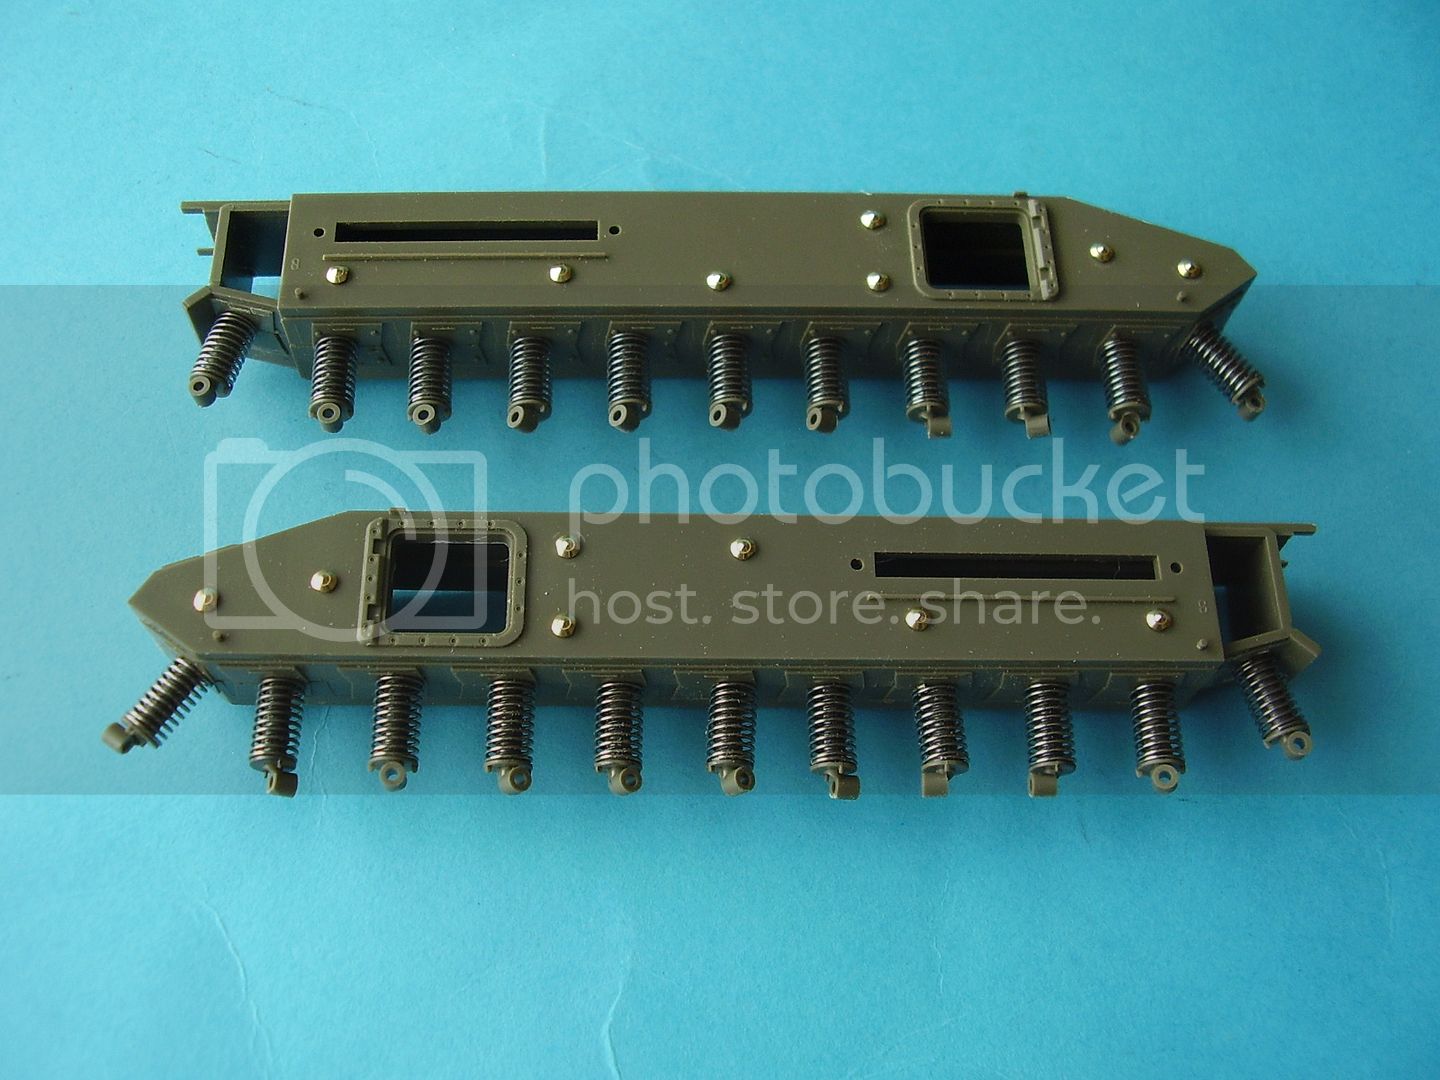
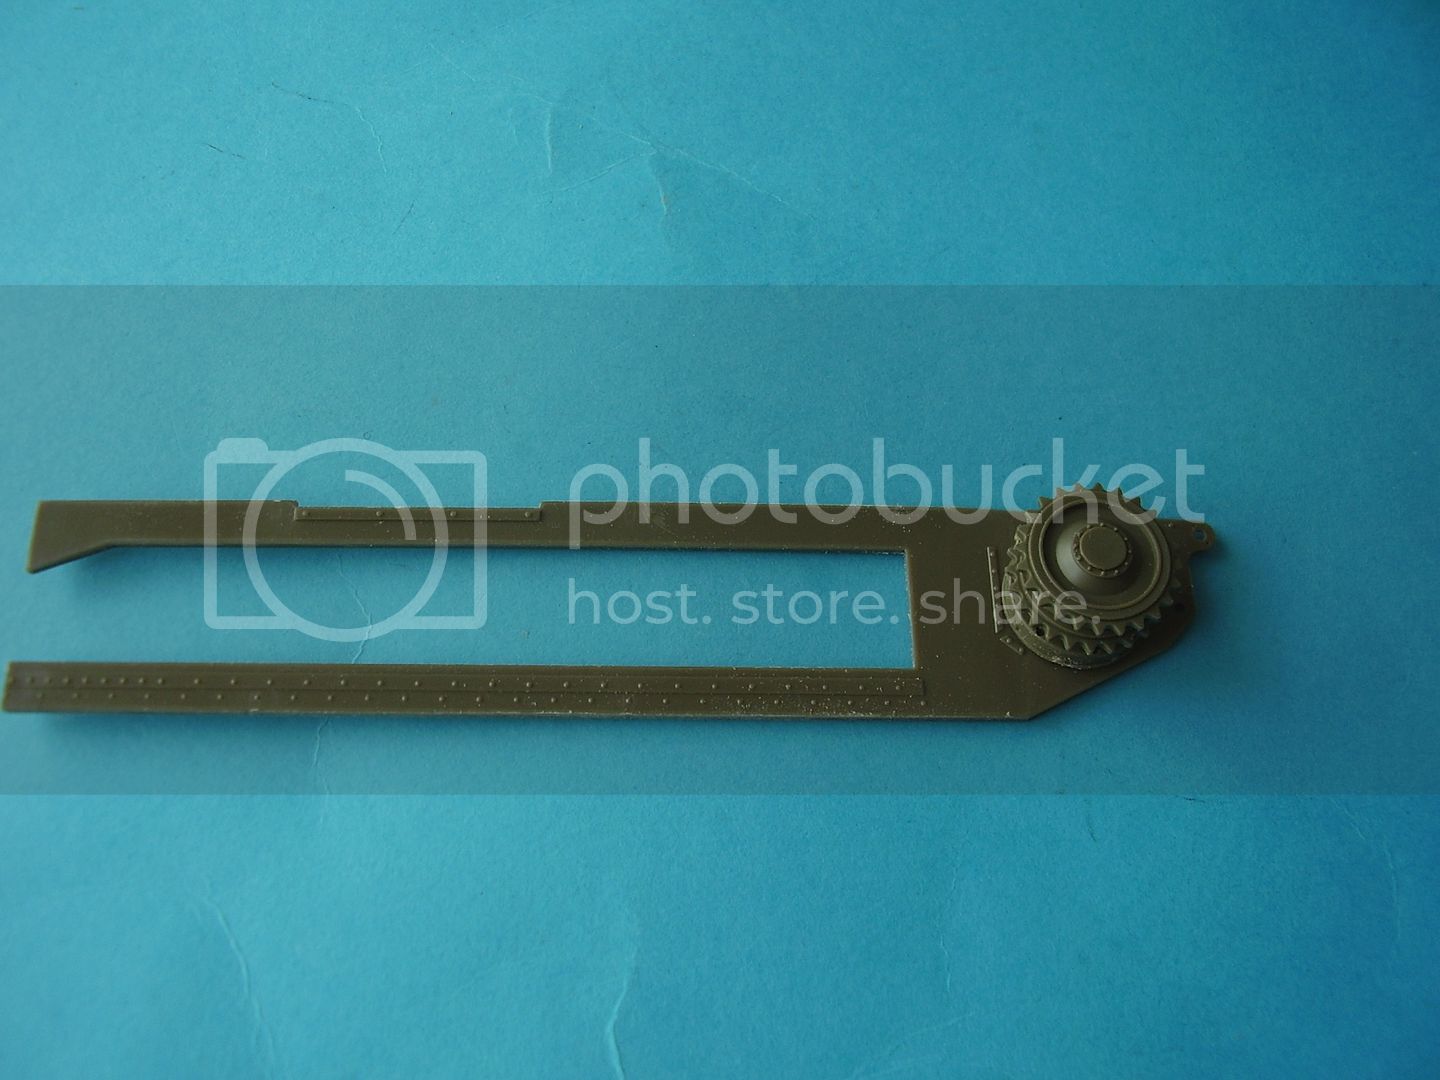
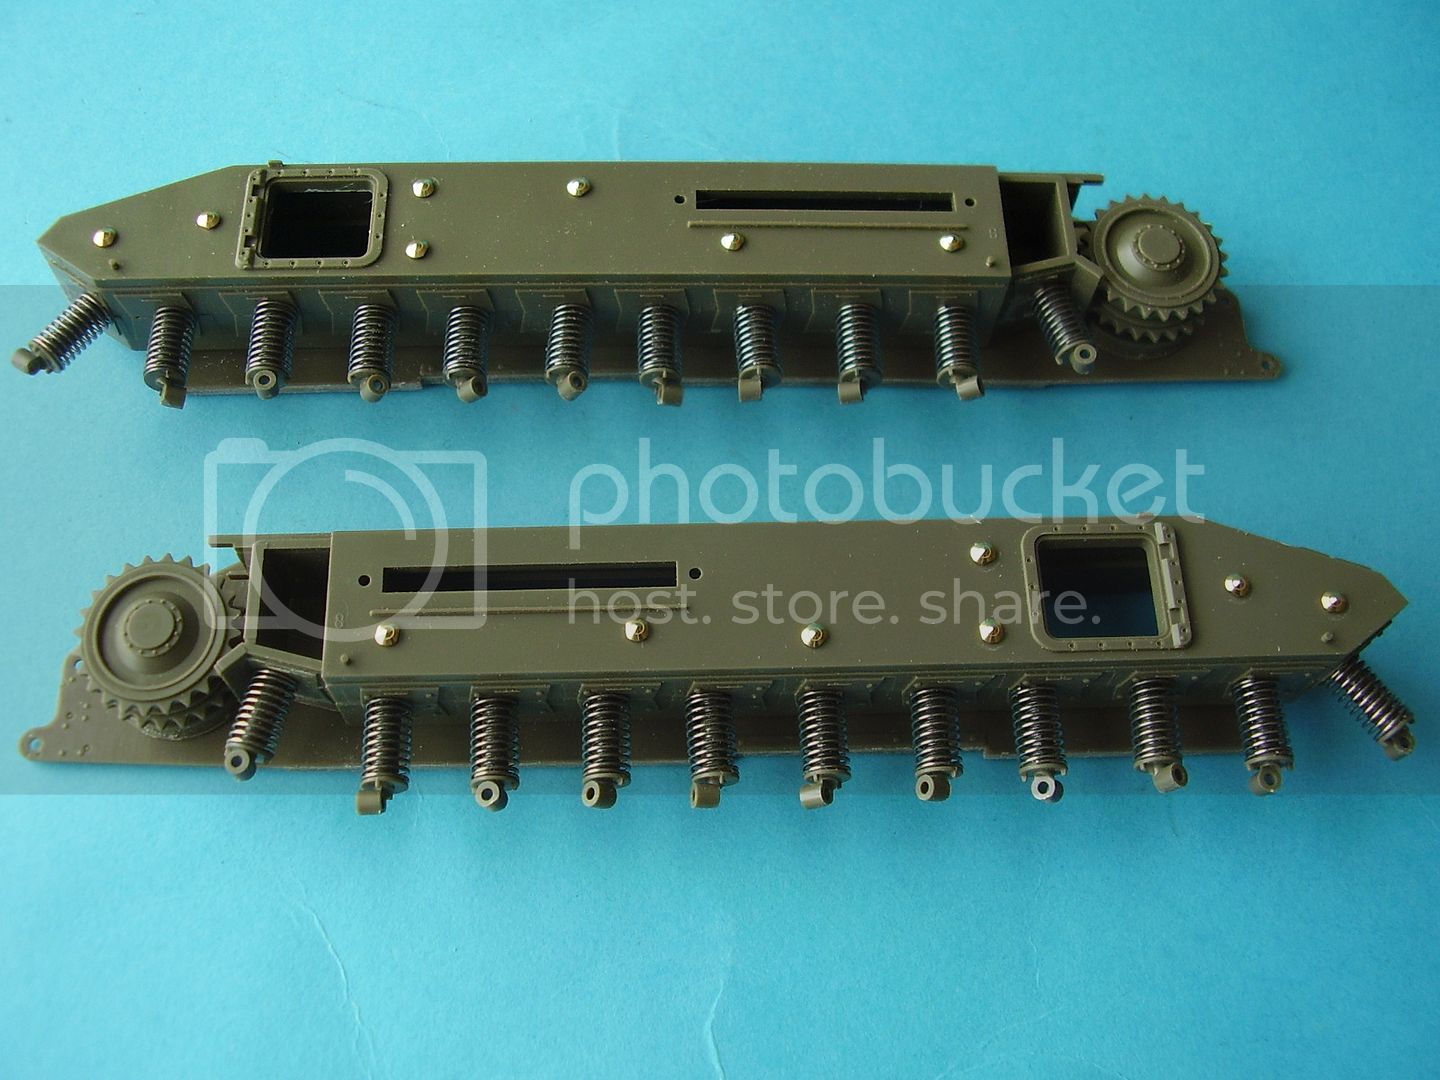
I shoudl really photograph the AFV instructions that might help


Al
'Action this Day'
Winston Spencer Churchill
England - East Anglia, United Kingdom
Joined: August 12, 2005
KitMaker: 14,499 posts
Armorama: 11,675 posts
Posted: Saturday, April 03, 2010 - 03:33 AM UTC
Unfortunately the edit button seems to disappear whenever you post another reply, this is a bit of a pain if you leave something out. Is this a new thing?
Anyway, part 1 and 2 of the instrcutions related to the posts above.
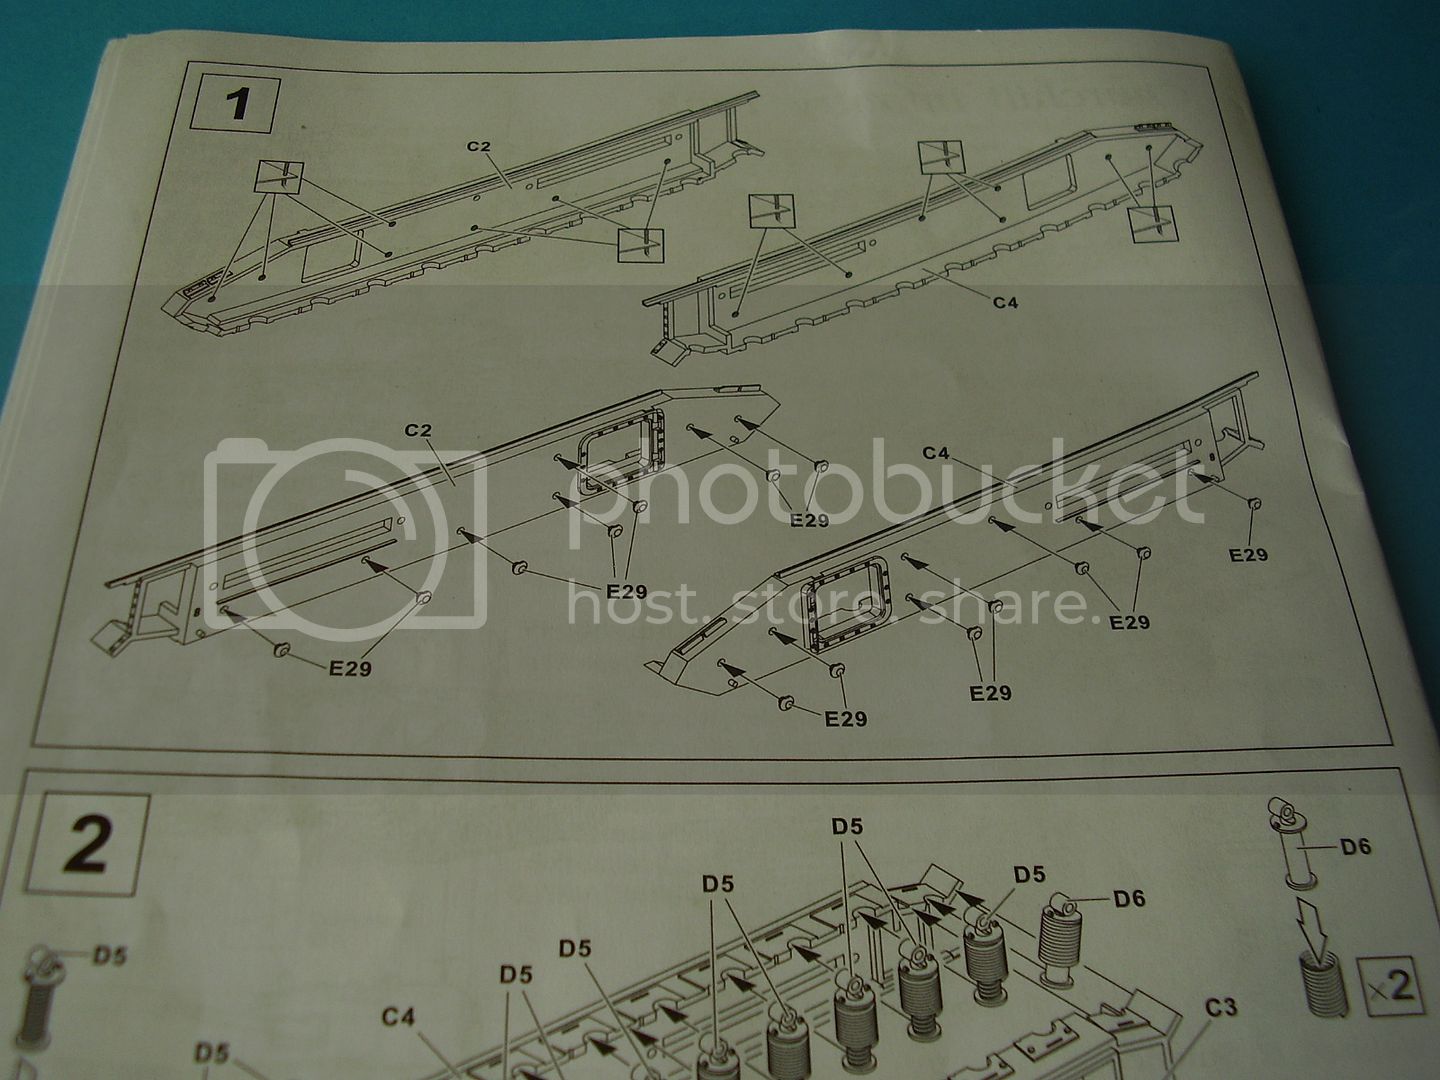
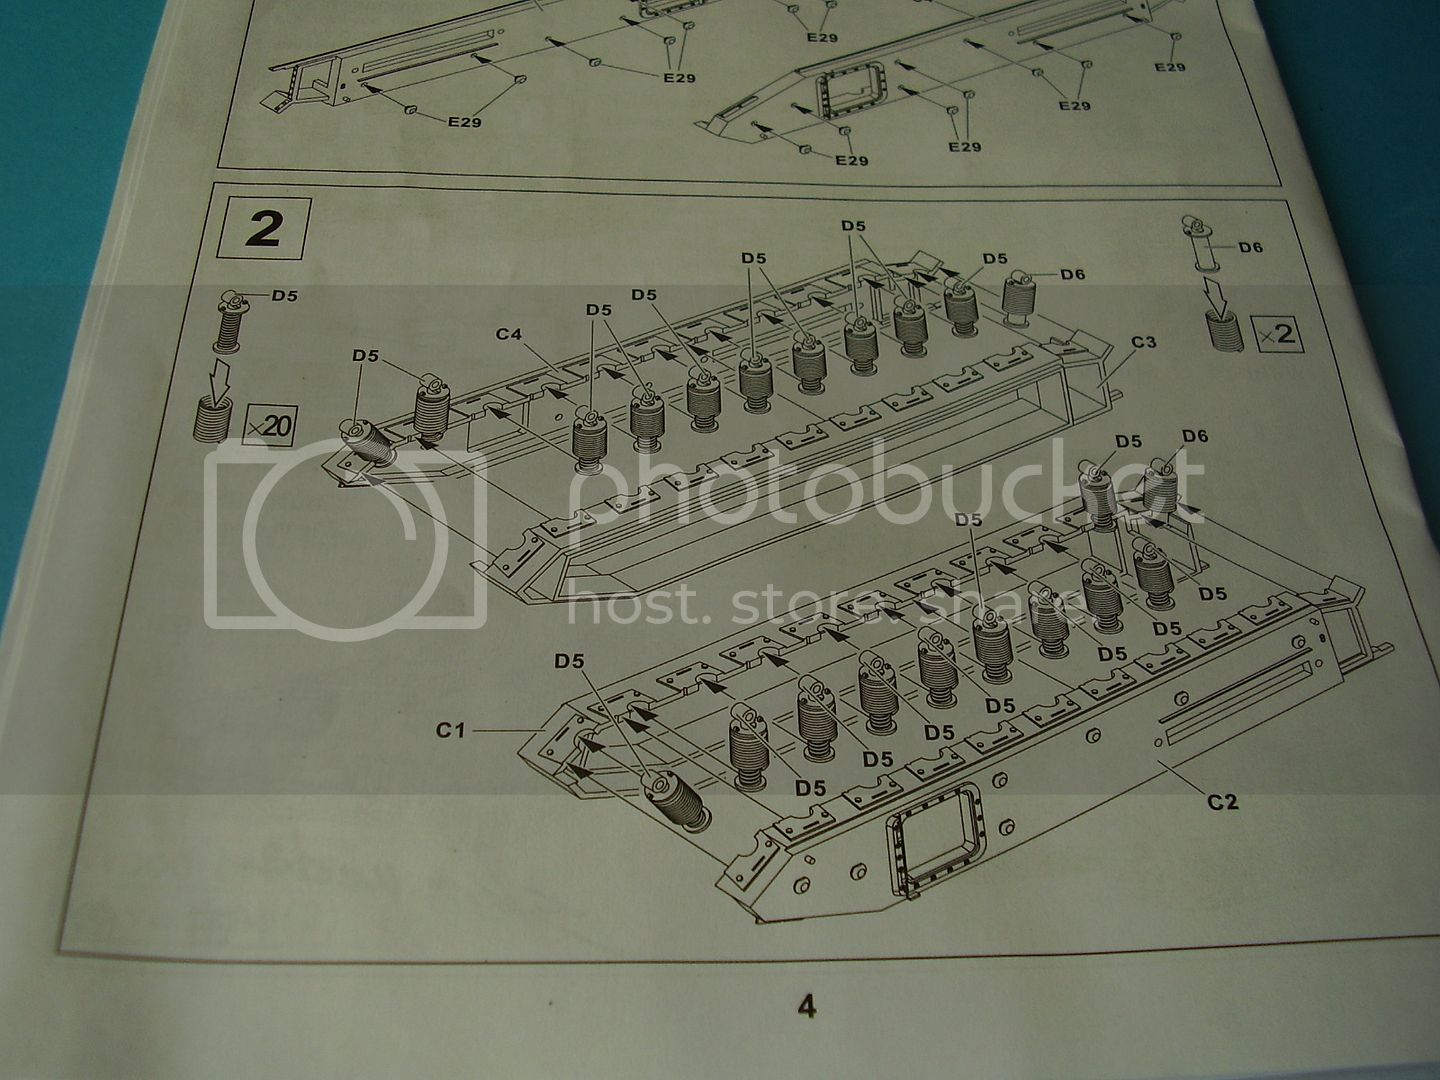
Al
'Action this Day'
Winston Spencer Churchill
England - South East, United Kingdom
Joined: August 05, 2009
KitMaker: 1,019 posts
Armorama: 933 posts
Posted: Saturday, April 03, 2010 - 05:41 AM UTC
Hi alan
Is the suspension in the AFV Club kit actually workable? It seems very complex just for some super detailing.
I assume though that it allows you to "pose" the tank over some interesting scenery pieces?
England - East Anglia, United Kingdom
Joined: August 12, 2005
KitMaker: 14,499 posts
Armorama: 11,675 posts
Posted: Saturday, April 03, 2010 - 06:39 AM UTC
Hi Jon,
Yes, you could position the suspension, although when I add the interior that will not be the case, although you could shorten the arms if you had a mind to and do it that way.
Cheers
Al
'Action this Day'
Winston Spencer Churchill

#011
Jerusalem, Israel
Joined: February 06, 2009
KitMaker: 1,507 posts
Armorama: 1,304 posts
Posted: Saturday, April 03, 2010 - 08:13 AM UTC
Quoted Text
Ok next bit,
I painted parts D 5 and D 6 and then fitted the springs and mounted them on the frame. This was much more painless than I thought it might be. Whilst that parts C1/c2 and C3/C4 were drying I made the rear drive wheels. This caused a moments panic as parts T3 the poly caps are actually located on the end of the tracks and it took me a moment to realise this 
 .
.
Al
LOL that one got me too

I was all over the bench looking for those parts

George: "If we do happen to step on a mine, Sir, what do we do ?"
Blackadder: "Normal procedure, Lieutenant, is to jump 200 feet in the air and scatter oneself over a wide area."
England - East Anglia, United Kingdom
Joined: August 12, 2005
KitMaker: 14,499 posts
Armorama: 11,675 posts
Posted: Saturday, April 03, 2010 - 09:55 AM UTC
Hi Matan,

. Glad it wasn't just me.
Enjoy the trip to the Museum, look forward to some walkabouts.
Al
'Action this Day'
Winston Spencer Churchill
England - West Midlands, United Kingdom
Joined: August 29, 2005
KitMaker: 191 posts
Armorama: 176 posts
Posted: Saturday, April 03, 2010 - 09:21 PM UTC
Hi Al,
I will follow your build with interest for any tips and problems, as I am still waiting

for mine to arrive.
Cheers
Kevin


