


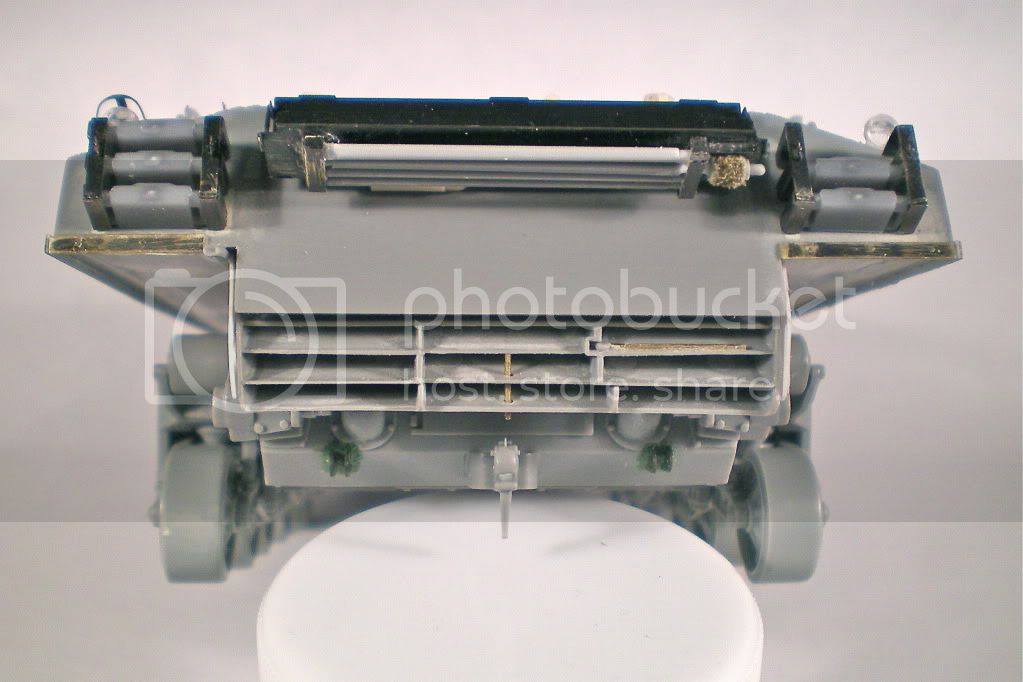
After installing the Formations tools, I had to build the Eduard PE stowage rack and spare track link racks for the rear armor plate. Unlike some other PE kits, the stowage rack doesn't fold which I was glad of since even building this static one was a bit of a PITA.
 :
:

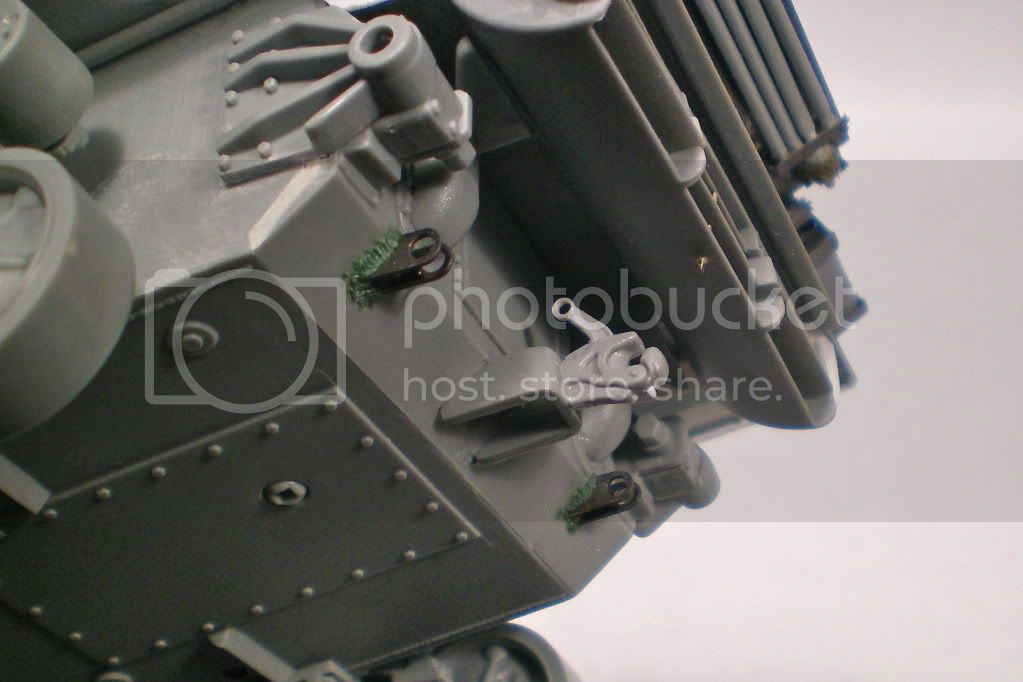
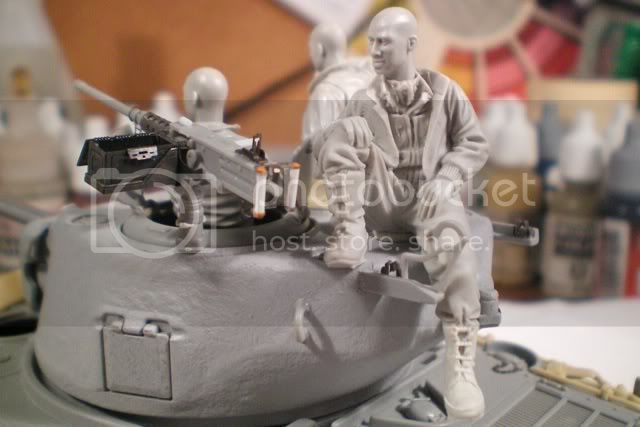
i had a moment of brilliance (or idiocy, you decide!) and added some flocking to the end of the barrel cleaning brush to represent the bristle texture. We'll see how that turns out once it's painted.

Once that was done, I attached the upper hull to the lower hull. Tamiya Shermans are famous (or is that infamous?) for having open sponsons so I was glad that this kit had the sponsons filled. However, I was bit disappointed to find such a large gap all around the edges of the sponson fillers which required putty all the way around. This was a bit of a pain to fill and sand with the bogeys already mounted but I think I managed OK. There's going to be quite a bit of mud up there anyway so I'm not too worried about it. Still, it was time spent that I would have liked to have been working on something else.
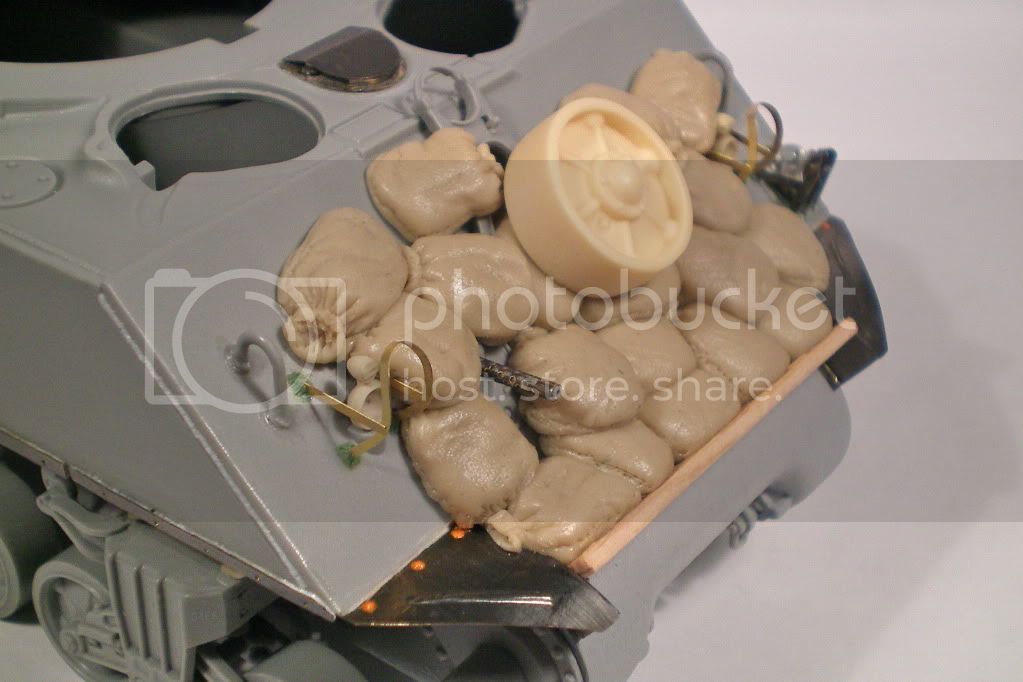
When filling and sanding the sponsons was done, I mounted the exhaust diffuser and added some .10 styrene pieces along each side of the diffuser to represent the remains of the cut-off sand shields. The fit of the diffuser to the hull was really not very good and I needed something to hide the join in this area. I'm not sure the shape is right on the sand shields, but again, enough mud here should hopefully hide any egregious errors. I then mounted the stowage and track link racks.
Front fenders went on next...

followed by the sand shield bolt-on strips all around.

Finally, I've begun the arduous task of putting together the Panda Plastics individual links for the T-54E1 tracks. To make them "workable" I'm gluing them with Aileenes Tacky Glue rather than with plastic cement. I suppose just about any white glue would work but Aileenes is particularly flexible once dry and my test pieces so far are staying together well and are indeed workable. I'll probably have to add the duckbills with plastic cement so we'll see how workable the tracks remain since I anticipate some plastic cement will get into areas I don't want. I'm planning to paint the tracks off the model and attach them along with the drive sprockets and idlers once all the painting (and muddin' !) is done, so they should remain flexible at least, if not workable to allow an easy attachment.

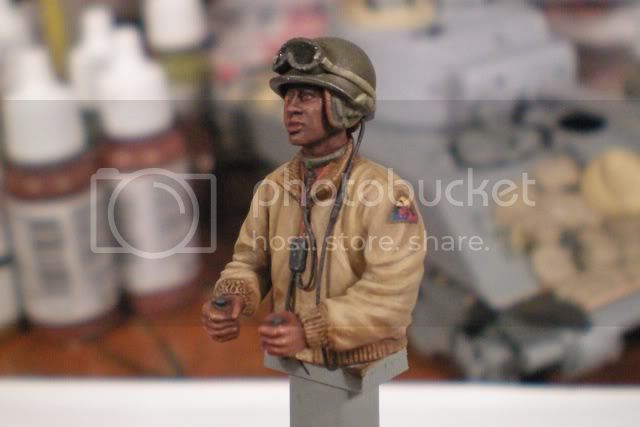
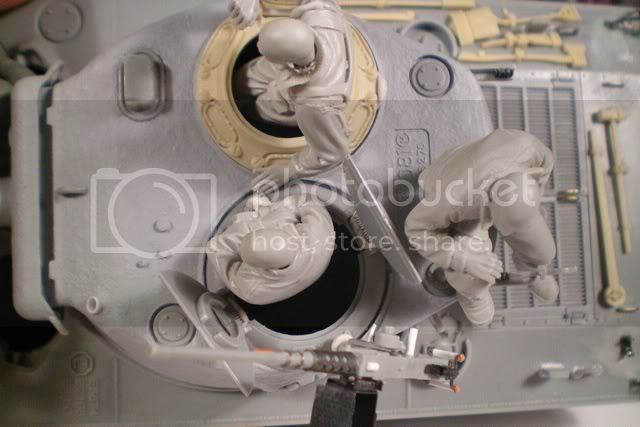
So, the plan is to continue with the track links and duckbills for the now. Once that's done, I'll start on the sandbags for the front glacis along with some minimal stowage for the back. Then I've got to model the rest of the crew and get ready for paint once the garage warms up!
As usual, all comments and suggestions welcome!
Cheers!


