The Great War 11-11-11 (official thread)
Arizona, United States
Joined: February 17, 2011
KitMaker: 263 posts
Armorama: 258 posts
Posted: Tuesday, April 03, 2012 - 08:56 AM UTC
Hi Edo,
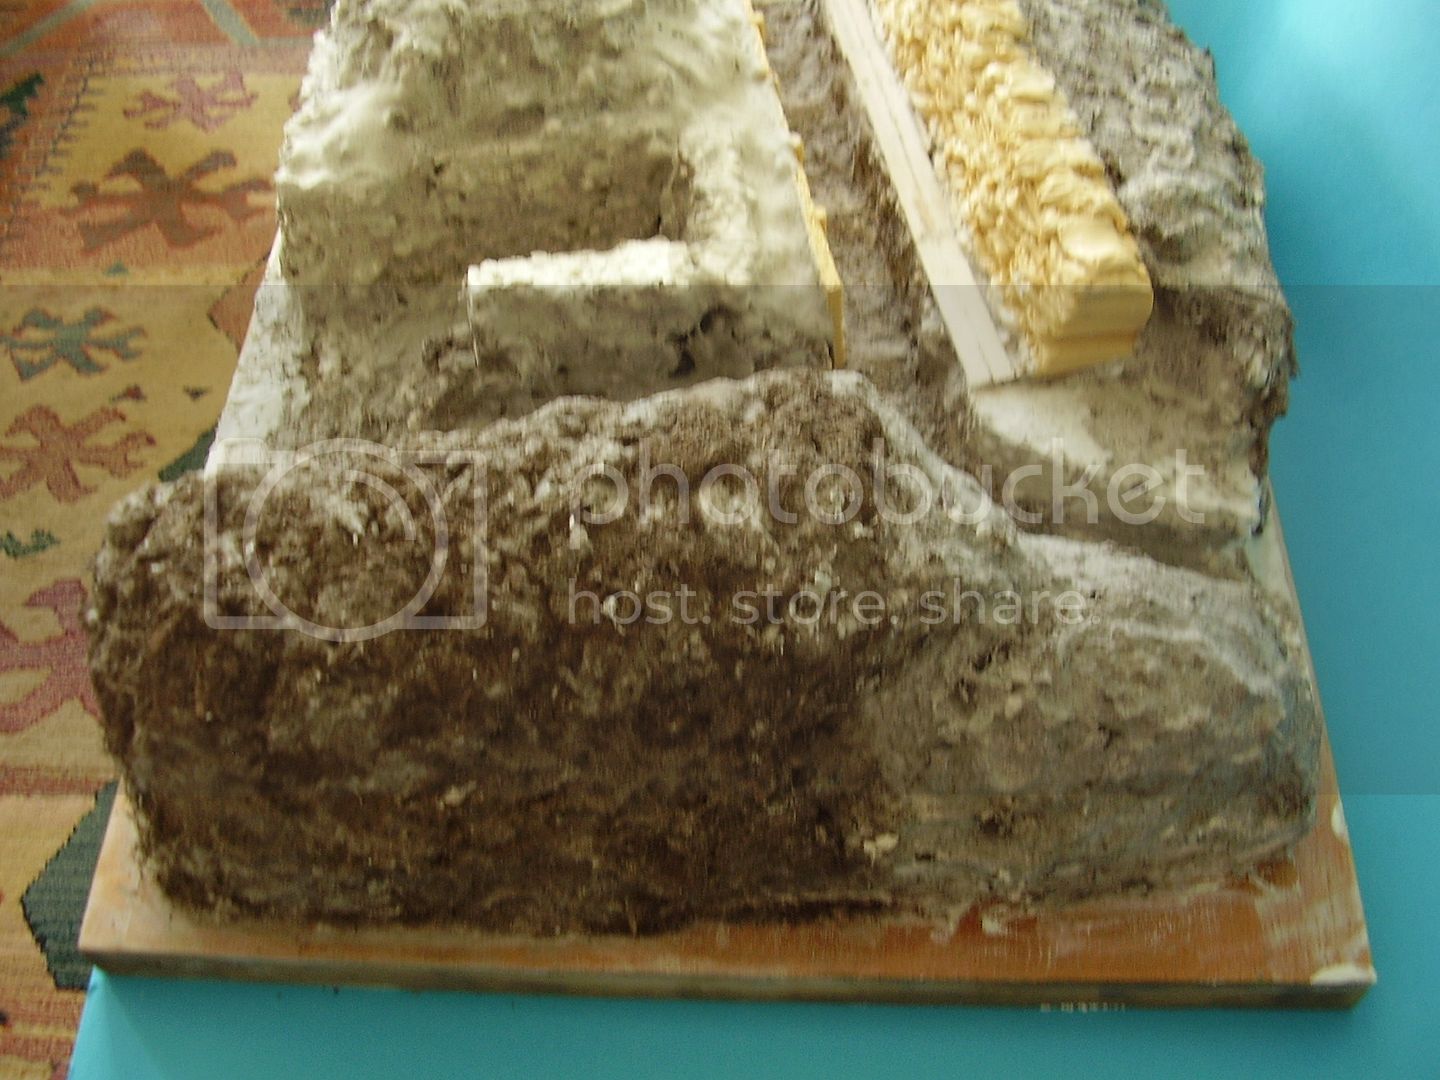
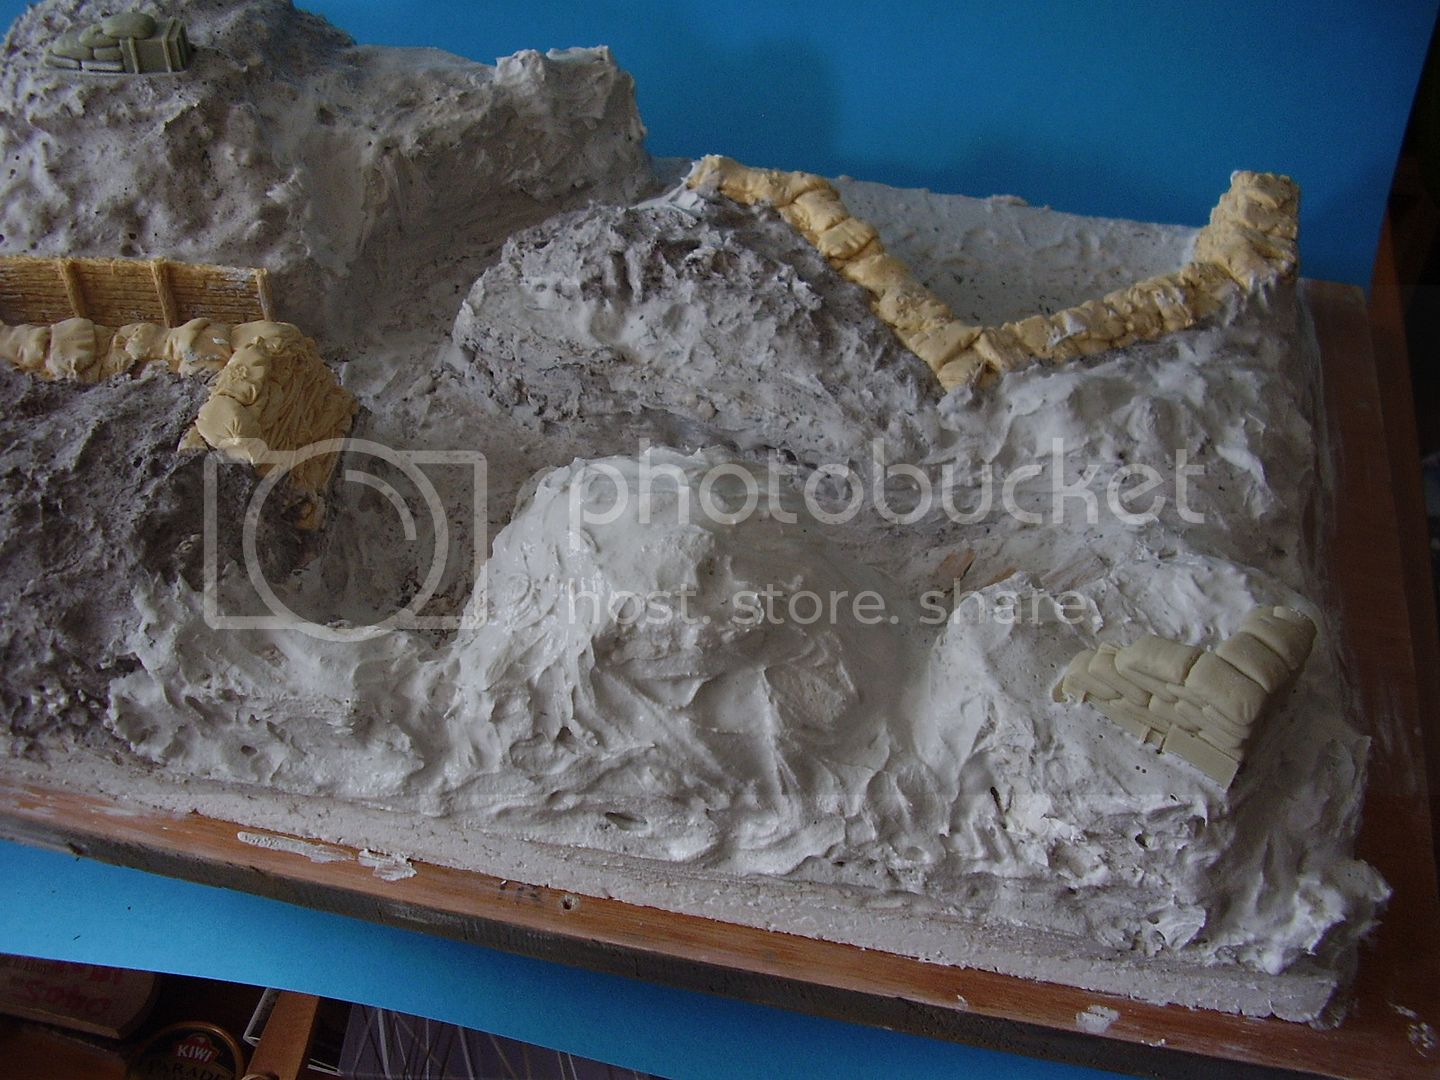
Your trench layout looks great. My concern is what happens when the soldier throws that potato masher at the tank. It looks to me as if it would bounce off the side armor and back into the trench. I don't see any place where a grenade would have much effect unless it could be jammed into one of the tracks or through an opening in the hull. Keep up the good work.
Cheers,


Dick
Quem não tem cão, caça com gato.
Scotland, United Kingdom
Joined: May 25, 2005
KitMaker: 2,218 posts
Armorama: 1,050 posts
Posted: Tuesday, April 03, 2012 - 09:01 AM UTC
The detail on your ship looks fantastic Simon, especially on the bridge and supports.
Chris: Those Model Cellar track looks superb.
Man! There are so many excellent models and dio's appearing here!


Milano, Italy
Joined: November 30, 2007
KitMaker: 642 posts
Armorama: 234 posts
Posted: Tuesday, April 03, 2012 - 04:52 PM UTC

Ah! Ah! Ah! Richard! You are right!
I had not tought of that!... Now I must think of something to make it credible...
Do you have any suggestion?
Jack! Thank you for the pic and tip, my friend!
I'll let you know how it goes...
Ciao
Edo
England - South East, United Kingdom
Joined: March 01, 2010
KitMaker: 7,078 posts
Armorama: 248 posts
Posted: Tuesday, April 03, 2012 - 07:51 PM UTC
Thanks for your kind comments Dick & Murdo.
Nice work on the figures & tank Edo, following with much interest.
Intention this weekend is to fit the remainder of the structure under the bridge, followed by the main turrets. (Cos I want to see what they look like in place too) I have some turned brass 6" albiet Elswick 40cal MkII's designed as secondarys for Mikasa, rather than Vickers 45cal MkVII's the Kent had, but they are better than the cast resin barrels that come with the kit and and not that different, will see what they look like in the turrets compared with the pictures of the real thing.
Si
Scotland, United Kingdom
Joined: May 25, 2005
KitMaker: 2,218 posts
Armorama: 1,050 posts
Posted: Wednesday, April 04, 2012 - 09:37 AM UTC
Right, a quick update with some pics.
I hate Resin!!!
Got one of the track units ready with a decent gap between the unit and the AA resin track.


And started the Airwaves PE engine louvres. There are 6 of these to make with 10 seperate parts to each.
I hate Photo Etch! Why do I torment myself like this?


I think I'll have to break it apart and rebuild it. I'm not 100% happy with it.


Grubby finger for size reference:

Blue Tacked on for a look.


And for reference, the kit Louvres before I removed them:

Arizona, United States
Joined: February 17, 2011
KitMaker: 263 posts
Armorama: 258 posts
Posted: Wednesday, April 04, 2012 - 10:45 AM UTC
Quoted Text
 Ah! Ah! Ah! Richard! You are right!
I had not tought of that!... Now I must think of something to make it credible...
Do you have any suggestion?
Jack! Thank you for the pic and tip, my friend!
I'll let you know how it goes...
Ciao
Edo
Hi Edo,
I understand that the sticks of German grenades could be unscrewed from the explosive charges, and rosettes of six were sometimes tied with wire around a central stick grenade which served as a detonator. With about half a kilo of TNT in each grenade, you'd have a pretty substantial explosion. You might be able to place such a charge in the path of the oncoming tank, and set it off with a long cord attached to the string in the central stick grenade. You would need something like that since the grenade fuse only burns for about 5 seconds before it detonates. The belly of the tank had rather thin armor so the blast might be enough to disable the tank. That's the best I can think of.
Cheers,


Dick
Quem não tem cão, caça com gato.
Scotland, United Kingdom
Joined: May 25, 2005
KitMaker: 2,218 posts
Armorama: 1,050 posts
Posted: Thursday, April 05, 2012 - 09:20 AM UTC
Hi Edo,
Why not make something like the Bangalore Torpedo? They were certainly aound in WW1 and although invented by the Brits I'm quite sure the Germans would have something similar.
"By the time of World War I the Bangalore torpedo was primarily used for clearing barbed wire before an attack. It could be used while under fire, from a protected position in a trench. The torpedo was standardized to consist of a number of externally identical 1.5 m (5 ft) lengths of threaded pipe, one of which contained the explosive charge. The pipes would be screwed together using connecting sleeves to make a longer pipe of the required length, somewhat like a chimney brush or drain clearing rod.
A smooth nose cone would be screwed on the end to prevent snagging on the ground. It would then be pushed forward from a protected position and detonated, to clear a 1.5 m (5 ft) wide hole through barbed wire. During the 1917 Battle of Cambrai, British Royal Engineers used them as diversions to distract the enemy from where the real battle was to be fought."
There's a very good example of a Bangalore Torpedo in the film "Saving Private Ryan" when the Americans are trapped on the beach, they use one to blow a hole in the barbed wire.
England - South East, United Kingdom
Joined: March 01, 2010
KitMaker: 7,078 posts
Armorama: 248 posts
Posted: Thursday, April 05, 2012 - 10:06 AM UTC
Got an hour or so at the workbench this evening, I drilled the turrets and fitted the brass gun barrels.

Although they are 40cal rather than 45, they look about right to me, certainly an improvement over the resin barrels.
I have test the turrets just to get a feel for the look


Back to the bridge structure and davits and stuff next.
Si
Scotland, United Kingdom
Joined: May 25, 2005
KitMaker: 2,218 posts
Armorama: 1,050 posts
Posted: Thursday, April 05, 2012 - 01:11 PM UTC
The detail on that lovely ship is superb Si!

Arizona, United States
Joined: February 17, 2011
KitMaker: 263 posts
Armorama: 258 posts
Posted: Thursday, April 05, 2012 - 02:52 PM UTC
Hi Simon,
The turrets look great. The difference between 40 caliber and 45 caliber tubes at that scale is only about 2 mm. You could try setting them a little farther forward in the mounts, but 2 mm really isn't worth worrying about. Great work.
Dick


Quem não tem cão, caça com gato.
Milano, Italy
Joined: November 30, 2007
KitMaker: 642 posts
Armorama: 234 posts
Posted: Thursday, April 05, 2012 - 04:45 PM UTC
Richard, Murdo!
Thank you mate!

You gave me wonderful tips!
Ciao
Edo
Scotland, United Kingdom
Joined: May 25, 2005
KitMaker: 2,218 posts
Armorama: 1,050 posts
Posted: Thursday, April 05, 2012 - 10:08 PM UTC
Umm Chris... I really hate to say this and I really, really hope I'm wrong but it looks like the track on the L/H track unit (the one at the back) might be on the wrong way round.
It's a bit difficult to make out from the picture but it looks to me like the the leading edge and gap is facing the wrong way...

England - East Anglia, United Kingdom
Joined: August 12, 2005
KitMaker: 14,499 posts
Armorama: 11,675 posts
Posted: Thursday, April 05, 2012 - 10:36 PM UTC
Hi Edoardo,
The trench scene is coming along well, nice figures too.
Hi Murdo,
The Whippet is looking good. You never answered my PM about the Tanker?
Hi Simon,
Great work on the Ship, looking excellent. You must have the patience of a Saint working at theat scale.

This is the progress on my conversions/figures so far.

Cheers
Al
'Action this Day'
Winston Spencer Churchill
Scotland, United Kingdom
Joined: May 25, 2005
KitMaker: 2,218 posts
Armorama: 1,050 posts
Posted: Friday, April 06, 2012 - 06:40 AM UTC
Oops! Sorry Alan, didn't see the PM.
Responded.

Scotland, United Kingdom
Joined: May 25, 2005
KitMaker: 2,218 posts
Armorama: 1,050 posts
Posted: Friday, April 06, 2012 - 08:40 AM UTC
Cracking figgies Alan!

New Jersey, United States
Joined: October 28, 2006
KitMaker: 491 posts
Armorama: 462 posts
Posted: Friday, April 06, 2012 - 11:17 AM UTC
Quoted Text
Umm Chris... I really hate to say this and I really, really hope I'm wrong but it looks like the track on the L/H track unit (the one at the back) might be on the wrong way round.
It's a bit difficult to make out from the picture but it looks to me like the the leading edge and gap is facing the wrong way...

Yep. They sure are. I noticed after I posted the picture, and long after the glue dried. No worries...I'm gonna try carefully pulling them off and trying again. (I do this for fun, right?)
Chris
On the workbench:
Mk II Male, Takom Conversion
Hobby Boss T-18
Scotland, United Kingdom
Joined: May 25, 2005
KitMaker: 2,218 posts
Armorama: 1,050 posts
Posted: Friday, April 06, 2012 - 11:25 AM UTC
Quoted Text
(I do this for fun, right?)
Chris
Don't get me started... Just don't!

And if my wife sees this...

Scotland, United Kingdom
Joined: May 25, 2005
KitMaker: 2,218 posts
Armorama: 1,050 posts
Posted: Friday, April 06, 2012 - 11:30 AM UTC
Probably won't be around for a week or so. I'm off to the Outer Hebrides to visit the Dragon in law and my parents.
Whilst half the UK is in deep drought I probably won't be able to leave the house without a snorkel.

England - East Anglia, United Kingdom
Joined: August 12, 2005
KitMaker: 14,499 posts
Armorama: 11,675 posts
Posted: Friday, April 06, 2012 - 06:52 PM UTC
'Action this Day'
Winston Spencer Churchill
England - East Anglia, United Kingdom
Joined: August 12, 2005
KitMaker: 14,499 posts
Armorama: 11,675 posts
Posted: Friday, April 06, 2012 - 10:15 PM UTC
Hi Murdo,
Figure in the post today.
Cheers
Al
'Action this Day'
Winston Spencer Churchill
England - South East, United Kingdom
Joined: March 01, 2010
KitMaker: 7,078 posts
Armorama: 248 posts
Posted: Saturday, April 07, 2012 - 07:53 AM UTC
Thanks for the kind comments Dick, Murdo & Al. Now I have the barrels in the turrets they look about right compared to photos of the real thing.
Those trenches are looking really great Al, looking forward to seeing them painted.
Finally the structure under the bridge is complete, apart from a final bit of painting.

More soon.
Si.
Texas, United States
Joined: June 29, 2010
KitMaker: 5,854 posts
Armorama: 4,817 posts
Posted: Saturday, April 07, 2012 - 01:56 PM UTC
Great work by everyone! I'm loving all of the superdetailing, scratchbuilding, and mods

Happy Easter to all who celebrate

England - East Anglia, United Kingdom
Joined: August 12, 2005
KitMaker: 14,499 posts
Armorama: 11,675 posts
Posted: Sunday, April 08, 2012 - 04:55 AM UTC
Hi folks,
Simon,
Looking good Sir.
Murdo,
Your Whippet is looking great.
Has anyone built the Emhar 18pdr? Any feedback on the kit?
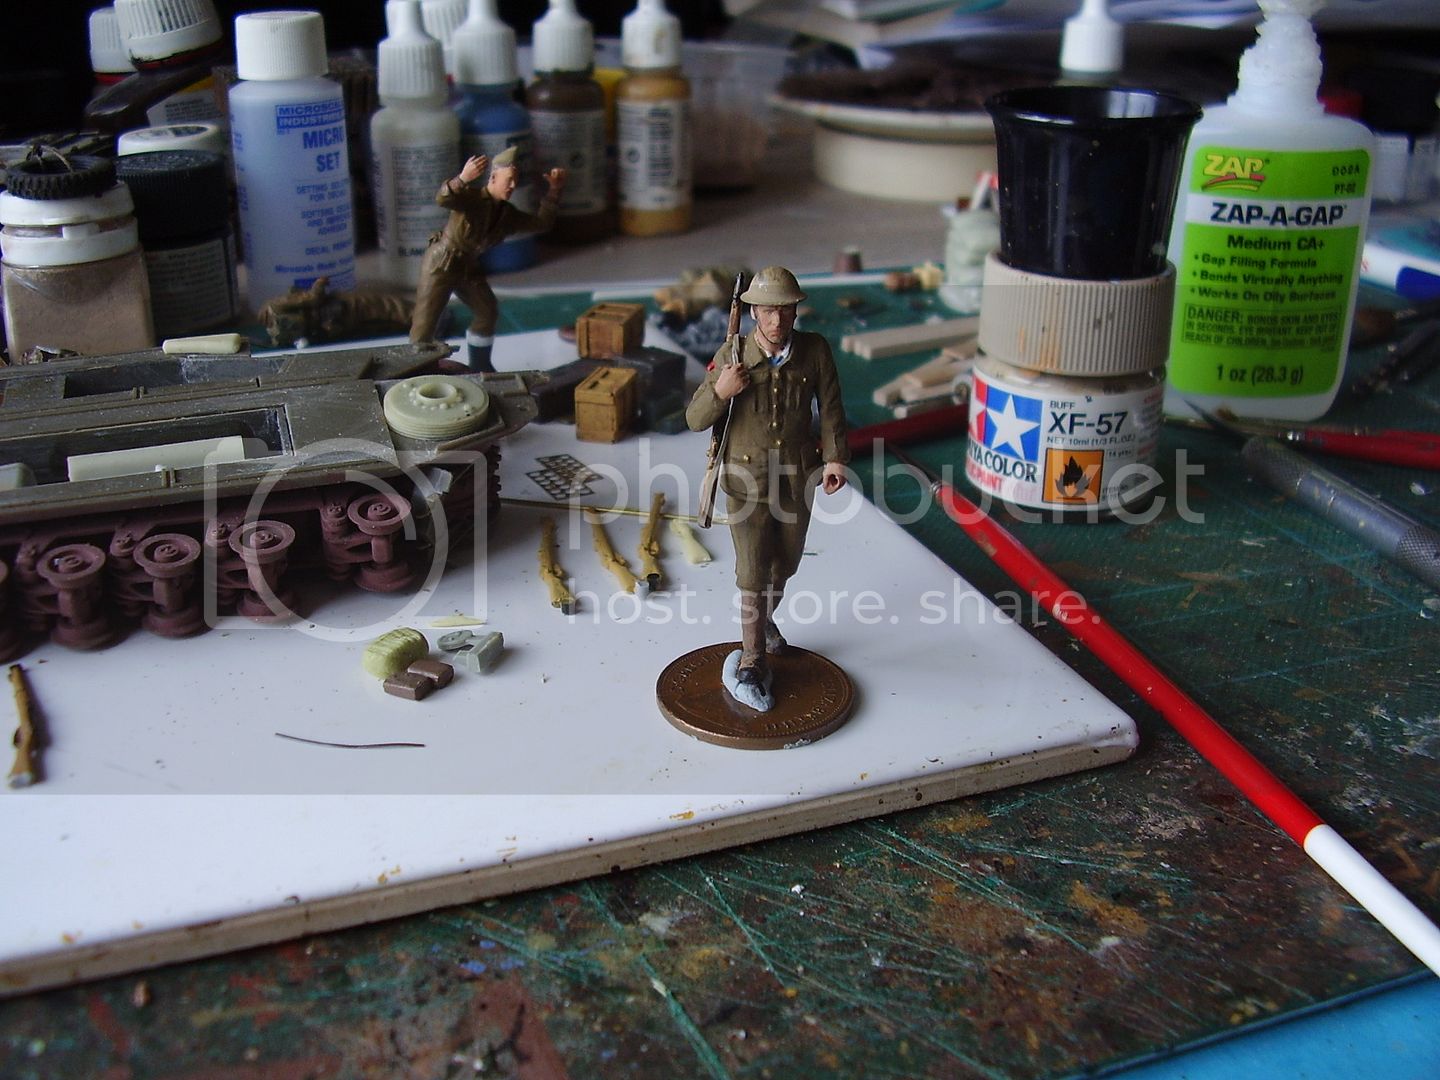
This is the progress on the 1st of the walking figures, I'd like to do aboout 3 as a fatigue or wiring party.

Cheers
Al
'Action this Day'
Winston Spencer Churchill
England - South East, United Kingdom
Joined: March 01, 2010
KitMaker: 7,078 posts
Armorama: 248 posts
Posted: Monday, April 09, 2012 - 09:11 PM UTC
Got the davits added. I have used the kit supplied davits for all except the Port fwt boat, for which I have used plastic rod, the reason being, although the kit is very generous with the boats supplied, there are only 6 pairs for full size davits, as required for the 1903 fit, and for 1914, I needed 7.

Having opened the non re-sealable bag with the gun barrels in i was getting paranoid about loosing one, so I fitted the broadside guns, and also touched up the paintwork where i had been a little careless painting sea & wake.

A bit more detail on the bridge, chart table, voice pipes and the watchkeepers.

And the ladders down to the conning deck. Got the awning supports round the starboard bridge wing and the compass platform, still have the port bridge wing to do.

More soon.
Si
England - East Anglia, United Kingdom
Joined: August 12, 2005
KitMaker: 14,499 posts
Armorama: 11,675 posts
Posted: Monday, April 09, 2012 - 10:34 PM UTC
Coming to life Simon,
Great work.
Al

'Action this Day'
Winston Spencer Churchill


