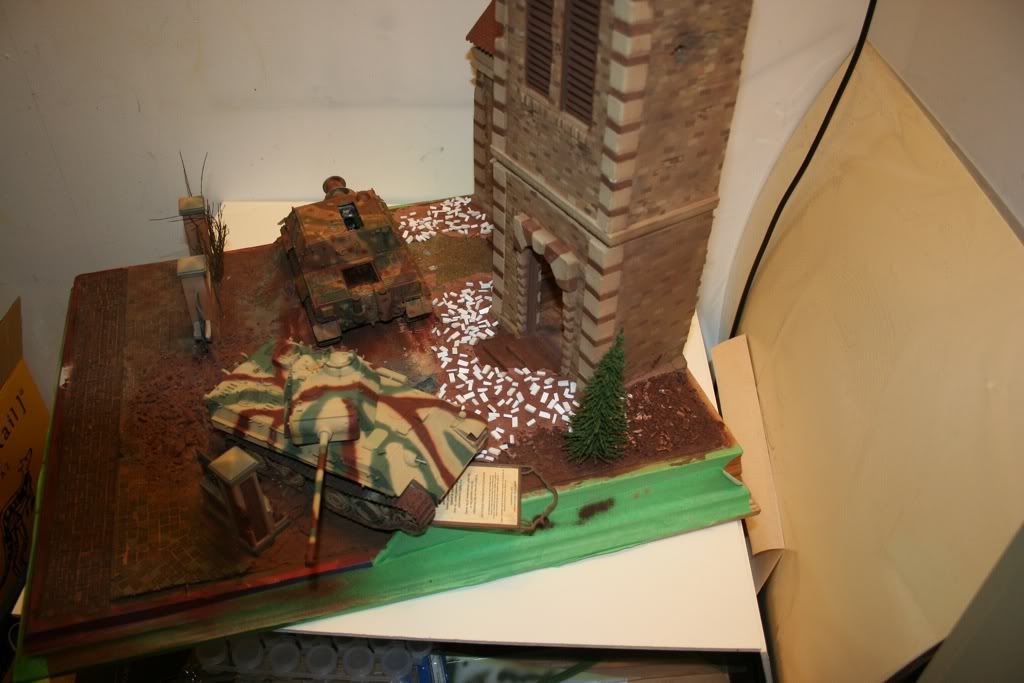
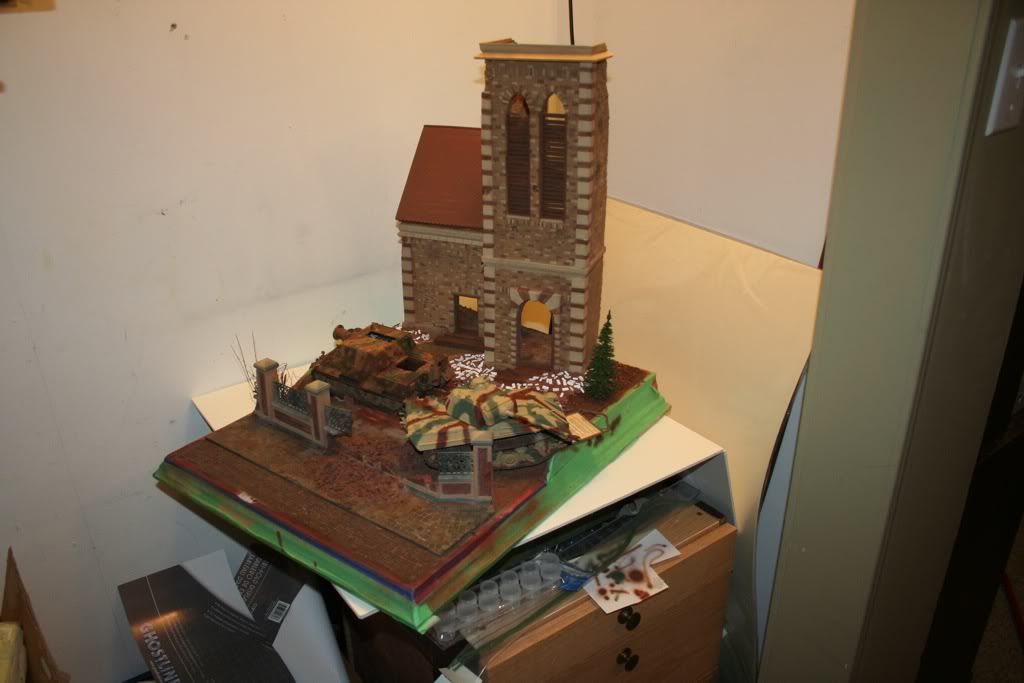
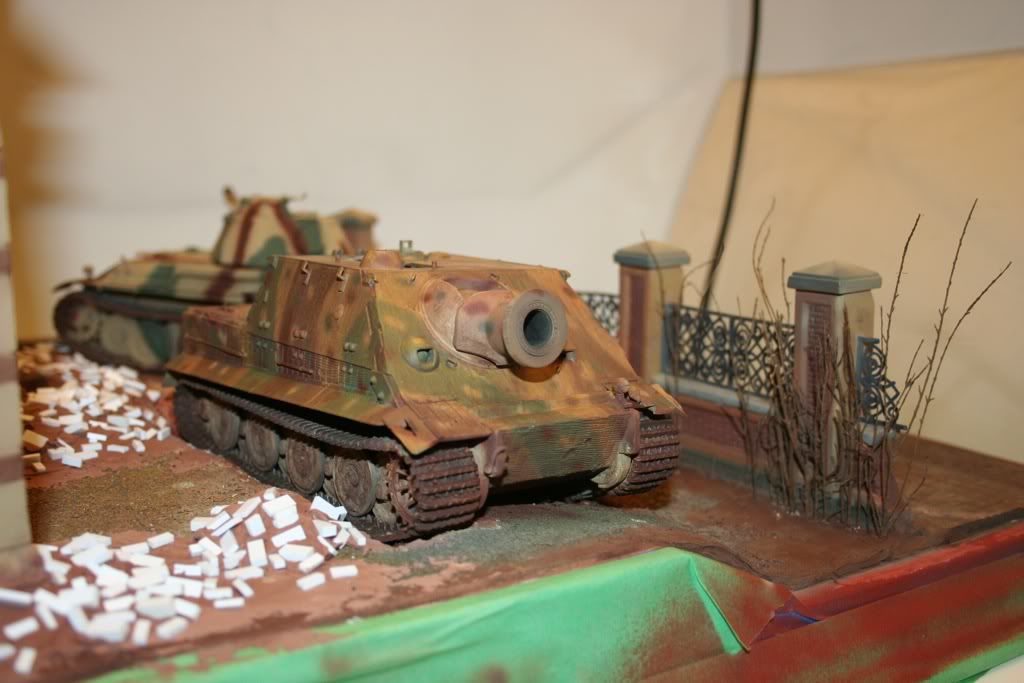
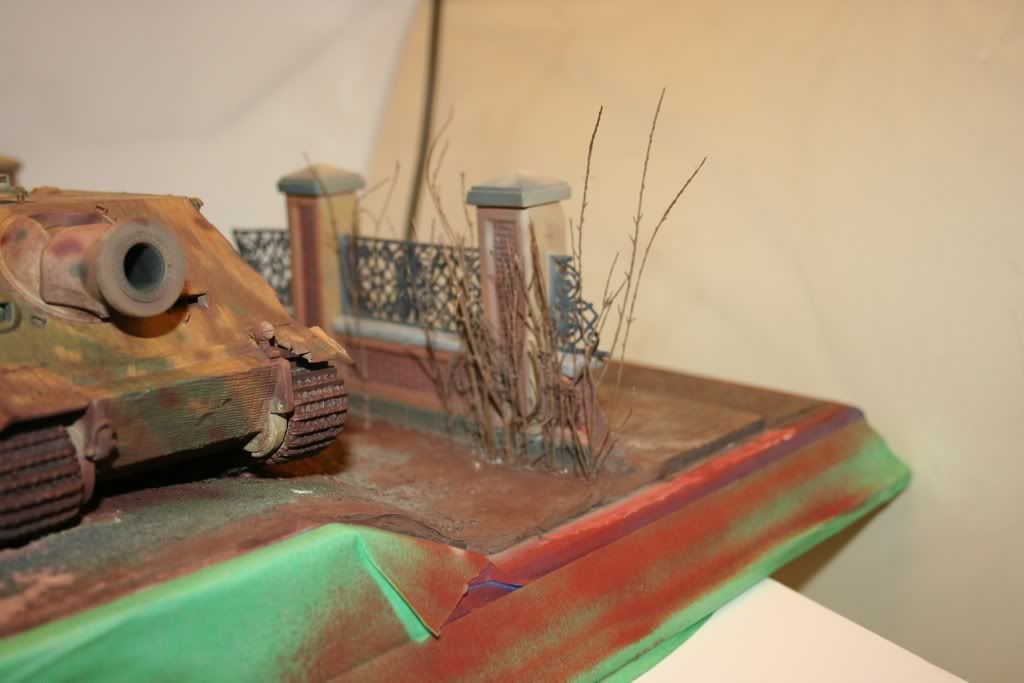
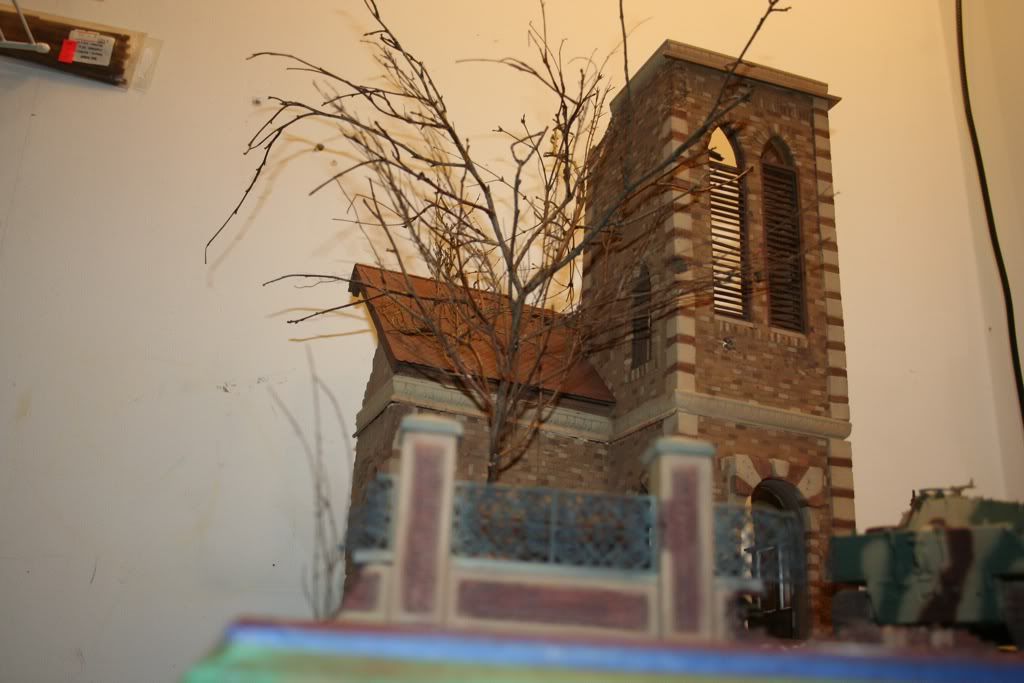
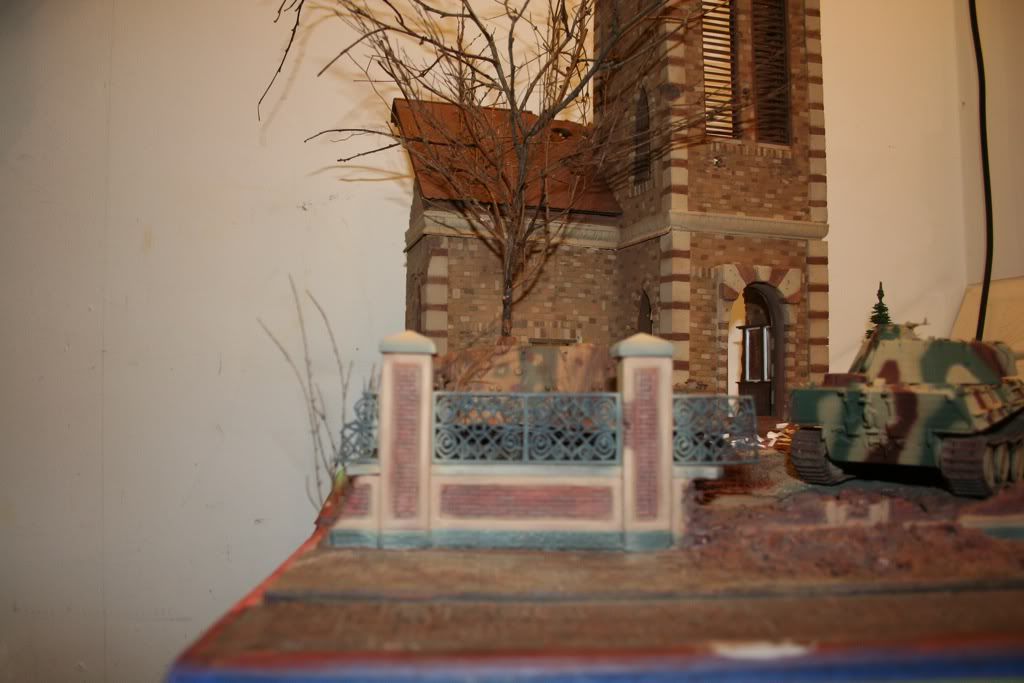
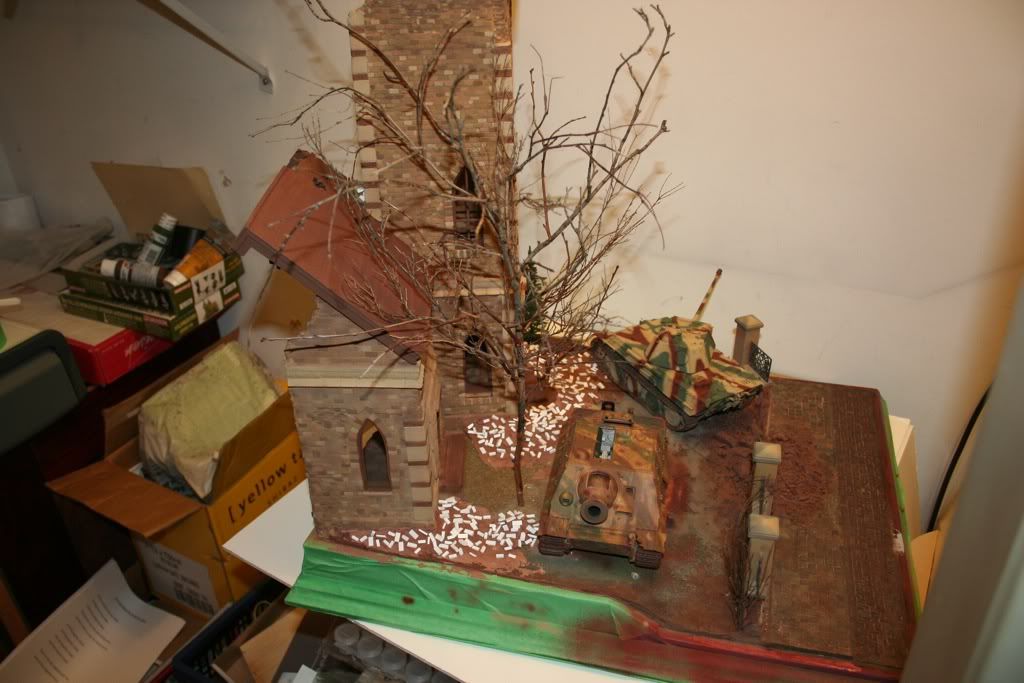
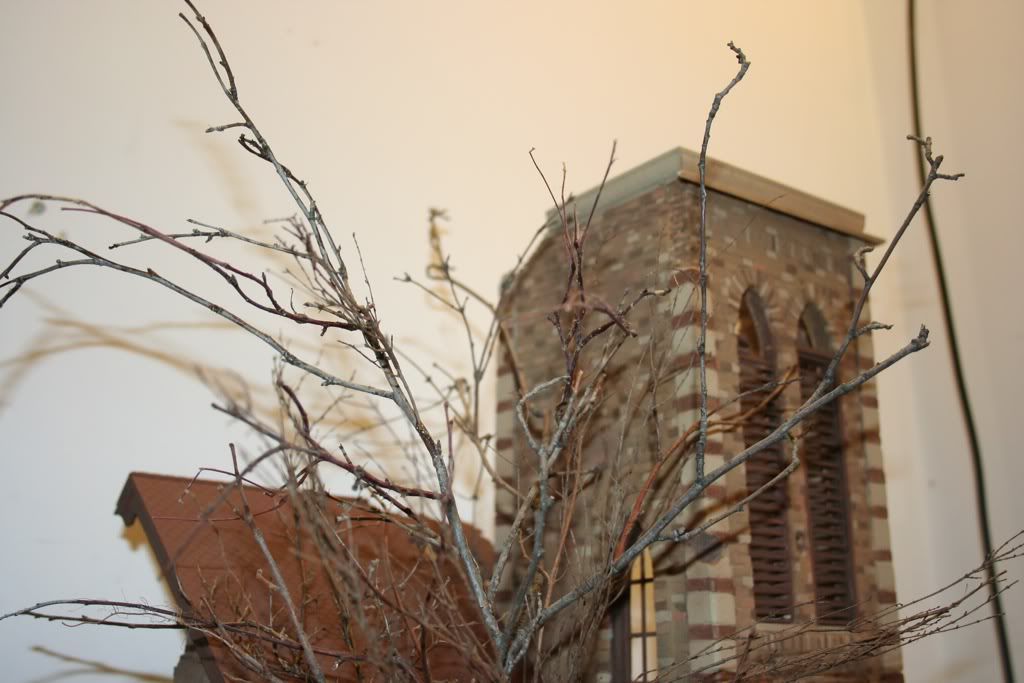
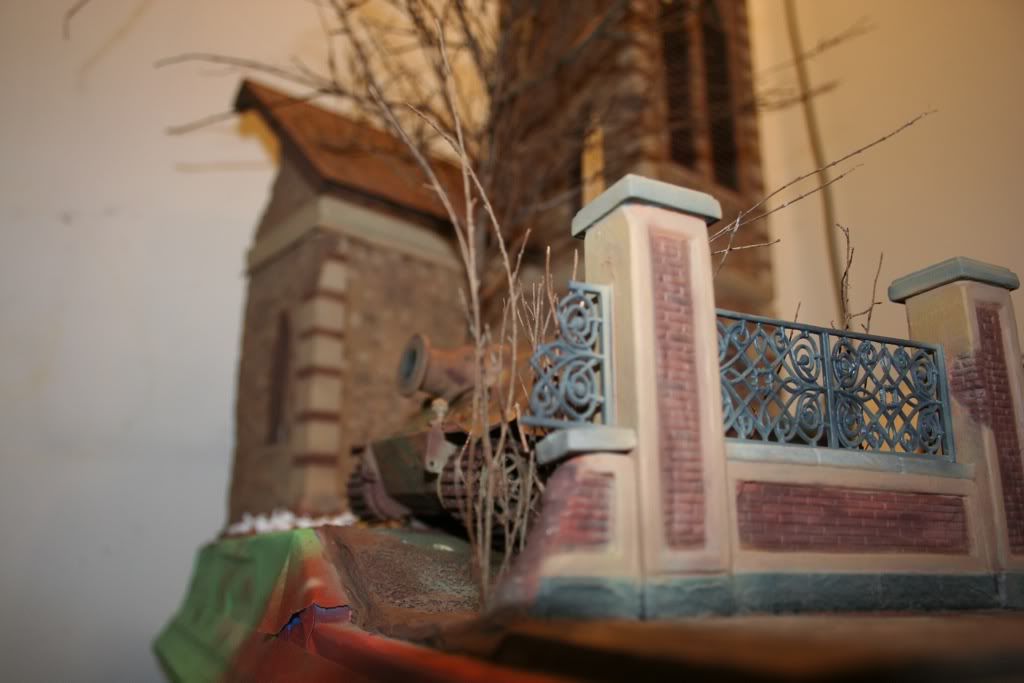
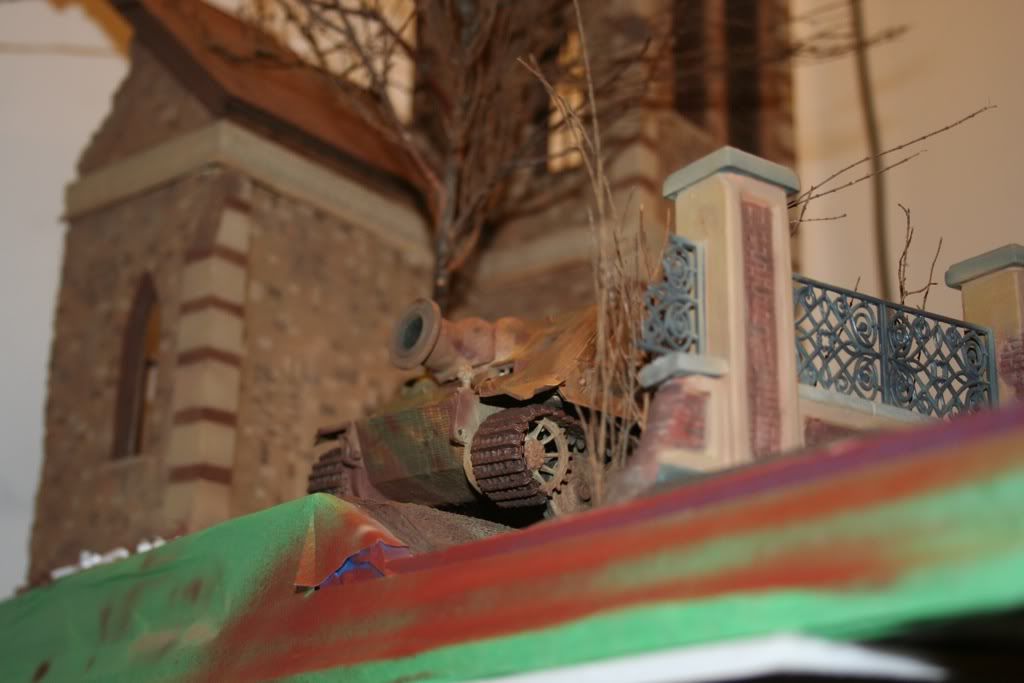
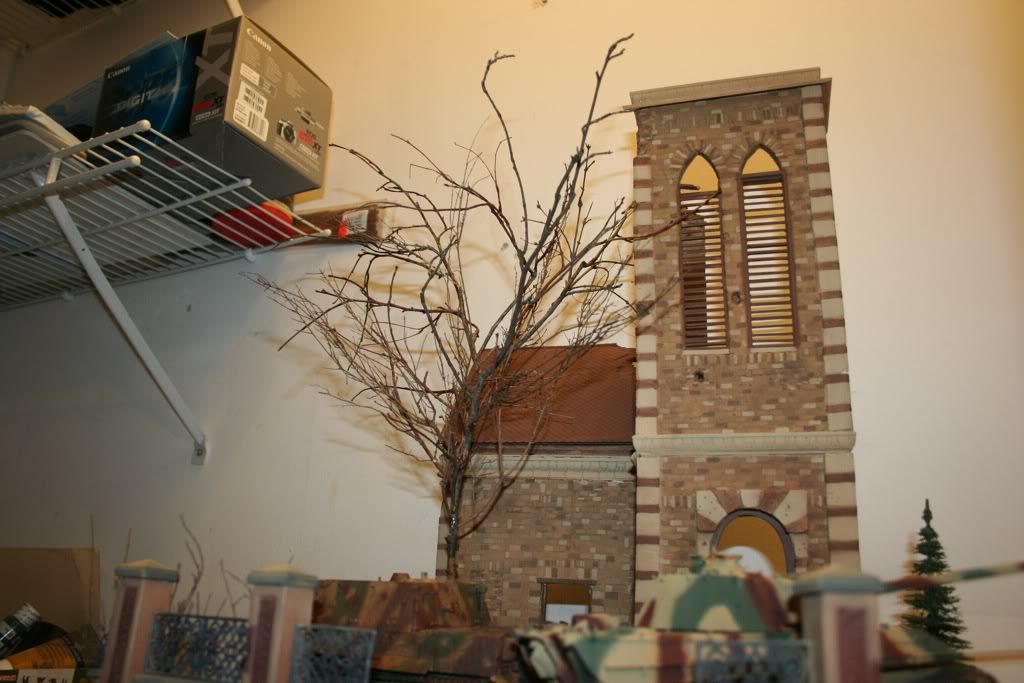
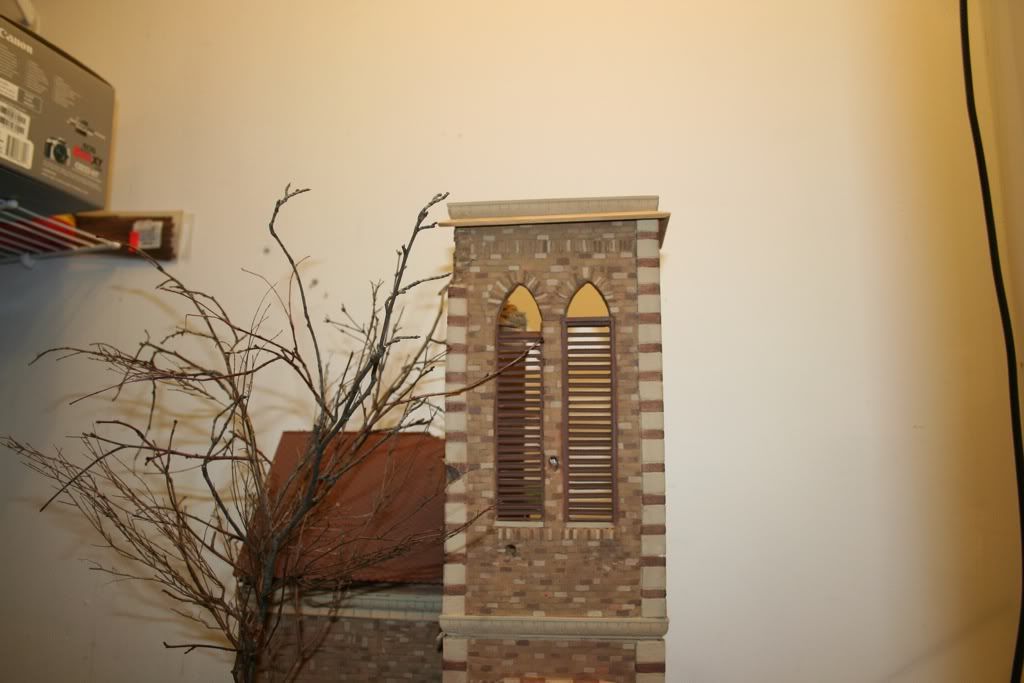
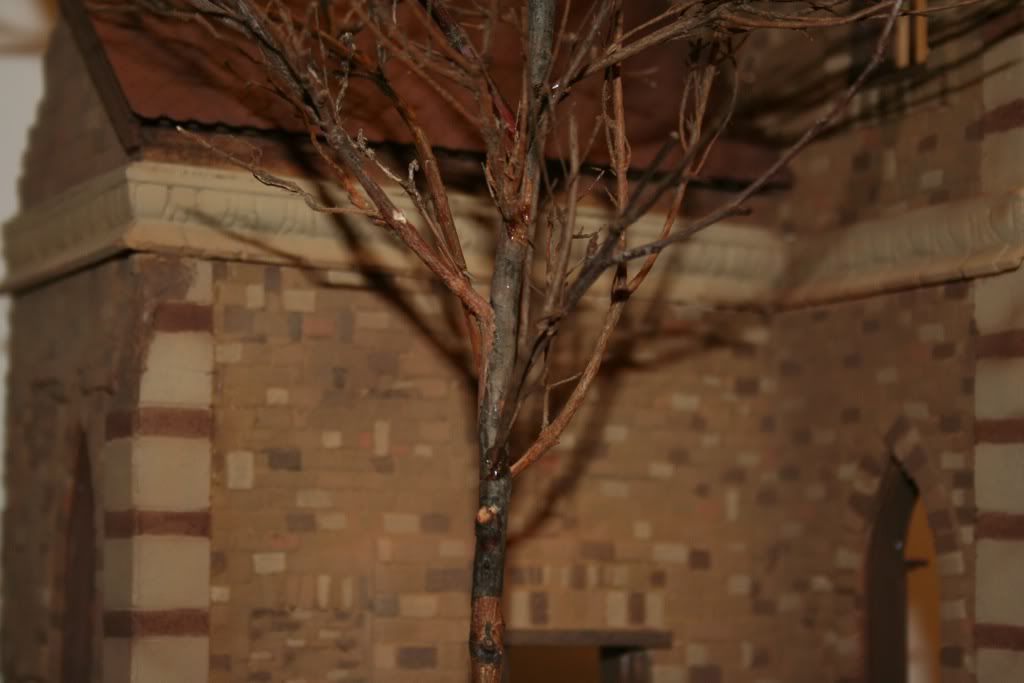
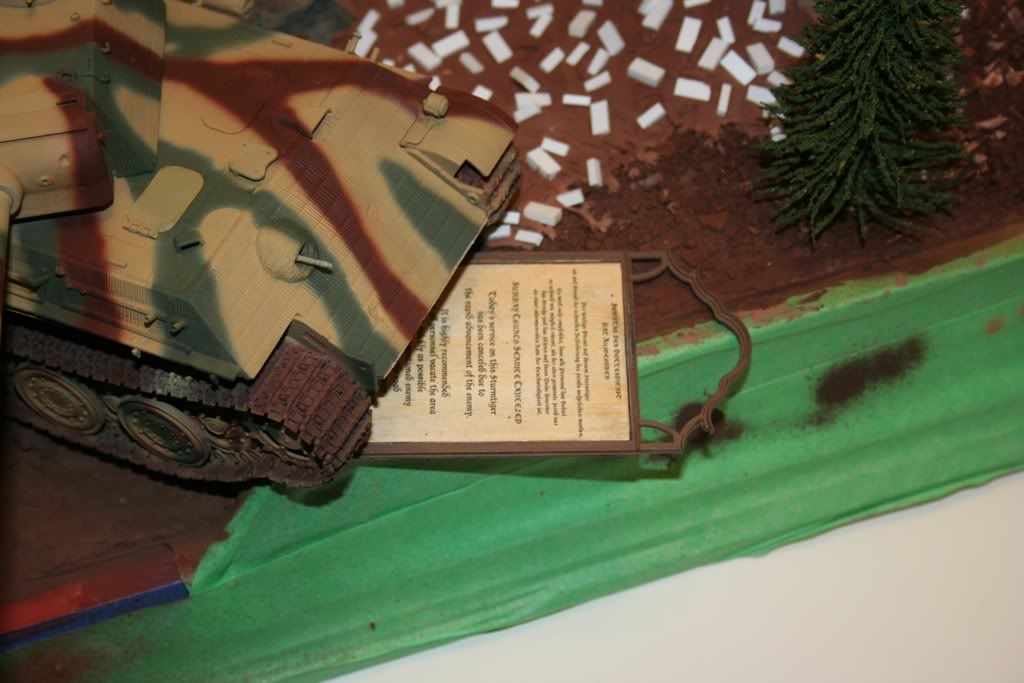
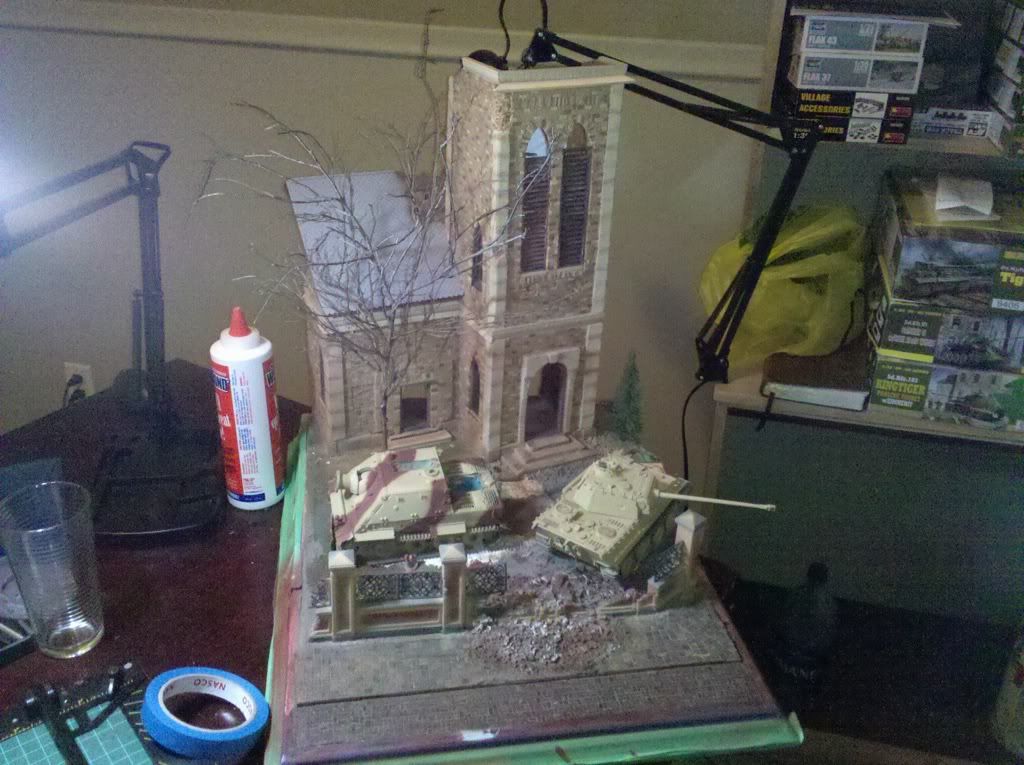
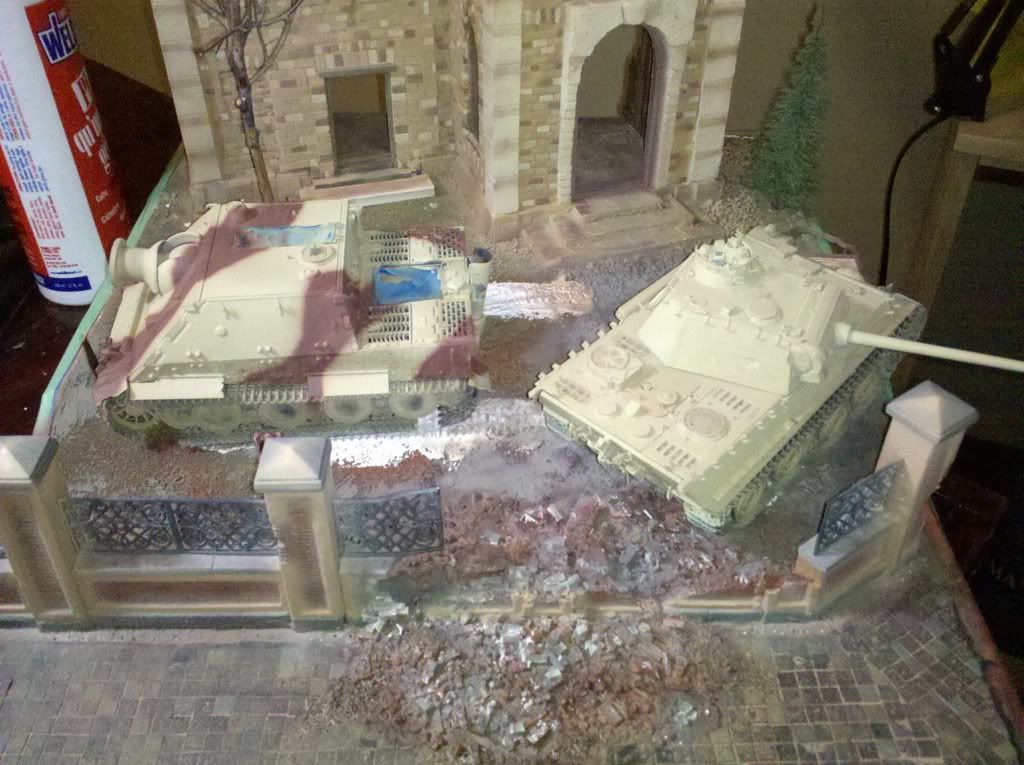
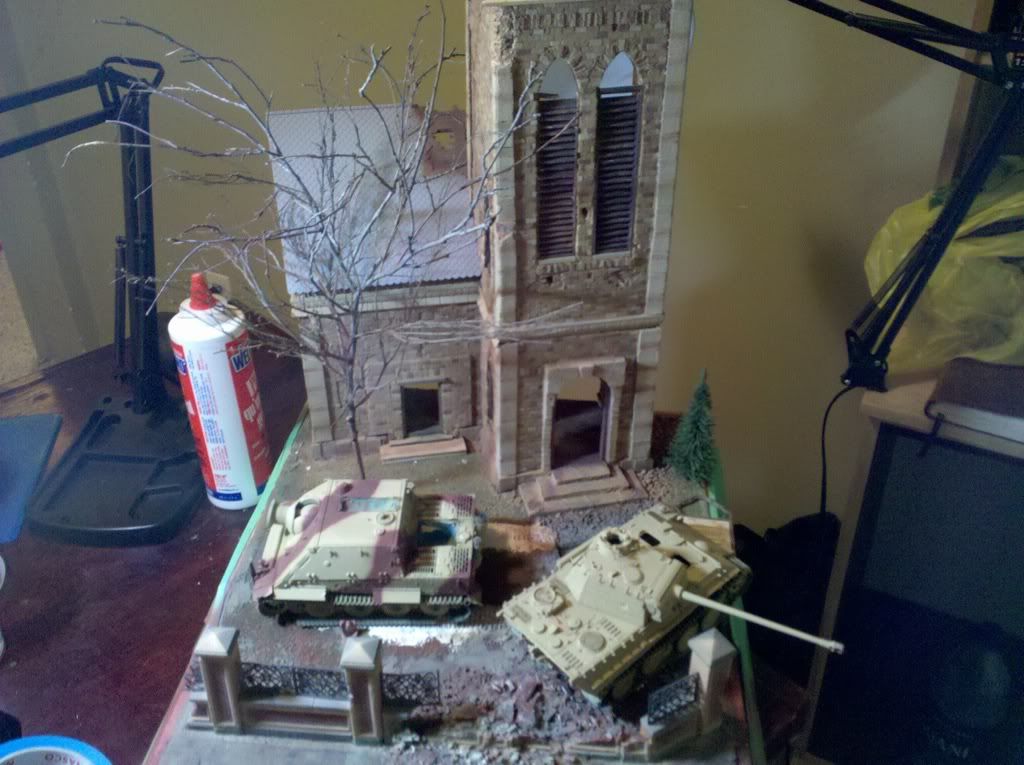
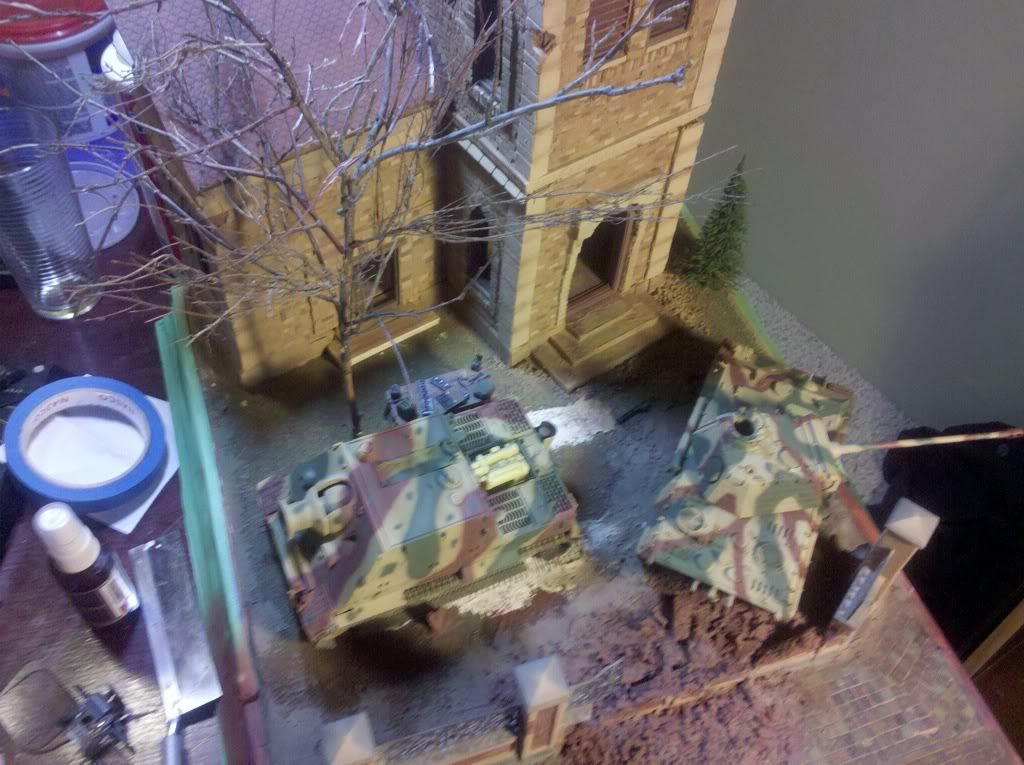
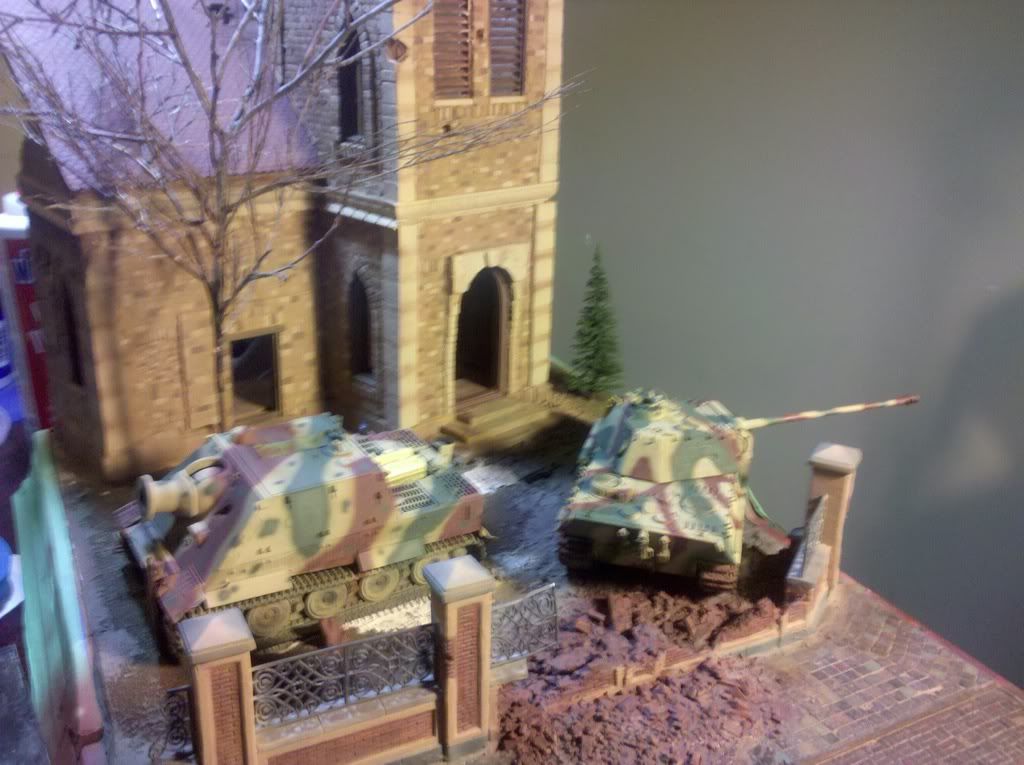
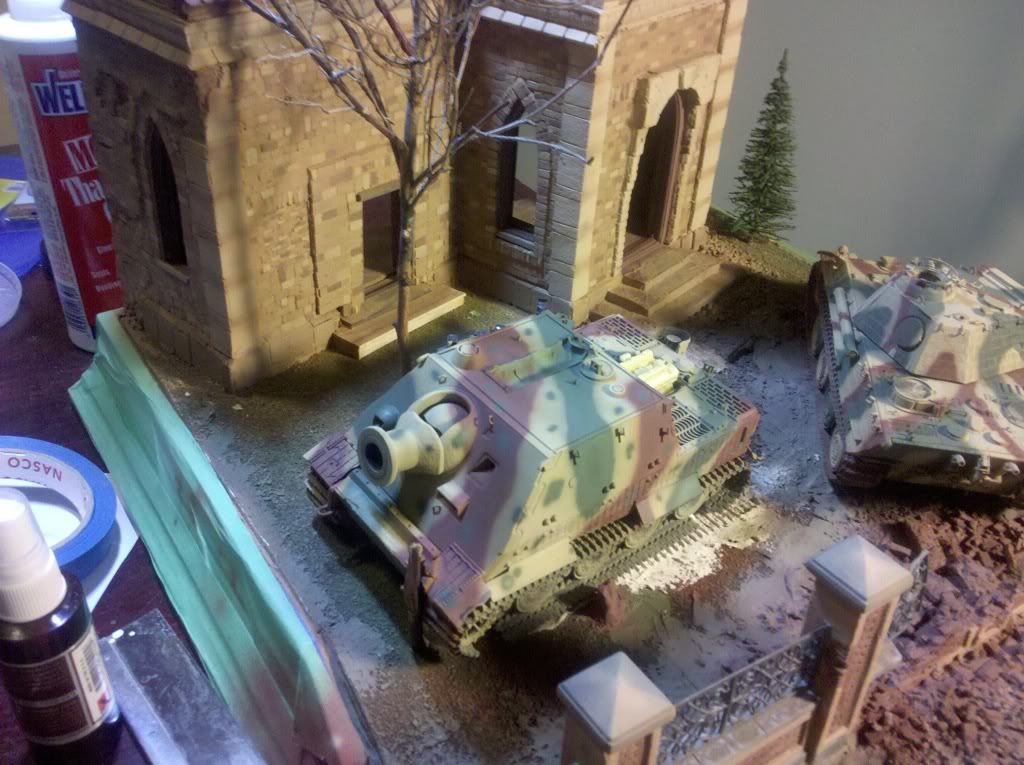
You are quite welcome Stan. I am sorry it took so long to realize which tree you were referring to. I had removed the pine for safe keeping awhile ago and since I didn't see it. I assumed you were asking about the other one, which is definitely not a pine tree.
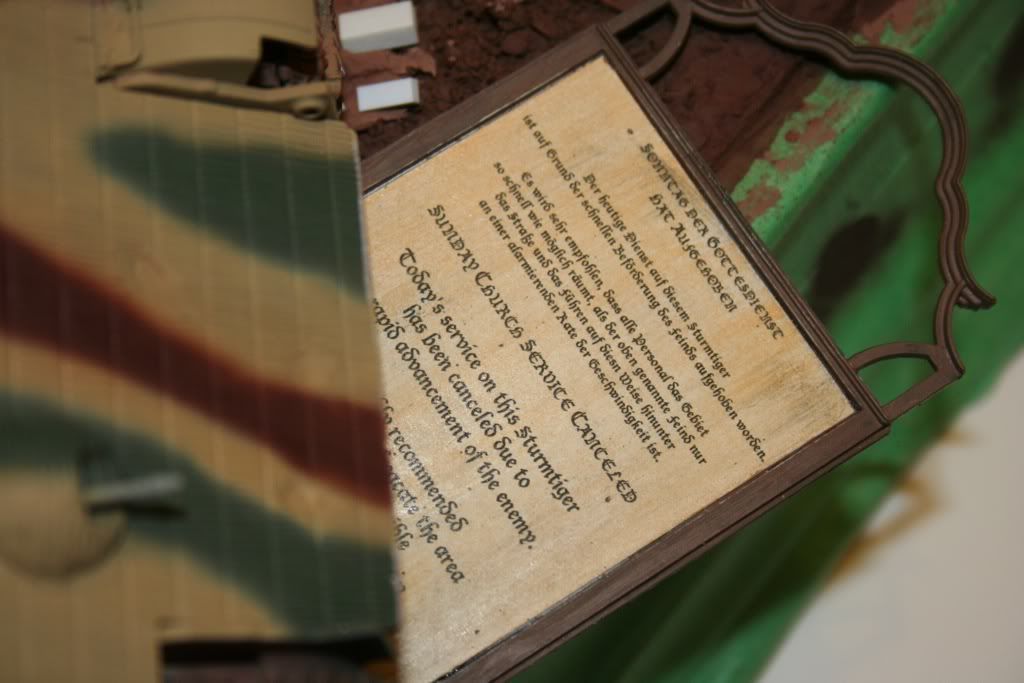
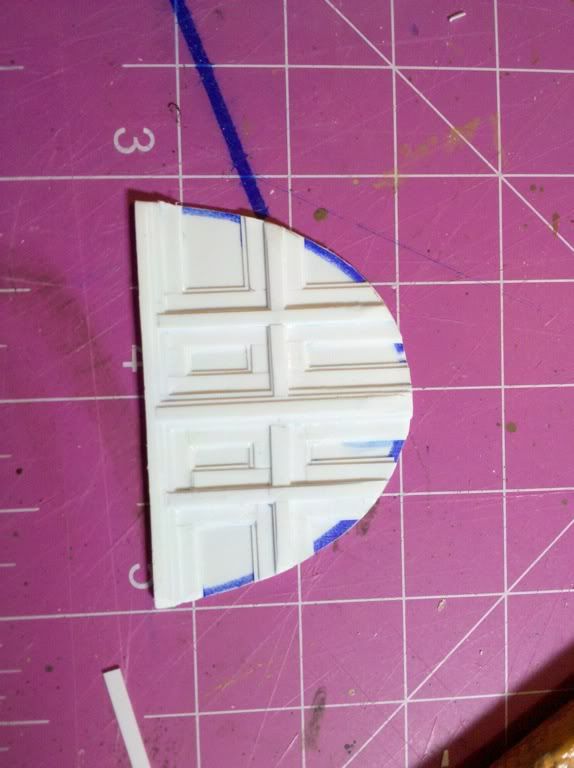
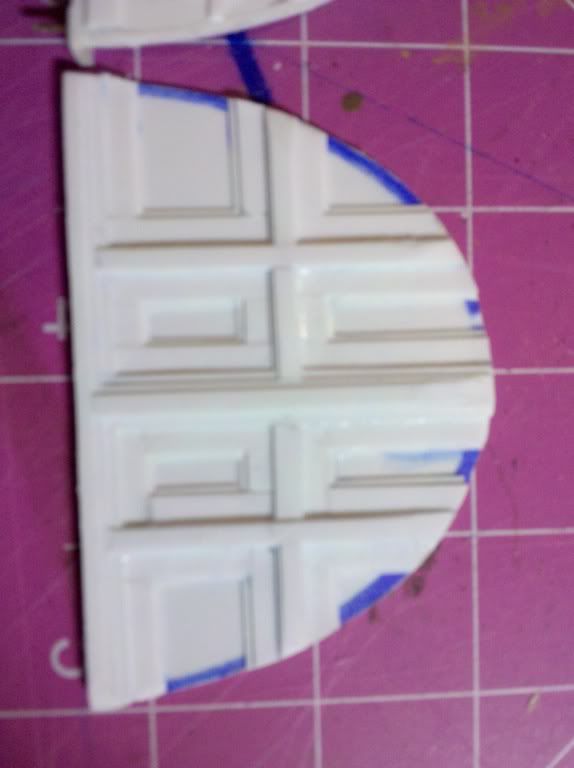
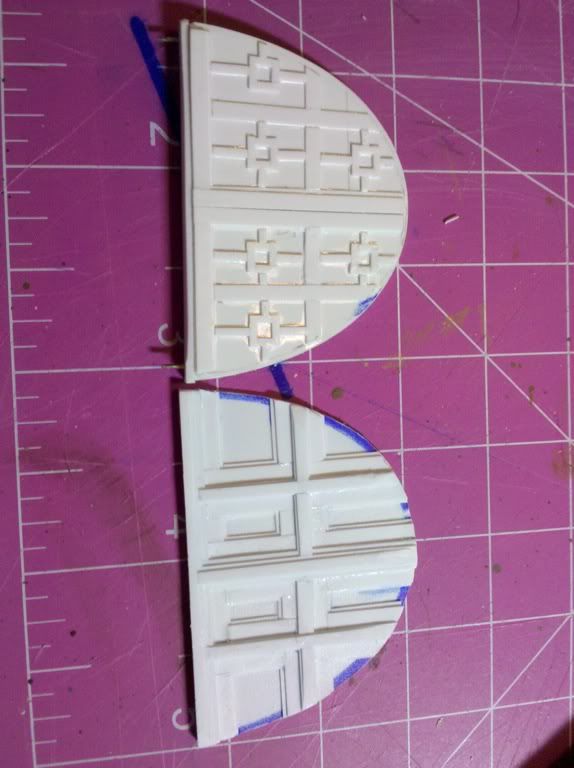
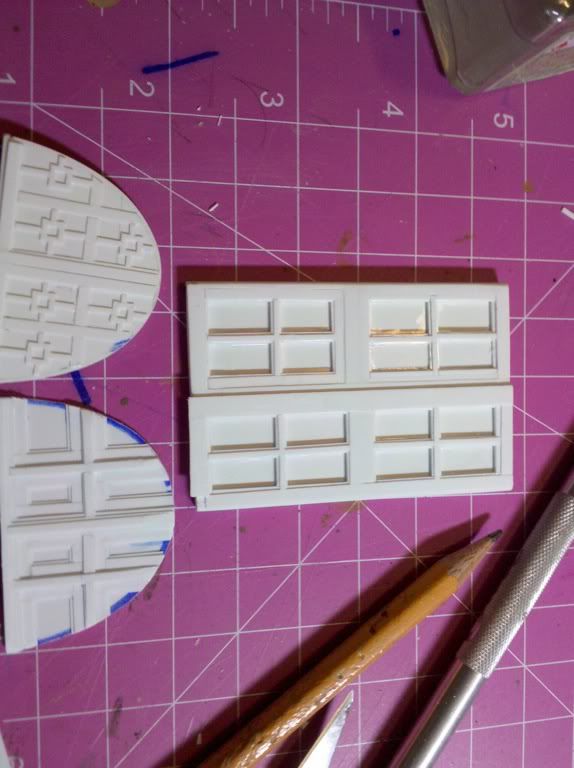
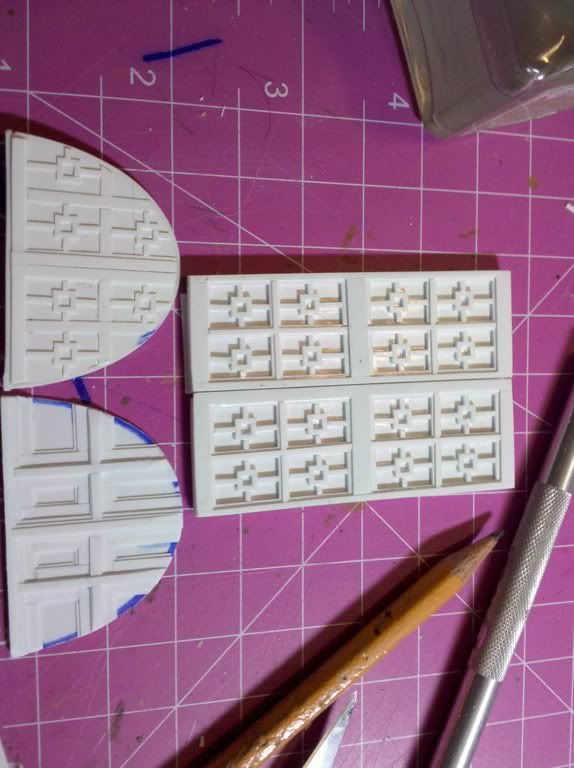
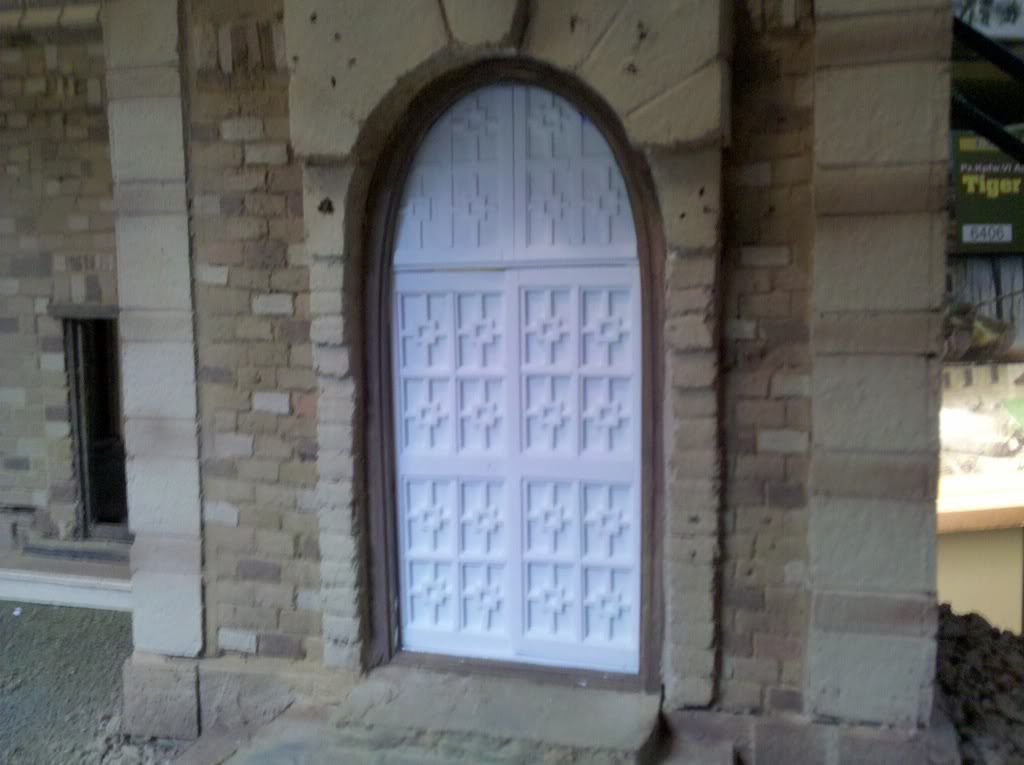
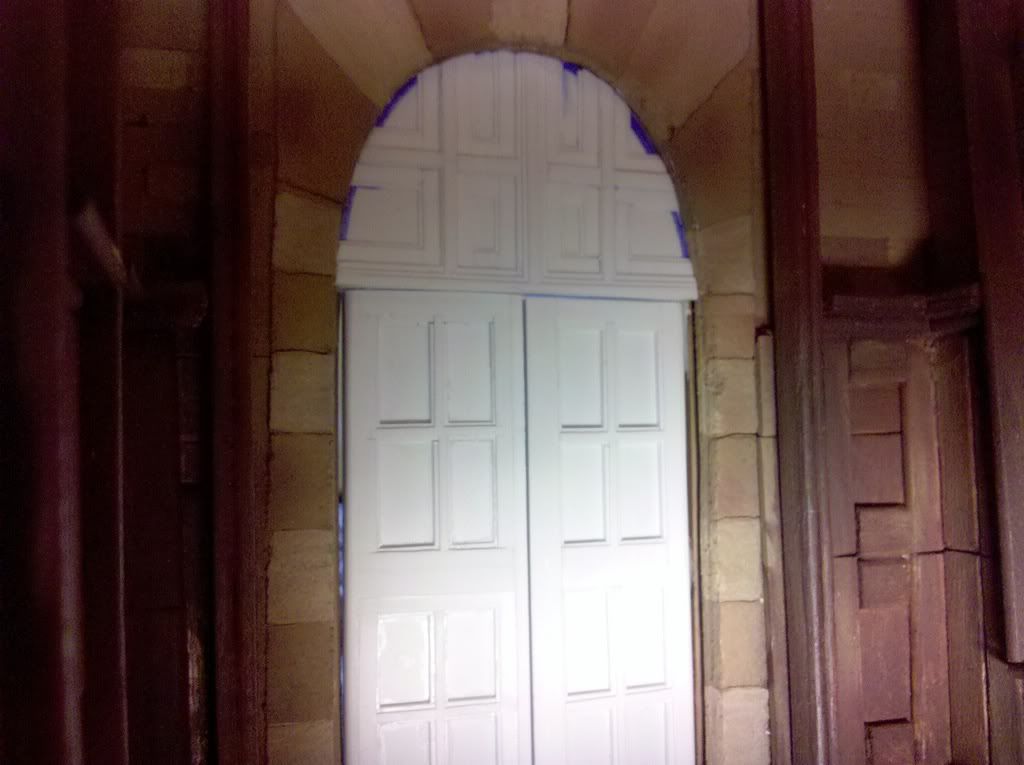
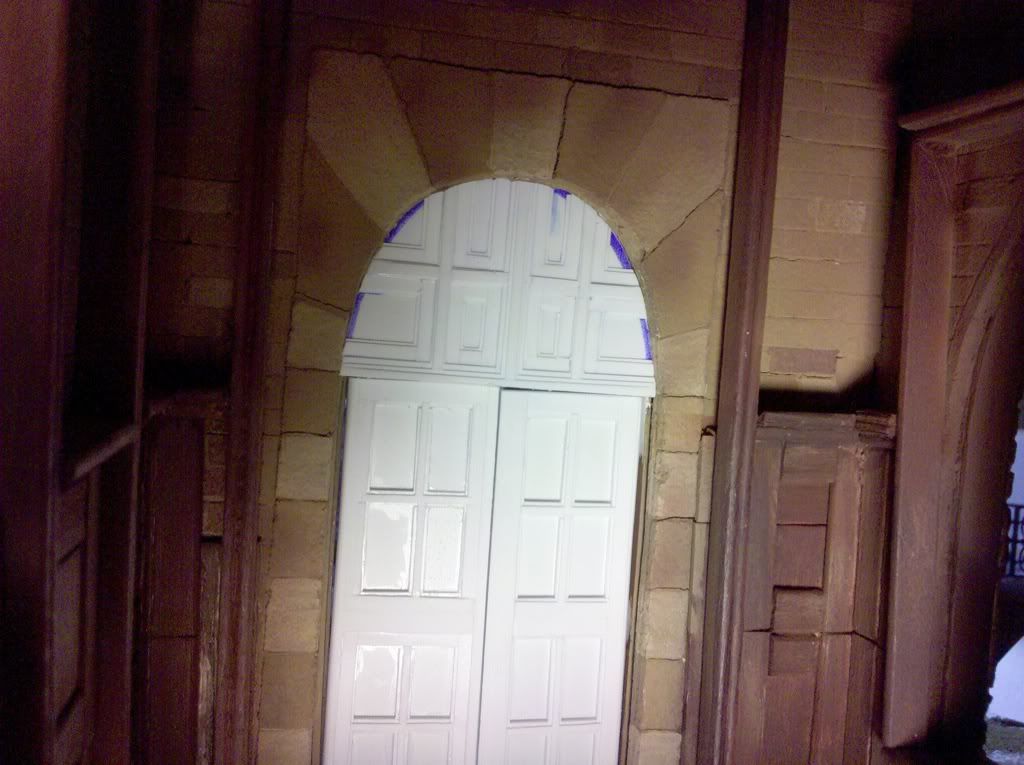
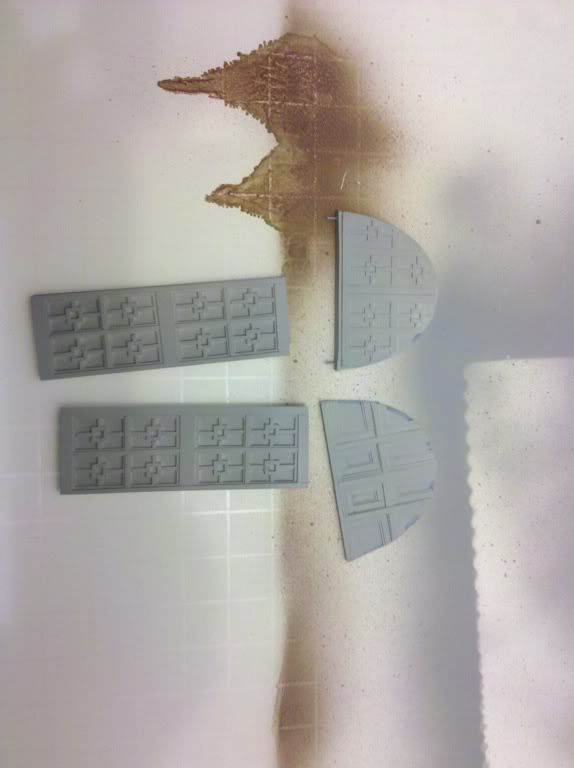
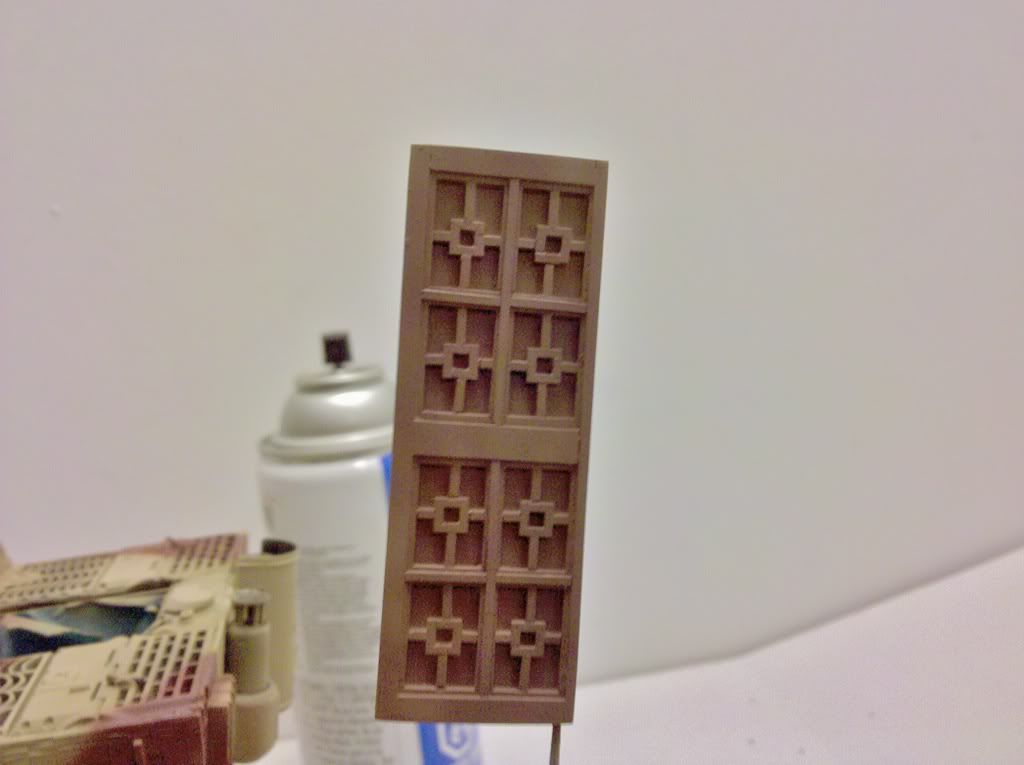
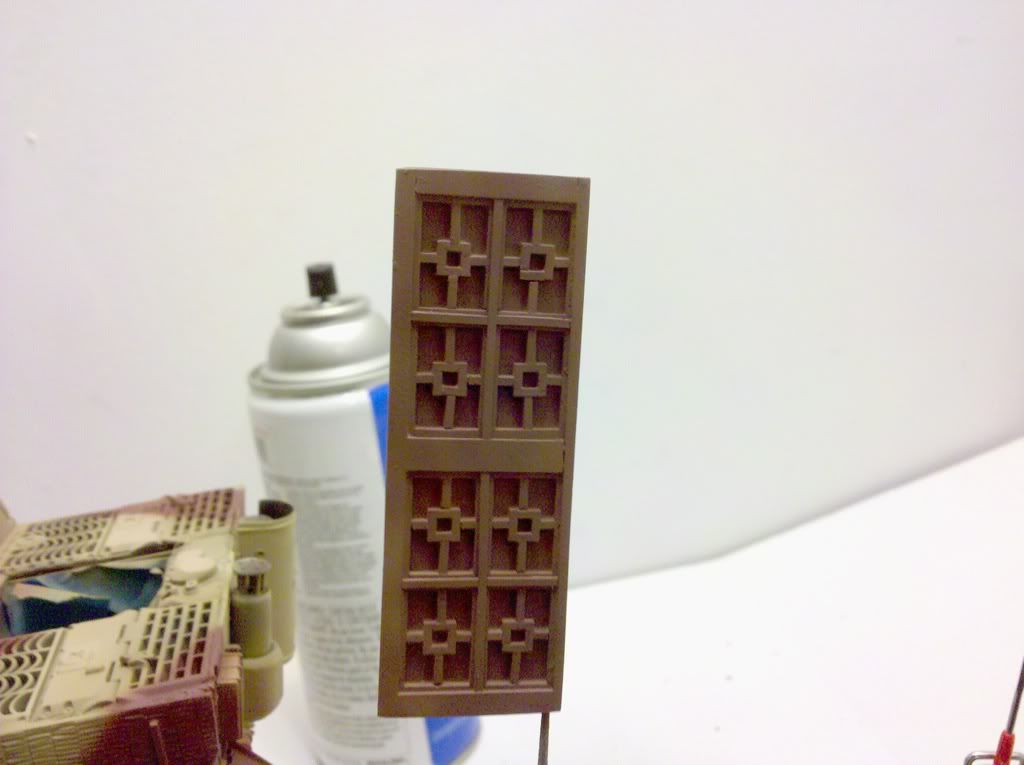
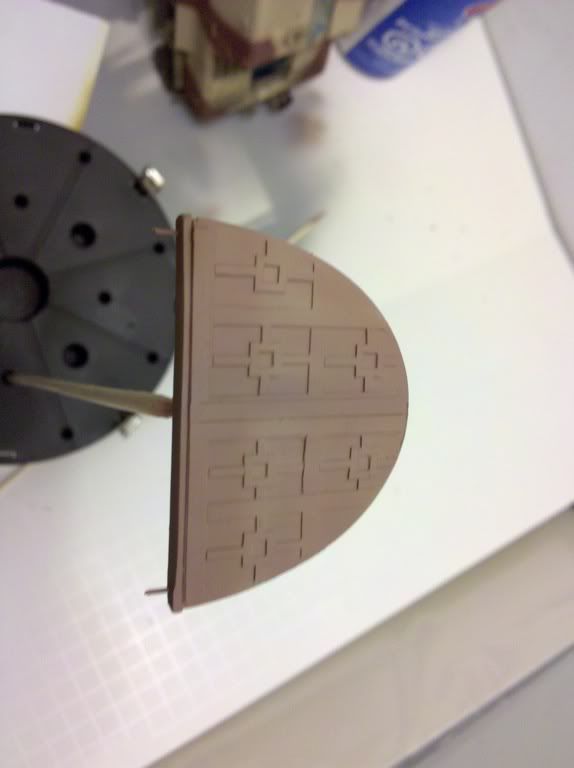
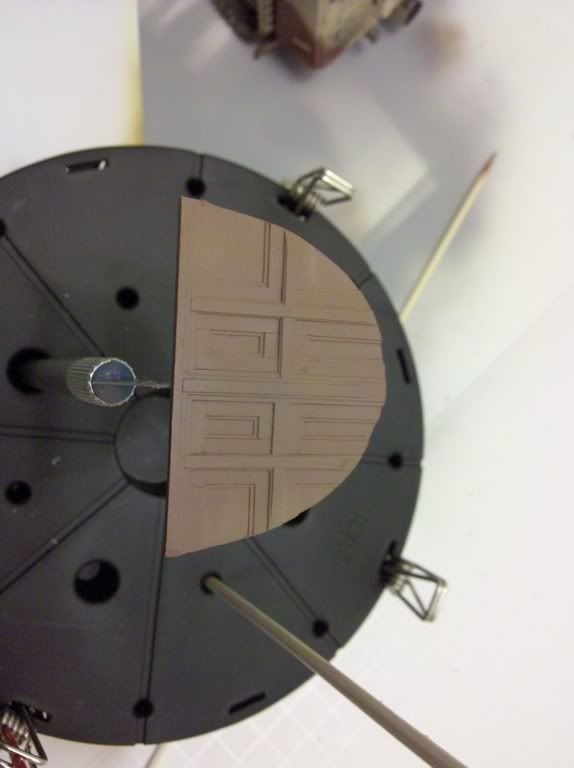
Any how, here is another update to look at. I have finished building the new doors, having test fit them numerous times to ensure a good fit & to make sure nothing was to tight that some paint would stop them from functioning properly.
I think they have turned out pretty well, but all of you my peers can be the judges of that. Let me know what you think, but remember I am not insane... I just act like it.
I have primed al the pieces and am impatiently waiting the prescribed overnight period before laying down the wood color.
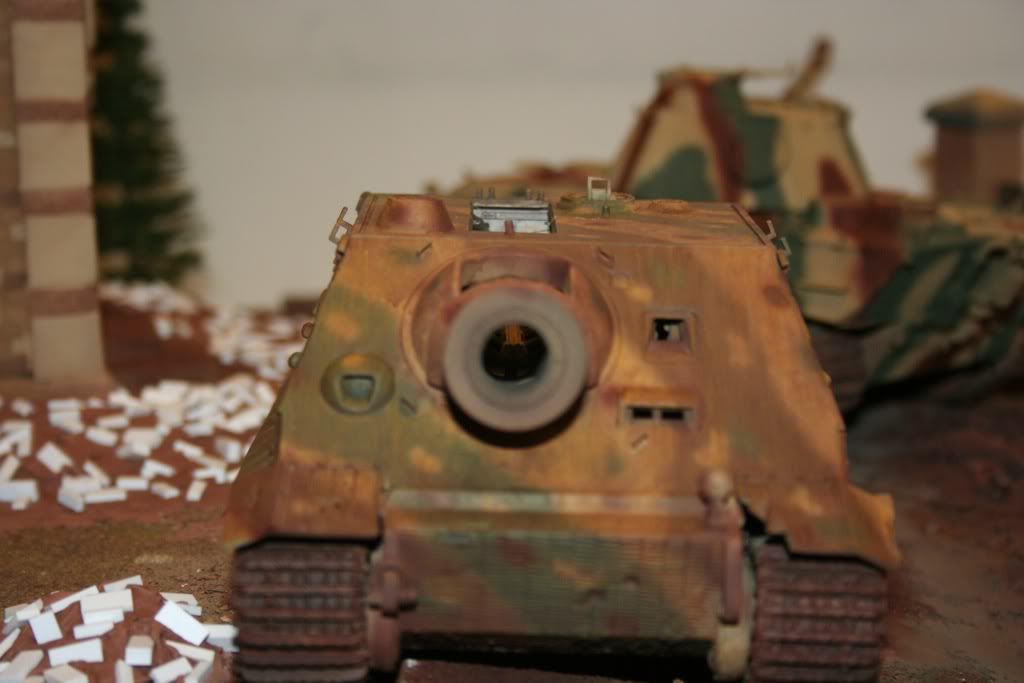
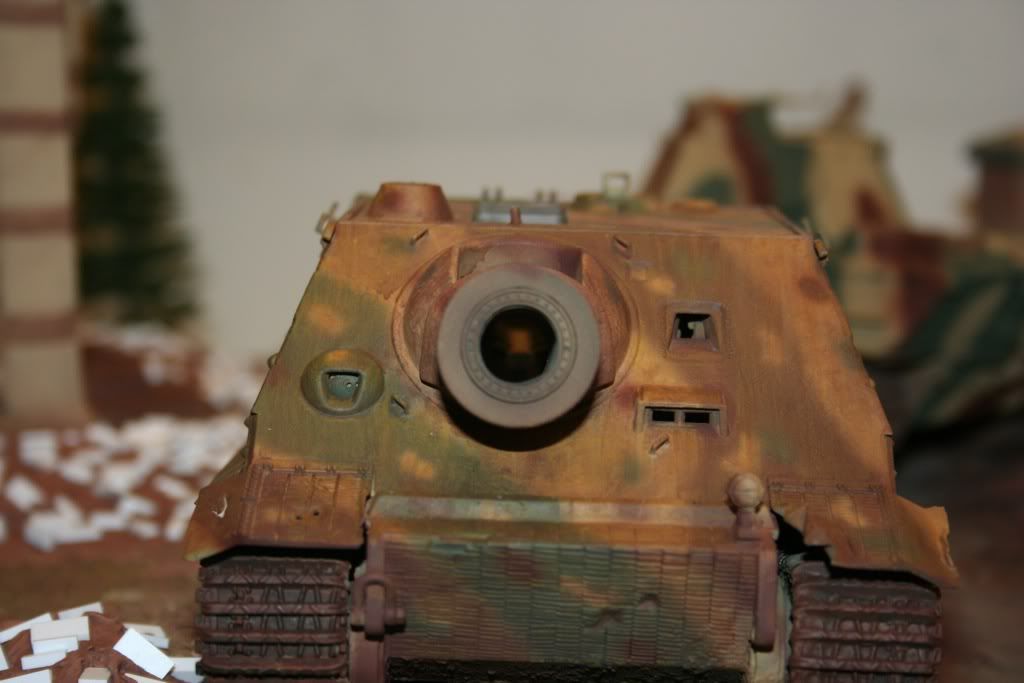
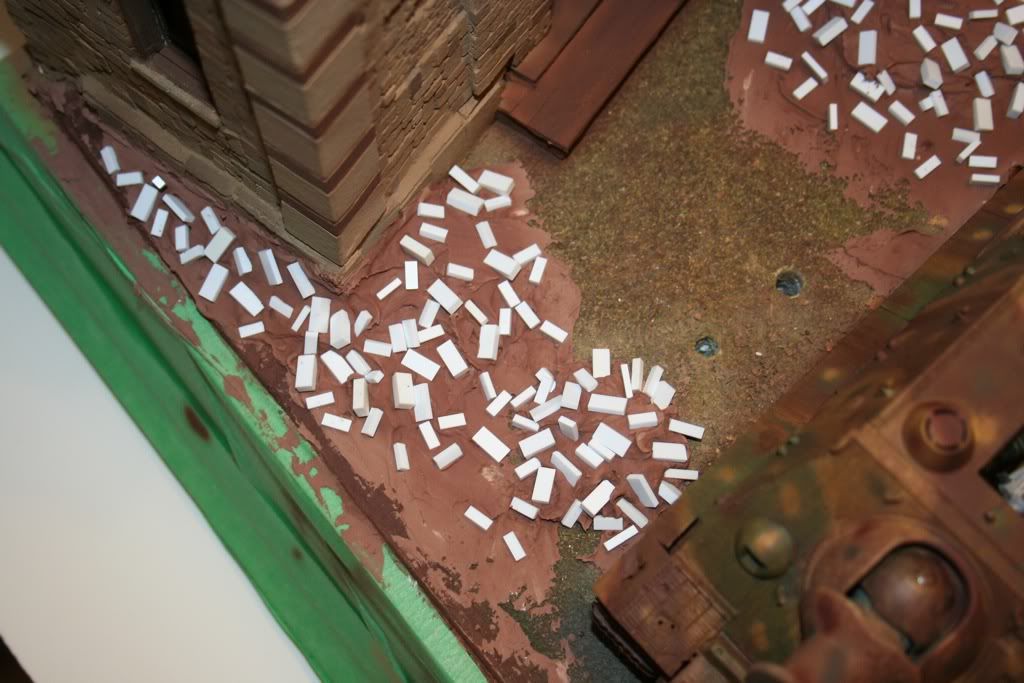
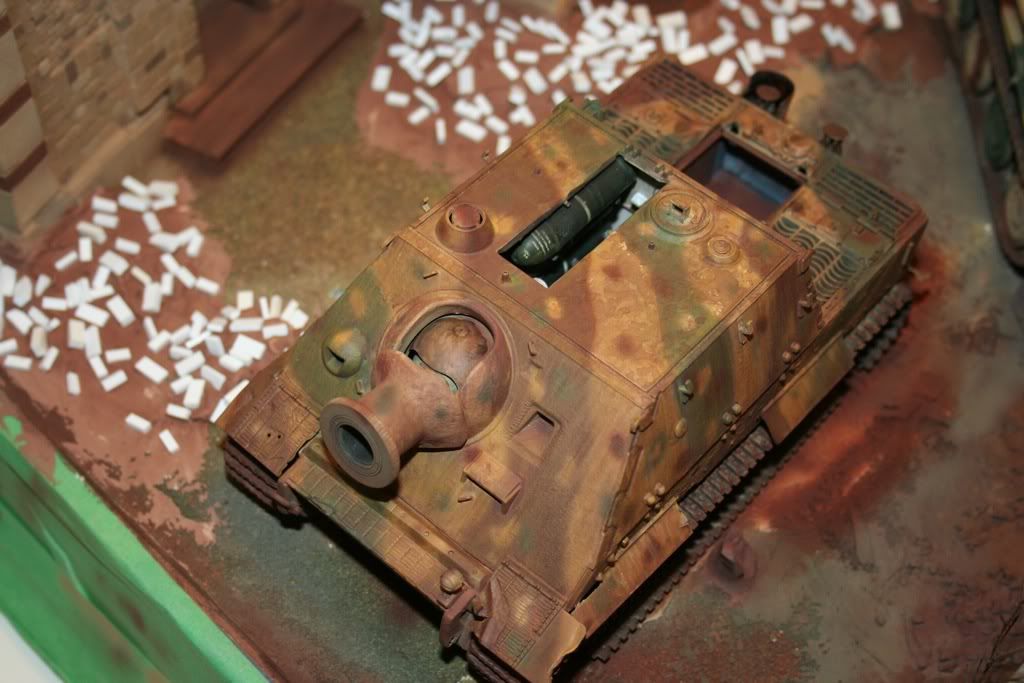
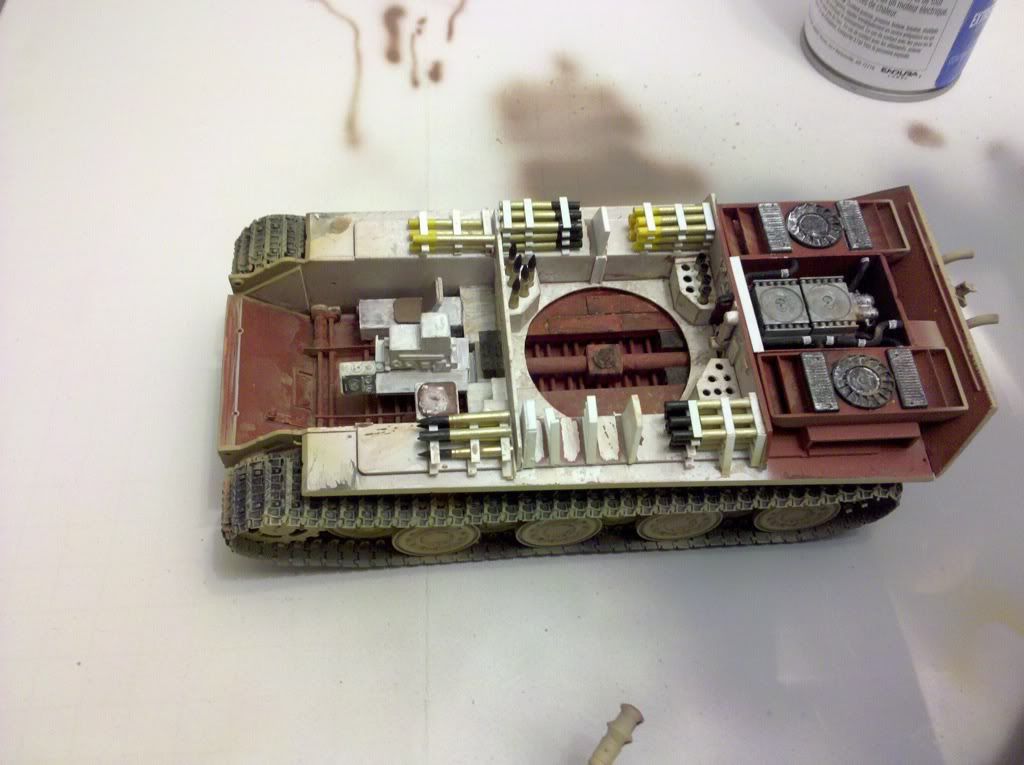
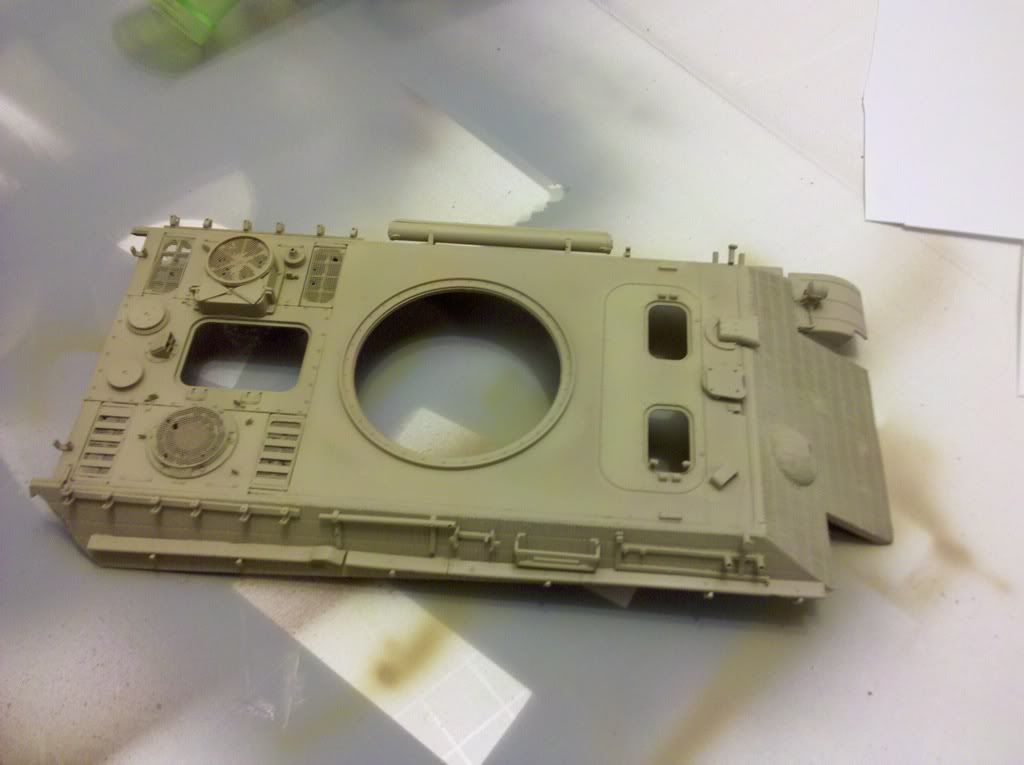
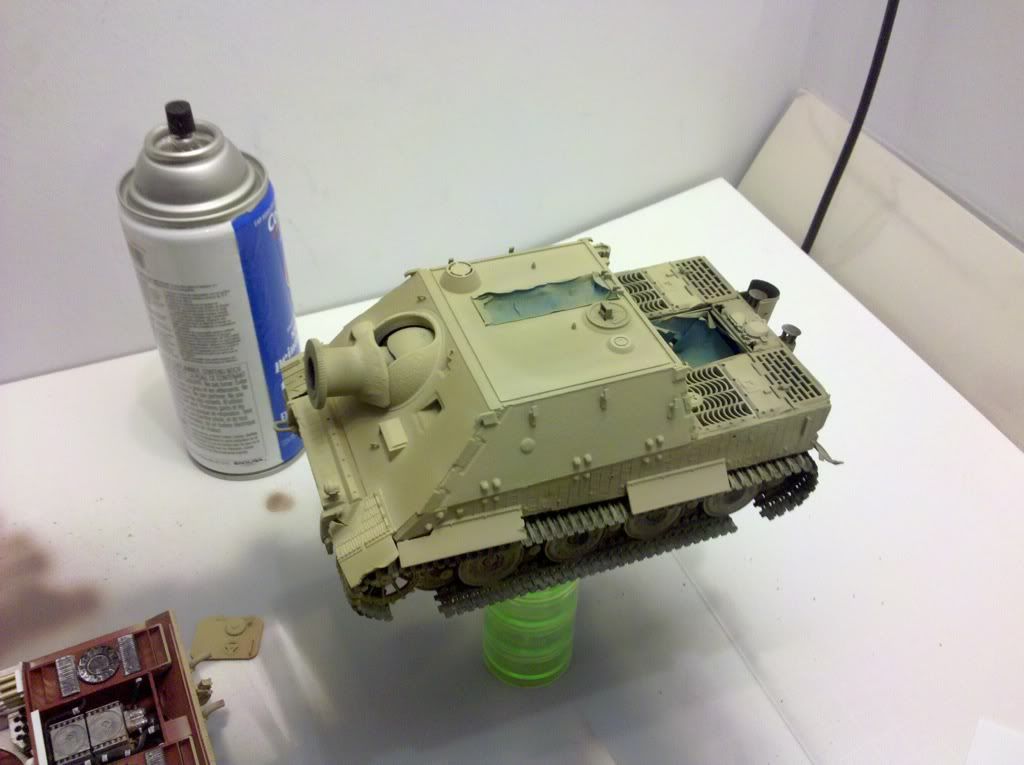
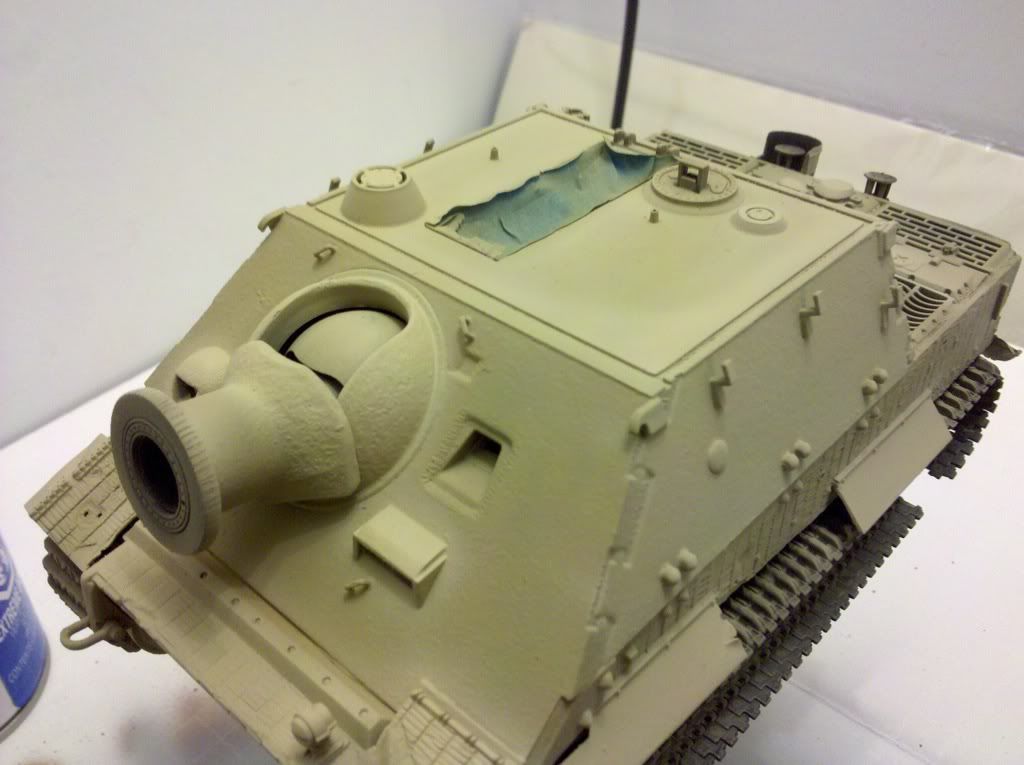
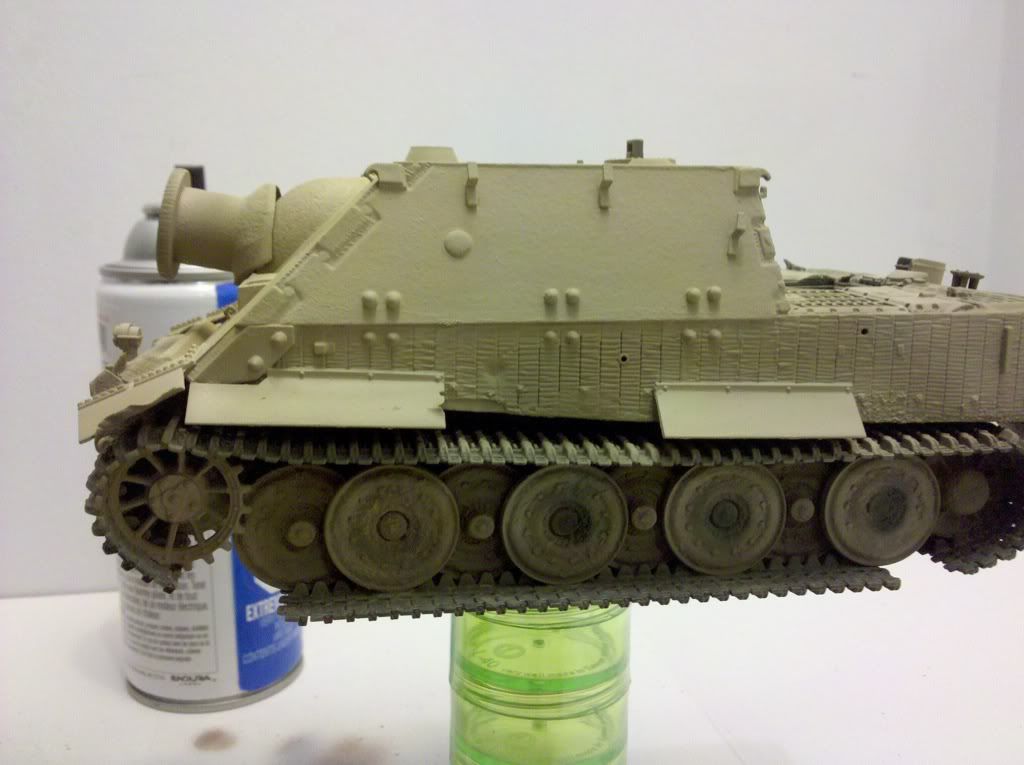
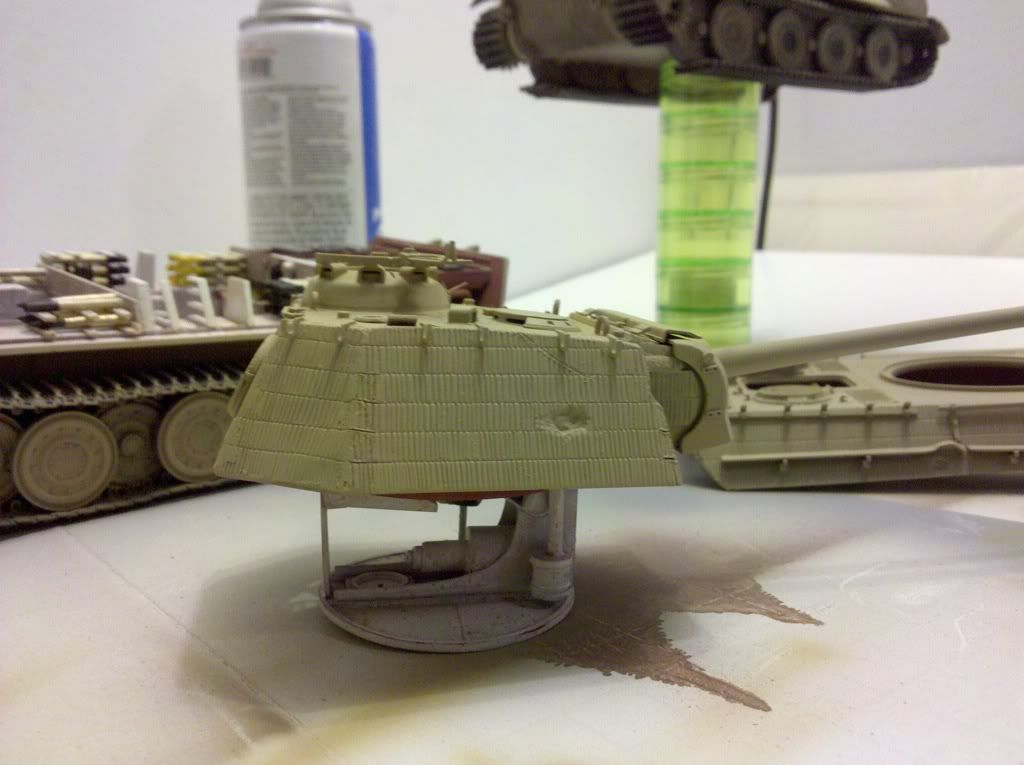
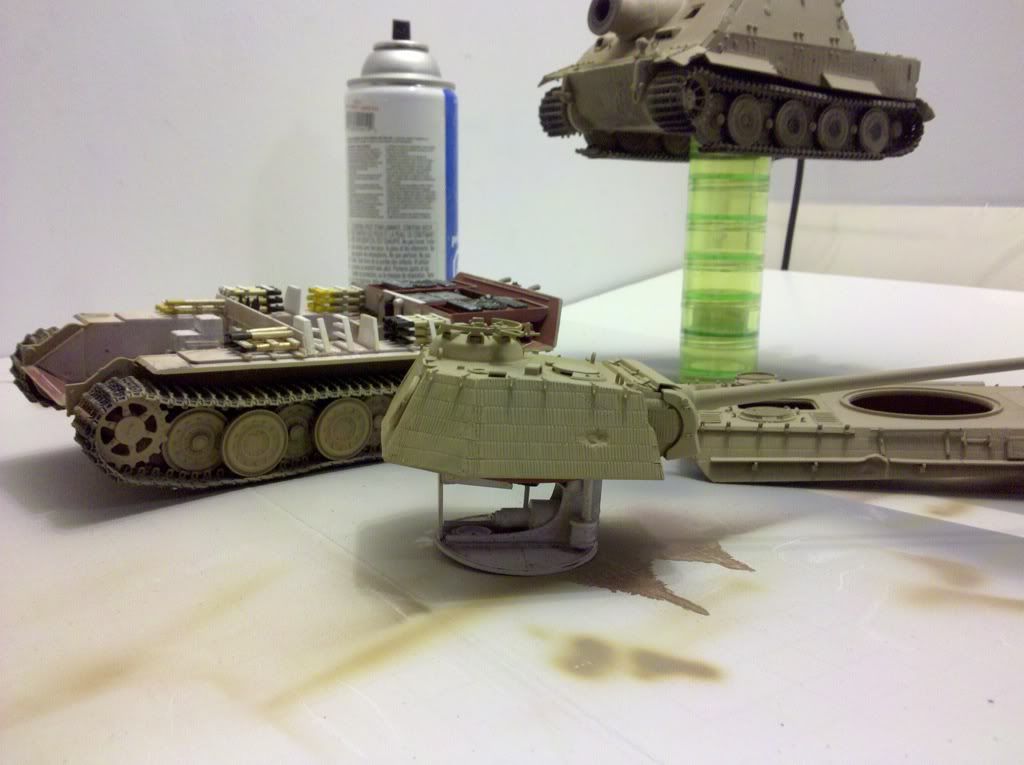
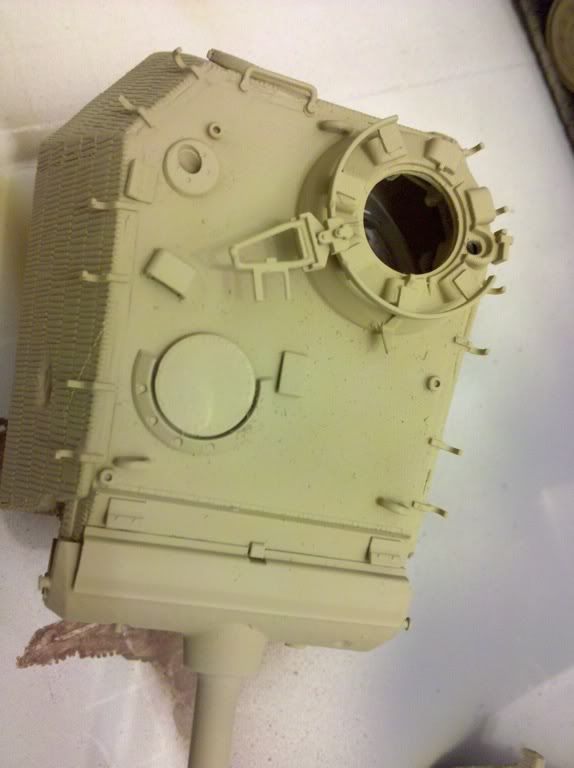
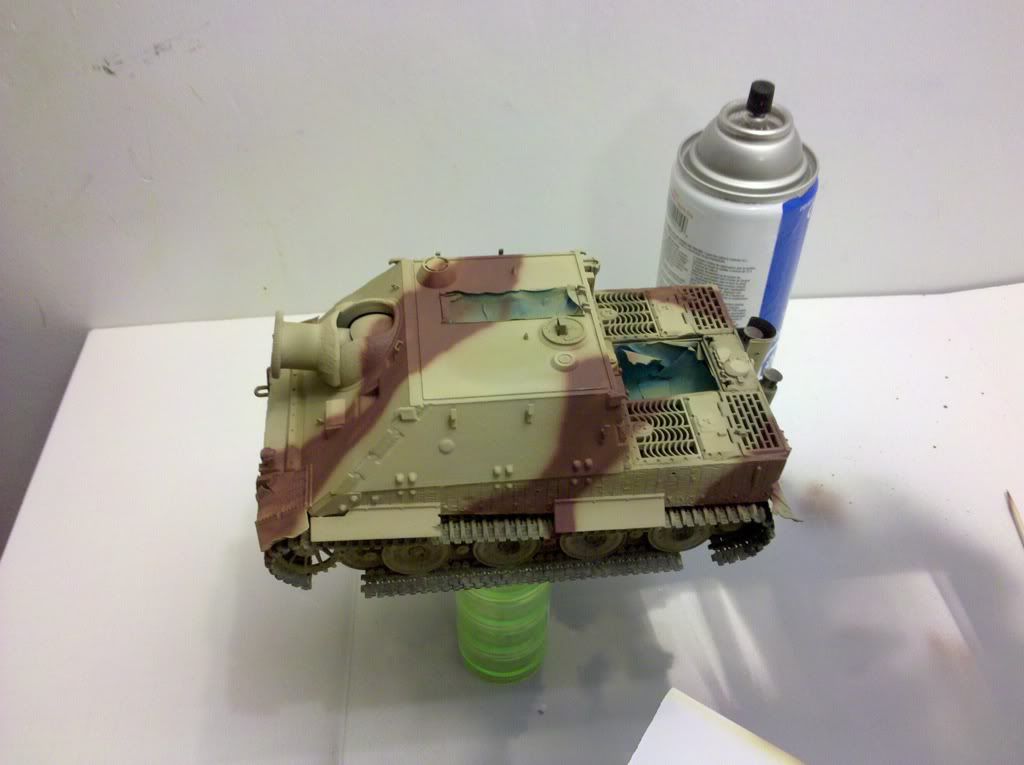
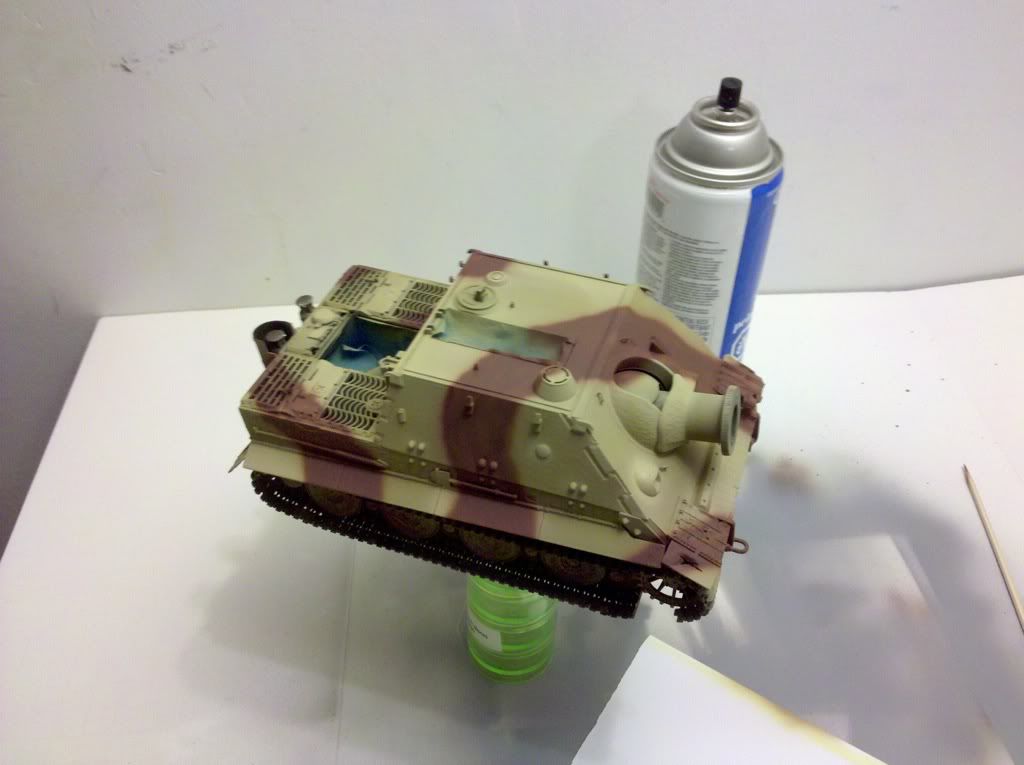
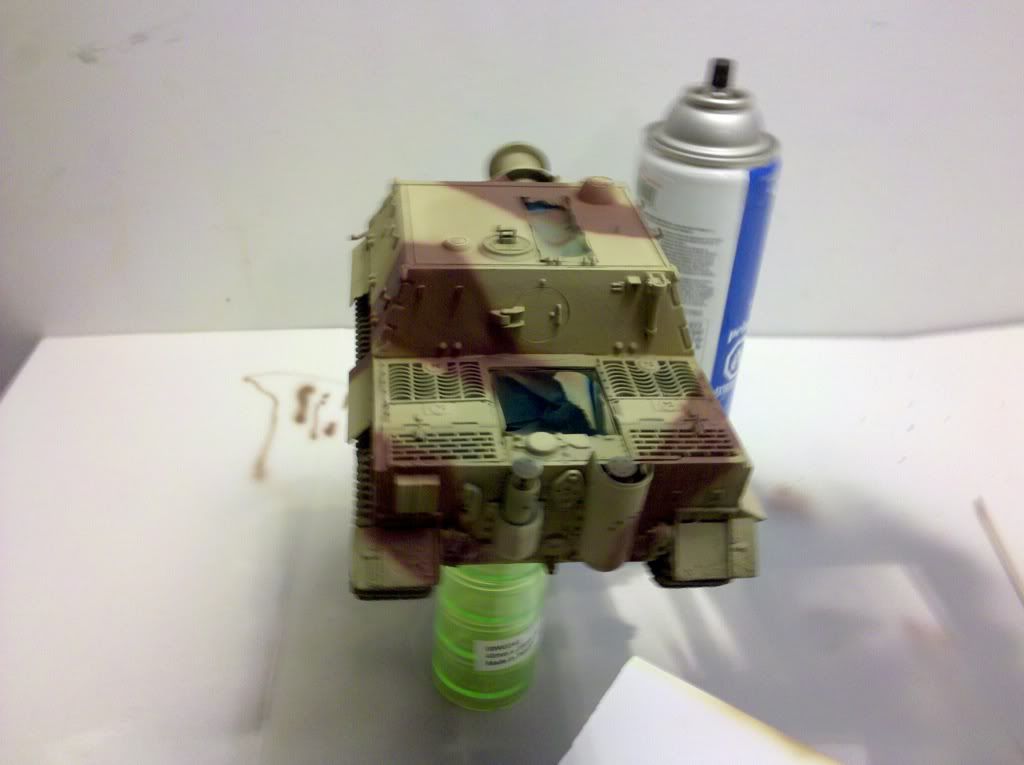
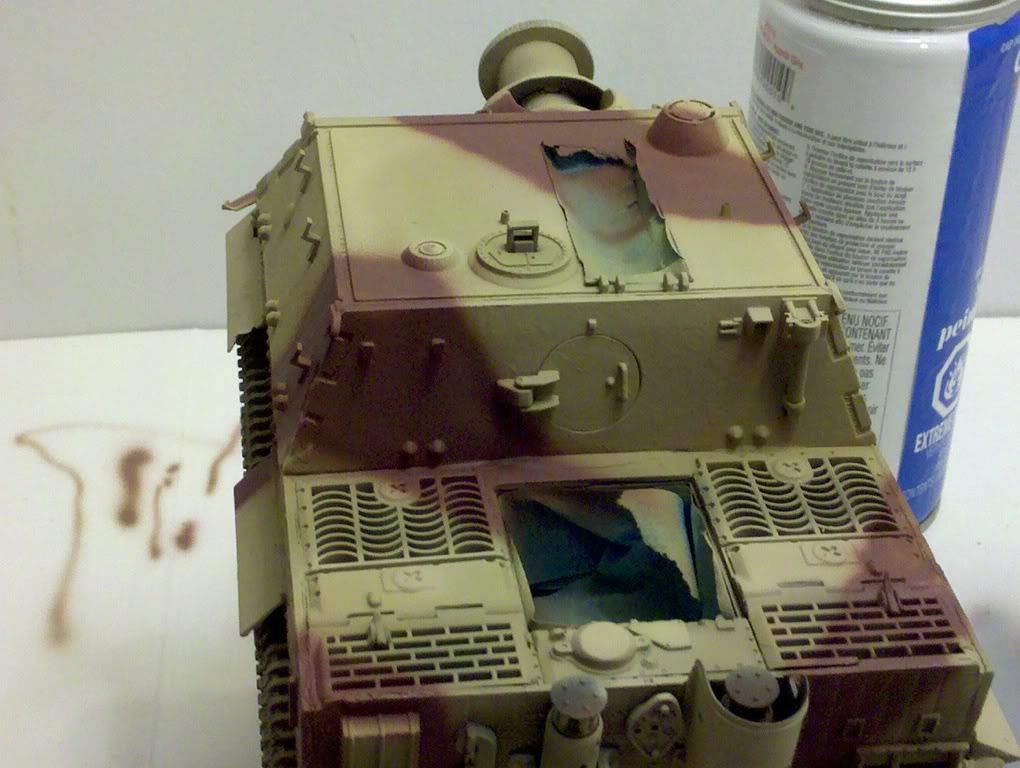
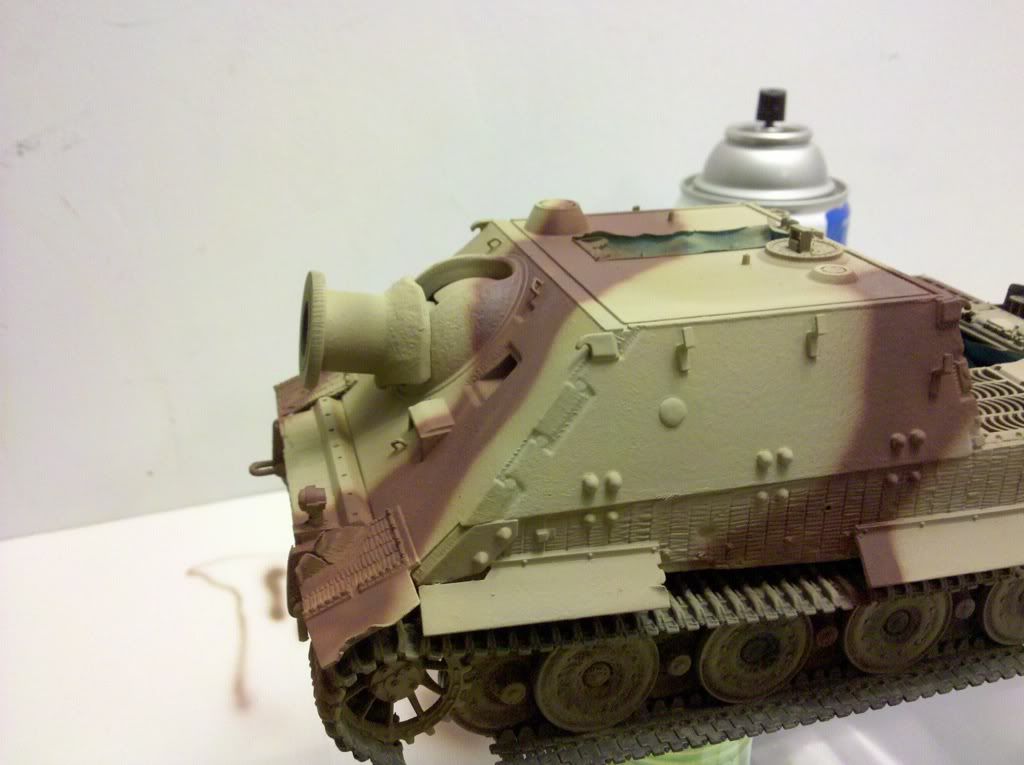
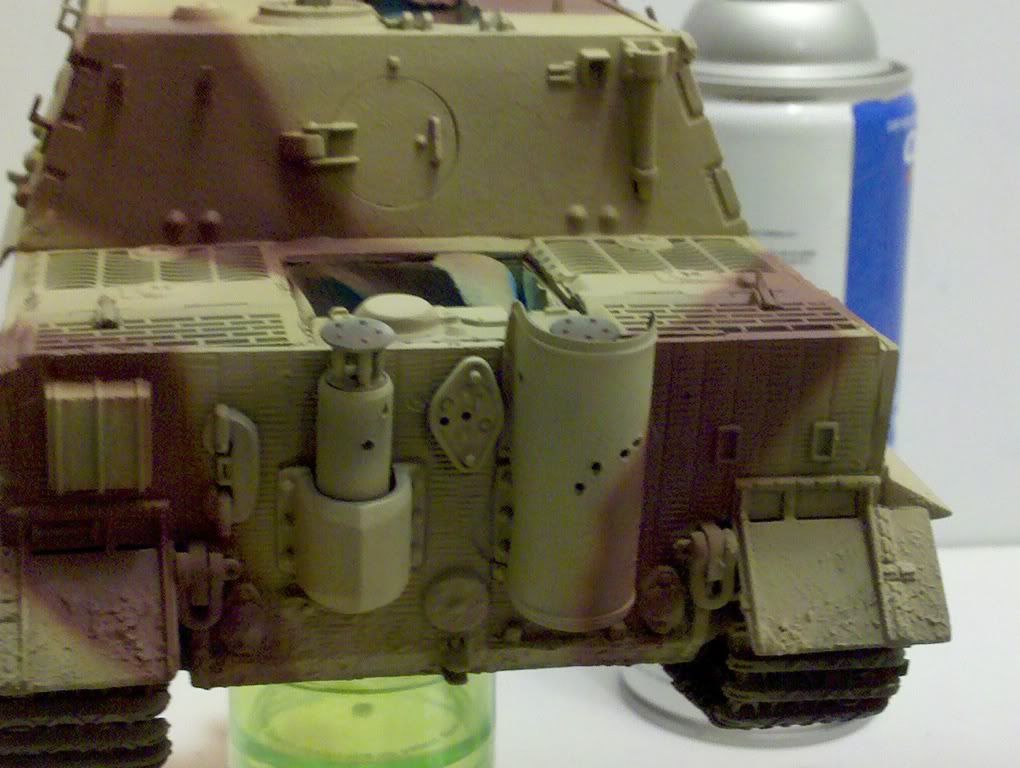
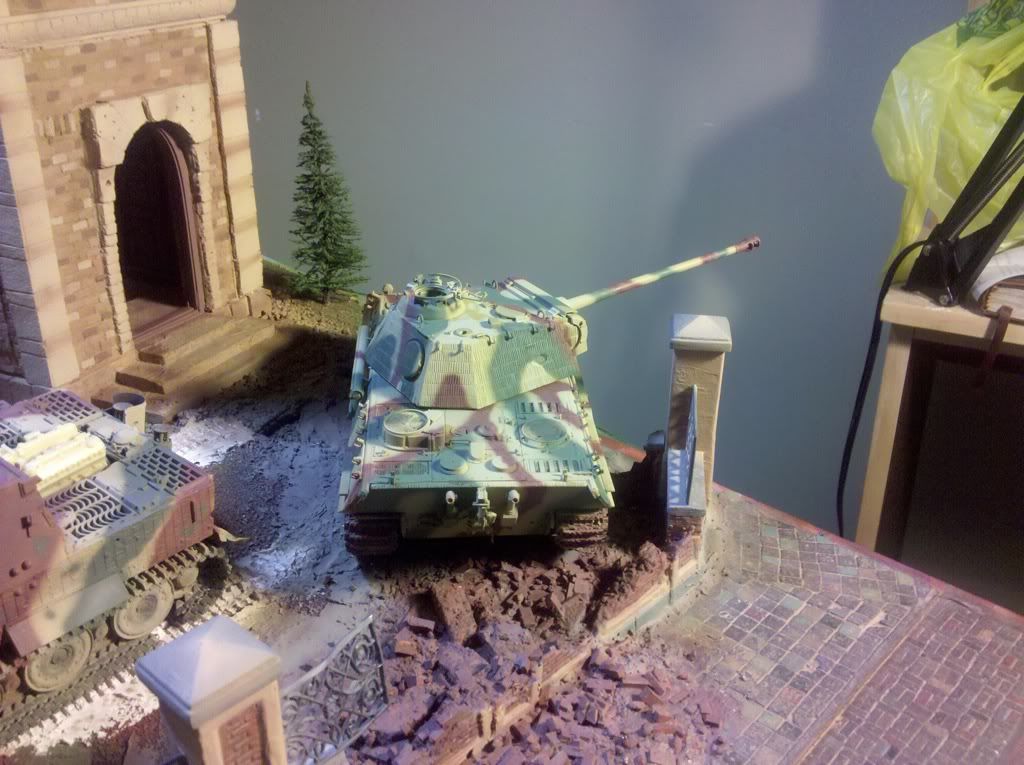
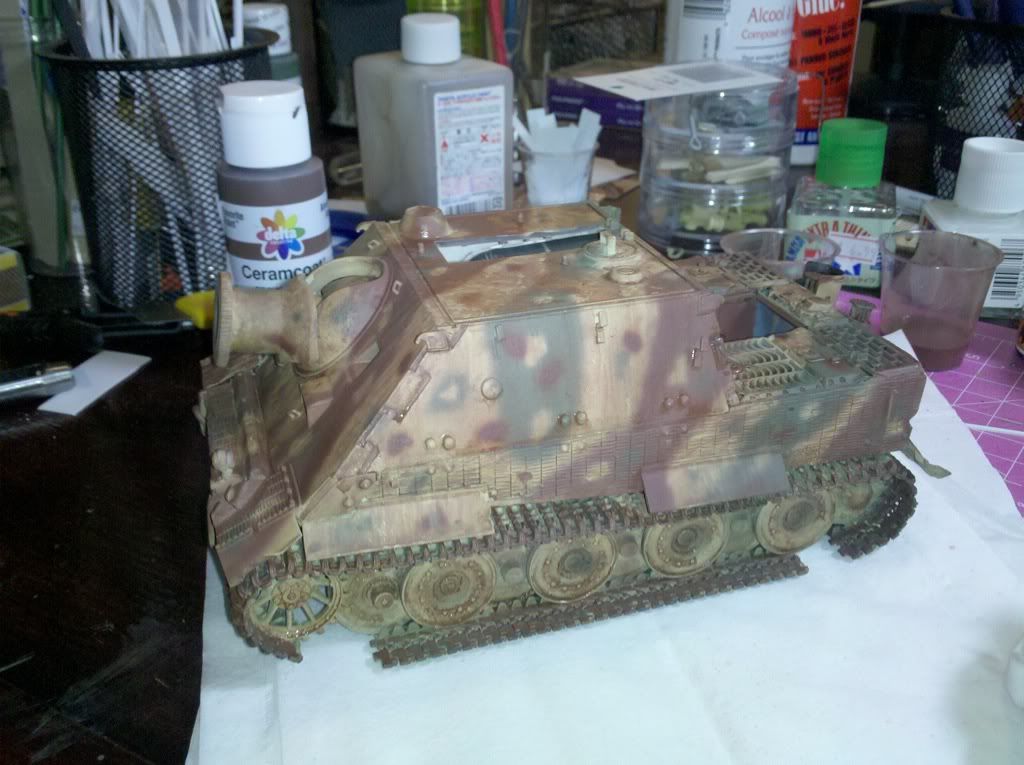
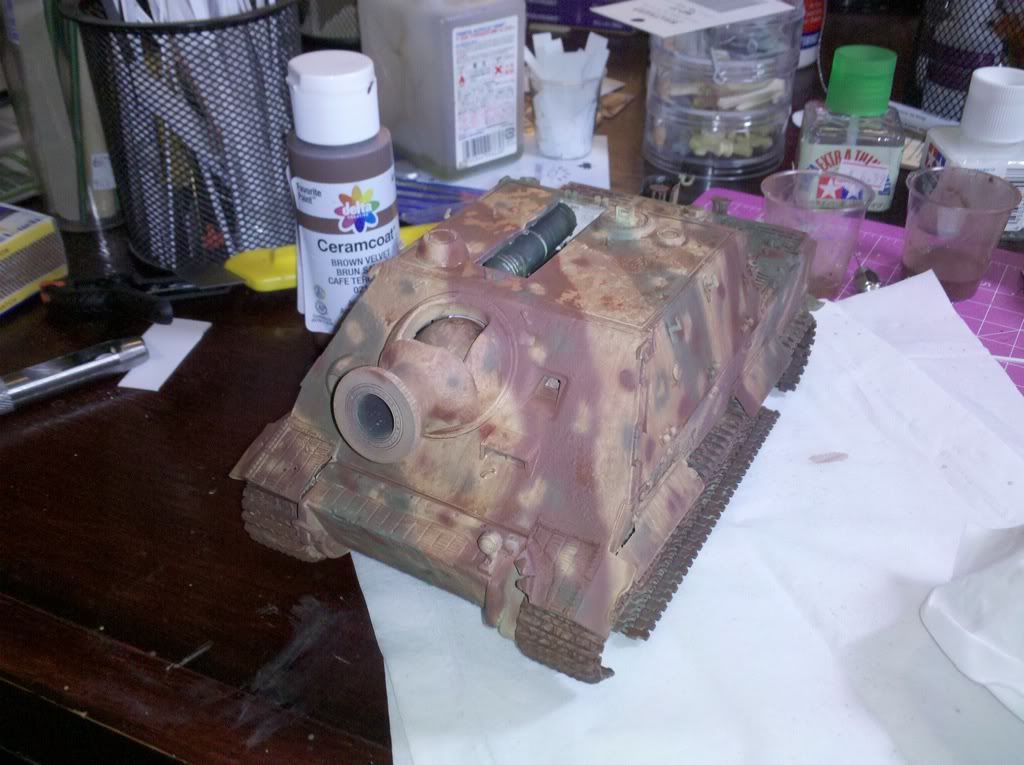
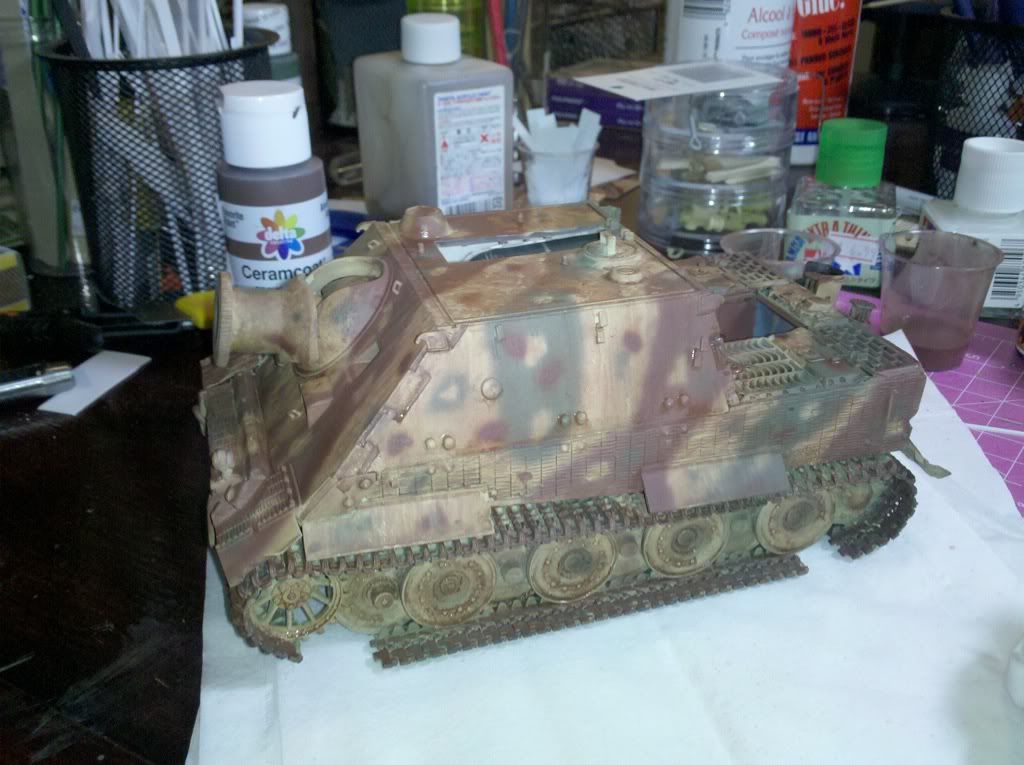
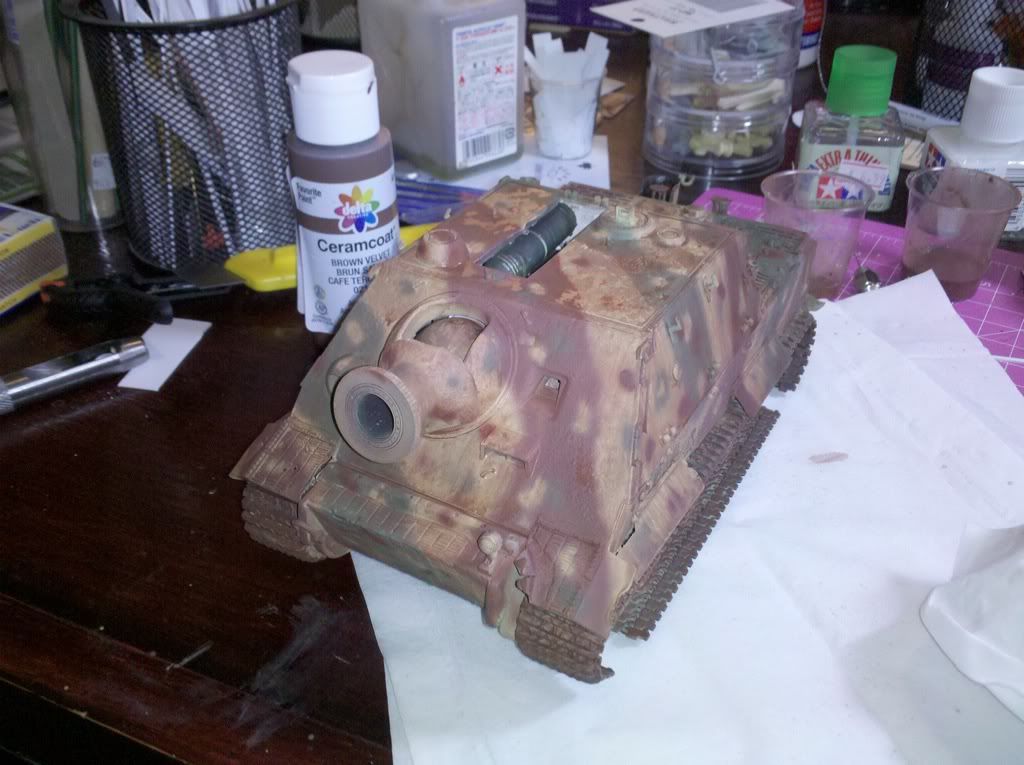
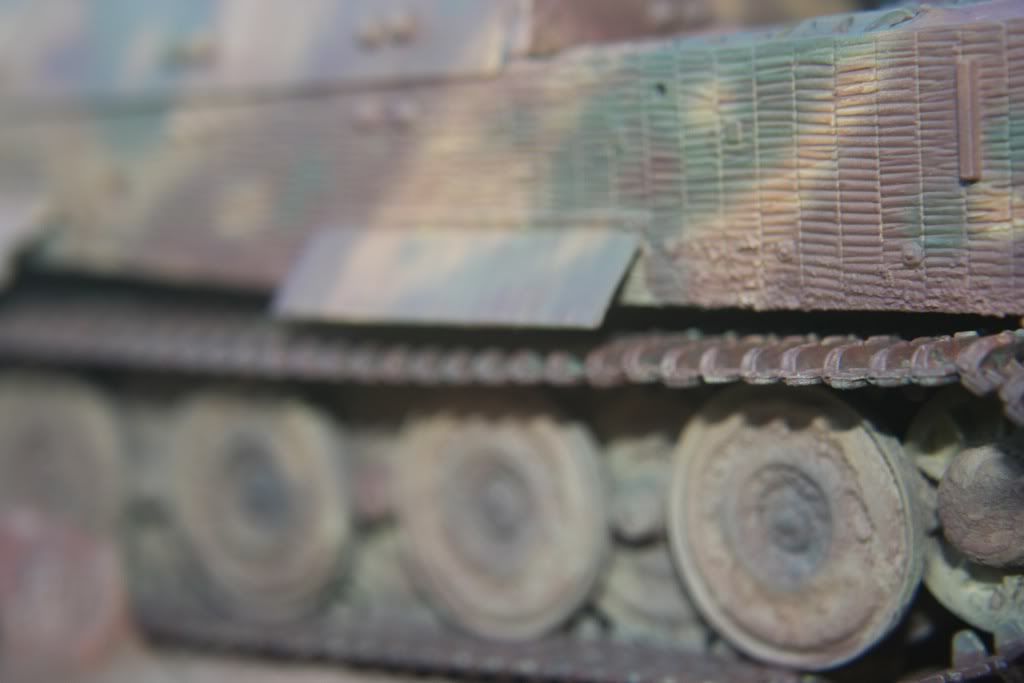
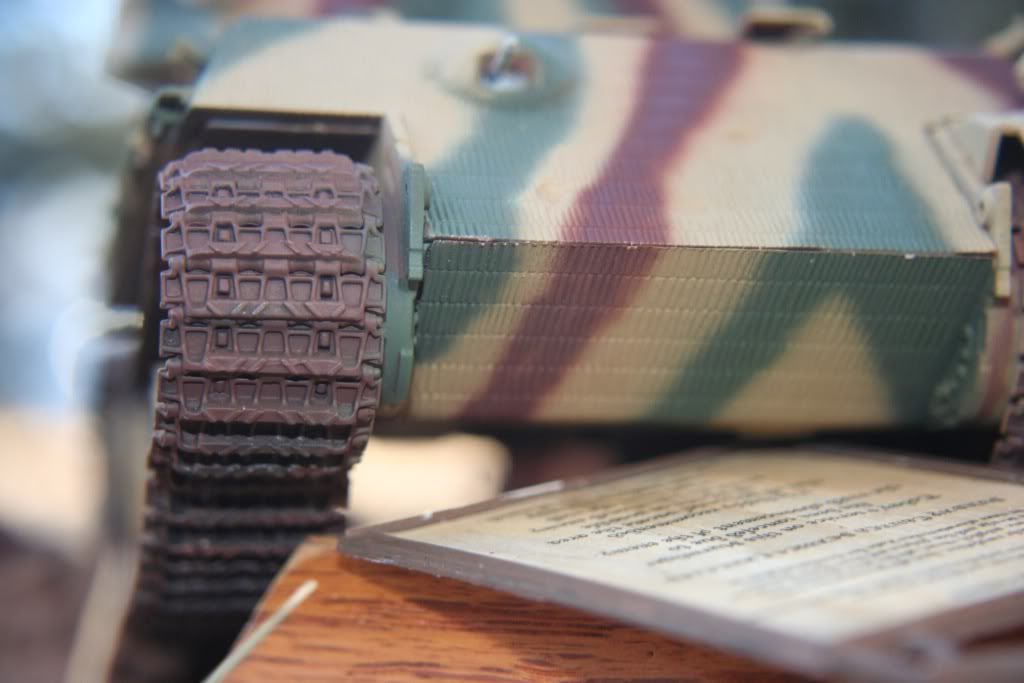
In the mean time I have the opportunity to repaint both the Panther & the Sturmtiger. I have been getting more comfortable with my Iwata Revolution and tried a bit of color modulation on the various panels on both tanks. Not sure how it looks yet, I may have been a bit too subtle with the variance in the paints.
Sorry about the quality of the photos, just using my Android camera and the macro function is not as good as my Canon Rebel's macro lenses.
Hosted by Darren Baker
Sunday Service Canceled!
ahandykindaguy
Alberta, Canada
Joined: August 20, 2008
KitMaker: 1,295 posts
Armorama: 1,191 posts
Joined: August 20, 2008
KitMaker: 1,295 posts
Armorama: 1,191 posts
Posted: Tuesday, January 17, 2012 - 10:26 AM UTC
blockhaus
Spain / España
Joined: July 04, 2003
KitMaker: 693 posts
Armorama: 682 posts
Joined: July 04, 2003
KitMaker: 693 posts
Armorama: 682 posts
Posted: Tuesday, January 17, 2012 - 10:44 AM UTC
Very good carpentry! congrats Dave!
ahandykindaguy
Alberta, Canada
Joined: August 20, 2008
KitMaker: 1,295 posts
Armorama: 1,191 posts
Joined: August 20, 2008
KitMaker: 1,295 posts
Armorama: 1,191 posts
Posted: Tuesday, January 17, 2012 - 02:40 PM UTC
Thanks Carlos. High praise coming from you. I enjoy your builds very much!
Just came up from the dungeon to post a few more shots before calling it a day. Put the second color on the Sturmtiger, sprayed it on at 15 psi, from a couple inches away. I am trying for a soft edge, and think It will look alright by the time all 3 colors are on and the weathering is complete.
I never like the look of my armor when I first start, but they always grow on me when I have done it correctly.
and a first coat of wood on the doors...
see you tomorrow
roudeleiw
Luxembourg
Joined: January 19, 2004
KitMaker: 2,406 posts
Armorama: 2,224 posts
Joined: January 19, 2004
KitMaker: 2,406 posts
Armorama: 2,224 posts
Posted: Tuesday, January 17, 2012 - 09:15 PM UTC
Great door !
Greets
Claude
Greets
Claude
ahandykindaguy
Alberta, Canada
Joined: August 20, 2008
KitMaker: 1,295 posts
Armorama: 1,191 posts
Joined: August 20, 2008
KitMaker: 1,295 posts
Armorama: 1,191 posts
Posted: Wednesday, January 18, 2012 - 05:35 PM UTC
Thanks Claude. I am getting alot accomplished this week, and it is starting to look more and more like the end is nearing.
ahandykindaguy
Alberta, Canada
Joined: August 20, 2008
KitMaker: 1,295 posts
Armorama: 1,191 posts
Joined: August 20, 2008
KitMaker: 1,295 posts
Armorama: 1,191 posts
Posted: Friday, January 20, 2012 - 05:22 AM UTC
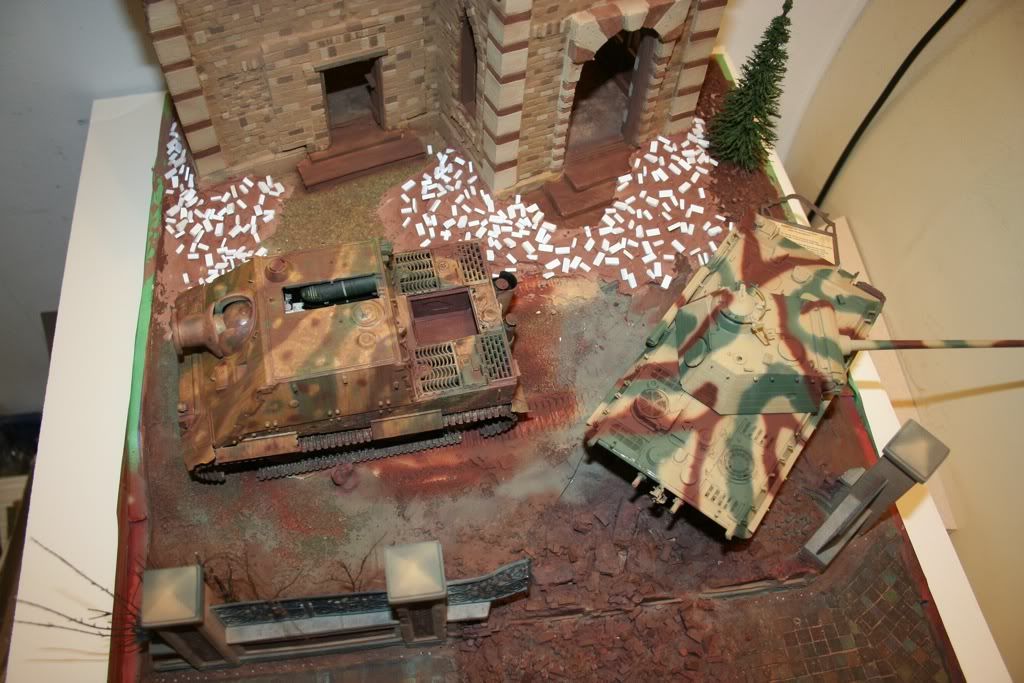
hey, been pretty busy painting and trying to figure out the figure configuration for my diorama. here some layout shots since I have laid down the camo on the 2 tanks. Pretty happy with the results but some touchups needed.
stansmith
England - North West, United Kingdom
Joined: July 18, 2010
KitMaker: 611 posts
Armorama: 584 posts
Joined: July 18, 2010
KitMaker: 611 posts
Armorama: 584 posts
Posted: Friday, January 20, 2012 - 11:21 PM UTC
this is looking fantastic dave, keep it up
ahandykindaguy
Alberta, Canada
Joined: August 20, 2008
KitMaker: 1,295 posts
Armorama: 1,191 posts
Joined: August 20, 2008
KitMaker: 1,295 posts
Armorama: 1,191 posts
Posted: Monday, January 23, 2012 - 02:36 PM UTC
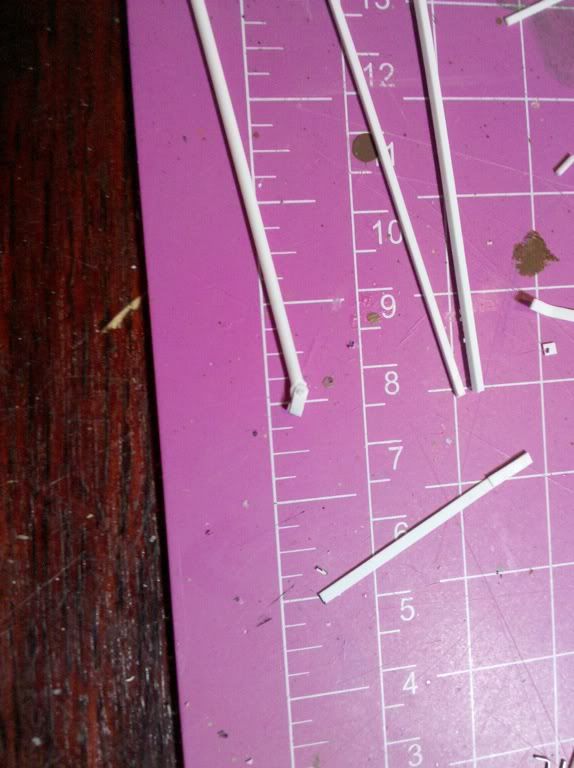
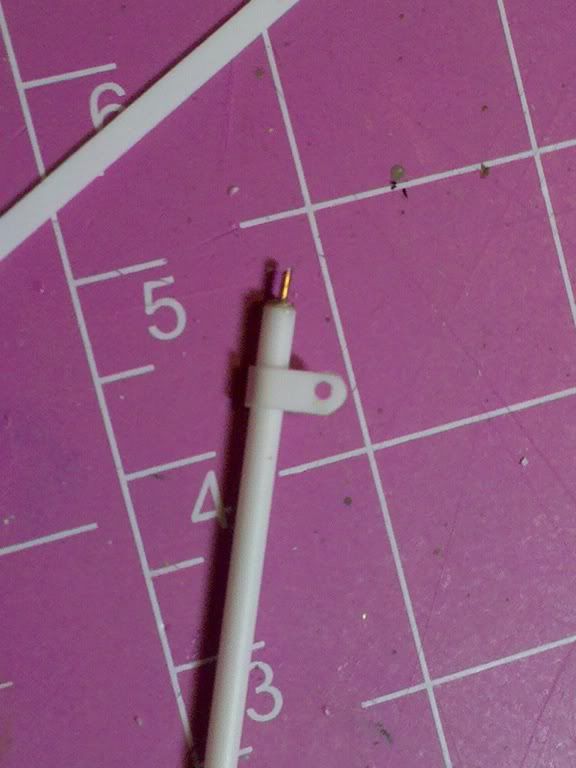
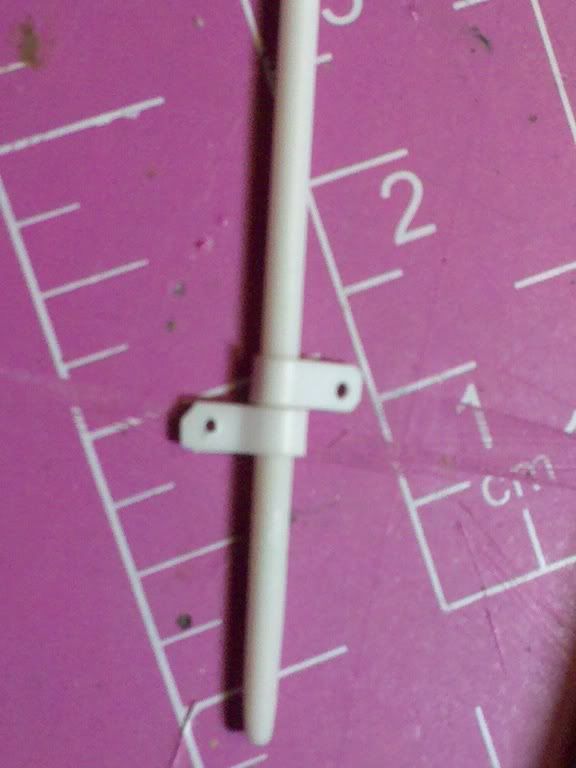
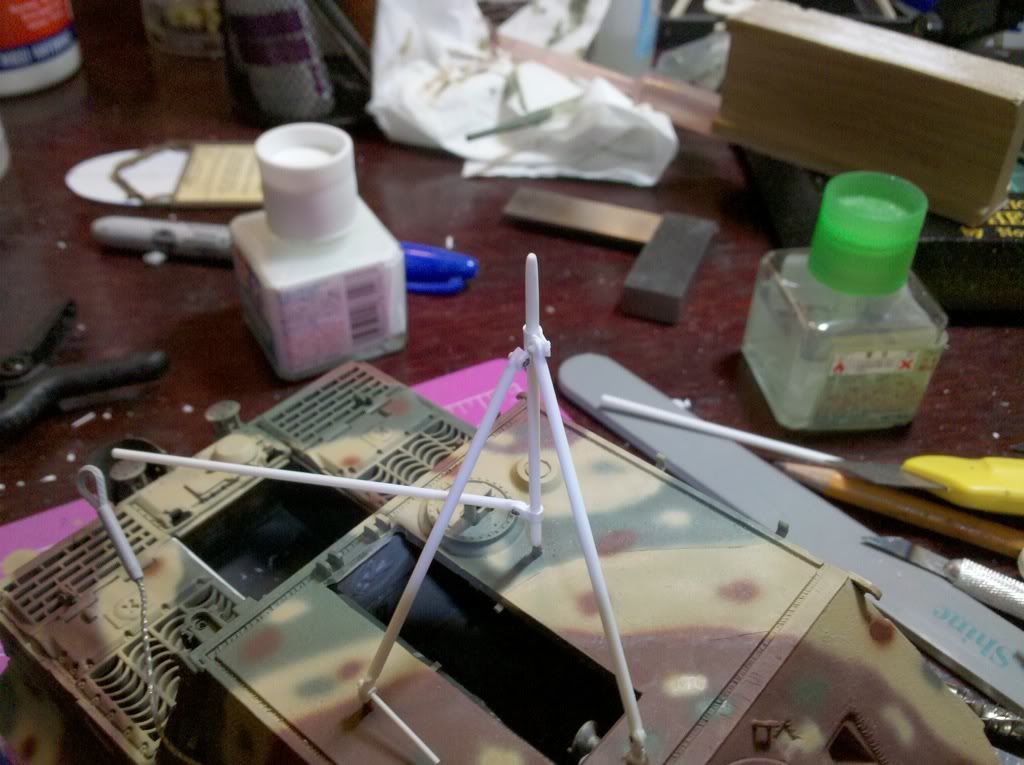
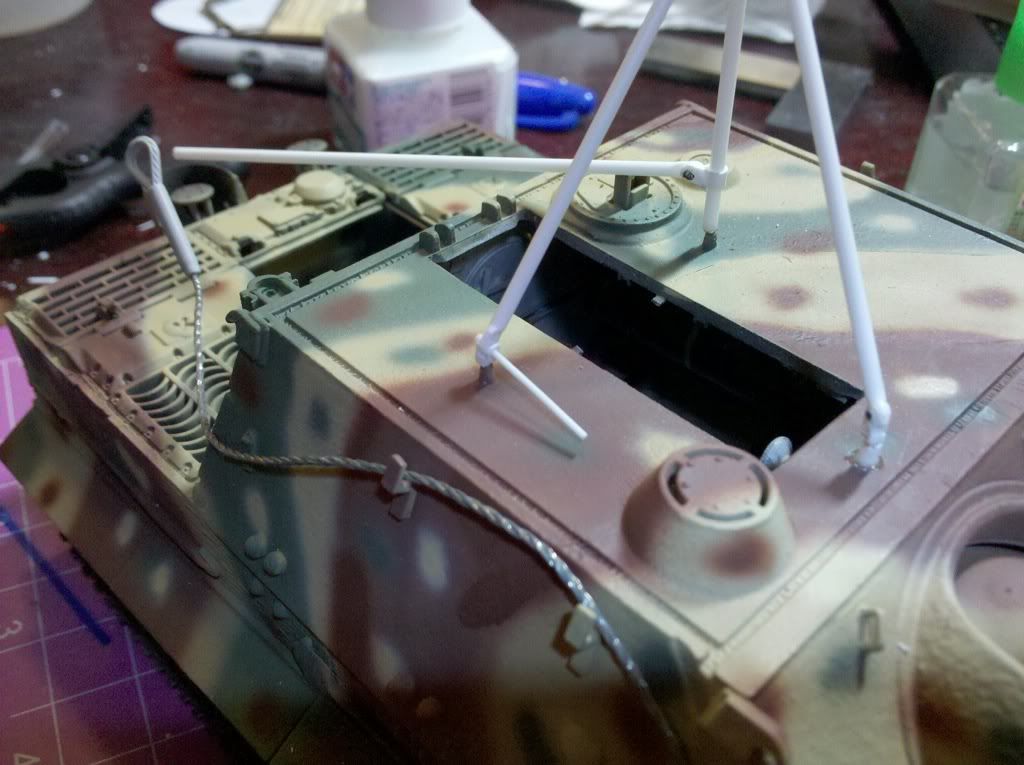
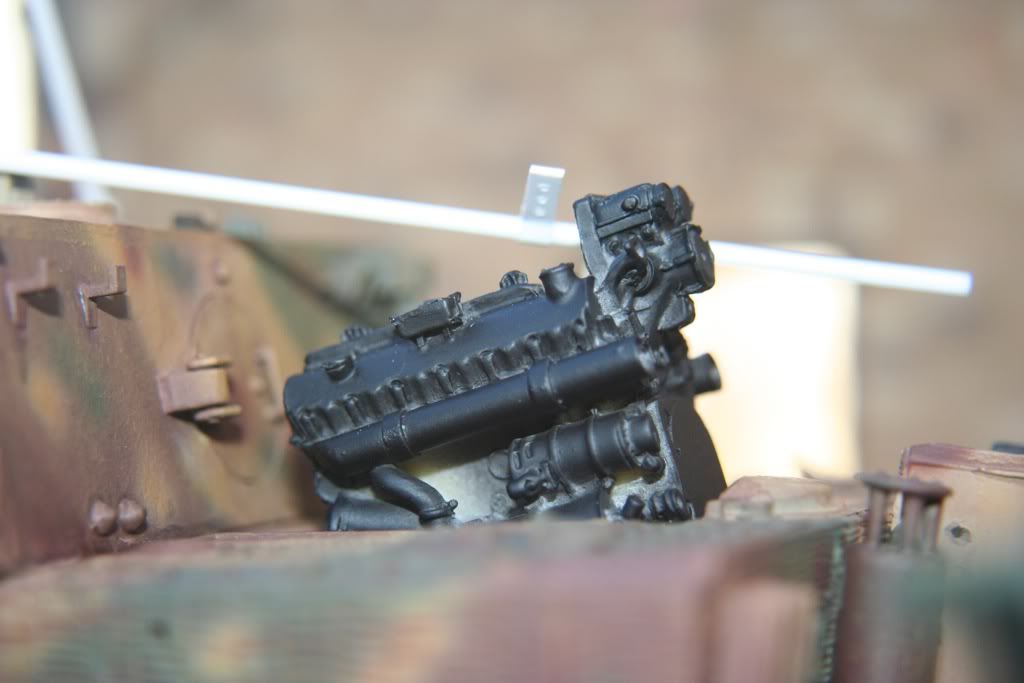
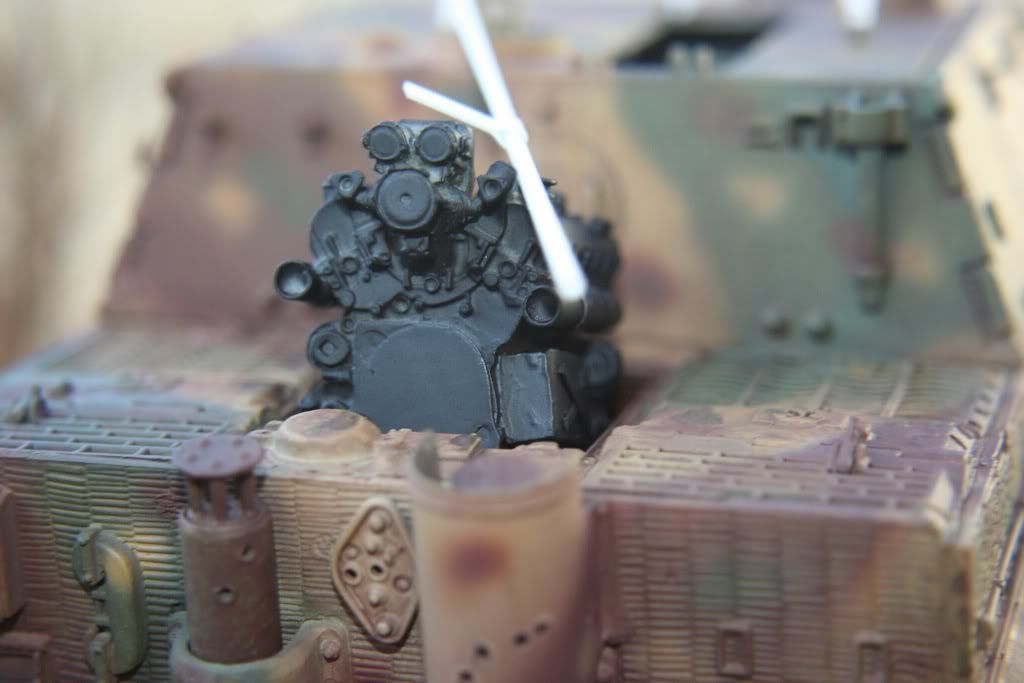
so I spent some time today researching cranes and portable winch setups & other ways of lifting an engine into the rear section of a Tiger tank. Lots of good stuff out there. Here is what I decided to do, and so far so good I think...
here is the hoist system on the tank...
I have built a cradle for the engine, and now I am going to work on the pulleys for the block and tackle section. should post some more pictures tomorrow.
L8r..
here is the hoist system on the tank...
I have built a cradle for the engine, and now I am going to work on the pulleys for the block and tackle section. should post some more pictures tomorrow.
L8r..
ahandykindaguy
Alberta, Canada
Joined: August 20, 2008
KitMaker: 1,295 posts
Armorama: 1,191 posts
Joined: August 20, 2008
KitMaker: 1,295 posts
Armorama: 1,191 posts
Posted: Saturday, January 28, 2012 - 02:09 PM UTC
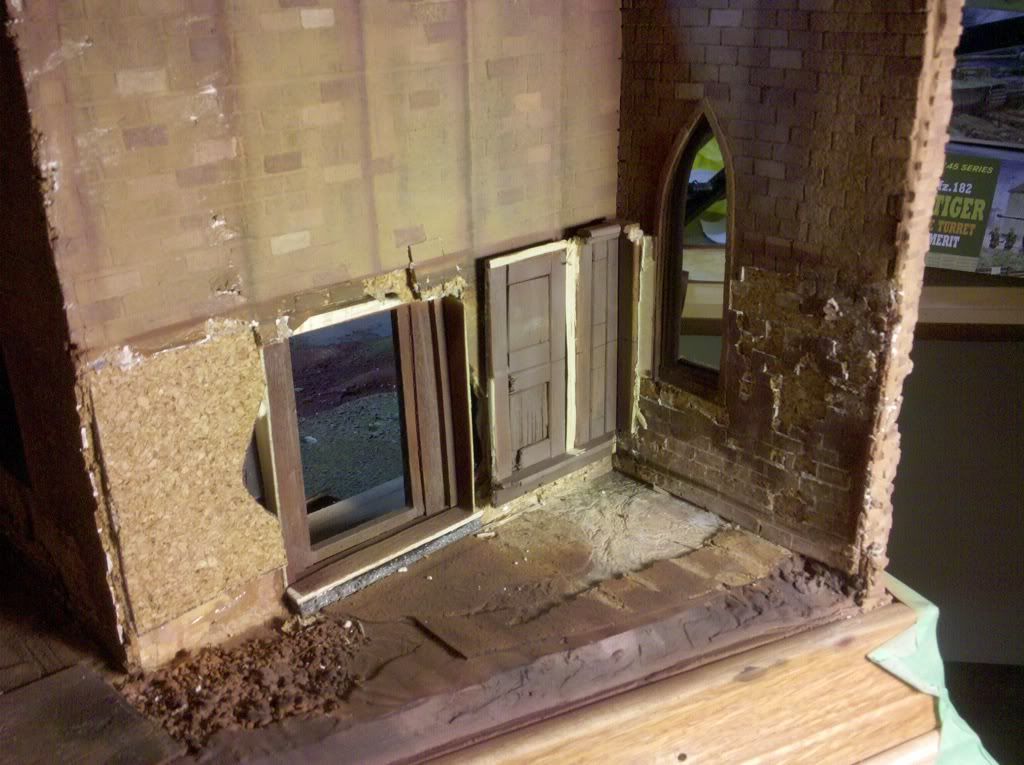
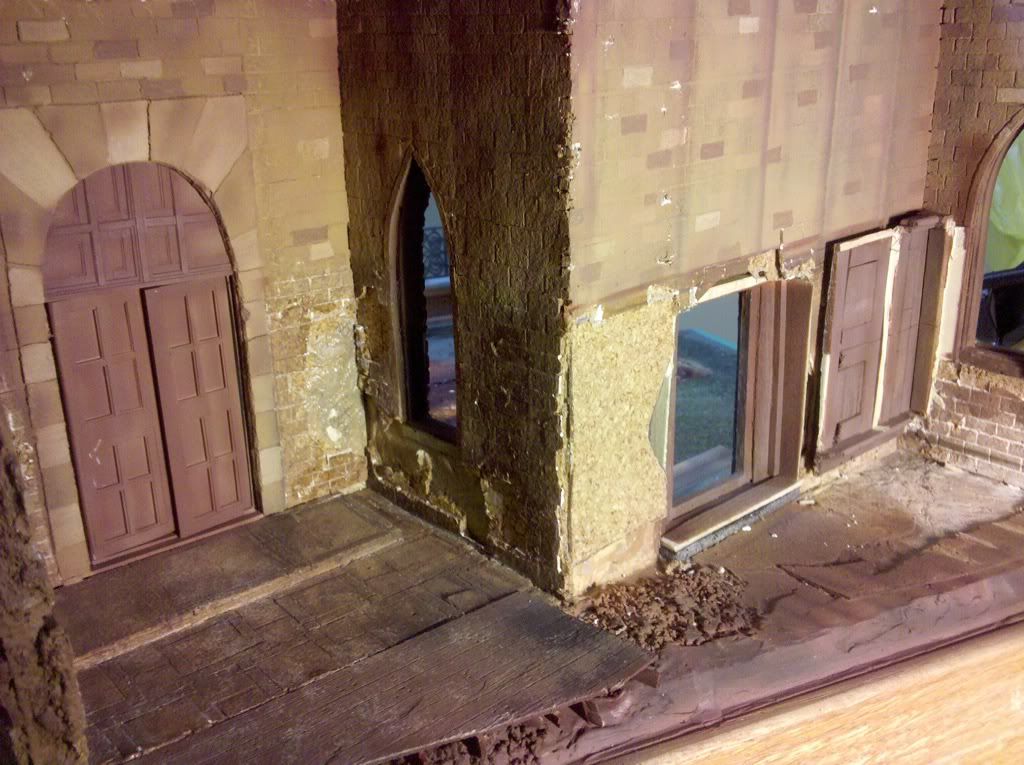
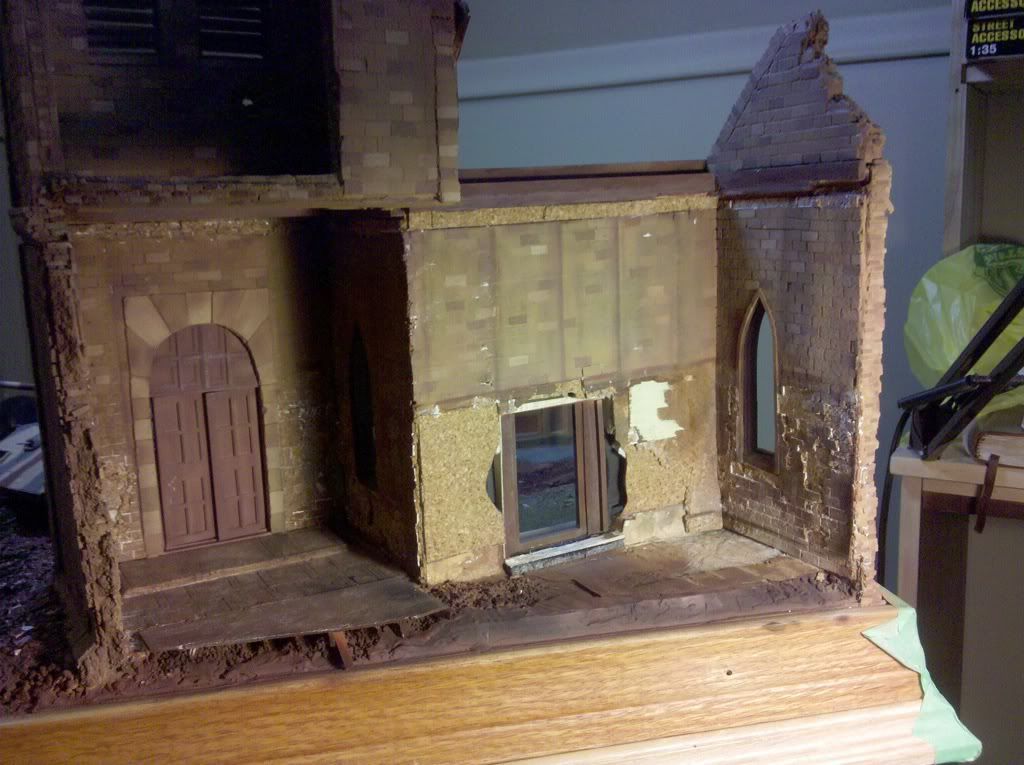
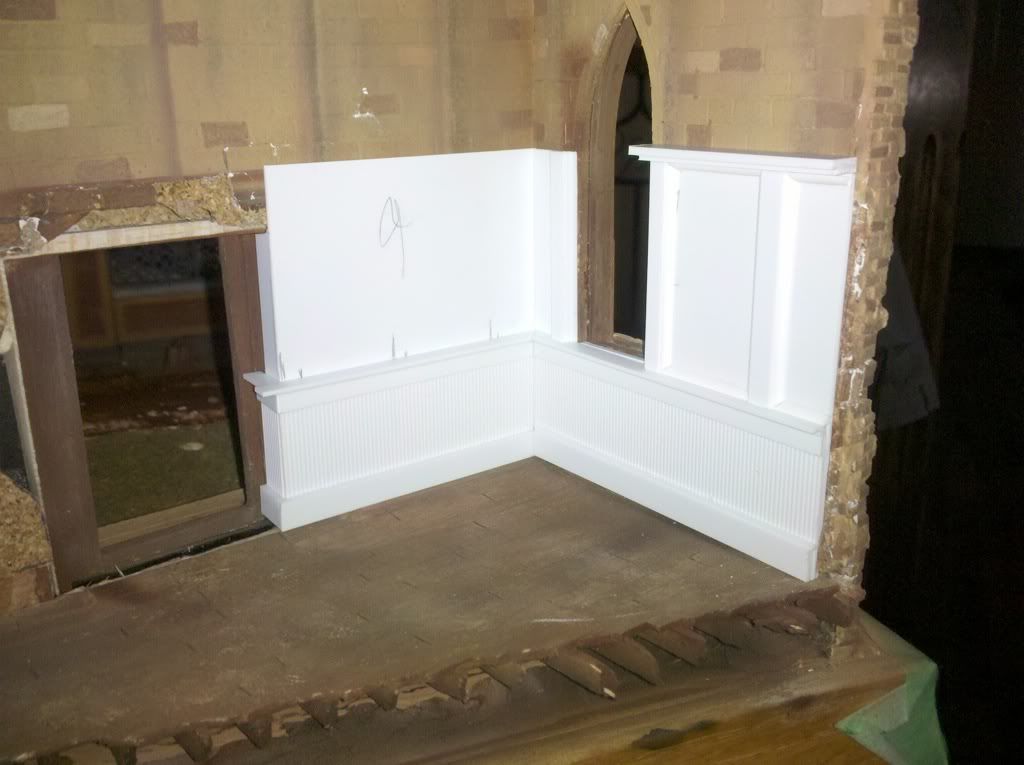
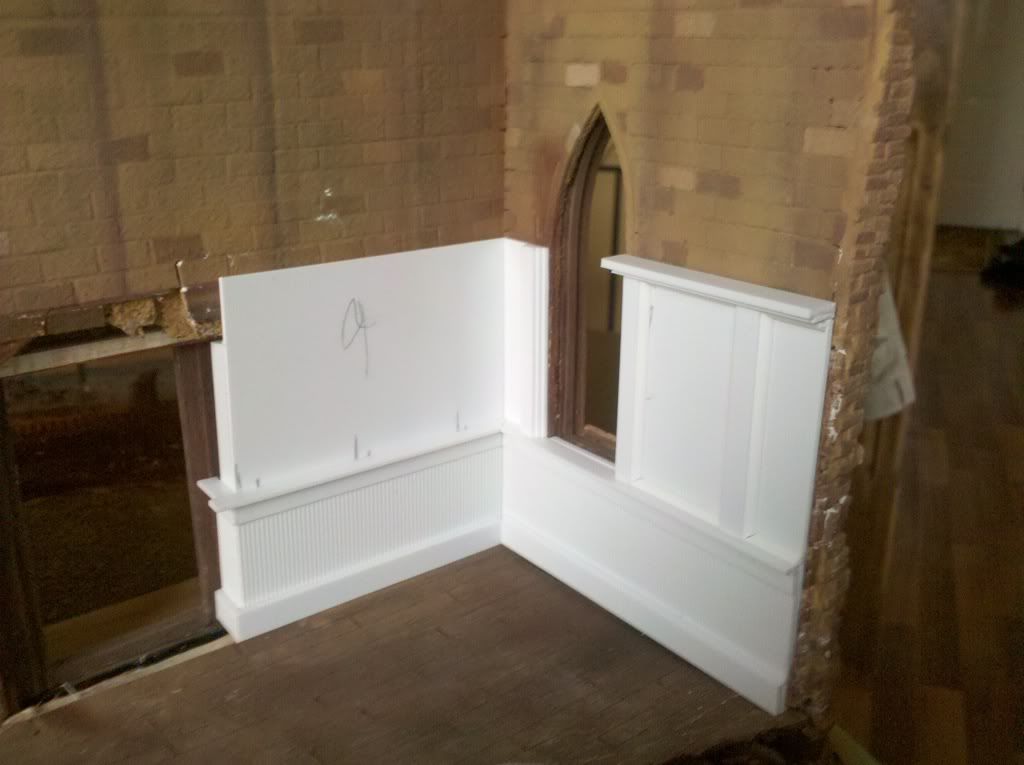
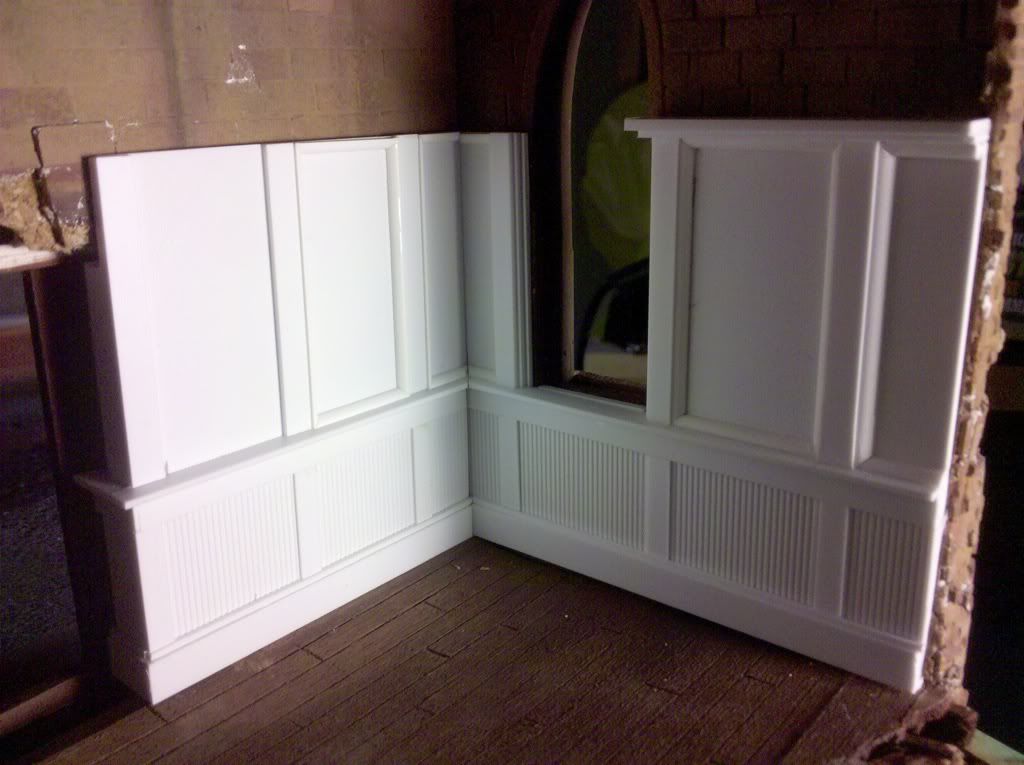
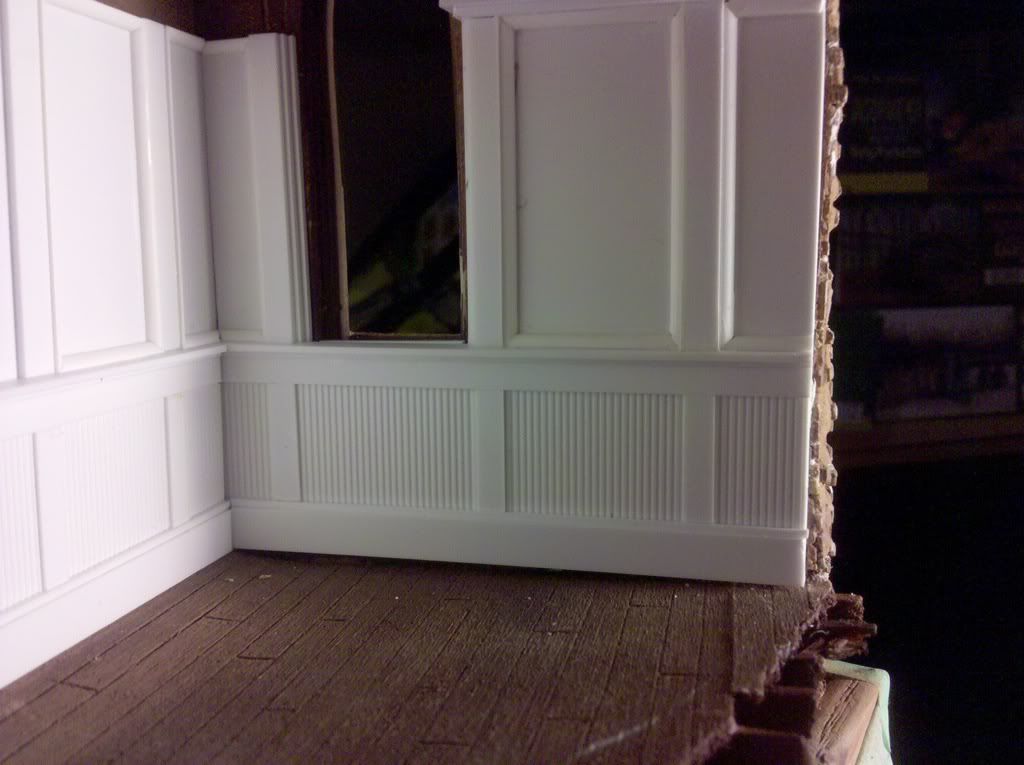
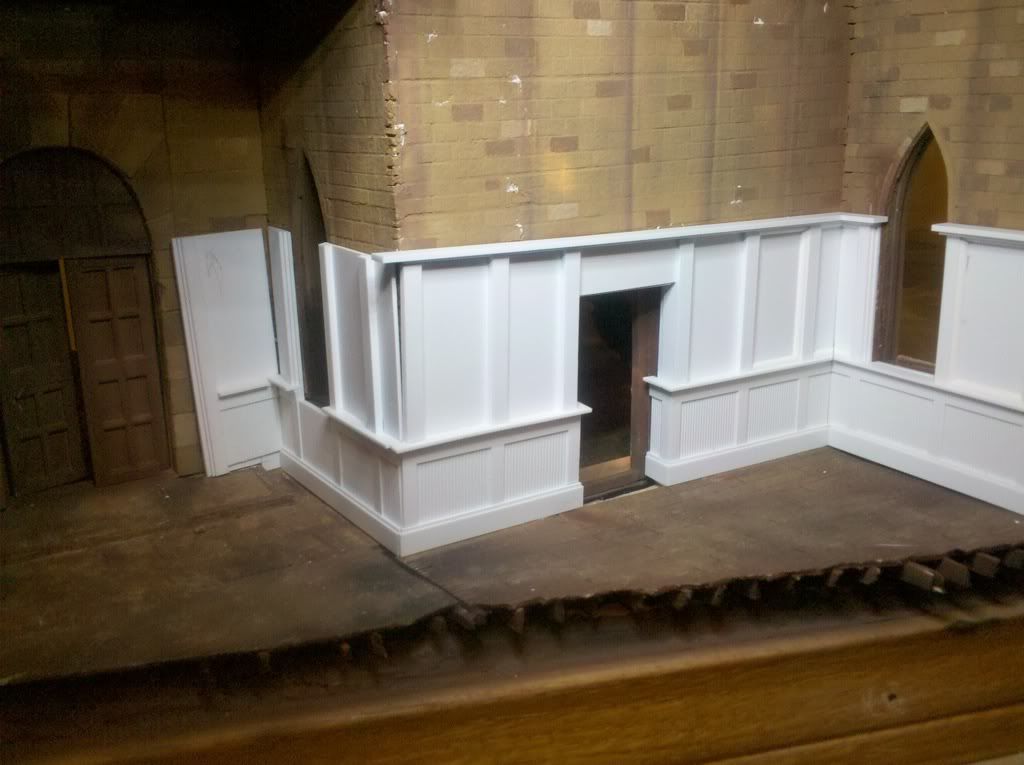
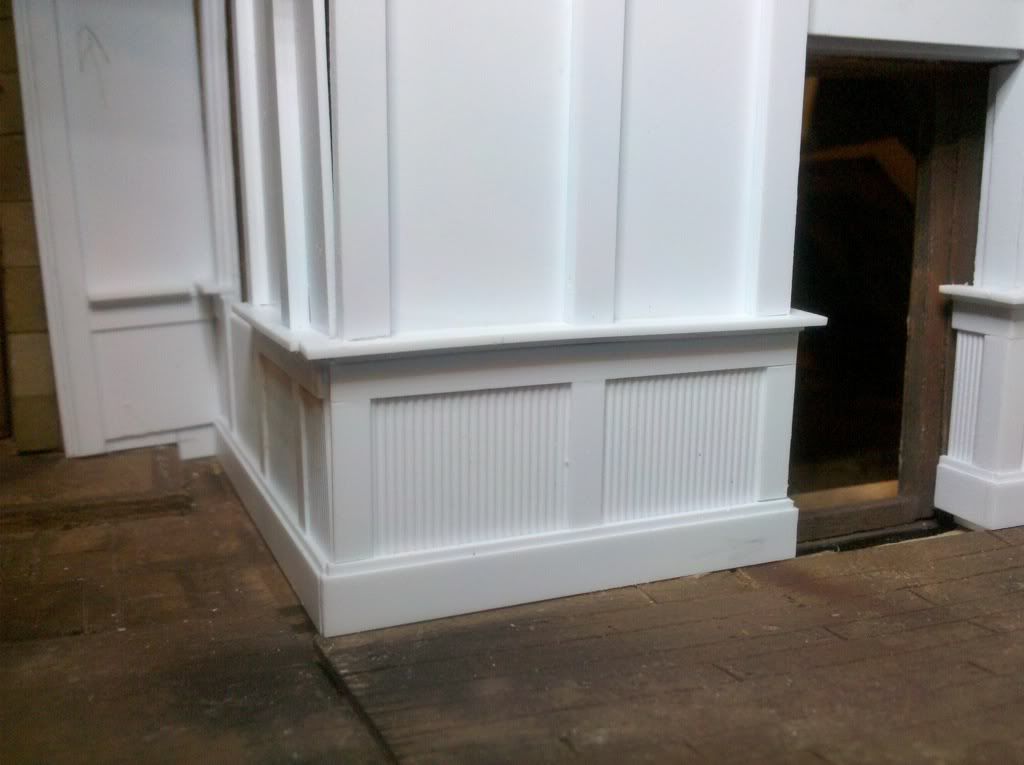
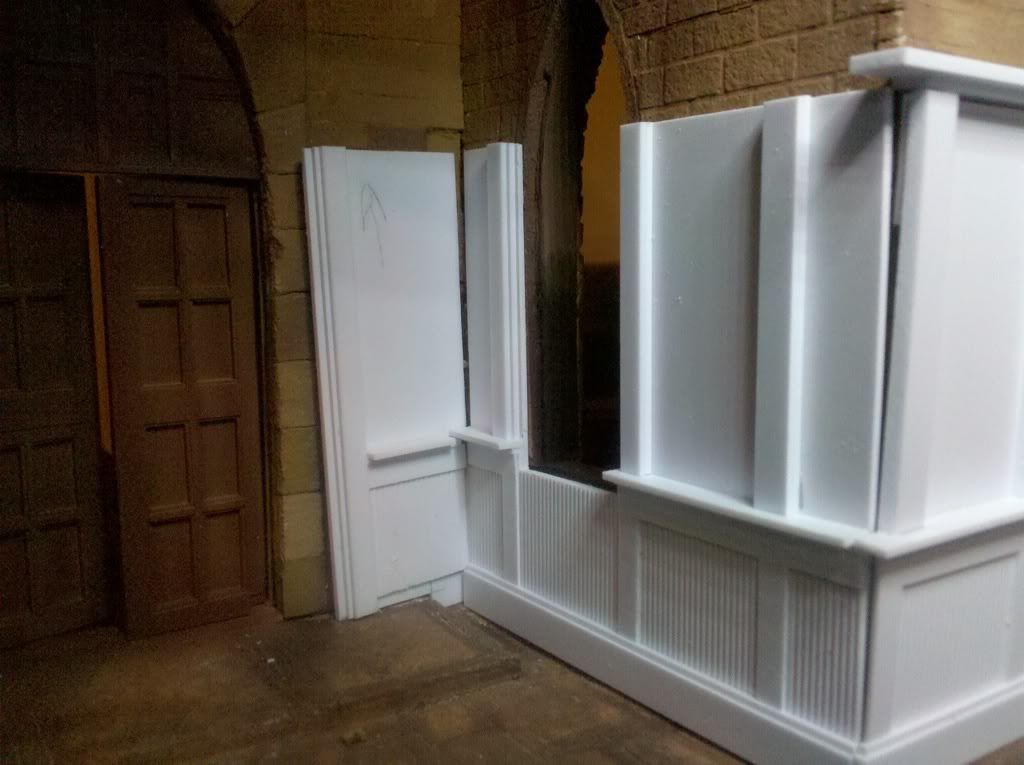
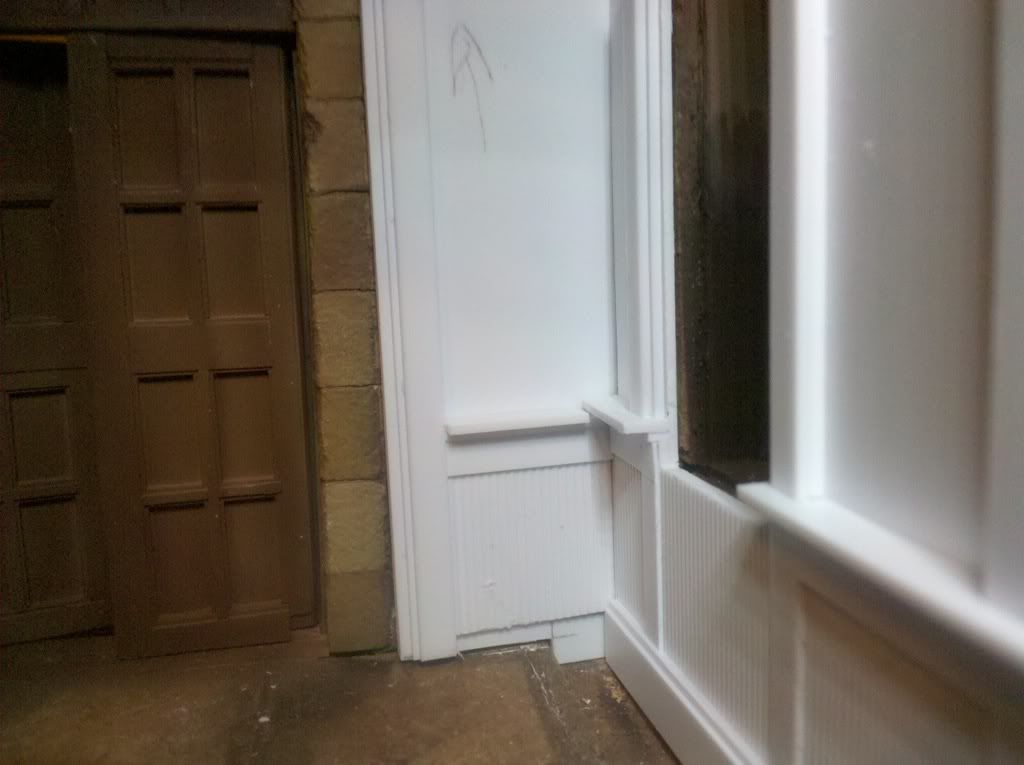
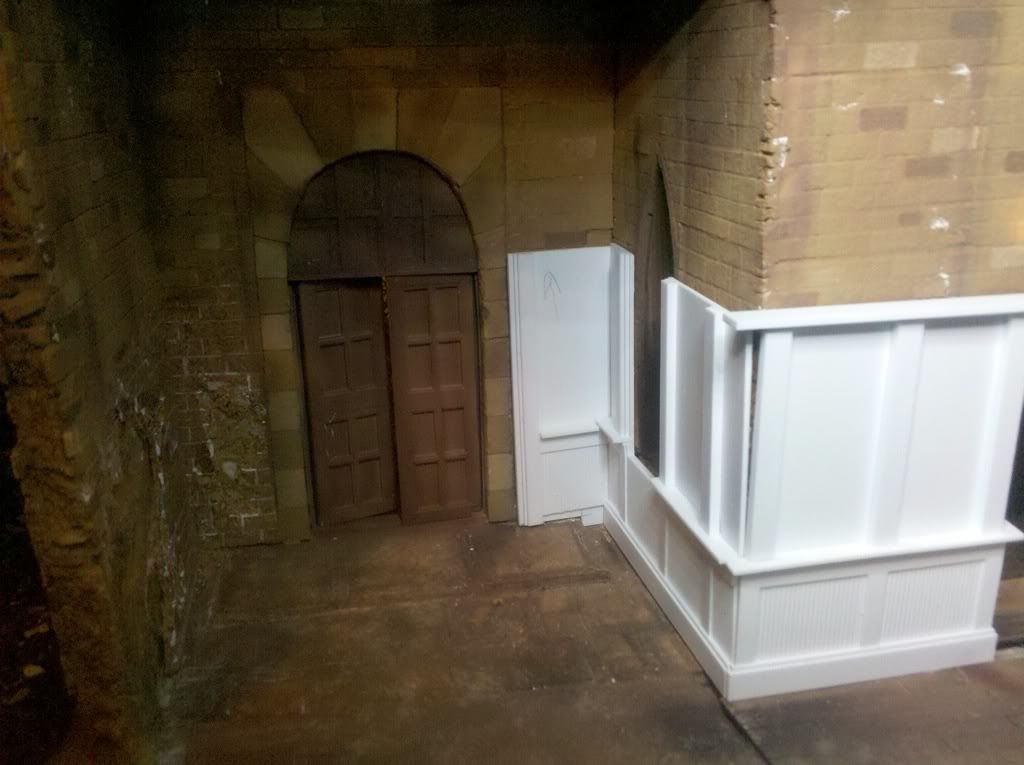
Well It's Saturday night and I have been busy building, or should I say rebuilding all day. Since I made the new doors for the front entrance I have been looking at my interior wall sections & came to the conclusion I didn't like their scale appearance when put beside the new doors... too chunky I think.
So..... I did what could have been an absolute disaster & pulled the walls out!
Yep almost as soon as I began, I started to regret my decision...
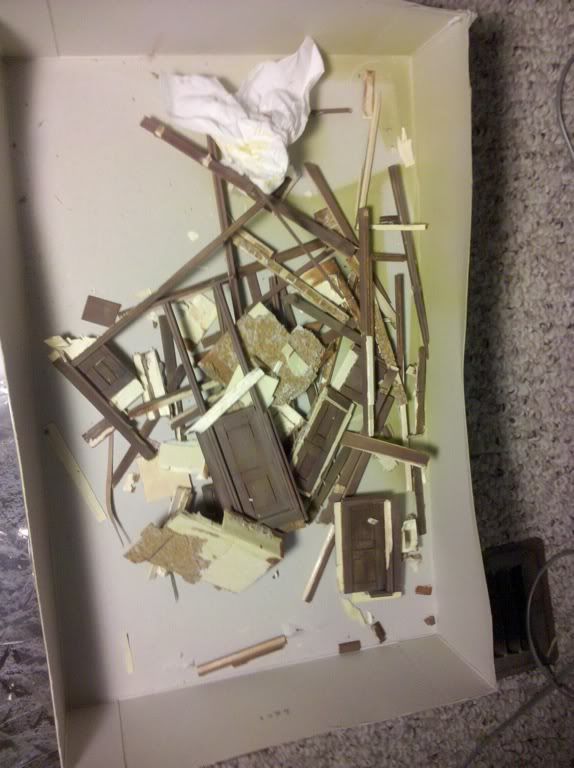
pieces came off easily, then harder, then almost not at all... until finally forty minutes later I had this as a result:
No turning back now!
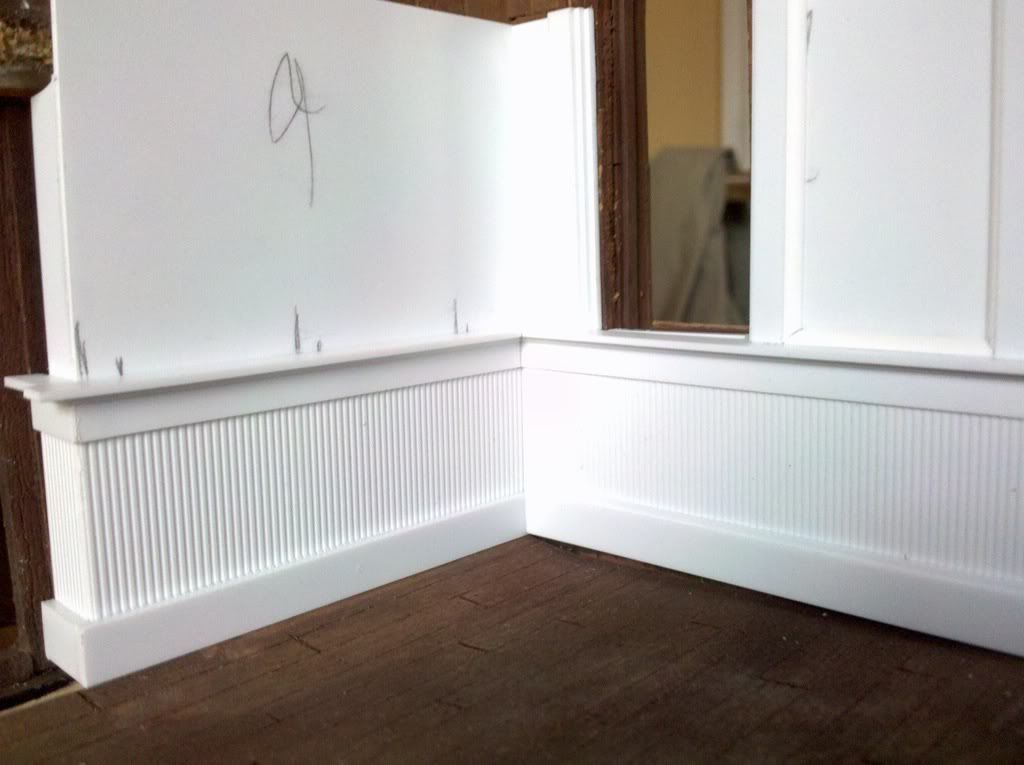
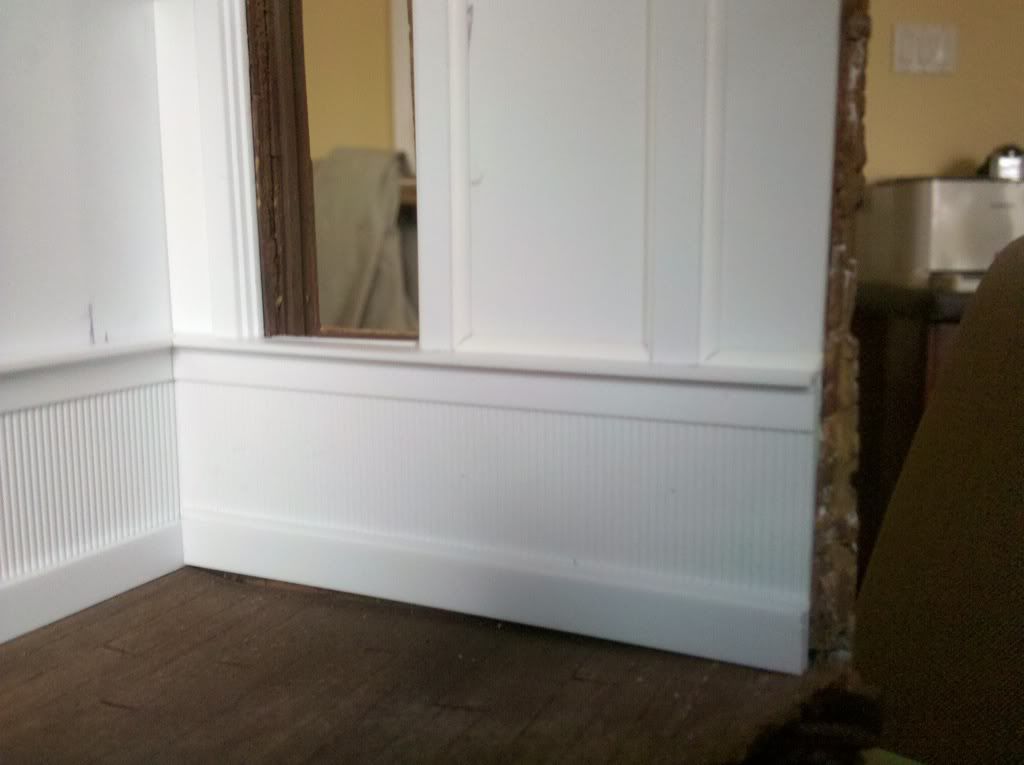
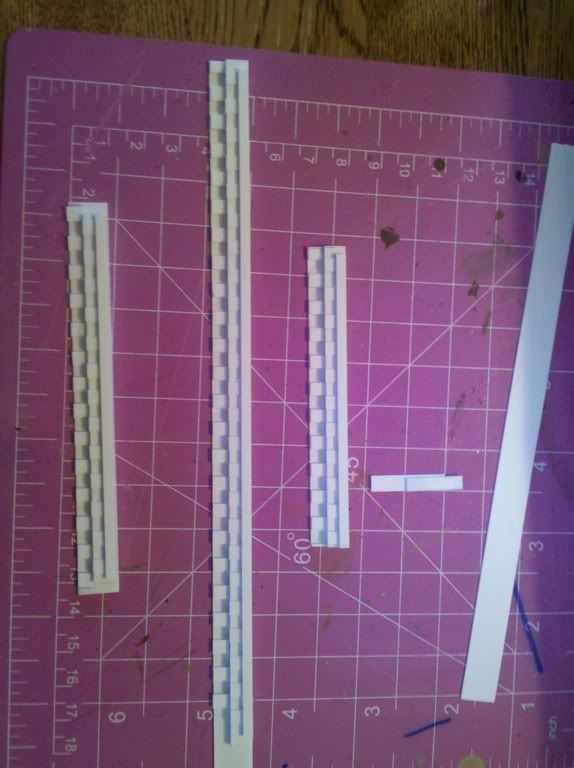
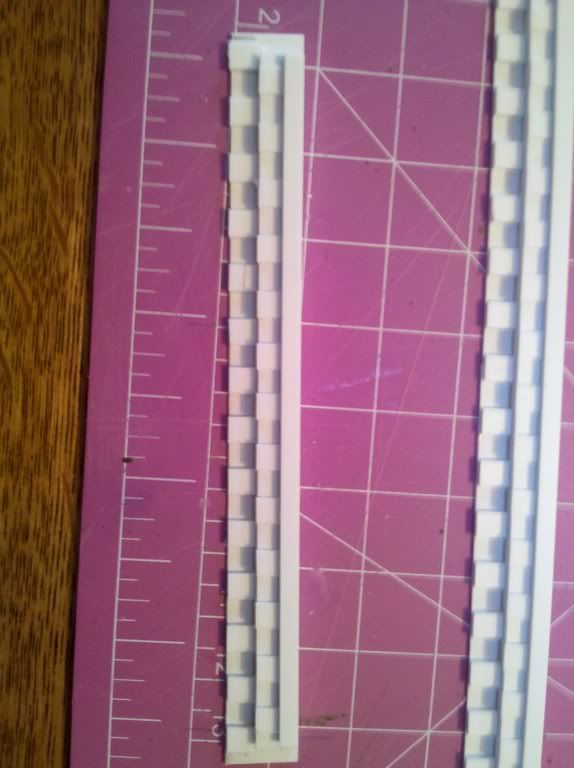
Out came the plastic stock & sheets, the ruler & glue, and the rebuilding of the walls began in earnest.
I really like the results now that I have gotten 2 of the wall sections 90% complete....
So far so good I think? Let me know what you guys think, although I am stuck going forward anyway as the old walls will not be going anywhere soon.
I also managed to do some weathering on the Sturmtiger on Friday. It might be too dark but I am going under the assumption that Panzer crews didn't wash their rides as often as we do here in Southern Alberta, and that grime and dirt sorta just built up over time...
The Panther will get a somewhat similar look, albeit probably less drastic as this is quite dark right now. This is just washes of highly watered down Acrylics... I do not have the guts to try oils yet... maybe on the Cat!
Posted: Saturday, January 28, 2012 - 03:28 PM UTC
I think the weathering is spot on for the Sturmtiger. This is turning into a prize winner.
Looking forward to see more.
AndersA
Sweden
Joined: January 26, 2012
KitMaker: 16 posts
Armorama: 13 posts
Joined: January 26, 2012
KitMaker: 16 posts
Armorama: 13 posts
Posted: Saturday, January 28, 2012 - 11:06 PM UTC
Im amazed by your work, great morning readning i get annoyied by a failed facepainting but watching your work and progress is truly inspiring. Will be watching your progress, great work and great story telling about how your work is coming along. I like the building part as much as the pictures of finished work
Keep it up and keep inspiring us just starting out
campbellbart
Ontario, Canada
Joined: February 05, 2007
KitMaker: 121 posts
Armorama: 119 posts
Joined: February 05, 2007
KitMaker: 121 posts
Armorama: 119 posts
Posted: Saturday, January 28, 2012 - 11:29 PM UTC
Looking good. This should very impressive when you're done.
Bart
Bart
ahandykindaguy
Alberta, Canada
Joined: August 20, 2008
KitMaker: 1,295 posts
Armorama: 1,191 posts
Joined: August 20, 2008
KitMaker: 1,295 posts
Armorama: 1,191 posts
Posted: Sunday, January 29, 2012 - 07:40 AM UTC
Thanks Anders, I get annoyed at face painting too... one reason why you don't see any figures yet on my diorama. Don't give up though, you & I will get better at figures as we practice doing them. The 15 or so I think i will use in this one should get progressively finer as I paint them. Soon and very soon I hope.
I really enjoy the building of the sections too.
Thanks Bart, and Jesper I appreciate your encouragement. I will have more updates in the coming days. I have to get much more done while the days are shorter and the cold wind blows, well the wind blows cold or not here in Lethbridge... -10 yesterday, plus ten today!
The golf season will be here soon and then my modeling comes to an near stop as I grow the green grass for all the crazed fanatics, of which I am one of.
L8r everyone... keep up the good work. I enjoy snooping around all the sites here and continually learn new things. so in the words of a giant man eating Venus Flytrap: " Feed me Seymour!"
ahandykindaguy
Alberta, Canada
Joined: August 20, 2008
KitMaker: 1,295 posts
Armorama: 1,191 posts
Joined: August 20, 2008
KitMaker: 1,295 posts
Armorama: 1,191 posts
Posted: Sunday, January 29, 2012 - 05:36 PM UTC
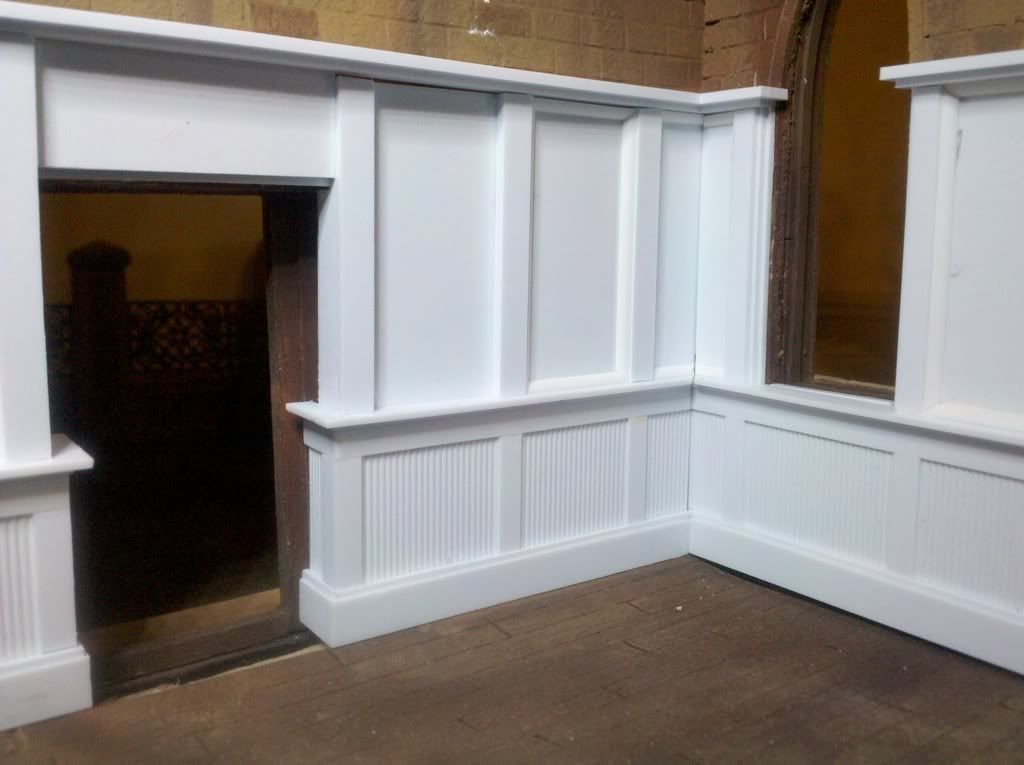
Well my evening was pretty productive. I managed to build some more of the wall sections, up to the Main entrance doors along the long side of the interior.
All that and hide & seek with our daughter who was actually playing it with Mom, but they both liked to hide under or around the dining room table where I had brought up the diorama to work on.
Made for a few interesting moments, but a good time was had by all. That and I didn't have to feel bad, as my daughter often will stand at the top of the stairs and call down to me in my office when I am modeling downstairs. Big deal if I had to pick up a few " extra " bits of plastic off the floor, or Wipe the liquid cement off a couple pieces that got inadvertently covered when Rachel bumped into me while looking for her red ball under the table....
Anyhow here are the pictures that will end this night of blogging. Until tomorrow gentlemen & ladies of course.
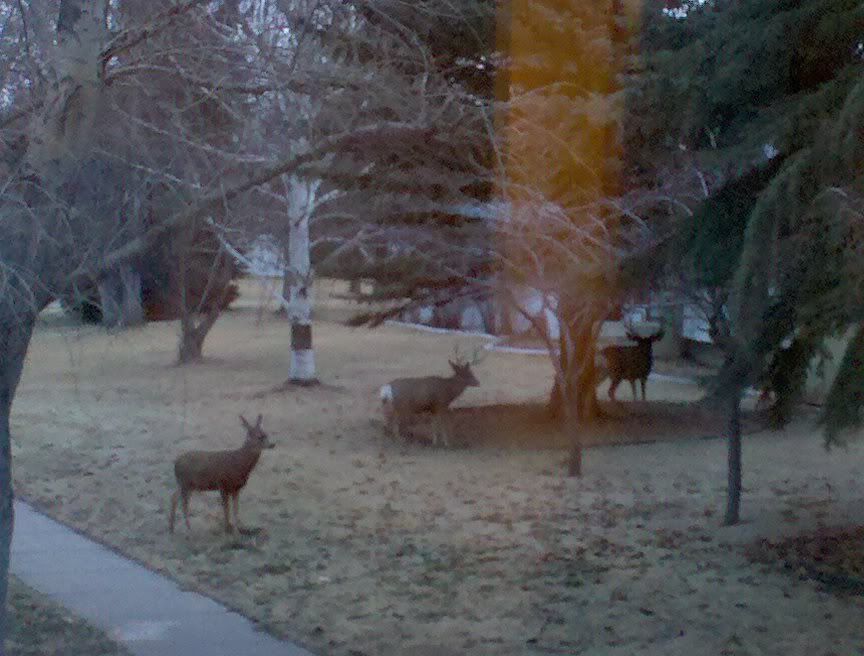
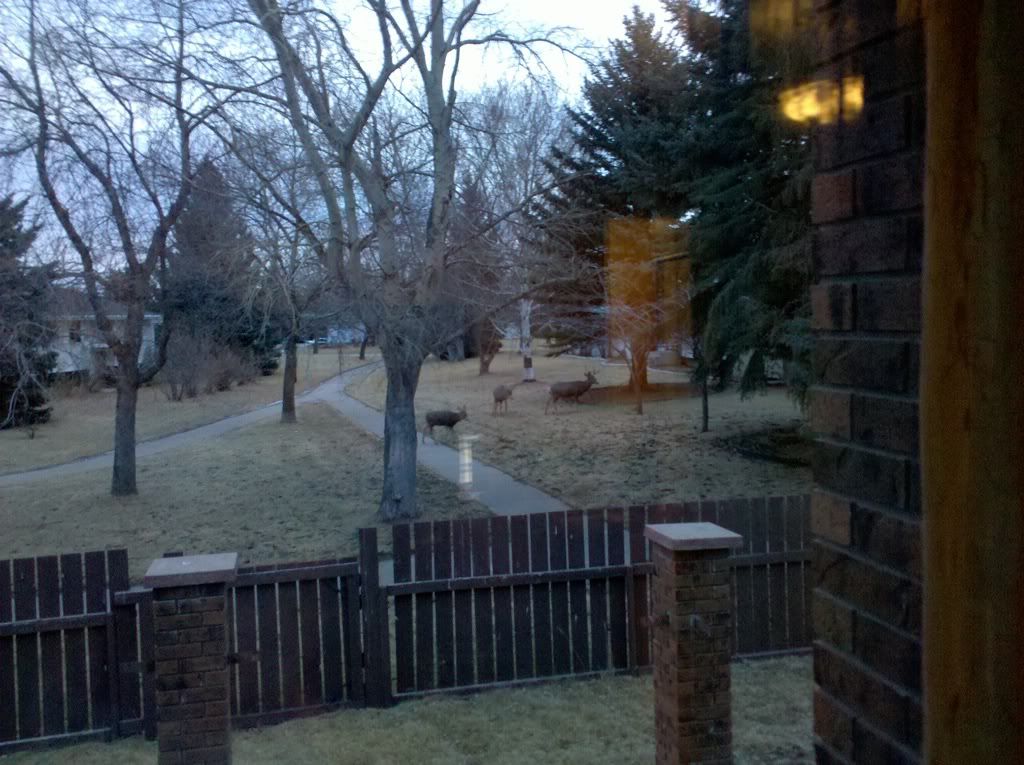
Slightly off topic but pretty neat, here is a look at what we get the pleasure of seeing several times a week in our yards... Deer!
Posted: Sunday, January 29, 2012 - 09:04 PM UTC
Hi Dave. Havent been in on this thread for a while, so I went back to the start and read though it from the beginning again. What strikes me is how much yur skills have developed since it started. You do right to remove older details and replace them, the standard has improved so much. I really liked the chruch building initially, but it keeps getting better and better! Love the "woodwork" on the interior and the doors! Very eye catching and believeable. Nice one ... will be following closer now.
ahandykindaguy
Alberta, Canada
Joined: August 20, 2008
KitMaker: 1,295 posts
Armorama: 1,191 posts
Joined: August 20, 2008
KitMaker: 1,295 posts
Armorama: 1,191 posts
Posted: Monday, January 30, 2012 - 04:31 AM UTC
Thanks Frank.
My hope was just the thing you saw. that the walls would look more realistic. When I first put the interior together I thought that real wood would look better, but as is often the case plastic made a case for itself in both the scale factor & the ease of construction too. real wood is a great medium, it just has to be scaled properly. I am glad you like the new look, it is definitely a huge improvement over the first attempt.
It looks like my original goal of relearning some old skill sets & learning the new techniques is coming along. I am totally enjoying the process... well most of the time anyway.
Thanks for the kind words
ahandykindaguy
Alberta, Canada
Joined: August 20, 2008
KitMaker: 1,295 posts
Armorama: 1,191 posts
Joined: August 20, 2008
KitMaker: 1,295 posts
Armorama: 1,191 posts
Posted: Tuesday, January 31, 2012 - 03:13 PM UTC
So had an interesting day yesterday after such a great couple of days of building on the weekend. Nearing the completion of the new wall sections the unthinkable happened!
I ran out of plastic!
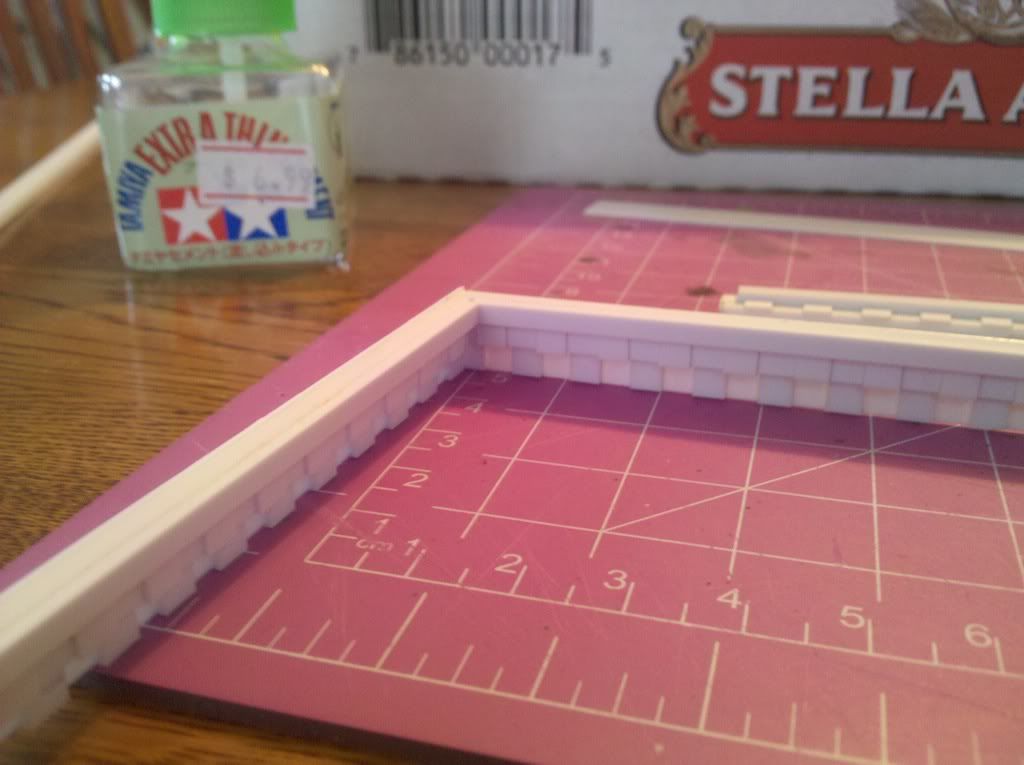
Quarter round, evergreen #248... if you are interested? Yep less then 6 inches needed to finish the wall panel moldings and no Quarter to be given, or taken for the matter.
One nice thing about living in a smaller city (85,000 or so compared to 1.1 million or so in the city we moved from last spring) is that the local hobby shop is maybe ten minutes away in these utter catastrophe's. Off I go then to redeem the day. When I get there I head straight for the Evergreen Rack and am horrified to discover in the middle of the third rack a # 246, a 247, and then a # 265?
You have got to kidding me? Really? 247 then 265. The guy didn't even know they produced a 248! Looked it up in his computer and said he had never ever had a 248 in stock.
One not so nice thing is that there is only one hobby shop, so if he is out of stock and you need it you are hooped! Calgary is a 2 hour drive and then the Deerfoot is insane to drive on....
Anyway the good news is that the owner of Model Barons in Lethbridge, I think his name is Tom, got a supplier in Vancouver ( an eleven hour drive through snow covered mountains) to ship 2 packs which should be here Thursday! Yay! Three cheers for Tom! Hip hip hooray!
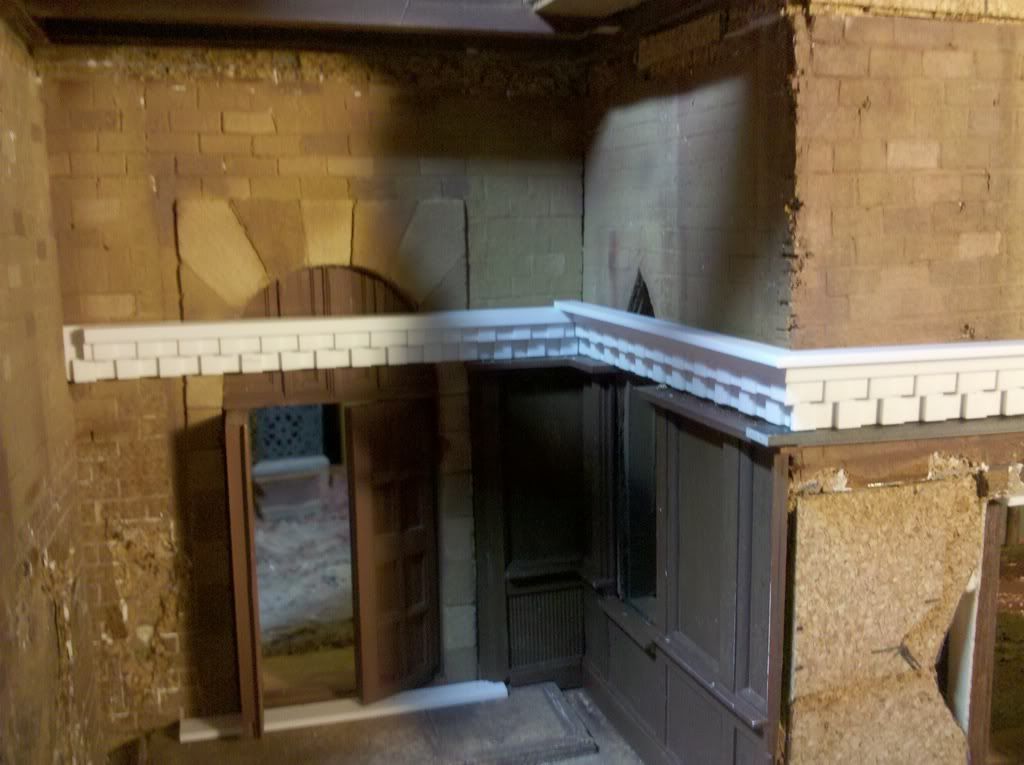
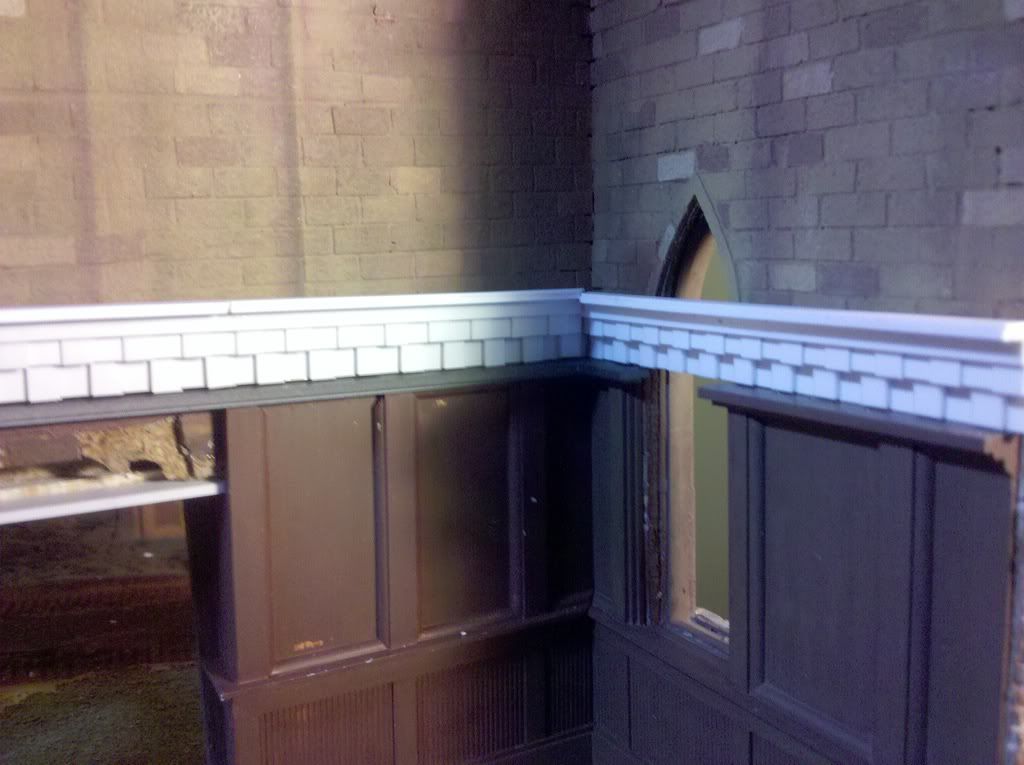
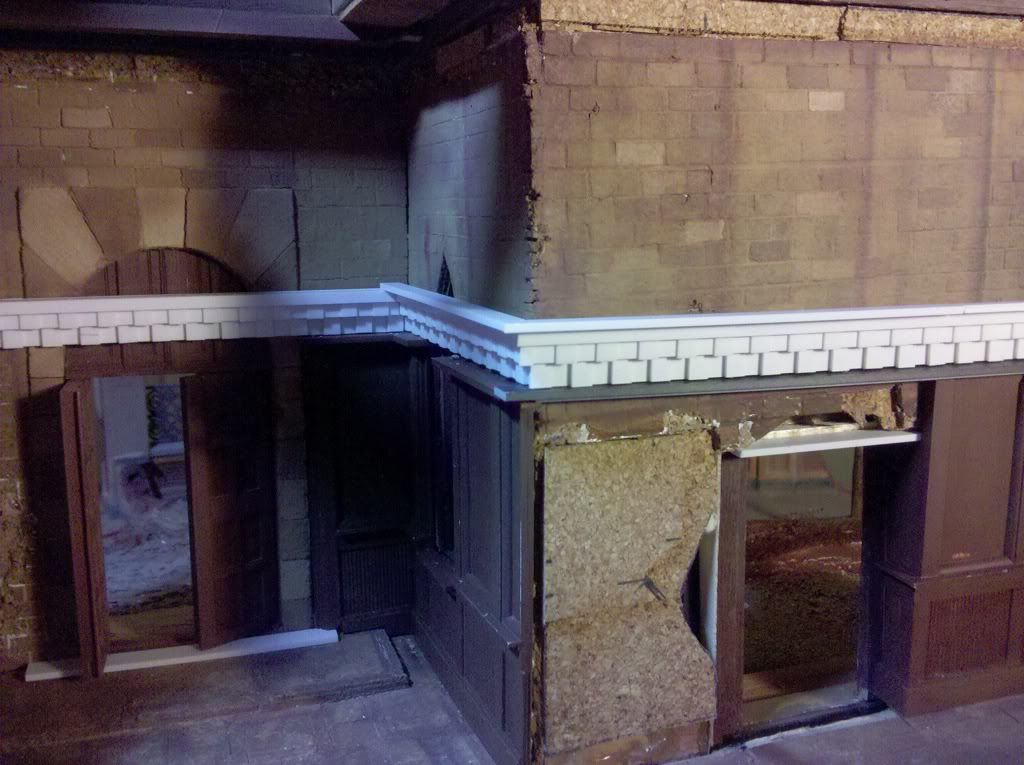
So what to do in the meantime? Here is the end result of my slight detour:
Crown moldings for the walls, and the wall sections I had completed I primed and base coated with some browns.
I just laid them on top of the wall panel sections to take the pictures, they need priming & painting before I epoxy them into place.
I noticed a gap in the one section of paneling after I base coated it so i used a little Tamiya gap filling primer I bout at the hobby shop. I have some Mr surfacer 500 somewhere in a box not yet unpacked, but after using the Tamiya stuff I may just forget about finding it. I really like that it is almost odorless. I don't feel like i have to wear my old army issue gas mask when i use it.
well that is all for now everyone. Thank you to all who browse this post and especially to those of you who make comments & or suggestions. I have been taking more time to check out the other forums, and some of the links many of you add to your posts. I am psyching myself up for the figures that are coming soon to a church yard near me!
ahandykindaguy
Alberta, Canada
Joined: August 20, 2008
KitMaker: 1,295 posts
Armorama: 1,191 posts
Joined: August 20, 2008
KitMaker: 1,295 posts
Armorama: 1,191 posts
Posted: Thursday, February 02, 2012 - 06:00 PM UTC
Well hello again everyone. Hope you are enjoying modeling as much as I am right now. Time for a quick update, as I have been quite busy with the building and the painting and the building and the painting... you guys get the picture.
I am probably going golfing tomorrow as it is supposed to be +10 Celsius and the golf course at Picture Butte is open now, so I took some time this afternoon to hit a few balls at the course where I work. We are going to open mid march most likely so i should have plenty of time to finish this project before I have to start putting in the 12 hour days. On the plus side the course looked pretty good for the meager amount of snow we got this winter.... I have my fingers crossed.
anyway back to the business at hand. I managed to get the walls primed and the crown moldings done while I waited patiently for the # 248 quarter round to arrive at the hobby shop. I went at 1 PM. before my trip to the course and picked them up.
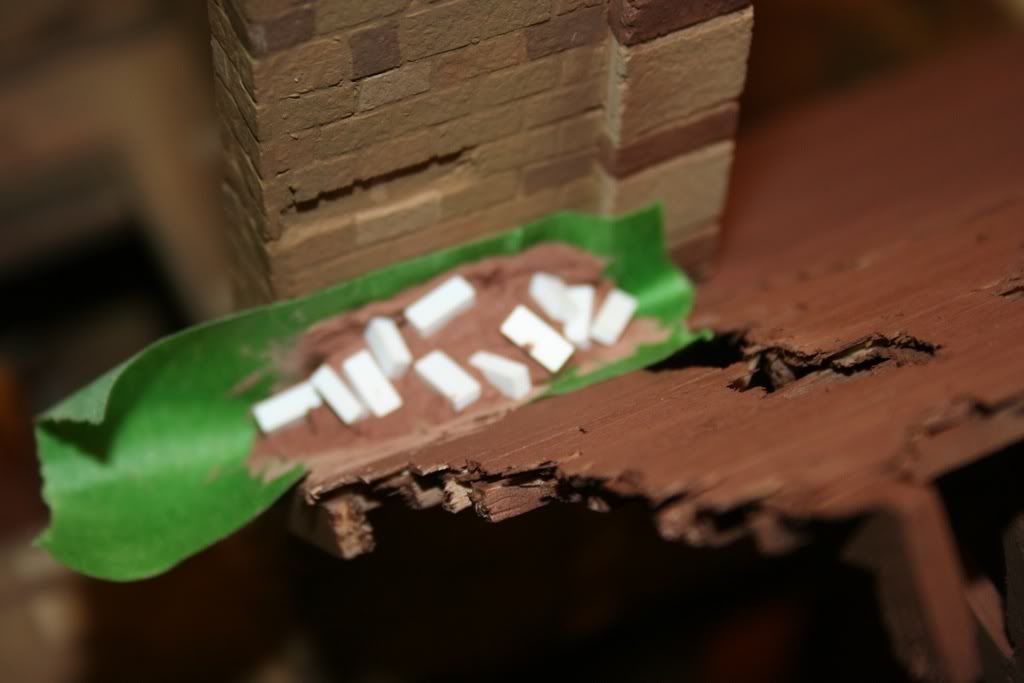
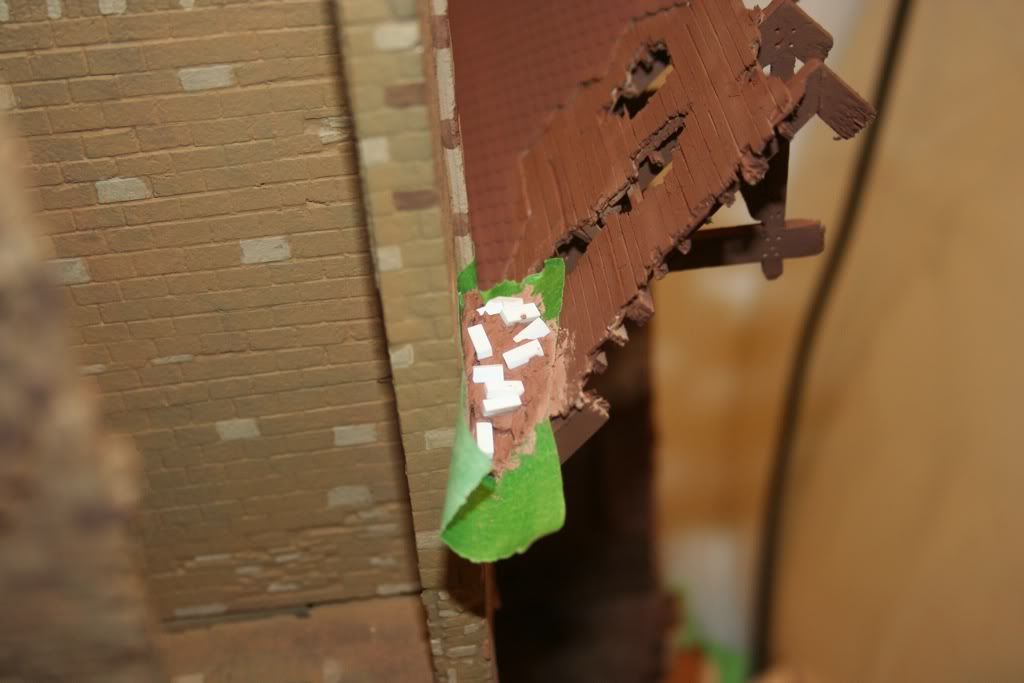
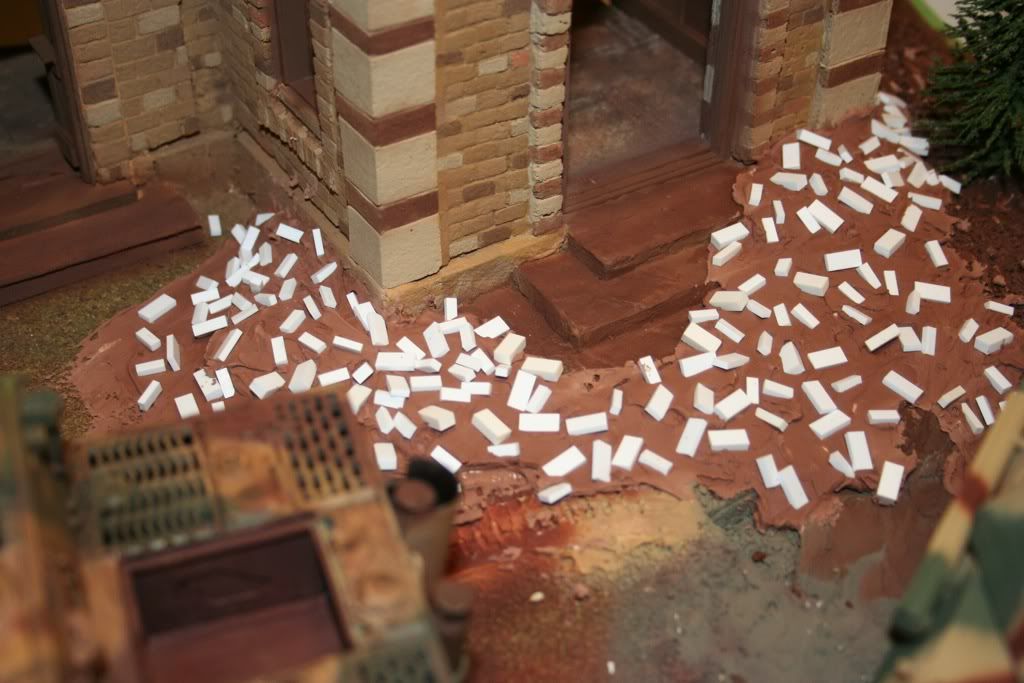
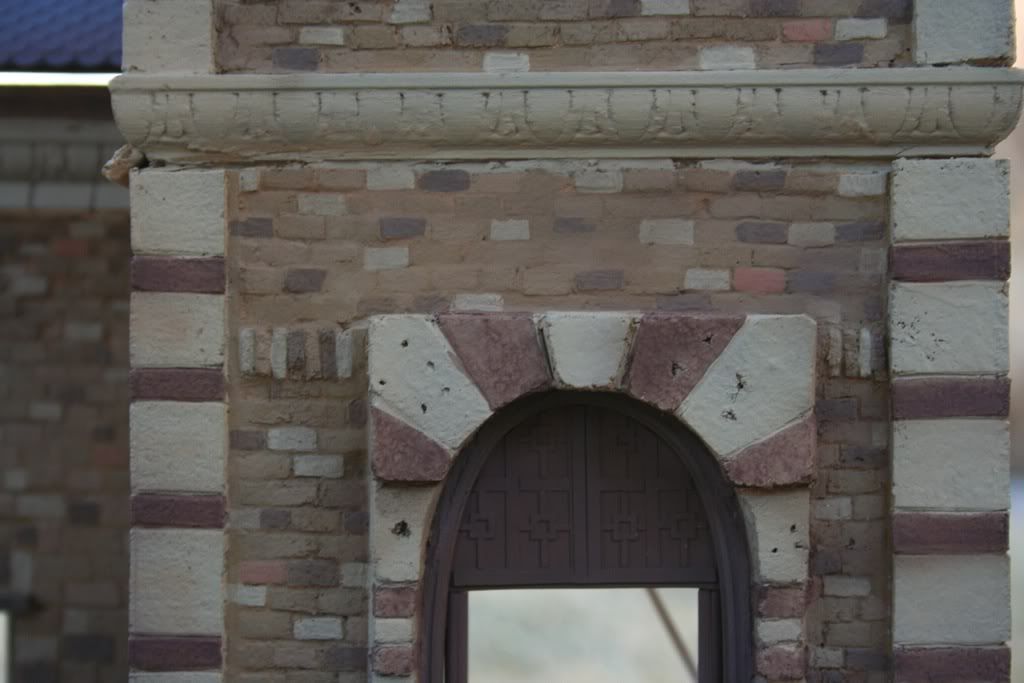
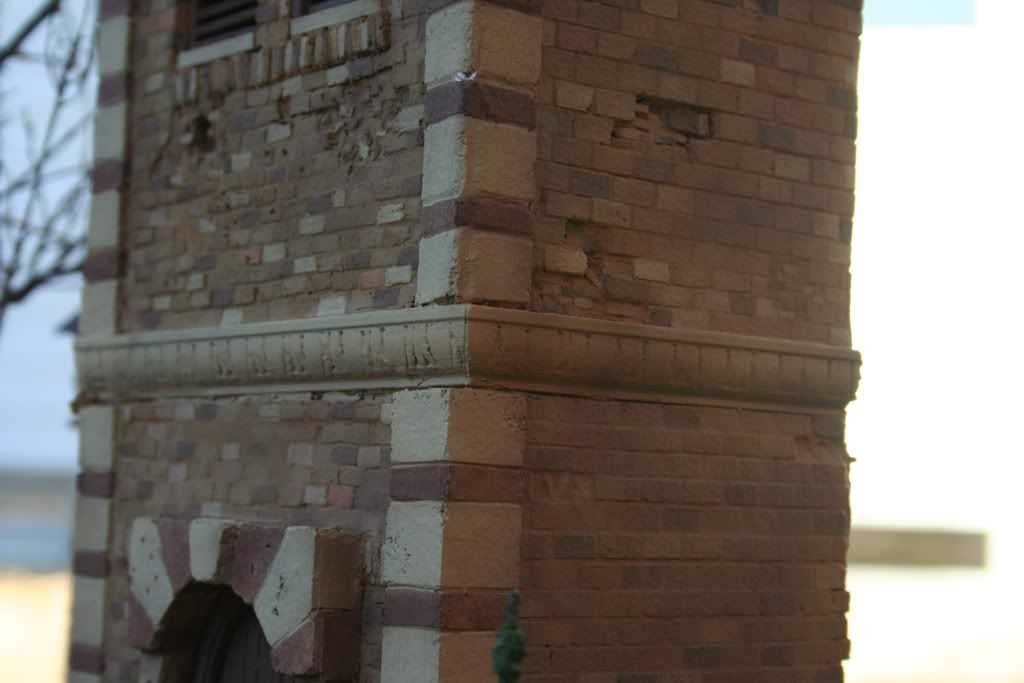
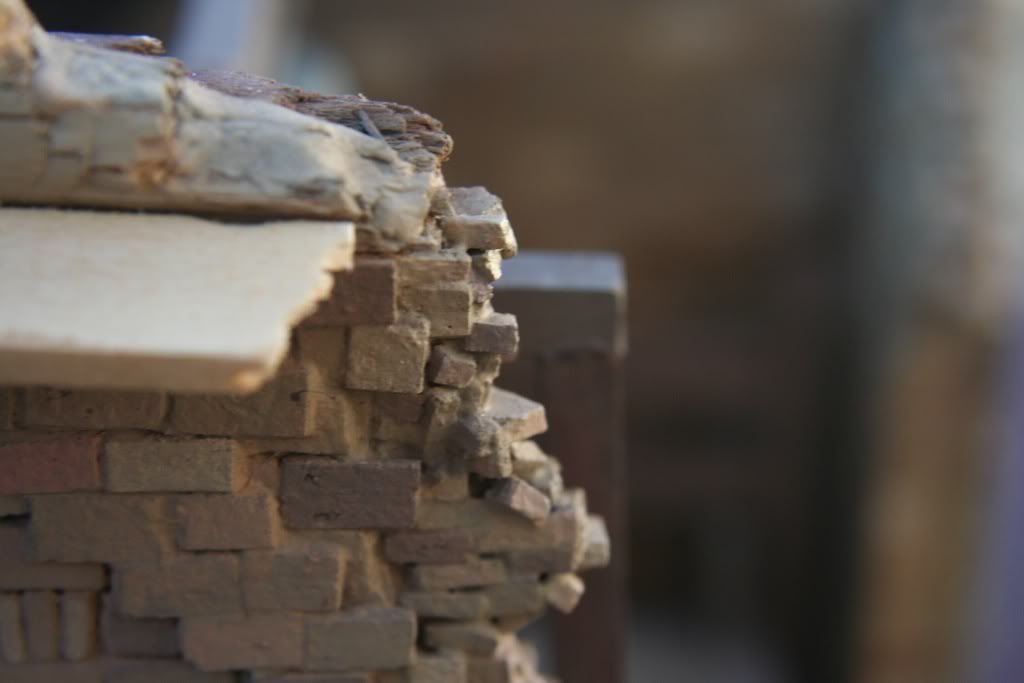
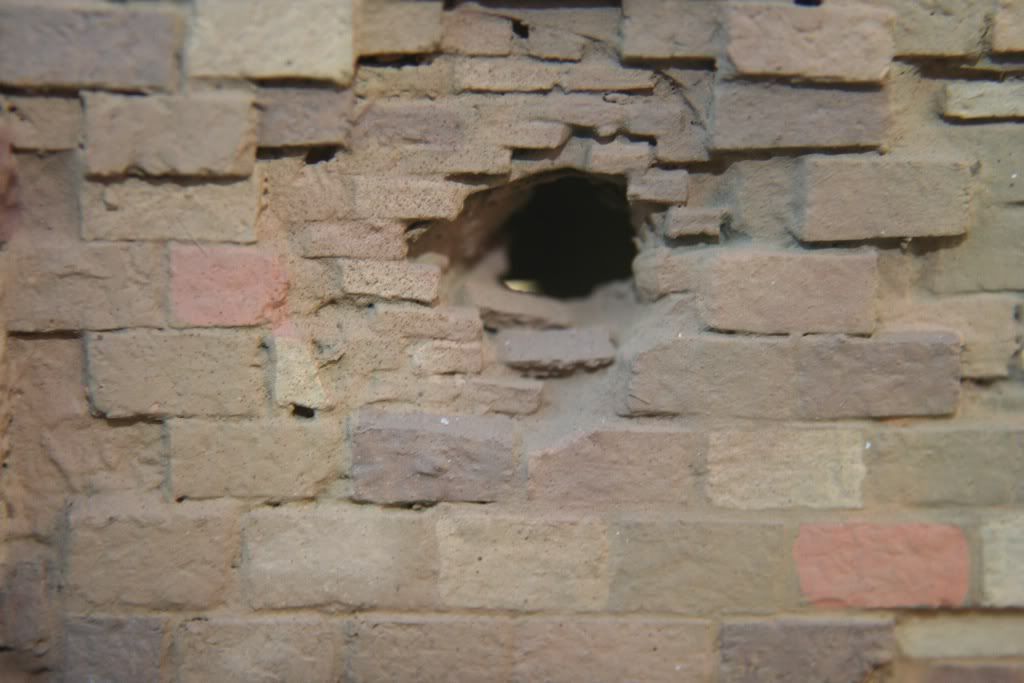
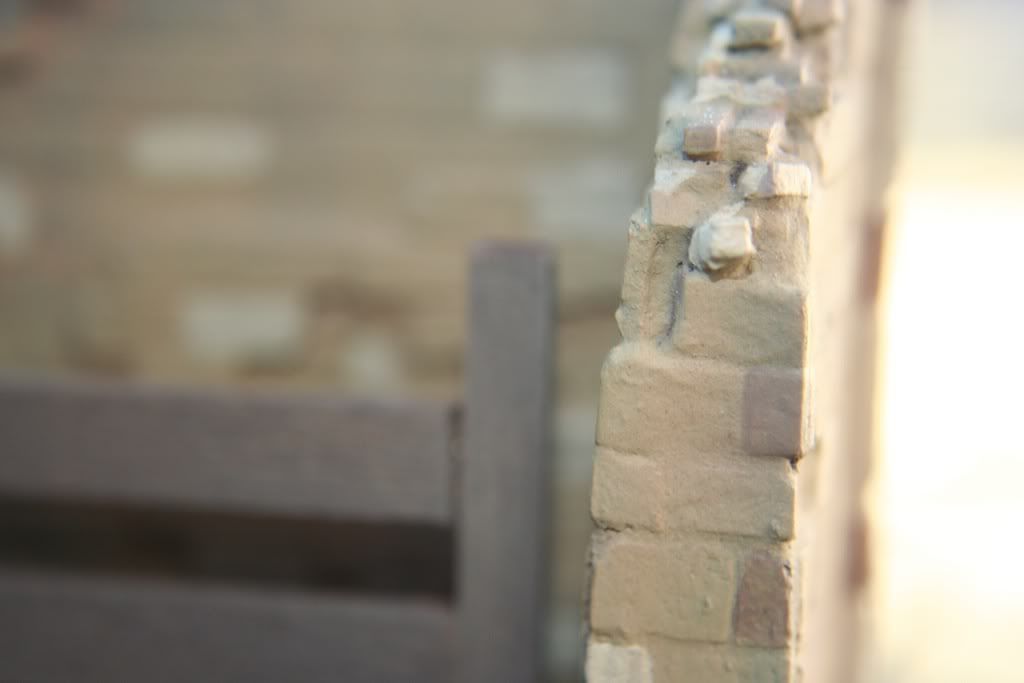
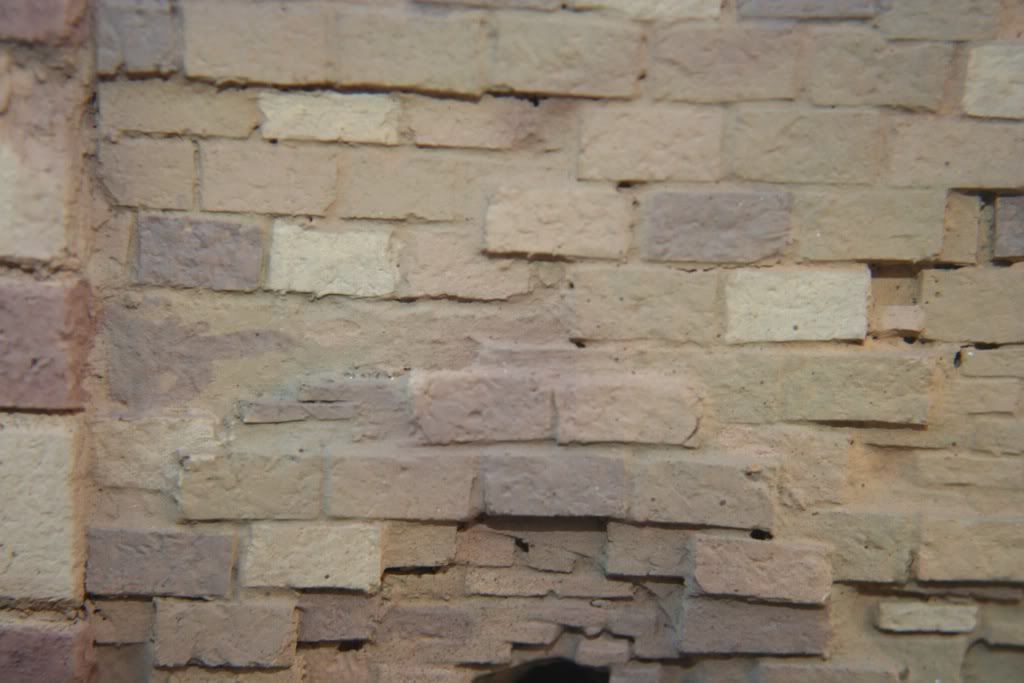
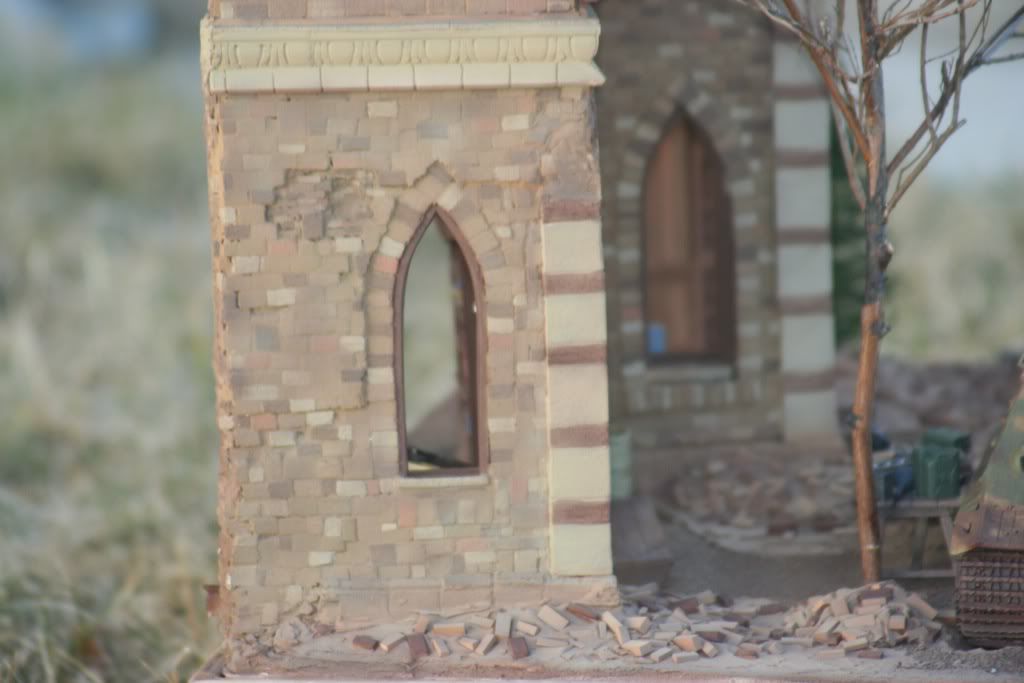
while I was waiting I put some more debris around the courtyard and did some more coloring of stones and bricks etc on the church.
While I have modeled the church in partial destruction, my goal was to keep the damage to a minimum. I did it more as a way of cutting the building off at the back of the frame and not so much to portray it as a bombed out building.
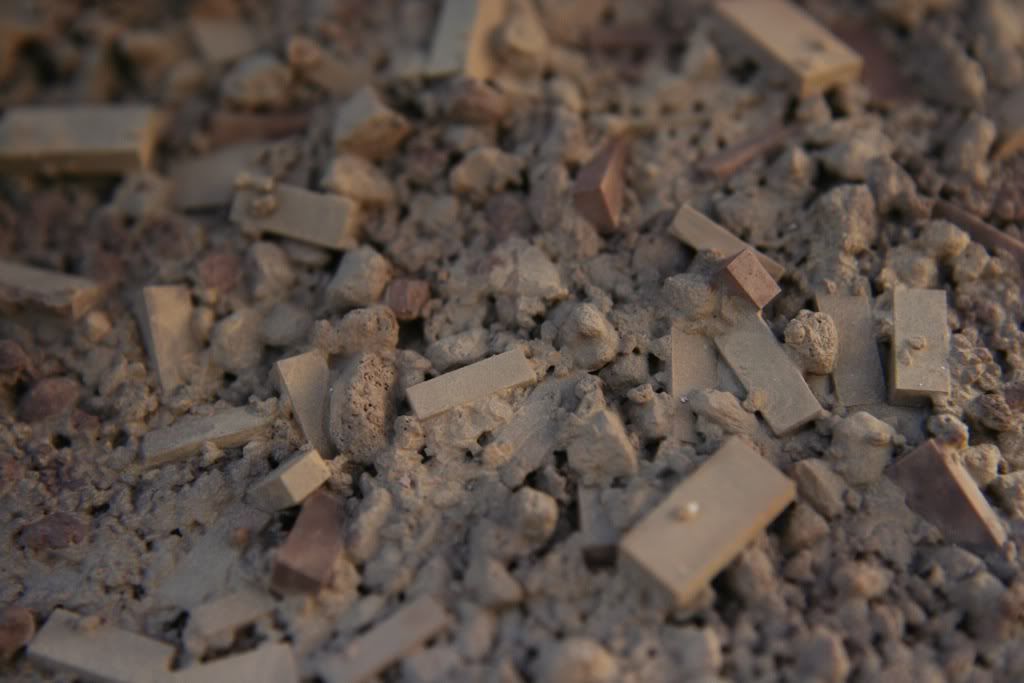
It was more along the idea of allowing the interior to be viewed without having to build the whole church. So unlike a factory building or a bombed out housing project where the debris would be piled high I chose to keep the debris fairly low key, just enough to suggest some hits on the church, but not enough that the damage would render the building unusable.
Again my entire reason for building this diorama was to practice and regain some skills I thought i once had, and to get accustomed to the new order of modeling. The game has really advanced over the past 30 years. I wanted to do a lot of little things to hone my skills so i have lots going on but nothing too fancy I think, lots to look at but nothing overpowering everything else.
Well that is my hope anyway.
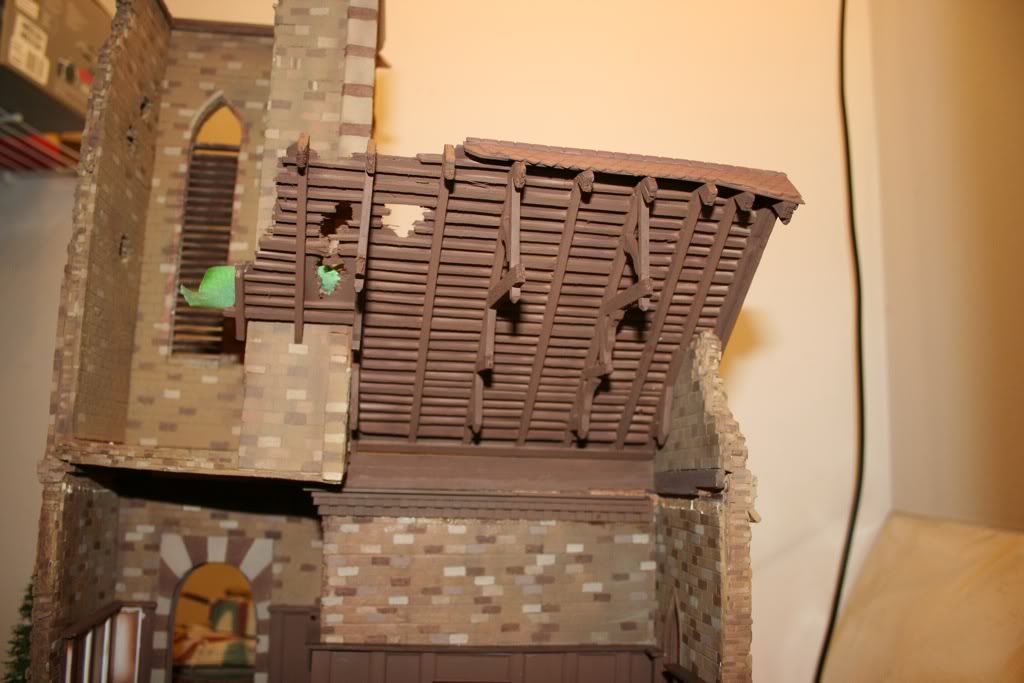
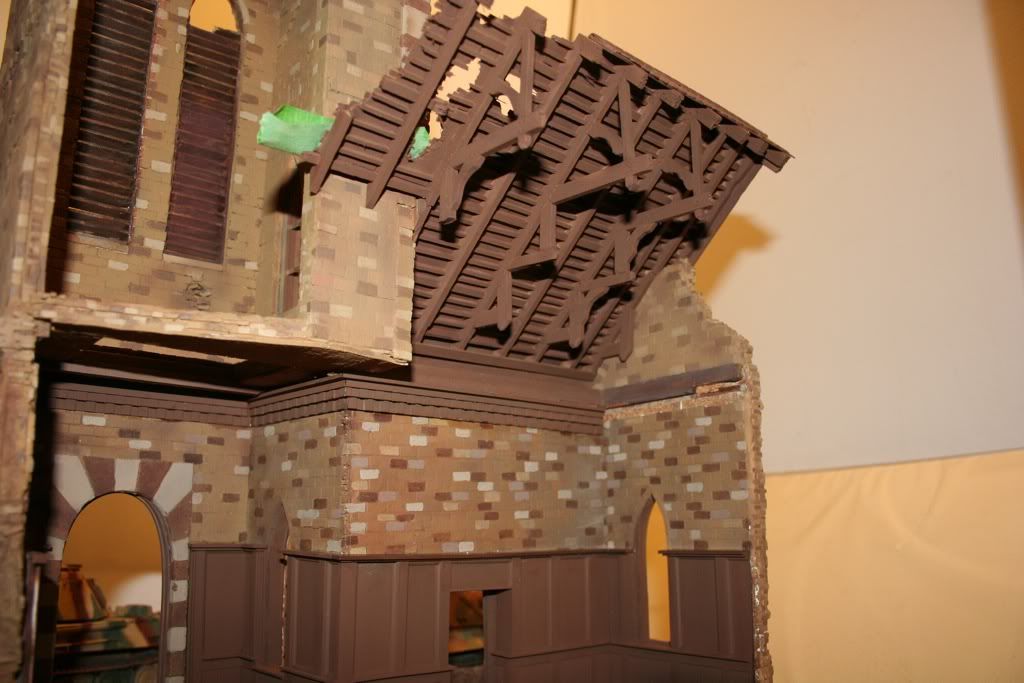
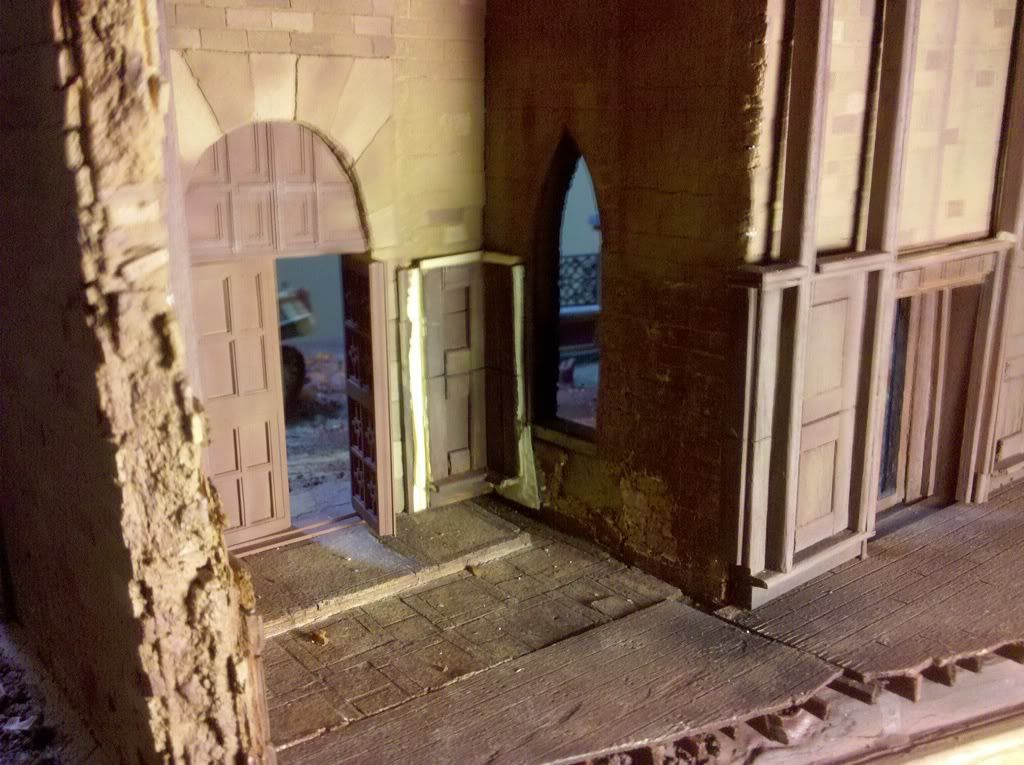
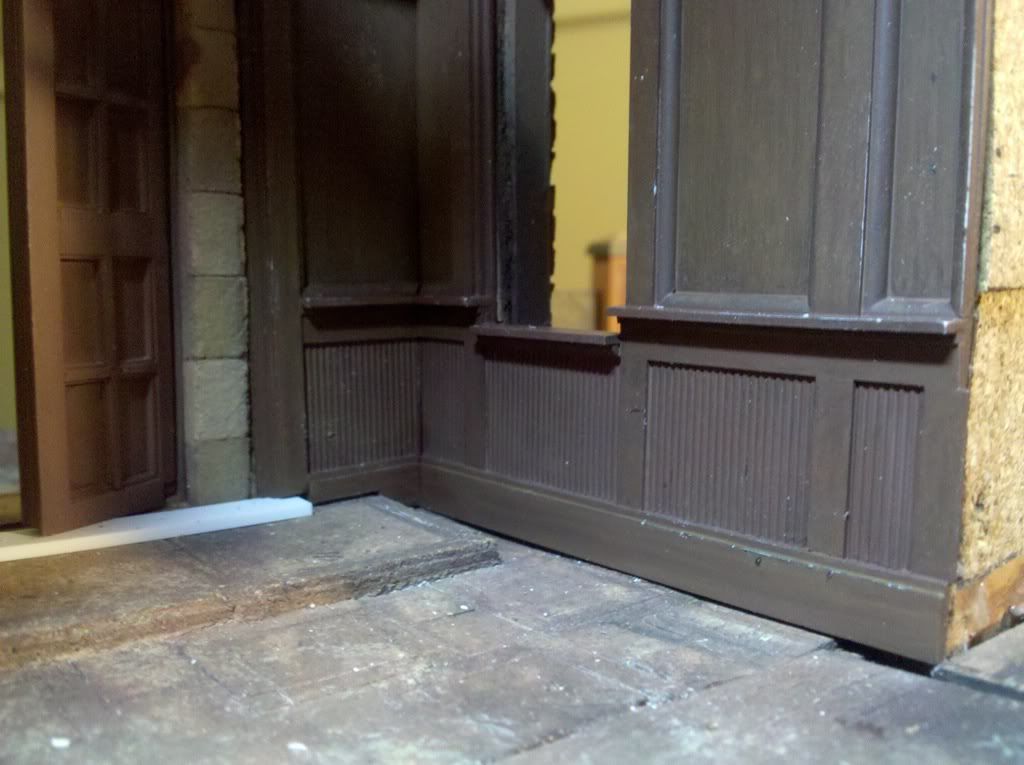
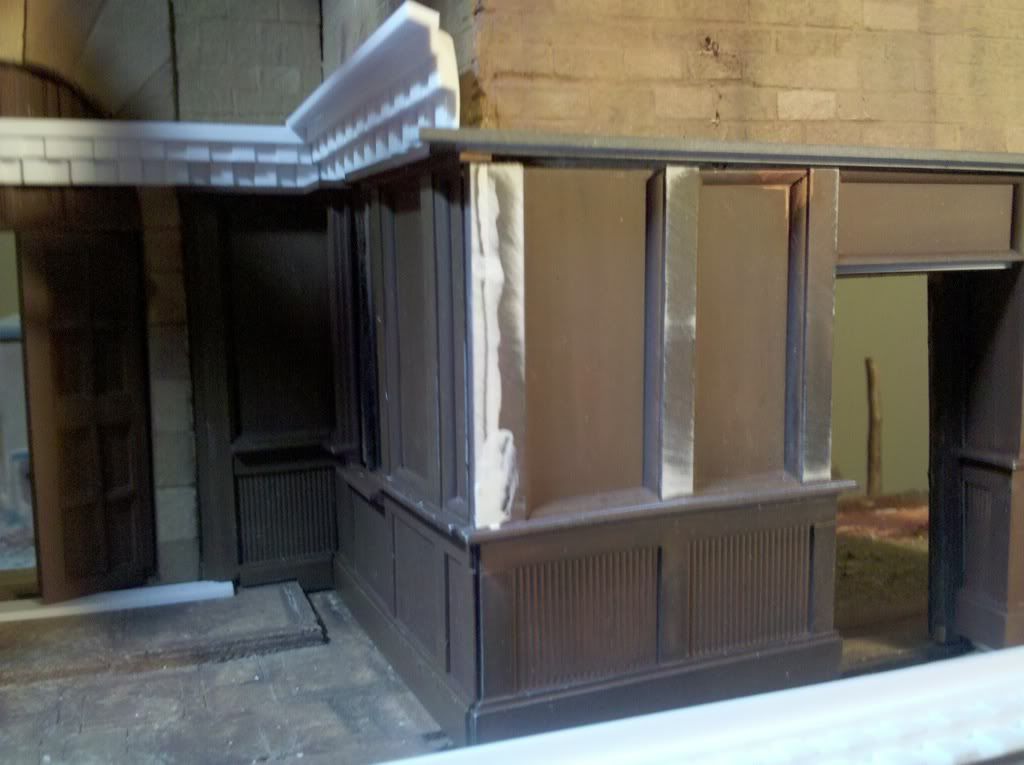
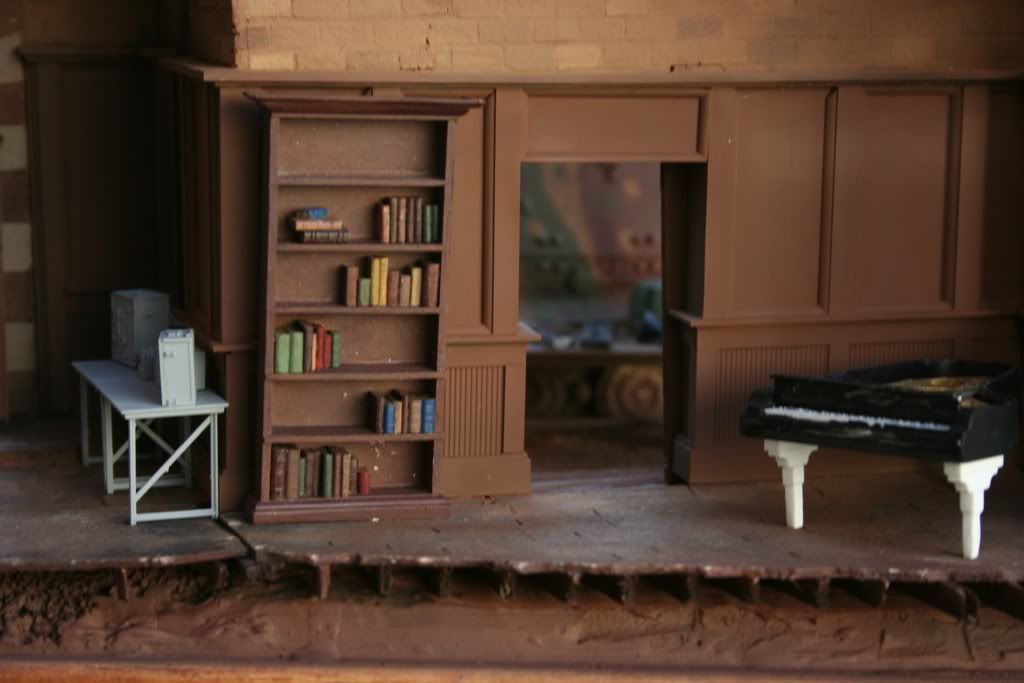
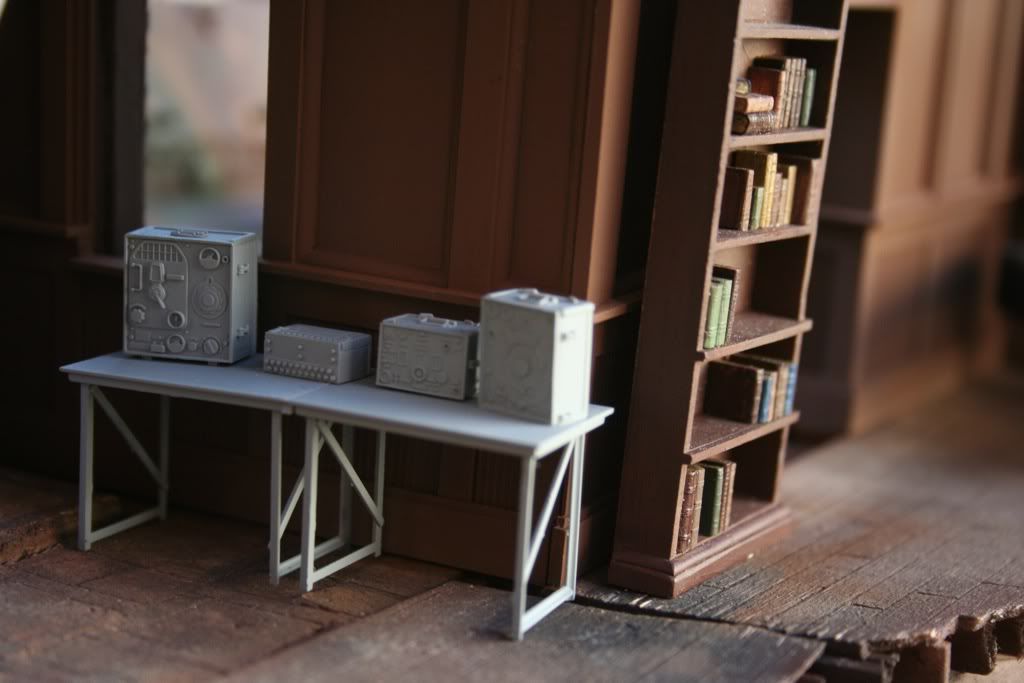
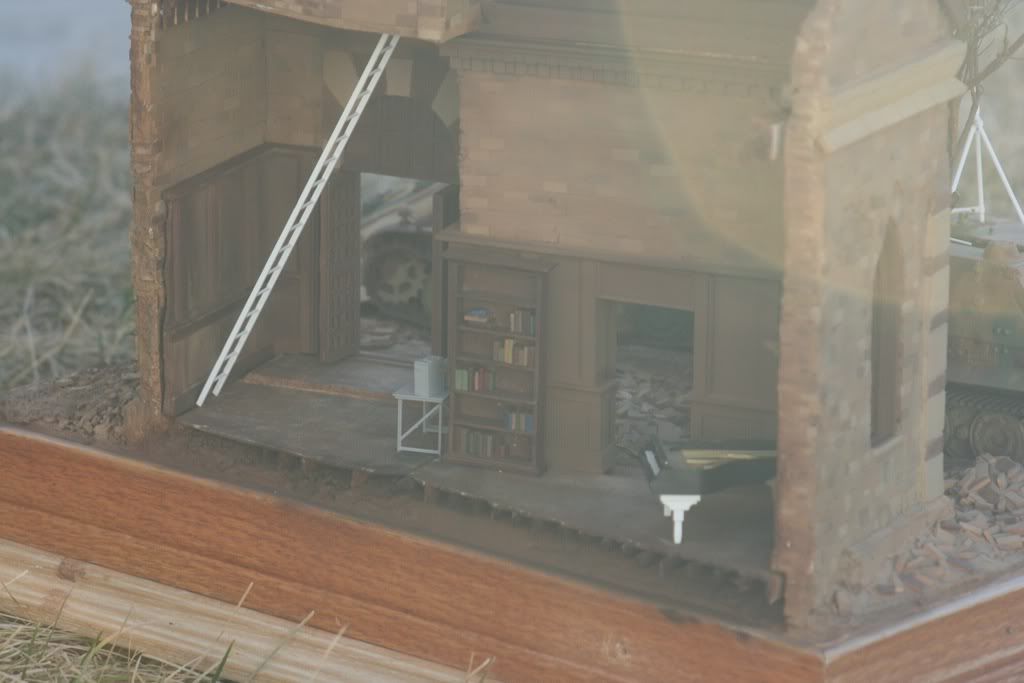
Here are some views of the interior:
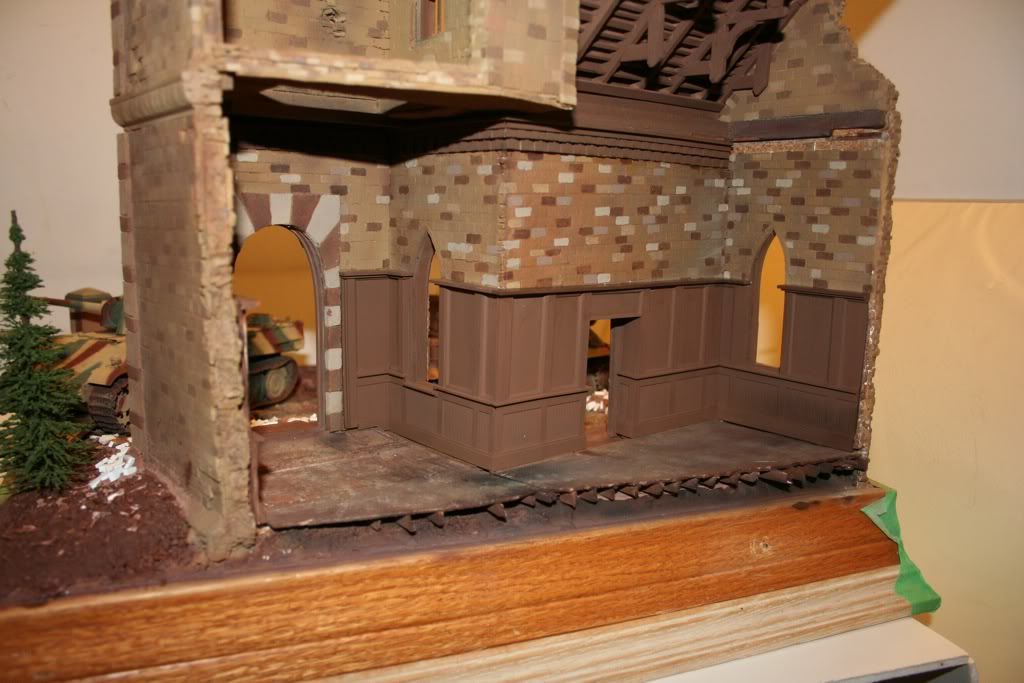
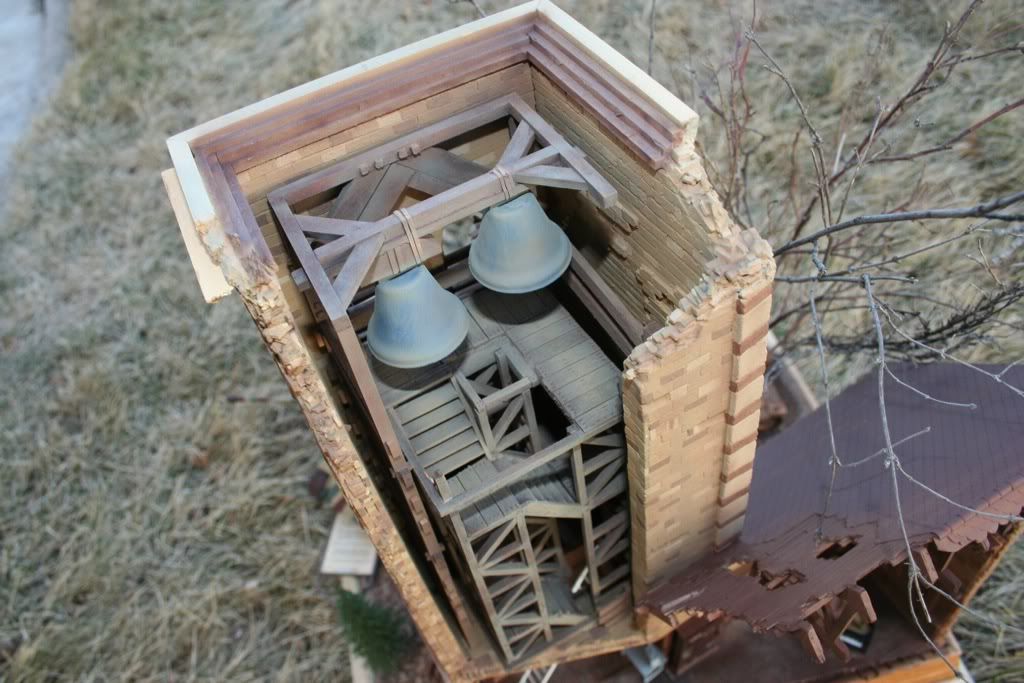
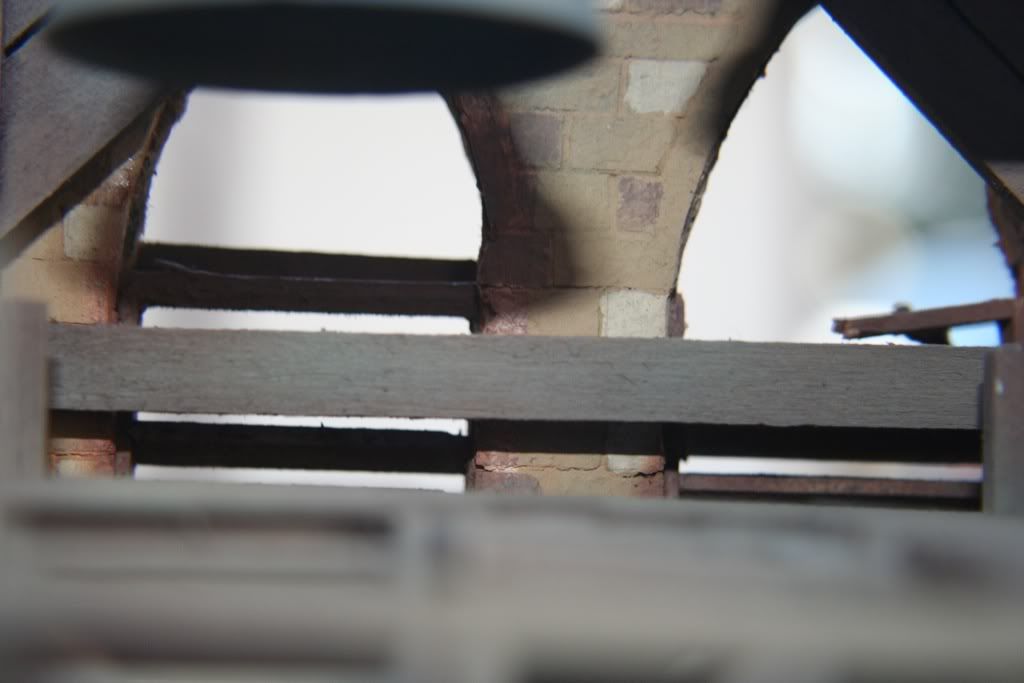
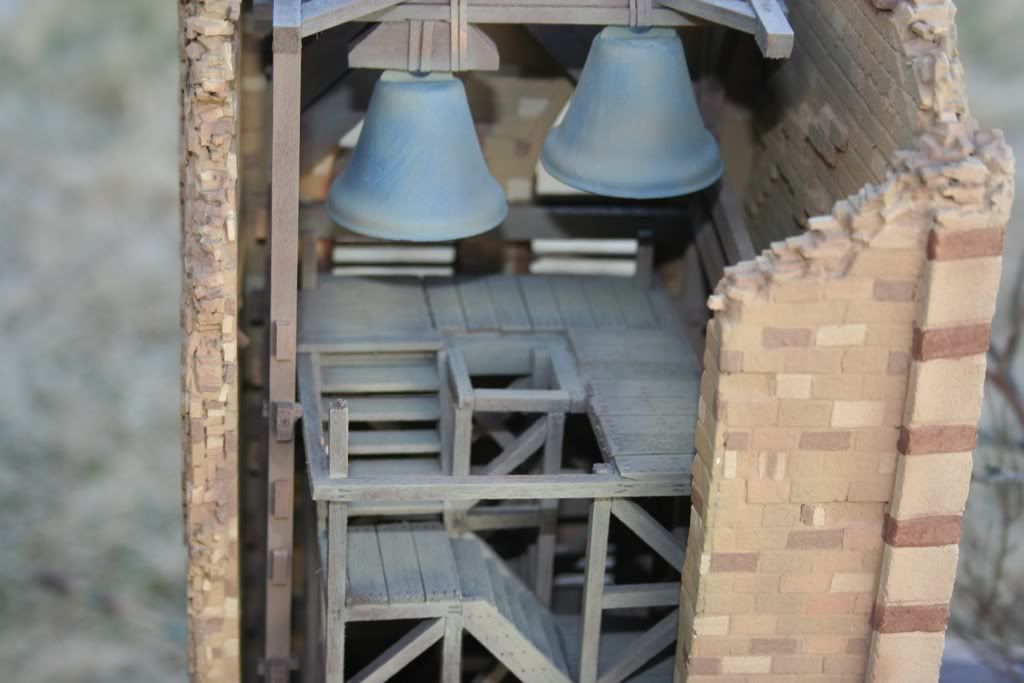
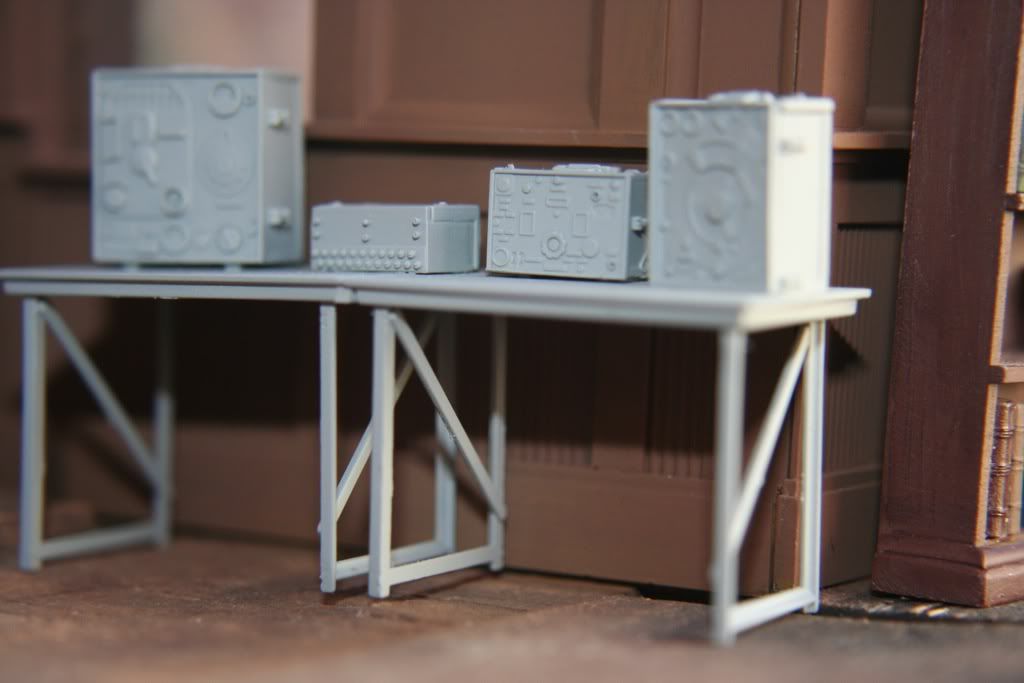
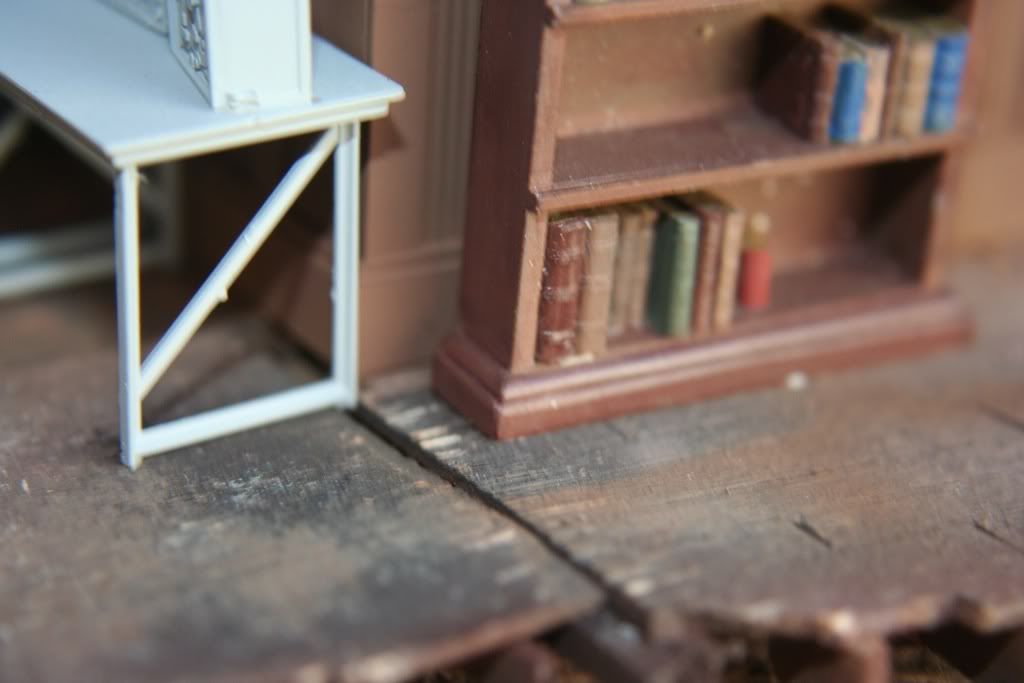
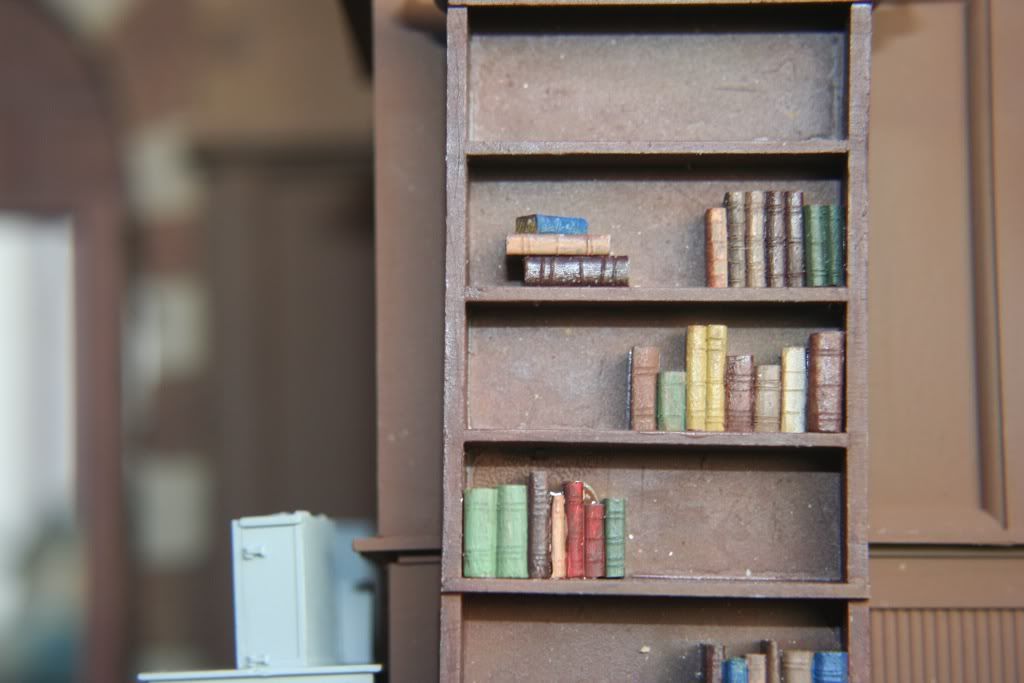
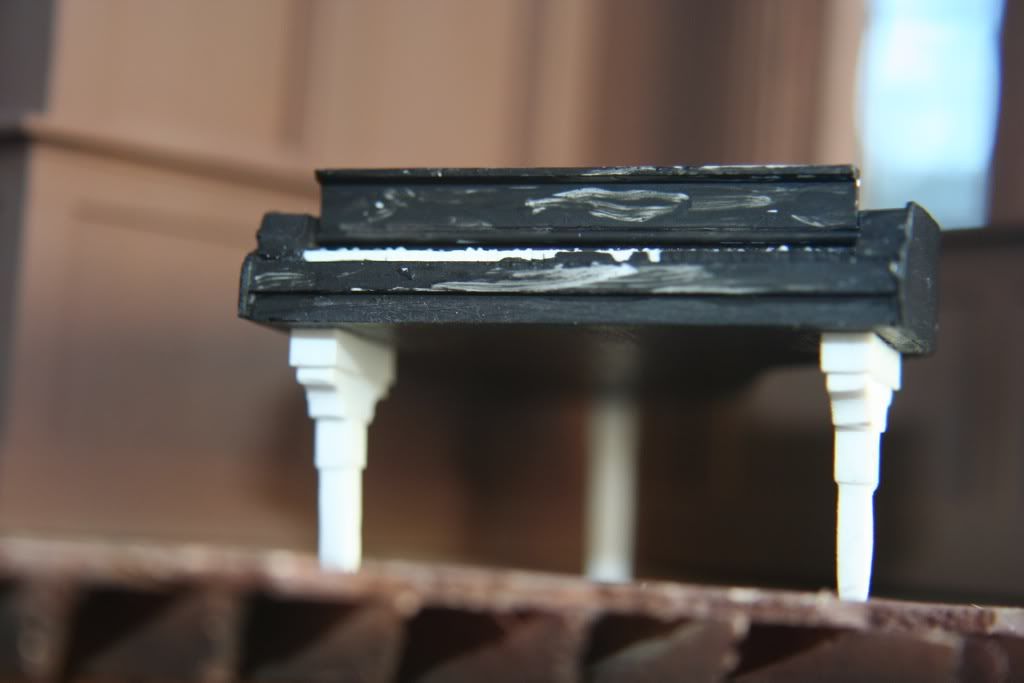
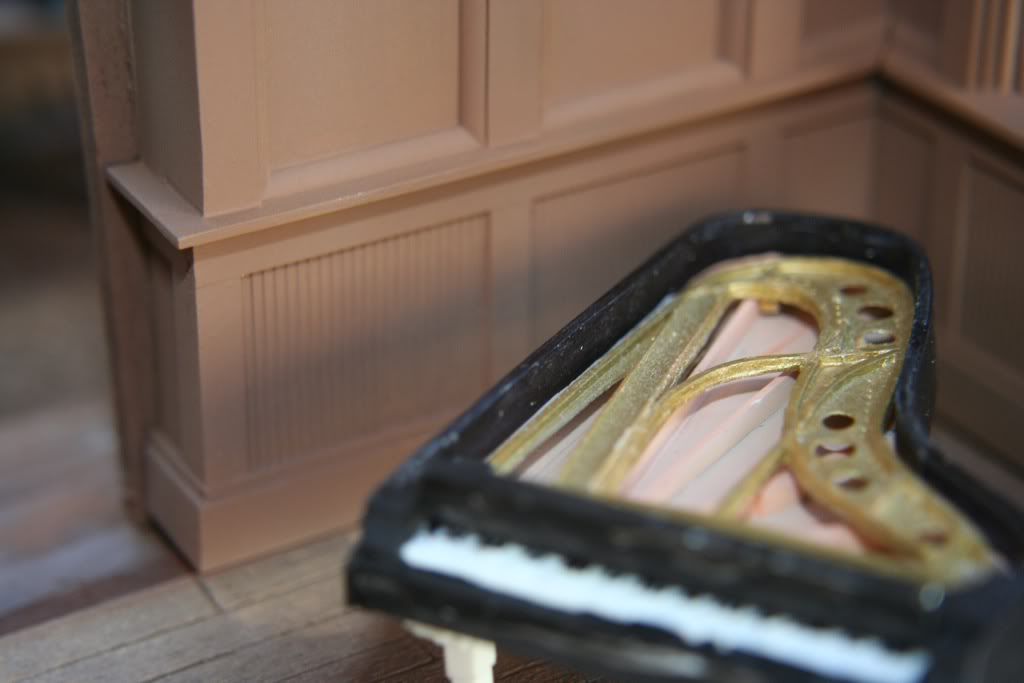
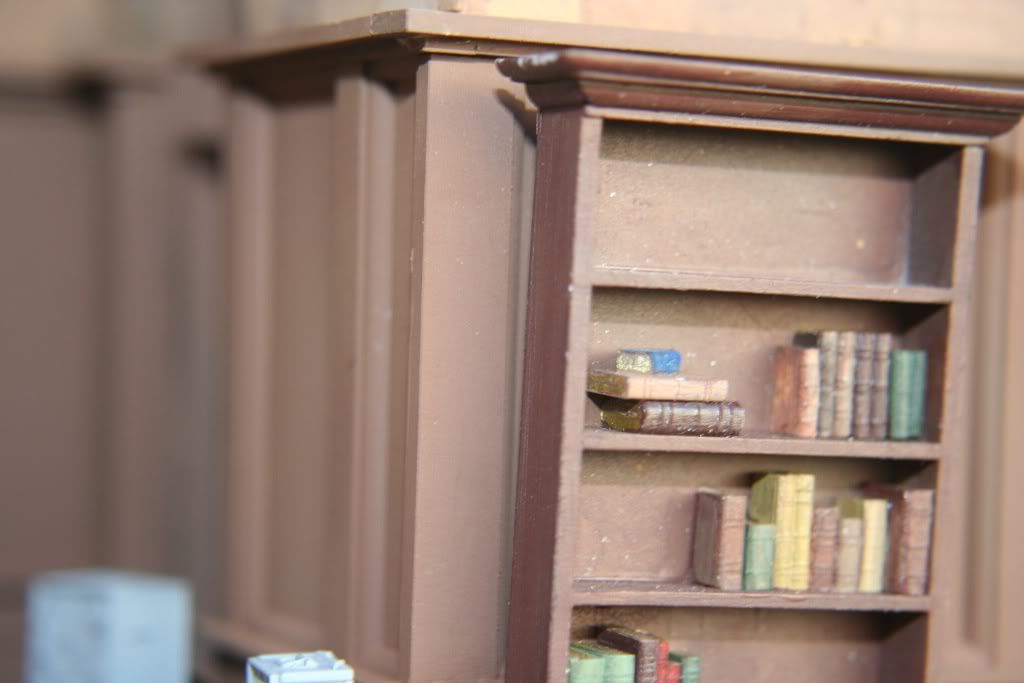
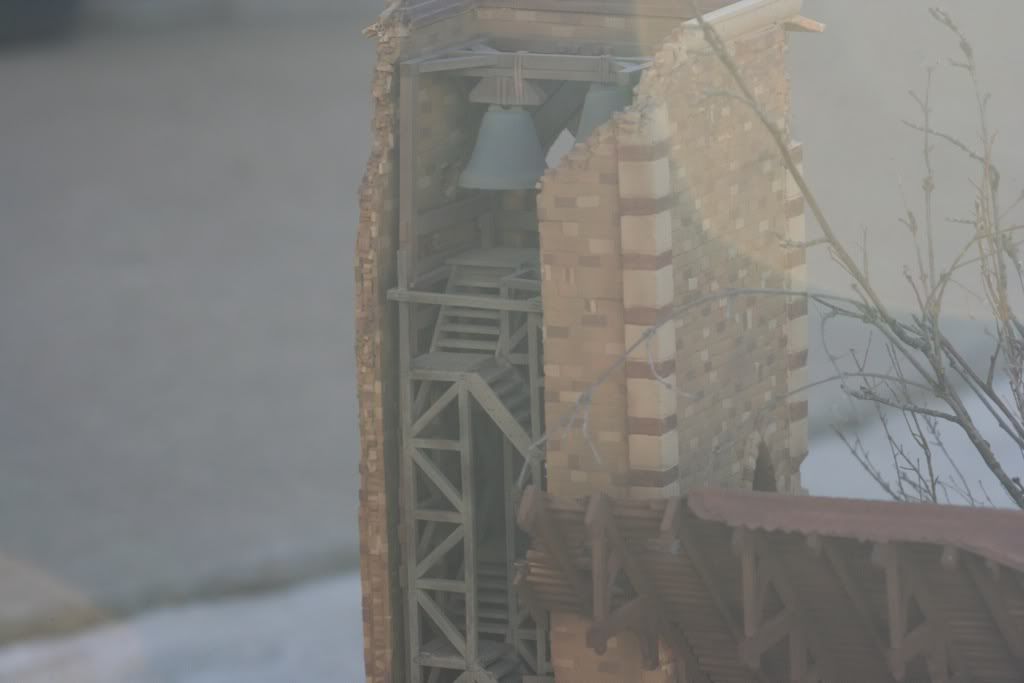
just some filters, washes and pastels left back here, then the addition of the radio tables, the piano and the book shelf on the main floor and the bell tower superstructure in the bell tower.
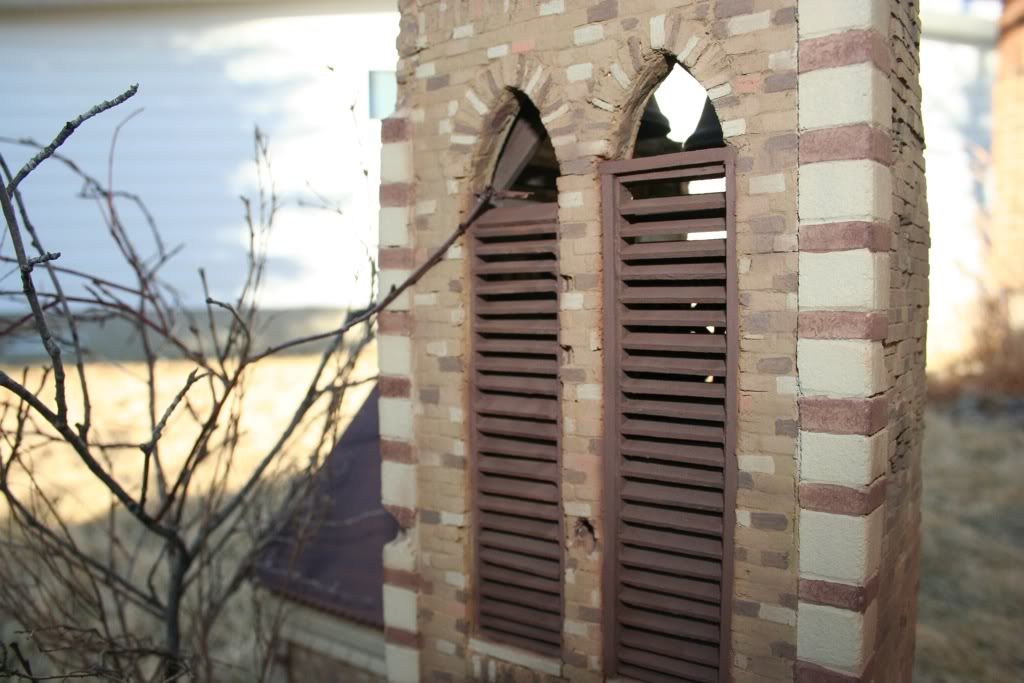
Still haven't decided just how many figures will be in the rear of the diorama but I will have at least 3 soldiers in the tower, one kneeling looking through with binoculars out the top of the right side louvers. another running up the stairs toward the top and another on the ladder or shouting down from the landing at the base of the tower down to the radioman at the table.
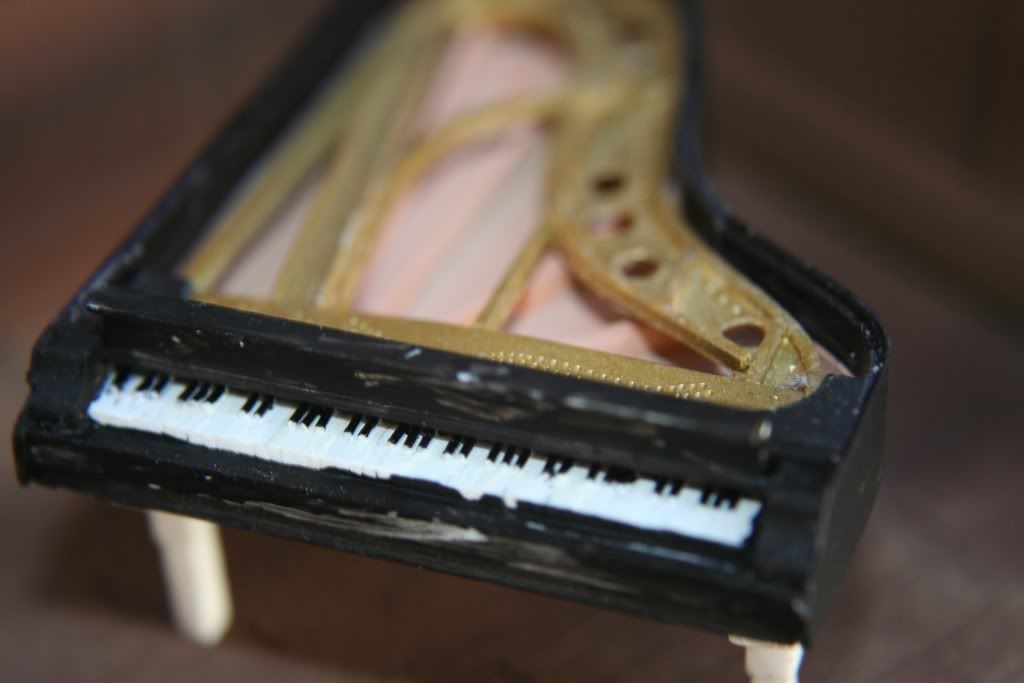
I also hope to have a guy playing the piano, apparently unaware or unconcerned with the action going on around him. Just lost in the respite from the hostilities and caught up by the melody I guess.
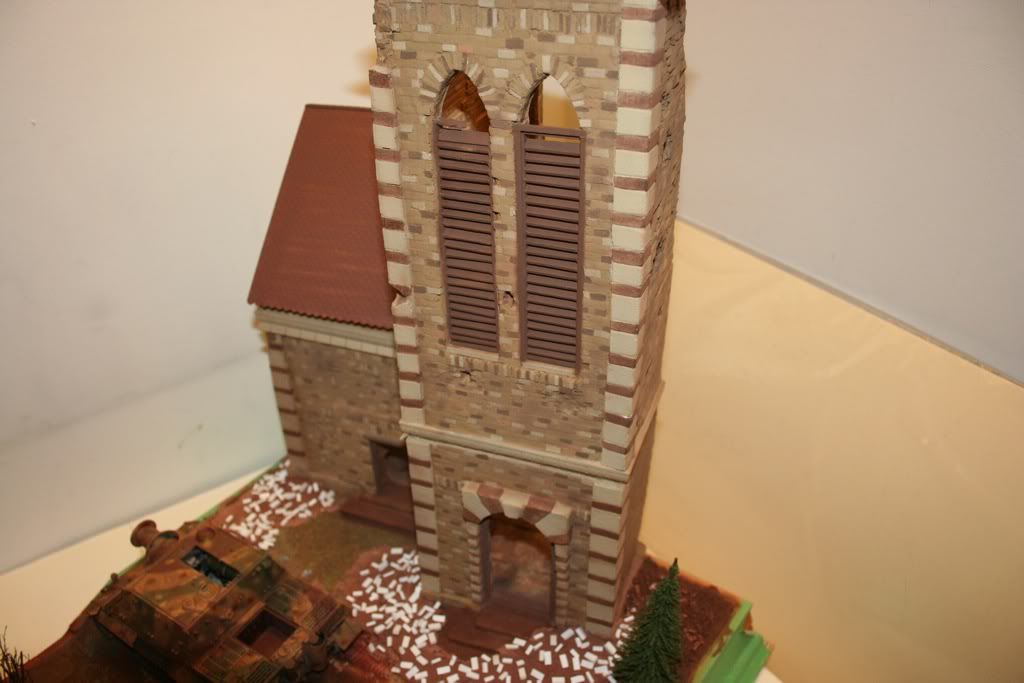
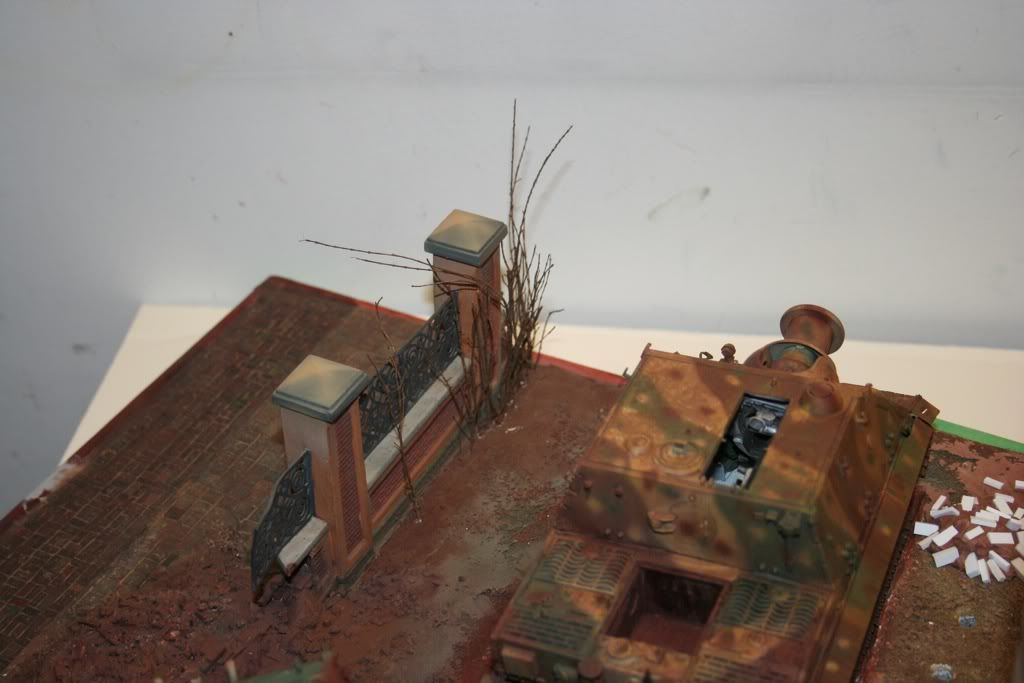
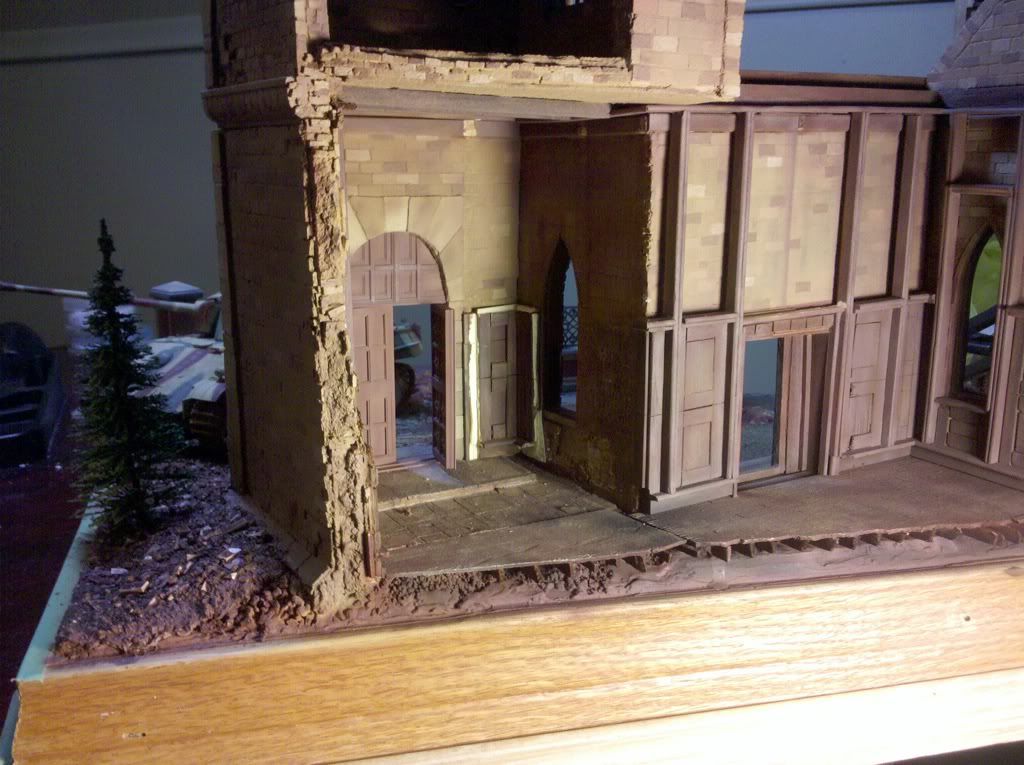
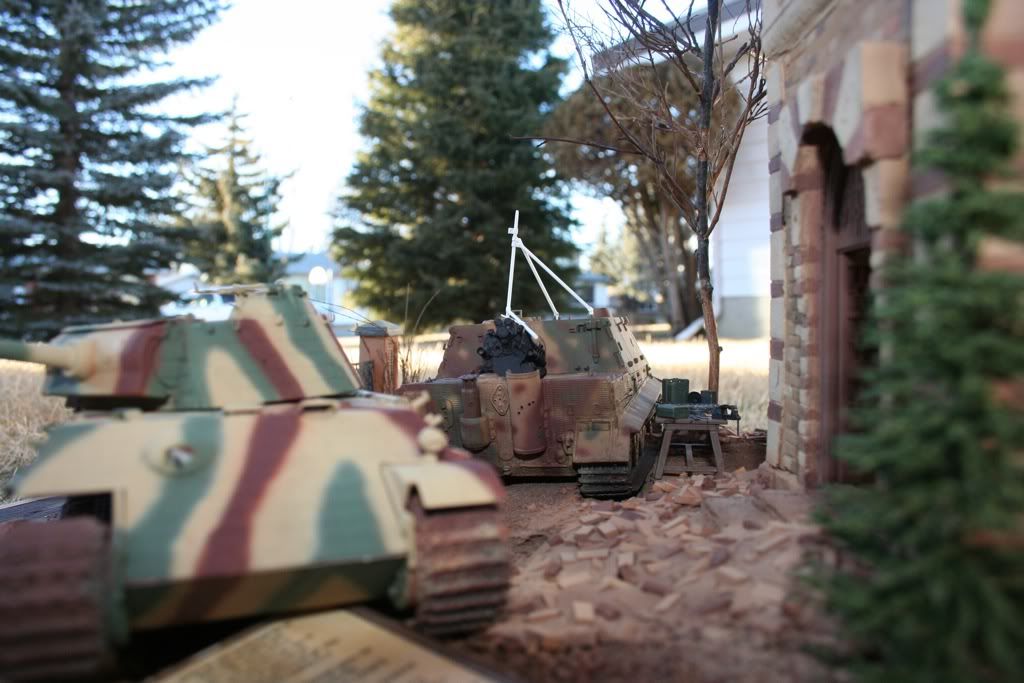
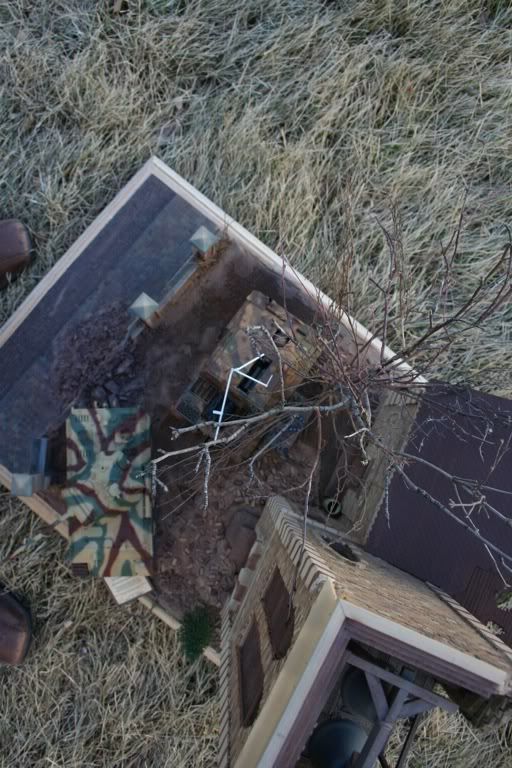
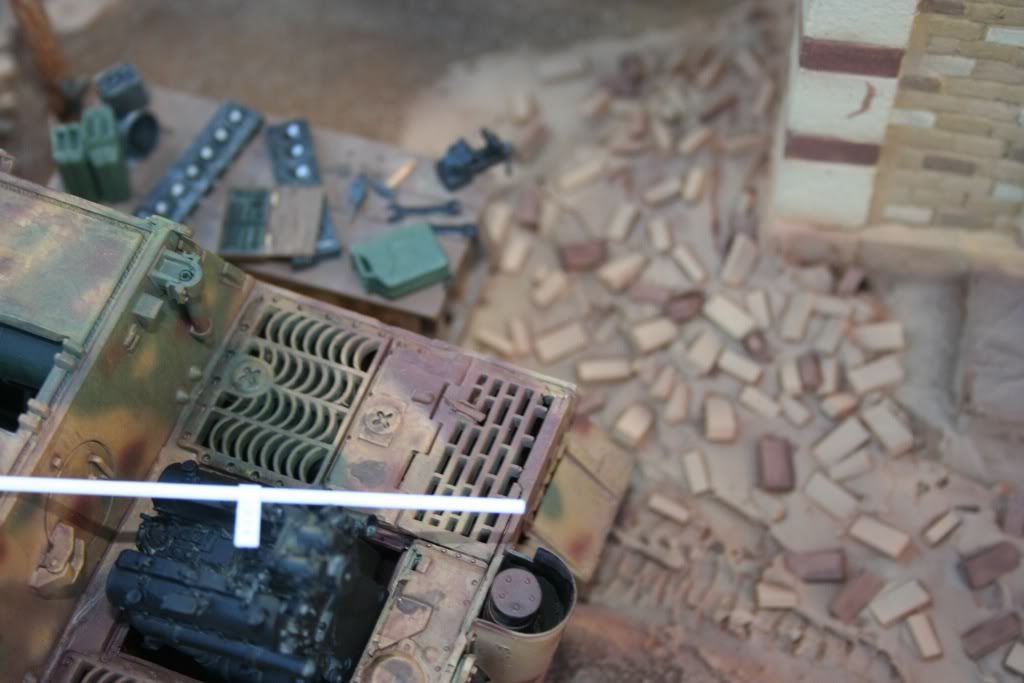
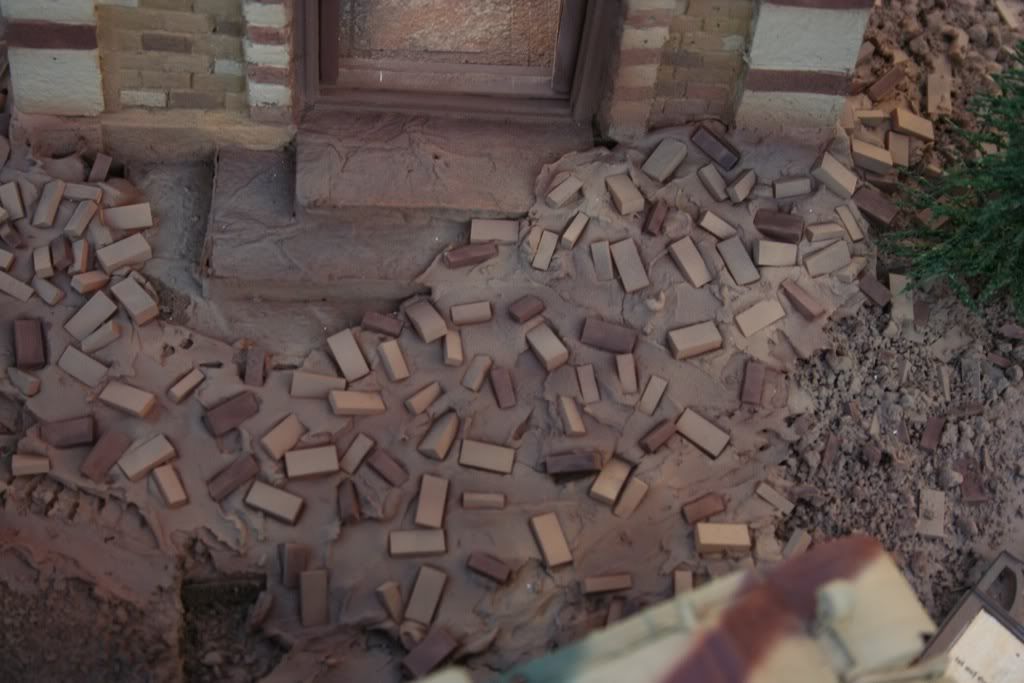
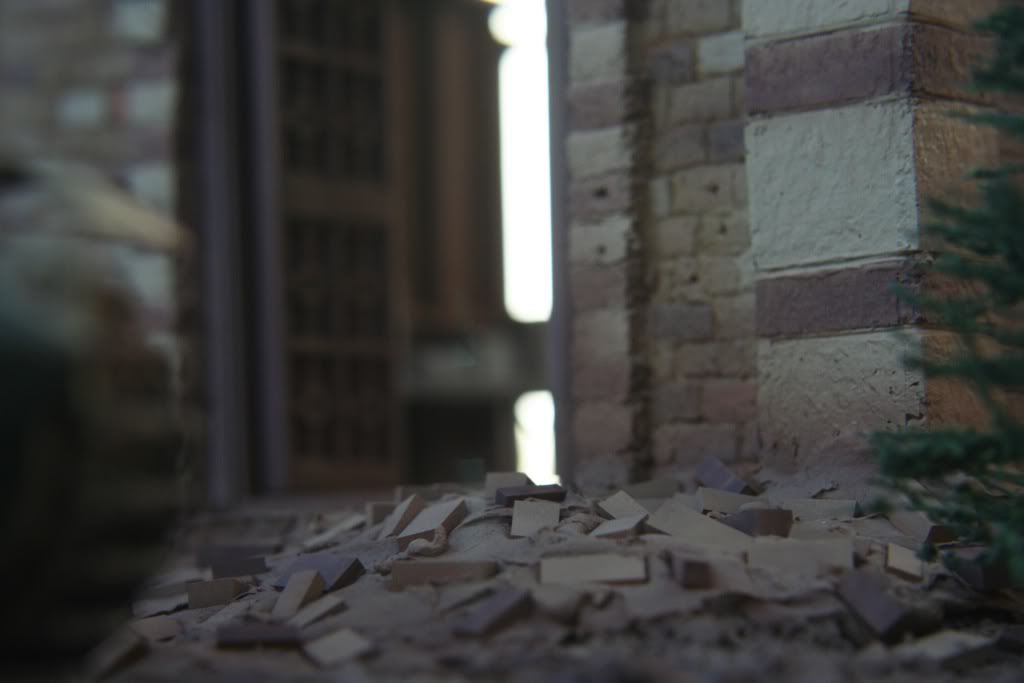
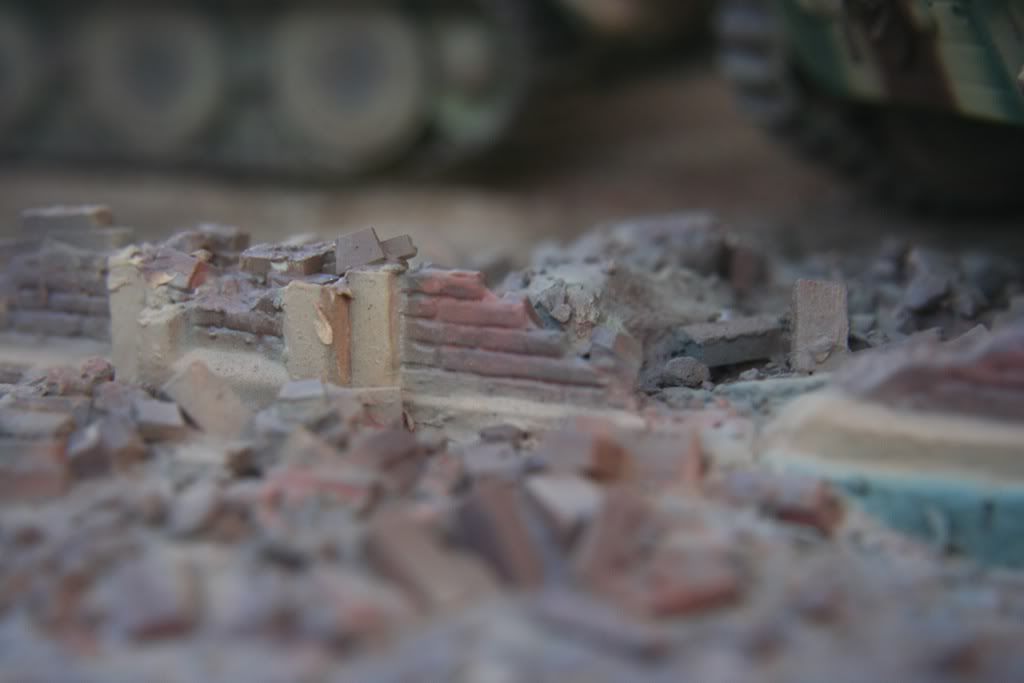
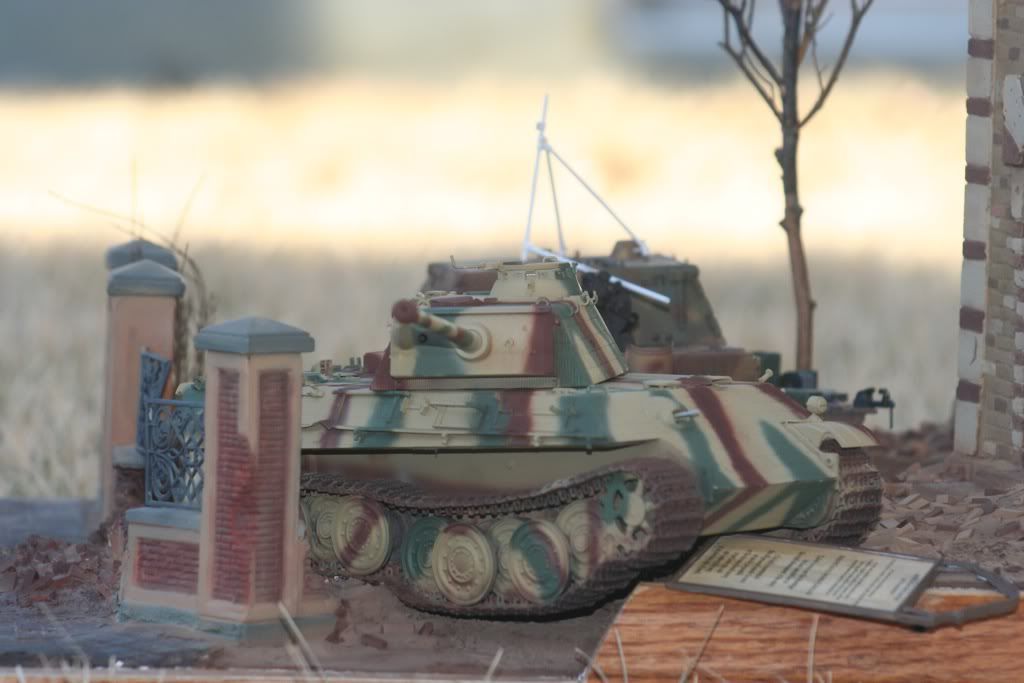
here are some views of the courtyard after the addition of the first stages of the new debris fields:
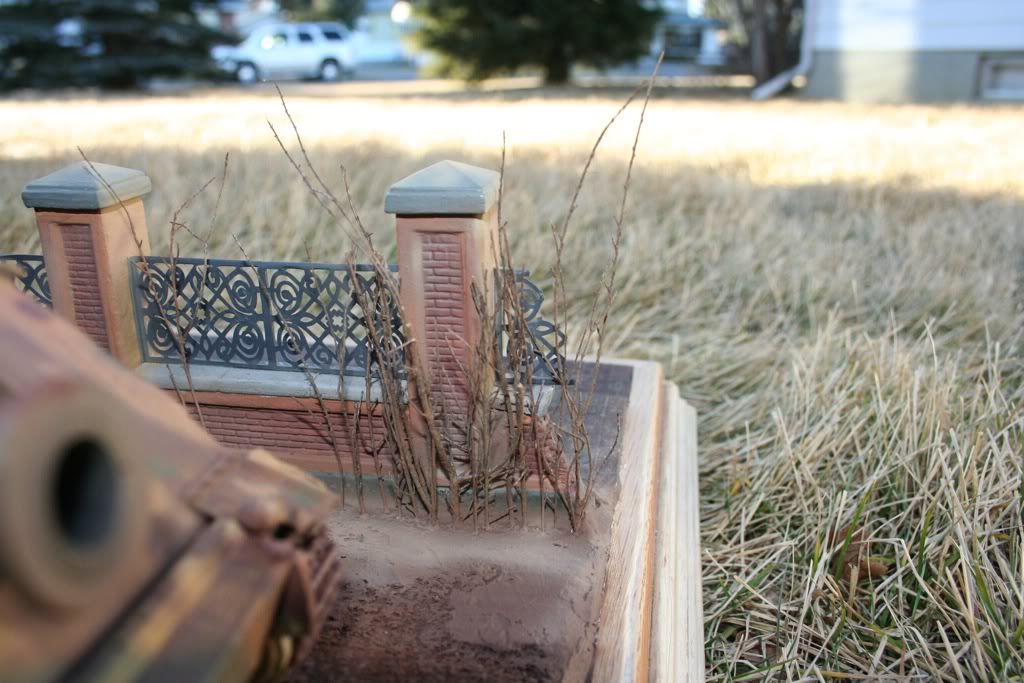
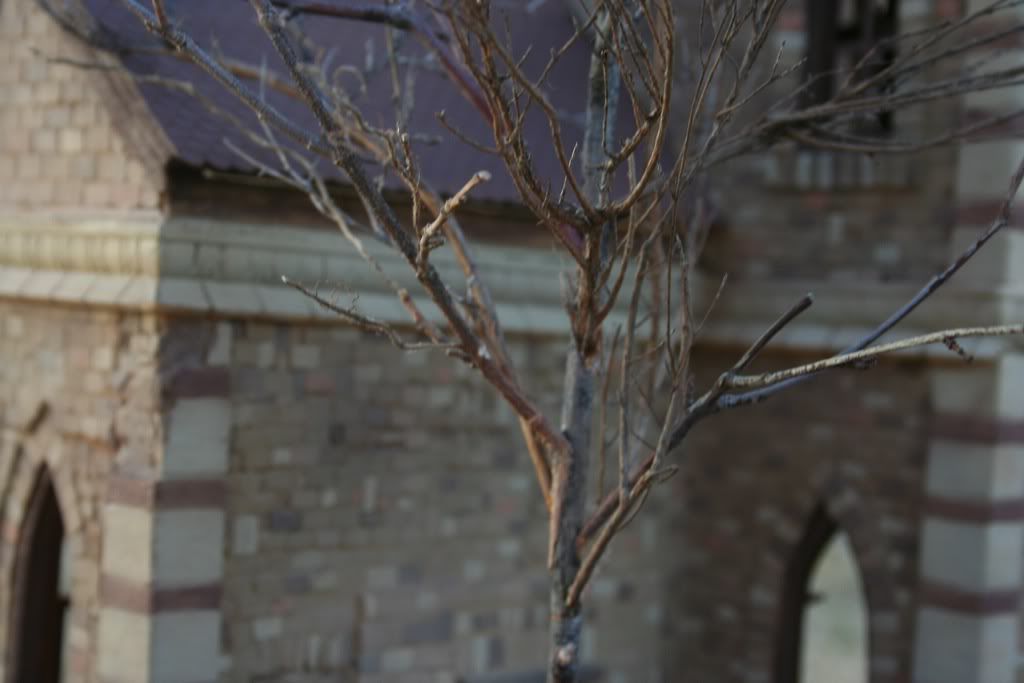
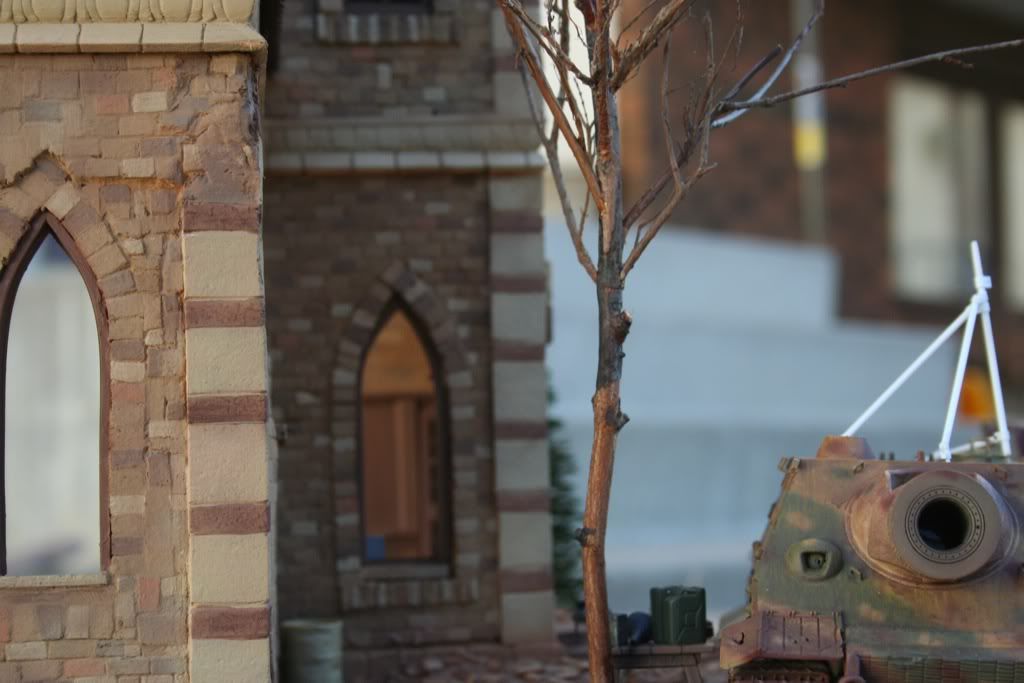
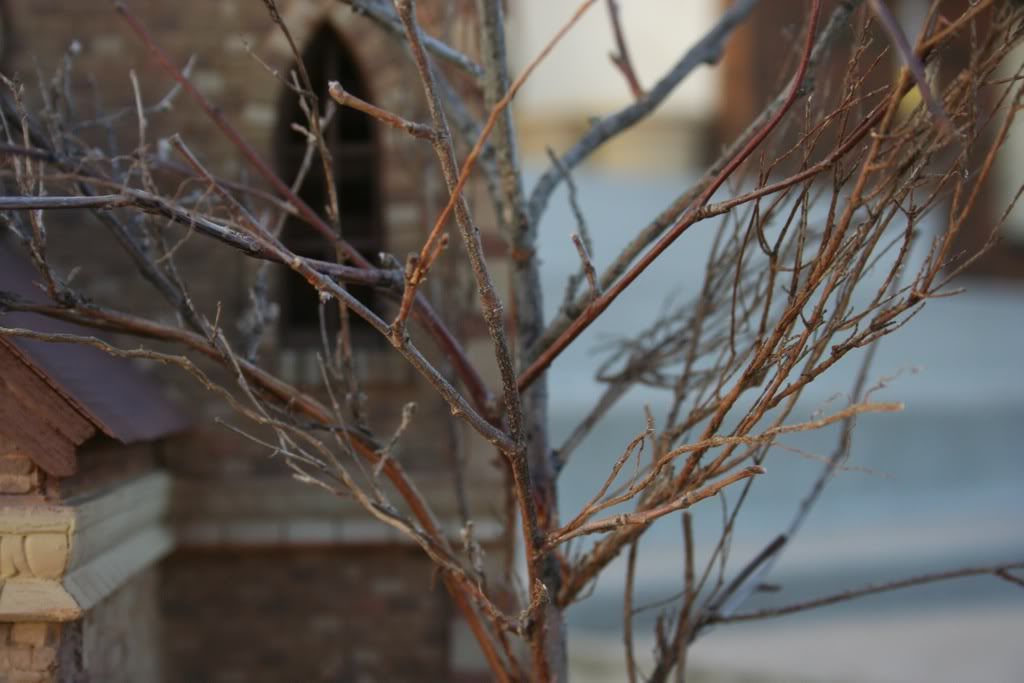
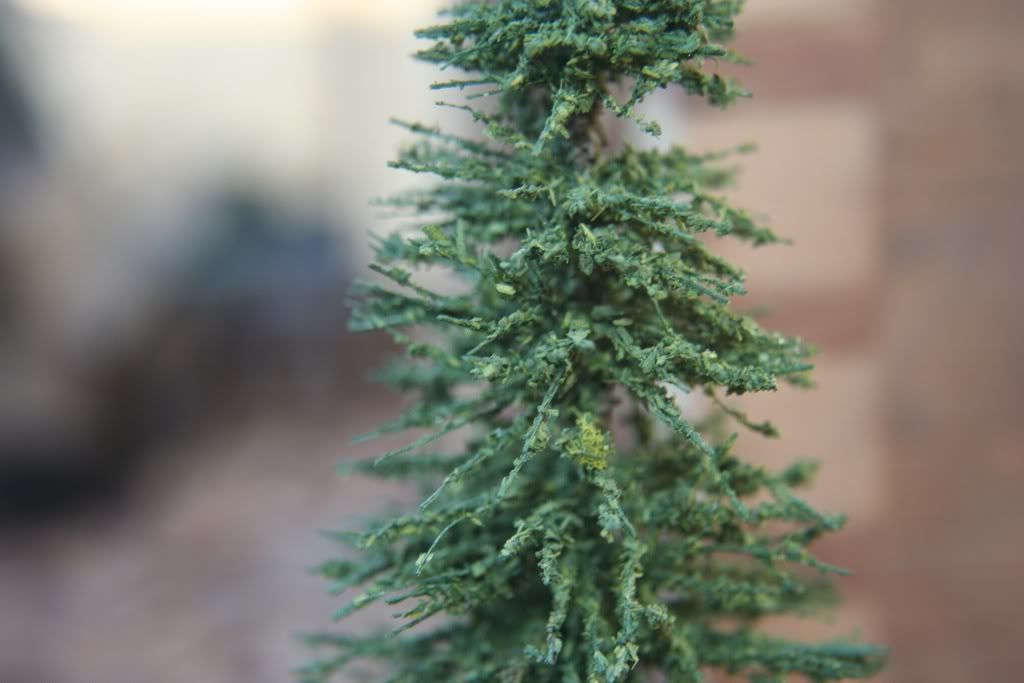
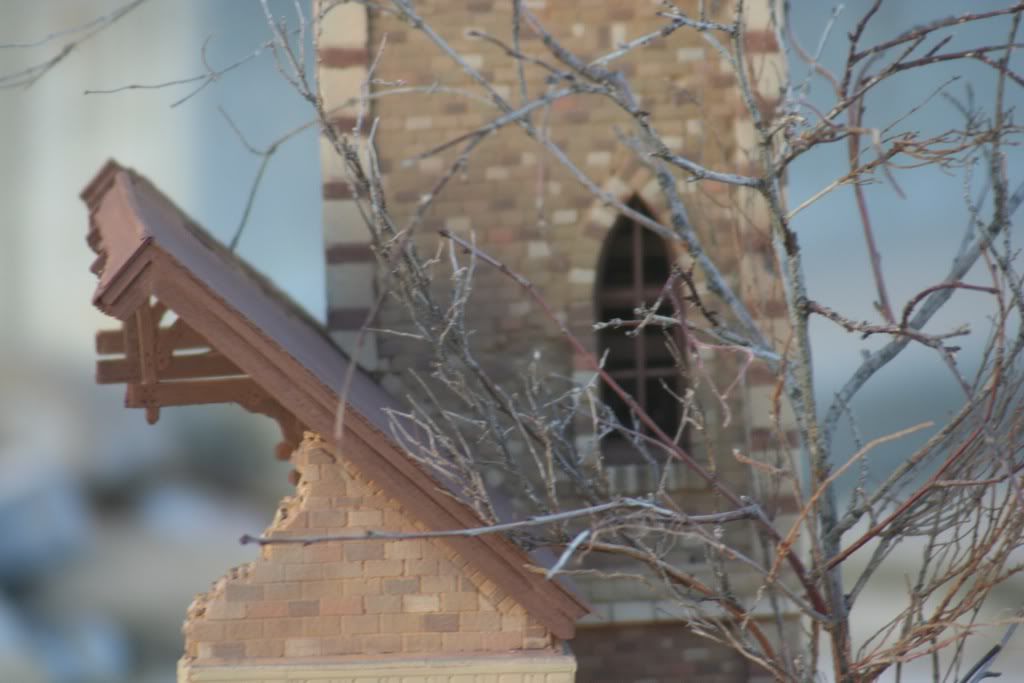
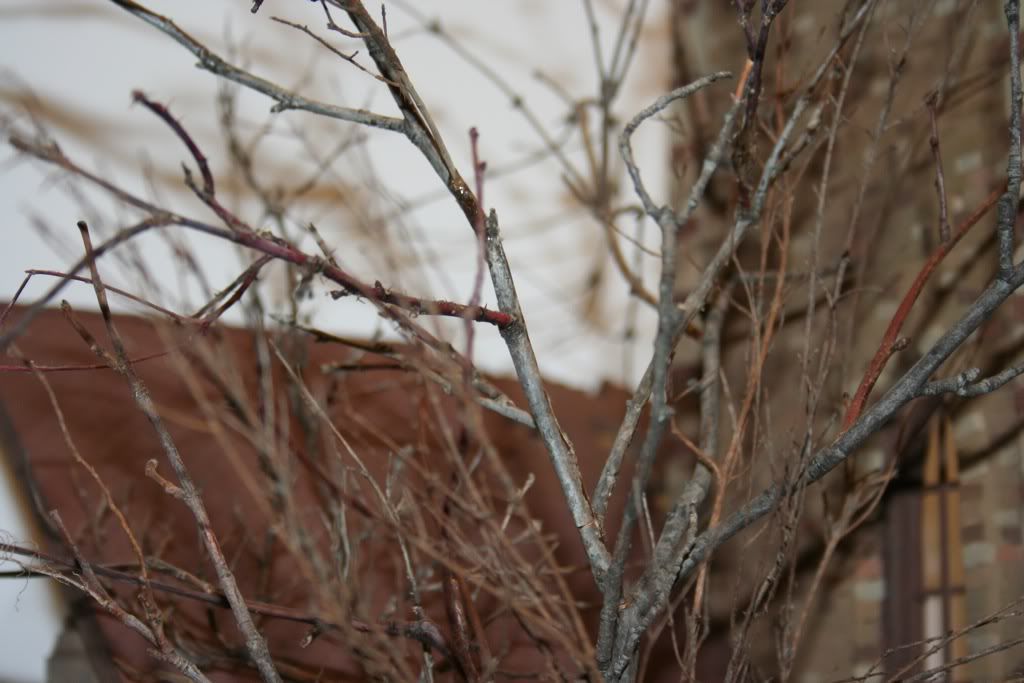
I have added some thickets, or saplings near the courtyard wall, they will eventually be placed on both side of the wall along the whole length, with some flattened into the broken through section as well:
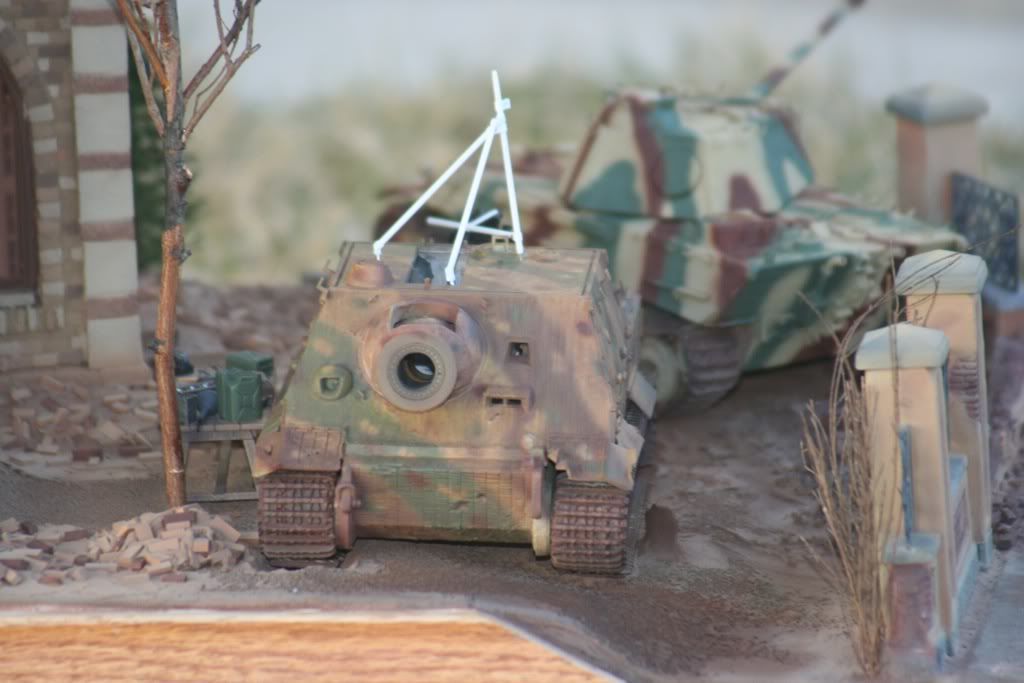
Here is how it will look with all the major elements in place:
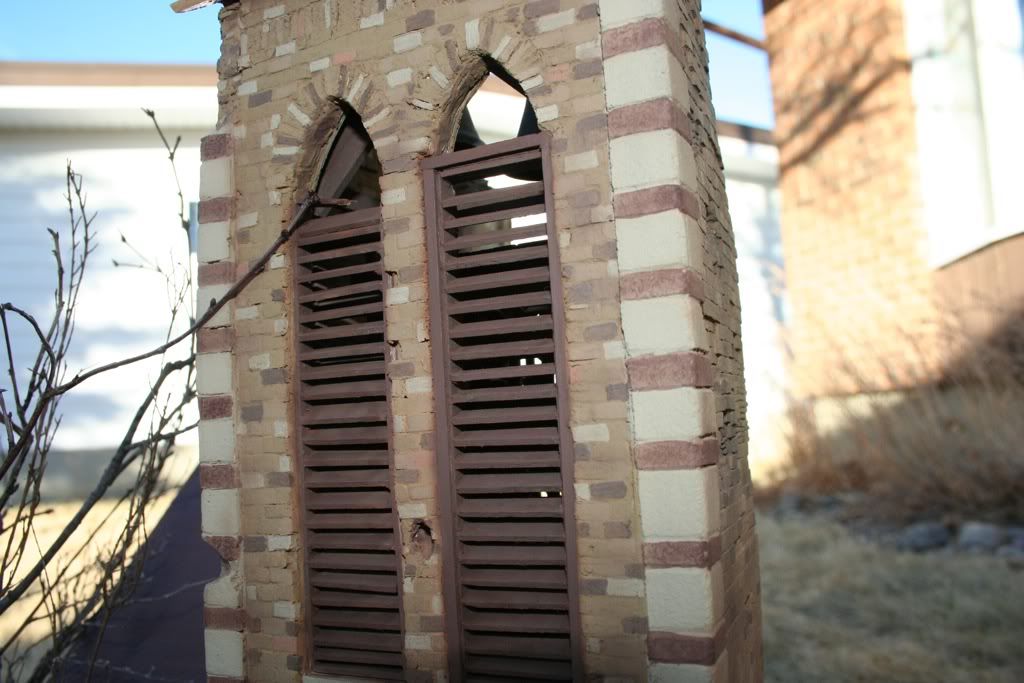
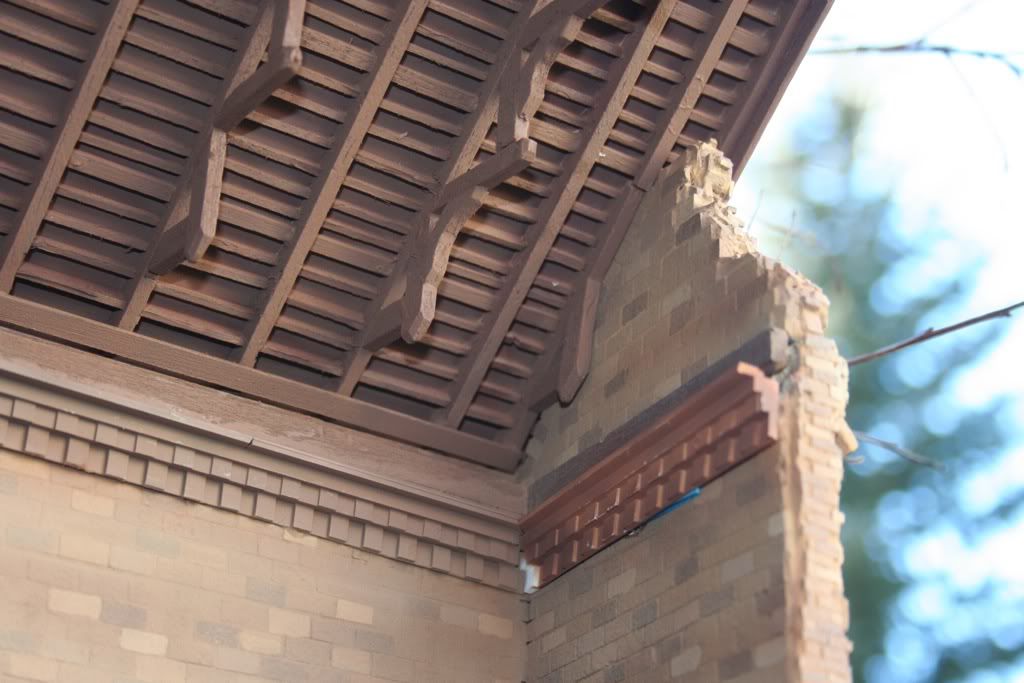
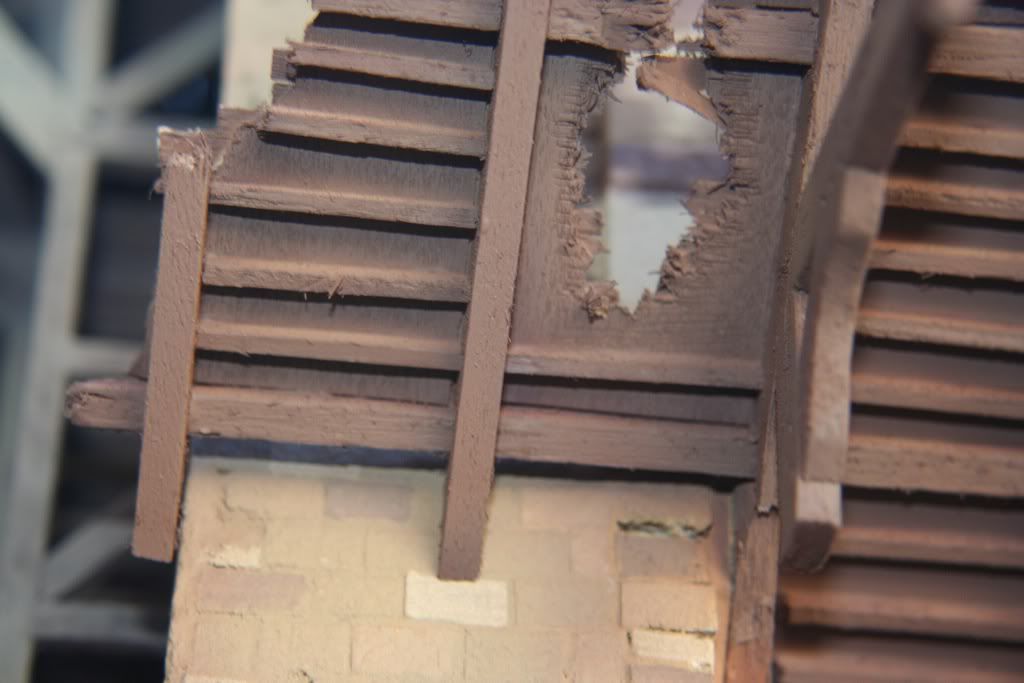
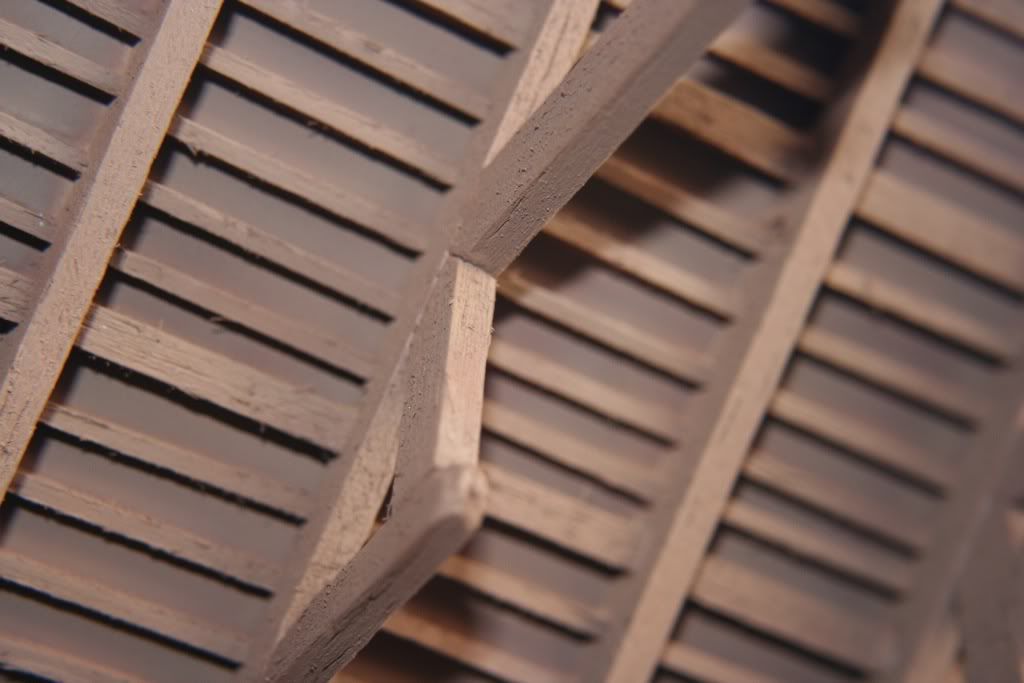
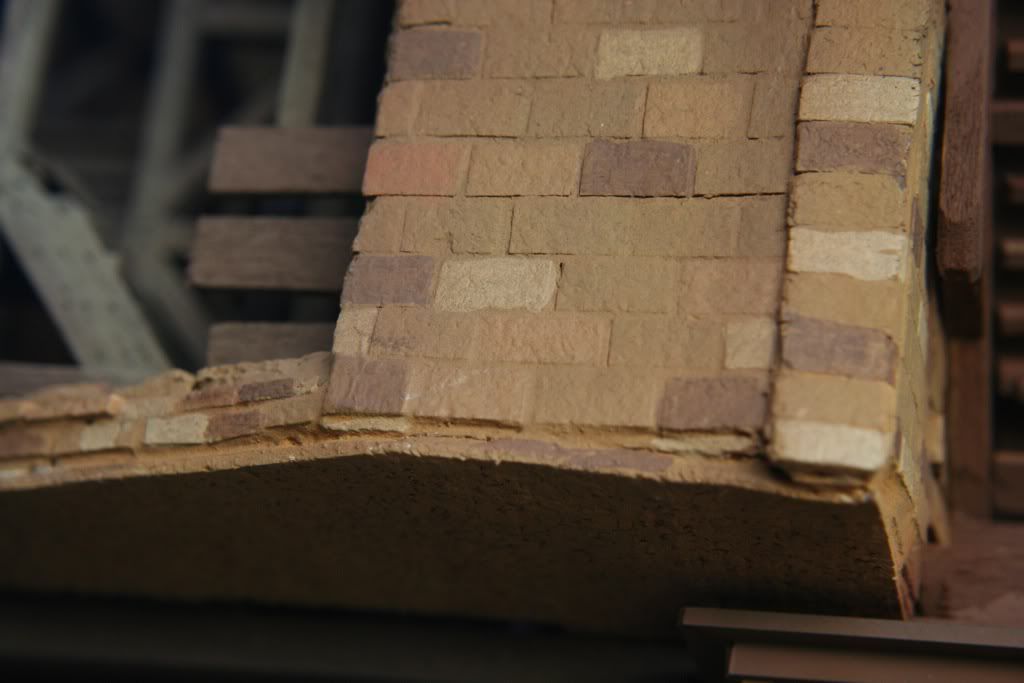
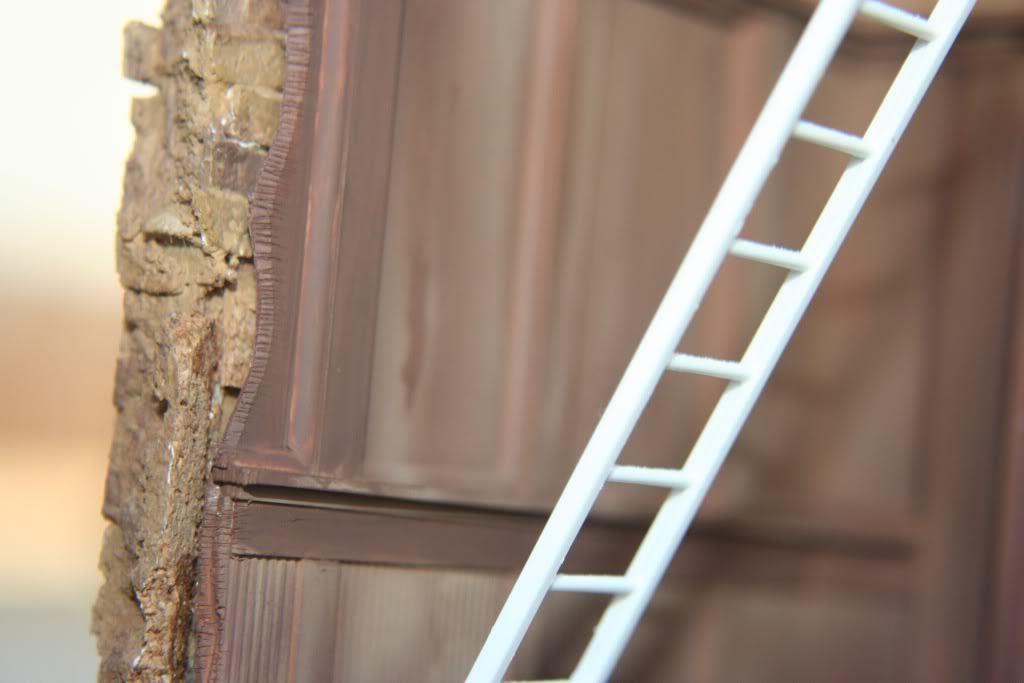
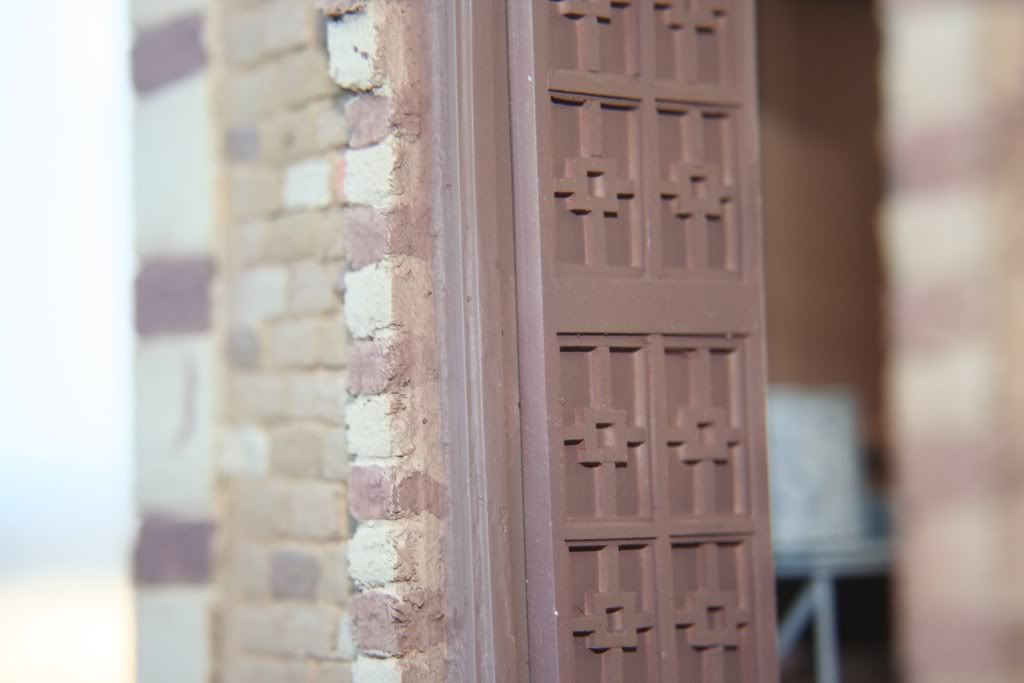
And lastly here are just some more detailed views of some of the elements involved in this project. I hope you all enjoy my efforts.
A note about the colors because my photography skills are not high.
I read somewhere a long time ago about the way one should model with the same type of eye on perspective and coloring as one does when they paint. What I mean is that you should take into account scale and depth of field when you model and especially when you paint. Let me try to explain it for those who may be unfamiliar with this theory, and please if I don't explain it correctly and someone else can get what i am trying to say please jump in and re-explain it for me.
the basic principle is that as we look at something our perspective of it changes as we get farther and farther away from it. As we retreat from an object it appears to loose detail, it appears to get smaller, and generally it appears to loose intensity of color. Things tend to blend into each other at distances of only a few yards, well maybe a few dozen yards.
when we are building in scale we see this in the amount of details we are naturally able to distinguish. The larger the scale, 1/6, 1/25 Etc. the greater the detail, because we can get closer to it in scale. What i mean is this. If I am literally 6 inches away from a 1/6th scale figure it is like I am standing only 3 feet away from it, but in 1/35th scale that same 6 inches is the equivalent of almost 18 feet, so what I will see from 18 feet is much less detail than I would see at 3 feet.
So I say all that to say this. While planning this work I took this perceptual theory in mind and because I know that I have intentionally forced the viewer to look at the details of this diorama from a distance of at least around 18 to twenty scale feet and at some points closer to 40 scale feet I chose to mute most of the colors and keep them within a very limited color palette. Mostly light browns and tans and muted because of this theory of scale, almost blended into a singular image. There are of course pockets of color to attract the eye, but i again hope that the end result will be one of harmonized color and scale effect.
And with that i will let you all get back to viewing the photos.
I am probably going golfing tomorrow as it is supposed to be +10 Celsius and the golf course at Picture Butte is open now, so I took some time this afternoon to hit a few balls at the course where I work. We are going to open mid march most likely so i should have plenty of time to finish this project before I have to start putting in the 12 hour days. On the plus side the course looked pretty good for the meager amount of snow we got this winter.... I have my fingers crossed.
anyway back to the business at hand. I managed to get the walls primed and the crown moldings done while I waited patiently for the # 248 quarter round to arrive at the hobby shop. I went at 1 PM. before my trip to the course and picked them up.
while I was waiting I put some more debris around the courtyard and did some more coloring of stones and bricks etc on the church.
While I have modeled the church in partial destruction, my goal was to keep the damage to a minimum. I did it more as a way of cutting the building off at the back of the frame and not so much to portray it as a bombed out building.
It was more along the idea of allowing the interior to be viewed without having to build the whole church. So unlike a factory building or a bombed out housing project where the debris would be piled high I chose to keep the debris fairly low key, just enough to suggest some hits on the church, but not enough that the damage would render the building unusable.
Again my entire reason for building this diorama was to practice and regain some skills I thought i once had, and to get accustomed to the new order of modeling. The game has really advanced over the past 30 years. I wanted to do a lot of little things to hone my skills so i have lots going on but nothing too fancy I think, lots to look at but nothing overpowering everything else.
Well that is my hope anyway.
Here are some views of the interior:
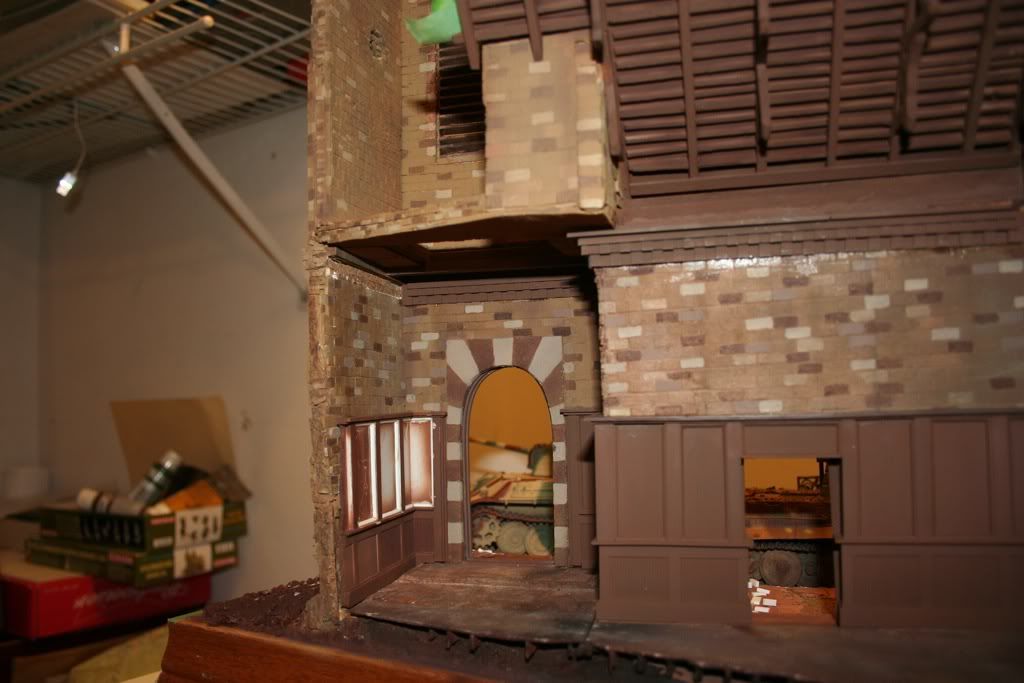
just some filters, washes and pastels left back here, then the addition of the radio tables, the piano and the book shelf on the main floor and the bell tower superstructure in the bell tower.
Still haven't decided just how many figures will be in the rear of the diorama but I will have at least 3 soldiers in the tower, one kneeling looking through with binoculars out the top of the right side louvers. another running up the stairs toward the top and another on the ladder or shouting down from the landing at the base of the tower down to the radioman at the table.
I also hope to have a guy playing the piano, apparently unaware or unconcerned with the action going on around him. Just lost in the respite from the hostilities and caught up by the melody I guess.
here are some views of the courtyard after the addition of the first stages of the new debris fields:
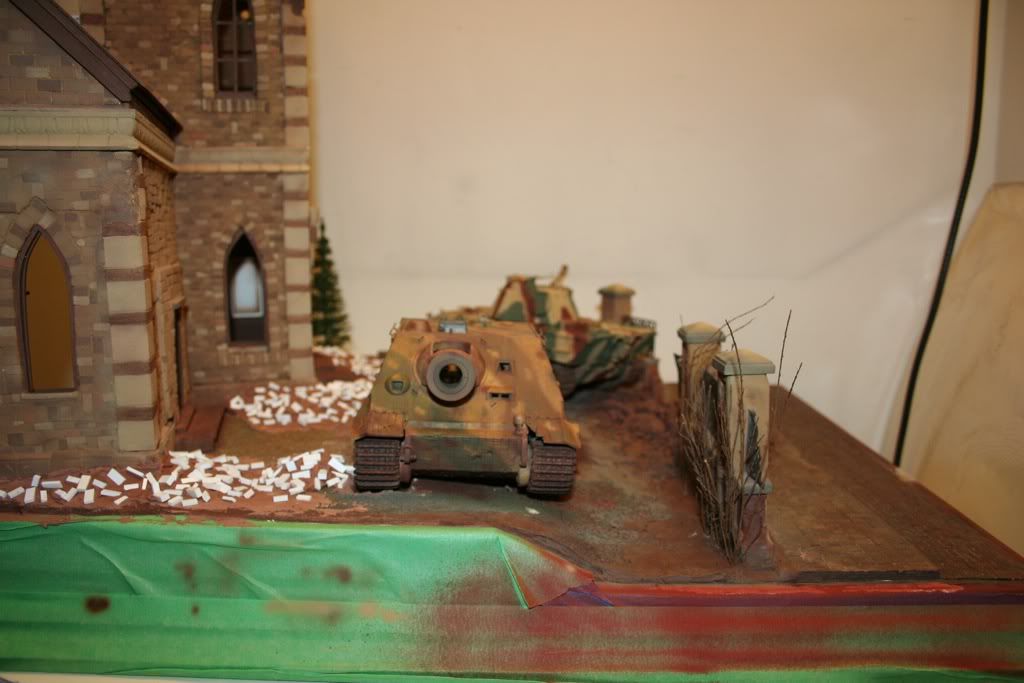
I have added some thickets, or saplings near the courtyard wall, they will eventually be placed on both side of the wall along the whole length, with some flattened into the broken through section as well:
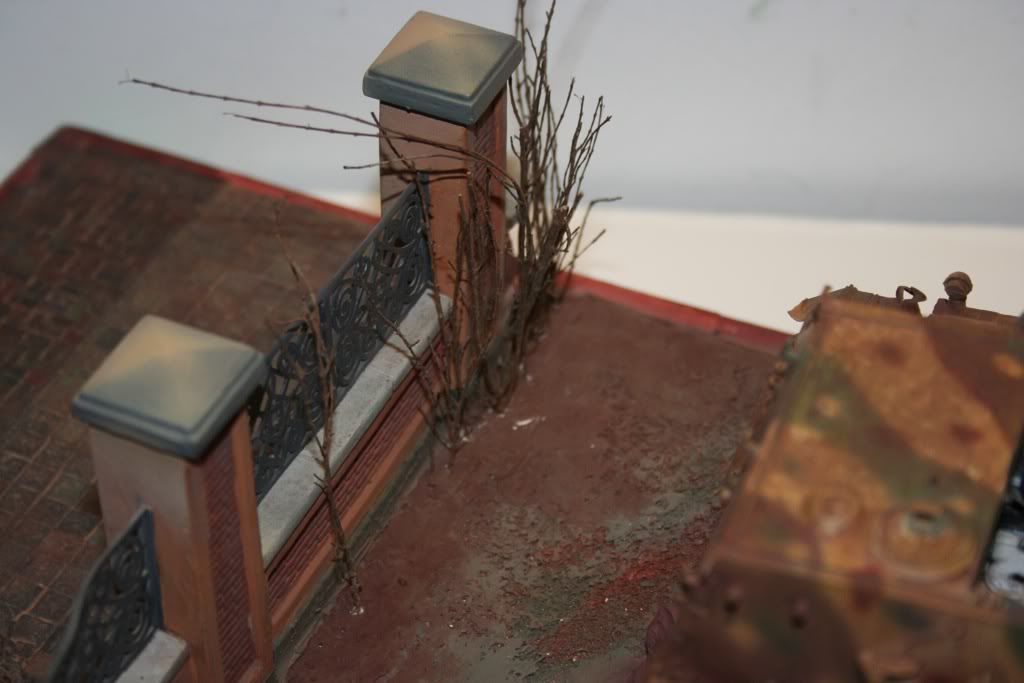
Here is how it will look with all the major elements in place:
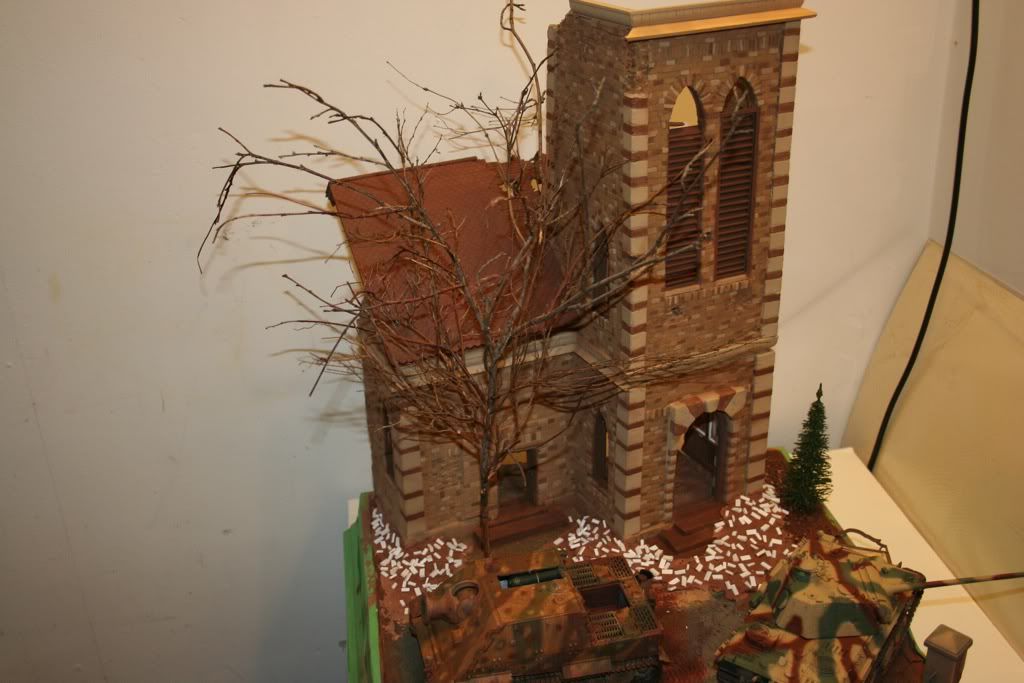
And lastly here are just some more detailed views of some of the elements involved in this project. I hope you all enjoy my efforts.
A note about the colors because my photography skills are not high.
I read somewhere a long time ago about the way one should model with the same type of eye on perspective and coloring as one does when they paint. What I mean is that you should take into account scale and depth of field when you model and especially when you paint. Let me try to explain it for those who may be unfamiliar with this theory, and please if I don't explain it correctly and someone else can get what i am trying to say please jump in and re-explain it for me.
the basic principle is that as we look at something our perspective of it changes as we get farther and farther away from it. As we retreat from an object it appears to loose detail, it appears to get smaller, and generally it appears to loose intensity of color. Things tend to blend into each other at distances of only a few yards, well maybe a few dozen yards.
when we are building in scale we see this in the amount of details we are naturally able to distinguish. The larger the scale, 1/6, 1/25 Etc. the greater the detail, because we can get closer to it in scale. What i mean is this. If I am literally 6 inches away from a 1/6th scale figure it is like I am standing only 3 feet away from it, but in 1/35th scale that same 6 inches is the equivalent of almost 18 feet, so what I will see from 18 feet is much less detail than I would see at 3 feet.
So I say all that to say this. While planning this work I took this perceptual theory in mind and because I know that I have intentionally forced the viewer to look at the details of this diorama from a distance of at least around 18 to twenty scale feet and at some points closer to 40 scale feet I chose to mute most of the colors and keep them within a very limited color palette. Mostly light browns and tans and muted because of this theory of scale, almost blended into a singular image. There are of course pockets of color to attract the eye, but i again hope that the end result will be one of harmonized color and scale effect.
And with that i will let you all get back to viewing the photos.
roudeleiw
Luxembourg
Joined: January 19, 2004
KitMaker: 2,406 posts
Armorama: 2,224 posts
Joined: January 19, 2004
KitMaker: 2,406 posts
Armorama: 2,224 posts
Posted: Friday, February 03, 2012 - 05:47 AM UTC
Still very impressed!
I like you taking down stuff you don't like and rebuild it.
The church could probably be used better for a diorama with less heavy metal.
Well done
Claude
I like you taking down stuff you don't like and rebuild it.
The church could probably be used better for a diorama with less heavy metal.
Well done
Claude
Spiderfrommars
Milano, Italy
Joined: July 13, 2010
KitMaker: 3,845 posts
Armorama: 3,543 posts
Joined: July 13, 2010
KitMaker: 3,845 posts
Armorama: 3,543 posts
Posted: Friday, February 03, 2012 - 05:56 AM UTC
WOW!!!!!
OUTSTANDING!!!
OUTSTANDING!!!
ahandykindaguy
Alberta, Canada
Joined: August 20, 2008
KitMaker: 1,295 posts
Armorama: 1,191 posts
Joined: August 20, 2008
KitMaker: 1,295 posts
Armorama: 1,191 posts
Posted: Friday, February 03, 2012 - 06:42 AM UTC
Hey Claude, thanks for the encouragement. It is very hard to bust away parts of the work of your hands but sometimes a guy has to be willing to tear down walls in or to learn from his mistakes and in this instance it was a couple extra days labor I think well worth the effort.
About the church as a place for the big cats, or as you put them the heavy metal. I pastored for years and think maybe we should have had a little more heavy metal in the church... some of the kids I worked with may have stayed longer if we had. lol. I think maybe the Sturm crew just thought it might be a place of sanctuary where they may have been able to get the peace and quiet they needed to swap out an engine?
And who would have blamed a fellow soldier in arms from busting through a gated wall to tell his comrades of the impending doom?
Remember that I chose a church not for a statement, but because it is a familiar image to me. One I have always wanted to incorporate into a diorama and that I could reproduce without too much trouble having been in them so much over the years.
Perhaps my next church diorama will be the chapter from " The Eagle has Landed" where Oberst Steiner explains to the village vicar that he will be running exercises in and around the village, just as the soldier is trying to save the girl who fell into the creek at the mill?
I just came up from the dungeon to take some better pictures of the progress. Its too cold to golf, but nice enough to take some good outdoor photographs. I will post some more later this afternoon.
Thanks Mauro. I appreciate your comments.
zontar
Hawaii, United States
Joined: August 27, 2006
KitMaker: 1,646 posts
Armorama: 1,557 posts
Joined: August 27, 2006
KitMaker: 1,646 posts
Armorama: 1,557 posts
Posted: Friday, February 03, 2012 - 10:12 AM UTC
Dave: This dio is really shaping up to be a great work. I especially appreciate the interior detailing and your willingness to redo it. Overall it is looking really great and I look forward to seeing more.
Happy Modelling, -zon
ahandykindaguy
Alberta, Canada
Joined: August 20, 2008
KitMaker: 1,295 posts
Armorama: 1,191 posts
Joined: August 20, 2008
KitMaker: 1,295 posts
Armorama: 1,191 posts
Posted: Friday, February 03, 2012 - 11:24 AM UTC
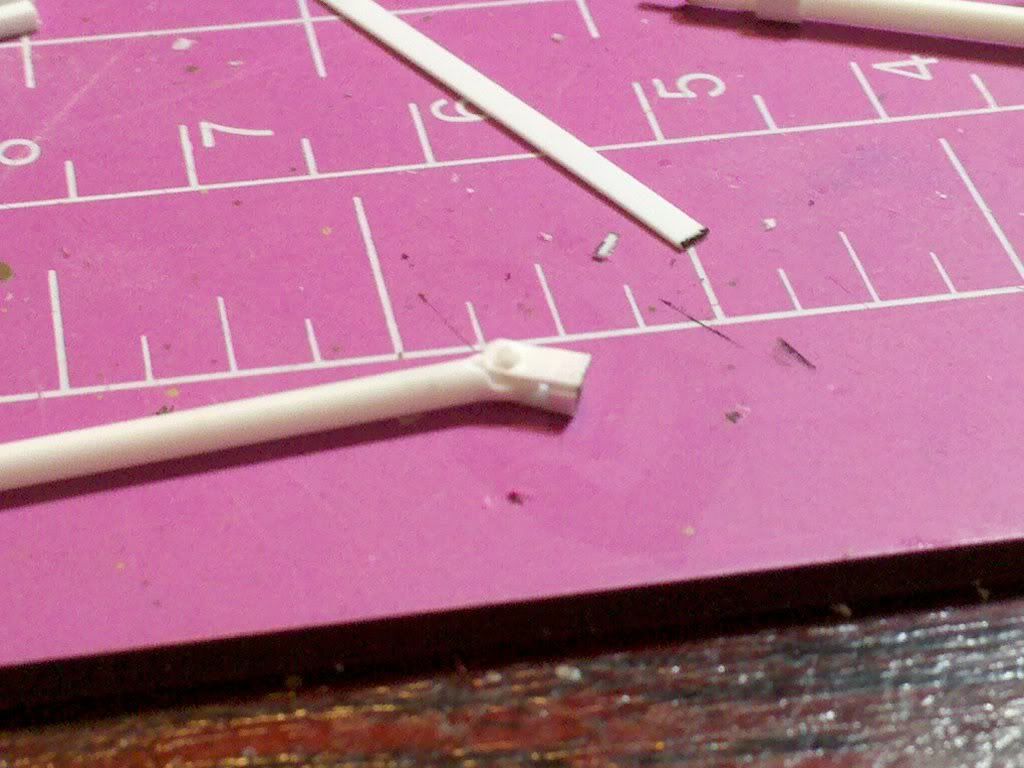
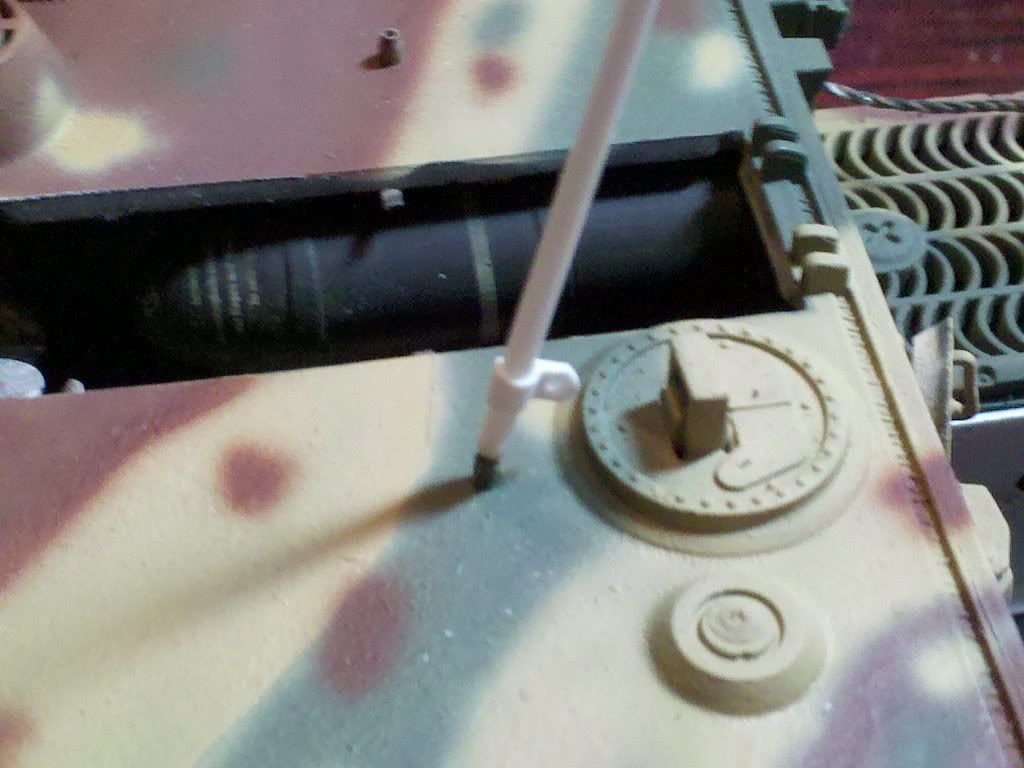
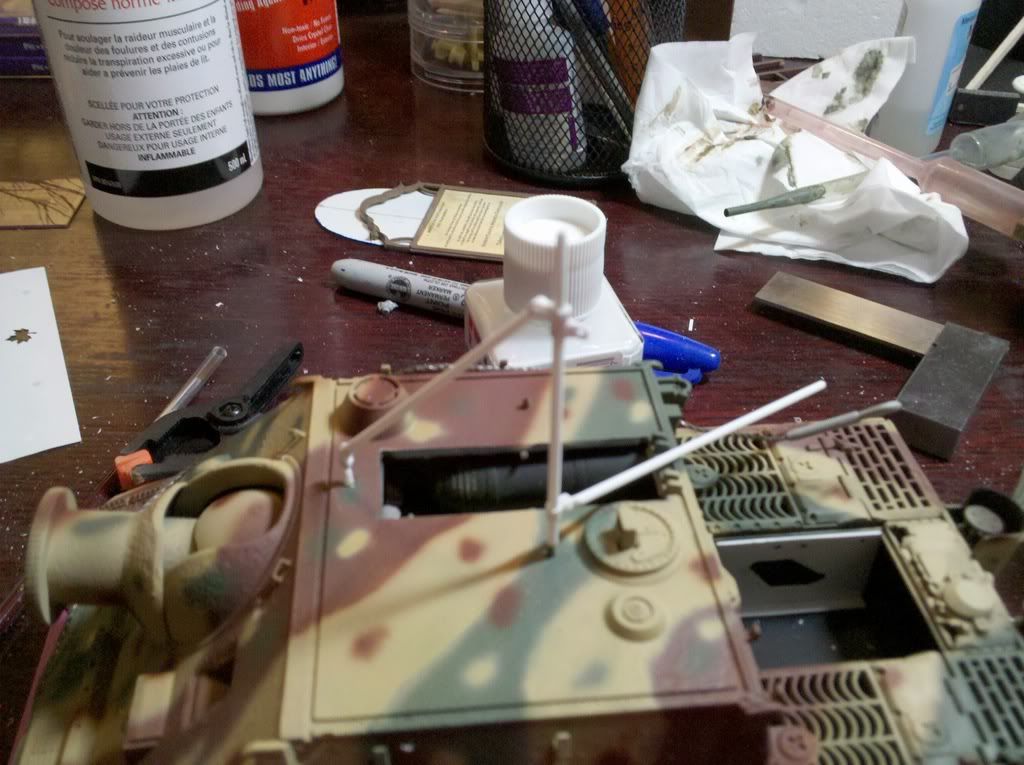
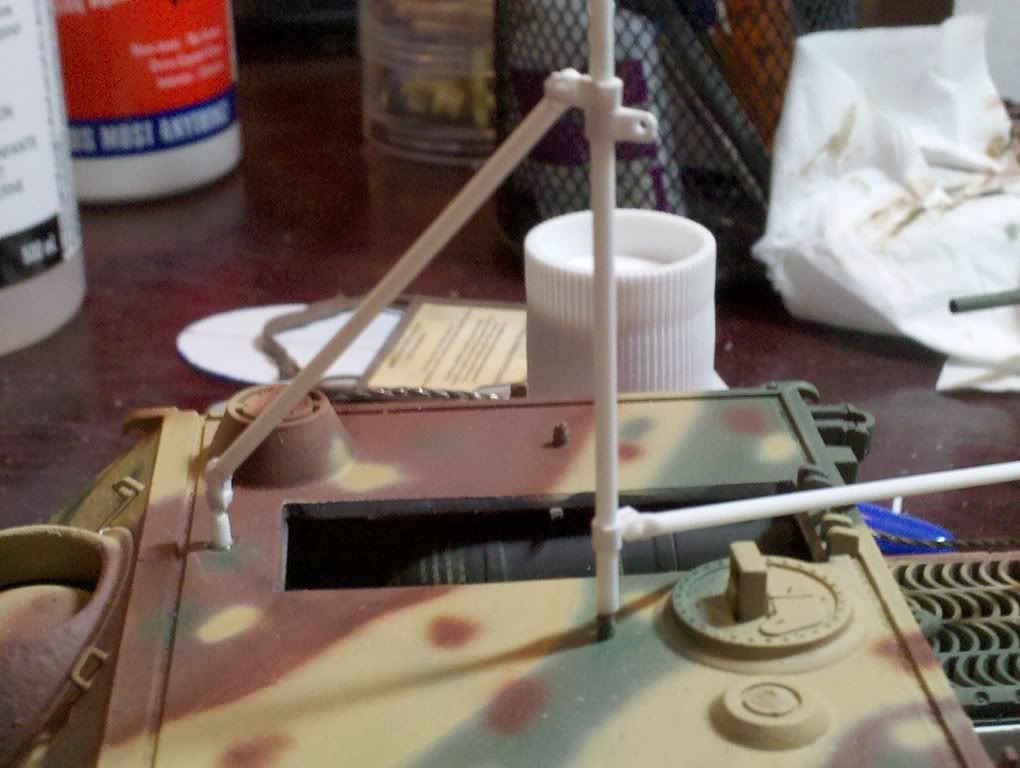
Thank you Zon, the end justified the means in this case. I have had nothing but good responses from everyone that i made the right decision to redo the interior. I may only have one more redo to go before I can complete the scene and actually start to build & add the figures to this project. My initial thoughts are that the plastic stock crane jib i built will not be strong enough to hold the fairly heavy resin Maybach engine for the rear of the Sturmtiger. I may have to " manufacture" something out of brass tubing. But that is at least a couple days away.
Again thanks for the praise.
ahandykindaguy
Alberta, Canada
Joined: August 20, 2008
KitMaker: 1,295 posts
Armorama: 1,191 posts
Joined: August 20, 2008
KitMaker: 1,295 posts
Armorama: 1,191 posts
Posted: Friday, February 03, 2012 - 01:12 PM UTC
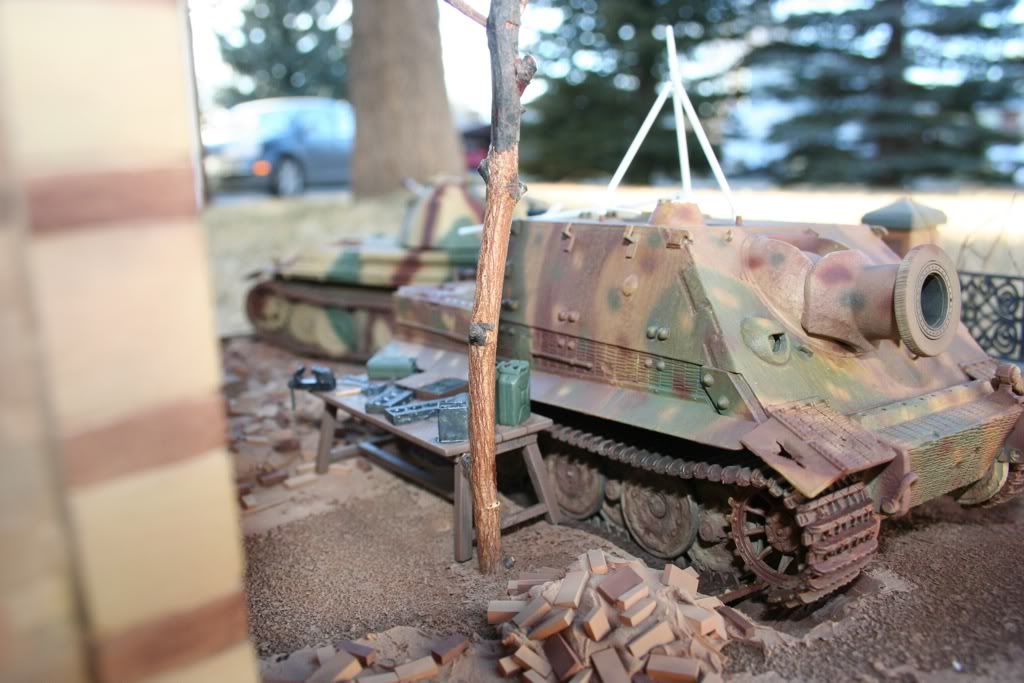
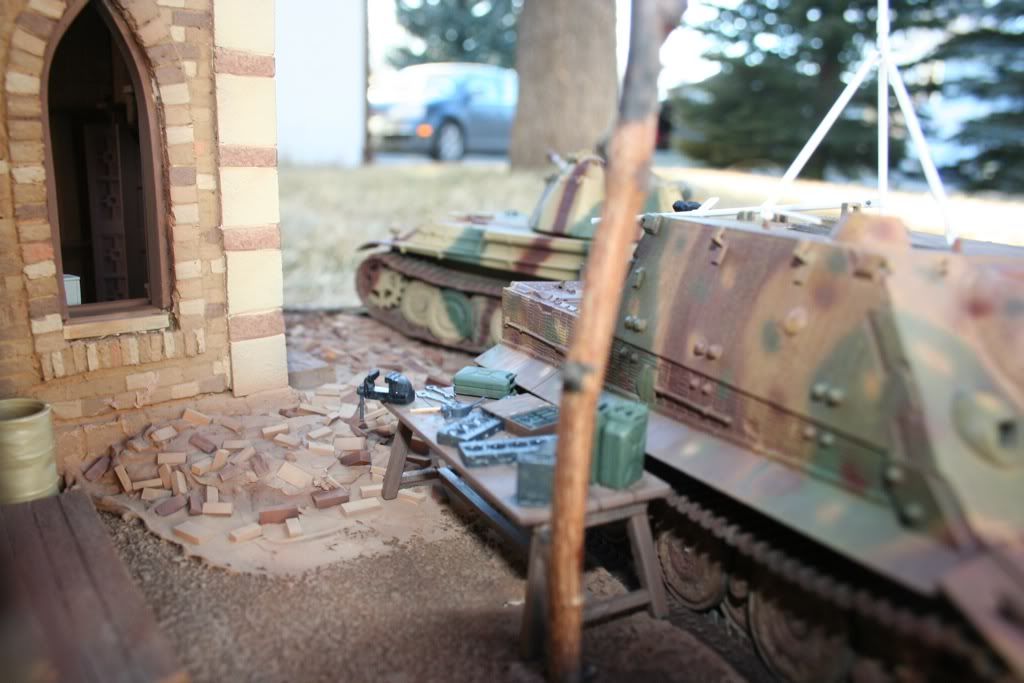
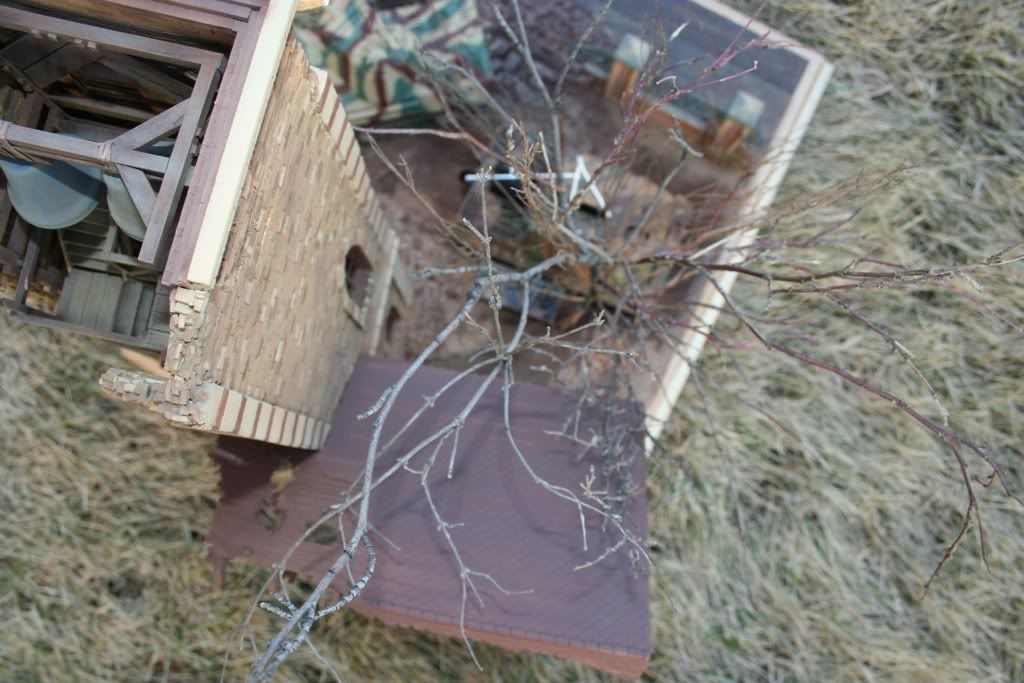
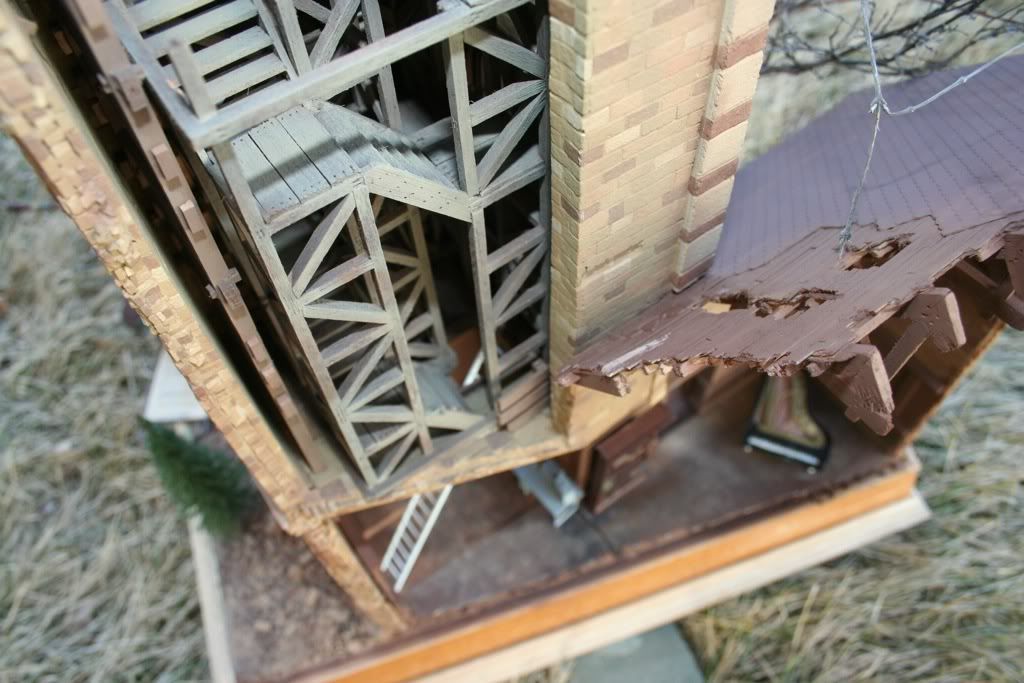
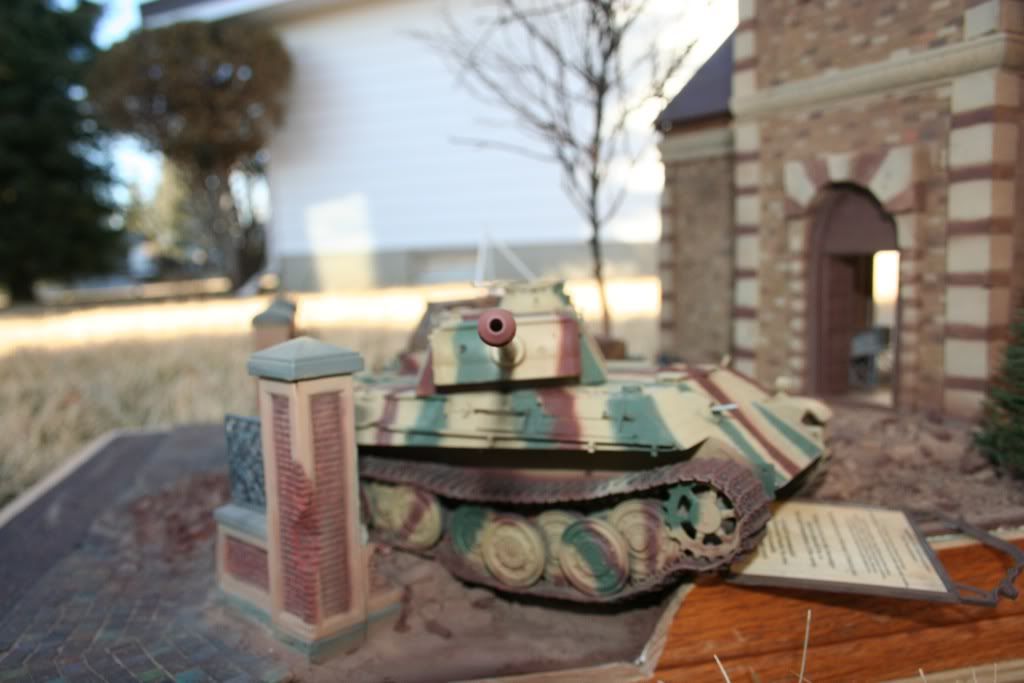
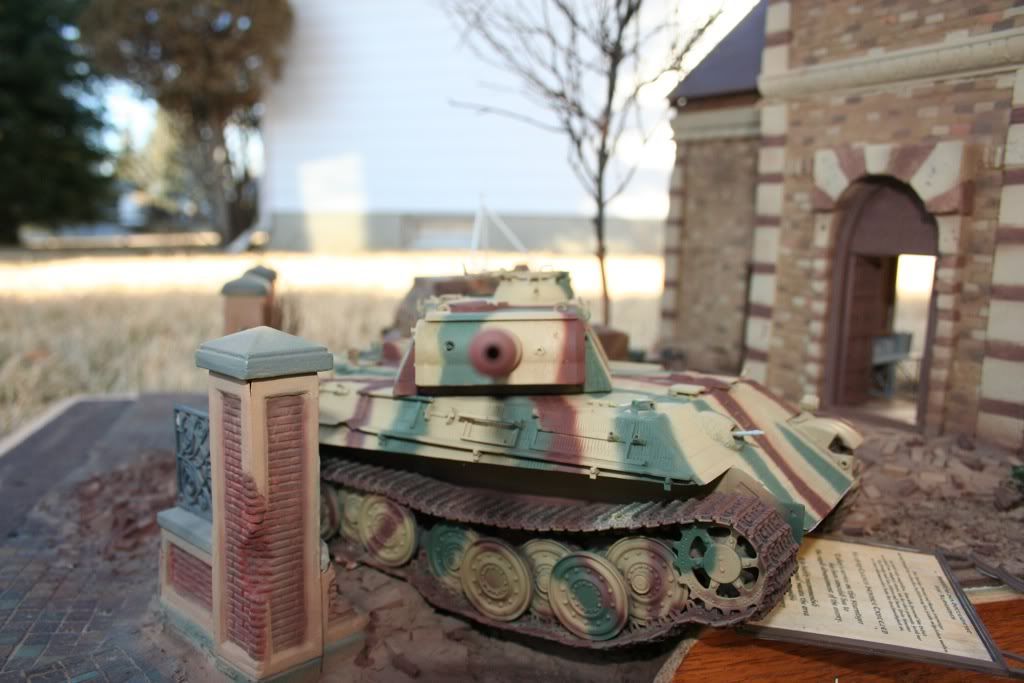
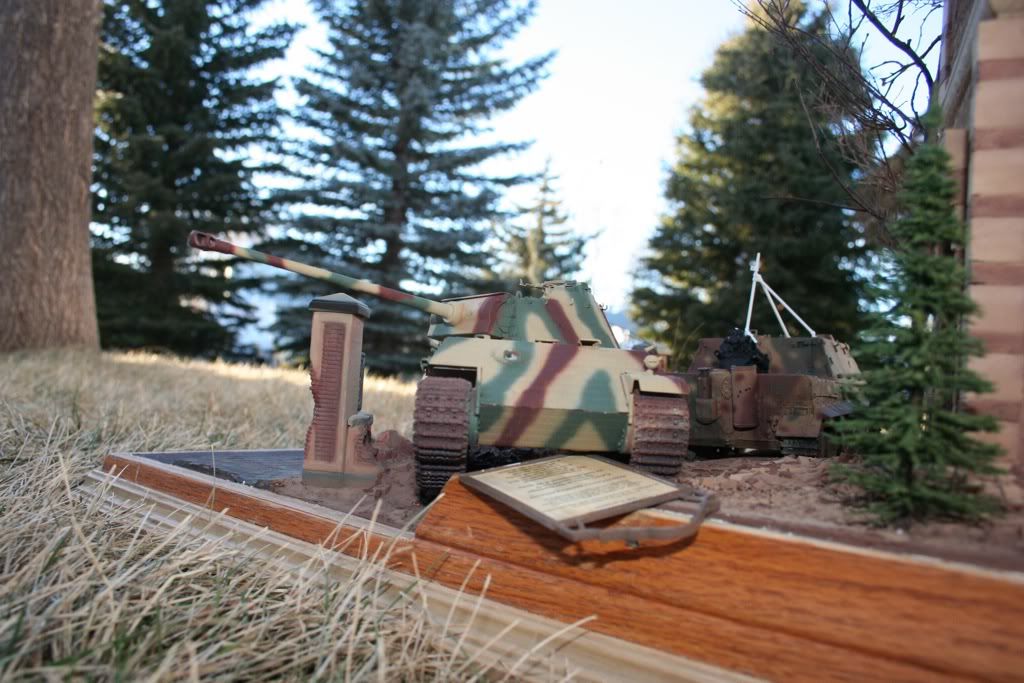
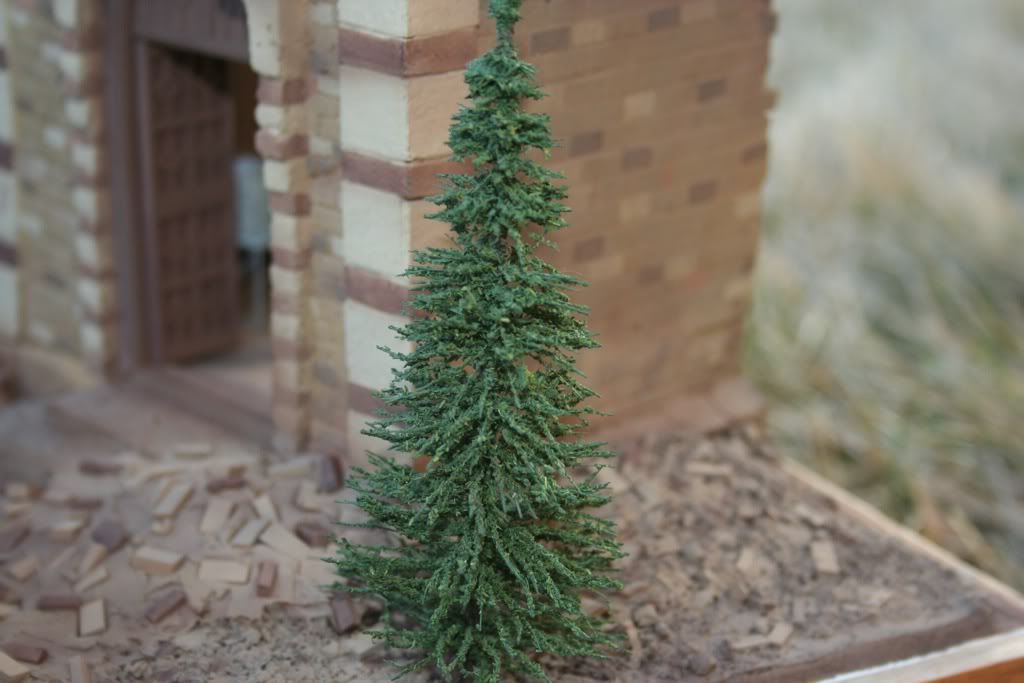
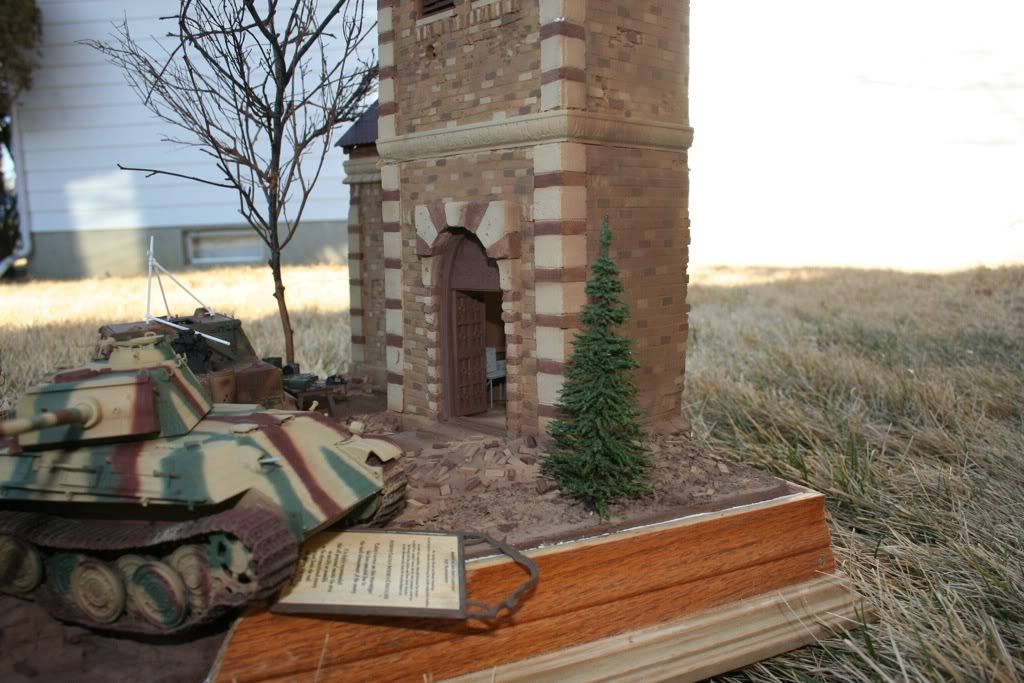
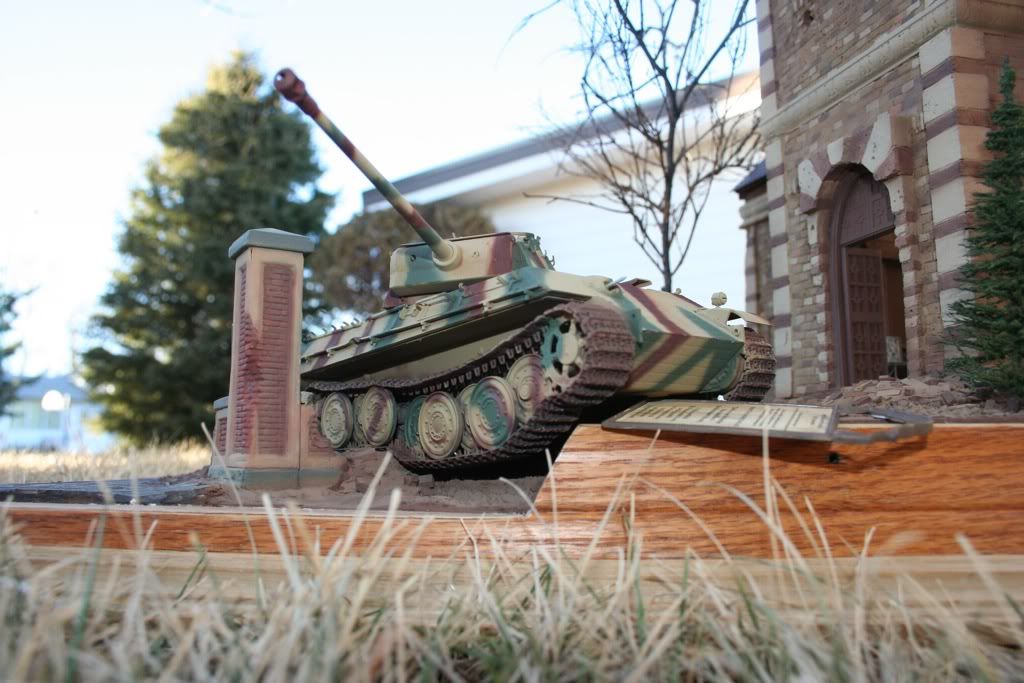
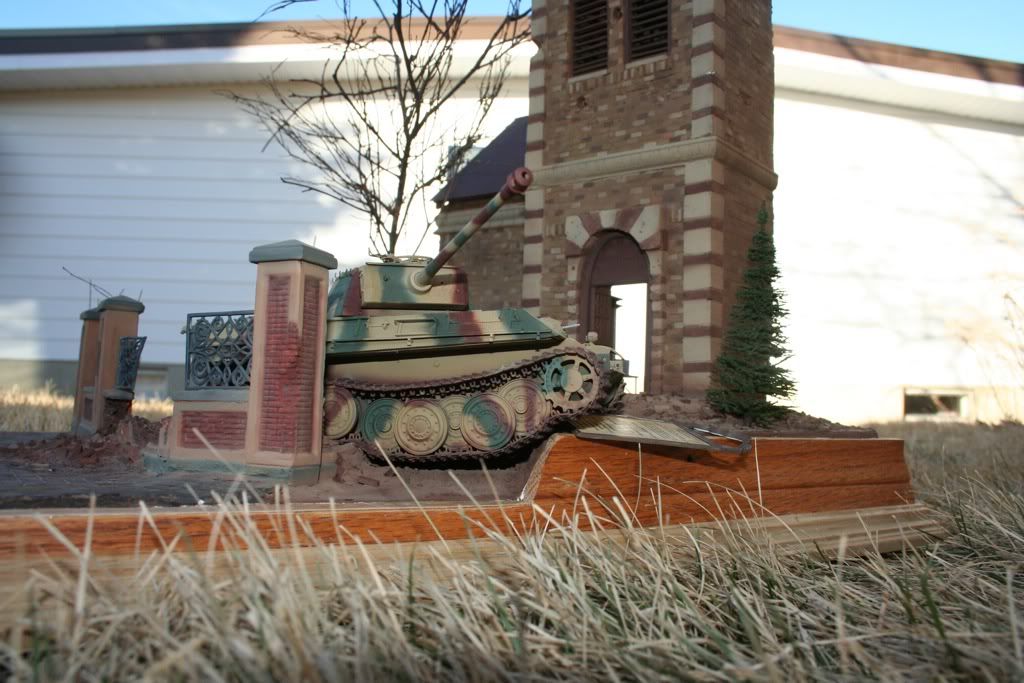
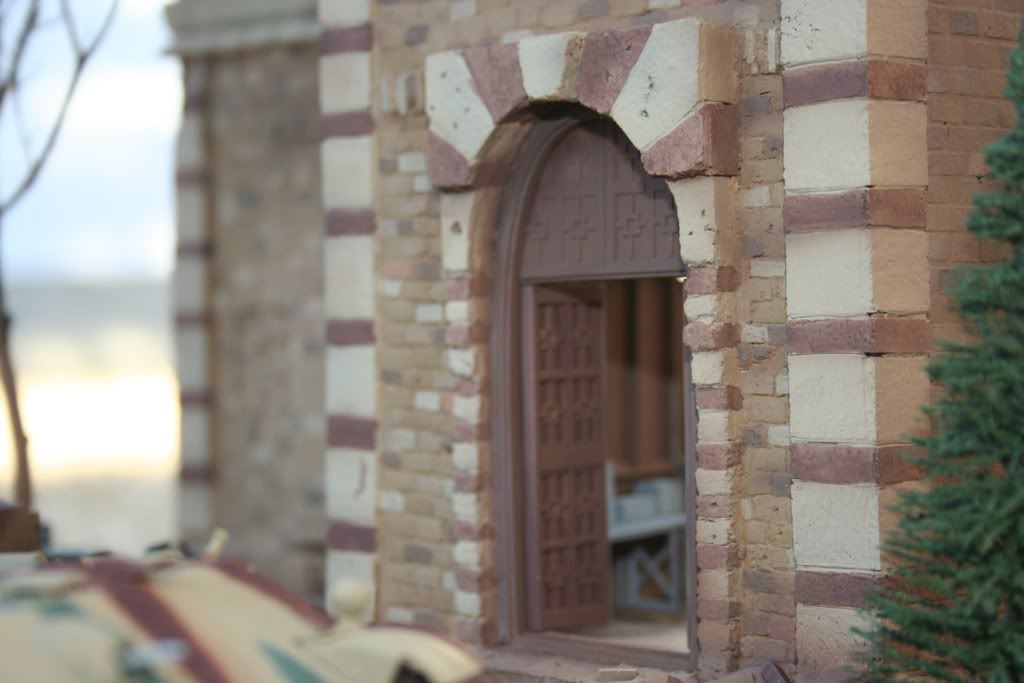
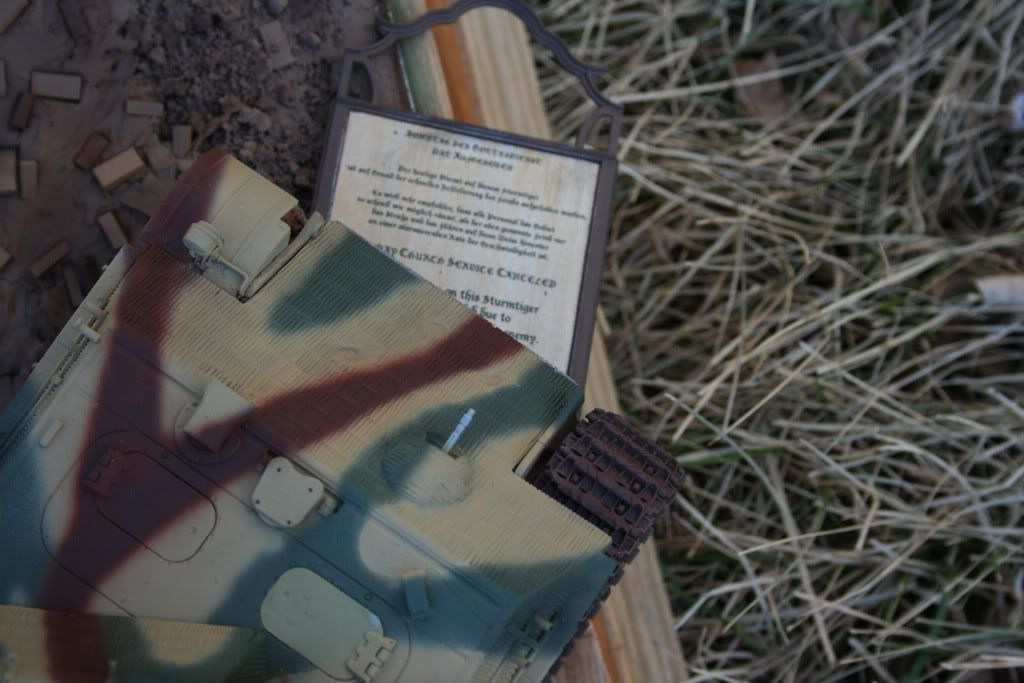
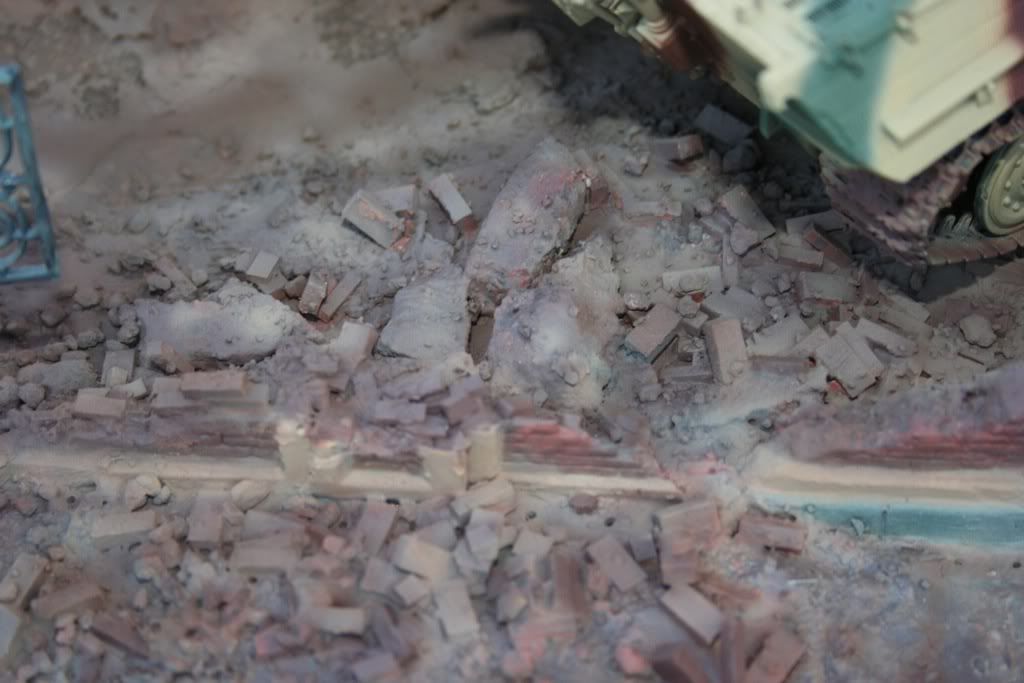
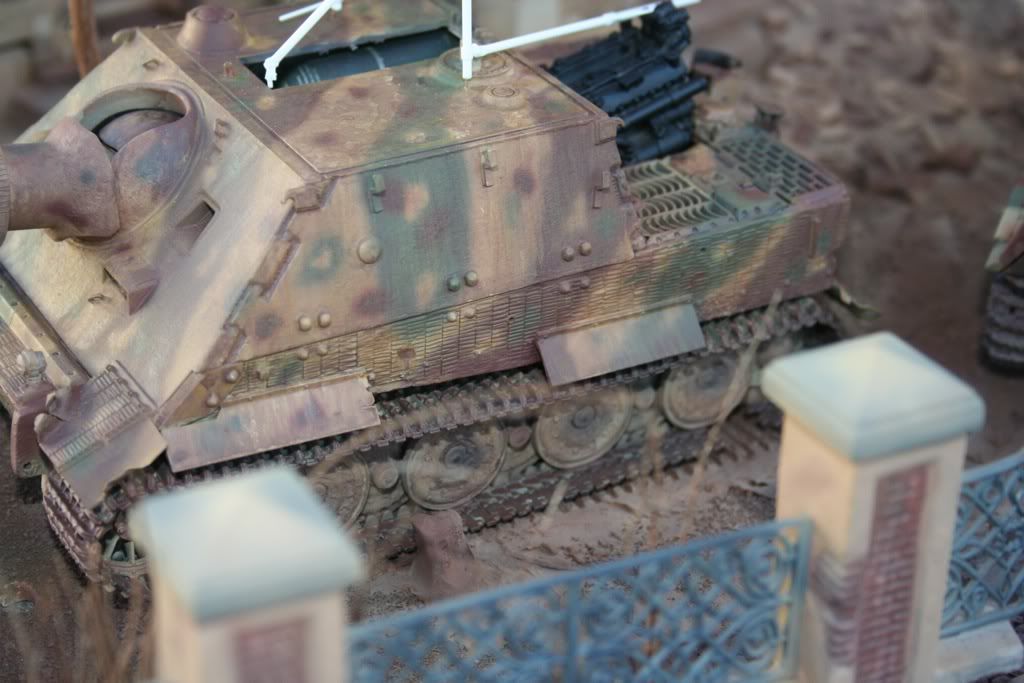
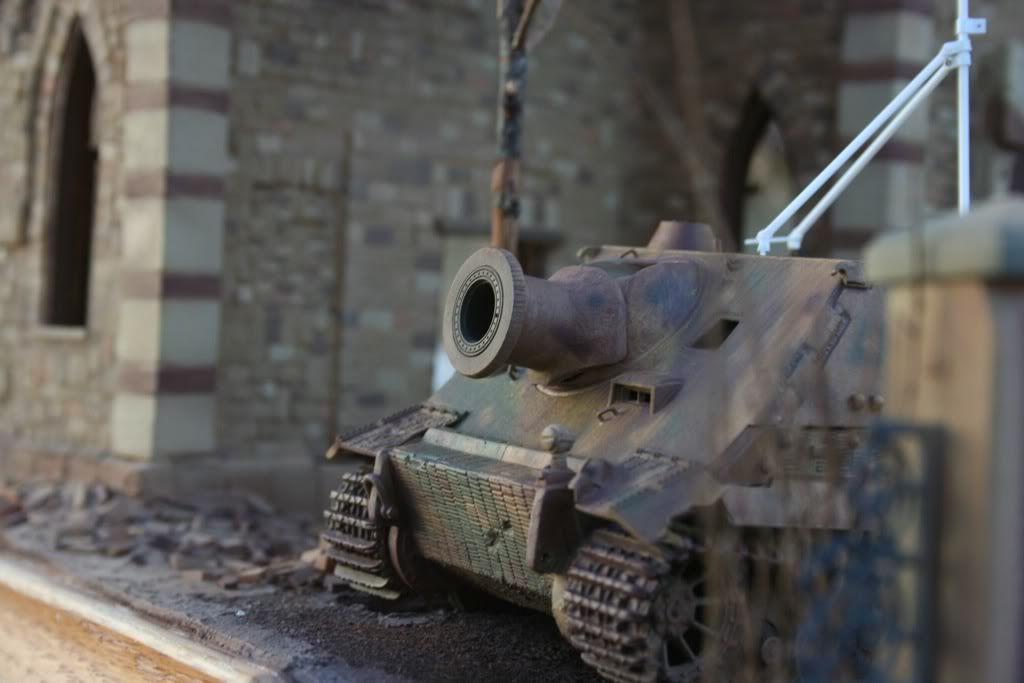
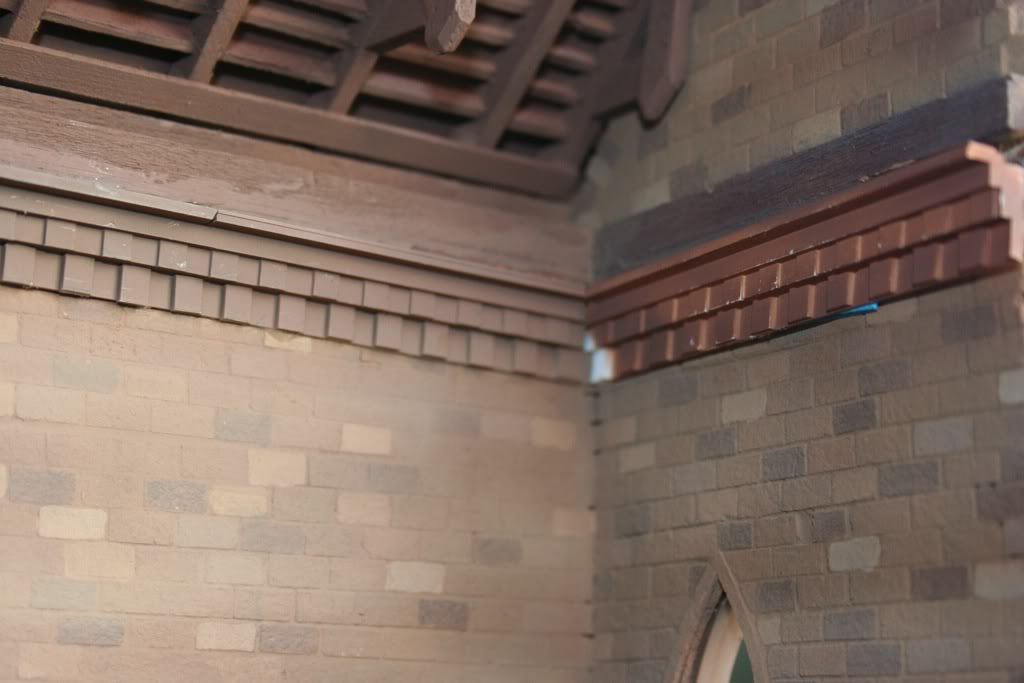
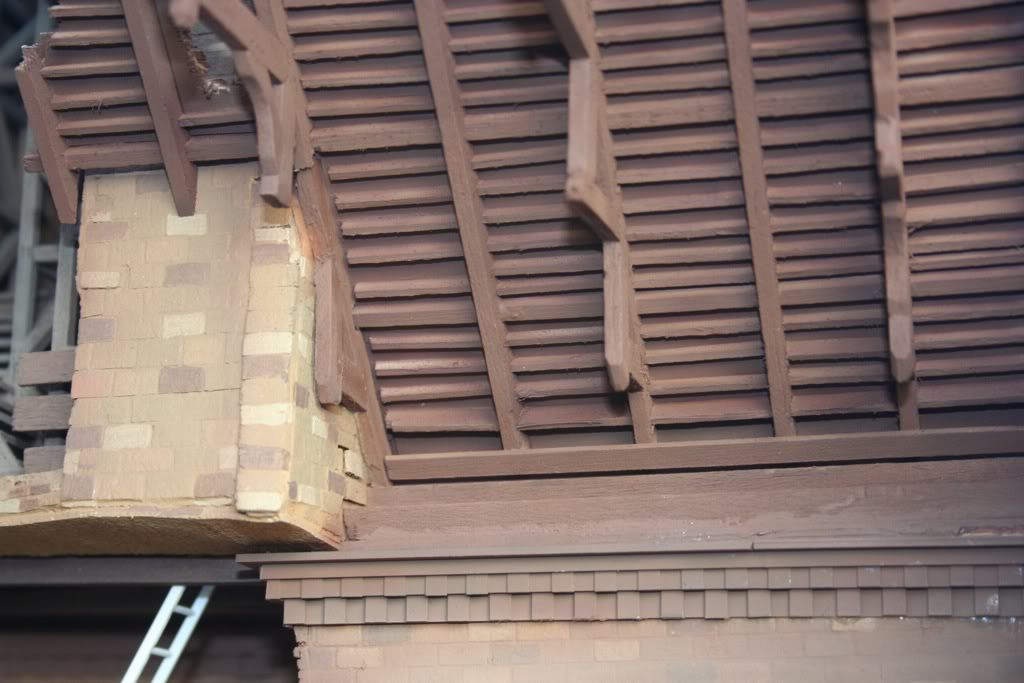
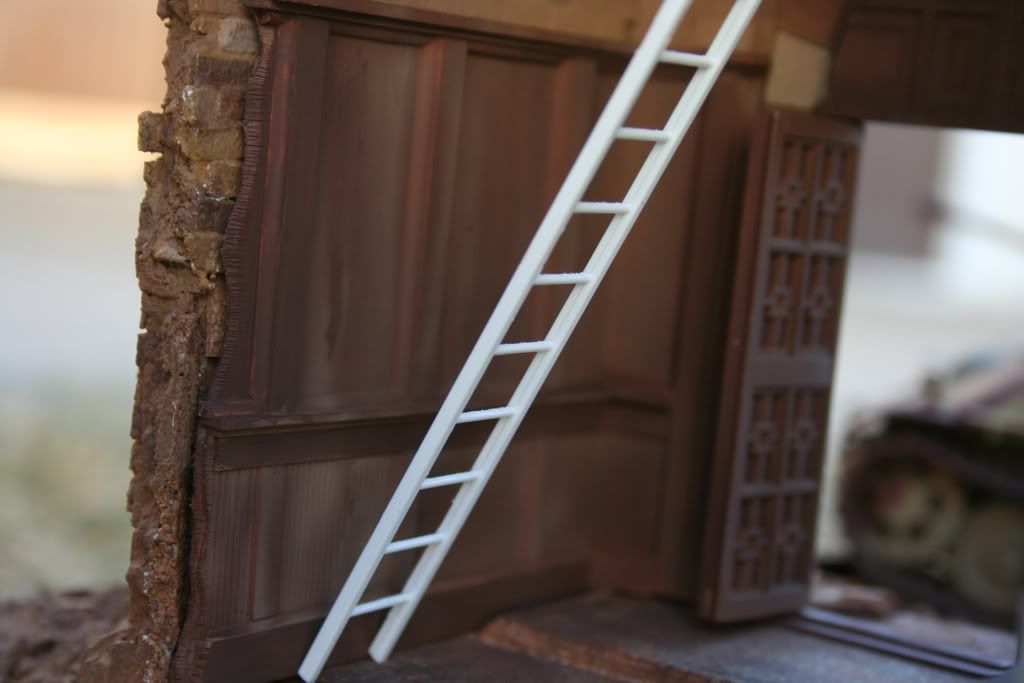
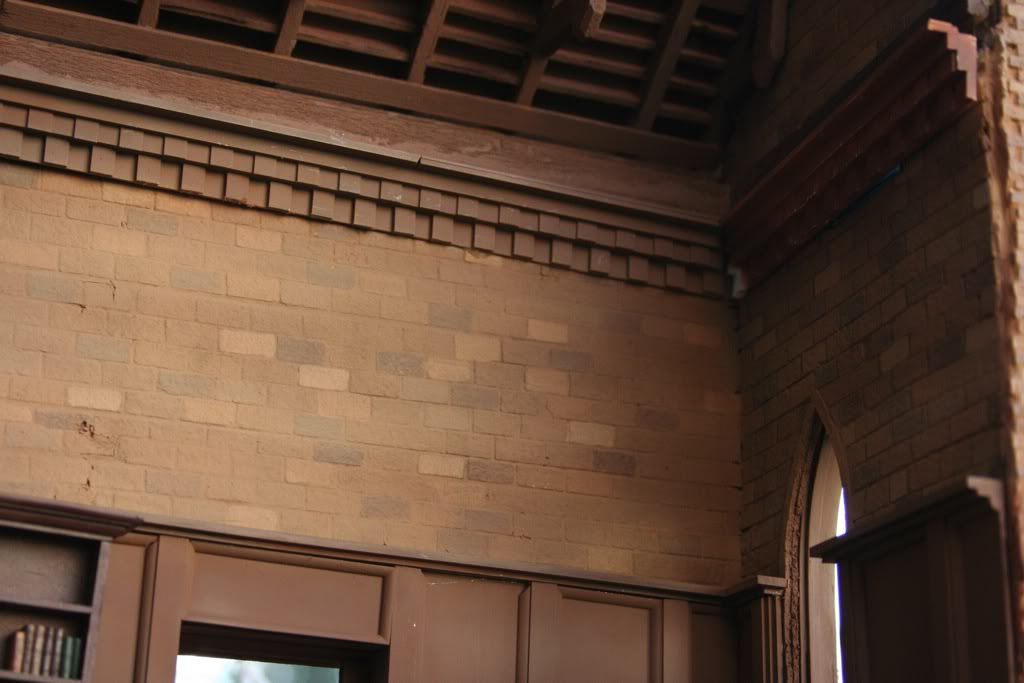
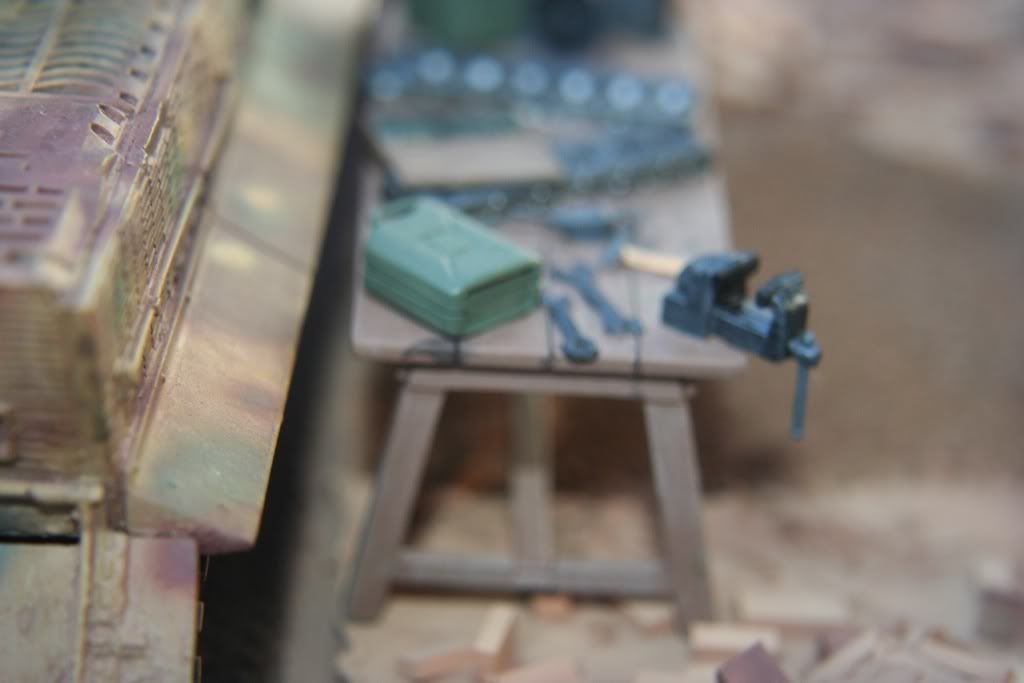
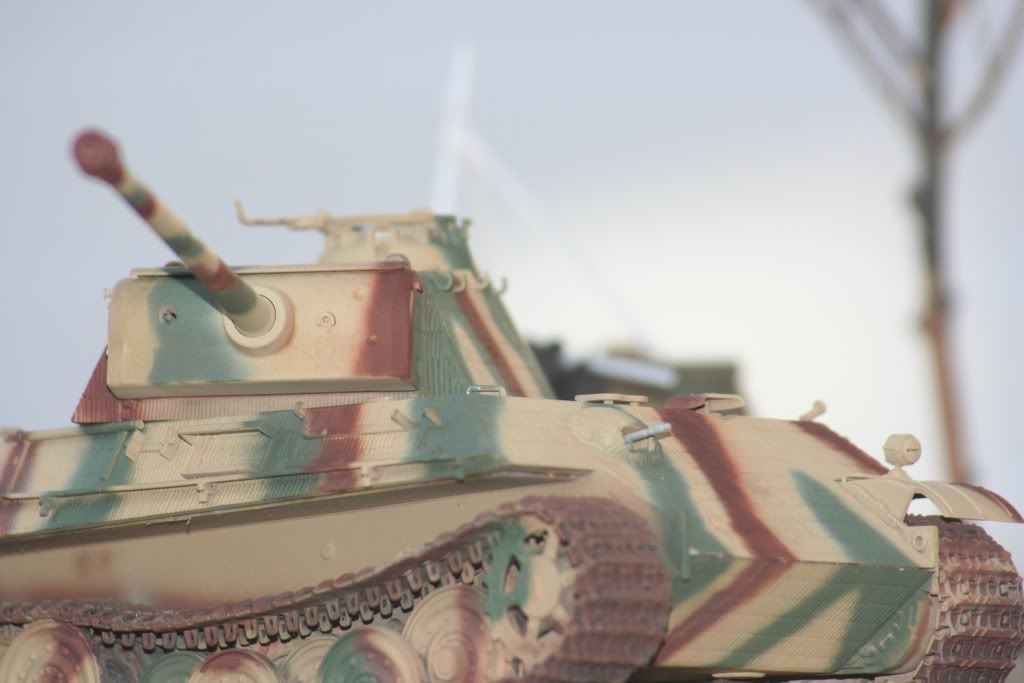
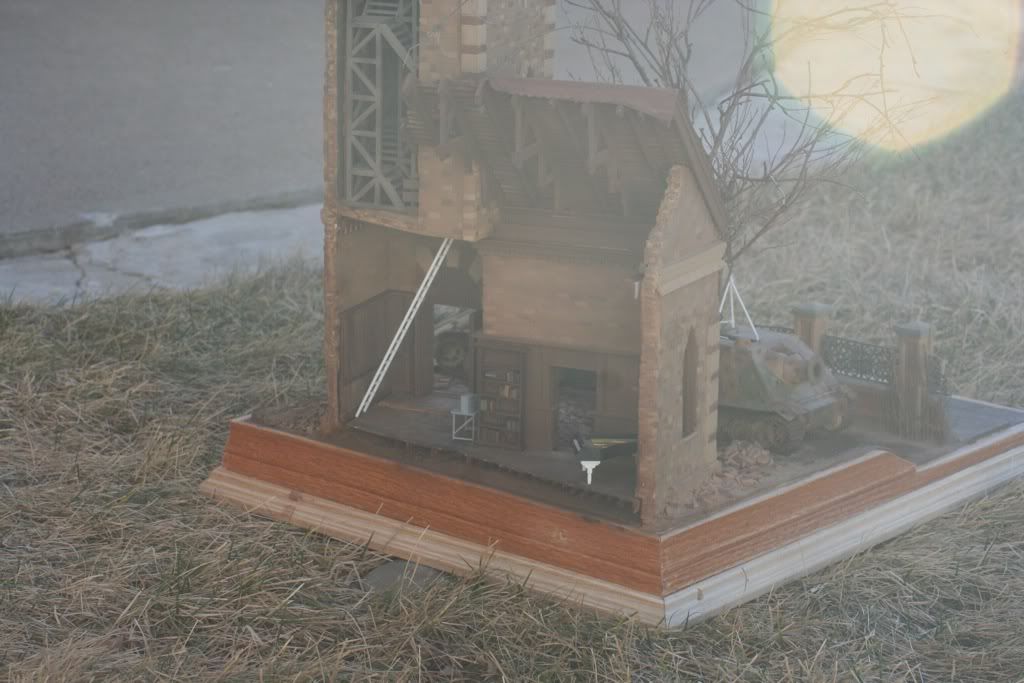
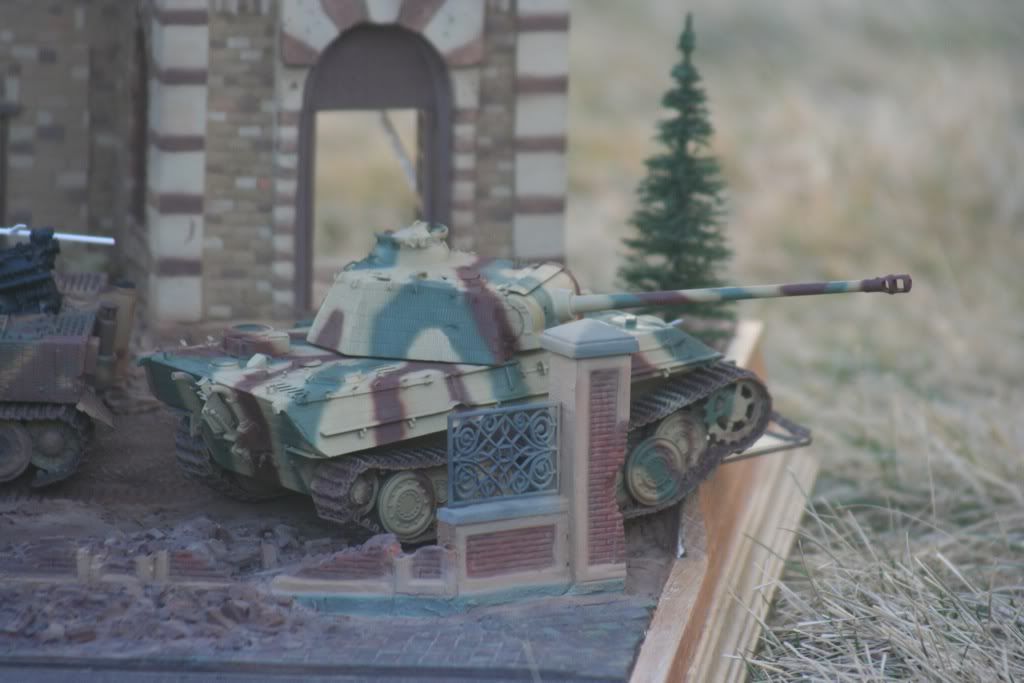
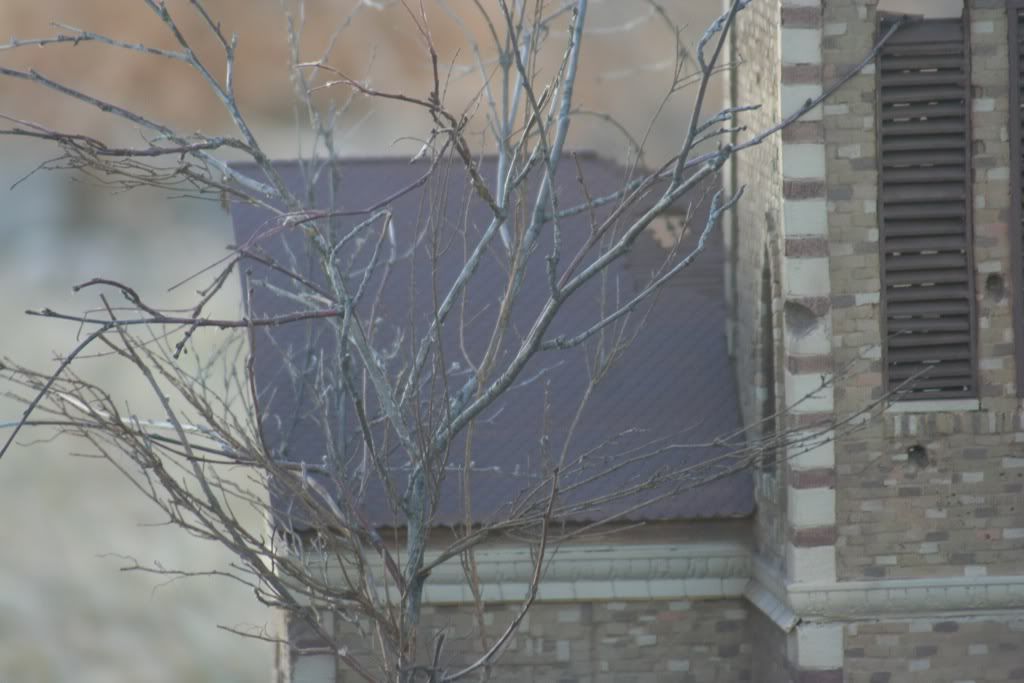
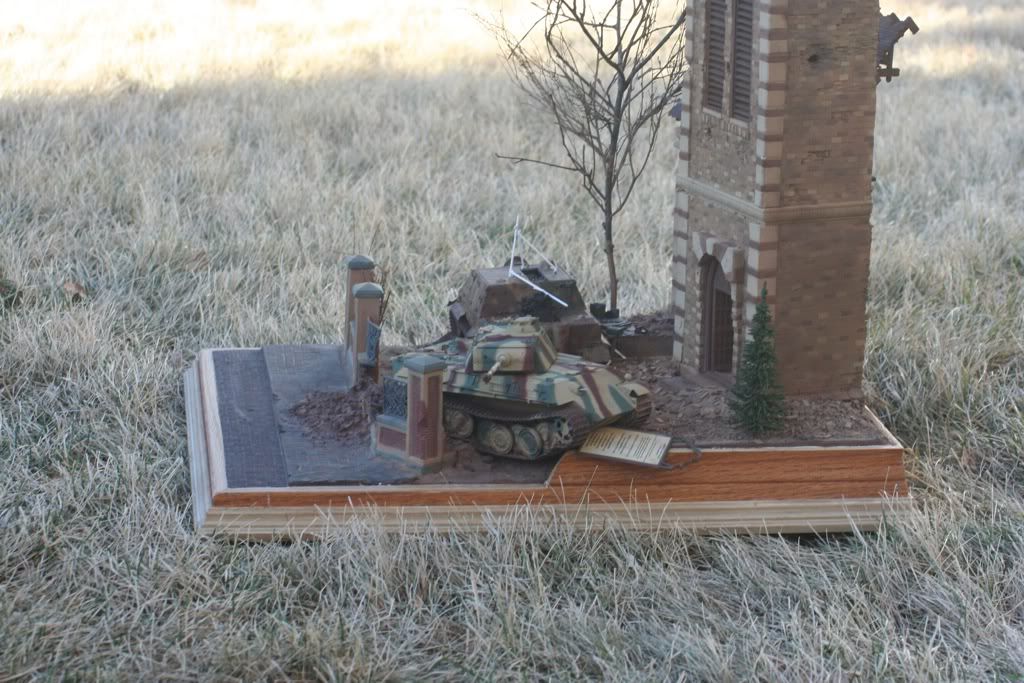
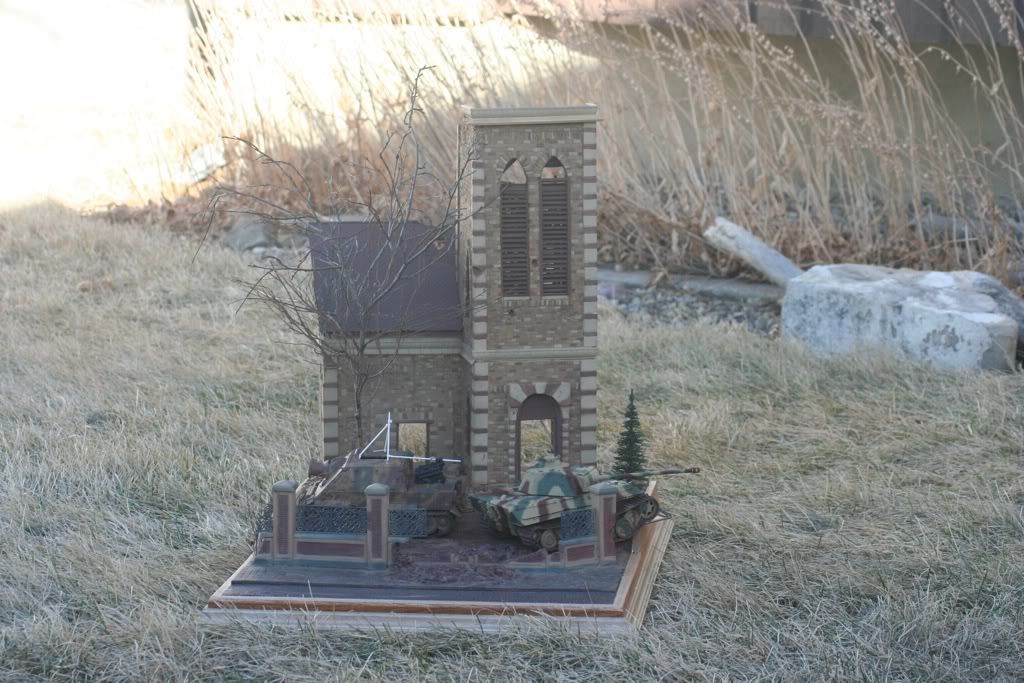
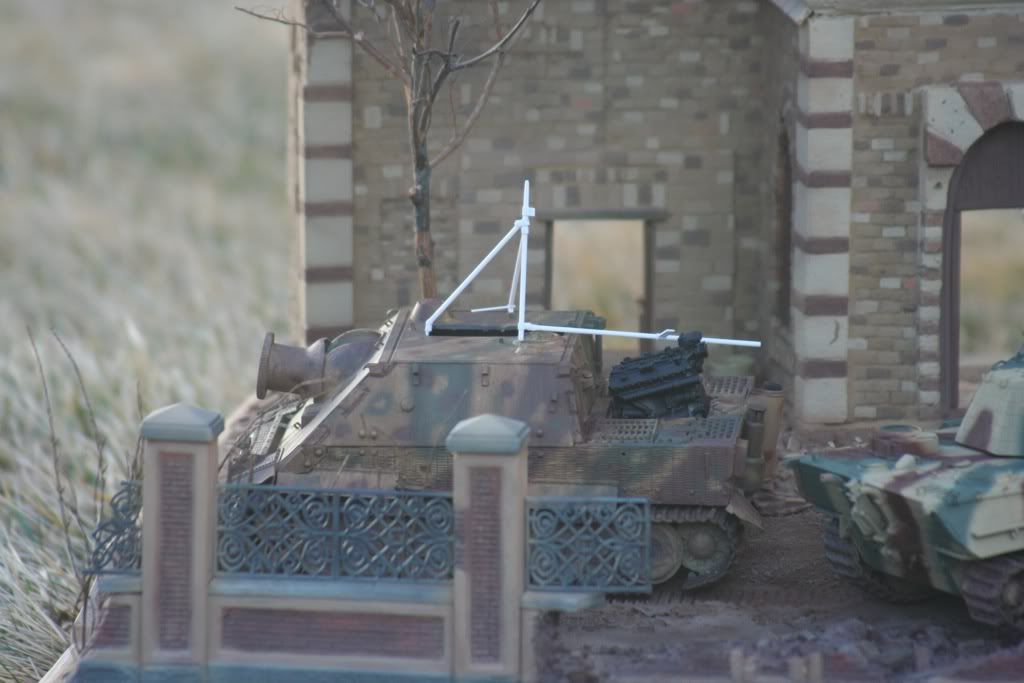
well as promised I was able to take some photographs in the great outdoors where the light is much better than my dungeon, I mean office.
so without further adieu and in no particular order:
thats a wrap folks! hope you enjoy the "small" update....Have a great weekend everyone.
so without further adieu and in no particular order:
thats a wrap folks! hope you enjoy the "small" update....Have a great weekend everyone.
roudeleiw
Luxembourg
Joined: January 19, 2004
KitMaker: 2,406 posts
Armorama: 2,224 posts
Joined: January 19, 2004
KitMaker: 2,406 posts
Armorama: 2,224 posts
Posted: Saturday, February 04, 2012 - 06:14 AM UTC
Dave, you are done?
Why on earth did you paint the roof work? You had the best wood imitation you could have by using real wood (balsa ) The paint takes away every bit of wood texture and makes it really look flat.
Some good washes would really be enough here.
I am also not convinced by the evergreen. The quality is not up to the rest and it does not bring anything to the scene.
Leave the space emty, there is enough to see.
Looking forward to your painting, there is a lot to do!
Claude