Hey everyone. thought I would finally give back a little something something to the forums as I have been earnestly browsing the sections here for the last 3 years. I have begun to model again after an extended break. ( 25 plus years) Have been working on this diorama for about four winters, ( the off seasons...) when time permits. I have made many changes in the course of building but am now starting to finalize the work. Hoping to have it completed in time for the 2012 contest season.
Let me know what you think, but know from the start that I am portraying a truly fictional scene and am concentrating on technique, not facts for the elements involved so if the comment is about the specific details of particular items depicted, I built this diorama to retrain and learn the skills and the substance was not the focus. I doubt that there are many churches with their main entrance right under the bell tower, or that the german military would set up a command/ repair centre up in one. Techniques and practice are my only focus here, not historical accuracy. but please let me know what you think about techniques and finishing as I am a big boy and can take it.
Hosted by Darren Baker
Sunday Service Canceled!
ahandykindaguy

Joined: August 20, 2008
KitMaker: 1,295 posts
Armorama: 1,191 posts

Posted: Saturday, December 17, 2011 - 04:45 AM UTC
Posted: Saturday, December 17, 2011 - 05:21 AM UTC
Any images Dave? 

ahandykindaguy

Joined: August 20, 2008
KitMaker: 1,295 posts
Armorama: 1,191 posts

Posted: Saturday, December 17, 2011 - 05:36 AM UTC
yes there will be photos! I am just trying to figure out how to resize and upload them from my android, and my DSLR camera. but soon and very soon you will see progress shots taken over the course of the last few years. I have been napping with my teething daughter as she loves to snuggle with pops.
Removed by original poster on 12/18/11 - 20:28:15 (GMT).
ahandykindaguy

Joined: August 20, 2008
KitMaker: 1,295 posts
Armorama: 1,191 posts

Posted: Sunday, December 18, 2011 - 08:24 AM UTC
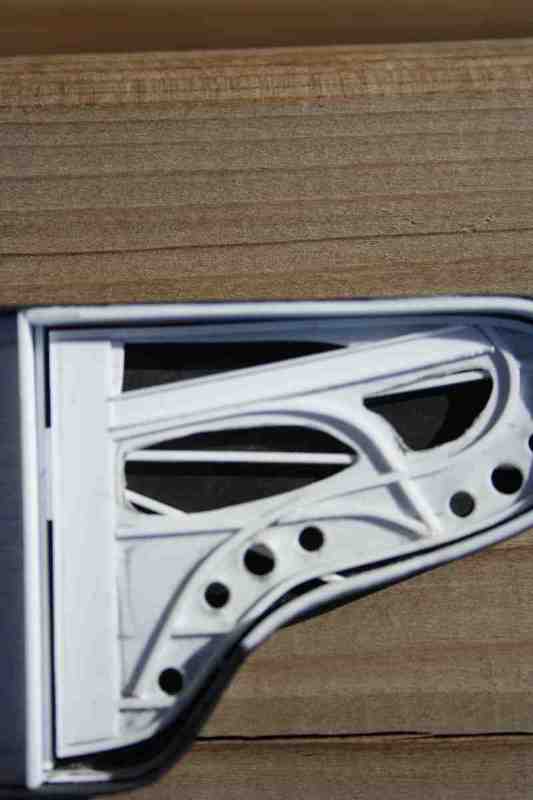
here is the Piano, with the fretboard and support members added, built from evergreen stock and sheet plastic. i will attempt to add more shots...


ahandykindaguy

Joined: August 20, 2008
KitMaker: 1,295 posts
Armorama: 1,191 posts

Posted: Sunday, December 18, 2011 - 08:52 AM UTC
i think this is a picture of the basic layout, although over time it has changed considerably.
img] /img]
/img]
img]
 /img]
/img] ahandykindaguy

Joined: August 20, 2008
KitMaker: 1,295 posts
Armorama: 1,191 posts

Posted: Sunday, December 18, 2011 - 09:48 AM UTC
So basically this diorama is a fictional scene depicting a late model Steel wheeled Panther busting through the walled yard of a church which has been commandeered by the germans to service a broken down Sturmtiger. There has as well been a communications centre set up inside the church itself. As yet I do not have an actual count of how many troops will accompany the work, but probably in the neighborhood of 15 to 20. My only stumbling blocks to this coming to be is that my figure building skills and especially painting skills have taken a serious hit from many years of neglect, not to mention learning to paint in a whole new medium, acrylics. Never the less i will soldier on and persevere in my endeavors. Having finally figured out how easy it is to actually post pictures on this thread, my only problem is converting all my high def. digital images into space saving lower resolution images which won't overload my kitmaker gallery. the entire diorama is enclosed in a picture frame I purchased at value village for 3 dollars canadian, and measures 16" wide x 20" long by 21" high for a scale size of 47' x 58' x 61' or there aboot, if my math is correct. no small feat, no pun intended, but I always say go big or go home. more later.
ahandykindaguy

Joined: August 20, 2008
KitMaker: 1,295 posts
Armorama: 1,191 posts

Posted: Sunday, December 18, 2011 - 09:55 AM UTC
hey just so you know, i am deleting the images i have posted long enough to upload some smaller samples. more than enough to see the scope, but small enough to be able to add more of them over time.
Removed by original poster on 12/18/11 - 22:48:47 (GMT).
Removed by original poster on 12/18/11 - 22:51:01 (GMT).
ahandykindaguy

Joined: August 20, 2008
KitMaker: 1,295 posts
Armorama: 1,191 posts

Posted: Sunday, December 18, 2011 - 10:54 AM UTC
[img]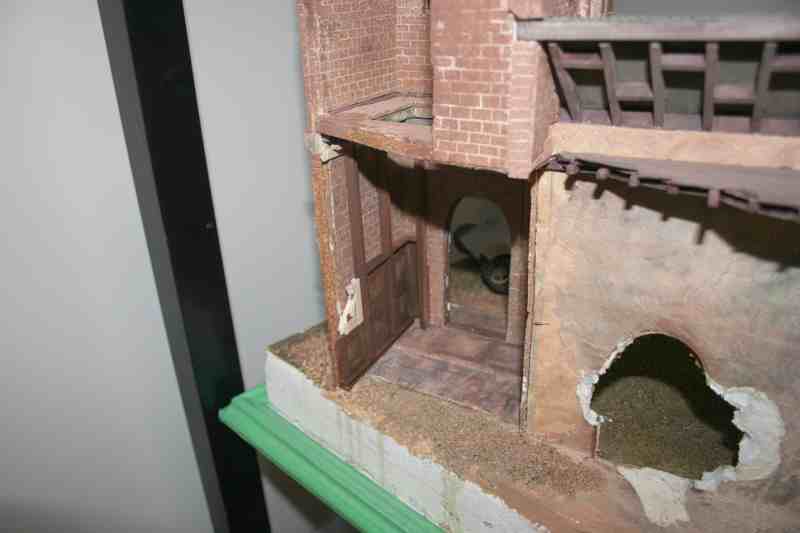 /img]
/img]
 /img]
/img] ahandykindaguy

Joined: August 20, 2008
KitMaker: 1,295 posts
Armorama: 1,191 posts

Posted: Sunday, December 18, 2011 - 10:56 AM UTC
the layout once again. sorry for the inconvenience. blame it on beeing a newbie to this whole new world of forum posting...
ahandykindaguy

Joined: August 20, 2008
KitMaker: 1,295 posts
Armorama: 1,191 posts

Posted: Sunday, December 18, 2011 - 10:58 AM UTC
[img]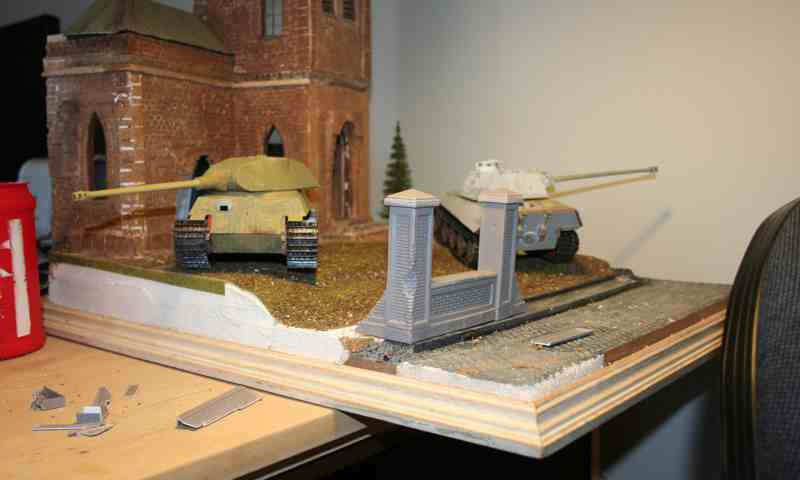 /img]
/img]
 /img]
/img] Removed by original poster on 12/19/11 - 00:08:13 (GMT).
Removed by original poster on 12/19/11 - 00:31:33 (GMT).
Removed by original poster on 12/19/11 - 00:36:24 (GMT).
ahandykindaguy

Joined: August 20, 2008
KitMaker: 1,295 posts
Armorama: 1,191 posts

Posted: Sunday, December 18, 2011 - 02:47 PM UTC
ahandykindaguy

Joined: August 20, 2008
KitMaker: 1,295 posts
Armorama: 1,191 posts

Posted: Sunday, December 18, 2011 - 02:48 PM UTC
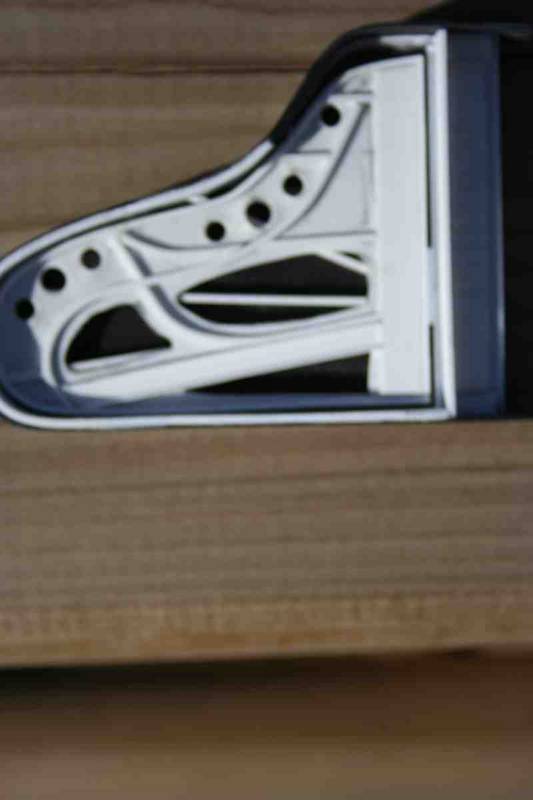
here is a pic of the piano

ahandykindaguy

Joined: August 20, 2008
KitMaker: 1,295 posts
Armorama: 1,191 posts

Posted: Sunday, December 18, 2011 - 05:10 PM UTC
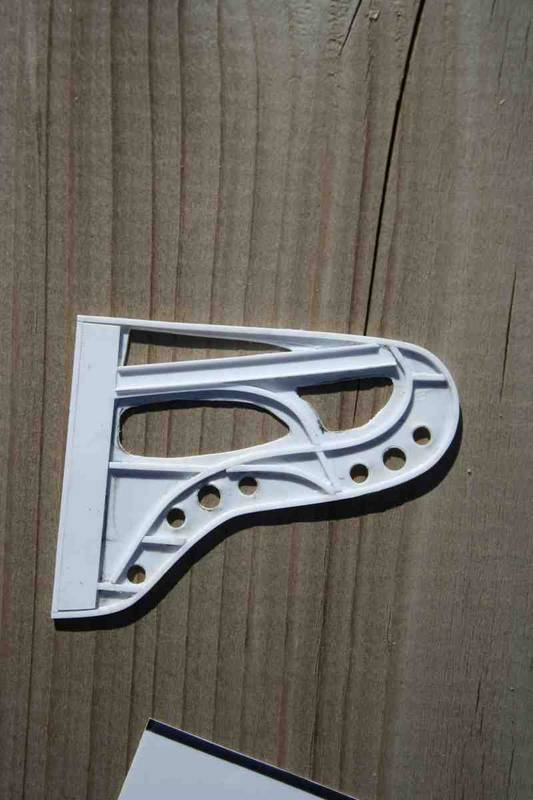
a picture of the fretboard, which is very heavy in real life. holds the strings for the piano. I plan to use the bristles from different household paint brushes, cut to size and glued down with CA. sounds like a tedious time consuming hair pulling experience, so I am leaving it as long as possible before I do.

ahandykindaguy

Joined: August 20, 2008
KitMaker: 1,295 posts
Armorama: 1,191 posts

Posted: Sunday, December 18, 2011 - 05:12 PM UTC
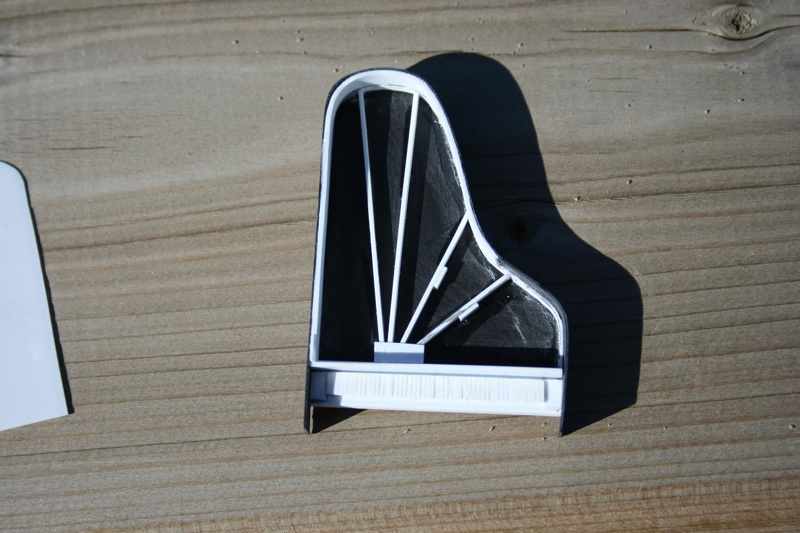
here is the subframe of the piano, which holds up the fretboard. the general shape of the piano is evident

ahandykindaguy

Joined: August 20, 2008
KitMaker: 1,295 posts
Armorama: 1,191 posts

Posted: Sunday, December 18, 2011 - 05:24 PM UTC
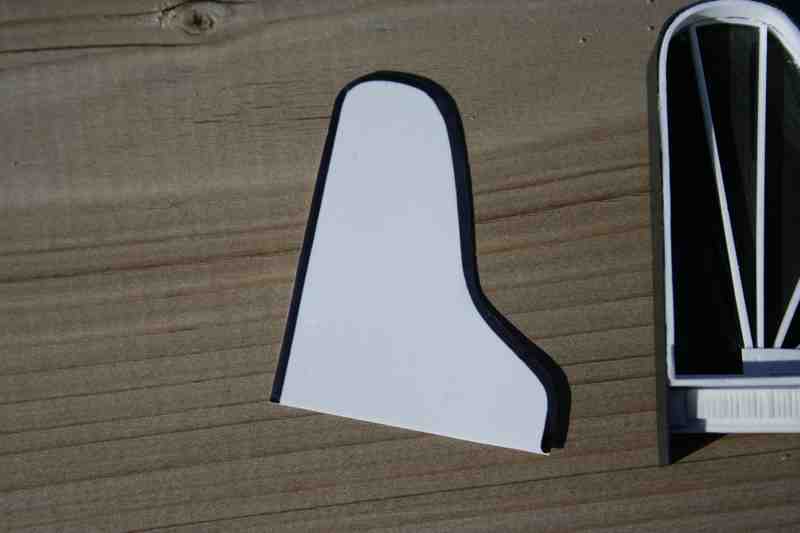
here is a shot of the main body of the piano, with the top I put together. It was attached and functioning with a lead sheet hinge, but I played with it so much I broke it.

ahandykindaguy

Joined: August 20, 2008
KitMaker: 1,295 posts
Armorama: 1,191 posts

Posted: Sunday, December 18, 2011 - 05:38 PM UTC
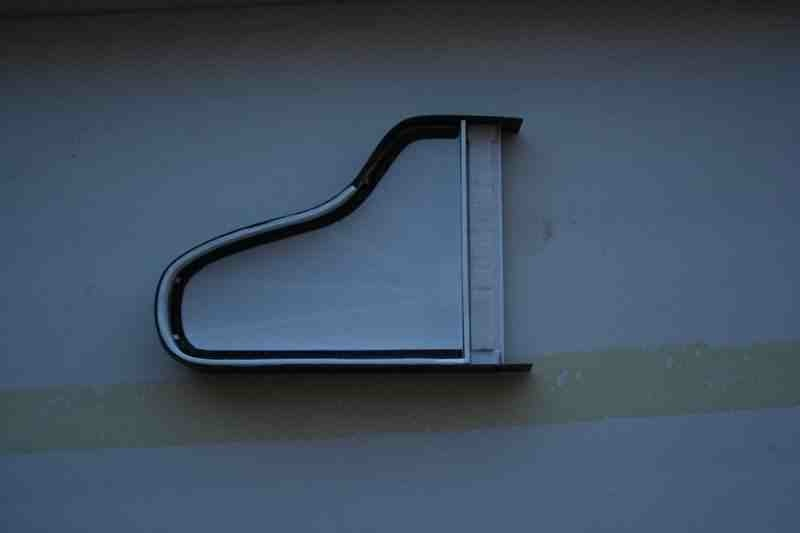
here is a shot of the basic shape. I bent a piece of sheet plastic around a more rigid, thicker sheet cut to size, and slowly glued it together with my fingers several times. then a few months later i learned about CA accelerator. would have made a huge difference on my technique.

roudeleiw

Joined: January 19, 2004
KitMaker: 2,406 posts
Armorama: 2,224 posts

Posted: Sunday, December 18, 2011 - 06:53 PM UTC
Dave,
you can insert multiple images in one post, no need to reply to yourself :-)
I am sure you will get used to that.
The piano is great! First time i see one scratched and it is very well done. Not easy with all those curves!
Tell us something about the church please
Claude
you can insert multiple images in one post, no need to reply to yourself :-)
I am sure you will get used to that.
The piano is great! First time i see one scratched and it is very well done. Not easy with all those curves!
Tell us something about the church please
Claude
ahandykindaguy

Joined: August 20, 2008
KitMaker: 1,295 posts
Armorama: 1,191 posts

Posted: Monday, December 19, 2011 - 02:31 AM UTC
here are some pics of the courtyard wall sections...
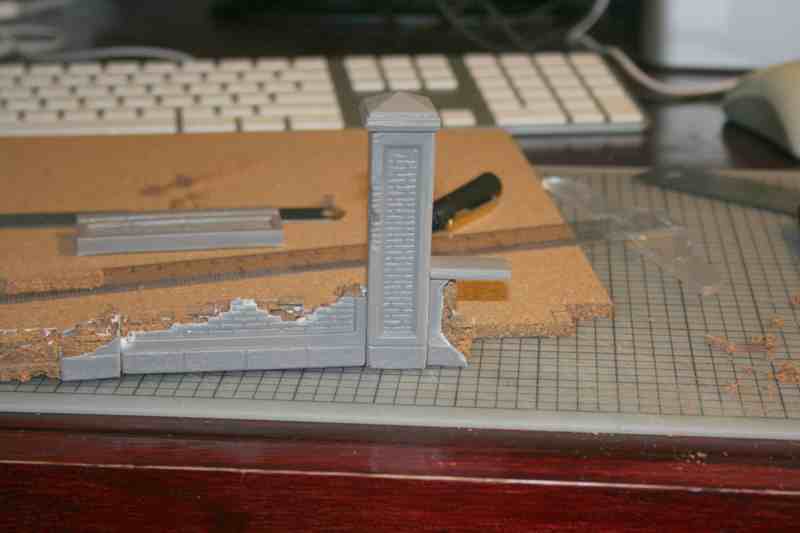
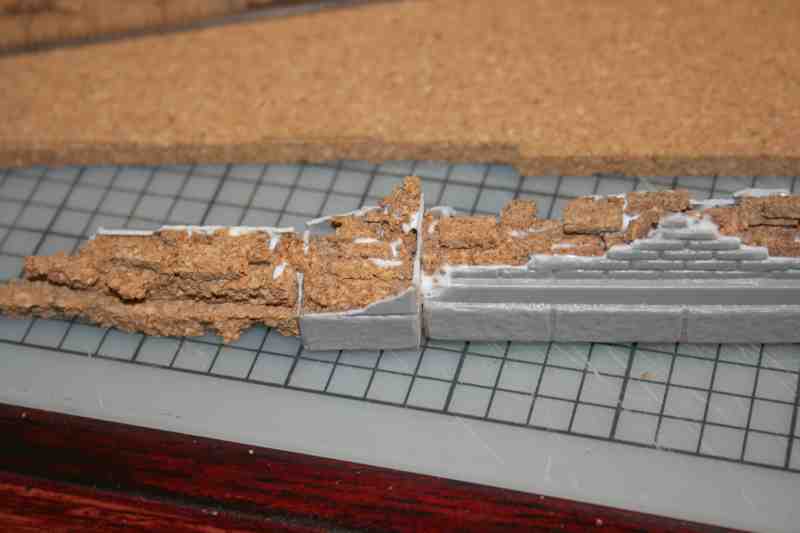
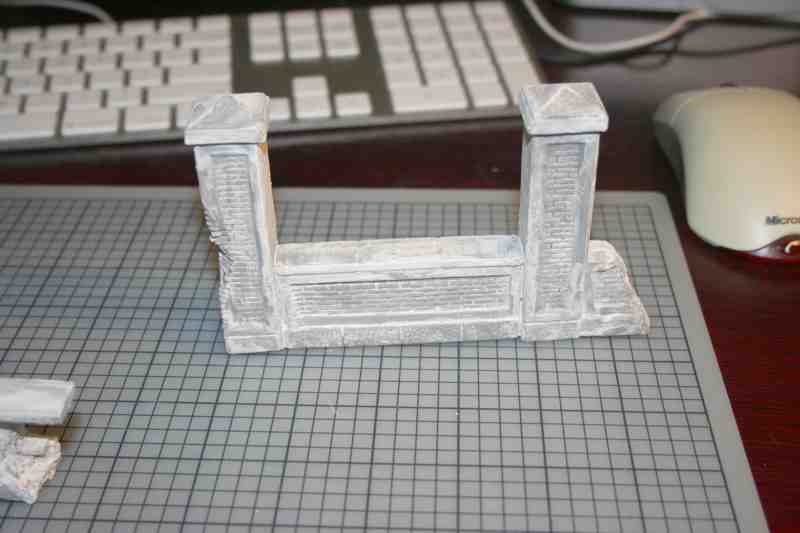
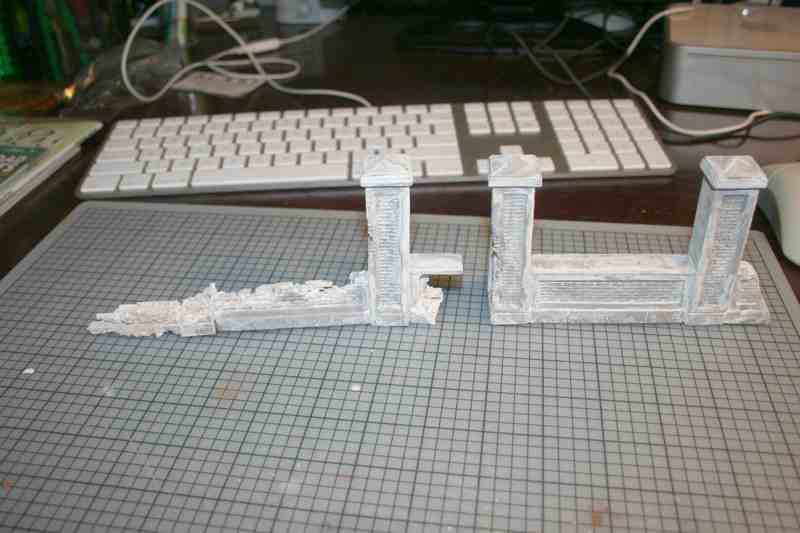
and a couple after some spackle applied to the wall for texture, and to hide the seams that sometimes cant be filed or sanded away because of the thinness of some of these injection molded kits...
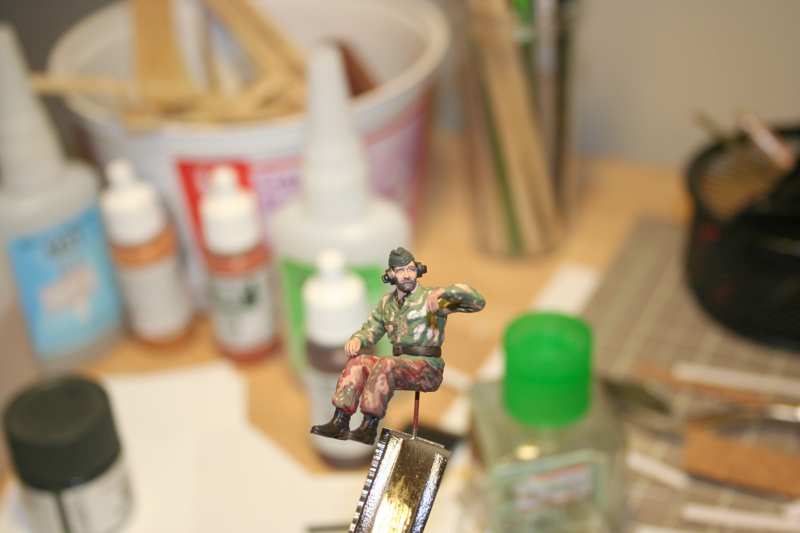
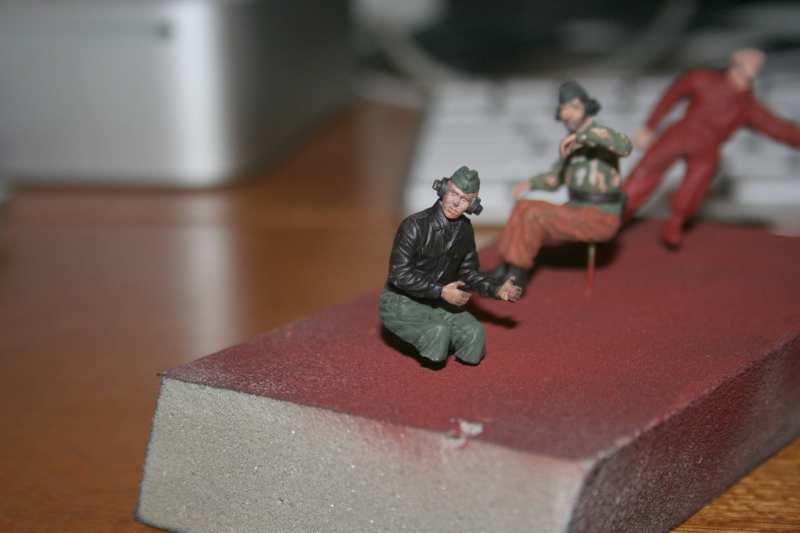
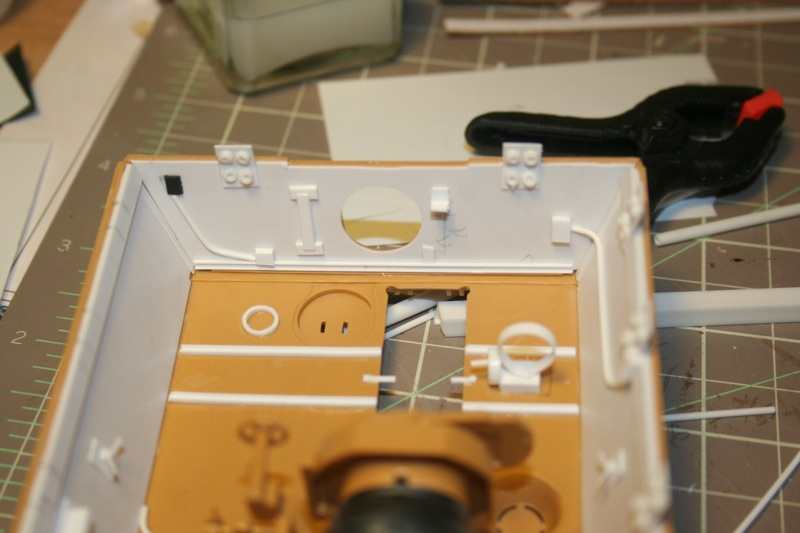
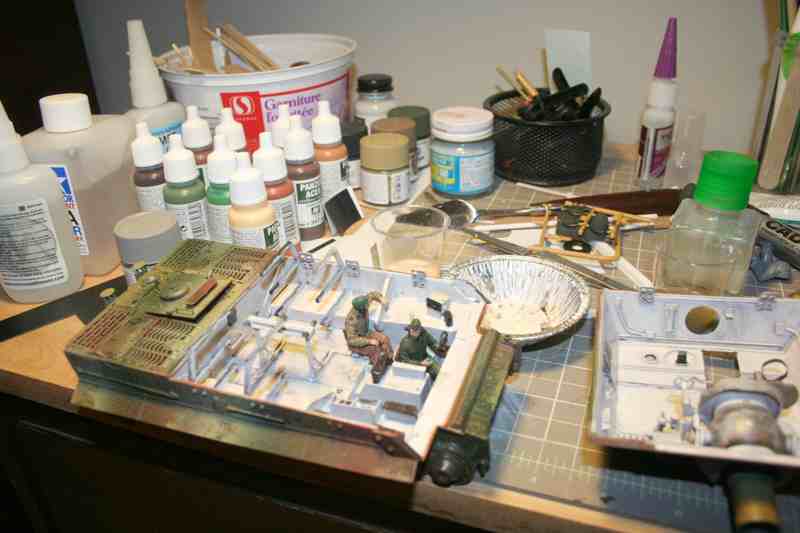
here are a couple of the Sturmtiger and her crew. I decided early on to replace the Kingtiger with this one, as I thought the KT & Panther looked a bit to similar, and I know that symmetry is sometimes frowned upon in the diorama building world.
most of the details i know will be all but invisible to everyone who may see this up close some day, but I know it's there & I really just love to scratch things.
I will say that I have really had to relearn my painting skills & feel like a rank amateur with acrylics, and had never used an airbrush before getting back into the hobby a couple years ago so my figures suck IMHO. But I will soldier on and practice practice practice.



and a couple after some spackle applied to the wall for texture, and to hide the seams that sometimes cant be filed or sanded away because of the thinness of some of these injection molded kits...


here are a couple of the Sturmtiger and her crew. I decided early on to replace the Kingtiger with this one, as I thought the KT & Panther looked a bit to similar, and I know that symmetry is sometimes frowned upon in the diorama building world.
most of the details i know will be all but invisible to everyone who may see this up close some day, but I know it's there & I really just love to scratch things.
I will say that I have really had to relearn my painting skills & feel like a rank amateur with acrylics, and had never used an airbrush before getting back into the hobby a couple years ago so my figures suck IMHO. But I will soldier on and practice practice practice.


ahandykindaguy

Joined: August 20, 2008
KitMaker: 1,295 posts
Armorama: 1,191 posts

Posted: Monday, December 19, 2011 - 02:36 AM UTC
Claude, thanks for the comments. I am unsure as to how to add a new post without using the reply button? I have been trying to resize photos off & on the last 2 days. tough to find time with a teething toddler & Christmas less than a week away... but will post some more today.
BTW I have been absolutely amazed at the Castle project! much of what I have learned and tried to apply to this diorama have been through the pages of your posts. I always have tried to " improve" on the ideas of those I have seen do something before me, and as my old bible college professor used to say about sermon ideas: " the 3 laws of good sermon ideas are 1. steal, 2. steal, & 3. steal.."
your project reminds me of one of my dad's last projects he did before he died when I was a teenager years ago. By then he was building N scale trains, and his last setup was on a 4x8 sheet of plywood in the basement of our house. It was very big and involved as your Clervaux project.
I feel overwhelmed sometimes with the church diorama, I can't imagine doing one in the scope of yours. Unbelievable! I will be posting some more shots right after breakfast.
Take care, Dave.
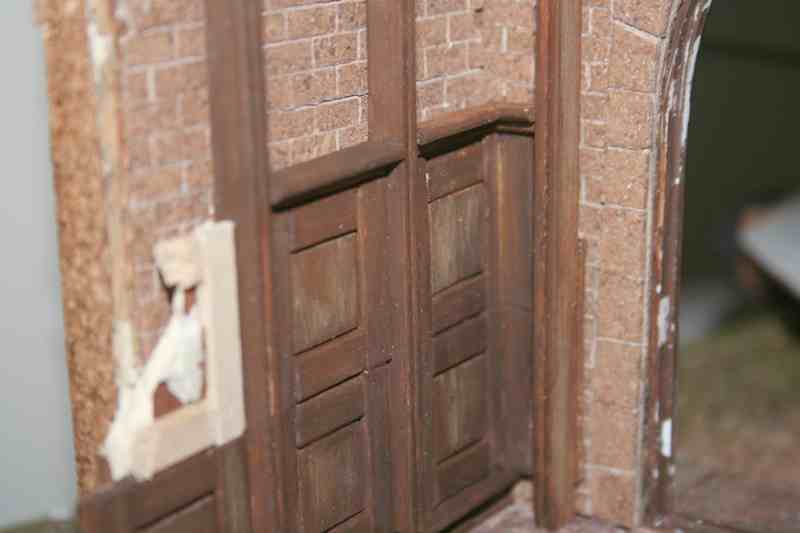
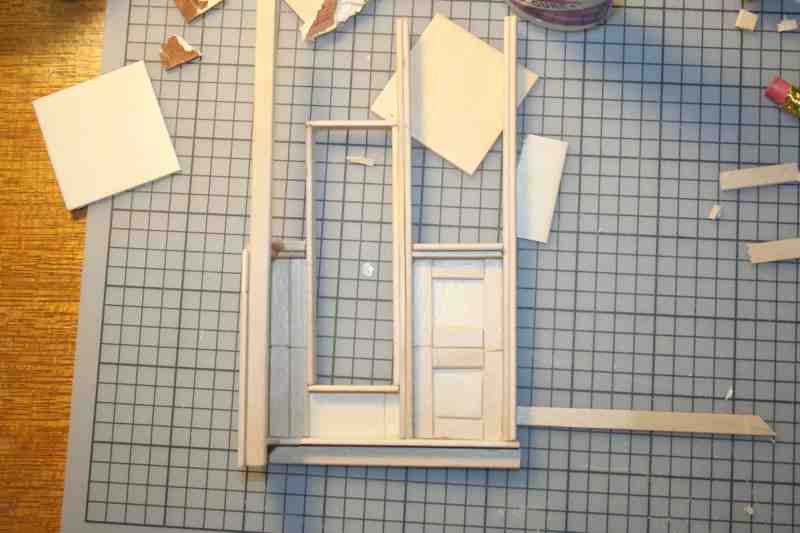
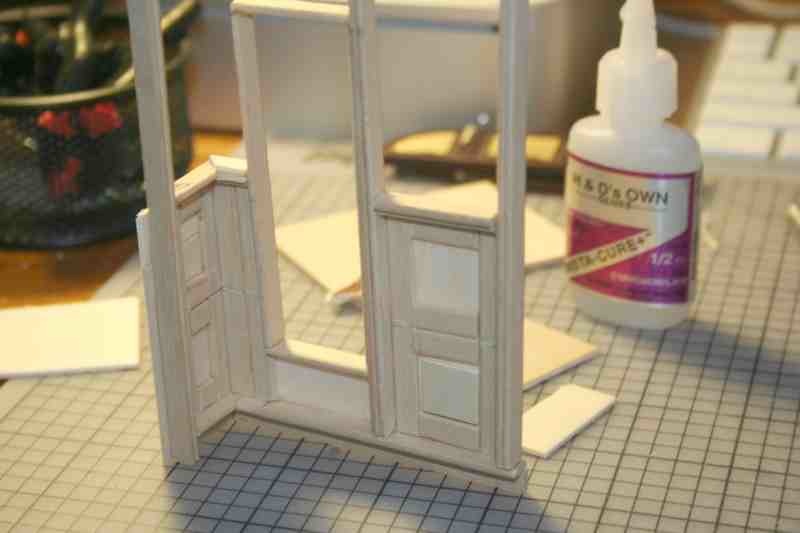
as requested her are some shots of the church. Well the interior for starters. I am still trying to locate and resize some of my earliest pictures of the build. we have moved 3 times since i began this effort, & have replaced my computer and HD's a total of 4 times as well. Photos photos everywhere!


 |


