Hi Guys
I'm calling this campaign finished.
I have submitted a photo to the gallery.
All comments welcome
Looking forward to seeing the remaining builds being completed.
Thanks Paul for a great campaign
Cheers all
Martin
Campaigns
Where Armorama group builds can be discussed, organized, and updates posted.
Hosted by Darren Baker, Richard S.
Jurassic Plastic Campaign
Posted: Saturday, March 16, 2013 - 09:23 AM UTC
Posted: Saturday, March 16, 2013 - 01:01 PM UTC
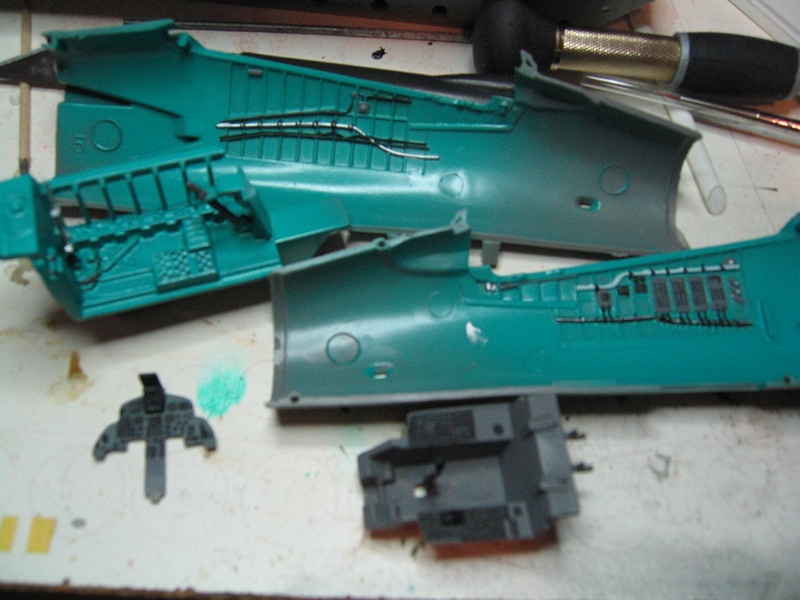
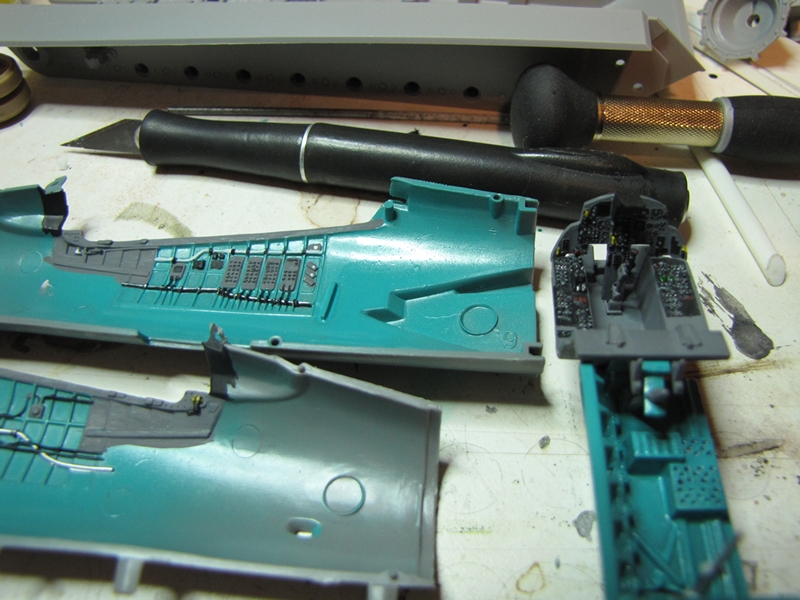
A little more progress on my old Matchbox Havoc. The fit is great and details soft as always with Matchbox.
More to follow
More to follow
Posted: Saturday, March 16, 2013 - 09:36 PM UTC
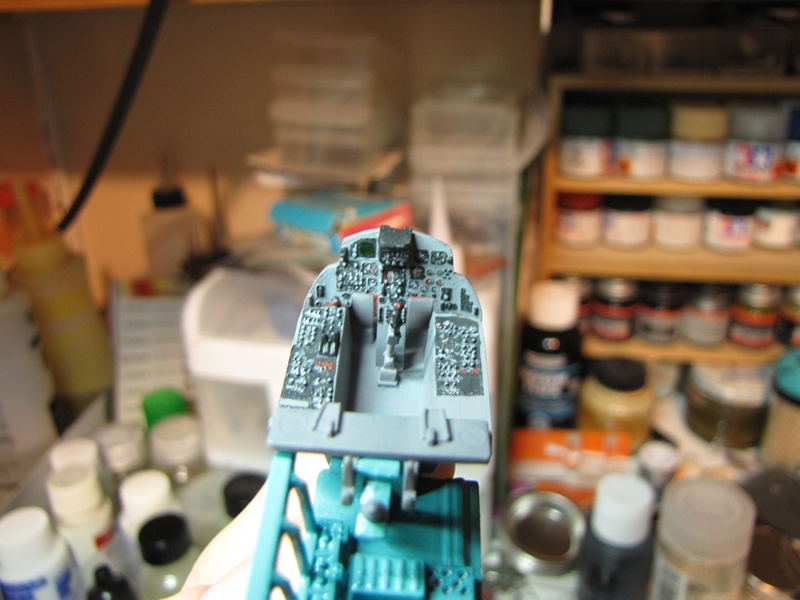
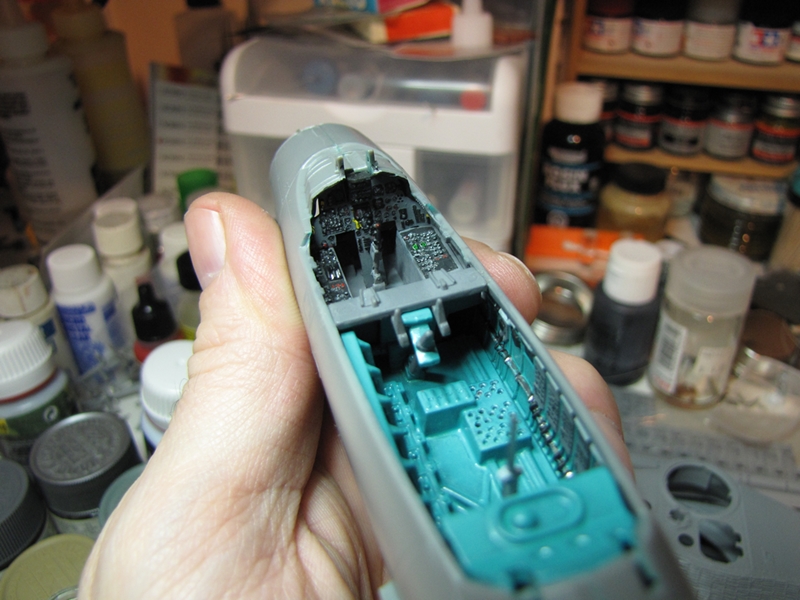
Got some painting done on the cockpit.
Cheers Rob.
Cheers Rob.
steph2102
Isere, France
Joined: April 23, 2011
KitMaker: 735 posts
Armorama: 606 posts
Joined: April 23, 2011
KitMaker: 735 posts
Armorama: 606 posts
Posted: Sunday, March 17, 2013 - 08:53 AM UTC
hello all, here is my progress.
steph
steph
Posted: Sunday, March 17, 2013 - 09:37 PM UTC
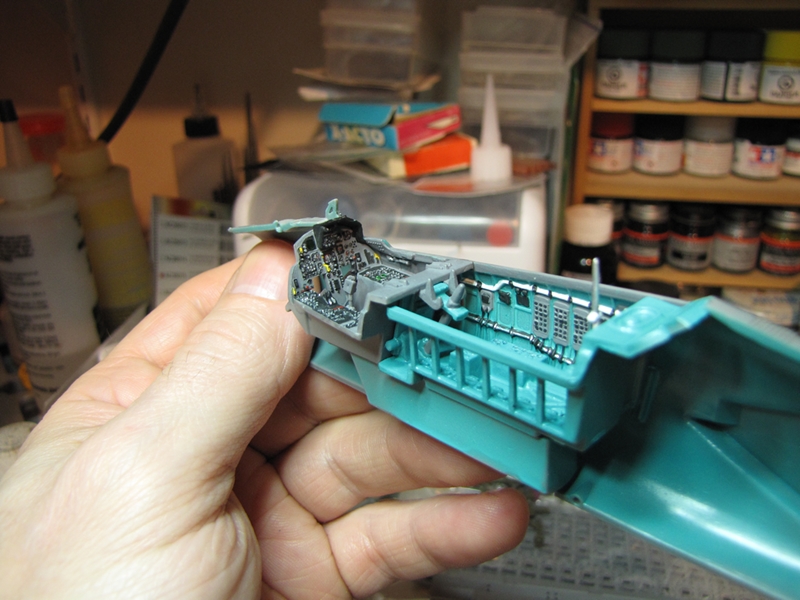
Finished painting the cockpit.
Cheers Rob.
Cheers Rob.
Bluestab
South Carolina, United States
Joined: December 03, 2009
KitMaker: 2,160 posts
Armorama: 1,906 posts
Joined: December 03, 2009
KitMaker: 2,160 posts
Armorama: 1,906 posts
Posted: Monday, March 18, 2013 - 03:24 AM UTC
Rob, I'm liking the cockpit. I don't have the hands to do fine painting anymore so I can appreciate the work. I had that kit but never started it.
Shermania
California, United States
Joined: January 30, 2013
KitMaker: 537 posts
Armorama: 531 posts
Joined: January 30, 2013
KitMaker: 537 posts
Armorama: 531 posts
Posted: Wednesday, March 20, 2013 - 03:21 AM UTC
Bench time has been hard to come by the last week and a half, but I managed to get some primer on this old girl monday afternoon.
Posted: Thursday, March 21, 2013 - 09:33 AM UTC
sorry couple of missing images
Finally getting the hang of it
Martin
Finally getting the hang of it
Martin
modelguy2
Ohio, United States
Joined: March 09, 2002
KitMaker: 818 posts
Armorama: 269 posts
Joined: March 09, 2002
KitMaker: 818 posts
Armorama: 269 posts
Posted: Thursday, March 21, 2013 - 09:48 AM UTC
I'm getting close to jumpin' in here. I've been toting this resin nose around for about twenty years waiting to get "'round to it", I saw this campaign and am using it as an excuse...
imatanker
Maine, United States
Joined: February 11, 2011
KitMaker: 1,654 posts
Armorama: 1,565 posts
Joined: February 11, 2011
KitMaker: 1,654 posts
Armorama: 1,565 posts
Posted: Thursday, March 21, 2013 - 12:12 PM UTC
First,let Me say,there are a lot of great builds going on here.
Although I am not enlisted in this Campaign,I have been following it from the start,being a bit of a Dino My self
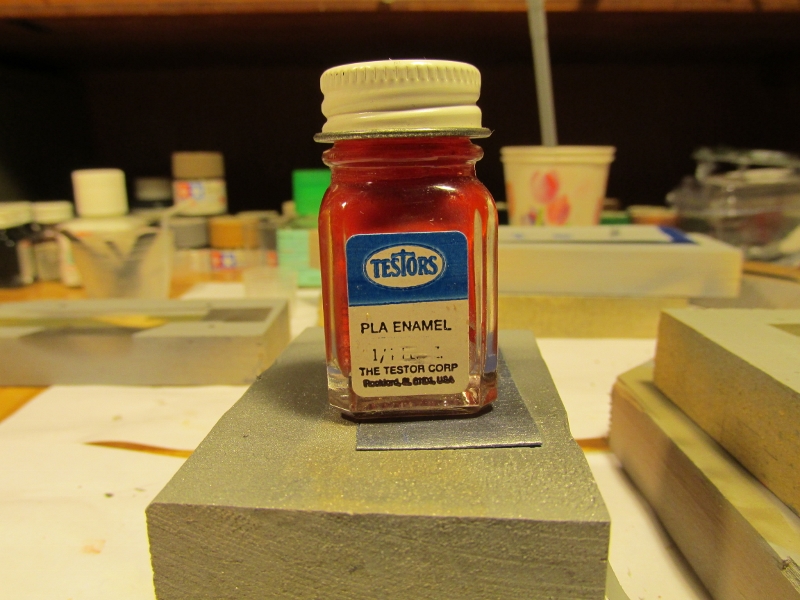
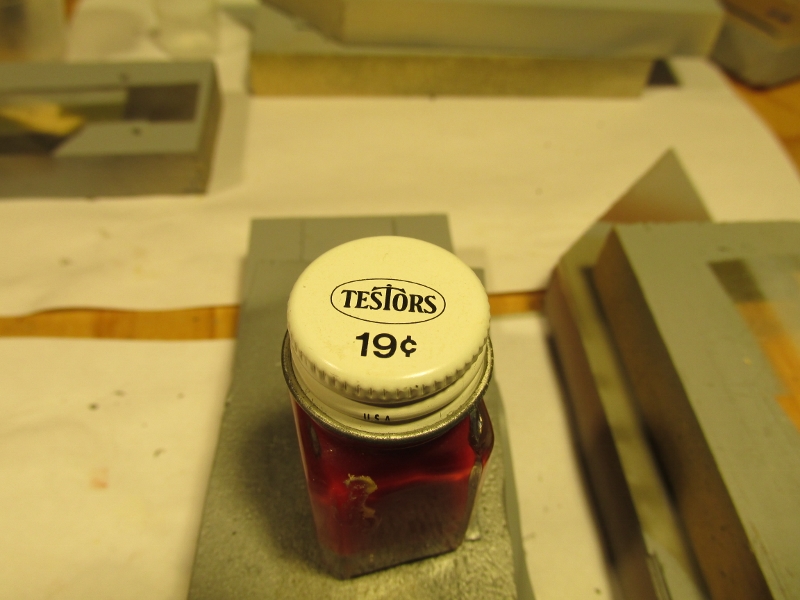
I ran across this the other day,and thought I would throw it into the mix
Here you go
How old is THAT? And it's still good.Jeff T.
Although I am not enlisted in this Campaign,I have been following it from the start,being a bit of a Dino My self
I ran across this the other day,and thought I would throw it into the mix
Here you go
How old is THAT? And it's still good.Jeff T.
PantherF
Indiana, United States
Joined: June 10, 2005
KitMaker: 6,188 posts
Armorama: 5,960 posts
Joined: June 10, 2005
KitMaker: 6,188 posts
Armorama: 5,960 posts
Posted: Thursday, March 21, 2013 - 12:16 PM UTC
Well, I remember prices like that, then came along Tamiya and Humbrol... makes me miss the old days of getting a bunch of stuff costing under a dollar.
Testors paint (just like that) is now $1.59 a bottle.
Thanks Jeff!
~ Jeff
Testors paint (just like that) is now $1.59 a bottle.
Thanks Jeff!
~ Jeff
imatanker
Maine, United States
Joined: February 11, 2011
KitMaker: 1,654 posts
Armorama: 1,565 posts
Joined: February 11, 2011
KitMaker: 1,654 posts
Armorama: 1,565 posts
Posted: Thursday, March 21, 2013 - 12:39 PM UTC
I'm thinkin' late 60's early 70's.I remember those days too,and miss them like he&&. Jeff T.
North4003
England - West Midlands, United Kingdom
Joined: August 01, 2012
KitMaker: 960 posts
Armorama: 95 posts
Joined: August 01, 2012
KitMaker: 960 posts
Armorama: 95 posts
Posted: Thursday, March 21, 2013 - 03:07 PM UTC
Quoted Text
First,let Me say,there are a lot of great builds going on here.
Although I am not enlisted in this Campaign,I have been following it from the start,being a bit of a Dino My self
I ran across this the other day,and thought I would throw it into the mix
Here you go
How old is THAT? And it's still good.Jeff T.
Jeff,
The chemical make up of the old paints contributed to their long shelf life. Your posting may lead me to paint the Seahawk using my older Testors and Pactera paints.
1721Lancers
England - East Anglia, United Kingdom
Joined: March 21, 2012
KitMaker: 1,673 posts
Armorama: 1,640 posts
Joined: March 21, 2012
KitMaker: 1,673 posts
Armorama: 1,640 posts
Posted: Thursday, March 21, 2013 - 10:15 PM UTC
Hi all, nice to see you have made some cool progress in the last 5 days:
@ Martin: thanks for joining us and a lovely little build you have produced there. Hope you´ll take part in #2 when it comes around
@ Jesper: cool, I´d forgotten what those 2 tone kits looked like
@ Rob: what can I say to that dude, apart from super cool
I hope you haven´t squeezed a resin cockpit in there lol. Only joking, looks fantastic keep it up
@ Steph: coming along nicely as always, I really like that little kit
@ Pedro: what else should we expect from our SHerman profi . Keep it comimg buddy.
@ Mike: Welcome and go for it mate. I really like the B24, it´s just bad a$$ with those 50 cals bristling from it
@ Jeff S. and Jeff T.: well fellas, why don´t you both go and spend 5 minutes looking through your stashes I bet
you can find something fitting for this and then you could both join in the fun . We still have just under 1 1/2 months playing time, and that is more than enough for some of these kits . Anyways, lads of your generations
should be able to put these things together in your sleep,
with one arm tied behind your backs
Paul
@ Martin: thanks for joining us and a lovely little build you have produced there. Hope you´ll take part in #2 when it comes around
@ Jesper: cool, I´d forgotten what those 2 tone kits looked like
@ Rob: what can I say to that dude, apart from super cool
I hope you haven´t squeezed a resin cockpit in there lol. Only joking, looks fantastic keep it up
@ Steph: coming along nicely as always, I really like that little kit
@ Pedro: what else should we expect from our SHerman profi . Keep it comimg buddy.
@ Mike: Welcome and go for it mate. I really like the B24, it´s just bad a$$ with those 50 cals bristling from it
@ Jeff S. and Jeff T.: well fellas, why don´t you both go and spend 5 minutes looking through your stashes I bet
you can find something fitting for this and then you could both join in the fun . We still have just under 1 1/2 months playing time, and that is more than enough for some of these kits . Anyways, lads of your generations
should be able to put these things together in your sleep,
with one arm tied behind your backs
Paul
Bluestab
South Carolina, United States
Joined: December 03, 2009
KitMaker: 2,160 posts
Armorama: 1,906 posts
Joined: December 03, 2009
KitMaker: 2,160 posts
Armorama: 1,906 posts
Posted: Friday, March 22, 2013 - 07:33 AM UTC
Update.
The Bergepanzer IV is basically assembled. I'll weather and wear her up a bit. I'm thinking about scratching a rack to hold extra track, road wheels (for both Pnzer 3 & 4s), Jerry cans, etc.
And my little Panzer II/F. I painted the road wheels. I used regualr black, mainly to get some added contrast from the rubber against the dark gray of the tank's base color. Unless I change my mind, I'll start white washing it this weekend. I'm going to brush it on to try to replicate how crews would paint it on using rags and even straw brooms. I left some of the equipment and the turret guns off until I paint.
I guess that's it for now.
kruppw
Texas, United States
Joined: March 17, 2006
KitMaker: 1,117 posts
Armorama: 1,115 posts
Joined: March 17, 2006
KitMaker: 1,117 posts
Armorama: 1,115 posts
Posted: Saturday, March 23, 2013 - 01:53 PM UTC
Well I believe I’m finally calling this one done. Only thing extra I added to the build was the 8” shell in the load tray and the radio set up consisting of a radio from verlinden, speaker, control box, and antenna base from pro art.
My source of inspiration.
Posted: Saturday, March 23, 2013 - 04:18 PM UTC
Christopher,
I really like that! Well Done!
I want to finish mine but am so disappointed in the AM tracks I got.
Cheers Rob.
I really like that! Well Done!
I want to finish mine but am so disappointed in the AM tracks I got.
Cheers Rob.
Posted: Saturday, March 23, 2013 - 07:40 PM UTC
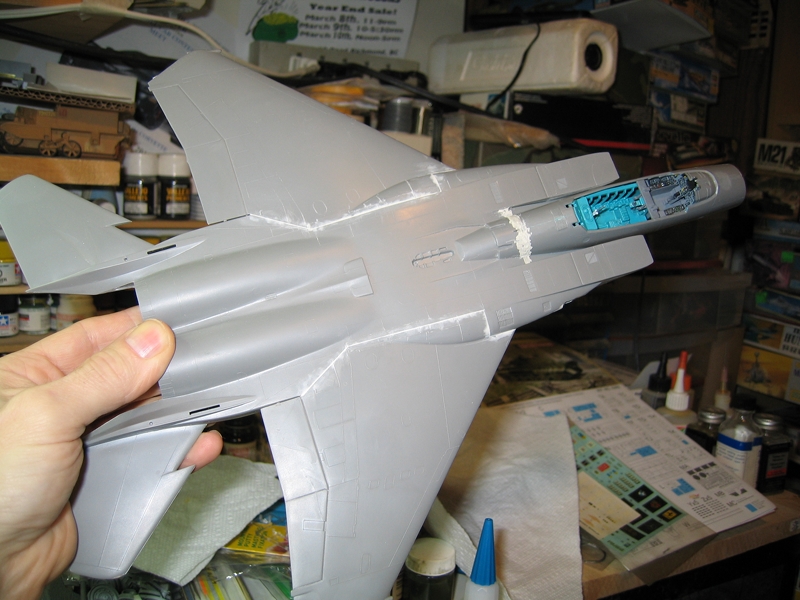
Got some more sanding done It's taking awhile trying to sand around all the raised panel lines. also got the front fuse glued and filled. Oh look more sanding.
Cheers Rob.
Cheers Rob.
1721Lancers
England - East Anglia, United Kingdom
Joined: March 21, 2012
KitMaker: 1,673 posts
Armorama: 1,640 posts
Joined: March 21, 2012
KitMaker: 1,673 posts
Armorama: 1,640 posts
Posted: Sunday, March 24, 2013 - 03:14 AM UTC
@ Alex: coming along nicely, I trust you won´t leave the Pz2 all nice and clean though
@ Christopher: fantastic , that is a beauty.
You should check your camera though, there seems to be
a foggy spot on the lens It´s on the mid left of all pics.
@ Rob: you´ll master it. Looking good even though your sanding everytime you add a new piece
Paul
@ Christopher: fantastic , that is a beauty.
You should check your camera though, there seems to be
a foggy spot on the lens It´s on the mid left of all pics.
@ Rob: you´ll master it. Looking good even though your sanding everytime you add a new piece
Paul
Bluestab
South Carolina, United States
Joined: December 03, 2009
KitMaker: 2,160 posts
Armorama: 1,906 posts
Joined: December 03, 2009
KitMaker: 2,160 posts
Armorama: 1,906 posts
Posted: Sunday, March 24, 2013 - 09:10 AM UTC
Christopher, That old kit really turned out looking great.
Paul, I actually thought about building the panzer 2 super clean and like a kid would have back in the 70s. No weathering, wear, etc. I was even going to use tube glue. I scrapped that idea pretty quickly though. She'll we wearing white and a scruffy coat of white at that.
Posted: Sunday, March 24, 2013 - 11:11 AM UTC
Good job on the 110 Christopher -- especially with the dirt effect on the blade!
Cheers,
Tat
Cheers,
Tat
Posted: Sunday, March 24, 2013 - 10:05 PM UTC
Hello,
I was toying around with some camo options googled awhile back -- but finally decided to go for the box-art itself, or at least close to it.
Since I couldn't trust myself to spray free-hand at this scale, the old, trusty mask technique was the option for me.
I painted in reverse by starting with olive green. Masking took about six hours -- spread over a couple of nights.
I gave it a coat of black, and then shot dark yellow this morning using a rattlecan. It was still just a few hours dry, and I just couldn't wait for the outcome. So just like one mad scientist eager to see his creation, the masks were off:
There are signs of seepage, which need to be re-touched. Will also need to do sanding on the camo outlines as well. Hopefully it shouldn't be much of a problem.
More to come...
Cheers,
Tat
1721Lancers
England - East Anglia, United Kingdom
Joined: March 21, 2012
KitMaker: 1,673 posts
Armorama: 1,640 posts
Joined: March 21, 2012
KitMaker: 1,673 posts
Armorama: 1,640 posts
Posted: Monday, March 25, 2013 - 03:38 AM UTC
Hi Tat: looking great there, take it steady when start sanding though, don´t want take too much off
Paul
Paul
steph2102
Isere, France
Joined: April 23, 2011
KitMaker: 735 posts
Armorama: 606 posts
Joined: April 23, 2011
KitMaker: 735 posts
Armorama: 606 posts
Posted: Monday, March 25, 2013 - 03:49 AM UTC
hello, here is a little update. I just started the weathering
steph
steph
Bluestab
South Carolina, United States
Joined: December 03, 2009
KitMaker: 2,160 posts
Armorama: 1,906 posts
Joined: December 03, 2009
KitMaker: 2,160 posts
Armorama: 1,906 posts
Posted: Wednesday, March 27, 2013 - 06:09 AM UTC
Bergepanzer IV Update.
Now to start adding the goodies. But first we'll need some sort of stowage rack. A length of styrene strip, stretched sprue, and, a few extra panzer 3/stug 3 fender supports later and we have a rack for the rear deck.
And now we'll jump ahead after I've added everything. I figure that there'd be StuG 3 in service as well so I added a couple of road wheels for them. The crate is from the old Tamiya Marder, I cut it down.
I think I am calling this one finished. I'll go back and touch up a few places and take care of other detail bits. Like there's still some white showing through. After that, I'll go ahead and upload to the Campaign Gallery.
This particular kit was a pain. I really hated building it but didn't mind the painting and finishing parts. I'm glad it's finally been removed from the stash...and I'm just glad it's done.