Jurassic Plastic Campaign

#226
British Columbia, Canada
Joined: February 20, 2012
KitMaker: 1,909 posts
Armorama: 1,066 posts
Posted: Wednesday, April 17, 2013 - 01:01 AM UTC
Dave,
You are welcome.(sorry I did not reply earlier)

Paul,
You are also welcome and that really does work.

Well,
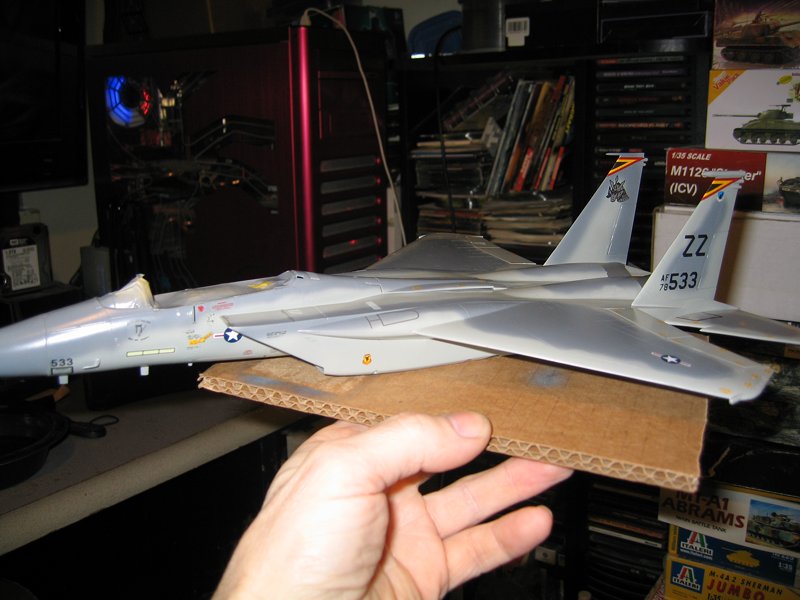
I managed to get the decals on, I used the kit decals except for the formation lights for that I used some from a Superscale set.

Cheers Rob.
Anything without guns is a target!
27 completed campaigns and counting :)
England - East Midlands, United Kingdom
Joined: February 07, 2004
KitMaker: 911 posts
Armorama: 348 posts
Posted: Wednesday, April 17, 2013 - 03:55 AM UTC
Do I look like a Viper yet?
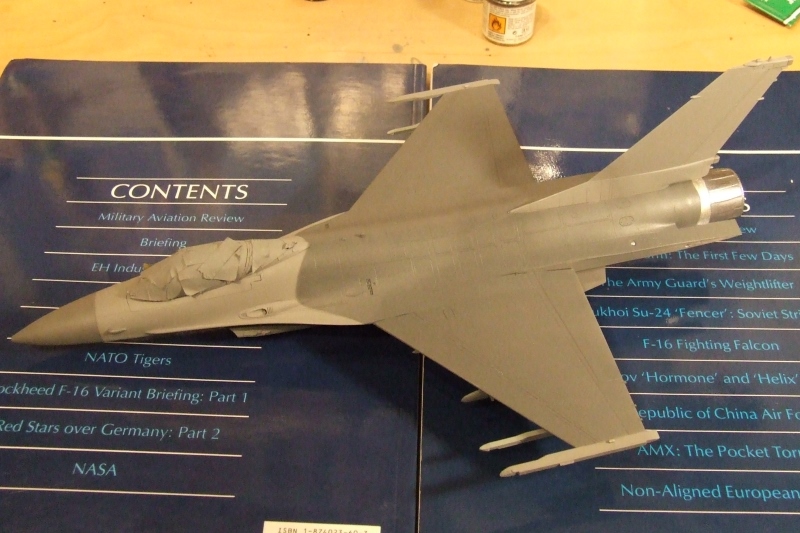
How about now?
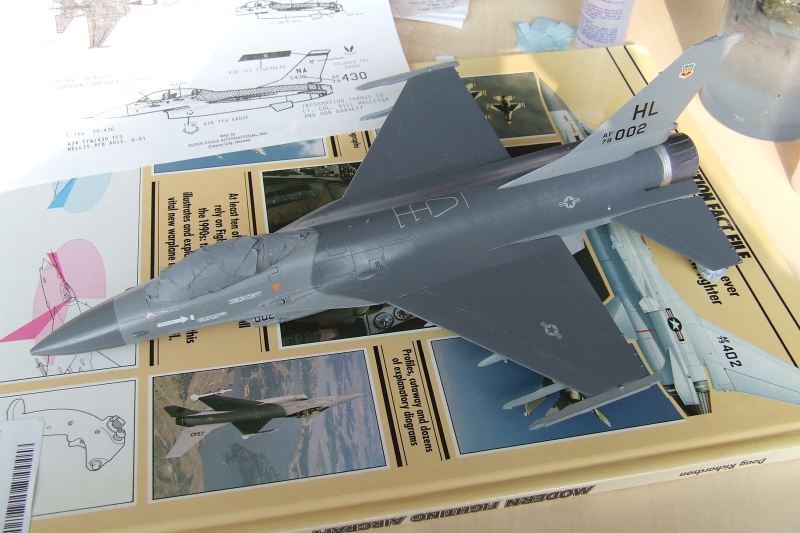
"Nelson be damned.......Lets get the hell out of here!"

#041
Kobenhavn, Denmark
Joined: July 20, 2006
KitMaker: 10,069 posts
Armorama: 4,677 posts
Posted: Wednesday, April 17, 2013 - 08:09 AM UTC
Looks cool, Rob. Great with a little color on the all grey Eagle.
Neil, nice looking Viper. Have you decided on underwing stores yet?
Campaign'oholic - 252+ campaigns completed
England - East Midlands, United Kingdom
Joined: February 07, 2004
KitMaker: 911 posts
Armorama: 348 posts
Posted: Wednesday, April 17, 2013 - 05:29 PM UTC
Yes Jesper, it will be ALQ-119 centreline, 2 x fuel tanks, 2 x Mk.84s, 2 x AIM-9J and 2 x AIM-9L
"Nelson be damned.......Lets get the hell out of here!"
New York, United States
Joined: March 08, 2010
KitMaker: 3,662 posts
Armorama: 3,078 posts
Posted: Wednesday, April 17, 2013 - 11:39 PM UTC
Active Campaigns on the bench:
Operation Fall Gelb - Pz.Kpfw. IV Ausf. C
Engineering the Future - M-26 Recovery Vehicle
115 Campaigns completed
Maryland, United States
Joined: February 25, 2013
KitMaker: 209 posts
Armorama: 33 posts
Posted: Thursday, April 18, 2013 - 01:40 AM UTC
Almost done with Huey's Hut Rod. Still doing some detail painting on Huey's face. Here you can see him holding his tongue. I airbrushed the main colors with Vallejo acrylics (Hemp and Lt Green from my German WWII set). Detail painting on the eyes and mouth is the last thing to finish before putting some gloss on the eyes and laying down the eyeball decals. I've never painted a figure before so this is an interesting semi-introduction though I'm sure my techniques are all wrong. I used testors small-container flat white and light tan.

The Hut Rod is complete and awaiting the driver.

Handpainted with Testor's enamel. I used vallejo black wash to weather the wood and bring out the wood grain detail.

The copper tube between the moonshine jug and engine was scratchbuilt from a piece of 1.5mm round sprue. I heated and hand-molded the curl with a lighter. Should be done this weekend. Unfortunately I won't be able to do the BV141 in time to finish this campaign but I will be entering it in Anything Goes over at aeroscale.

#041
Kobenhavn, Denmark
Joined: July 20, 2006
KitMaker: 10,069 posts
Armorama: 4,677 posts
Posted: Thursday, April 18, 2013 - 02:40 PM UTC
Campaign'oholic - 252+ campaigns completed

#298
Hong Kong S.A.R. / 繁體
Joined: August 08, 2002
KitMaker: 1,182 posts
Armorama: 665 posts
Posted: Thursday, April 18, 2013 - 08:18 PM UTC
England - East Anglia, United Kingdom
Joined: March 21, 2012
KitMaker: 1,673 posts
Armorama: 1,640 posts
Posted: Friday, April 19, 2013 - 03:02 AM UTC
Jesper, Sal. thanks guys the build was no prob, just the
paint job

Jesper: great little build there, looks fantastic


M.Douglas : nice Stuka what colors are going for. I personally liked the mottled African scheme.

Rob and Neil . now they really both look the part


Van : looking crazy man, but please put his tongue where
it belongs, it just looks "odd" to see it like that

Lap Man . looking good, stick at it mate

O.k. then, we have 11 days left. Does anyone need extra time?

Happy weekend everyone

Paul
"Lord Raglan wishes the cavalry to advance rapidly to the front, follow the enemy & try to prevent the enemy carrying away the guns. Troop horse artillery may accompany. French cavalry is on your left. Immediate. R Airey."

#041
Kobenhavn, Denmark
Joined: July 20, 2006
KitMaker: 10,069 posts
Armorama: 4,677 posts
Posted: Friday, April 19, 2013 - 04:11 PM UTC
Nice progress, Lapman.
Thanks for the comment on my Havoc, Paul.
Campaign'oholic - 252+ campaigns completed
Thessaloniki, Greece / Ελλάδα
Joined: April 23, 2012
KitMaker: 402 posts
Armorama: 394 posts
Posted: Saturday, April 20, 2013 - 01:00 AM UTC
Rob, your Eagle is looking even better with every update.
Neil, good work on the camo, it looks very good.
Van, crazy modelling subject! I like it a lot!
Jesper, these old good Matchbox kits..... they are so easy to assemble and look good when finished, even if they have lighter details than modern kits. You did a very good job in painting and weathering your Havoc. It looks really cool.
Lap Man, your Hanomag looks good. What are you thinking about the camo? Lots of potential with these type of vehicles!
Tat, thanks a lot. For me there were 2 Sherman tanks that looked and were mean. The Firefly and the Super Sherman. The latter is finished so soon i'm begining a Firefly for the Sherman campaign!
The Super Sherman is finished. I must admit it is one of the most enjoyable builds i ever had. A really nice kit.


My work.
http://johnsprint79.wix.com/jkb-modelling
England - East Anglia, United Kingdom
Joined: March 21, 2012
KitMaker: 1,673 posts
Armorama: 1,640 posts
Posted: Saturday, April 20, 2013 - 01:51 AM UTC
Hi John, great looking M51 there


, it certainly
makes a change to do a stressless build doesn´t it


Paul
"Lord Raglan wishes the cavalry to advance rapidly to the front, follow the enemy & try to prevent the enemy carrying away the guns. Troop horse artillery may accompany. French cavalry is on your left. Immediate. R Airey."
Thessaloniki, Greece / Ελλάδα
Joined: April 23, 2012
KitMaker: 402 posts
Armorama: 394 posts
Posted: Saturday, April 20, 2013 - 04:02 AM UTC
Yes Paul, a problem free build is really relaxing, takes my mind of the everyday problems as i assume this goes for everyone. I mean that's what a hobby is all about after all.

Some rocket fuel combined with tsipouro

(or zippero, i see you are familliar with what we drink in the Northern part of my country

) also helps a lot.

I also just noticed in the last pic that the decal sort of slipped...

probably during the last dull coat. I will see to that in the morning.
A great campaign. Thx for this one Paul, i'll be watching for the rest of the builds. Have fun people.

My work.
http://johnsprint79.wix.com/jkb-modelling

#298
Hong Kong S.A.R. / 繁體
Joined: August 08, 2002
KitMaker: 1,182 posts
Armorama: 665 posts
Posted: Saturday, April 20, 2013 - 05:18 PM UTC
Michigan, United States
Joined: January 02, 2012
KitMaker: 139 posts
Armorama: 65 posts
Posted: Sunday, April 21, 2013 - 01:07 PM UTC
In progress:
MPC Boeing B-17G Mighty Eighth Campaign
Maryland, United States
Joined: February 25, 2013
KitMaker: 209 posts
Armorama: 33 posts
Posted: Sunday, April 21, 2013 - 03:32 PM UTC
Here is Huey's Hut Rod. Thanks for allowing me to slip by on a technicality, it was fun!


Is there a campaign gallery?

#226
British Columbia, Canada
Joined: February 20, 2012
KitMaker: 1,909 posts
Armorama: 1,066 posts
Posted: Sunday, April 21, 2013 - 09:39 PM UTC
Jesper, Sal, Paul and John,
Thanks!

John, your Sherman looks Great!

Van, your rod looks Great also!

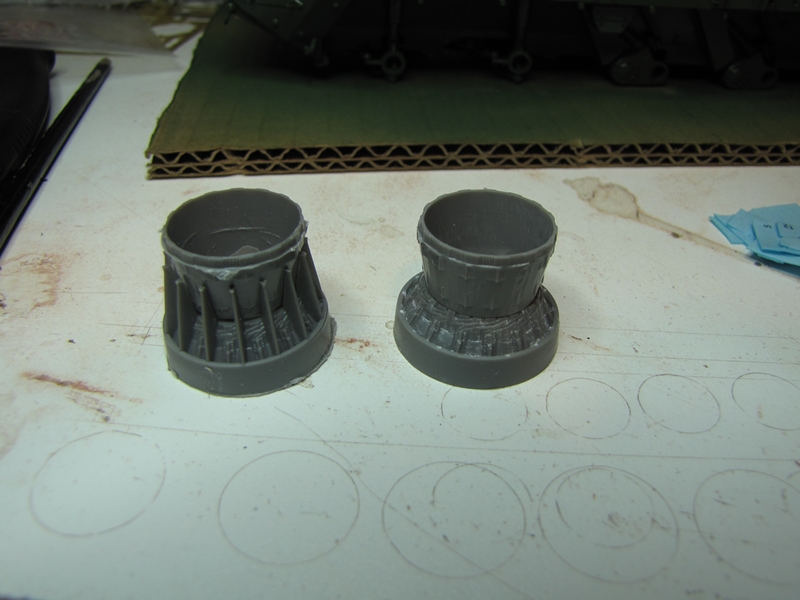
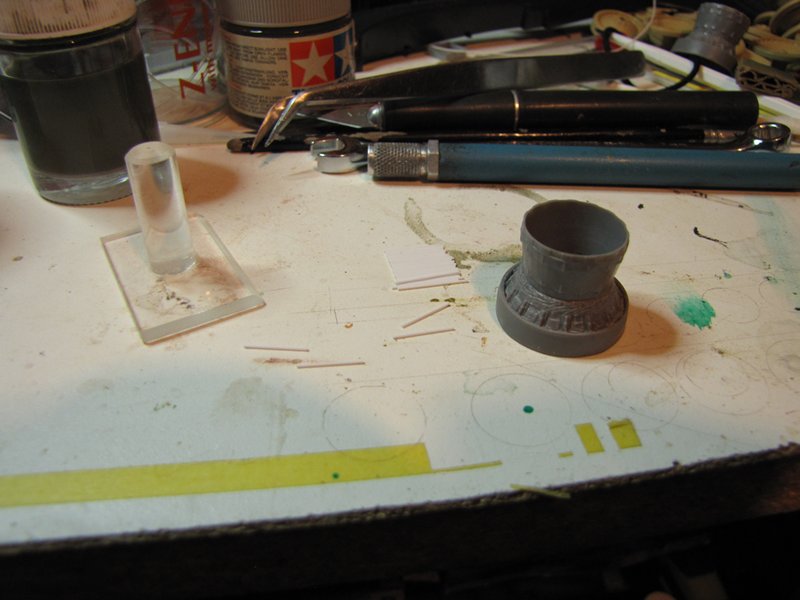
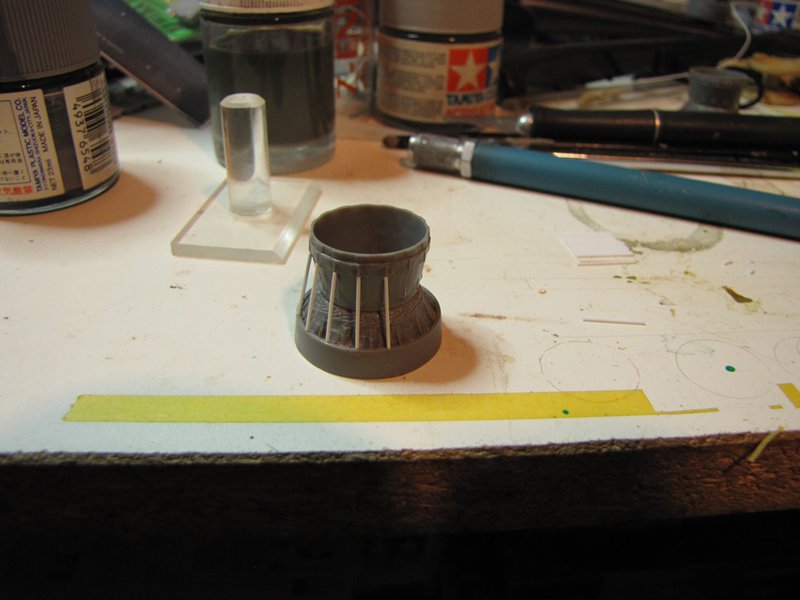
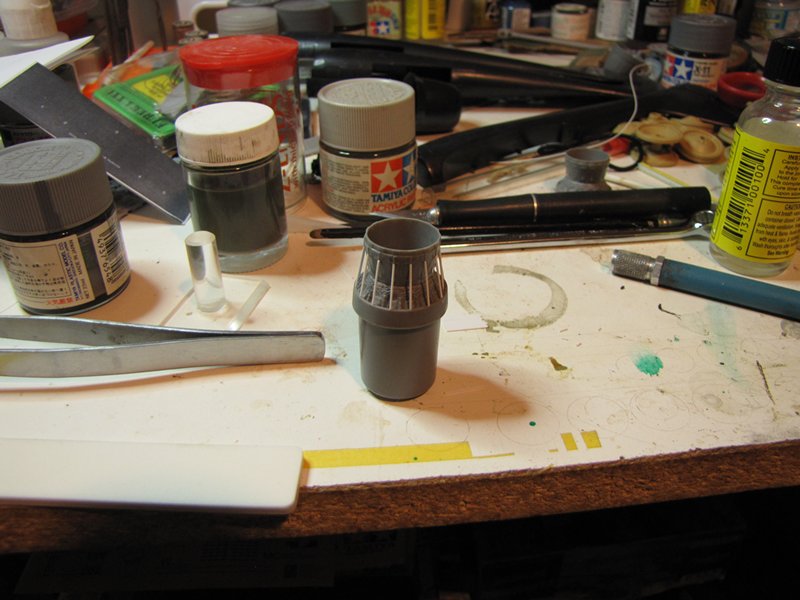
Well I finally got around to finishing the turkey feathers I think they look much better now but that was a lot of work

In fact I have put a fair amount of work in on this kit and am just finishing up some details, just some painting of the missiles left.

Last night I took the canopy out of the plastic it was wrapped in and started to trim the flash so I could dip it in future. I noticed a headlight lens on the sprue and started to look through the instructions as I did not recall seeing a clear lens. Then it hit me

my kit did not come with an F-15 canopy it came with an F-14 canopy.

I am going to see about getting a replacement canopy but I will finish everything else but may have a canopy less plane at campaigns end.

Cheers Rob.
Anything without guns is a target!
27 completed campaigns and counting :)
England - East Anglia, United Kingdom
Joined: March 21, 2012
KitMaker: 1,673 posts
Armorama: 1,640 posts
Posted: Monday, April 22, 2013 - 02:04 AM UTC
Quoted Text
Here is a link to the campaign gallery
Van: here´s the link, now get him parked in there before
he starts chasing round the place and eating the other entries


Nice build and definatly something different


Lap Man and M.Douglas: now those two are starting to look the business. Take your time though there´s still 8 1/2 days
left


Rob: after all that effort I cannot refuse you the award.
Either way if the rest is done and your minus the canopy you´ll still get it


Paul
"Lord Raglan wishes the cavalry to advance rapidly to the front, follow the enemy & try to prevent the enemy carrying away the guns. Troop horse artillery may accompany. French cavalry is on your left. Immediate. R Airey."
Maryland, United States
Joined: February 25, 2013
KitMaker: 209 posts
Armorama: 33 posts
Posted: Monday, April 22, 2013 - 04:04 AM UTC
Huey was trapped in the campaign gallery. I had to lay down a trail of Reese's Pieces to get him to cooperate.

#041
Kobenhavn, Denmark
Joined: July 20, 2006
KitMaker: 10,069 posts
Armorama: 4,677 posts
Posted: Monday, April 22, 2013 - 04:56 AM UTC
Thanks for the comment on my Matchbox Havoc, John. Appreciate it.
You did a great job on the Super Sherman. Love the subtle dusty weathering. Looks like a really nice kit.
Van, that is definitely something out of the ordinary. Thanks for participating.
Nice progress, First Sergeant. Are you going to do the splinter camouflage? Looking forward to see more.
Campaign'oholic - 252+ campaigns completed

#226
British Columbia, Canada
Joined: February 20, 2012
KitMaker: 1,909 posts
Armorama: 1,066 posts
Posted: Monday, April 22, 2013 - 11:16 AM UTC
Thanks Paul!

I just put in an online parts request.
Cheers Rob.
Anything without guns is a target!
27 completed campaigns and counting :)

#298
Hong Kong S.A.R. / 繁體
Joined: August 08, 2002
KitMaker: 1,182 posts
Armorama: 665 posts
Posted: Wednesday, April 24, 2013 - 02:36 AM UTC
Ontario, Canada
Joined: April 04, 2009
KitMaker: 458 posts
Armorama: 456 posts
Posted: Wednesday, April 24, 2013 - 09:01 AM UTC
Daily life drudgery and recent events has interfered with hobby time and progress on this kit.

I finally found some time and made a bit of progress. The turret is well along and I've worked a bit on the lower body including adding some lifting eyes made from brass wire to the rear engine area. Fit is mostly pretty good except for a gap in the right side that still needs to be filled a bit more.
The colour options are either all light tan or light tan with black splotches. At this point I am leaning toward the light tan (to save time). Here's where it is at the moment. Hope this works a Photobucket changed their interface and everythings in need of relearning.


I may have to fill in the slots by the drivers area as I can't seem to get them square and they've grown a little large.

At this point I doubt I'll make the campaign deadline but I'll still continue the Blog of this thing.

Regards,
AJ

#226
British Columbia, Canada
Joined: February 20, 2012
KitMaker: 1,909 posts
Armorama: 1,066 posts
Posted: Wednesday, April 24, 2013 - 11:08 AM UTC
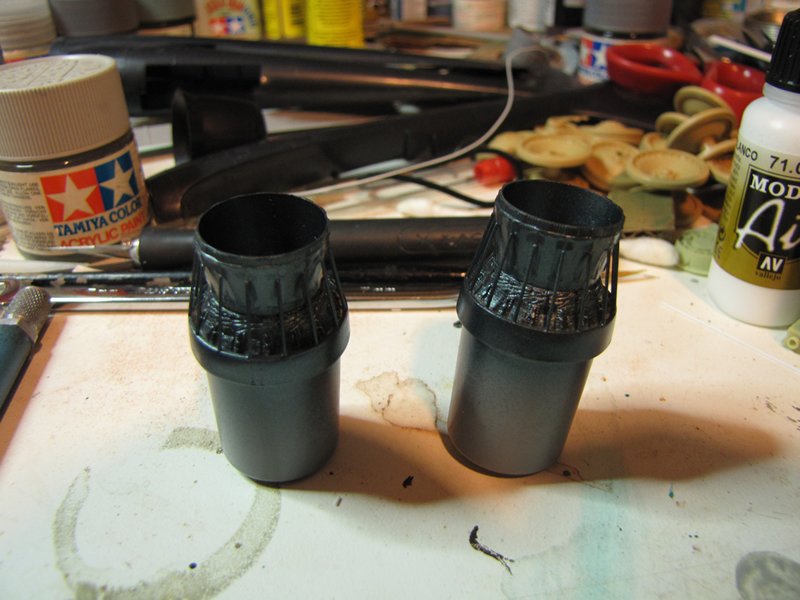
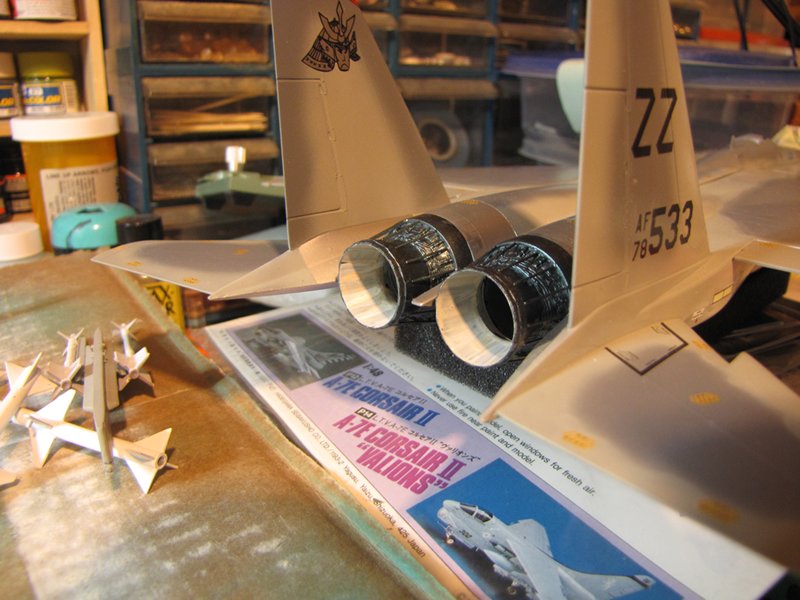
I tried something different for the inside of the engine nozzles, I put drops of thinned white and thinned sand in a small pallet and without mixing them dipped a wide brush and painted the insides.

I like the way it came out.

Cheers Rob.
Anything without guns is a target!
27 completed campaigns and counting :)
Hamilton, New Zealand
Joined: December 30, 2005
KitMaker: 436 posts
Armorama: 367 posts
Posted: Thursday, April 25, 2013 - 01:00 PM UTC
Finished

One Tamiya Quad Gun Tractor, circa 1974; as one used by the 5th Field Regiment of the New Zealand Artillery at Castel Benito Airfield, Tripoli, Libya, February 1943.
Firstly the fun part, masking and painting the Caunter Scheme


A combination of hot weather and leaving the masking tape on too long caused a few problems

but a coat of Future and light weathering solved most of the problems


cheers
David
"If nothing else works, a total pig-headed unwillingness to look facts in the face will see us through."
General Sir Anthony Cecil Hogmanay Melchett
Blackadder Goes Forth


