

CA glue has mood swings, some days it does what you want, other days it dont,
On the days it dont, do something else.


 I need some help on the barrel....Should I mount it prior to paint since there fuel lines to do? Advice?
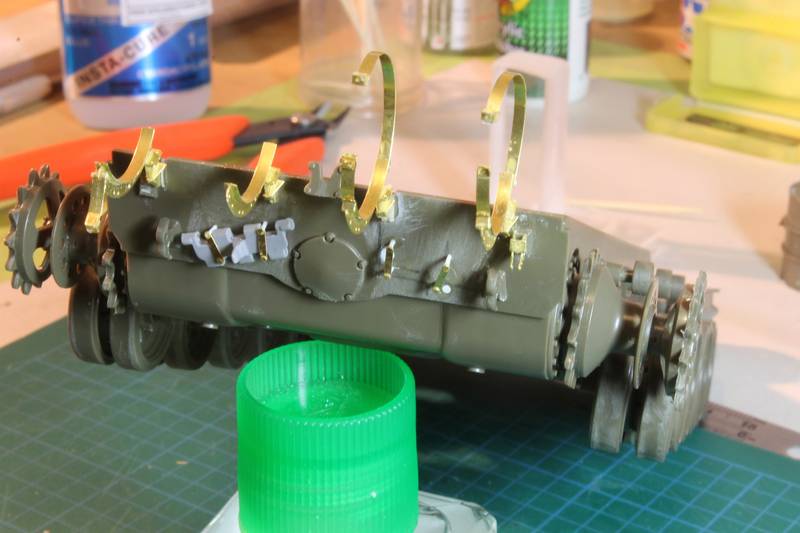


 .
. 
 I'll manage


 No way id take that away from ya bro. Its a pleaser to see you build it and it will be a magnificent addition to your collection.
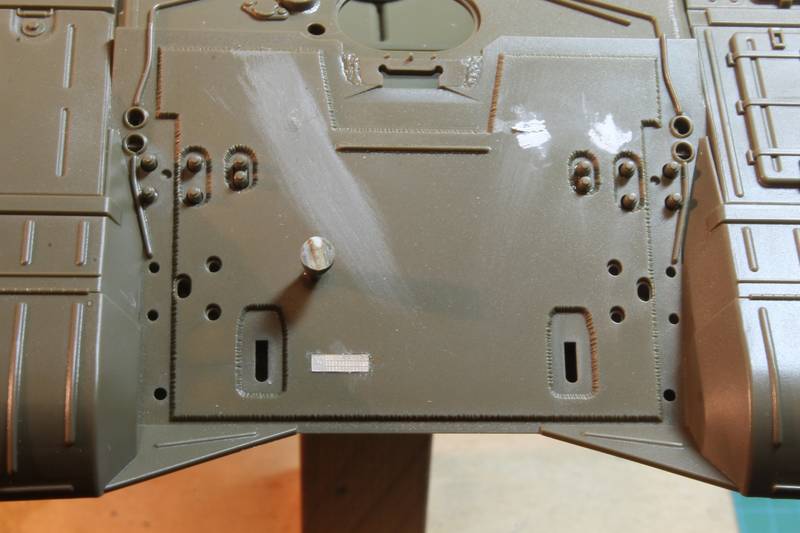
 again.
 Gary...I'm half joking on this one, I plan to try to sell some of my model on e-bay. It is getting tight in here and I`m moving so I`ll need the extra place! So I`ll wont sell this one bro!
Phil.
A mans gotta do what a mans gotta do! Ill back your play brother. 


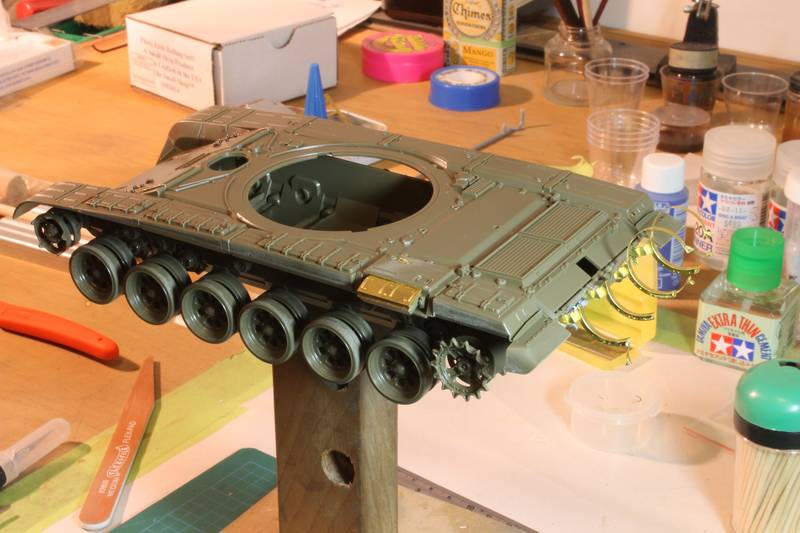
 Looks like an RB aluminum barrel? And Voyager PE to decorate the Tamiya T72 M1, its starting to look like Christmas!
 NOT. Losing photographs this way had already happened a number of times before, to both my wife and I. Anyhow, she went out and surprised me with a new camera. So Ill be shooting photographs again in between a braille build that I have been posting over in the Braille forum. Sorry, but no SBS by Christmas, too many logs in the fire here at home. Your making good headway on the PE in spite of the angry CA gods.
You could also use copper or brass wires (it'll be easier for you to find the right gauge this way) but you should burn them on a kitchen flame before use. As you know copper is stiffer than lead but the burning process can reduce the metal tempering effects, so your wires will become far more malleable.
Eddie I would love to read you SBS on soldering as well, the couple of times i have tried wound up with me saying Houston we have a problem lol
Thanks for the laughter needed it!!! Thanks for your interest in the SBS soldering, when Im finished with the text, proof reading and photographs I will submit it as a Feature here in Armorama. There has been a number of topics posted on soldering but I think what is really needed is a simple, easy, effective and not so costly way of soldering photo-etched parts. Photo-intense and keeping things simple is the key. If a cave man like myself can do it, anyone can do it!You having CA glue prob's bro? - Gary
Thanks Gary. CA problems....I think it is just the way CA is, it builds my patience. - Philippe
CA glue has mood swings, some days it does what you want, other days it dont, on the days it dont, do something else. - Matt
Today it did what I wanted! - Philippe
Worked on the exhaust today...intricate indeed and time consuming. And the CA god wasn't on my side....But, the force prevailed. - Philippe
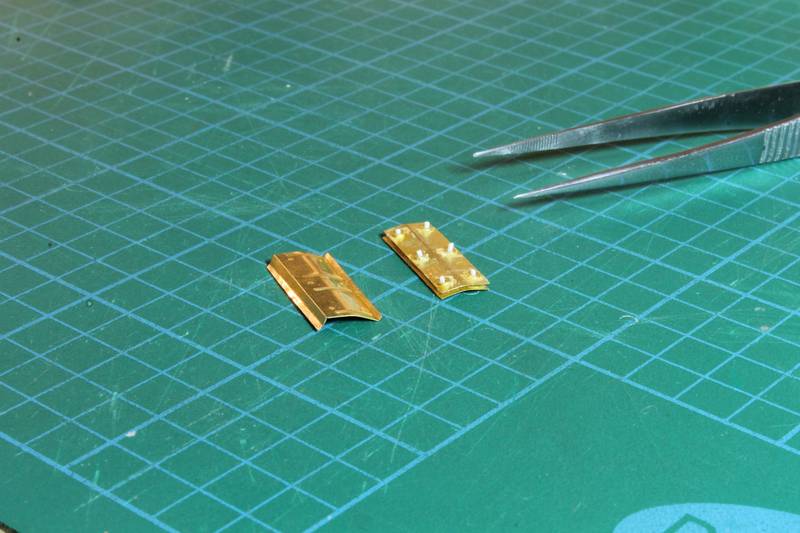
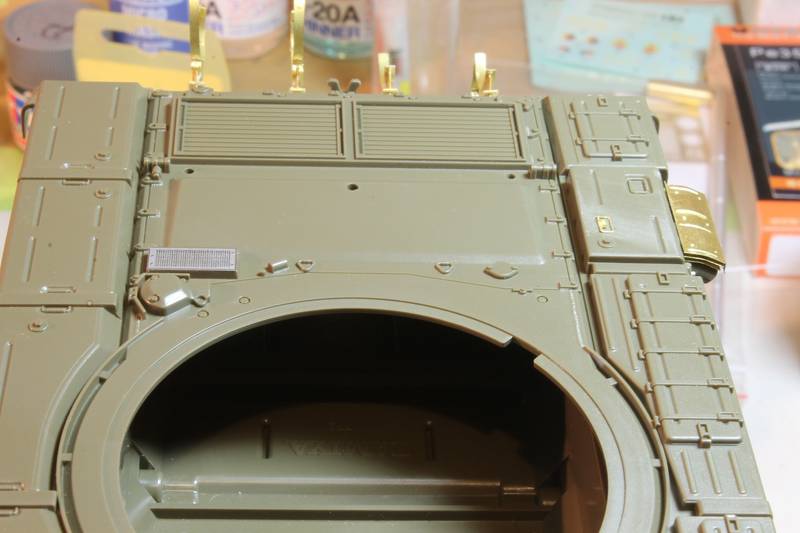
Next some major cleaning on the upper hull and.....tiny PE with CA glue again! - Philippe
 TIP: Use a medium sanding stick to abrade the PE where youre going to place the CA. This gives the CA something to hold onto. Place a small amount of CA on a piece of wax paper. This should keep the CA from setting up and last thru one modeling session (wax paper repels water, water is what causes the CA to harden as do your hand oils / moisture). Add talcum powder to the CA. CAs tensile strength is king but it has no shear strength, so by adding the talcum powder youve added the needed shear strength. Never apply accelerator directly to the CA, this shocks the CA and makes it weak easy to shatter. Add accelerator via a dampened micro brush near enough to the CA to have it run over to the CA. Unlike water accelerator exhibits almost no adhesion so it easily spreads. For small PE parts or parts that will be placed on the model that will not have any tension on them use Future / Kleer. This amazing floor wax is self-leveling, dries thin and rock hard and has the stamp of approval from the modeling gods. If you need to remove any PE after the wax sets up just use an alcohol dampened ear swab or brush. No muss no fuss! I keep a small bottle (used Testors liquid cement jar) and a No.1 paint brush on the workstation and let my wife know its for keeping the bench waxed and clean, hihi!
  Thanks for the sweet tips Eddy. As always you are a resourcefull fellow Mheeeee, darn holliday season, everyone gets vacation except me!

 Hope you`ll have a great ime with us...in fact I know you will. This community gave me a lot of joy and help. Model on fellow builder!
  I still gonna use the sweetest parts!
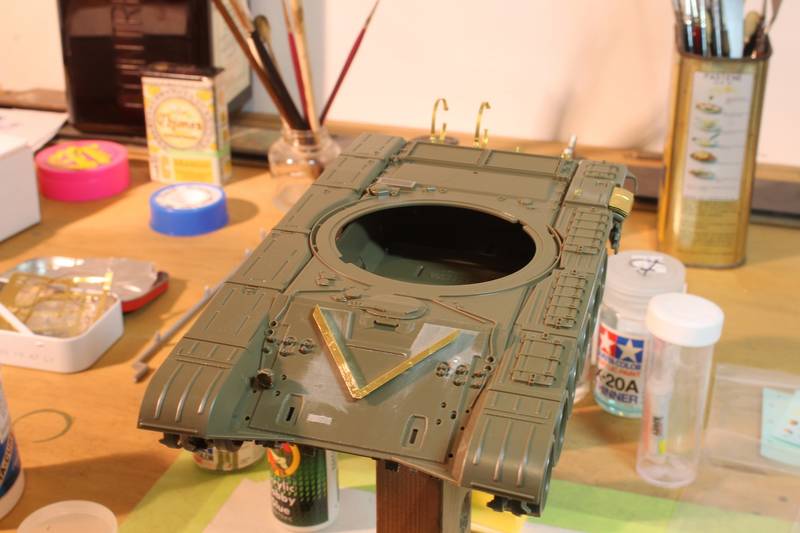


Hey brother Phil,
Im alot less freaked out by the CA glue nowdays. I still dont like it, but im tha boss of it now, not the other way around as it was for sooo long!!!
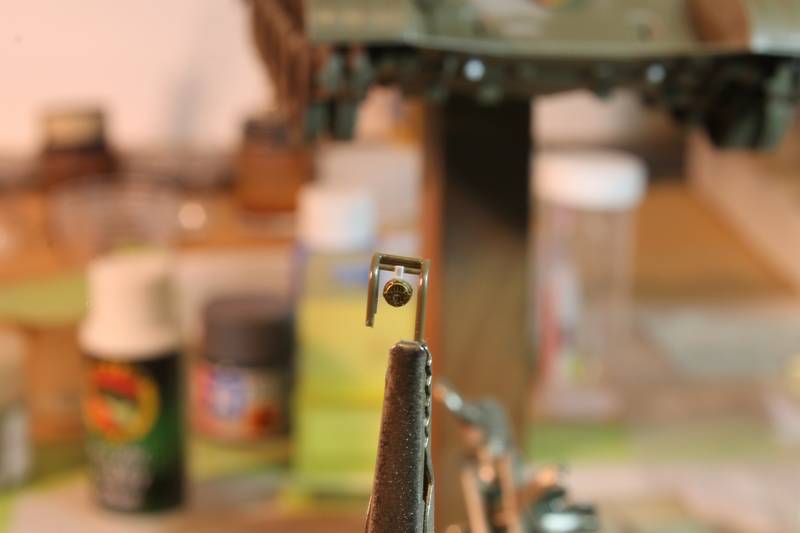
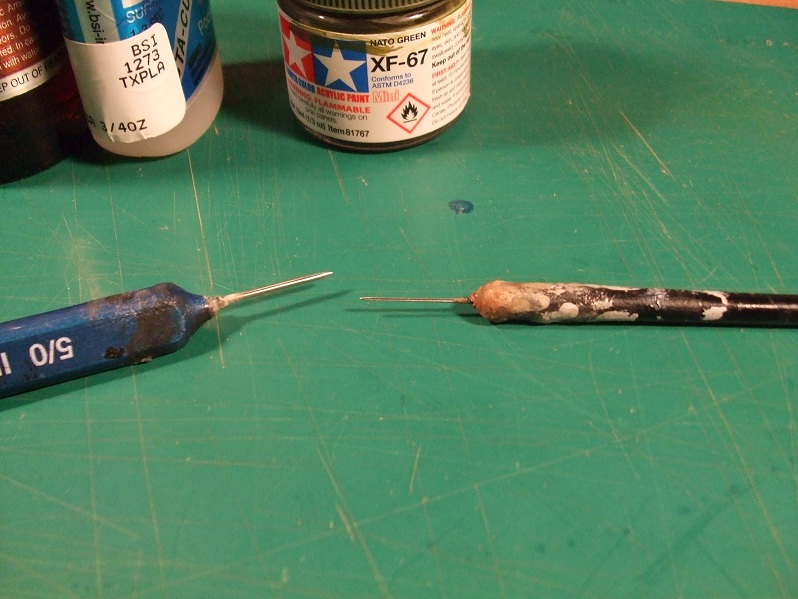
What i did was Glue a sewing needle in the end of an old paintbrush handle. Just drilled the end and CA glued the needle in place. Thats what i use for all my PE glueing. It alows me to place a tiny drop where needed. I made 2 sizes, heres a pic.
I sure hope that helps my freind!
PMing you now,
Gary


 |


