Hosted by Richard S.
20 Bucks for the win
MikeyBugs95

Joined: May 27, 2013
KitMaker: 2,210 posts
Armorama: 1,712 posts

Posted: Sunday, April 19, 2015 - 09:28 PM UTC
Work for me has stalled. I ran into some painting troubles where there are blue splotches all over the tank. I forgot to clean them and now they leached through the paint. Have to do another overcoat but I forgot the pot paint I was using. It was possibly Tamiya Buff.
Posted: Tuesday, April 21, 2015 - 05:46 AM UTC
Nice progress, Fabian. I have this kit and is considering it for the wurf and friends campaign. Nice to know it goes together without any problems.
Looking forward to see more.
Looking forward to see more.

nng-nng

Joined: October 22, 2013
KitMaker: 380 posts
Armorama: 376 posts

Posted: Wednesday, April 22, 2015 - 02:33 PM UTC
Thanks Jesper.
After the some filters and the first wash I tried putting on the Tracks. Take care whrn assembling the boogies, one side of the "full" roadweels spoiled with ejector marks.


The tracks feel just like the usual Italeri tracks, extremely stiff without any hope of improvement. I´ll try some hot water tonight.

Otherwise I´m still debating where to settle the whole thing, Pacific or Europe? I´m mainly seaching the coolest way of avoiding decals
After the some filters and the first wash I tried putting on the Tracks. Take care whrn assembling the boogies, one side of the "full" roadweels spoiled with ejector marks.


The tracks feel just like the usual Italeri tracks, extremely stiff without any hope of improvement. I´ll try some hot water tonight.

Otherwise I´m still debating where to settle the whole thing, Pacific or Europe? I´m mainly seaching the coolest way of avoiding decals

Posted: Friday, April 24, 2015 - 10:20 PM UTC
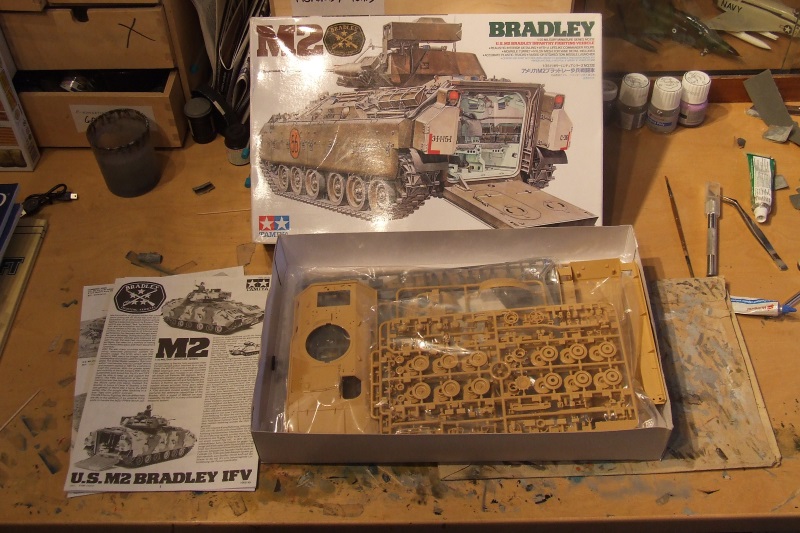
First off, great idea for a campaign, I've been stealthily following it for a while now. As a reward for a gruelling few weeks at work I bought myself the Tamiya M2 Bradley, 2nd hand online for £19.99
http://www.kingkit.co.uk/product_detail.php?prodID=13625
I want as quick and easy a build as possible - she'll be all buttoned up, no accurising, no detailing, and in the plain olive drab scheme with just a touch of weathering. I may add some stowage from the stash if that is allowed?
Kit arrived this afternoon and I've already started cutting plastic


Posted: Saturday, May 02, 2015 - 01:41 PM UTC
So, worked on the construction of the Bradley most nights this week, was able to prime it and spray a coat of Olive Drab last night.
Now to paint the rubber rims on all those road wheels...

Now to paint the rubber rims on all those road wheels...


Posted: Saturday, May 02, 2015 - 11:22 PM UTC
Posted: Sunday, May 03, 2015 - 03:42 PM UTC
Yeti01012001

Joined: July 28, 2005
KitMaker: 360 posts
Armorama: 334 posts

Posted: Monday, May 04, 2015 - 01:25 AM UTC
Posted: Monday, May 04, 2015 - 02:13 AM UTC
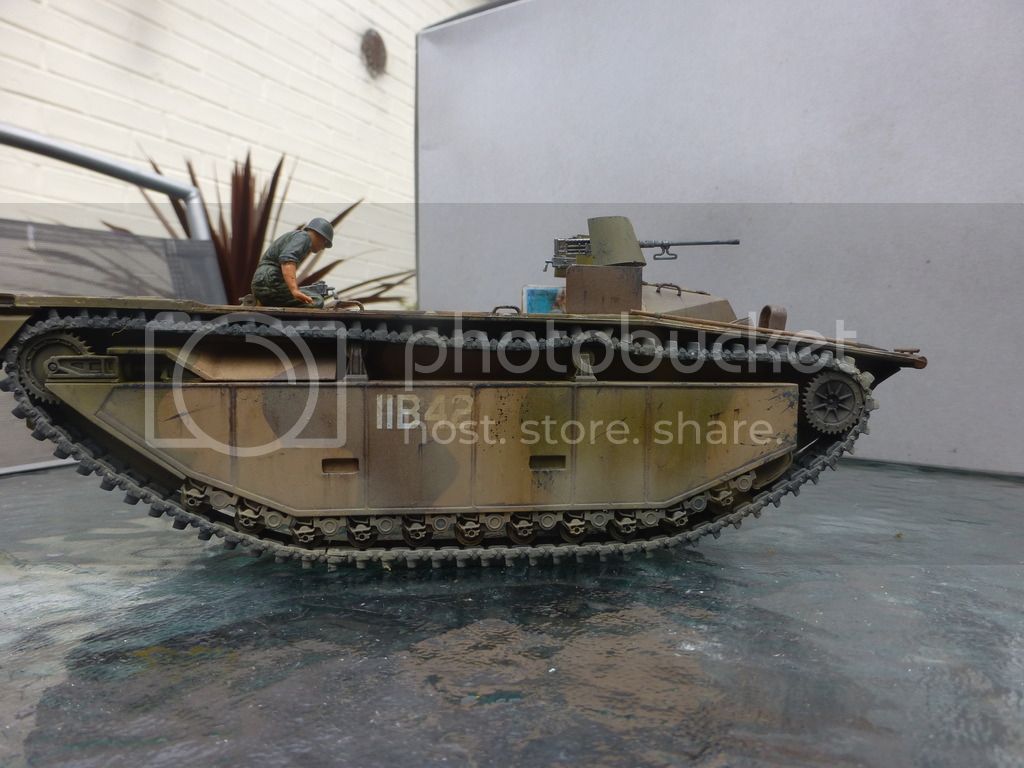
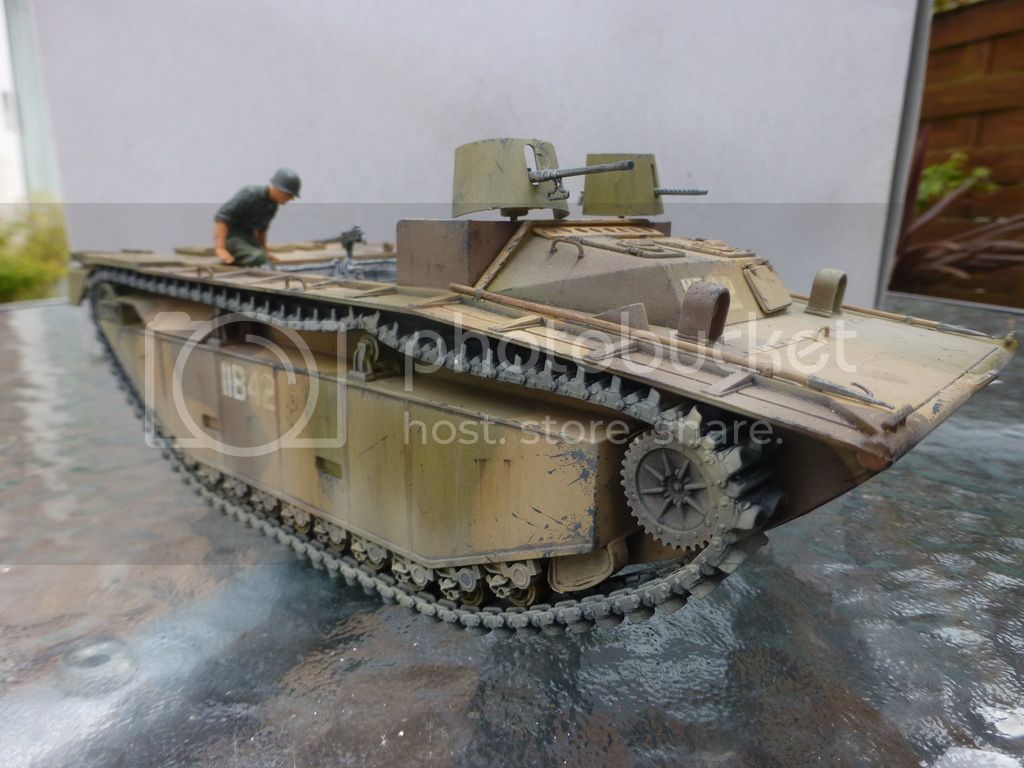
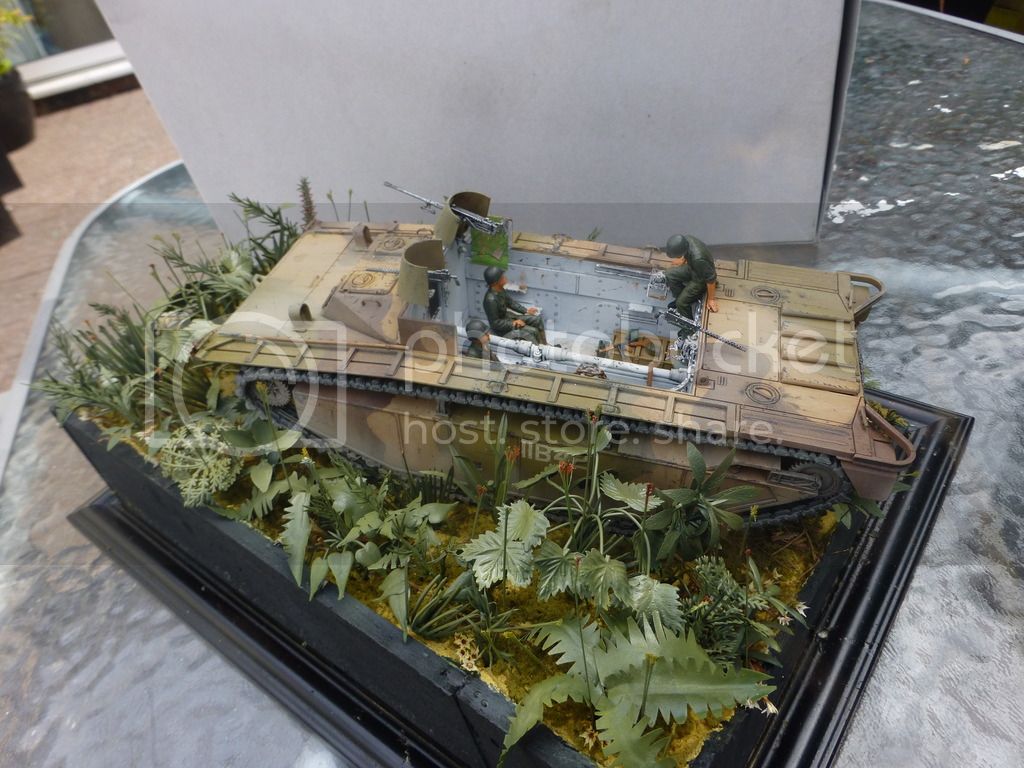
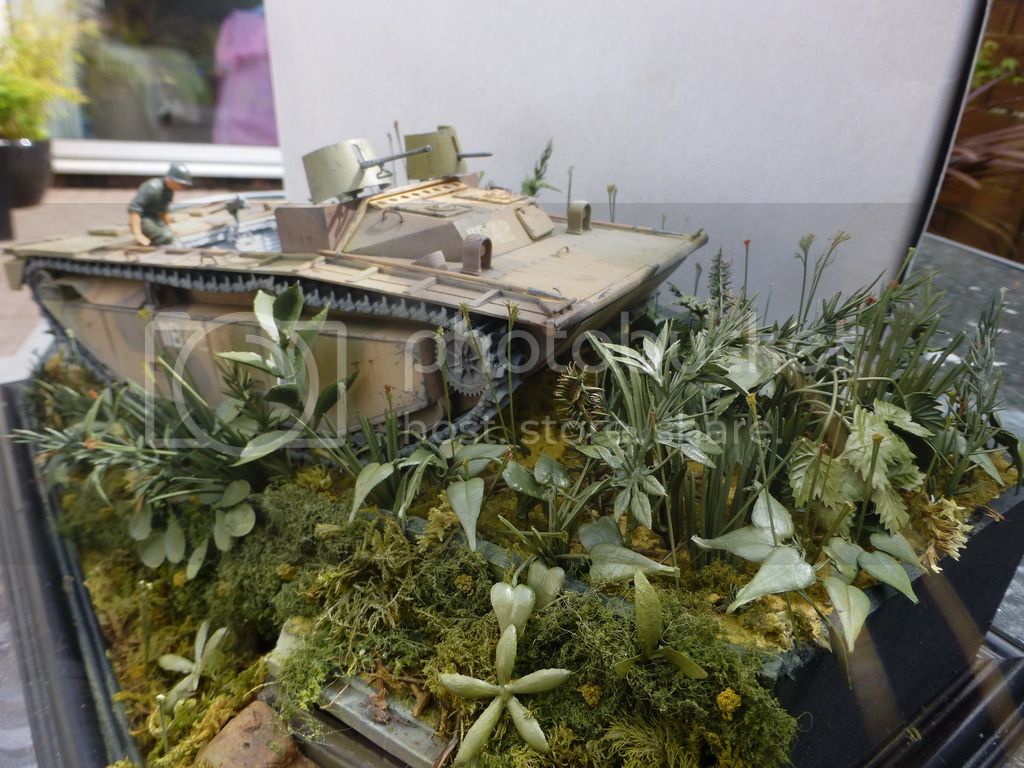
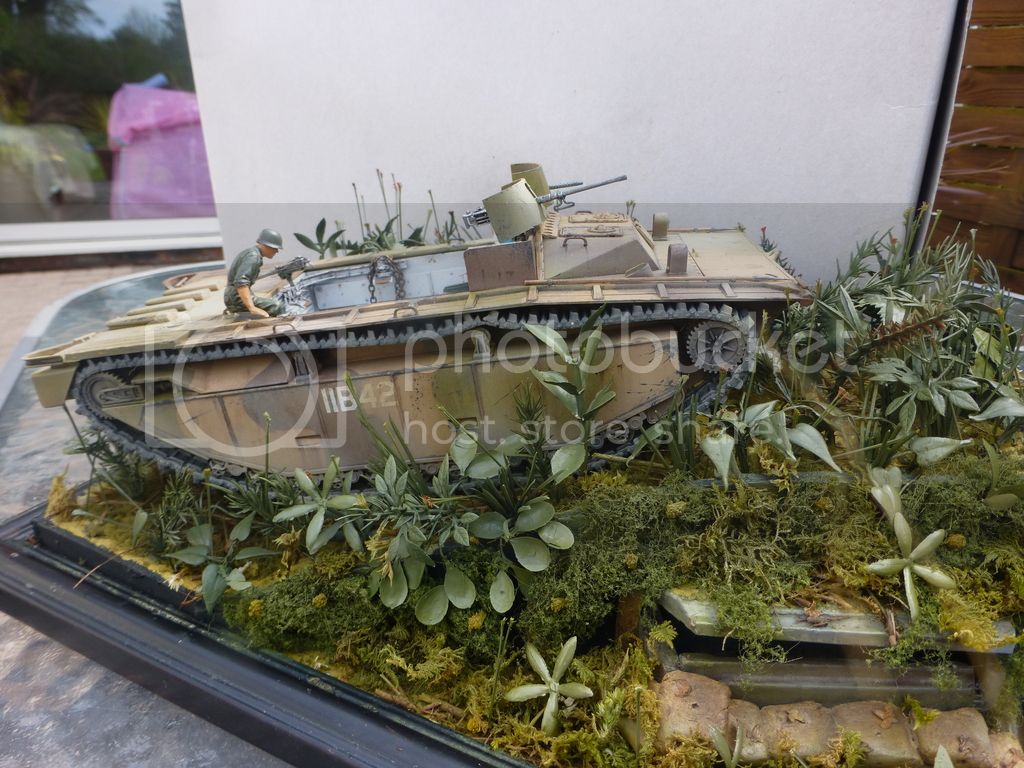
Wow! Fantastic job - both on the LVT and the diorama base. You should really submit this for a feature. It is outstanding!
Thanks for sharing
Thanks for sharing


nng-nng

Joined: October 22, 2013
KitMaker: 380 posts
Armorama: 376 posts

Posted: Monday, May 11, 2015 - 06:39 PM UTC
Quoted Text
I may add some stowage from the stash if that is allowed?
Of course, as long as you´re not using "a kit". Meaning spares would be ok.
I had the time to add the wooden planks, still have to paint them, though.

Posted: Tuesday, May 12, 2015 - 06:43 AM UTC
Way to go Gary! I don't think there was too much Buff. It looks like it came off a dusty road. I want to try your aquarium plants method for a dinosaur diorama one of these days.
Take care,
Don "Lakota"
Take care,
Don "Lakota"
Posted: Tuesday, May 12, 2015 - 02:16 PM UTC
Nice looking addition, Fabian.
Looking forward to see more.
Looking forward to see more.

Posted: Tuesday, May 12, 2015 - 03:11 PM UTC
I'm in with this one I picked up at the local secondhand store for 1300yen--about $11 at current exchange rate.
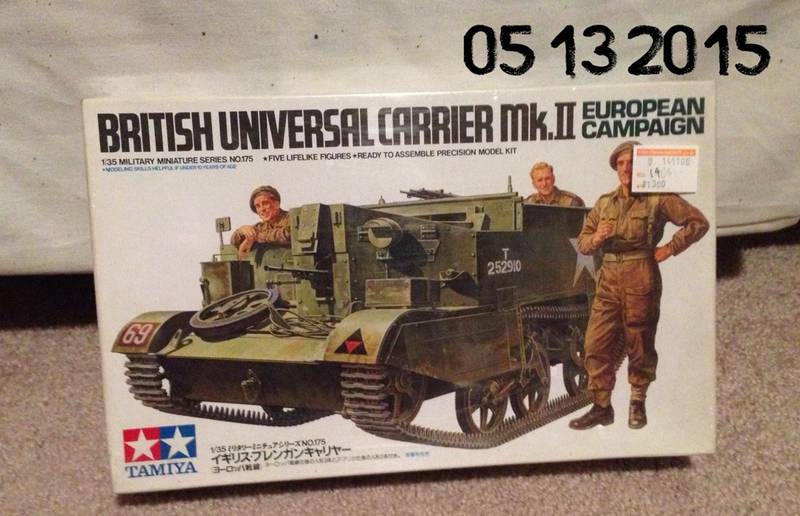
Still in the plastic so no sprue shots yet.

Still in the plastic so no sprue shots yet.


Bigrip74

Joined: February 22, 2008
KitMaker: 5,026 posts
Armorama: 1,604 posts

Posted: Wednesday, May 13, 2015 - 08:29 AM UTC
I am in with a $12.00 Tamiya 1/35 PanzerKampfwagen II Ausf. F/G as soon as it arrives I will post a photo of the kit.
Bob
Bob

Bigrip74

Joined: February 22, 2008
KitMaker: 5,026 posts
Armorama: 1,604 posts

Posted: Thursday, May 14, 2015 - 07:50 AM UTC

Bluestab

Joined: December 03, 2009
KitMaker: 2,160 posts
Armorama: 1,906 posts

Posted: Saturday, May 23, 2015 - 10:30 AM UTC
It's been a bit since my last update. If memory serves, I had finished most of the assembly and the bits were ready for paint.
So off to paint. I went with an overall sand scheme of the Iraqi forces.

Almost completed assembly. I left off the trim vane because two of the four support arms were broken. I decided to leave the provided shovel off the rear plate because it looked really bad.


I started dry-brushing and weathering. I used Tamiya Field Gray to show wear. For the wheels, I used German Gray to picky out tread detail. The tires don't show well here. The oddball green missile pod didn't come out as I had hoped. I might eventually paint that sand.


Added decals. Placed the launcher on top. By the way, the missile pods fit badly on the launcher. The pedestal assembly is too thick and needed trimming down for the pods to fit on their mounting pegs.


You can see the tire detail a bit better in these shots.


And posed in an old planter. I'll probably use this one for the gallery.

I'm calling this one as done. It's an old kit...far from perfect. But it was a fun build. I'd probably look for Trumpy to put out a SA-9. The Dragon/CH launcher was really easy to assemble....I imagine Trumpy's would be a mass of PE. The Dragon/CH launcher has no firing station. It seems cheap and put together just to get by...barely. If it did, the CH kit could be a nice (and cheap)donor to convert a Trumpy BRDM. I'd wait for Trumpy to expand their BRDM line of vehicles. Save a few dollars and some frustration.
So off to paint. I went with an overall sand scheme of the Iraqi forces.

Almost completed assembly. I left off the trim vane because two of the four support arms were broken. I decided to leave the provided shovel off the rear plate because it looked really bad.


I started dry-brushing and weathering. I used Tamiya Field Gray to show wear. For the wheels, I used German Gray to picky out tread detail. The tires don't show well here. The oddball green missile pod didn't come out as I had hoped. I might eventually paint that sand.


Added decals. Placed the launcher on top. By the way, the missile pods fit badly on the launcher. The pedestal assembly is too thick and needed trimming down for the pods to fit on their mounting pegs.


You can see the tire detail a bit better in these shots.


And posed in an old planter. I'll probably use this one for the gallery.

I'm calling this one as done. It's an old kit...far from perfect. But it was a fun build. I'd probably look for Trumpy to put out a SA-9. The Dragon/CH launcher was really easy to assemble....I imagine Trumpy's would be a mass of PE. The Dragon/CH launcher has no firing station. It seems cheap and put together just to get by...barely. If it did, the CH kit could be a nice (and cheap)donor to convert a Trumpy BRDM. I'd wait for Trumpy to expand their BRDM line of vehicles. Save a few dollars and some frustration.
Posted: Saturday, May 23, 2015 - 10:54 AM UTC
Nice build, Alex. Like the not overdone chipping and weathering.
Posted: Sunday, May 24, 2015 - 02:32 AM UTC
Posted: Friday, May 29, 2015 - 04:27 AM UTC
Here's the sprue shot of the opened, un-started kit:
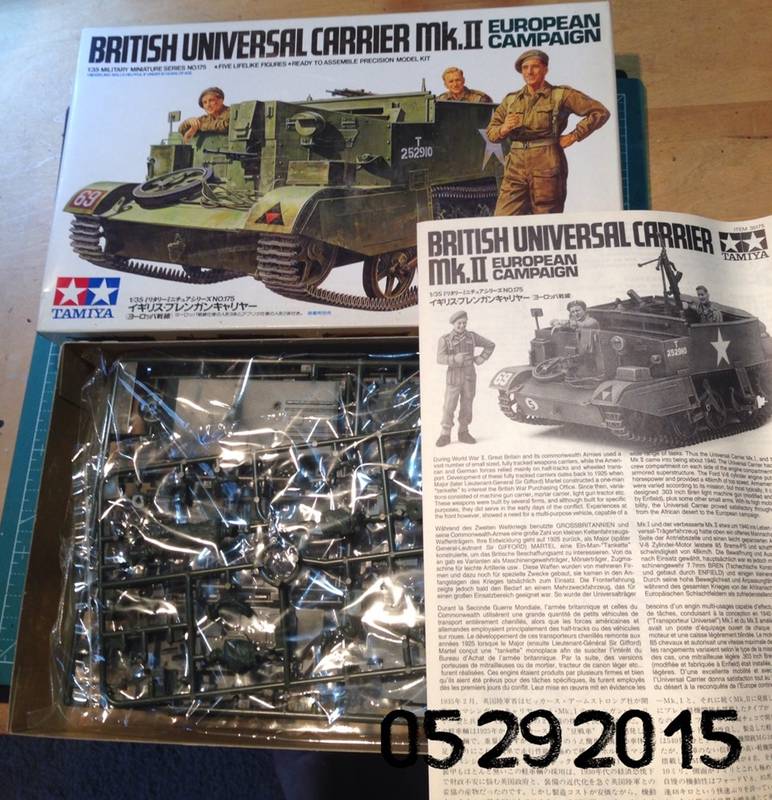
Although the kit is a Mk II, I think I've decided to have a go at making this a Mk III as used in Op MARKET GARDEN. Seems like it should be a relatively easy conversion as it involves mainly leaving things off. We'll see.

Although the kit is a Mk II, I think I've decided to have a go at making this a Mk III as used in Op MARKET GARDEN. Seems like it should be a relatively easy conversion as it involves mainly leaving things off. We'll see.

Szmann

Joined: September 02, 2014
KitMaker: 1,977 posts
Armorama: 305 posts

Posted: Friday, May 29, 2015 - 09:56 AM UTC
Hi, guys. Mark, I'll be following you closely, because that kit I want to build for some time; just didn't manage to motivate myself.
Cheers,
Gabriel.
Cheers,
Gabriel.
Posted: Saturday, May 30, 2015 - 05:24 AM UTC
Quoted Text
Hi, guys. Mark, I'll be following you closely, because that kit I want to build for some time; just didn't manage to motivate myself.
Cheers,
Gabriel.
It's got a few issues typical of Tamiya of the time, but overall going together fairly smoothly. Most notably the tracks are going to be a problem. When trying to straighten them out one of them has already broken.
 Not sure how I will deal with that since I can't glue them down and cover them in mud (not appropriate for MARKET GARDEN), and a set of replacement tracks will probably push me over the $25 spend limit.
Szmann

Joined: September 02, 2014
KitMaker: 1,977 posts
Armorama: 305 posts

Posted: Saturday, May 30, 2015 - 07:06 AM UTC
Thanks for tips. You can depict it damaged by enemy fire, maybe.
Cheers.
Cheers.
Posted: Sunday, May 31, 2015 - 01:30 AM UTC
Gabriel,
I thought about that--there are photos from MARKET GARDEN of that very thing--but I don't think the tracks are flexible to get a realistic effect.
This has certainly confirmed me in my disdain for rubberband tracks.

I thought about that--there are photos from MARKET GARDEN of that very thing--but I don't think the tracks are flexible to get a realistic effect.
This has certainly confirmed me in my disdain for rubberband tracks.

bm4247

Joined: December 29, 2014
KitMaker: 88 posts
Armorama: 60 posts

Posted: Wednesday, June 03, 2015 - 01:11 AM UTC
This is what I will be building for the campaign.


I have not built figures before so new challenges. Should be fun.


I have not built figures before so new challenges. Should be fun.
bm4247

Joined: December 29, 2014
KitMaker: 88 posts
Armorama: 60 posts

Posted: Sunday, June 14, 2015 - 11:43 PM UTC
Started work on the Jackal, using the pe. Some update photos.


 |


