Nice choices and excellent builds everyone!
We tend to forget that kits don't have to cost a fortune to look good and keep us entertained. Congrats for the campaign idea!
Here is my entry: Revell's Fennek in 1:72. Picked this one up for 4.50 Euro on scalemates.com.
Cheers,
Cristian
Hosted by Richard S.
20 Bucks for the win
Armored76
Bayern, Germany
Joined: September 30, 2013
KitMaker: 1,615 posts
Armorama: 1,500 posts
Joined: September 30, 2013
KitMaker: 1,615 posts
Armorama: 1,500 posts
Posted: Thursday, July 02, 2015 - 05:32 PM UTC
nng-nng
Bayern, Germany
Joined: October 22, 2013
KitMaker: 380 posts
Armorama: 376 posts
Joined: October 22, 2013
KitMaker: 380 posts
Armorama: 376 posts
Posted: Thursday, July 02, 2015 - 05:46 PM UTC
Christian, please read the guidelines carefully.
This campaigin is limited from 1:48 to 1:16. Not quite that kind of callenge in 1:72.
Armored76
Bayern, Germany
Joined: September 30, 2013
KitMaker: 1,615 posts
Armorama: 1,500 posts
Joined: September 30, 2013
KitMaker: 1,615 posts
Armorama: 1,500 posts
Posted: Thursday, July 02, 2015 - 08:56 PM UTC
Sorry, haven't noticed that... I guess I'm out then... Have fun everybody!
Cheers,
Cristian
Cheers,
Cristian
TankManNick
California, United States
Joined: February 01, 2010
KitMaker: 551 posts
Armorama: 543 posts
Joined: February 01, 2010
KitMaker: 551 posts
Armorama: 543 posts
Posted: Saturday, July 04, 2015 - 05:19 AM UTC
OK time to post an update on the Ariete C1 Up-armored.
Unfortunately I hit a problem right away! The wheels are loose. I do NOT want a tank with wobbly wheels, so I did two things. I added putty to the shafts and put a plastic card disc in between the wheels halves. Then I drilled new holes. Hopefully the picture will make it more clear.
The problem comes because there is not solid plastic inside the wheels, so the axle shafts do not have a firm attachment. Hopefully my fixes will cure the problem.
Posted: Saturday, July 04, 2015 - 03:09 PM UTC
Nice trick, Turner. Looking forward to see more
Posted: Monday, July 06, 2015 - 02:40 PM UTC
Assembly basically done on my MARKET GARDEN Universal Carrier Mark III. Just need to finish some odds and ends on the stowage and it's ready for priming:
Quite a few rather serious fit issues with this kit, which I find atypical of Tamiya kits, but I guess it's going to happen with kits that have been on the shelf for 20 years! The tracks were pretty badly warped and way too short. But I was pleasantly surprised to find out they were not vinyl as I had been expecting, but something closer to DS. Was not aware Tamiya used that, but it was quite helpful overcoming the warping and length because I could stretch them into shape and secure them quite nicely with model glue.
The conversion from Mk II to Mk III was fairly straight-forward thanks to a great article I found on line:
http://arnhemjim.blogspot.jp/2012/10/the-universal-carriers-of-british.html
Some more photos would have been nice, but the description of the mods was great--fortunately, mostly removing things and not a lot of fabrication of new parts.
TankManNick
California, United States
Joined: February 01, 2010
KitMaker: 551 posts
Armorama: 543 posts
Joined: February 01, 2010
KitMaker: 551 posts
Armorama: 543 posts
Posted: Thursday, July 09, 2015 - 10:53 AM UTC
C1 Ariete update: I have to say my fixes worked out just great! I was able to get the road wheels so snug on the axles that liquid cement was all that I needed. I was sure that tube cement would be necessary. (Well yes, a little trimming and sanding was performed to get the custom snug fit!)
The tracks - well plastic cement did NOT work here, despite what Trumpeter tell you, and I went old-school and used staples - the top of the track will be well hidden under the up-armor kit I think. The tracks look a little loose in the picture above, but on a surface look fine, so I left well alone.
So there is the initial painting on the running gear. Much will be hidden, so final paint will be left to after construction!
PRH001
New Mexico, United States
Joined: June 16, 2014
KitMaker: 681 posts
Armorama: 603 posts
Joined: June 16, 2014
KitMaker: 681 posts
Armorama: 603 posts
Posted: Saturday, July 11, 2015 - 11:43 AM UTC
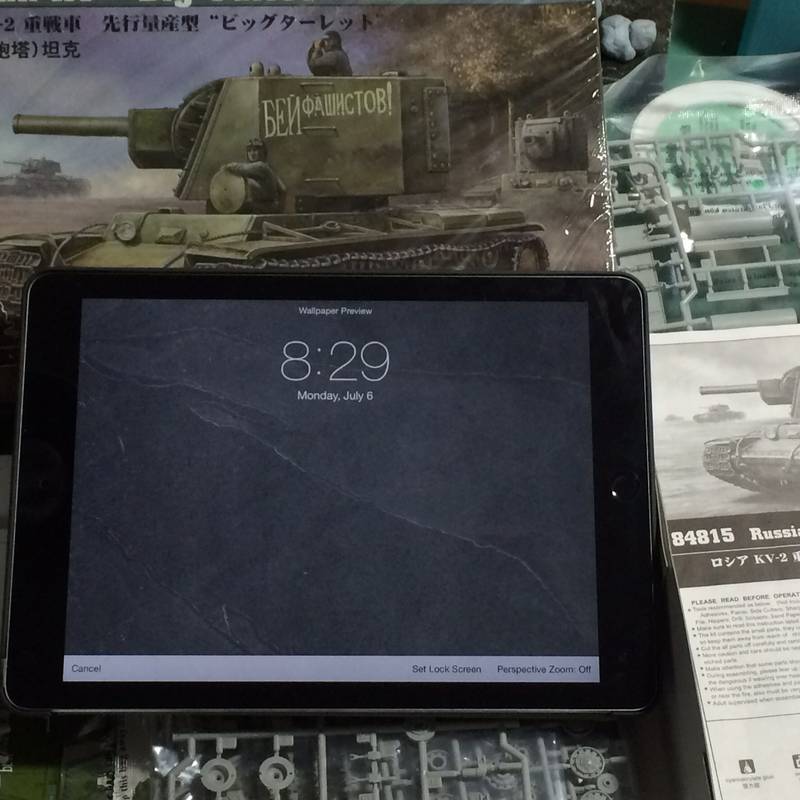
Finally started my "Under Twenty Bucks" campaign build. It's the 1/48 Hobby Boss Early KV-2. Good kit so far... I'm fitting it in while paint dries on more in depth project.
PRH001
New Mexico, United States
Joined: June 16, 2014
KitMaker: 681 posts
Armorama: 603 posts
Joined: June 16, 2014
KitMaker: 681 posts
Armorama: 603 posts
Posted: Sunday, July 12, 2015 - 06:18 AM UTC
Made some progress... The kit is solid, but definately needs some love in a few areas.
TangoOscarMike
Australia
Joined: April 02, 2015
KitMaker: 35 posts
Armorama: 19 posts
Joined: April 02, 2015
KitMaker: 35 posts
Armorama: 19 posts
Posted: Sunday, July 12, 2015 - 09:39 AM UTC
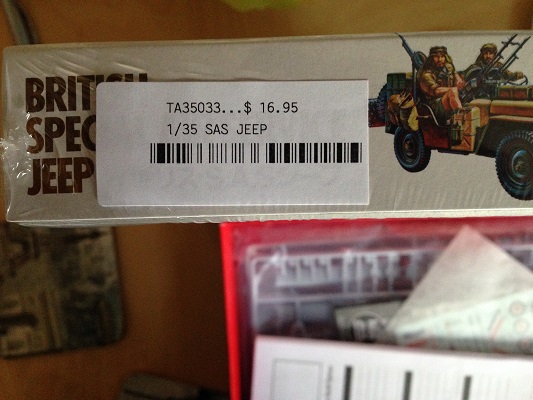
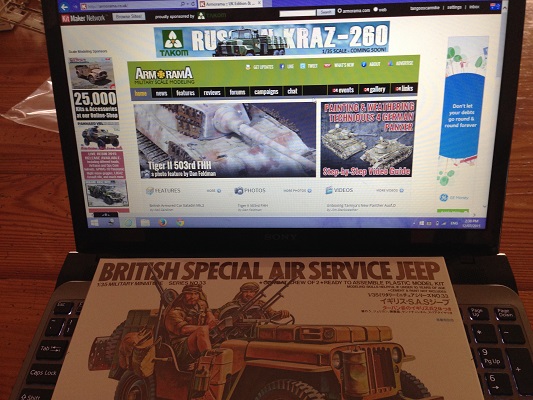
Tamiya's little SAS Jeep.
kapoybana
United States
Joined: February 11, 2013
KitMaker: 53 posts
Armorama: 49 posts
Joined: February 11, 2013
KitMaker: 53 posts
Armorama: 49 posts
Posted: Sunday, July 12, 2015 - 09:47 AM UTC
Quoted Text
I changed my mind and built a Trumpeter aerosan I will get photos up once I figure out how I'm in with a bagged ( no box ) Italeri Kubelwagen for $0.99 from Ebay and a eduard P.e. set for $9.99 including shipping .
PRH001
New Mexico, United States
Joined: June 16, 2014
KitMaker: 681 posts
Armorama: 603 posts
Joined: June 16, 2014
KitMaker: 681 posts
Armorama: 603 posts
Posted: Sunday, July 19, 2015 - 08:40 AM UTC
Made some progress on the KV today... Got the fenders and braces installed. I'm really enjoying the project for this campaign. That's especially true when I'm trying to track down PE and resin for the next project!
PRH001
New Mexico, United States
Joined: June 16, 2014
KitMaker: 681 posts
Armorama: 603 posts
Joined: June 16, 2014
KitMaker: 681 posts
Armorama: 603 posts
Posted: Monday, July 27, 2015 - 05:45 AM UTC
Got primer and base coats on the KV this weekend. It seems I always slow down when the painting process starts... Nothing like watching paint dry, right?
Posted: Tuesday, July 28, 2015 - 05:21 PM UTC
Well, time to put a fork in this one. Movers are coming in about a week and I really need to spend less time using my modeling tools and more time getting them organized for the pack out. So here is my Tamiya UC Mk II converted to a MARKET GARDEN Mk III:
The conversion from Mk II to Mk III was pretty straightforward for the most part, as it involved primarily removing bits so save weight for airborne service. The one exception was the addition of the mounting brackets seen on the backside in the last photo for a 3" mortar (which I did not include). Stowage all came with the kit and is pretty simplistic in keeping with Tamiya tradition. The RCs out there will pick up on the fact the serial number is wrong for a Mk III, but I was completely unsuccessful creating replacement decals for the serial numbers and was forced to make do with kit decals.
Overall, this was a rather nasty little kit--the tracks in particular, which were a full centimeter too short and required a lot of persuading--and not up to the Tamiya standards to which I am accustomed, but I supposed this must be chocked up to the age of the kit.
Hopefully I'll get the new house and new job settled in short order and be able to get cracking on some other campaigns.
Good luck to all with the rest of your builds!
Posted: Tuesday, July 28, 2015 - 07:51 PM UTC
Looks great, Mark. Maybe the tracks shrunk over time although a full centimeter sounds crazy.
Good luck on the move! See you in another campaign
Posted: Wednesday, July 29, 2015 - 03:41 AM UTC
Thanks, Jesper! Yeah, it was pretty nuts with the tracks. I think it did have a lot to do with the age and probably sitting on a shelf through multiple hot summers. A soak in hot water allowed me to straighten and stretch them a bit, but after that it was stretch, glue, repeat until I could get the ends in contact. If you look closely you can see where they split in a couple of places.
Szmann
Netherlands Antilles
Joined: September 02, 2014
KitMaker: 1,977 posts
Armorama: 305 posts
Joined: September 02, 2014
KitMaker: 1,977 posts
Armorama: 305 posts
Posted: Wednesday, July 29, 2015 - 08:21 AM UTC
Congrats for crossing the finishing line, Mark. Sometimes I enjoy also fighting cheap little kits. Nice job overall. I wish you best for your close future plans.
Cheers! Gabriel.
Cheers! Gabriel.
Posted: Wednesday, July 29, 2015 - 09:23 AM UTC
Thanks, Gabriel!
TankManNick
California, United States
Joined: February 01, 2010
KitMaker: 551 posts
Armorama: 543 posts
Joined: February 01, 2010
KitMaker: 551 posts
Armorama: 543 posts
Posted: Thursday, July 30, 2015 - 12:18 PM UTC
Finally starting to look like a tank!
The tow cables are rather nice. I must take a picture!
Posted: Thursday, July 30, 2015 - 05:46 PM UTC
Looks cool, Nick.
Looking forward to see it with some paint on.
AnalogKid
Texas, United States
Joined: December 20, 2014
KitMaker: 46 posts
Armorama: 42 posts
Joined: December 20, 2014
KitMaker: 46 posts
Armorama: 42 posts
Posted: Friday, July 31, 2015 - 04:13 PM UTC
Hello fellow campaigners,
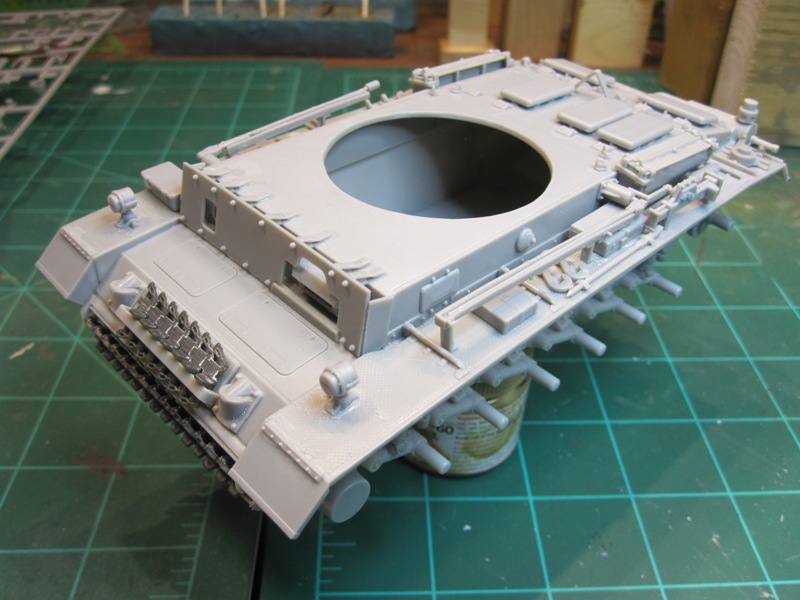
It has been a while since I posted any updates of my build here in this campaign. It turns out the kit I purchased for this campaign (Dragon's Panzer III K) was missing the lower hull. The kit was sealed when I bought it second-hand at my LHS so either it was missing from the get-go or when I took the kit apart when I got it home I quickly misplaced it. So, instead of fretting about it I just turned to another build - a Jagdpanther - and focused on it for about 4 months. In the interim, I acquired a lower hull from another Dragon Panzer III kit and it fits perfectly. So, here we go with my first update.
Since coming off my last build of a Jagdpanther with a full interior and about 130 hours' worth of work I gladly dived into this one. It is enjoyable to do it straight from the box although on more than one occasion I cringed at the thought of not replacing something with aftermarket goodness...especially the barrel.
Here the wheels are cut, sanded and ready to go along with the lower hull suspension details. Wheels are being put to the side for a bit while I finish the upper hull and turret.
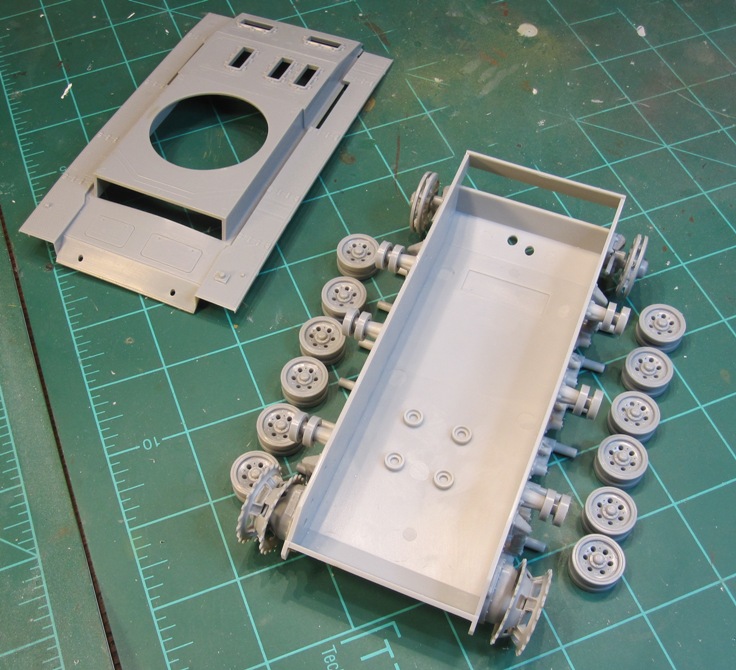
The hull being glued together and clamped to dry overnight.
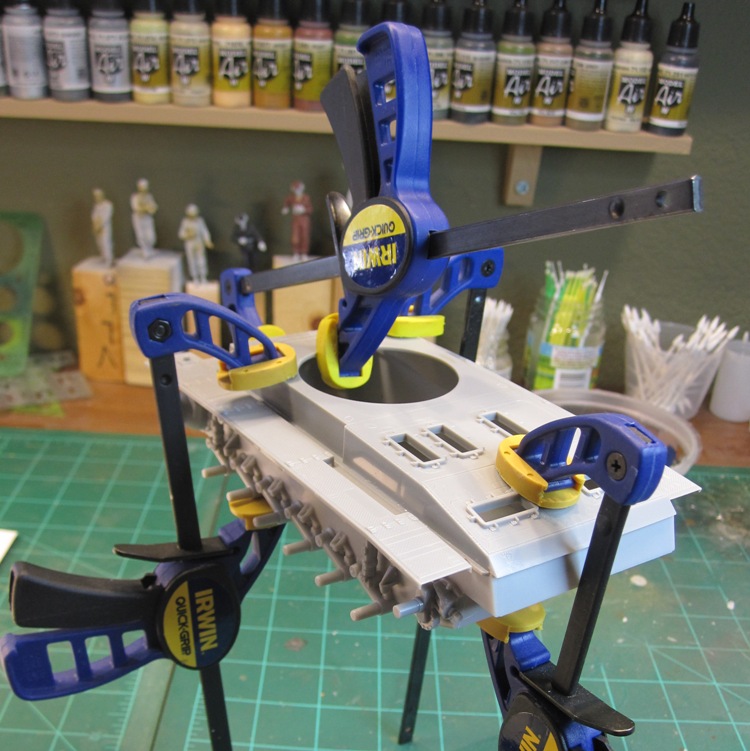
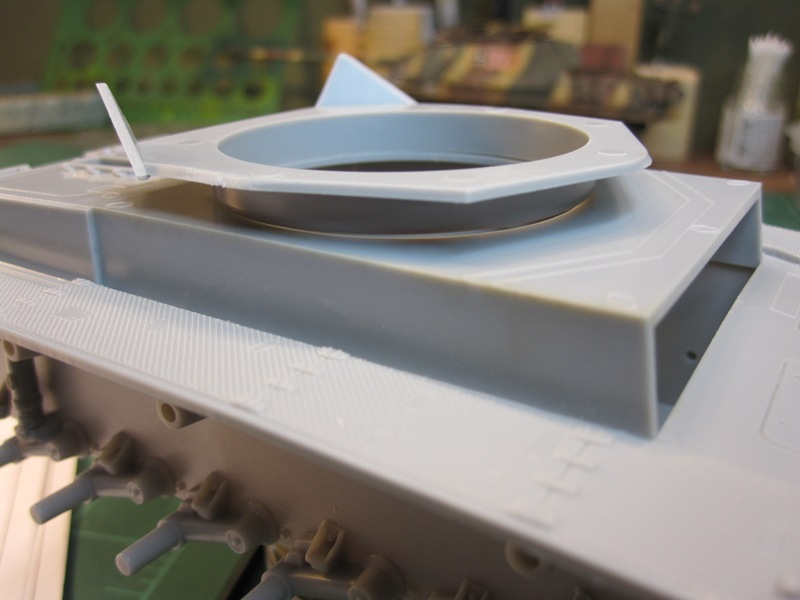
It turns out that the upper hull is made for an older Pz III with a smaller turret ring. You have to carve away a couple of mm of ring diameter in the upper hull in order to allow the turret ring to fit. I first thought this was going to be a pain but turned out to be relatively easy. There are guides underneath the upper hull piece that help show you when enough is enough.
Some filling and sanding in the rear.
Some warpage in the front of the upper hull. But luckily with the use of some clamps I was able to get the front plate on and help straighten it out.
The completed hull. Now on to the turret for this weekend.
-Len
It has been a while since I posted any updates of my build here in this campaign. It turns out the kit I purchased for this campaign (Dragon's Panzer III K) was missing the lower hull. The kit was sealed when I bought it second-hand at my LHS so either it was missing from the get-go or when I took the kit apart when I got it home I quickly misplaced it. So, instead of fretting about it I just turned to another build - a Jagdpanther - and focused on it for about 4 months. In the interim, I acquired a lower hull from another Dragon Panzer III kit and it fits perfectly. So, here we go with my first update.
Since coming off my last build of a Jagdpanther with a full interior and about 130 hours' worth of work I gladly dived into this one. It is enjoyable to do it straight from the box although on more than one occasion I cringed at the thought of not replacing something with aftermarket goodness...especially the barrel.
Here the wheels are cut, sanded and ready to go along with the lower hull suspension details. Wheels are being put to the side for a bit while I finish the upper hull and turret.
The hull being glued together and clamped to dry overnight.
It turns out that the upper hull is made for an older Pz III with a smaller turret ring. You have to carve away a couple of mm of ring diameter in the upper hull in order to allow the turret ring to fit. I first thought this was going to be a pain but turned out to be relatively easy. There are guides underneath the upper hull piece that help show you when enough is enough.
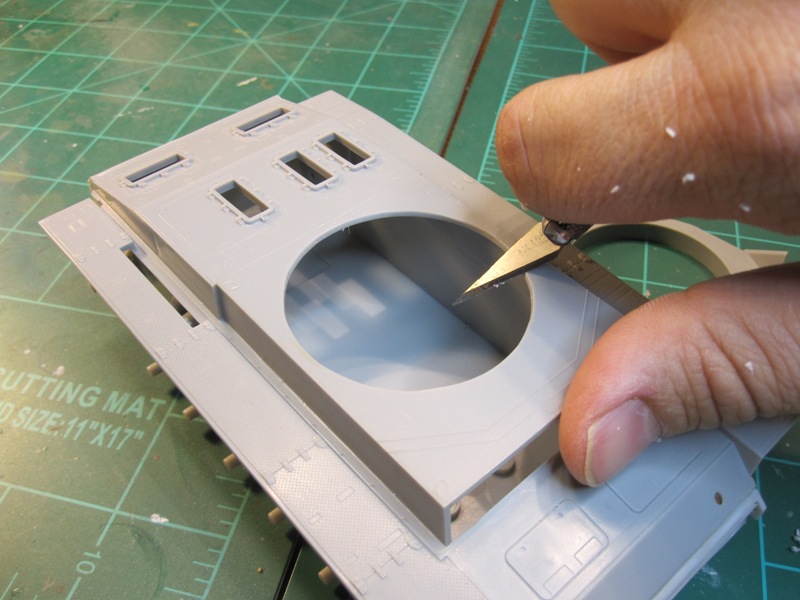
Some filling and sanding in the rear.
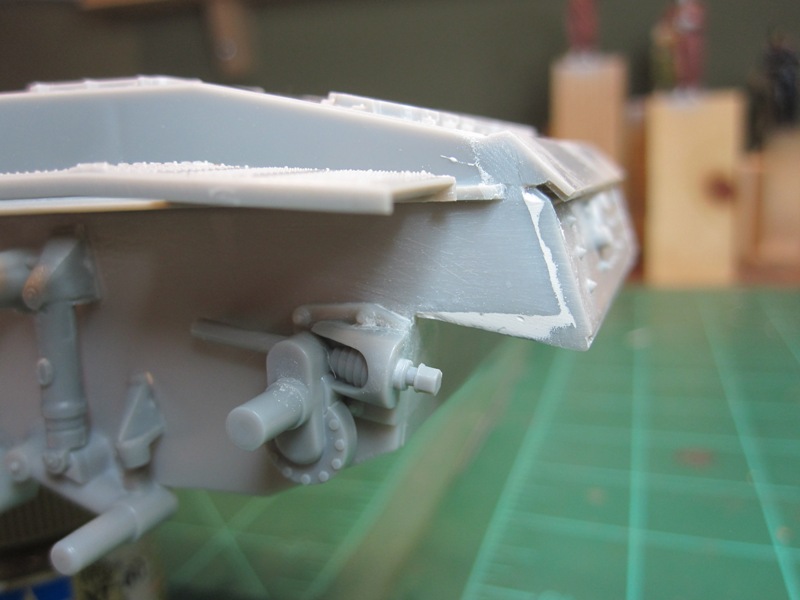
Some warpage in the front of the upper hull. But luckily with the use of some clamps I was able to get the front plate on and help straighten it out.
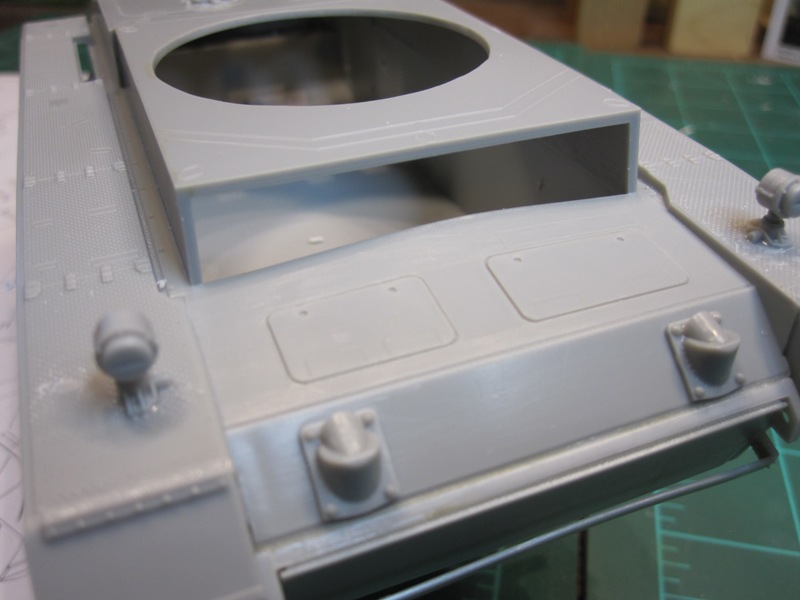
The completed hull. Now on to the turret for this weekend.
-Len
ant88
Rhode Island, United States
Joined: January 27, 2005
KitMaker: 225 posts
Armorama: 176 posts
Joined: January 27, 2005
KitMaker: 225 posts
Armorama: 176 posts
Posted: Friday, July 31, 2015 - 10:34 PM UTC
Hey guys! Count me in! I just picked up the Abrams M1A1 kit at Hobby Lobby for $22 with a 50% off coupon. A you can see, the price tag is still on the box but it was 50% of that with coupon plus tax. Ill be posting progress pics soon! Thanks, Anthony.
PRH001
New Mexico, United States
Joined: June 16, 2014
KitMaker: 681 posts
Armorama: 603 posts
Joined: June 16, 2014
KitMaker: 681 posts
Armorama: 603 posts
Posted: Monday, August 03, 2015 - 10:10 AM UTC
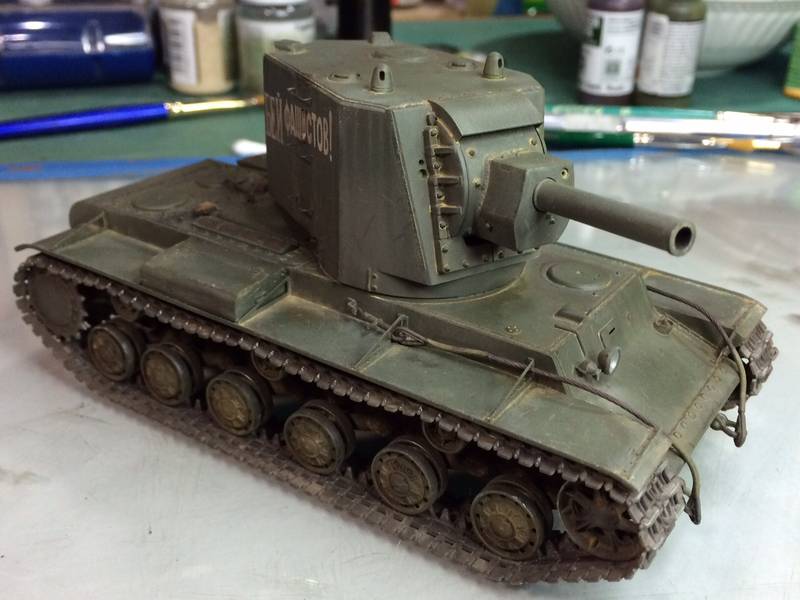
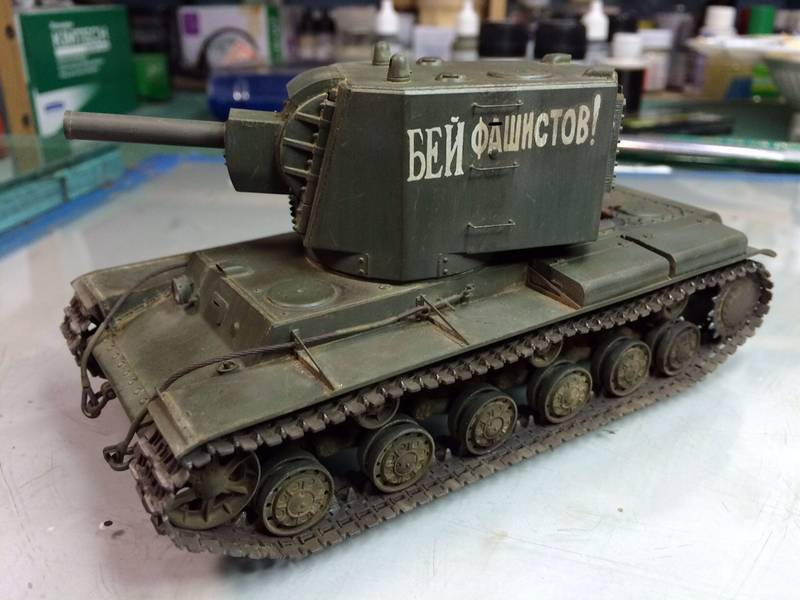
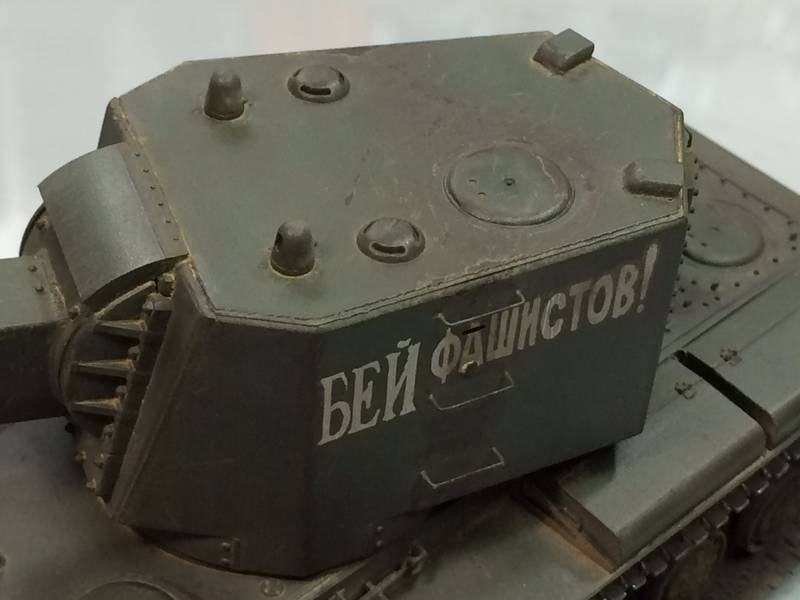
Finished up the 1/48 KV-2 Early tonight. I really enjoyed the build. Replaced the grab handles, and scratched the headlight. Used Vallejo 4B0 primer and Tamiya acrylics for the base coat and oils, Vallejo acrylics and pigments to weather.
PRH001
New Mexico, United States
Joined: June 16, 2014
KitMaker: 681 posts
Armorama: 603 posts
Joined: June 16, 2014
KitMaker: 681 posts
Armorama: 603 posts
Posted: Monday, August 03, 2015 - 10:13 AM UTC
A few more shots of the finished kit.
Great idea for a campaign!
Posted: Monday, August 03, 2015 - 10:25 AM UTC
Looks great, Paul! I think you nailed the subtle wear on the turret to perfection!