Hey everyone, some great figures here, those two German Tankers are really an example to be followed (great job Jack) and of course the Tug-of-War needs no words.
Here are a few photos and comments for the 1/48 British Infantry from Tamiya:
I followed James Cann's guide here for painting figures with Acrylics.
https://armorama.kitmaker.net//features/2274
I tried numerous times to give these fellows eyes to no avail. Ill try on the upcoming 1/35 figure.
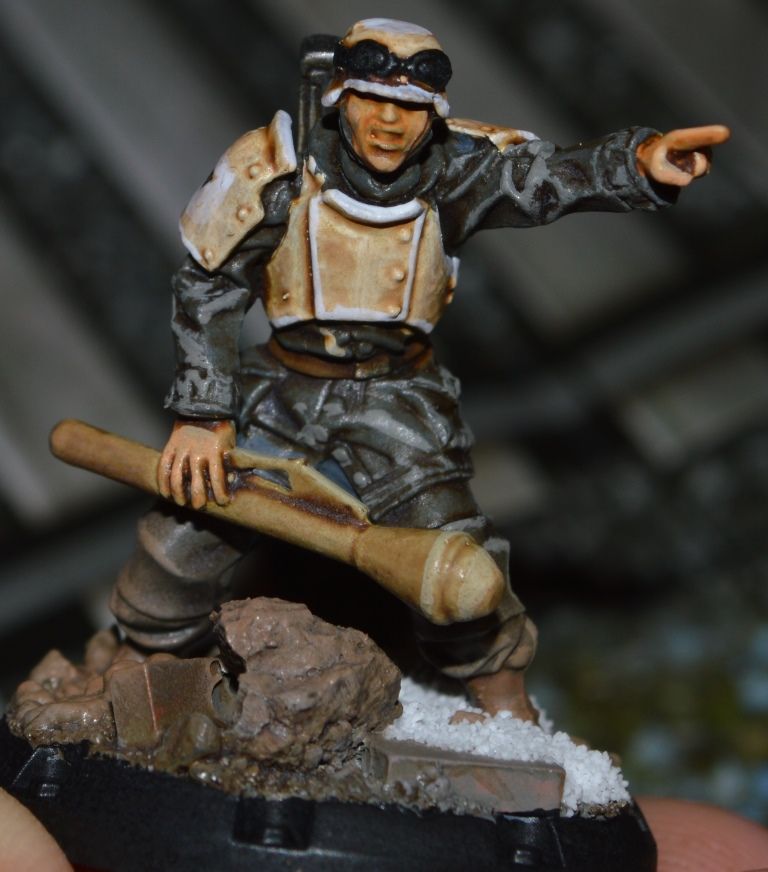
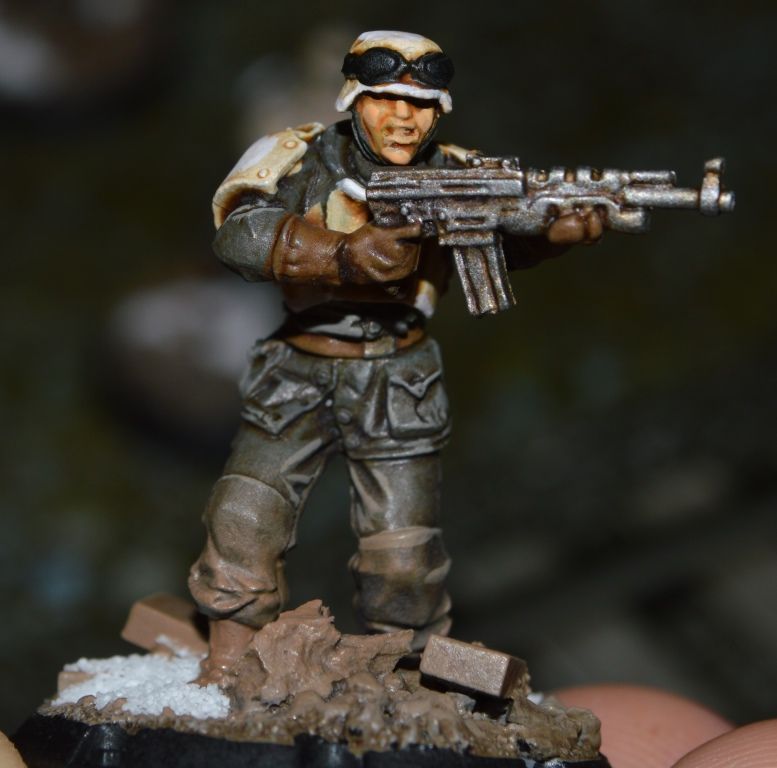
These guys' faces are pretty bad and after multiple attempts I stopped trying and stuck with what I find to be only a acceptable final product. I don't know if it is my work or the poor sculpting.
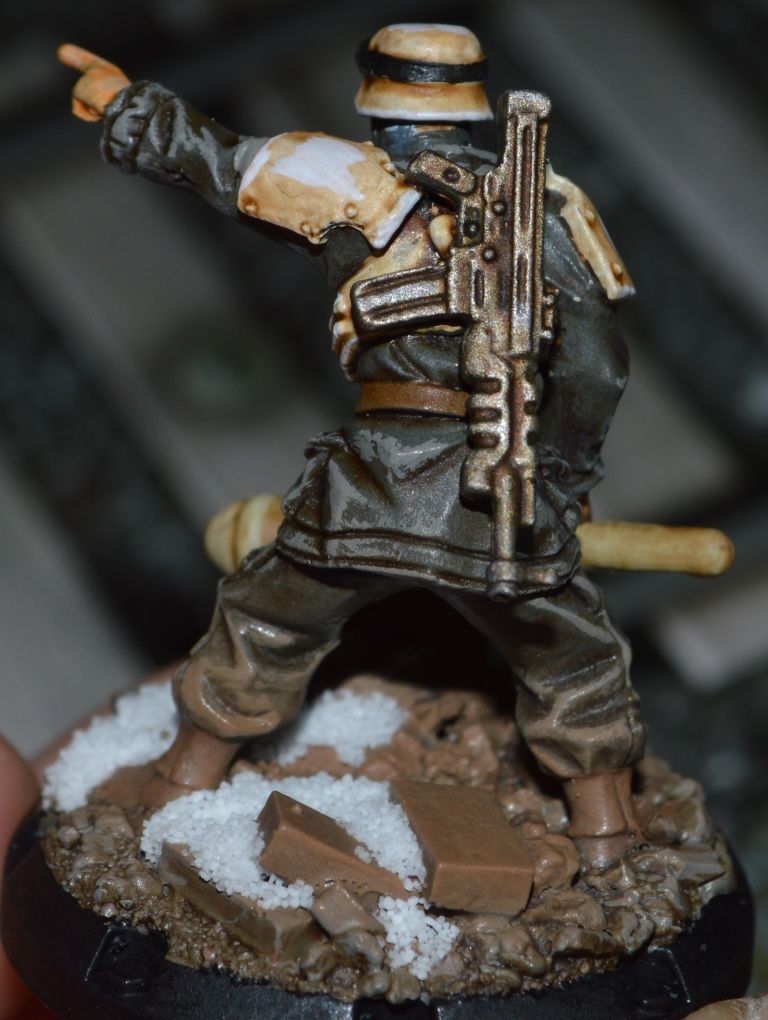
I think the equipment on the soldier firing the rifle which was glued on after painting has better painting but the attachment of the gear is shotty. I conclude it is better to attach gear in a quality way and then deal with painting everything all together.
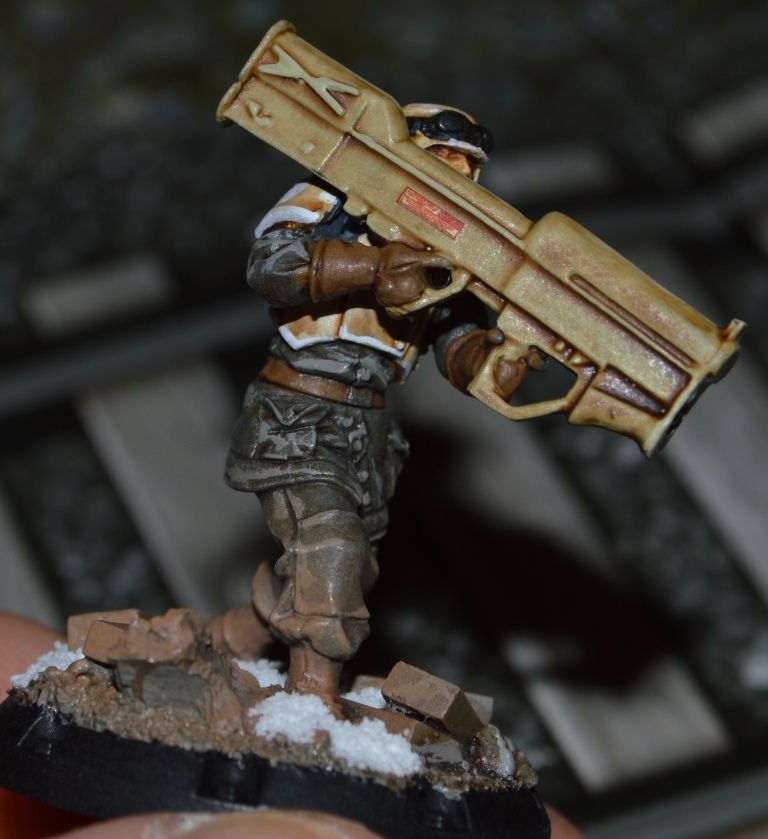
Finally the white priming was the best as lighter highlighting happens almost automatically.
Enough talk, pictures:
Different primer shades:
Half way through painting:
After washing, final construction and some other detailing, washing etc:
One last thought, I gave no regard to scale color, something I would have really considered on a vehicle or plane, here I sometimes used the paint directly from the bottle, something to remember for the next time.
I learned a lot, I have one more Resin figures to try in order to close out this campaign,
(Can Anyone Point Me In The Direction of a Good Tutorial/Guide to Building/Painting Resin Figs, this will be my first experience with the material?)
Thanks for looking,
Bryan
Hosted by Richard S.
Campaign :: Improve your figures!
Blespooky
Tel Aviv-Yafo, Israel
Joined: June 03, 2014
KitMaker: 277 posts
Armorama: 66 posts
Joined: June 03, 2014
KitMaker: 277 posts
Armorama: 66 posts
Posted: Thursday, April 30, 2015 - 09:46 PM UTC
JackG
Ontario, Canada
Joined: May 28, 2006
KitMaker: 172 posts
Armorama: 122 posts
Joined: May 28, 2006
KitMaker: 172 posts
Armorama: 122 posts
Posted: Thursday, April 30, 2015 - 10:45 PM UTC
Thank you Peter and Bryan.
Mike - coming along nicely, and have to say this should look impressive, if not just from the sheer number of figures in the scene.
Bryan - I like what you have done with your figures. Honestly, I never consider scale colour with figures, but maybe this is something addressed automatically by the eye when shading and highlighting? You could add some powdered pigment for some subtle dirtying of elbows and knees.
Resin figures - no idea of specific tutorial available out there. My two crew figures are resin, and I treat them just like injected molded ones when it comes to paint. During prep work, you might find there are air bubbles to look out for more than the presence of seams. For cleanup, I prefer whittling away with an xacto knife (or even a utility knife for ridding pour stubs - be careful!!) at unwanted areas. Rely on wet sanding, and wear a mask as resin dust is quite bad - the fumes alone created when sanding are quite strong. Resin is also brittle, so don't try and break things off.
regards,
Jack
Mike - coming along nicely, and have to say this should look impressive, if not just from the sheer number of figures in the scene.
Bryan - I like what you have done with your figures. Honestly, I never consider scale colour with figures, but maybe this is something addressed automatically by the eye when shading and highlighting? You could add some powdered pigment for some subtle dirtying of elbows and knees.

Resin figures - no idea of specific tutorial available out there. My two crew figures are resin, and I treat them just like injected molded ones when it comes to paint. During prep work, you might find there are air bubbles to look out for more than the presence of seams. For cleanup, I prefer whittling away with an xacto knife (or even a utility knife for ridding pour stubs - be careful!!) at unwanted areas. Rely on wet sanding, and wear a mask as resin dust is quite bad - the fumes alone created when sanding are quite strong. Resin is also brittle, so don't try and break things off.
regards,
Jack
Posted: Sunday, May 03, 2015 - 01:20 AM UTC
Posted: Sunday, May 03, 2015 - 04:42 PM UTC
Nice work Jesper.
Pete
Pete
Posted: Sunday, May 03, 2015 - 11:29 PM UTC
Thanks, Pete. Appreciate it.
justsendit
Colorado, United States
Joined: February 24, 2014
KitMaker: 3,033 posts
Armorama: 2,492 posts
Joined: February 24, 2014
KitMaker: 3,033 posts
Armorama: 2,492 posts
Posted: Monday, May 04, 2015 - 12:08 AM UTC
@ Jasper, These small guys are looking good!
@ Bryan, Don't touch that wine bottle! ... uhhh ... I mean, the 1/48 bottle looks perfect painted the way it is!
Reminds me ... a while back, I built a Tamiya 1/48 Russian GAZ Cargo Truck that came with a crew. I should really pull those figures out of the stash to revisit the world of 1/48 one of these days.
@ All, Thanks for the kind words! Looking forward to seeing more of your works!
—mike
Posted: Tuesday, May 05, 2015 - 09:03 PM UTC
ivanhoe6
Wisconsin, United States
Joined: April 05, 2007
KitMaker: 2,023 posts
Armorama: 1,234 posts
Joined: April 05, 2007
KitMaker: 2,023 posts
Armorama: 1,234 posts
Posted: Wednesday, May 06, 2015 - 12:29 AM UTC
WOW Jesper ! That's a lot of detail on those little dudes.
Nice work !
Nice work !
Posted: Wednesday, May 06, 2015 - 01:35 AM UTC
Thanks a lot for the comment.
I am also very satisfied with these - especially considering the scale and the fact they are semi soft plastic, so the details are not as crisp and styrene or resin.
Cannon99
New Brunswick, Canada
Joined: December 25, 2009
KitMaker: 44 posts
Armorama: 24 posts
Joined: December 25, 2009
KitMaker: 44 posts
Armorama: 24 posts
Posted: Wednesday, May 06, 2015 - 07:12 AM UTC
I'm in with the 1/35 Dragon kit 6366 US Armored Infantry.
Thanks
Thanks
keo
Nordjylland, Denmark
Joined: January 30, 2006
KitMaker: 613 posts
Armorama: 508 posts
Joined: January 30, 2006
KitMaker: 613 posts
Armorama: 508 posts
Posted: Wednesday, May 06, 2015 - 08:18 PM UTC
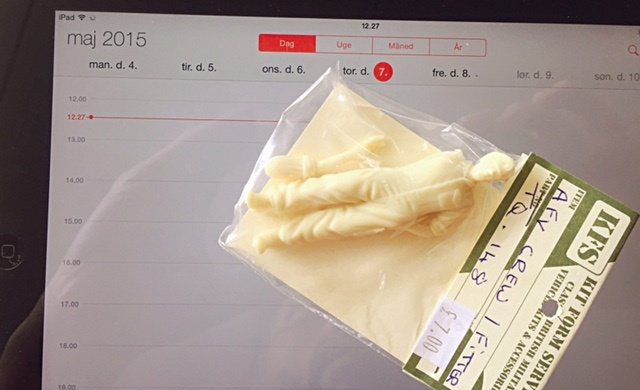
Here is my entry for the campaign. Its Kit Form Services’ 75mm figure of a British tank crew. It’ll be converted to a Danish tank commander during UNPROFOR Bosnia in the early 1990ies.
JackG
Ontario, Canada
Joined: May 28, 2006
KitMaker: 172 posts
Armorama: 122 posts
Joined: May 28, 2006
KitMaker: 172 posts
Armorama: 122 posts
Posted: Wednesday, May 06, 2015 - 09:13 PM UTC
Jesper, nice work with those miniatures. Are these gaming pieces? I think any opponent would be envious seeing those.
regards,
Jack
regards,
Jack
justsendit
Colorado, United States
Joined: February 24, 2014
KitMaker: 3,033 posts
Armorama: 2,492 posts
Joined: February 24, 2014
KitMaker: 3,033 posts
Armorama: 2,492 posts
Posted: Thursday, May 07, 2015 - 12:18 AM UTC
Right-on Jasper! ... nice finish!
—mike
—mike
justsendit
Colorado, United States
Joined: February 24, 2014
KitMaker: 3,033 posts
Armorama: 2,492 posts
Joined: February 24, 2014
KitMaker: 3,033 posts
Armorama: 2,492 posts
Posted: Thursday, May 07, 2015 - 12:37 AM UTC
Hi guys, Things were going just dandy … actually, even better than expected ... until now, as I’m stuck up against the proverbial brick wall!!!
So here's the deal ... I need to begin sculpting some items (hair, clothing, etc.) but ’The Green Stuff’ putty doesn’t want to cooperate. I got it to what I thought was the correct consistency (kinda' like chewing gum), rolled-out some bits, but it doesn’t want to adhere to the subject — can’t seem to get it to work! Any suggestions?
—mike
Posted: Thursday, May 07, 2015 - 01:20 AM UTC
Sorry Mike I can't help mate, I have never used green stuff.
Pete
Pete
JackG
Ontario, Canada
Joined: May 28, 2006
KitMaker: 172 posts
Armorama: 122 posts
Joined: May 28, 2006
KitMaker: 172 posts
Armorama: 122 posts
Posted: Thursday, May 07, 2015 - 02:05 AM UTC
Mike - about the green stuff, did you add anything to the surfaces when rolling it out, such as talc, vaseline, or even water? That will inhibit adhesion, but what you can try is fixing it to the figure with super glue. It dries in minutes, so you still have plenty of time to work the putty afterwards. Another idea might be to swab the figure with rubbing alcohol for a clean surface.
I've found finger pressure/friction is enough to keep the putty in place.
Posted: Thursday, May 07, 2015 - 02:44 AM UTC
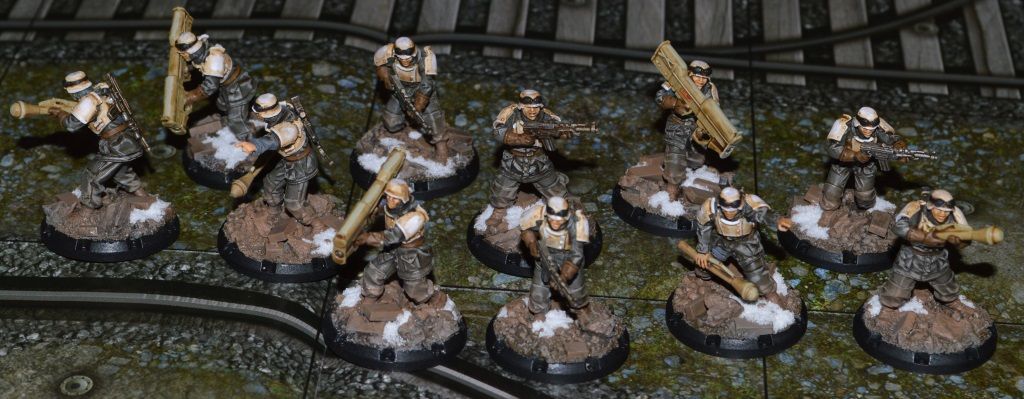
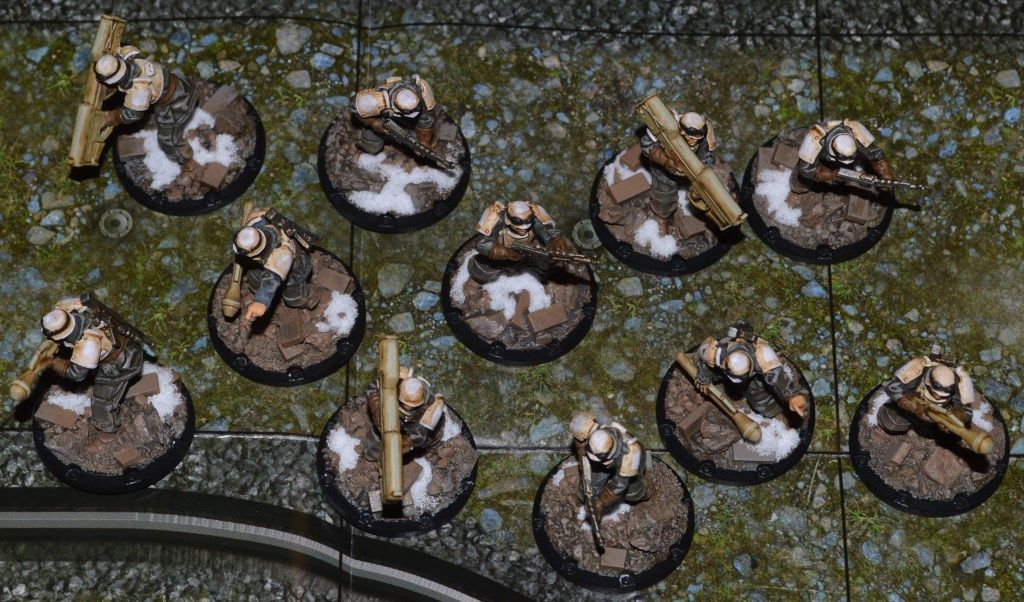
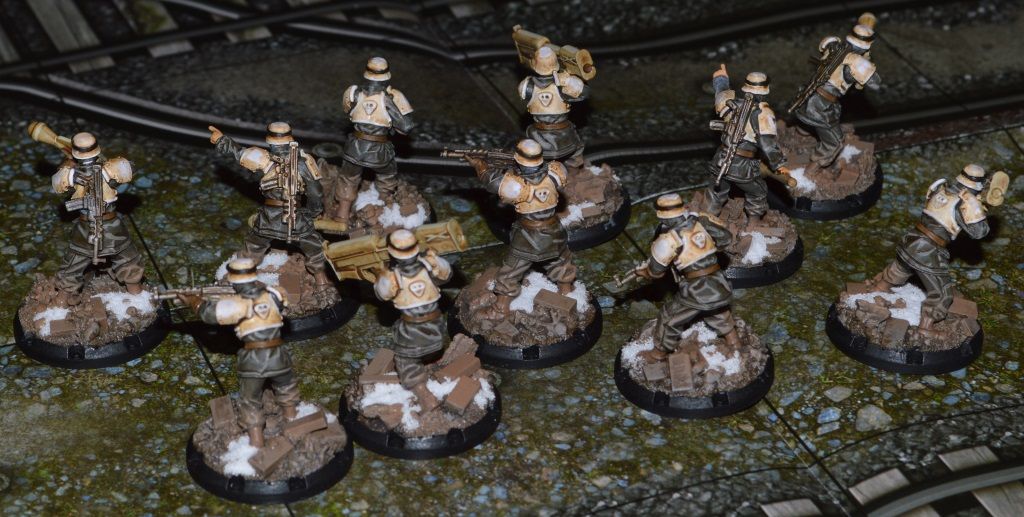
Thanks for the comments, Jack and Mike. These are gaming pieces for the game Dust Tactics. I might never play, but the figures and vehicles are cool.
@Mike, To use green stuff I normally just use the pressure to get it to adhere. It will not stick after drying, there I used super glue. If it fits close to another subject you use extra thin super glue and let it seep in between green stuff and plastic. It gives an invisible but very strong bond.
justsendit
Colorado, United States
Joined: February 24, 2014
KitMaker: 3,033 posts
Armorama: 2,492 posts
Joined: February 24, 2014
KitMaker: 3,033 posts
Armorama: 2,492 posts
Posted: Thursday, May 07, 2015 - 04:51 AM UTC
@ Jack and Jasper, I’m referring to freshly mixed ‘Green Stuff.’ And as recommended by another forum post, I wet my fingers and tools with water while mixing/kneading in order to work with it and not get it stuck to everything within reach. Therefore, it makes sense that it wouldn’t adhere to bare or painted styrene. Guess I was expecting to smear the putty on and just start sculpting away. So now, enter my old nemesis, CA glue! … Am I not getting something here? There’s just gotta’ be a better way … no???
One thing I noticed during a prior attempt using ’The Green Stuff’ at a ratio of 1:1, it cured hard but seemed grainy and it would chip off during sculpting/sanding, even after several weeks of curing. So now, I blend-in just a tiny amount of hardener to the mix.
Guess I’ll just keep trying …
—mike
One thing I noticed during a prior attempt using ’The Green Stuff’ at a ratio of 1:1, it cured hard but seemed grainy and it would chip off during sculpting/sanding, even after several weeks of curing. So now, I blend-in just a tiny amount of hardener to the mix.
Guess I’ll just keep trying …
—mike
Posted: Thursday, May 07, 2015 - 11:00 AM UTC
Mike, I never use water when mixing it. I just live with it sticking to my fingers. Then there is no problems making it stick to the plastic. I only use water to smooth it when in place a roughly sculpted.
I never experienced grainy green stuff - do you remember to discard the little pieces that is the touch point between the yellow and blue before mixing?
Green stuff is always "soft" to sand in my experience no matter how long you leave it to dry. Milliput is better if you need a lot of sanding. Some pros mix milliput and green stuff, but I have never done this myself. Might be worth a try.
Have this helps...
JackG
Ontario, Canada
Joined: May 28, 2006
KitMaker: 172 posts
Armorama: 122 posts
Joined: May 28, 2006
KitMaker: 172 posts
Armorama: 122 posts
Posted: Thursday, May 07, 2015 - 07:19 PM UTC
Totally agree with what Jesper has just posted above. The two components of the green stuff is kneaded together with bare hands. There really shouldn't be an issue with stickiness here, unless you have extremely dry skin.
It's only afterwards, when shaping it or working it on the table surface, that you need to dip tools and fingertips in a glass of water. Green stuff is best for sculpting exactly the shape you want, and it's properties allow it to hold a lot more finer detail than most other sculpting putties.
If you need an edge to have a seamless transition into the plastic portion of the figure, wet the surface and keep rubbing outwards that portion with your finger tip. It will thin out, and you should find no sanding will be required.
regards,
Jack
justsendit
Colorado, United States
Joined: February 24, 2014
KitMaker: 3,033 posts
Armorama: 2,492 posts
Joined: February 24, 2014
KitMaker: 3,033 posts
Armorama: 2,492 posts
Posted: Thursday, May 07, 2015 - 11:34 PM UTC
@ Jasper and Jack, Thanks for the input.
The Pros make it all look so easy! Guess I was looking to get around things getting too messy. Just need to get in touch with my inner child and get elbow-deep in putty, I suppose! To be continued …
—mike
The Pros make it all look so easy! Guess I was looking to get around things getting too messy. Just need to get in touch with my inner child and get elbow-deep in putty, I suppose! To be continued …
—mike
justsendit
Colorado, United States
Joined: February 24, 2014
KitMaker: 3,033 posts
Armorama: 2,492 posts
Joined: February 24, 2014
KitMaker: 3,033 posts
Armorama: 2,492 posts
Posted: Friday, May 08, 2015 - 06:43 AM UTC
’Tug of War’ update.
Hi guys, a little more progress. ... I did the usual clothing details on these ladies, i.e. undercuts, scribing, pockets, lead-foil belt-wraps, etc. These are the last of the twenty figures, as well as the ‘Barrel Mixer’ tools to receive primer — a very gratifying 15-minute airbrush session!
That’s it for now. Hopefully, I’ll be able to revisit the putty dilemma with a vengeance next week. ... And anyway, I’m running out of excuses to put the sculpting off much longer! Stay tuned …
Cheers!🍺
—mike
Posted: Sunday, May 10, 2015 - 01:30 AM UTC
Hey Mike - man, this is turning into an epic figure build! Great work.
In fact, this whole campaign is quite a workshop! Lots of great work, techniques etc
Thanks to all for posting great work and work in process!
Cheers
Nick
In fact, this whole campaign is quite a workshop! Lots of great work, techniques etc
Thanks to all for posting great work and work in process!
Cheers
Nick
justsendit
Colorado, United States
Joined: February 24, 2014
KitMaker: 3,033 posts
Armorama: 2,492 posts
Joined: February 24, 2014
KitMaker: 3,033 posts
Armorama: 2,492 posts
Posted: Sunday, May 10, 2015 - 04:55 AM UTC
Hi Nick! … You found me! … been hiding here in campaign land where I’ve been absorbing a wealth of knowledge from these guys. My head feels like it's ready to explode ... I may need to dig up a ‘Hornet’ replacement head soon!
Thanks for taking a look ... and happy modeling!
Cheers!🍺
—mike
Thanks for taking a look ... and happy modeling!
Cheers!🍺
—mike
justsendit
Colorado, United States
Joined: February 24, 2014
KitMaker: 3,033 posts
Armorama: 2,492 posts
Joined: February 24, 2014
KitMaker: 3,033 posts
Armorama: 2,492 posts
Posted: Wednesday, May 13, 2015 - 06:46 AM UTC
Who the HELL did that lady’s hair?
So here it is … my first attempt at sculpting hair onto a figure. Still lots of room for improvement but I feel a little bit better about moving forward now.
I went with the 50/50 Green Stuff/Milliput formula as recommended. This seems to be doing the trick. Thanks guys!
So what do you think?
—mike
So here it is … my first attempt at sculpting hair onto a figure. Still lots of room for improvement but I feel a little bit better about moving forward now.
I went with the 50/50 Green Stuff/Milliput formula as recommended. This seems to be doing the trick. Thanks guys!
So what do you think?
—mike