

Dennis,
Wow.. That's crazy that the German tracks I my lasted that long. I'm not real sure why, but all of the German WW2 stuff is and always had been very appealing to me, way more so than the US vehicles. That's why I want to build just about one of each. Lol!
Thank you sir!
Cheers,
Dustin
Hosted by Darren Baker
Panzer IV Ausf.J Sd.Kfz.161/2

Thirian24

Joined: September 30, 2015
KitMaker: 2,493 posts
Armorama: 2,344 posts
Posted: Thursday, November 05, 2015 - 01:38 AM UTC
Thirian24
Joined: September 30, 2015
KitMaker: 2,493 posts
Armorama: 2,344 posts
Posted: Thursday, November 05, 2015 - 01:41 AM UTC
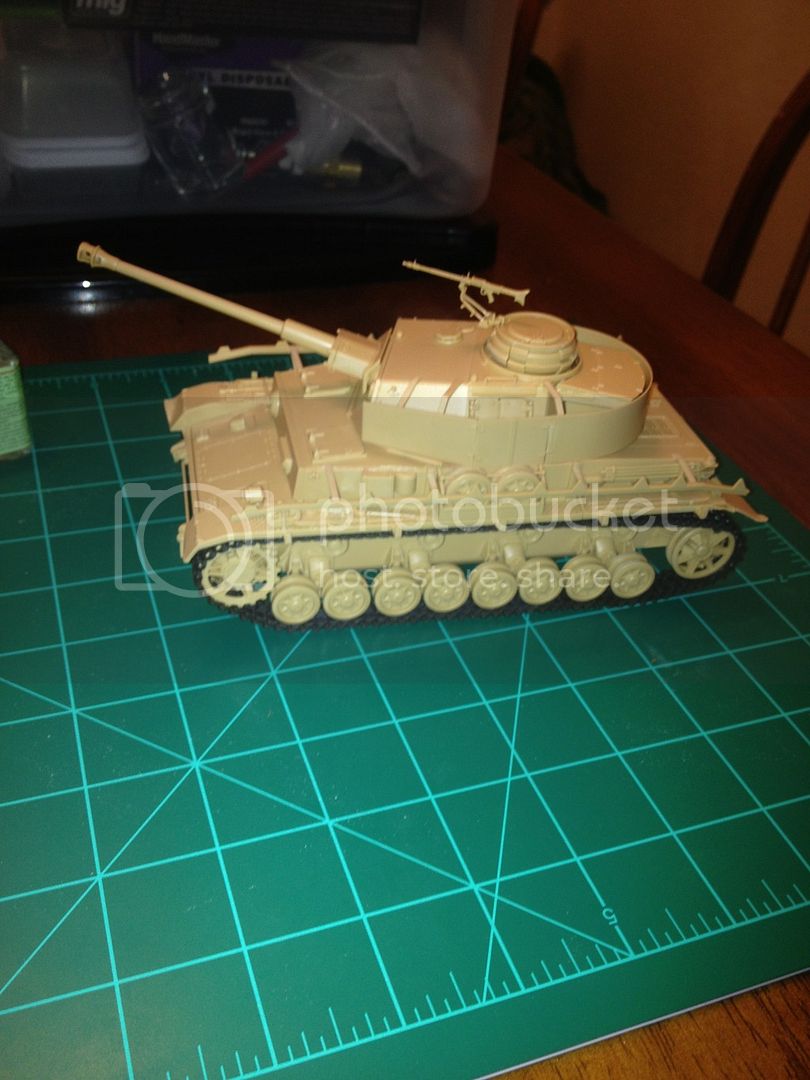
This skirting and brackets around the turret was kind of a pain!!


Armorsmith
Joined: April 09, 2015
KitMaker: 1,063 posts
Armorama: 1,000 posts
Posted: Thursday, November 05, 2015 - 02:24 AM UTC
[quote]This skirting and brackets around the turret was kind of a pain!!
Yes it can be kind of fidgety but it looks good to me. Everything looks lined up properly. Next time you might want to split one or both sets of the one piece skirt doors and show them open or just hanging to add greater visual interest. Not critical for this build just something you might want to consider as you progress. Nice work.
Looks like your about ready for painting.
Thirian24
Joined: September 30, 2015
KitMaker: 2,493 posts
Armorama: 2,344 posts
Posted: Thursday, November 05, 2015 - 02:55 AM UTC
Thank you sir! I still have the other side of the turret to do, as far as the side skirts. So I thought about maybe adding some damage, or show one panel fell off? The door idea I great.
Tell me your thoughts in the turret skirt damage/missing
Cheers,
Dustin
Tell me your thoughts in the turret skirt damage/missing
Cheers,
Dustin

TRM5150
Joined: January 03, 2010
KitMaker: 2,159 posts
Armorama: 707 posts

Posted: Thursday, November 05, 2015 - 03:32 AM UTC
Doing a fine job there Dustin! Some solid info on the tracks that you've been given...but nothing to worry about this go-around and like it was mentioned...you could always change them later if you wanted! Love the look of some missing side skirts. I don't think you would need to damage the turret Schürzen...but your call!  Keep up the great work!!
Keep up the great work!!Thirian24
Joined: September 30, 2015
KitMaker: 2,493 posts
Armorama: 2,344 posts
Posted: Thursday, November 05, 2015 - 03:38 AM UTC
Todd, thank you for the kind words! I'll probably just finish add this last piece of side skirt and it'll be ready to paint. I'm pretty excited to get started on the paint and weathering.
Cheers,
Dustin
Cheers,
Dustin
TRM5150
Joined: January 03, 2010
KitMaker: 2,159 posts
Armorama: 707 posts
Posted: Thursday, November 05, 2015 - 03:42 AM UTC
LOL...painting and weathering is the best part!  Well for me it is!
  Bring on the color!!!
Well for me it is! Bring on the color!!! Thirian24
Joined: September 30, 2015
KitMaker: 2,493 posts
Armorama: 2,344 posts
Posted: Thursday, November 05, 2015 - 04:06 AM UTC
Quoted Text
LOL...painting and weathering is the best part!
I agree 100%. Although.. My first go at the Tiger I was building had me pulling my hair out. Lol, I've learned a lot on that kit. I feel a lot more confident now.
Cheers,
Dustin
Armorsmith
Joined: April 09, 2015
KitMaker: 1,063 posts
Armorama: 1,000 posts
Posted: Thursday, November 05, 2015 - 07:15 AM UTC
Quoted Text
Thank you sir! I still have the other side of the turret to do, as far as the side skirts. So I thought about maybe adding some damage, or show one panel fell off? The door idea I great.
Tell me your thoughts in the turret skirt damage/missing
Cheers,
Dustin
Having seen many pictures of a Pz.IV with the turret skirts, I don't recall seeing a picture of them damaged, i.e. bent and mangled, except on destroyed vehicles. To suggest that they had been damaged and removed by the crew, something that was frequently done with the hull skirts, you might want to bend the supporting bracket(s) and then leave the skirt off. Others may have better ideas.
I would probably build it with the skirt intact but open the doors and show them folded back. Your model, your call!
Good luck
Thirian24
Joined: September 30, 2015
KitMaker: 2,493 posts
Armorama: 2,344 posts
Posted: Thursday, November 05, 2015 - 08:24 AM UTC
Armorsmith, thank you go that info.
Speaking of destroyed vehicles, I have been rising around the idea of building a tank and depicting it being burned out/destroyed.which would be a good candidate for this, US or German WW2?
This has been something I've been thinking about doing. It would really be a learning experience.
Cheers,
Dustin
Thirian24
Joined: September 30, 2015
KitMaker: 2,493 posts
Armorama: 2,344 posts
Posted: Thursday, November 05, 2015 - 10:28 AM UTC
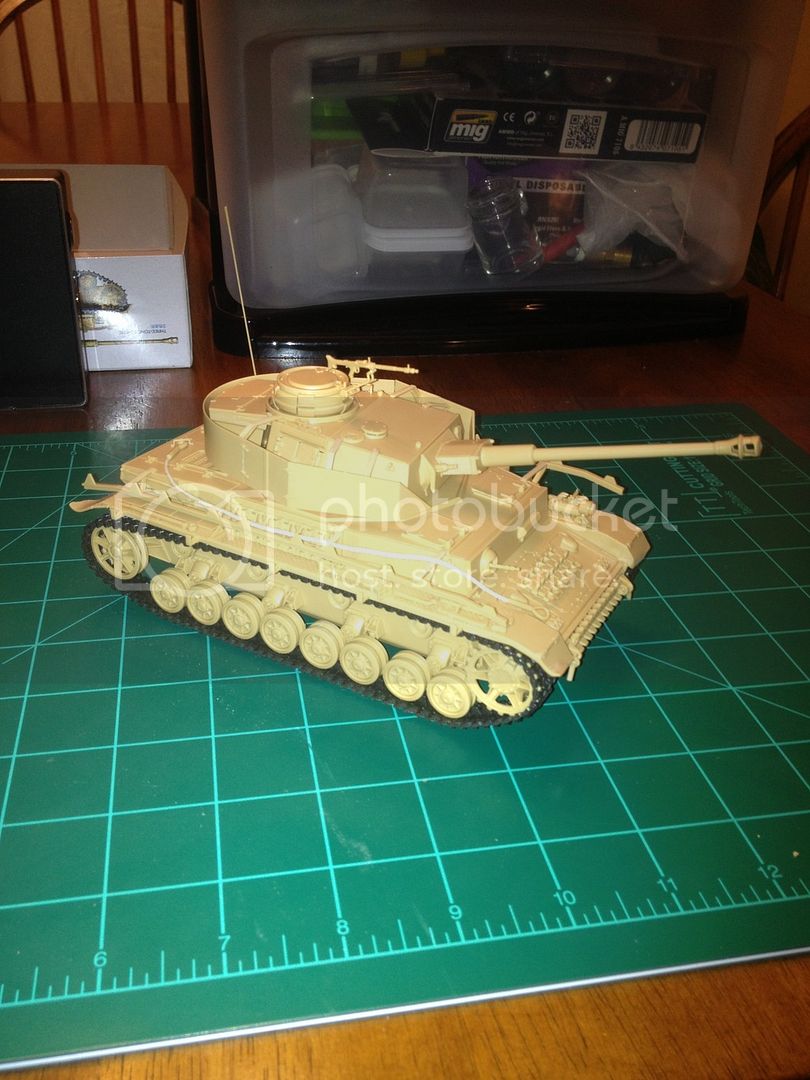
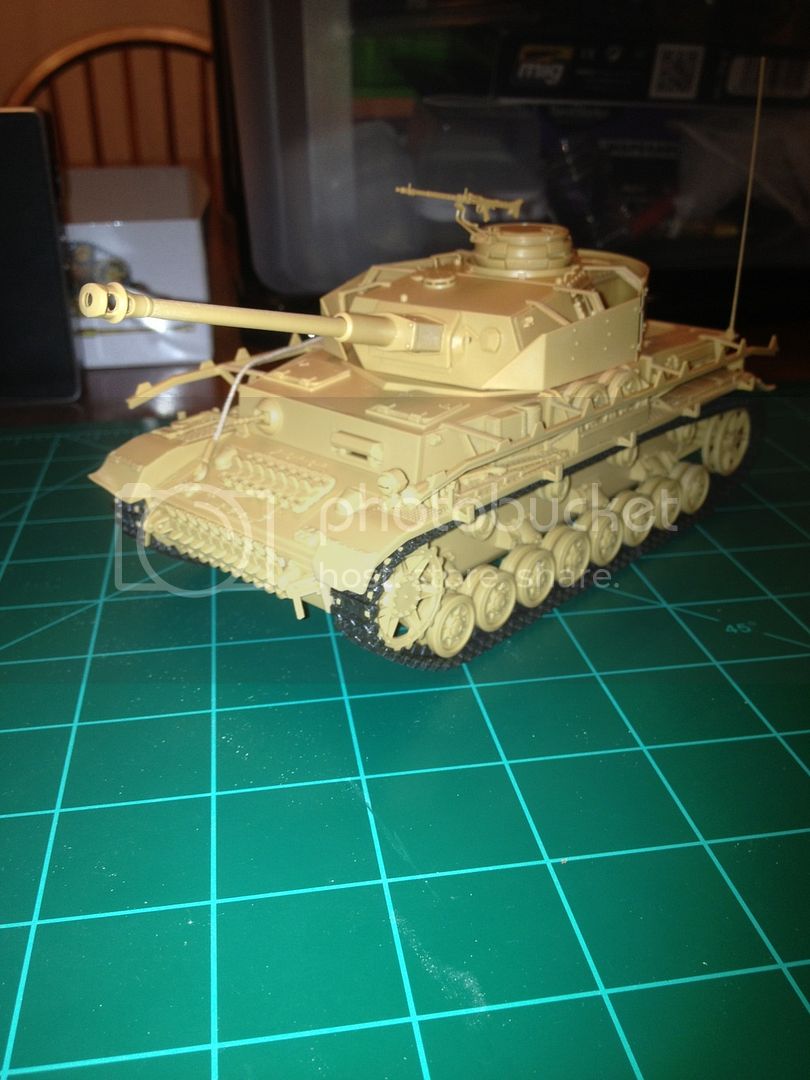
Construction completed. I decided to keep the door closed. I did the antenna how Tamiya recommends. Seems decent to me.
How about the layout of the tow cable? Just thrown up on the side front to back. Like its been used.
Cheers,
Dustin
How about the layout of the tow cable? Just thrown up on the side front to back. Like its been used.


Cheers,
Dustin
Armorsmith
Joined: April 09, 2015
KitMaker: 1,063 posts
Armorama: 1,000 posts
Posted: Thursday, November 05, 2015 - 04:37 PM UTC
Quoted Text
Armorsmith, thank you go that info.
Speaking of destroyed vehicles, I have been rising around the idea of building a tank and depicting it being burned out/destroyed.which would be a good candidate for this, US or German WW2?
This has been something I've been thinking about doing. It would really be a learning experience.
Cheers,
Dustin
Destroyed vehicles are challenging. Mostly because when there is a catastrophic explosion many/most of the hatches are blown open and this requires some scratch building of an interior. If the turret has been blown off this to will need to be detailed as would the engine compartment. Of course now days there are resin detail sets to take care of all these areas but working with resin has its own challenges and learning curve as well. Nevertheless it can be done and something to aspire to in the future for you.
Armorsmith
Joined: April 09, 2015
KitMaker: 1,063 posts
Armorama: 1,000 posts
Posted: Thursday, November 05, 2015 - 04:40 PM UTC
Quoted Text
Construction completed. I decided to keep the door closed. I did the antenna how Tamiya recommends. Seems decent to me.
How about the layout of the tow cable? Just thrown up on the side front to back. Like its been used.
Cheers,
Dustin
Nice and clean. The draped tow cable is a simple but nice touch. It's just a little thing but it makes for a more visually interesting subject. The things you do don't always have to be big or dramatic to have an impact.
Thirian24
Joined: September 30, 2015
KitMaker: 2,493 posts
Armorama: 2,344 posts
Posted: Thursday, November 05, 2015 - 08:29 PM UTC
Armorsmith,
Yeah, I watched some videos on YouTube of building destroyed tanks.. They seem out of my skills set right now. LOL
I have this tempting feeling to go crazy on these kits and add damage, and tons of crap all over them. Which is WAY of course. I just need to keep in mind to keep it subtle.
Cheers,
Dustin
Armorsmith
Joined: April 09, 2015
KitMaker: 1,063 posts
Armorama: 1,000 posts
Posted: Friday, November 06, 2015 - 01:45 AM UTC
Quoted Text
Armorsmith,
Yeah, I watched some videos on YouTube of building destroyed tanks.. They seem out of my skills set right now. LOL
I have this tempting feeling to go crazy on these kits and add damage, and tons of crap all over them. Which is WAY of course. I just need to keep in mind to keep it subtle.
Cheers,
Dustin
It's not that you need to keep every thing subtle but a matter of trying to do too much all at one time. I am a firm believer that if you try to do too much at one time that everything suffers and that everything thus tend to mediocrity. One thing you could still do to your PzIV is to bang up the muffler a bit and add texture to simulate rust. Simple enough but it makes a big difference in visual impact.
Still it good that you recognize your limits at this point and not to get too ahead of yourself.
Thirian24
Joined: September 30, 2015
KitMaker: 2,493 posts
Armorama: 2,344 posts
Posted: Friday, November 06, 2015 - 03:12 AM UTC
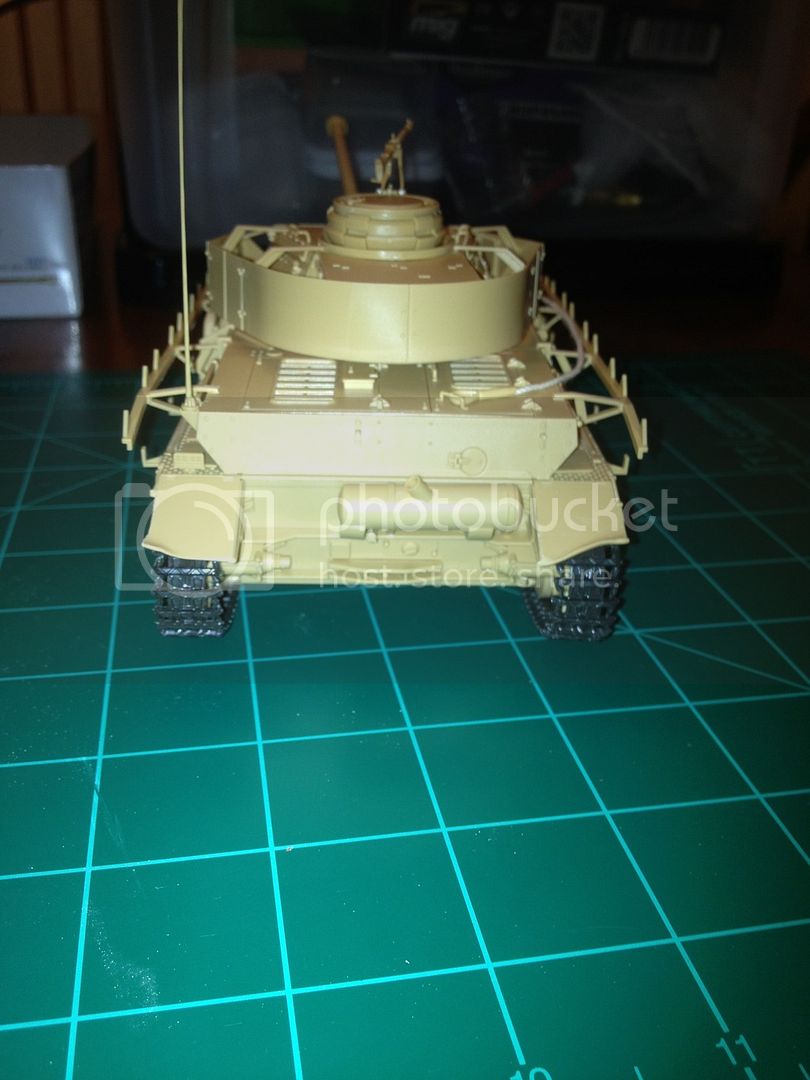
I thought about doing that to the muffler and forgot... Now it's in primer. Lol
Cheers,
Dustin

Cheers,
Dustin
Armorsmith
Joined: April 09, 2015
KitMaker: 1,063 posts
Armorama: 1,000 posts
Posted: Friday, November 06, 2015 - 03:31 AM UTC
Quoted Text
I thought about doing that to the muffler and forgot... Now it's in primer. Lol
Dustin
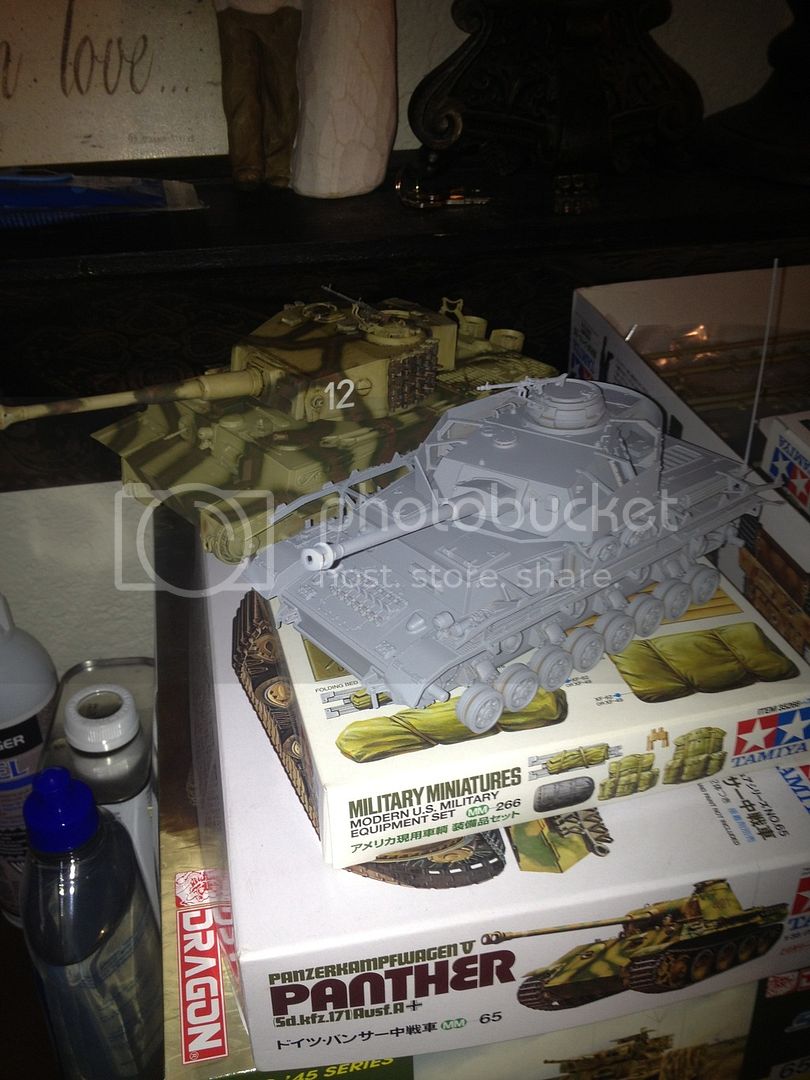
Tiger in the background looks good as does the MkIV.
Still not to late to do the muffler if you want. Do the damage and just reprime that area. Up to you though.
Thirian24
Joined: September 30, 2015
KitMaker: 2,493 posts
Armorama: 2,344 posts
Posted: Friday, November 06, 2015 - 03:36 AM UTC
Thank you sir!
Use the heat method?
Use the heat method?
Armorsmith
Joined: April 09, 2015
KitMaker: 1,063 posts
Armorama: 1,000 posts
Posted: Friday, November 06, 2015 - 04:25 AM UTC
Quoted Text
Thank you sir!
Use the heat method?
No. Use a sharp blade to carve some dents into it. You could also use a file. Then "rough" it up with your Mr. Surfacer 500 or use the glue and stipple method. Doesn't have to be real banged up just a few dents and dings here and there or one medium sized one. Start small and work from there and stop when you think it looks right. Just something to try that's fairly easy and simple to do.
Thirian24
Joined: September 30, 2015
KitMaker: 2,493 posts
Armorama: 2,344 posts
Posted: Friday, November 06, 2015 - 04:26 AM UTC
I did buy the Mr. Surfacer, that gets applied before the base coat? Or after?
Armorsmith
Joined: April 09, 2015
KitMaker: 1,063 posts
Armorama: 1,000 posts
Posted: Friday, November 06, 2015 - 04:47 AM UTC
Quoted Text
I did buy the Mr. Surfacer, that gets applied before the base coat? Or after?
Before, then painted and weathered. Mr. Surfacer has several uses. It can be used to add texture to simulate a rough surface as in rust or cast steel. It can also be used to fill small gaps and seams.
Thirian24
Joined: September 30, 2015
KitMaker: 2,493 posts
Armorama: 2,344 posts
Posted: Friday, November 06, 2015 - 05:03 AM UTC
Ok awesome. Thank you sir!
Thirian24
Joined: September 30, 2015
KitMaker: 2,493 posts
Armorama: 2,344 posts
Posted: Friday, November 06, 2015 - 08:24 AM UTC
Came out ok!
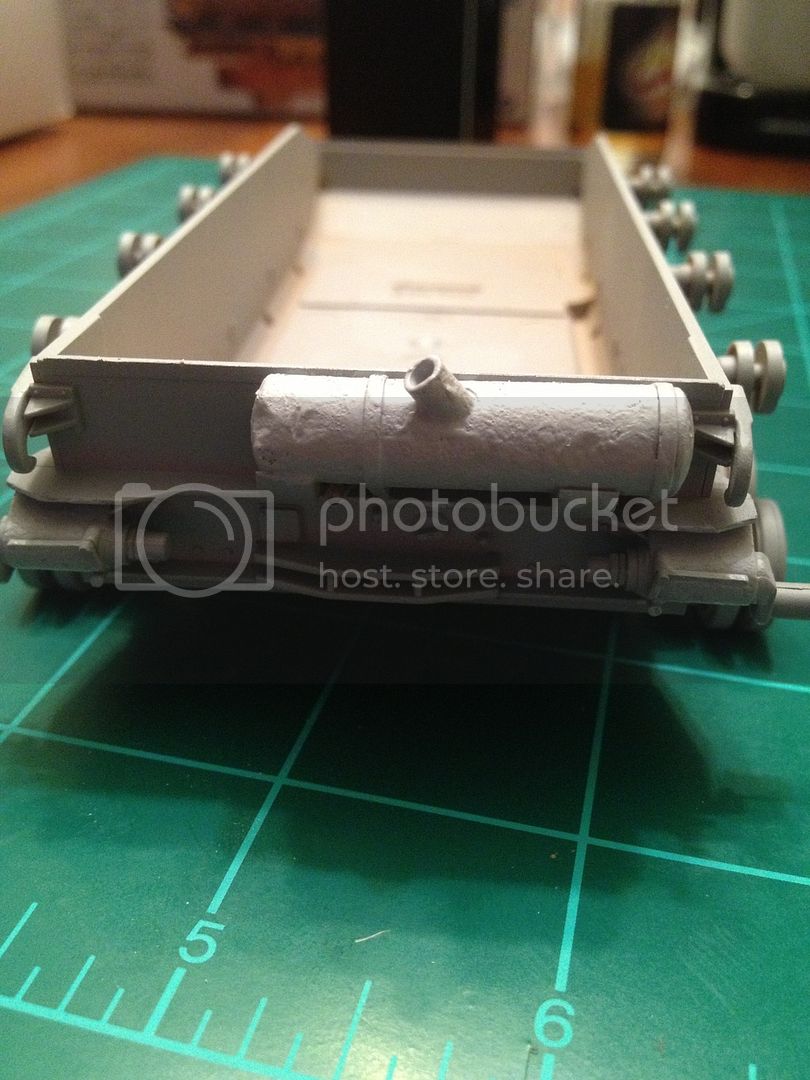
Cheer,
Dustin

Cheer,
Dustin
Armorsmith
Joined: April 09, 2015
KitMaker: 1,063 posts
Armorama: 1,000 posts
Posted: Friday, November 06, 2015 - 09:15 AM UTC
Quoted Text
Came out ok!
Cheer,
Dustin
More than OK. Pretty darn good and it will look even better when weathered and rusted.
Thirian24
Joined: September 30, 2015
KitMaker: 2,493 posts
Armorama: 2,344 posts
Posted: Friday, November 06, 2015 - 09:18 AM UTC
Thank you sir! The damage gives it a nice touch.
 |

WEB HOSTING BY


Copyright ©2021 Armorama and Kitmaker Network, a subsidiary of Silver Star Enterprises
All Rights Reserved. Please read our Conditions of Use and Privacy Policy.
All Rights Reserved. Please read our Conditions of Use and Privacy Policy.