Hosted by Richard S.
Campaign 500+ Mk. II
Posted: Thursday, October 19, 2017 - 01:52 AM UTC
Mark - Your kit may be a lot of work but it is starting to look great.
Armored76

Joined: September 30, 2013
KitMaker: 1,615 posts
Armorama: 1,500 posts

Posted: Thursday, October 19, 2017 - 10:29 AM UTC
Coming along really nice, Paul!
petbat

Joined: August 06, 2005
KitMaker: 3,353 posts
Armorama: 3,121 posts

Posted: Friday, October 20, 2017 - 04:35 AM UTC
Coming along very nicely Paul. I bet you are real careful not to drop the resin pins!
I know what you mean about 'old eyes'. I use a jewellers magnifying lamp these days - squinting doesn't help anymore.
I know what you mean about 'old eyes'. I use a jewellers magnifying lamp these days - squinting doesn't help anymore.

Posted: Friday, October 20, 2017 - 05:29 AM UTC
Quoted Text
Coming along very nicely Paul. I bet you are real careful not to drop the resin pins!
I know what you mean about 'old eyes'. I use a jewellers magnifying lamp these days - squinting doesn't help anymore.
Yes, i was worried about loosing & breaking more than were in the kit. As it happens, despite my launching any number of them into oblivion with the tweezers it looks like I will have more than enough. Both strands of tracks are largely done and waiting for the wheels to go on to get a final fit. If worst comes to worst, there is PLENTY of Fruil wire on hand to fill in any shortage.
The old eyes are a tougher nut to crack . . .
Posted: Friday, October 20, 2017 - 06:58 AM UTC
Quoted Text
Not sure if you realise, but the reference Terry made on PMMS, as to the muffler, was that it was too narrow and short. It needs to be wider and longer.... and it fits over where you have the box muffler for the turret on the gun version:
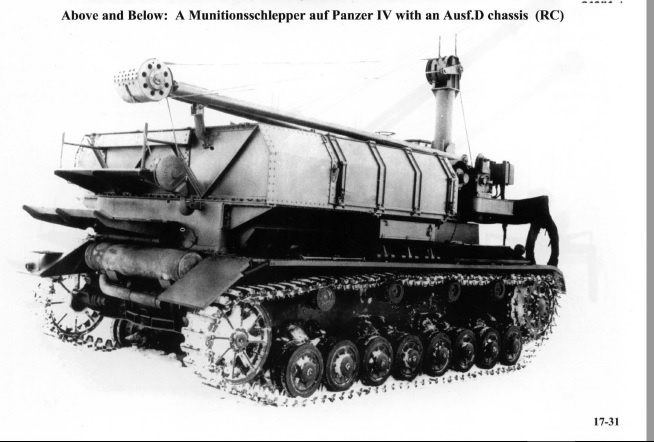
You can just make out the long thin tube muffler for the crane engine in the recess on top of the vehicle muffler.
Do you have a picture of the Aus F version? The two pictures I have of the Aus F are blurry, the best I can tell that they don't look like the type that are on the Aus D version you posted.

RobinNilsson

Joined: November 29, 2006
KitMaker: 6,693 posts
Armorama: 5,562 posts

Posted: Friday, October 20, 2017 - 09:51 PM UTC
I always start a build by doing the amusing part to get me "warmed up" and then I can tackle the rest without losing interest and getting bored.
Now I have done half of the really fun part of building a tracked kit. I've cleaned all of the track links, four little injection gates on each link. I have had some really nice and meditative evening sessions of filing off the little pips. Now I'll just need to clean the pins and insert them to finish the track assembly
Then it's on to the boredom of assembling the rest of the chassis and the Flak 37

/ Robin
Psst: I just checked one of Broncos A13 kits, 35029. It has got 240 pieces for EACH track, makes 480 in total. I'm certain that there are more than 30 parts for the rest so it would qualify in this campaign (I'm entering it in the Crusader to Gazala campaign).
Now I have done half of the really fun part of building a tracked kit. I've cleaned all of the track links, four little injection gates on each link. I have had some really nice and meditative evening sessions of filing off the little pips. Now I'll just need to clean the pins and insert them to finish the track assembly

Then it's on to the boredom of assembling the rest of the chassis and the Flak 37


/ Robin
Psst: I just checked one of Broncos A13 kits, 35029. It has got 240 pieces for EACH track, makes 480 in total. I'm certain that there are more than 30 parts for the rest so it would qualify in this campaign (I'm entering it in the Crusader to Gazala campaign).
Armored76

Joined: September 30, 2013
KitMaker: 1,615 posts
Armorama: 1,500 posts

Posted: Saturday, October 21, 2017 - 12:39 PM UTC
Gotta love the meditative work on the track links with pin marks on each of them 

Posted: Tuesday, October 24, 2017 - 08:12 PM UTC
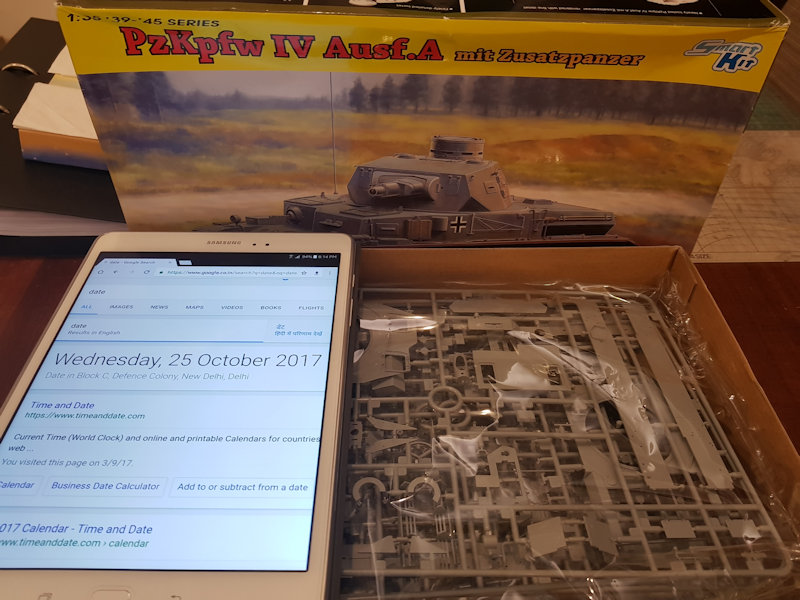
Time to get started on this campaigns build. I decided to go with the Dragon Panzer IV Ausf. A mit Zusatzpanzer. Counting the parts in the instructions, I came up with a total of 505.

petbat

Joined: August 06, 2005
KitMaker: 3,353 posts
Armorama: 3,121 posts

Posted: Wednesday, October 25, 2017 - 08:37 AM UTC
Quoted Text
Do you have a picture of the Aus F version? The two pictures I have of the Aus F are blurry, the best I can tell that they don't look like the type that are on the Aus D version you posted.
Doh.... I built the D/E version and completely missed that you are building the rarer Ausf F!
This might be one you have and yes the box muffler is correct

I'll go and sit in the corner now...
Posted: Wednesday, October 25, 2017 - 06:16 PM UTC
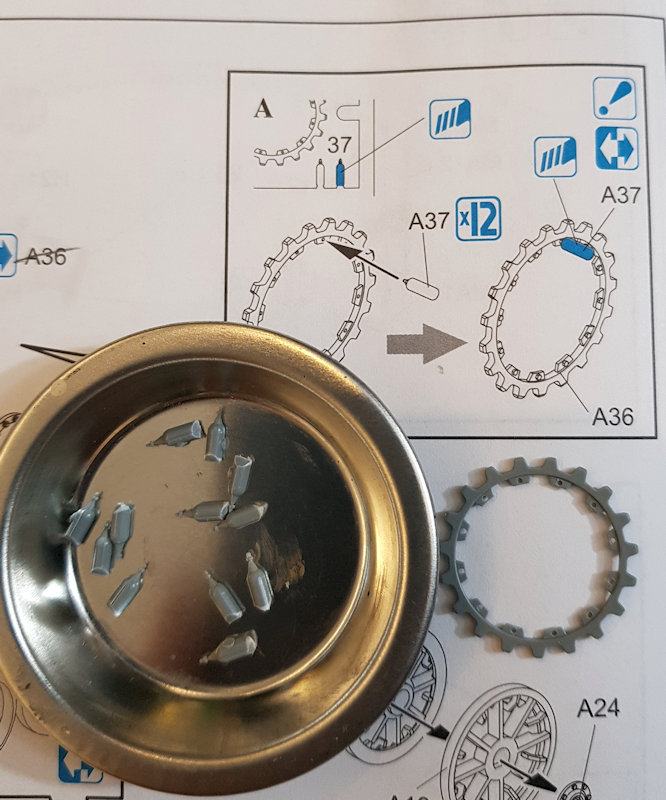
Just getting started with step 1, the drive sprocket. I decided to do the optional individual bolts. The assembly is therefore made up of 31 parts.
Assembly sequence
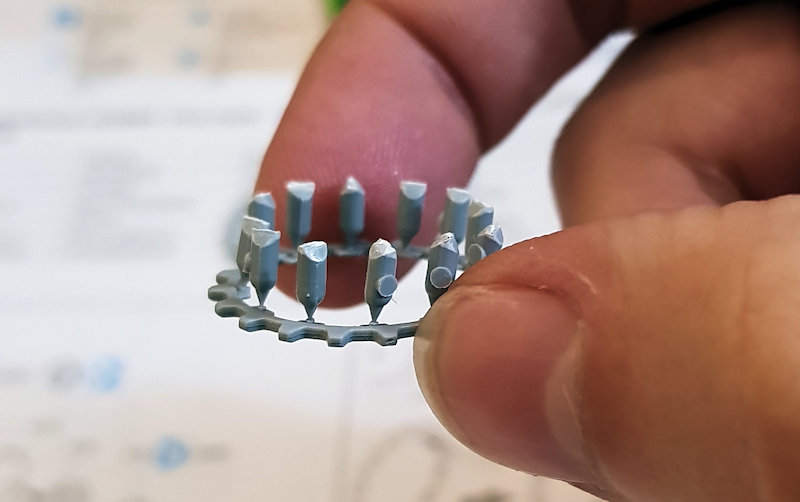
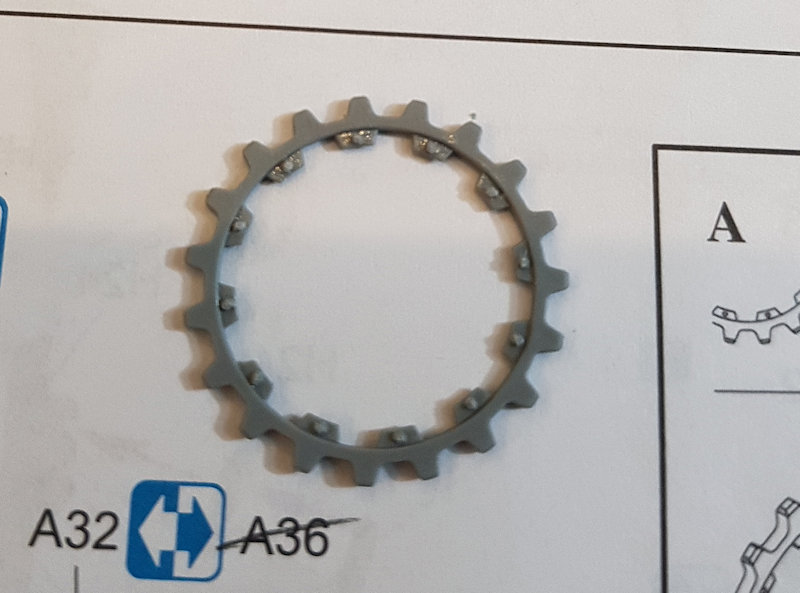
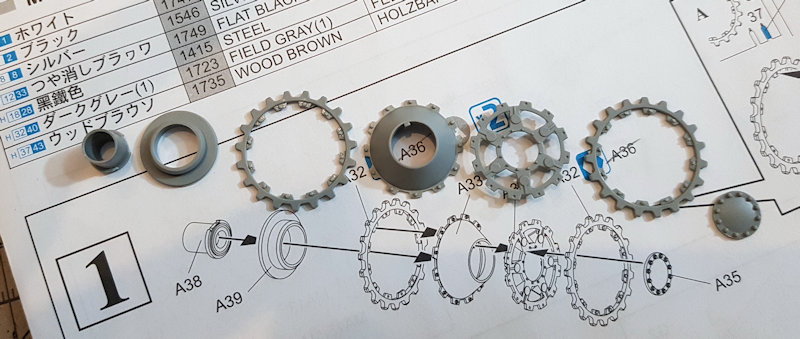
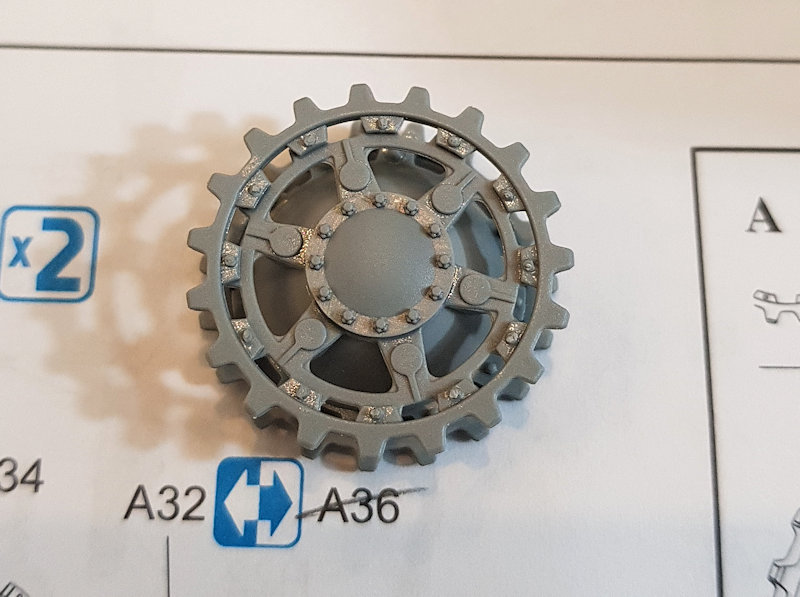
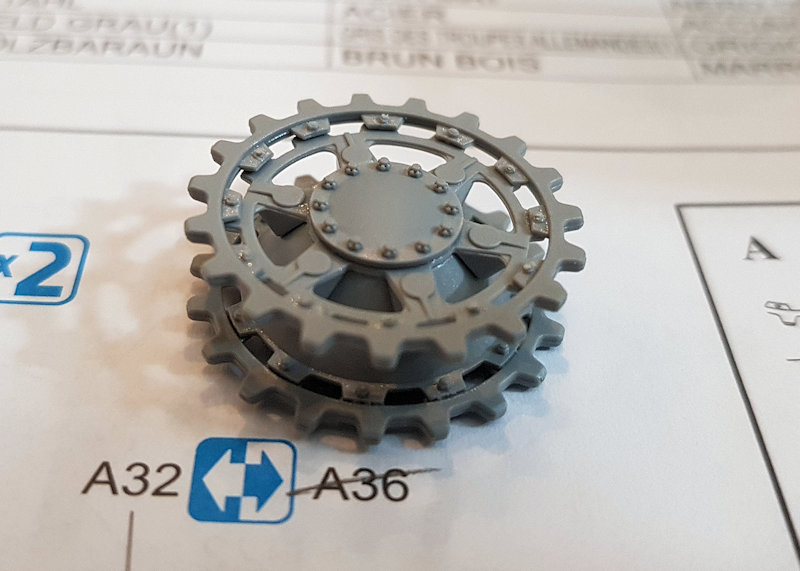
Assembly sequence


RobinNilsson

Joined: November 29, 2006
KitMaker: 6,693 posts
Armorama: 5,562 posts

Posted: Wednesday, October 25, 2017 - 06:41 PM UTC
I wonder why they didn't do the "separate bolts" stunt with the 12 bolts on the "hubcap" ?

That could have added 12 parts to each drive wheel ....
/ Robin

That could have added 12 parts to each drive wheel ....
/ Robin
Armored76

Joined: September 30, 2013
KitMaker: 1,615 posts
Armorama: 1,500 posts

Posted: Wednesday, October 25, 2017 - 07:07 PM UTC
Superb details, Mark... but what a chore!!! Or is this part of the "hobby's beauty" for you? 

Posted: Wednesday, October 25, 2017 - 07:17 PM UTC
Quoted Text
Superb details, Mark... but what a chore!!! Or is this part of the "hobby's beauty" for you?
More just a challenge to see if I had the patience to do it.
Posted: Wednesday, October 25, 2017 - 10:46 PM UTC
And I thought I had it rough having to put 15 bolts on the drive casings on my Panzer IV munitions carrier.
Very nice work, those drives look very detail will pop when painted and washed.
Very nice work, those drives look very detail will pop when painted and washed.
Posted: Wednesday, October 25, 2017 - 10:59 PM UTC
Peter,
The box muffler is also incorrect that Trumpeter added in the Aus. F kit. The exhaust pipe comes out of the bottom just like the D/E versions, but the muffler is not as long as the D/E version. Also the left side (as you face the rear of the vehicle)of the muffler is slightly larger in diameter than the right side.
I remade the muffler last night using the existing one in the kit and cut off the mounts. Sanded it smooth to remove the seams and existing straps, turned it upside down added a length of rod, bent 90 degrees. Drill out the end to make it look like an exhaust pipe, glued on some lead wire for straps. After painting and some rusting up it should look pretty good. I will post a picture on my next update.
petbat

Joined: August 06, 2005
KitMaker: 3,353 posts
Armorama: 3,121 posts

Posted: Thursday, October 26, 2017 - 02:24 AM UTC
So just a quick fix then Mark 


Can't wait to see the result.


Can't wait to see the result.
Posted: Thursday, October 26, 2017 - 02:57 AM UTC
Quoted Text
Just getting started with step 1, the drive sprocket. I decided to do the optional individual bolts. The assembly is therefore made up of 31 parts.
Assembly sequence
Looks like you're off to a good start Mark. I went the same route too for the Pz IVA built for the first 500+ campaign. By the time I finished Step 1 I already used 230 parts!

Cheers,
Tat
Posted: Sunday, October 29, 2017 - 06:33 AM UTC
Quoted Text
So just a quick fix then Mark


Can't wait to see the result.
Man O Man has this kit been a challenge. There is so many parts with flash and pieces that will not fit together. One little assembly that should have took ten minutes takes 45 minutes to and hour. I used more putty on this kit than any kit I have completed and I am only half way done.
This where I am at with this kit. Modify the muffler so it no longer exhaust out the top.

Installed the PE engine intakes. It took major trimming of the openings to fit them into place.

This derrick base took six hours to assemble. Not one piece would fit in its place. Used a lot of putty to fill in all the gaps.


The two outer walls of the shell storage container had eight sinkholes per wall. They were deep sinkholes and it took the liquid putty a full day to dry before I could sand them smooth. It was so bad I had to swear in German so not to upset the wife.


All the tools and many of the small parts that fit on the deck and fenders have been cleaned up and dry fitted. I will paint them off the vehicle and add them once it is painted. Still have to finish the derrick and ammo storage before I can paint, I have a feeling I will have to do this in stages as all the pieces go one. I plan on using the three color scheme used during the Warsaw uprising.
Peter I should have listen to your warning.
Armored76

Joined: September 30, 2013
KitMaker: 1,615 posts
Armorama: 1,500 posts

Posted: Sunday, October 29, 2017 - 10:25 AM UTC
Sorry to hear about the trouble, Mark! Surely, it was worth the effort as it starts looking great already.
The superstructure is so filigree and the metallic shell looks fantastic. Are you going to replace all four kit shells?
The superstructure is so filigree and the metallic shell looks fantastic. Are you going to replace all four kit shells?
Posted: Sunday, October 29, 2017 - 04:48 PM UTC
Quoted Text
The superstructure is so filigree and the metallic shell looks fantastic. Are you going to replace all four kit shells?
No, I plan on only using the shells that came in the kit.
Posted: Sunday, October 29, 2017 - 06:07 PM UTC
Was able to get the suspension boogies completed. Each one is moveable.
Each one is made up of 8 parts.
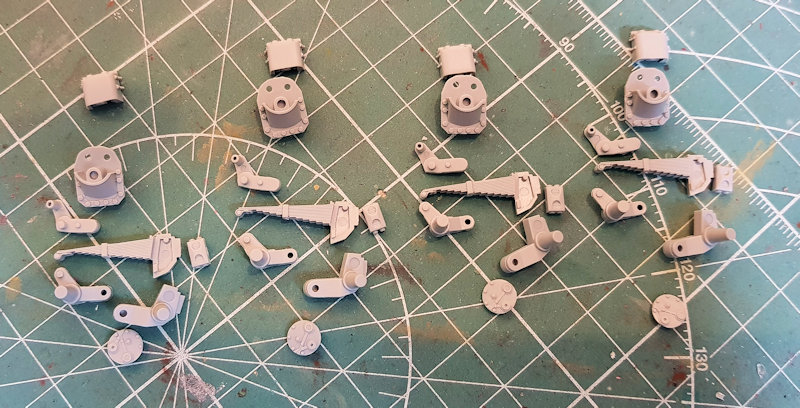
All eight completed (another 64 parts)
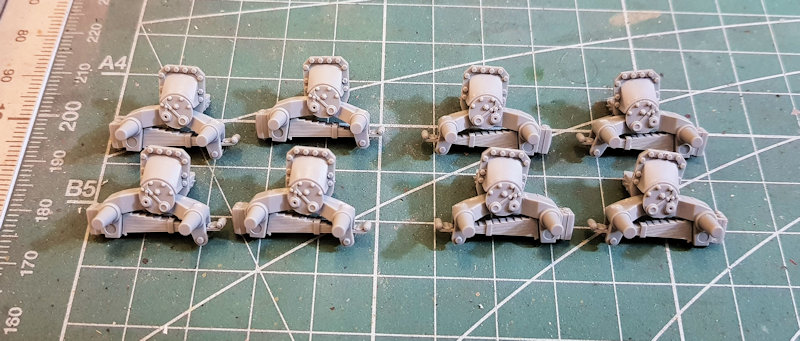
Doesn't look like a lot, but here are the first 132 parts.
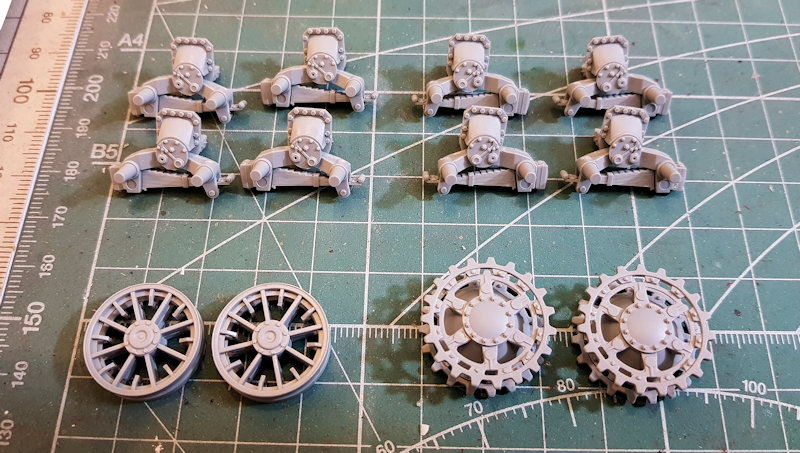
Each one is made up of 8 parts.

All eight completed (another 64 parts)

Doesn't look like a lot, but here are the first 132 parts.

Armored76

Joined: September 30, 2013
KitMaker: 1,615 posts
Armorama: 1,500 posts

Posted: Monday, October 30, 2017 - 12:00 AM UTC
Surely, a lot of work but very nice details, Mark!
Posted: Monday, October 30, 2017 - 04:26 AM UTC
The suspension boogies detail is much sharper than the ones in my Trumpeter kit.
Posted: Monday, October 30, 2017 - 10:20 AM UTC
Quoted Text
The suspension boogies detail is much sharper than the ones in my Trumpeter kit.
This is my first Dragon kit and I don't have any complaints, yet, on the quality of the details.
I've only built one Trumpter kit (Bruckenleger IVB), so far. The detail quality on this kit was not as good. Might even be the same Trumpeter generic Pz IV suspension sprues.
https://gallery.kitmaker.net/showgallery.php?cat=30762
I am watching your build closely as I want to add that kit to my collection at some point. You're doing a fantastic job with the build. Also, have you had a look at Panzer Tracts: Bertha's Big Brother KARL-GERAET (60cm) & (54cm)? It has some pics of the version your building, along with the D/E version.
Posted: Monday, October 30, 2017 - 04:51 PM UTC
Quoted Text
I am watching your build closely as I want to add that kit to my collection at some point. You're doing a fantastic job with the build. Also, have you had a look at Panzer Tracts: Bertha's Big Brother KARL-GERAET (60cm) & (54cm)? It has some pics of the version your building, along with the D/E version.
I have both kits but Dragon releases. I was getting ready to build the 60cm kit along with this kit when I saw the campaign. Decided to build this one first so I can get the ribbon.
 |


