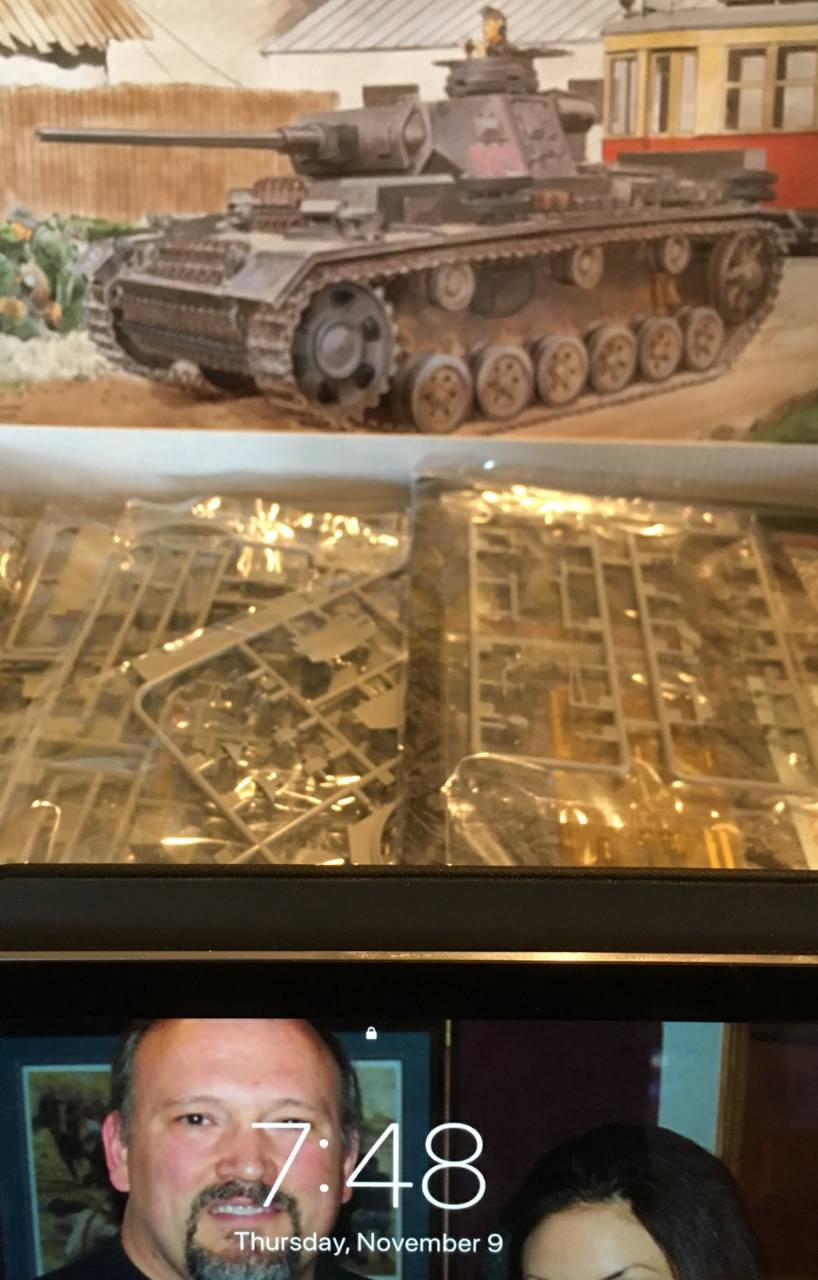
Just to show I haven't been idle. Started on the 'Grasshopper".
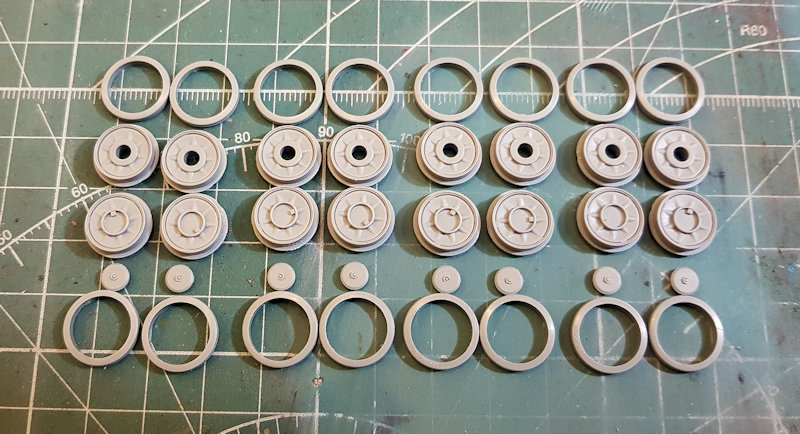
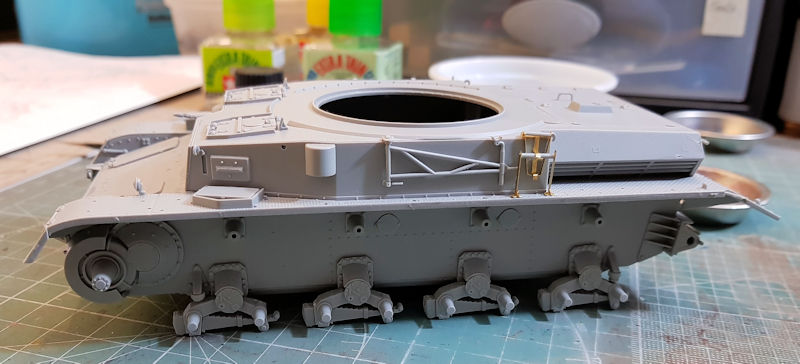
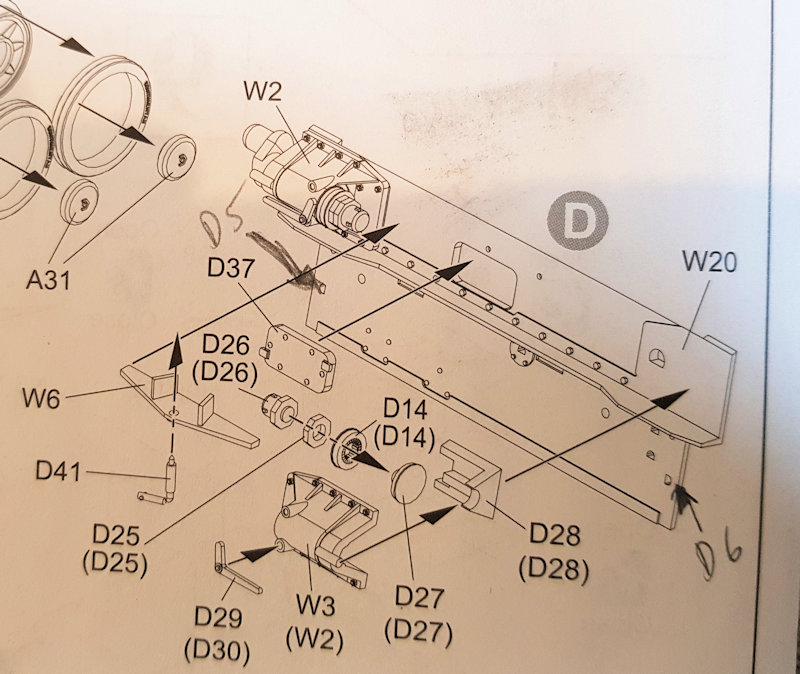
The running gear is not the multipart components you get with some of Dragon's other Panzer IV's:

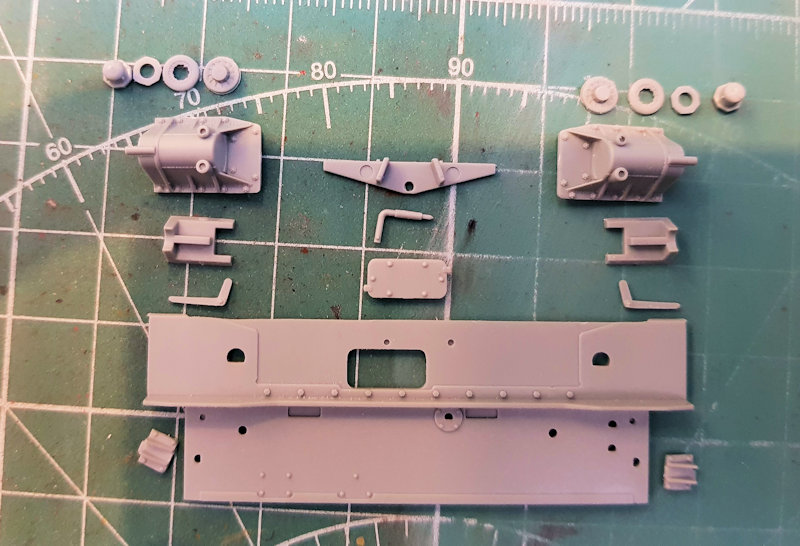
Haven't decided whether to use the early drive sprocket or go for the later one. Pics show both used at times. Also in this pic is the start on the AFV Club ammo set I am using as well.
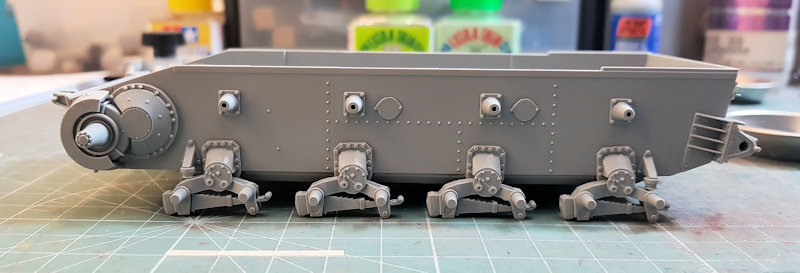
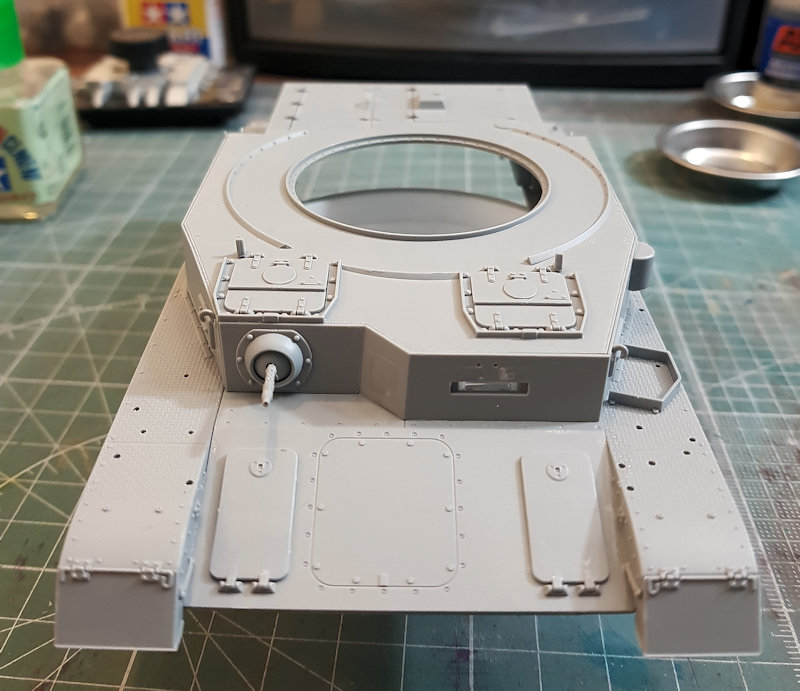
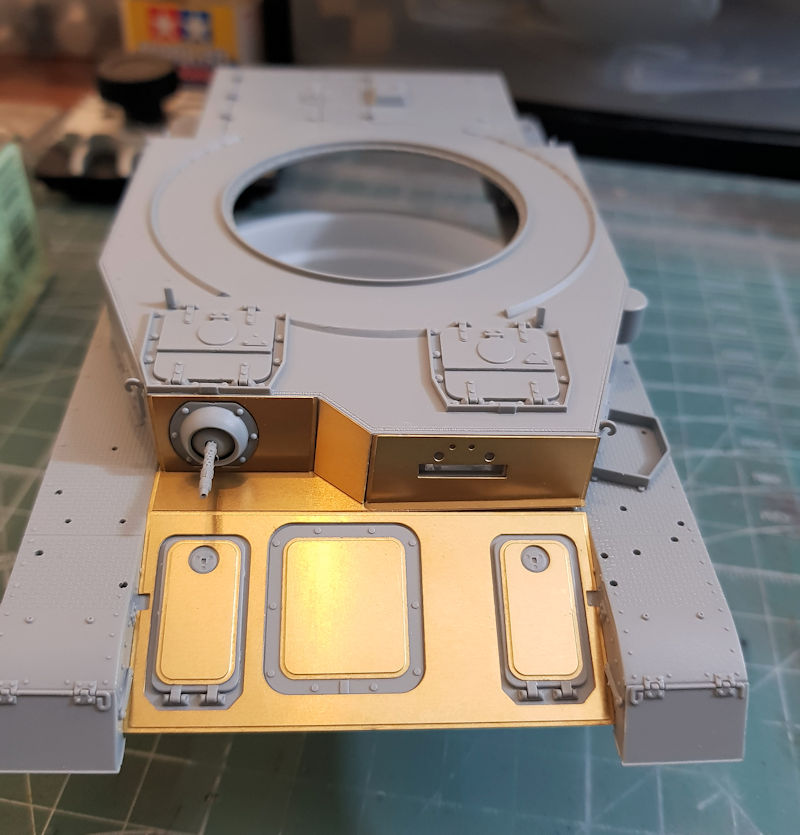
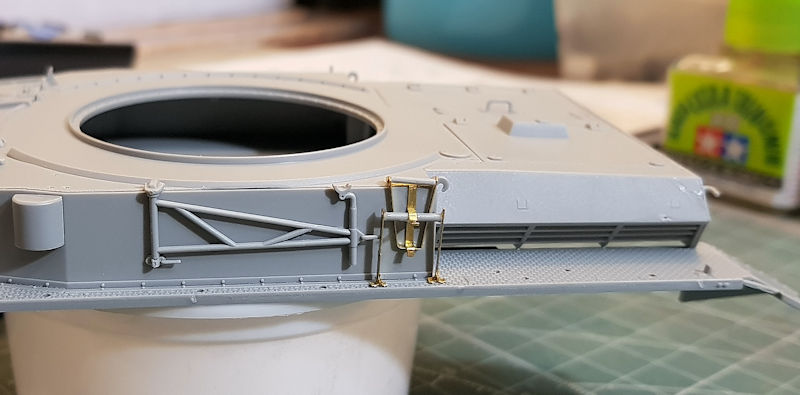
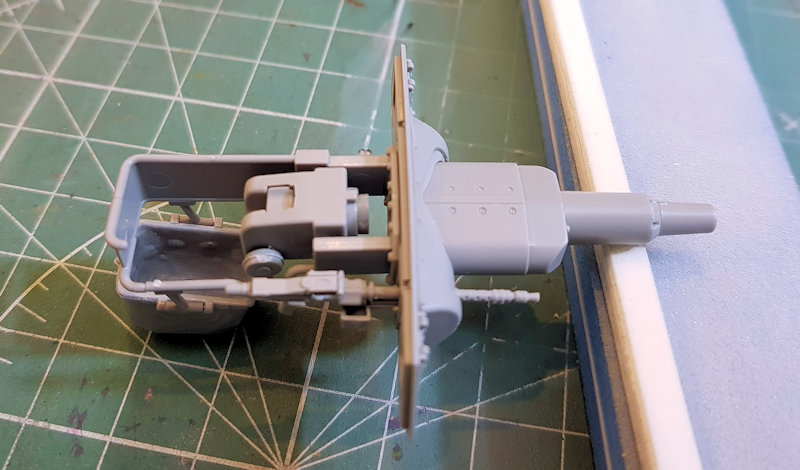
The hull under way. Tip for anyone building this kit, the shell racks with the holes are not perfectly rectangular, so make sure you put them in the right way. There are two more doors to fit to each bin here. I'm thinking of adding figures. I haven't decided on a reloading scene or action scene yet. The cartridge racks have no doors, and I can't find any references to say if they had a canvas cover like some other vehicles...might just add them anyway, to cover the fact both racks have the same missing cartridge cases

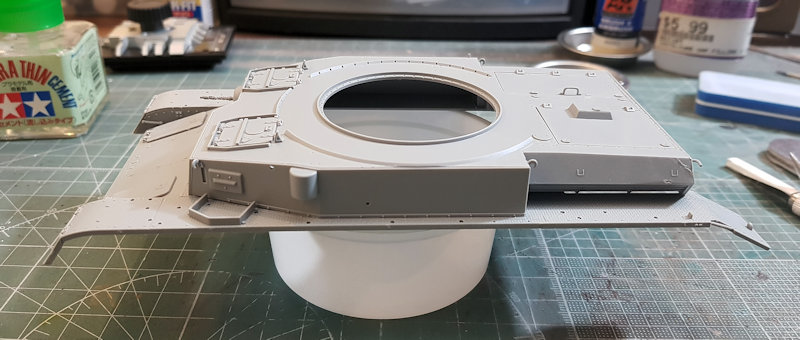
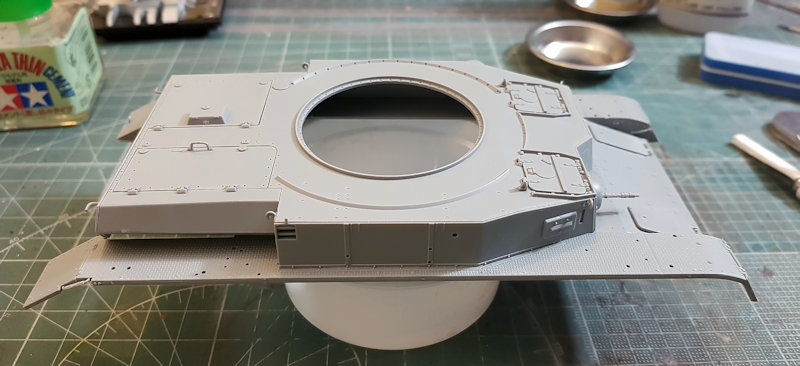
One big draw back on this kit, like the Trumpeter one, is no driver's compartment. Anyone wanting to display the gun turret dismounted is going to have a glaring void. Once the turret is done, I will see how much is visible with it in place. I may have to scratch build some of the compartment.... and work out which bits were Panzer 3 and which Panzer IV. If Dragons drive train position is correct, they must have had the same Panzer 3 transmission as the Hummel
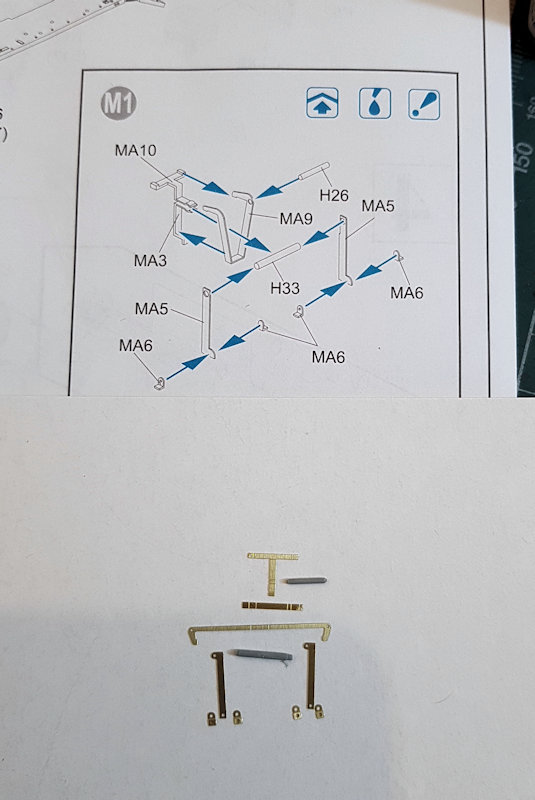
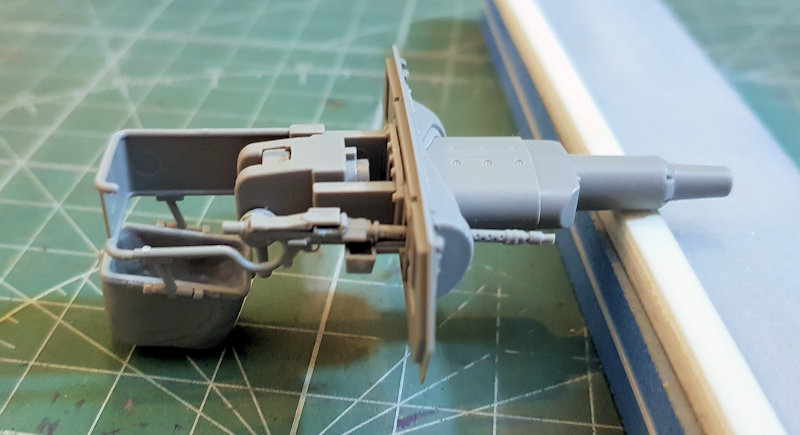
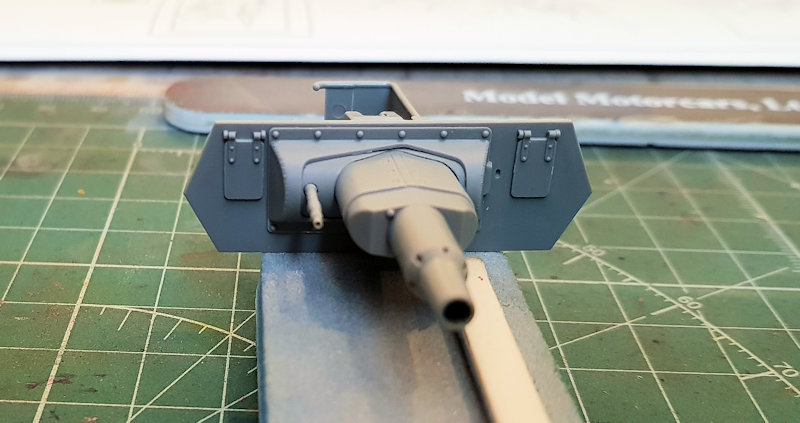
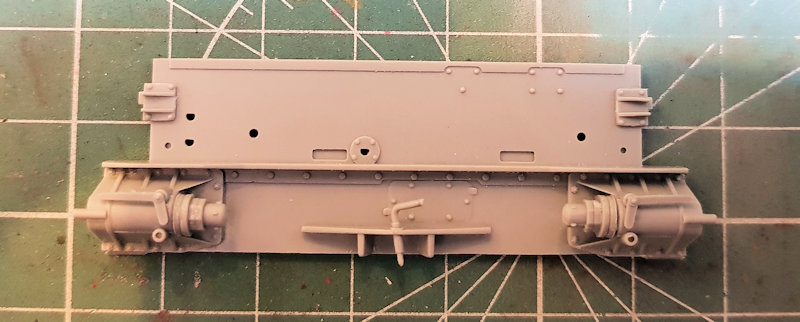
The wheels for the gun frame when the turret is dismounted. Dry fit to hull. A lot of time spent on removing mould seams here, and I missed the one on the aerial mount. That is the best thing about taking pics.. you see your mistakes.

There is a panel to add underneath too

.. and I found out why they are called Magic Tracks - when ready to be built, they magically jump onto the kit without any instructions from Dragon on how to assemble them


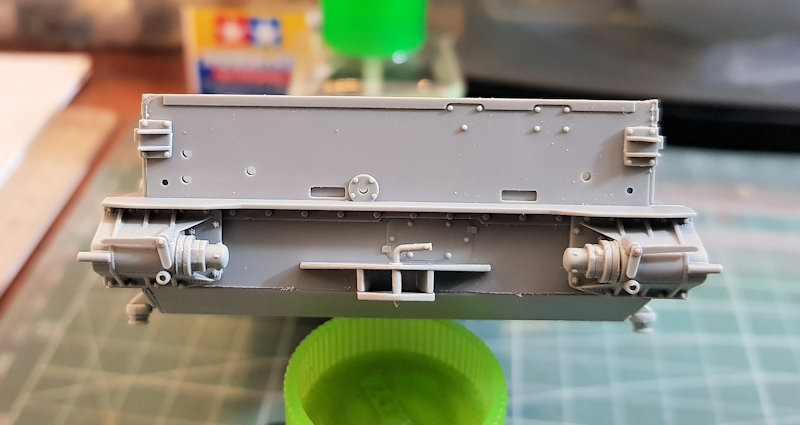
 . Needless to say, the wheel is very loose on the axle. Will have to figure out a solution to get a proper fit. I'll get all of this painted first before installing at the end of the build.