The current 3 colour build reminds me of an old Matchbox kit Kelly. Hope the colour works out for you.
May I ask a favour? Are you able to post pics of the instructions that show the section where the armour plates fit to the hull? It is the one area I have not been able to get pics of and I am guessing what I need for my build. I know the sections are similar for the Chally 1 and Chally 2. Thanks
Campaigns: Active Campaigns
Campaigns that are either in planning or underway should be grouped here.
Campaigns that are either in planning or underway should be grouped here.
Hosted by Richard S.
MBT Campaign
petbat

Joined: August 06, 2005
KitMaker: 3,353 posts
Armorama: 3,121 posts

Posted: Thursday, July 25, 2019 - 10:42 PM UTC
Ruffus

Joined: April 12, 2005
KitMaker: 343 posts
Armorama: 223 posts

Posted: Friday, July 26, 2019 - 02:27 AM UTC
Now it just look better!! in the future I will add some mud and stowage, in the future!!
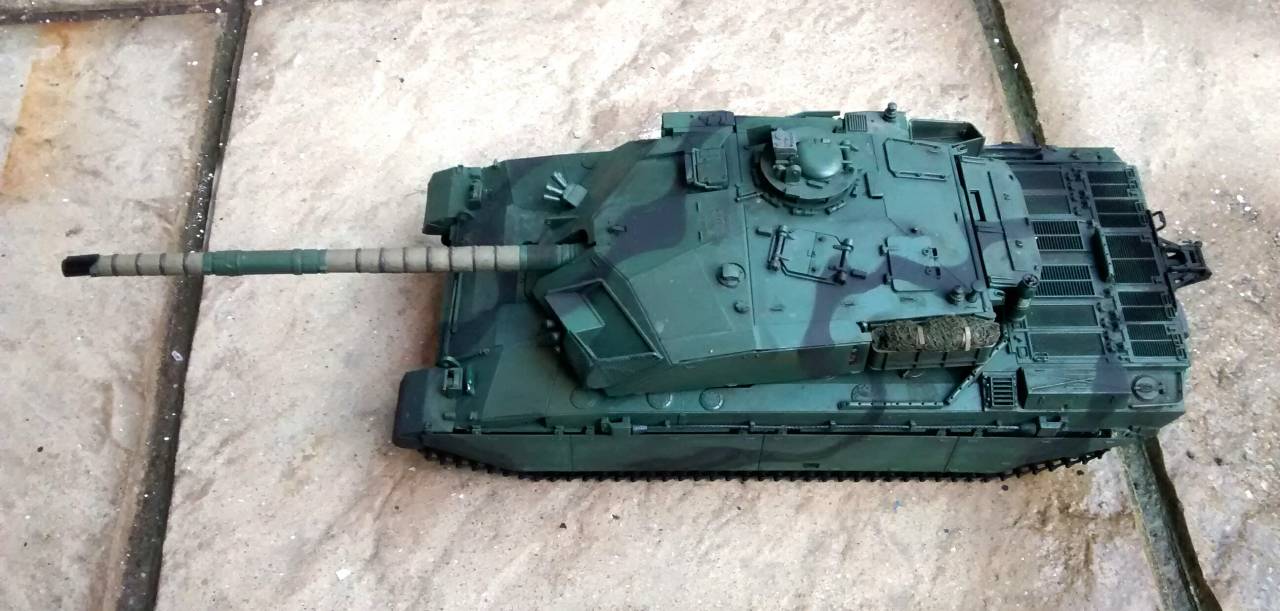
Beautiful tank! so menacing!!

Beautiful tank! so menacing!!
petbat

Joined: August 06, 2005
KitMaker: 3,353 posts
Armorama: 3,121 posts

Posted: Friday, July 26, 2019 - 03:20 PM UTC
Very Nicely finished Byron. The camo does make it look better.
Mrclark7

Joined: June 04, 2017
KitMaker: 503 posts
Armorama: 477 posts

Posted: Friday, July 26, 2019 - 05:49 PM UTC
That camo is pretty close to mine also. Ill post pics tomorrow after I flat finish it. Spent all day doing the vision blocks.
Mrclark7

Joined: June 04, 2017
KitMaker: 503 posts
Armorama: 477 posts

Posted: Saturday, July 27, 2019 - 03:57 PM UTC
Mrclark7

Joined: June 04, 2017
KitMaker: 503 posts
Armorama: 477 posts

Posted: Saturday, July 27, 2019 - 04:07 PM UTC
Okay, here she is. Kind of rushed this one at the end just because I have my Tiger tank I want to finish.
Not to happy with the decals. Tried applying between gloss and flat finish coats. Oh, well.
Still need to apply antennas and a possible dust weather look to it.


I went with blue for the blocks. Even though I found plenty of pic to justify the pinkish tints, it just clashed really bad. So blue it is.

Rear end work.

Wire cables changed.

Not to happy with the decals. Tried applying between gloss and flat finish coats. Oh, well.
Still need to apply antennas and a possible dust weather look to it.


I went with blue for the blocks. Even though I found plenty of pic to justify the pinkish tints, it just clashed really bad. So blue it is.

Rear end work.

Wire cables changed.

petbat

Joined: August 06, 2005
KitMaker: 3,353 posts
Armorama: 3,121 posts

Posted: Saturday, July 27, 2019 - 04:29 PM UTC
Thanks Kelly. I did not realise it is all one piece. I was hoping to see what the support bracket looks like before the Chobham packs are bolted to it. I have one pic of a Chally 2 where the whole panel has been blown off, so I am running with what I can see there. That on the couple of pics from the front of the challenger 1 where you can actually make out something.
I have done a best guess and have about 25% more work to do before the panels are finished - unless my an** retentiveness kicks in and I do all the centre rectangles in the armour blocks so they are not so recessed.... and add the weld beading too...
Back to yours though, she ended up a very nice build. The pink reflection looks better on desert coloured vehicles; it would be a big contrast on the green & black. I like what you have done. I am lucky, they hadn't started using the laser reflection material in Op Granby, so I am black all the way. I use window tint film. You will see later.
Don't dirty it up too much or the red fire extinguishers will turn pink!
If I may make one suggestion - the tow cable should not be rusty. Rust degrades the strength and can cause them to snap (and decapitate the unwary) so these cables are well maintained. They are galvanised and tend to stay dull grey or retain the black paint.

petbat

Joined: August 06, 2005
KitMaker: 3,353 posts
Armorama: 3,121 posts

Posted: Saturday, July 27, 2019 - 05:50 PM UTC
Okay Kelly, the decision whether to add the centre panels and weld beads is now moot. While heating up the armour panel (it was badly bent in the box), the heat applied caused a catastrophe where the sprue was previously attached and almost the same with the other, I rescue that one before it got too bad:


Now either I scratch build the larger panels, or I go without the whole add on armour package.
Going to think that one through.


Now either I scratch build the larger panels, or I go without the whole add on armour package.
Going to think that one through.
Posted: Saturday, July 27, 2019 - 10:40 PM UTC
Pete, ouch! Sorry to see that warpage. Could you scratch the two worst-warped blocks and graft them in? Pity to waste all the other detail work...
And interesting to see your pic of that tank in town - I wonder when/how they lost that rubber track block? Always a good reason not to tailgate or try to overtake them on the road!
And interesting to see your pic of that tank in town - I wonder when/how they lost that rubber track block? Always a good reason not to tailgate or try to overtake them on the road!
BunkerBuster

Joined: March 29, 2017
KitMaker: 157 posts
Armorama: 122 posts

Posted: Sunday, July 28, 2019 - 12:56 AM UTC
Quoted Text
I'd be willing to tack on an extra month, if it's alright with John.
Michael
So what's the final verdict on a one month extension?
MichaelSatin

Joined: January 19, 2008
KitMaker: 3,909 posts
Armorama: 510 posts

Posted: Sunday, July 28, 2019 - 01:39 AM UTC
I've gone ahead and applied the extension to 1 September. Hope I'm not stepping on any toes!
Michael
Michael

Mrclark7

Joined: June 04, 2017
KitMaker: 503 posts
Armorama: 477 posts

Posted: Sunday, July 28, 2019 - 09:01 AM UTC
Ugg, I sorry to see that. Mine also had a very tiny amount of warping going on. thats more why you see the rubber bands in one of my earlier picks.
I have another sealed Challenger that I bought off the net. So, I am kinda curious now if it was resealed and if maybe it might have this issue also. I will open and check it later and let you know.
I have another sealed Challenger that I bought off the net. So, I am kinda curious now if it was resealed and if maybe it might have this issue also. I will open and check it later and let you know.
Mrclark7

Joined: June 04, 2017
KitMaker: 503 posts
Armorama: 477 posts

Posted: Sunday, July 28, 2019 - 03:18 PM UTC
Just realized I didn't mount the MG in earlier pics.
Second pic is a shot of the sequins used to do the blocks. Also found at Hobby Lobby.
Peter, I hear ya on the cable. I figured most were painted on the tank depending on area deployed. I might go back and change them as that makes sense.
I guess with the extra month to do the build I can figure if I will dust her up or not further.
with all the pets I have you can see the extra dirt on her paint already, and thats just with two days of it sitting around the house.


petbat

Joined: August 06, 2005
KitMaker: 3,353 posts
Armorama: 3,121 posts

Posted: Tuesday, July 30, 2019 - 07:03 AM UTC
Thanks Guys.
Yes Tom, not unlike a truck losing a retread off the tyre, you would not want to be too close.
I have been thinking about this a couple of days. Even scratch building the two panels may be noticeable as it is hard to get them exact to a mould and side by side the difference may stand out. I am thinking of cutting out the one good panel from the second complete panel and making a mould of it, then casting that up for the other side. If that does not work, then cutting out just one good panel and even casting all new ones. They are individual panels in real life.
Other option is scratch building the whole panel section. With the extra month, I have time to try in sequence! Thanks Michael.
Pet hair - yes I hear you. We have a mixed breed cat that is part long hair Persian. The darn thing sheds hair 24/7 - and it sleeps in my model room when I am at home. He gets turfed out when painting is happening.
Yes Tom, not unlike a truck losing a retread off the tyre, you would not want to be too close.
I have been thinking about this a couple of days. Even scratch building the two panels may be noticeable as it is hard to get them exact to a mould and side by side the difference may stand out. I am thinking of cutting out the one good panel from the second complete panel and making a mould of it, then casting that up for the other side. If that does not work, then cutting out just one good panel and even casting all new ones. They are individual panels in real life.
Other option is scratch building the whole panel section. With the extra month, I have time to try in sequence! Thanks Michael.

Pet hair - yes I hear you. We have a mixed breed cat that is part long hair Persian. The darn thing sheds hair 24/7 - and it sleeps in my model room when I am at home. He gets turfed out when painting is happening.

PasiAhopelto

Joined: October 01, 2016
KitMaker: 514 posts
Armorama: 171 posts

Posted: Wednesday, July 31, 2019 - 05:41 AM UTC
Quoted Text
I've gone ahead and applied the extension to 1 September.
That's good. Failed my Abrams build, so restarting with

I've built Tamiya's T-55 some 10 years ago, and it's quite simple kit, so I expect to finish this on time.

Kanguroo

Joined: May 07, 2006
KitMaker: 416 posts
Armorama: 312 posts

Posted: Friday, August 02, 2019 - 02:49 PM UTC
Hi everyone,
I'm back to this favorite campaign. At the beginning time, I intended to take part in with a pair of French tanks.
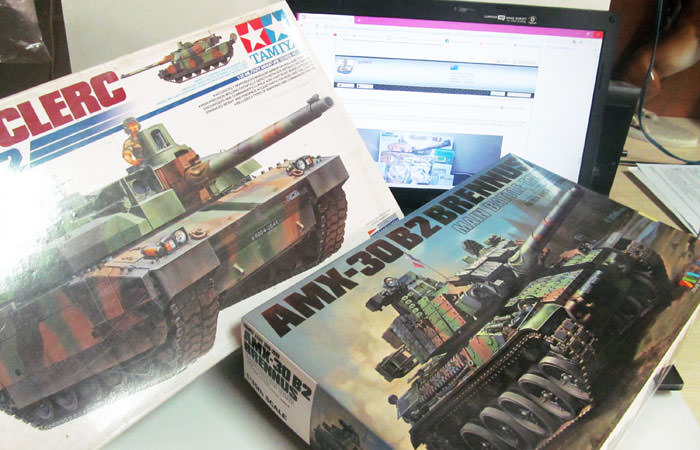
There's no time at present, I focus to the Leclerc tank.
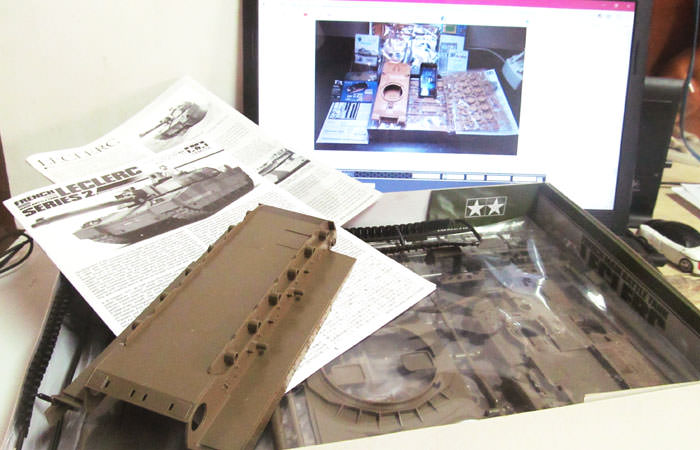
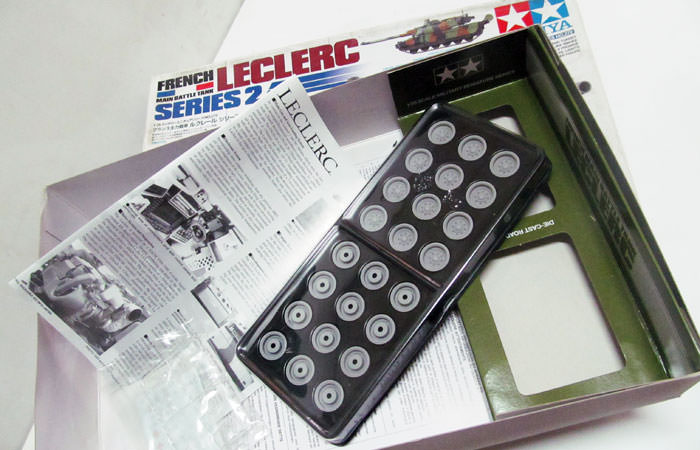

After main painting period, I will finish it with smooth weathering.
Regards,
K.

I'm back to this favorite campaign. At the beginning time, I intended to take part in with a pair of French tanks.

There's no time at present, I focus to the Leclerc tank.


After main painting period, I will finish it with smooth weathering.
Regards,
K.


BravoTwoZero

Joined: June 11, 2009
KitMaker: 461 posts
Armorama: 370 posts

Posted: Tuesday, August 13, 2019 - 03:46 AM UTC
Here's my Smurf blue Tiran 4 before weathering and after shots.


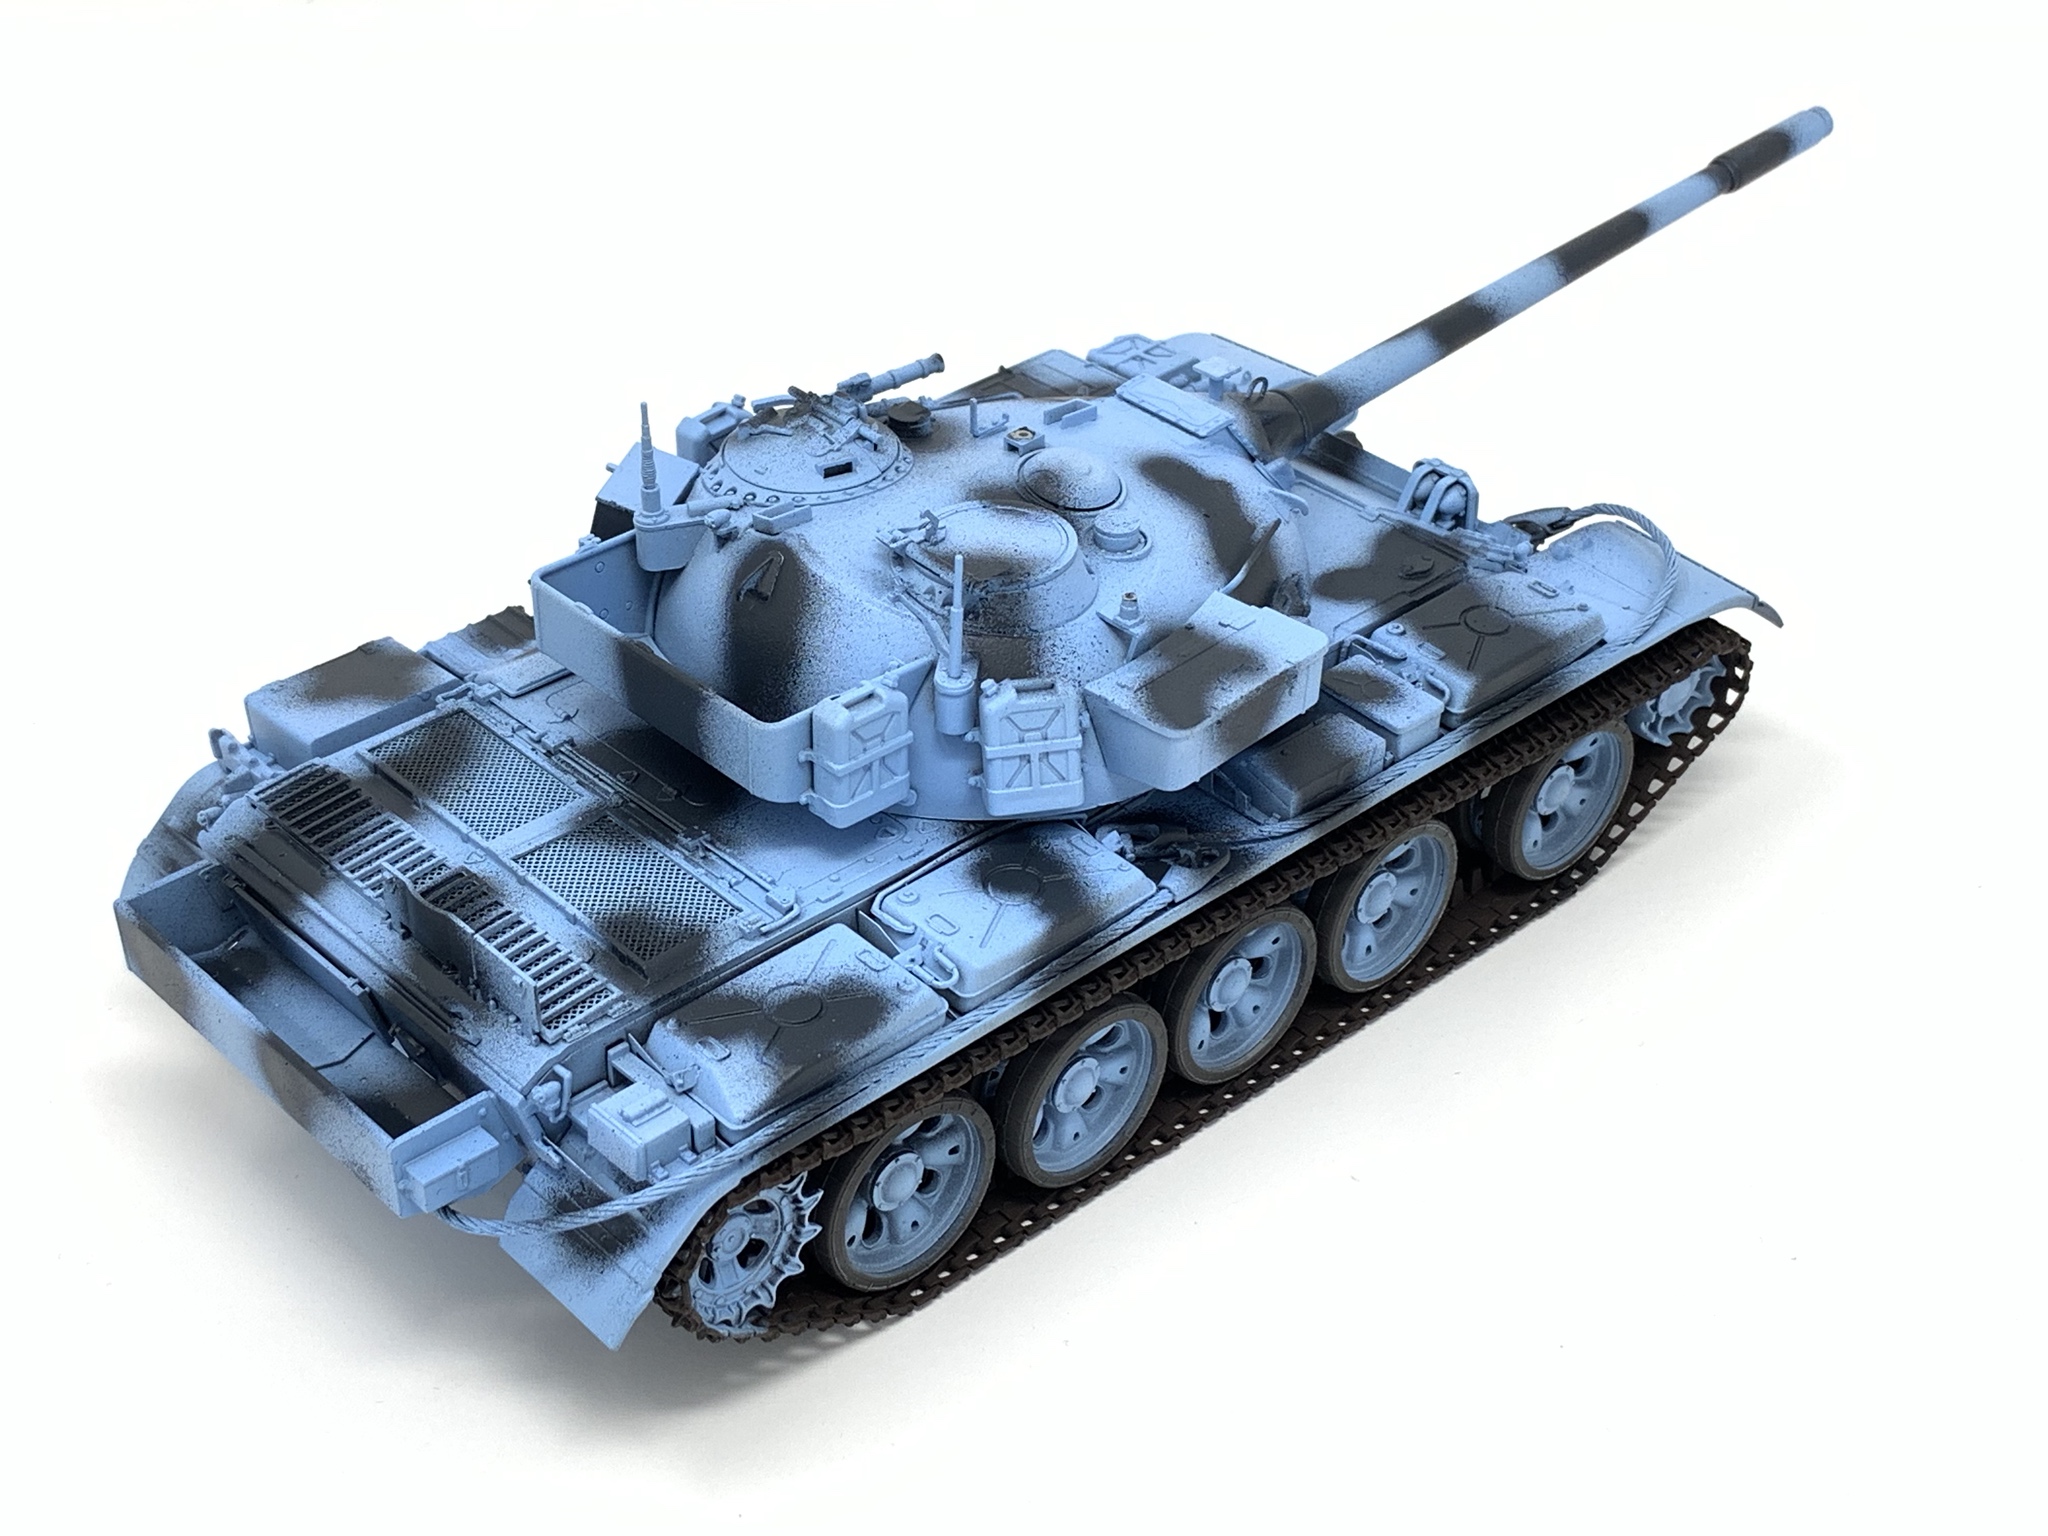

Thanks,
-Joseph


Thanks,
-Joseph
ivanhoe6

Joined: April 05, 2007
KitMaker: 2,023 posts
Armorama: 1,234 posts

Posted: Tuesday, August 13, 2019 - 04:02 AM UTC
As the finish line is nearing I'm seeing a lot of nice tanks.(can you use "nice" when describing a tank?)
Joseph, yours looks exceptionally ominous!
Great work everybody !
Joseph, yours looks exceptionally ominous!
Great work everybody !
Owengate

Joined: June 03, 2019
KitMaker: 73 posts
Armorama: 39 posts
Posted: Tuesday, August 13, 2019 - 06:20 AM UTC
Oh yeah! Definitely. "Nice!" would be a most fitting expression upon seeing tanks.
zontar

Joined: August 27, 2006
KitMaker: 1,646 posts
Armorama: 1,557 posts

Posted: Tuesday, August 13, 2019 - 06:41 AM UTC
Joseph: Nice work! The blue base is really effective and an interesting approach.
Happy Modeling,
Zon
Happy Modeling,
Zon

PasiAhopelto

Joined: October 01, 2016
KitMaker: 514 posts
Armorama: 171 posts

Posted: Thursday, August 15, 2019 - 07:12 AM UTC
Nice camo , Joseph.
Meanwhile assembly pretty much done:

Luckily this has single colour scheme.
Meanwhile assembly pretty much done:

Luckily this has single colour scheme.

BravoTwoZero

Joined: June 11, 2009
KitMaker: 461 posts
Armorama: 370 posts

Posted: Thursday, August 15, 2019 - 09:33 AM UTC
Thanks very much, guys! I have a couple more Tirans in my stash. This one was pretty good in experimenting different weathering methods such as filters, washes and pigments.
Pasi, I am looking forward on how yours will turn out.
-Joseph
Pasi, I am looking forward on how yours will turn out.
-Joseph
MichaelSatin

Joined: January 19, 2008
KitMaker: 3,909 posts
Armorama: 510 posts

Posted: Thursday, August 15, 2019 - 12:19 PM UTC
Frankly I'm very disappointed. It was such a pretty shade of blue!
Seriously, very nice work, Joseph!
Michael
Seriously, very nice work, Joseph!
Michael

Ruffus

Joined: April 12, 2005
KitMaker: 343 posts
Armorama: 223 posts

Posted: Thursday, August 15, 2019 - 02:07 PM UTC
Quoted Text
Here's my Smurf blue Tiran 4 before weathering and after shots.
Thanks
-Joseph
How did you do that?
Posted: Thursday, August 15, 2019 - 09:05 PM UTC
Hi Joseph,
Fantastic finish and weathering on your Tiran.....what a transformation.
Jerry
Fantastic finish and weathering on your Tiran.....what a transformation.
Jerry
 |


