Nigel;
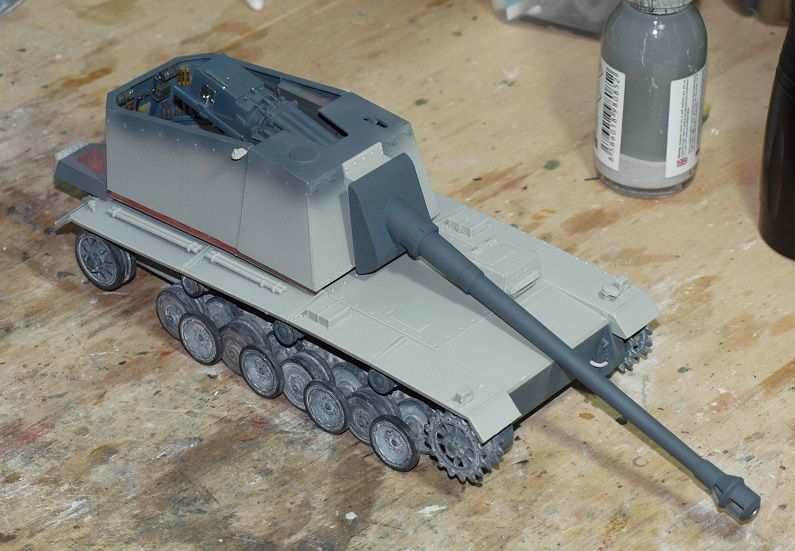
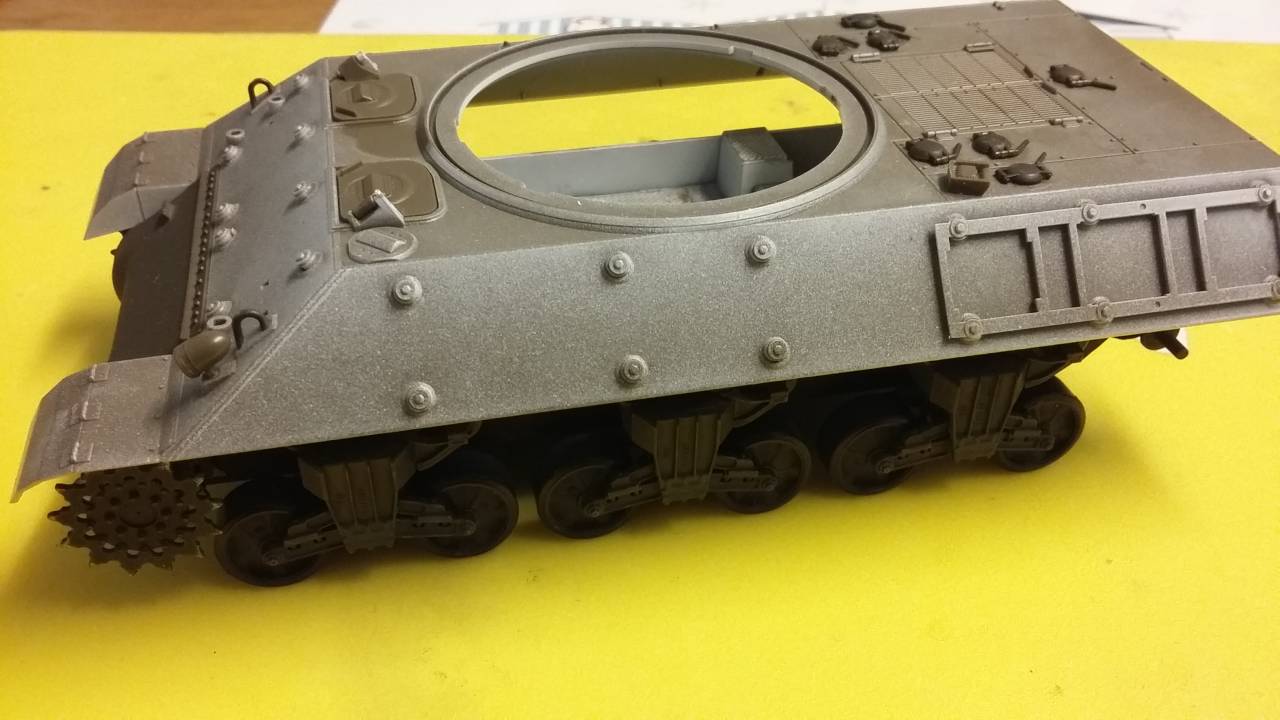
The Tamiya Marder II is indeed a venerable old soldier! That said, it has some pretty solid basic interior to work from - and actually, IF one doesn't seek lots of nuance and detail finesse in their build, builds up pretty nicely right from the box. Not exactly rivet-counter accurate, and not as full as an enhanced interior would be, but it will look pretty nice.
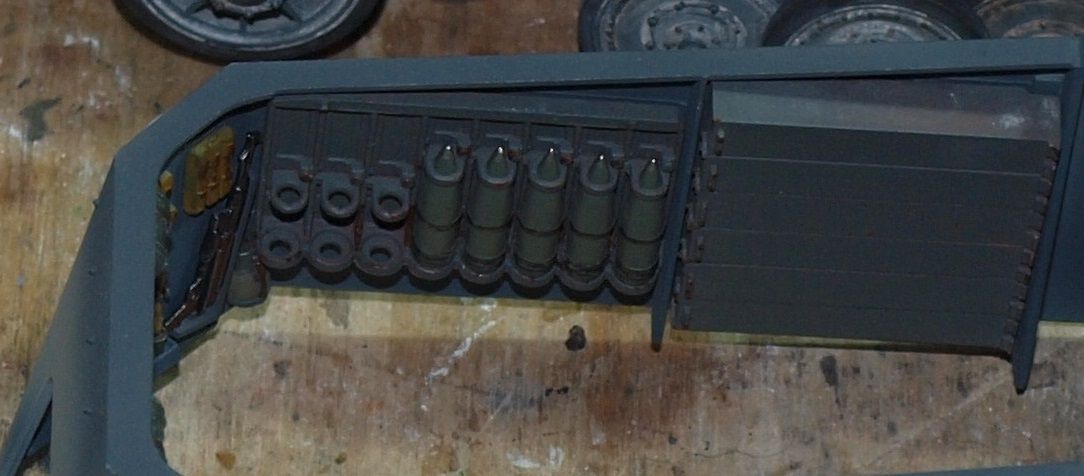
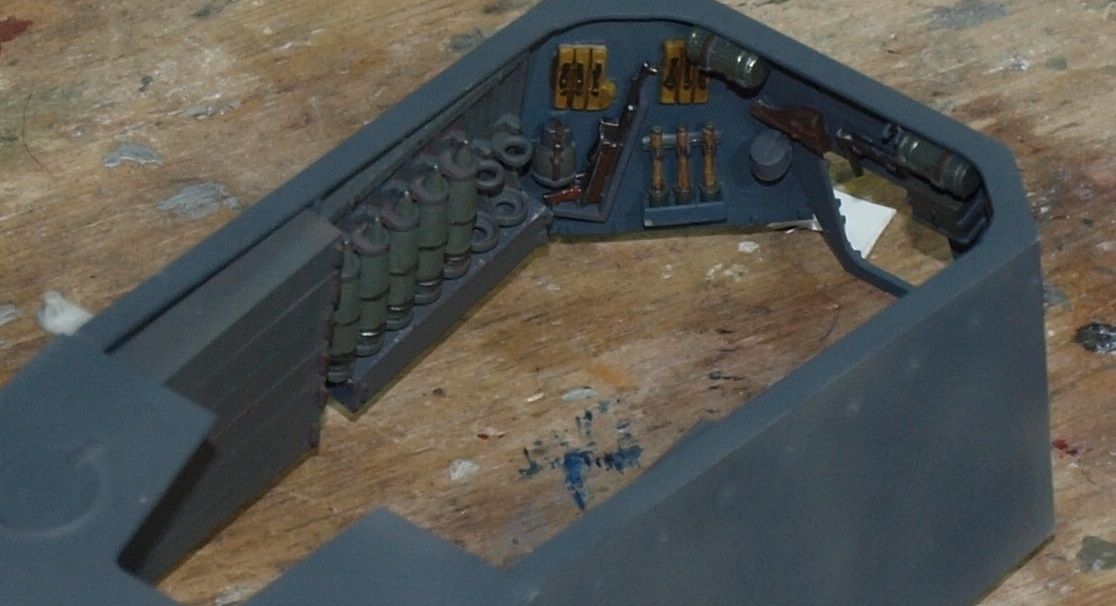
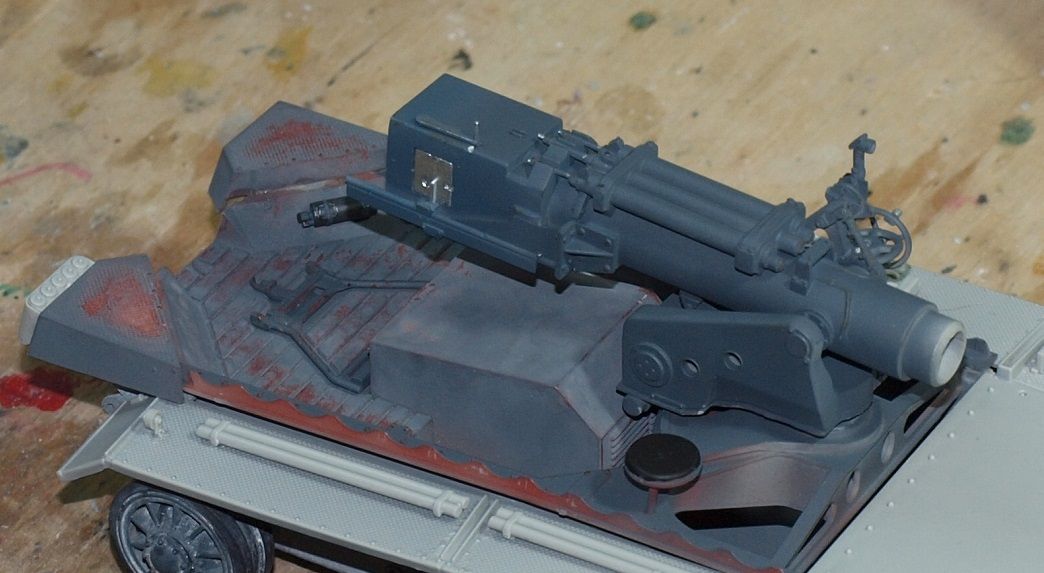
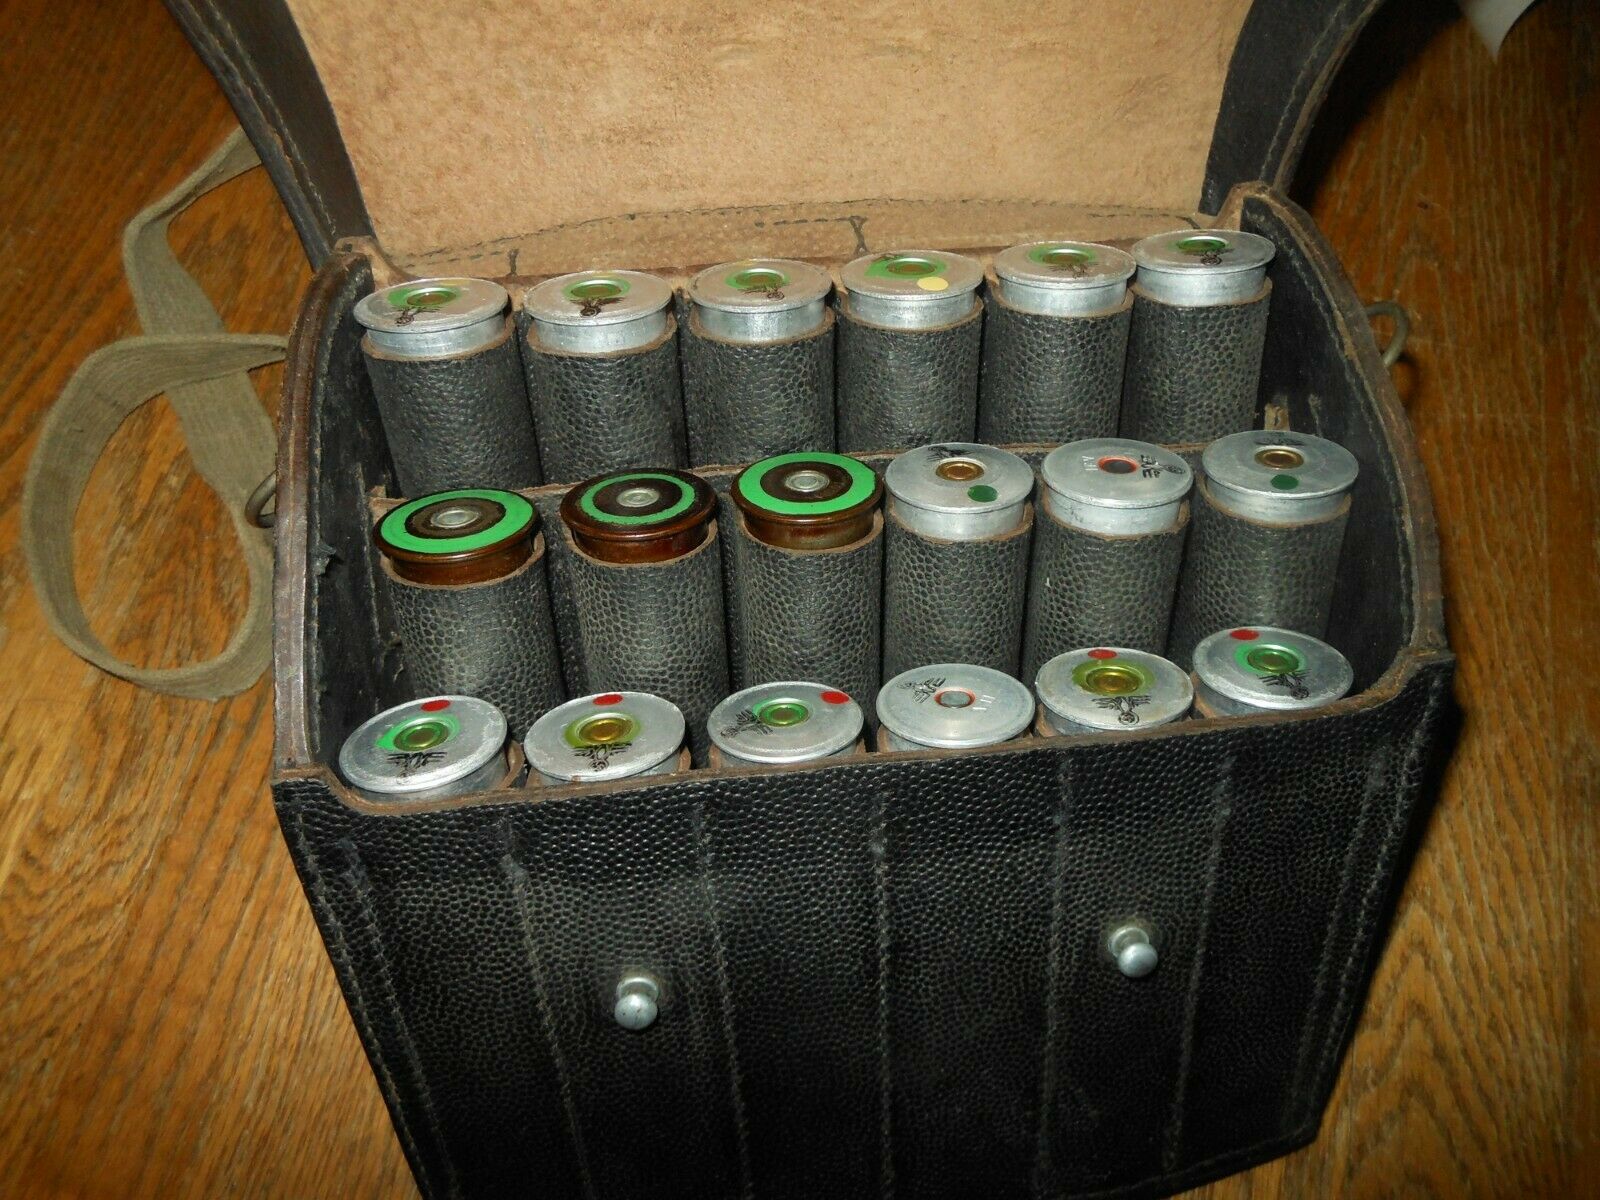
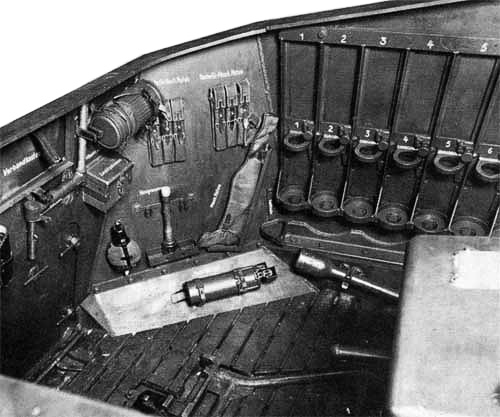
Of course, there is a lot which can be enhanced - the basic things I look at in these open-top things are to make sure that the gun rails / trunnion does not show the usual nasty seam running down the middle (easy to fix with either a strip of thin styrene sheet or foil laid down in the bottom of the "trough" to cover the crack), that the seams always present and visible on the breach block are filled, that flash is carefully removed from all hand-wheels, etc., that the radio maybe gets detailed up a bit - maybe wired in and connected to the antenna (which often appears up on a side wall), that all presented ammo rounds are carefully cleaned up (and where possible, detailed in their holders with little straps to hold them in), and consider carefully thinning the visible edges of the armor walls - they were pretty thin!
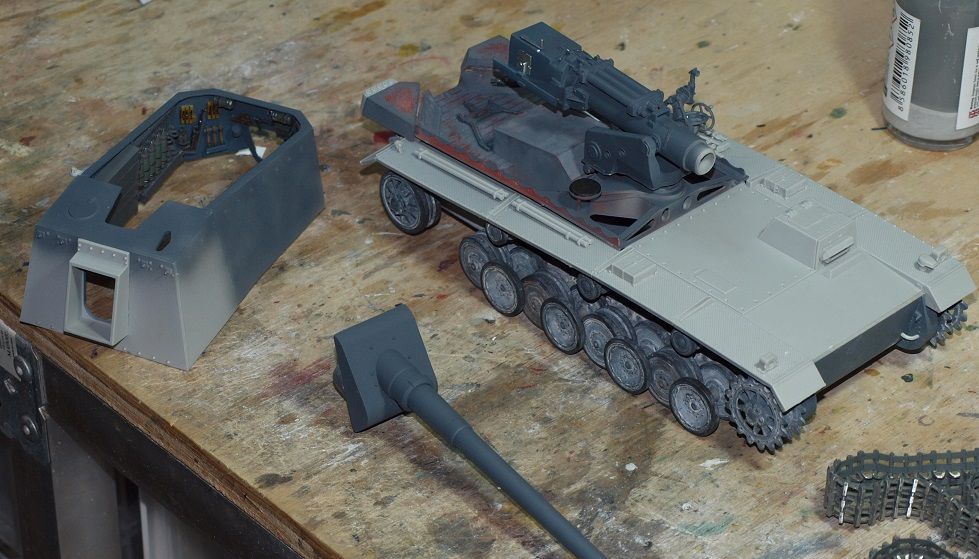
The gun barrel is OK but does need TLC to get its best appearance. If the budget and time allow, I would get a metal one - otherwise, fill and sand the styrene thing carefully and you will do OK.
IF you find any grab handles and tie-down rings... These are always molded as little ridges (Ugh!) and are easily replaced with little wire handles - which really pop things up.
The included MG is another place to do a little easy "interior" detailing - drill the muzzle, add a carry strap, make sure all the seams are gone. It's a sort of eye-focus in these things, by me.
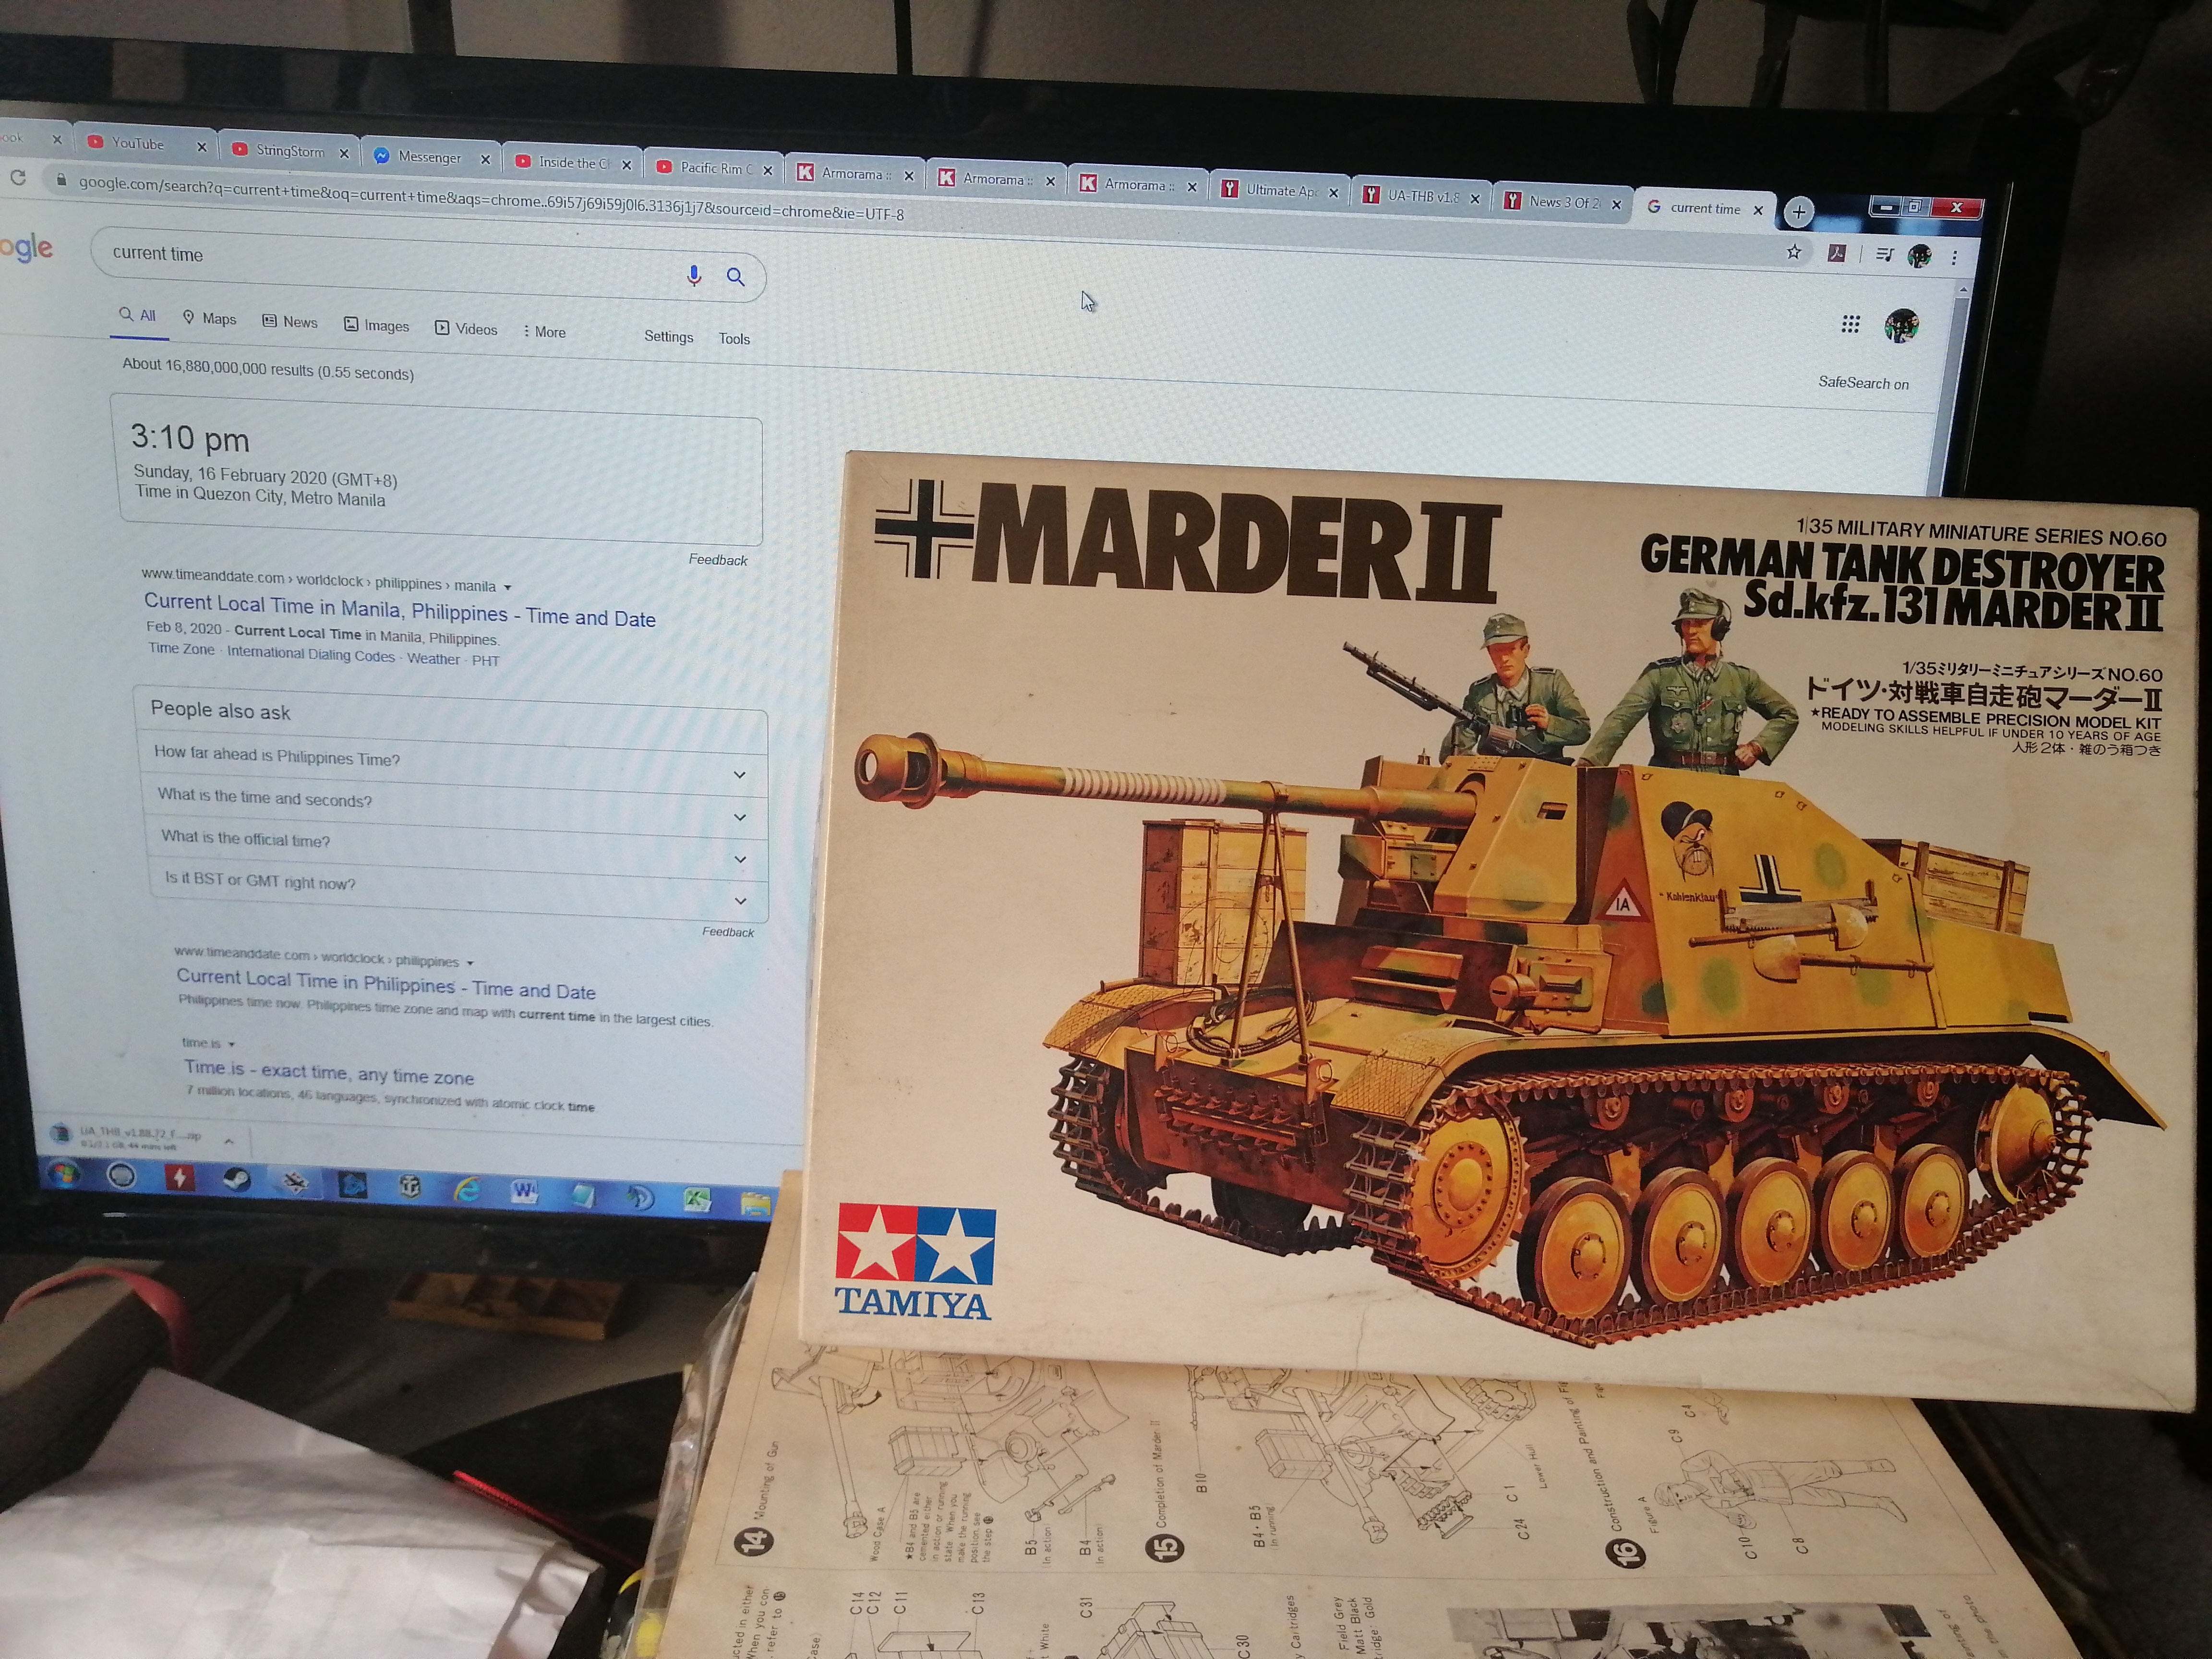
Before you get far into your interior, Google the Marder II and just cruise around looking at some of the build pics - it's a pretty popular old subject, and there are a lot of builds which have been posted. This would give you a wide exposure to what folks do with this subject, and could be inspirational, I think!
Do plan on doing some detail painting of bits and pieces in that fighting compartment. Even the limited stuff provided in the kit will show much better with some varied colors, etc. And again, those Google and any other build images will provide lots of possibilities.
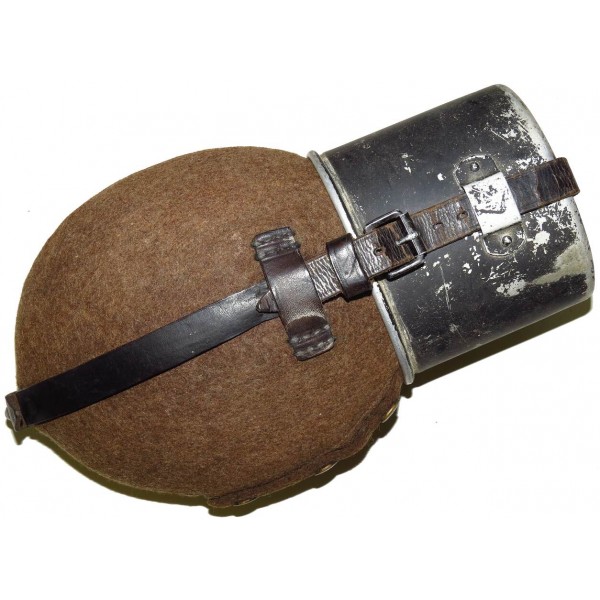
Adding in some crew gear is always good - and for the OCD types, the gas mask cans, canteens, dinner kits and helmets (all standard stuff for the crew) can get some detailing (straps, clasps, etc.).
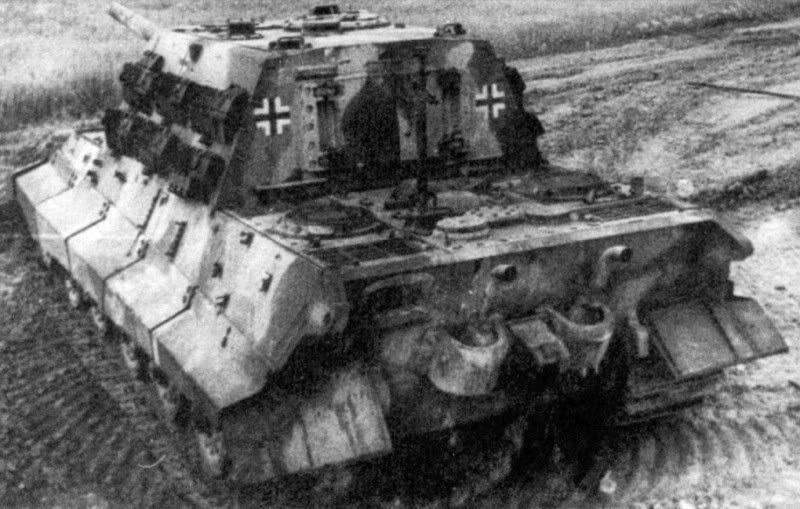
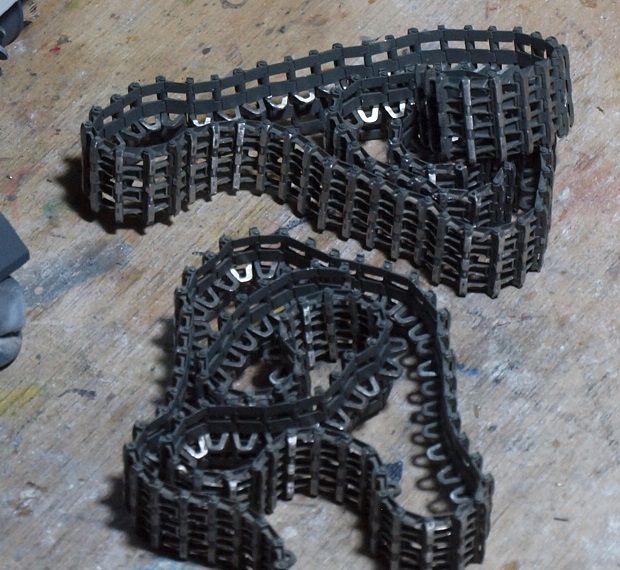
By me, this kit's biggest general failing way back when was in its tracks... I salvaged Dragon link tracks for one of these a long while back - worked out well. But I'm really a link fan, so...
Hope this helps some! Look forward to seeing what you do with this classic!
Bob