Utah, United States
Joined: May 27, 2003
KitMaker: 1,026 posts
Armorama: 654 posts
Posted: Friday, December 13, 2013 - 11:19 PM UTC
@Warren--It's coming along nicely. To quote Butthead "That is the coolest thing that I've ever seen..."
And you're right--it does have a menacing look to it. Sort of a 'Star Warsian' Empire-ish-ness.

Keith
Build 'em better than the box art!
South Australia, Australia
Joined: August 14, 2007
KitMaker: 5,926 posts
Armorama: 712 posts
Posted: Sunday, December 15, 2013 - 06:06 PM UTC
Greetings from Oz..
More progress on the evil looking boxcar..
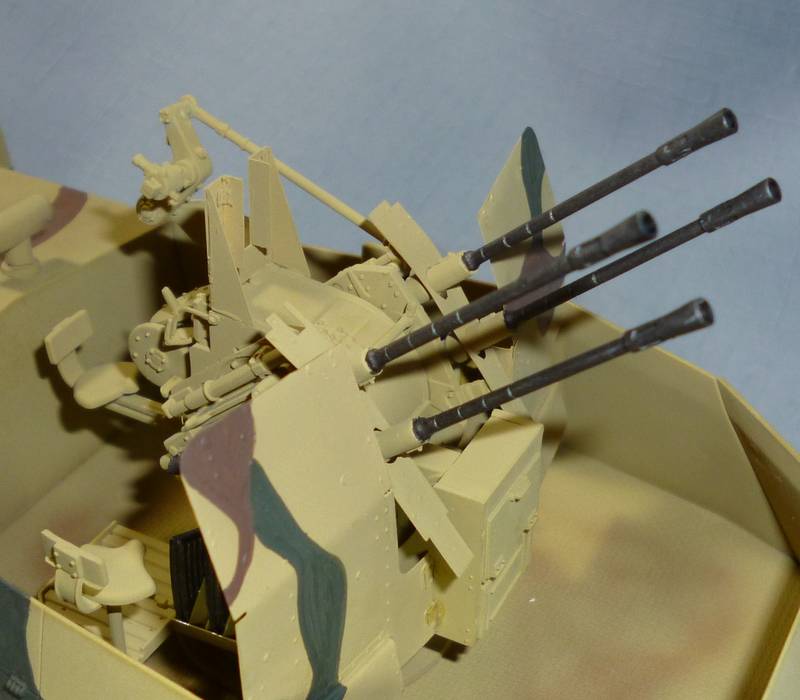
First up the anti-air component is done except for some weathering and some touch-ups..
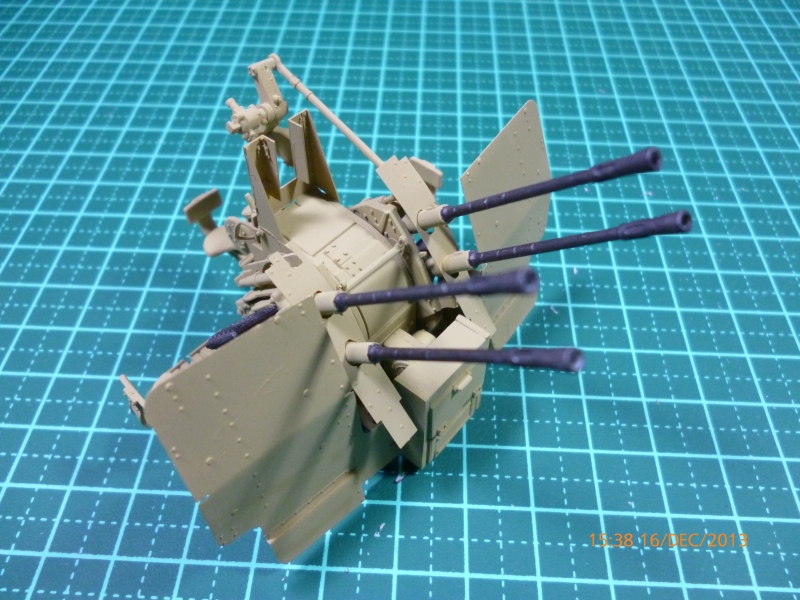
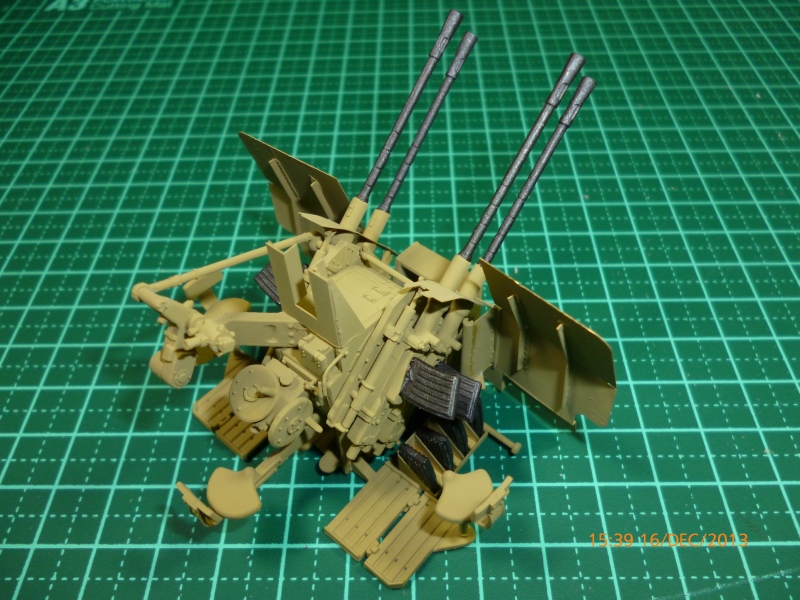
Then we have the rest of the evil one..
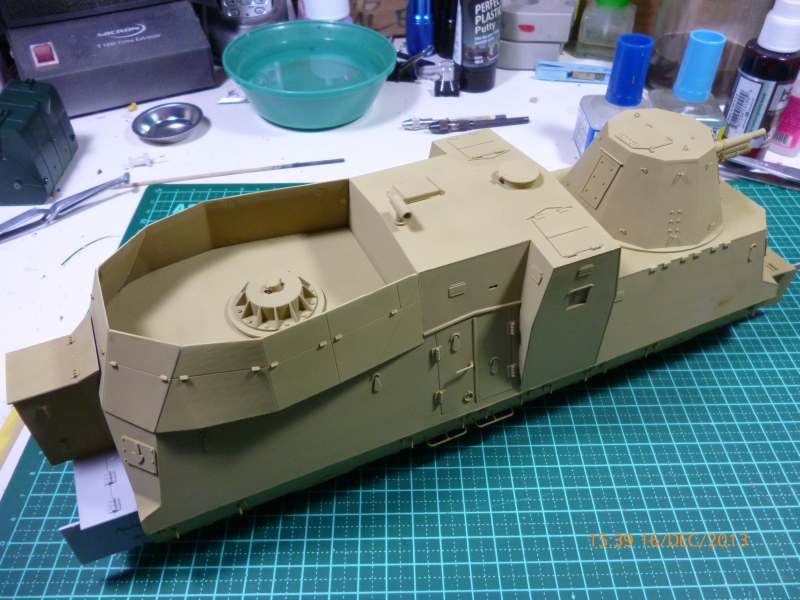
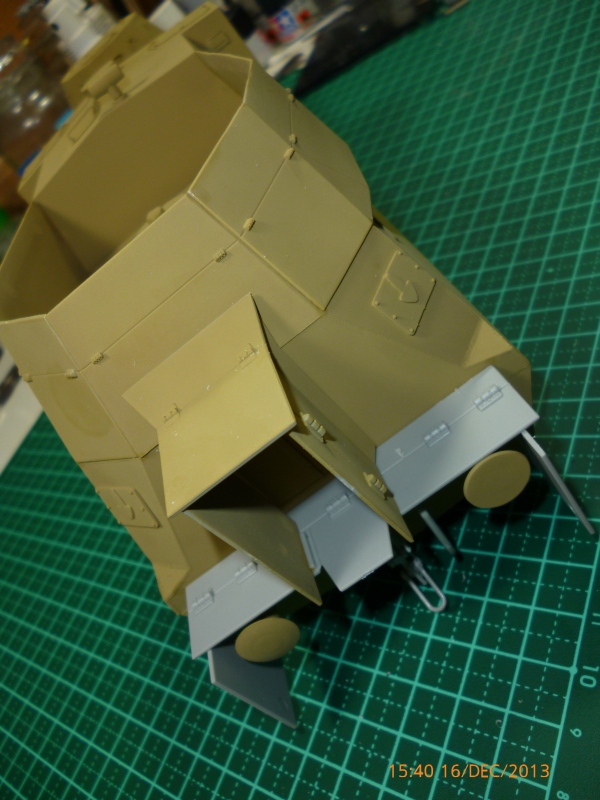
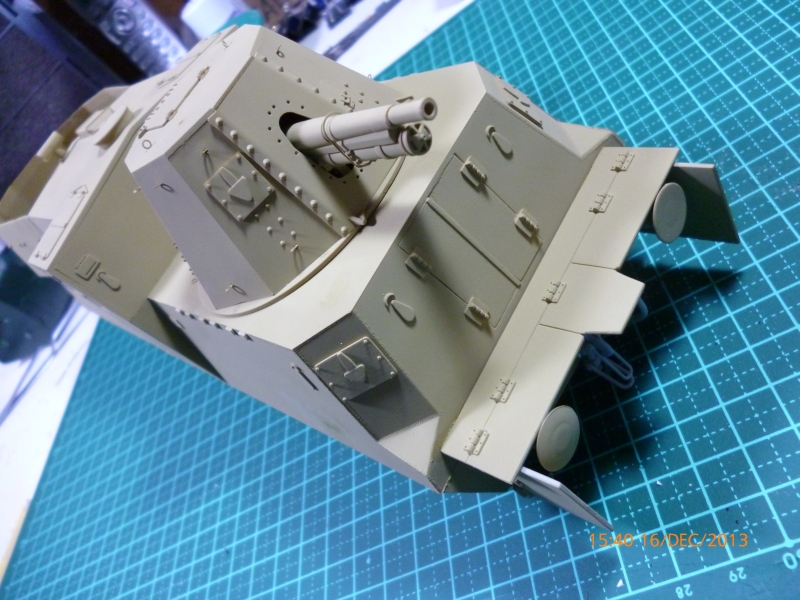
That's it for now.
Same bat time, same bat channel for further updates as they occur.
Cheers
Warren
You may be right, I may be crazy.
Luzon, Philippines
Joined: December 05, 2003
KitMaker: 35 posts
Armorama: 21 posts
Posted: Tuesday, December 17, 2013 - 06:07 AM UTC
This will be my entry for this group build;
Dragon 6288 Flak 38

Easy to build until end of the year and I'll be posting my progress later.
England - East Anglia, United Kingdom
Joined: October 15, 2012
KitMaker: 568 posts
Armorama: 561 posts
Posted: Wednesday, December 18, 2013 - 09:52 AM UTC
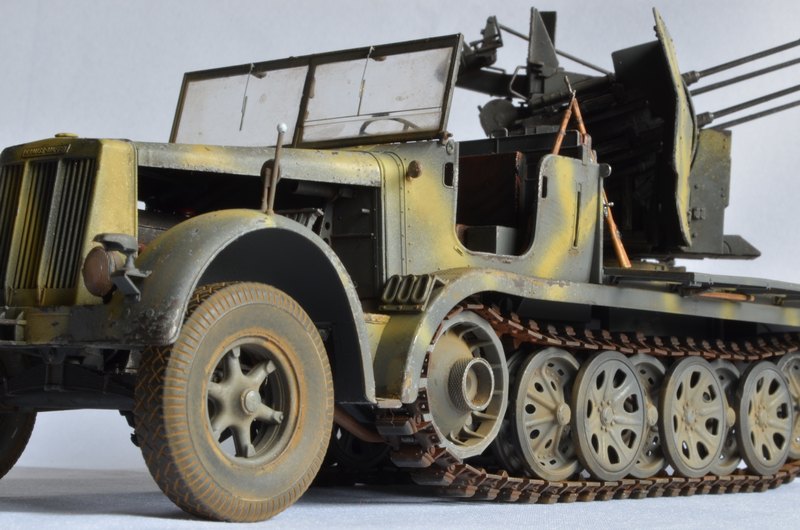
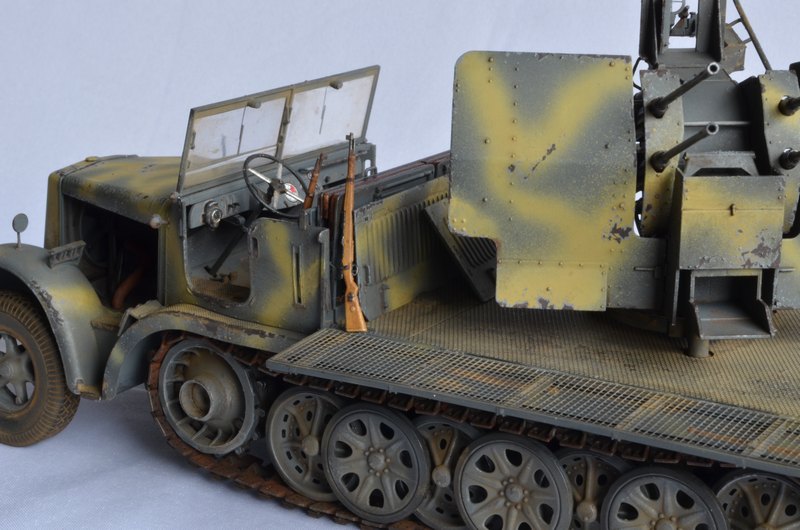
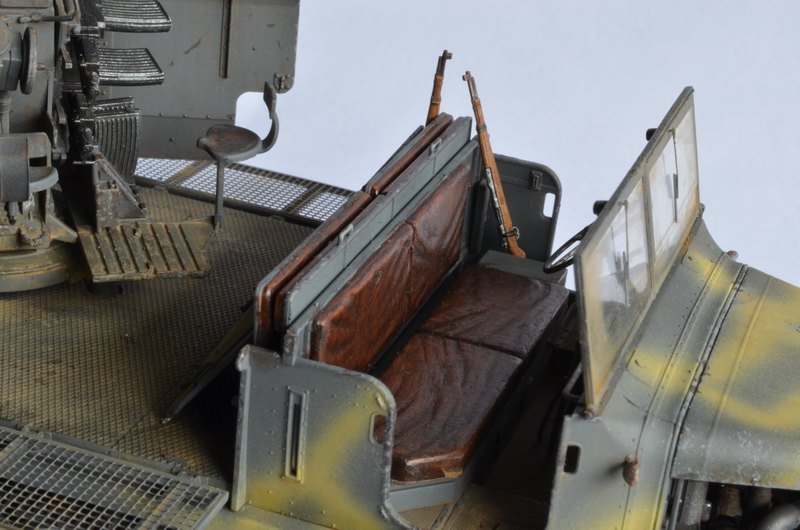
A quick update on progress.
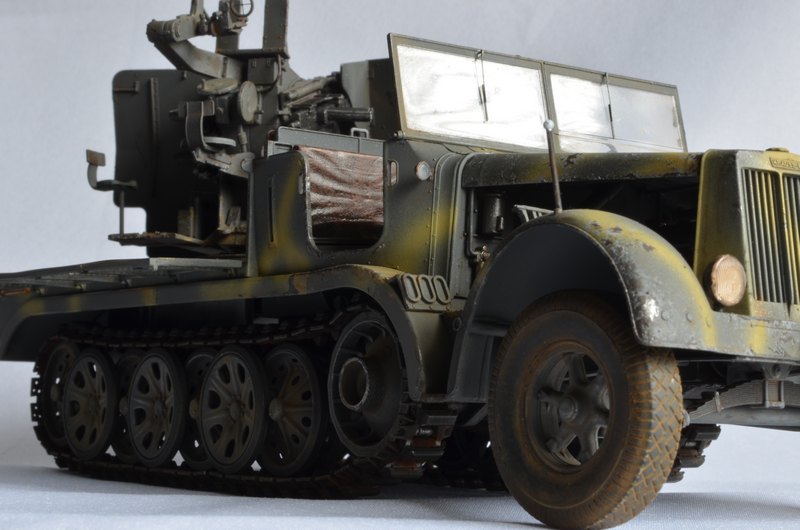
All the building almost done. Need to prime, pre-shade and paint the flak. Then brush chipping and adding panel gradients using oils.
Things are a bit light in colour at the moment, but thats not a bad place to be. I may calm it down a bit with filter layers.
Anyway I've enjoyed this build apart from a huge gap between the bonnet and radiator. I'm confident it wasn't anything I did wrong. But it did scupper what would have been a perfect fitting build.

On the bench: Dragon flakvierling with armoured cab + AM Works PE
In the stash: Dragon Jagdpanther + AM Works PE
Dragon Panzer IV Ausf J + voyager jumbo PE
Tamiya B2 Bis - Flammenwerfer mod
ICM Henschel 33D1 + Dragon sFH18
Tamiya Tiger 1
South Australia, Australia
Joined: August 14, 2007
KitMaker: 5,926 posts
Armorama: 712 posts
Posted: Wednesday, December 18, 2013 - 08:51 PM UTC
Started painting the camo today. My airbrush is not fine enough for me to do it free hand so I am brushing it. I tried making paper masks but the surfaces make it a little difficult to do it properly so I started brushing the camo.
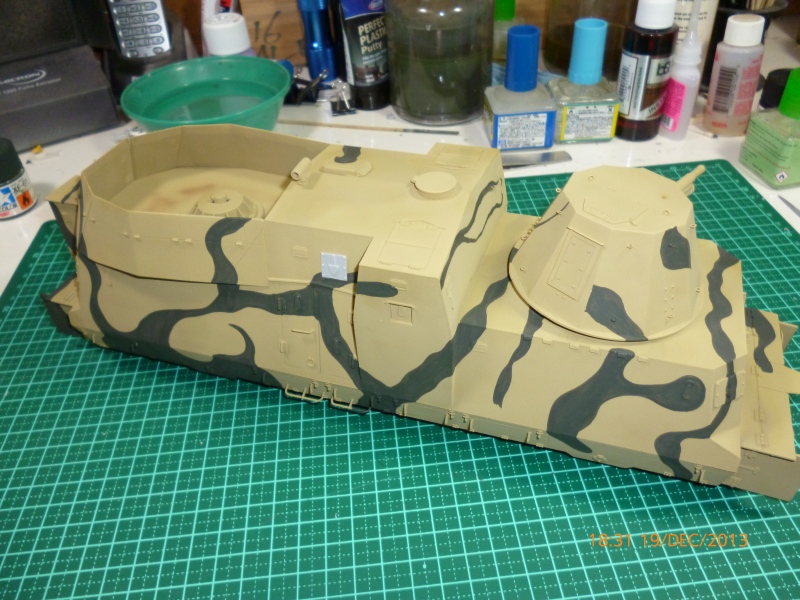
Haven't filled in the outlines yet on this side..
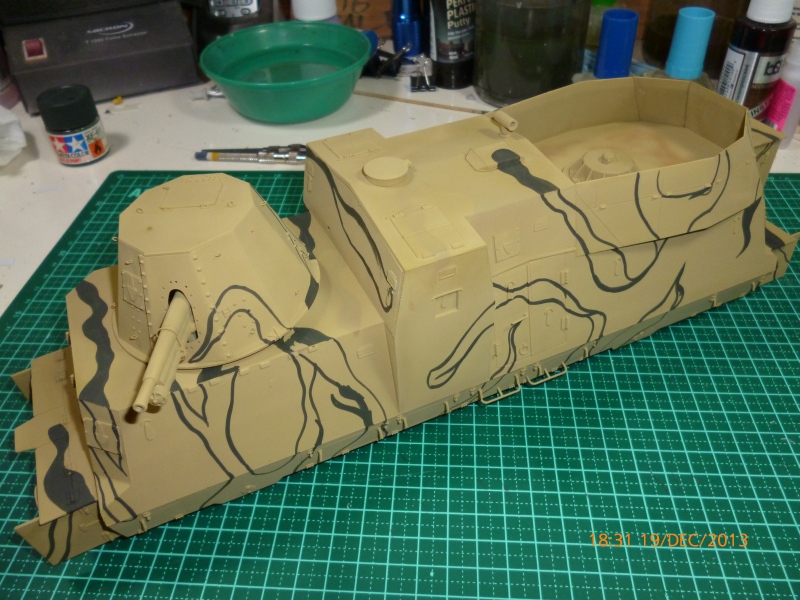
Until tomorrow
Cheers
Warren
You may be right, I may be crazy.
Missouri, United States
Joined: October 26, 2011
KitMaker: 291 posts
Armorama: 256 posts
Posted: Friday, December 20, 2013 - 03:24 PM UTC
Looks like I'm not going to finish this one, but I'll be back on mine soon! Haven't really been able to work on anything much in the last few months.
Kevin
35 years ago I started off with nothing; and I've still got most of it!
South Australia, Australia
Joined: August 14, 2007
KitMaker: 5,926 posts
Armorama: 712 posts
Posted: Friday, December 20, 2013 - 09:11 PM UTC
Took a while but i got the first coat of camo finished..
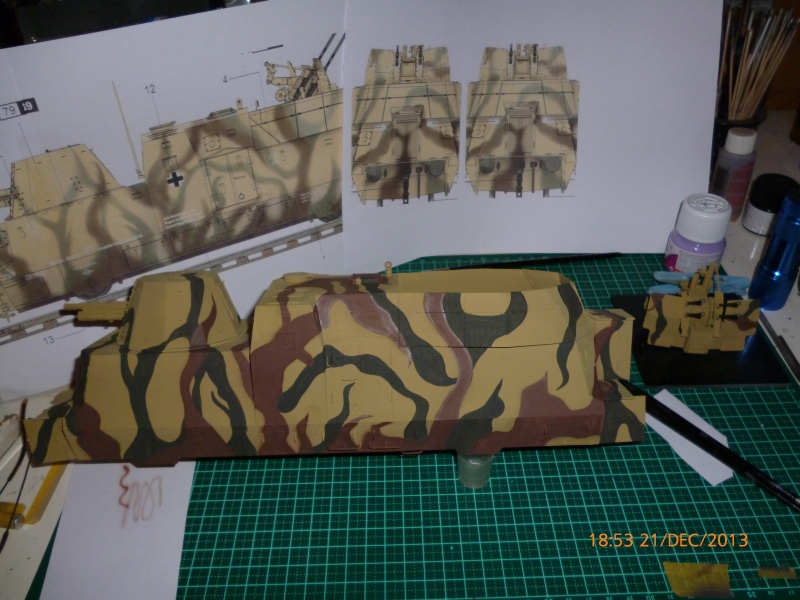
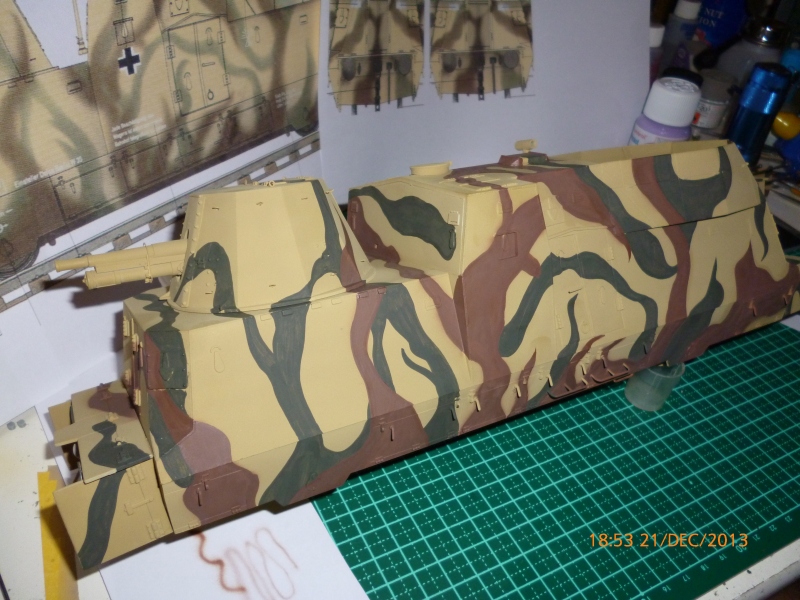
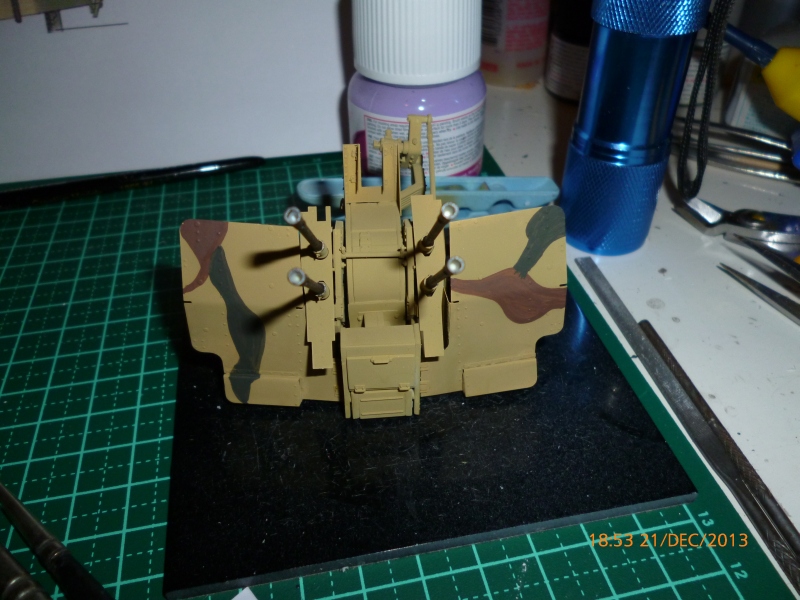
Hopefully the second coat will go a lot quicker.
Cheers
Warren
You may be right, I may be crazy.
Tasmania, Australia
Joined: December 19, 2011
KitMaker: 92 posts
Armorama: 88 posts
Posted: Saturday, December 21, 2013 - 01:34 PM UTC
Luzon, Philippines
Joined: December 05, 2003
KitMaker: 35 posts
Armorama: 21 posts
Posted: Sunday, December 22, 2013 - 12:00 AM UTC
Møre og Romsdal, Norway
Joined: December 03, 2012
KitMaker: 300 posts
Armorama: 285 posts
Posted: Sunday, December 22, 2013 - 12:51 AM UTC
These latest Flak guns are looking good.
Max: Very nice final result. It looks like your airbrush has a bit of an overspray though.
Louisiana, United States
Joined: March 06, 2010
KitMaker: 3,128 posts
Armorama: 2,959 posts
Posted: Sunday, December 22, 2013 - 05:49 AM UTC
@Warren;
That thing is a MONSTER!
For a second there, when looking at the pic you posted showing the brushed - on outlines of the dark green swaths... I thought perhaps you were trying to do something true odd, like paint dinosaurs on those sides, or something! I soon decided I wasn't actually high nor seeing things - just delirious from frustration!

I'd post a pic of my distraction but it is simply an ugly mess at this point - one of my IBM T42 computers developed a power-jack glitch, and my son and I took it apart trying to get to the offending part... the bits cover my bench. So my modeling evening crashed. The manual says the bit is "replaceable". Right. Minor details include needing to take almost everything out of the laptop including part of the motherboard and the metal frame!
Seems the big box is shaping up A-OK. It's only at this point that I see there were drop-down sides on the FlaK tub... sort of like those on the FlaKpanzer 38(t). Does the kit allow these to be dropped, or is it a fixed set?
Right now, the camo appears to be pretty stark and high - contrast (but quite impressive). Are you planning on some washes or filters to blend things and perhaps lighten them a bit?
Seeing it come together makes this kit once more kind of attracting to me - it would definitely be something different on a show table or on the shelf!
Cheers!
Bob

Louisiana, United States
Joined: March 06, 2010
KitMaker: 3,128 posts
Armorama: 2,959 posts
Posted: Sunday, December 22, 2013 - 06:05 AM UTC
Max;
NICE flak track! Whenever folks do these biggies up, I'm always thrilled to see them- it's something I know I'll never do one of but think mondo cool, and so essentially German WWII - but somehow intimidating to me as a modeler!

Overall I like the job and the ambience you have created. The camo looks pretty "right" for an eastern front vehicle probably more in the "1942" period than other periods (so, if that was your target era - Right On!). I like the tire job and the dented-down screens on the drop walls look pretty good. It does look like you do indeed, as mentioned by others, have some apparent "overspray" and spatter going on with the AB. You may be able to address this in many places by applying some colored chalk dusting to dust things up more while still seeing your camo.
The biggest "glitch" I see, however, is one which many of us do when using those Mauser rifles in builds... They never came without their slings. You could add a lot of "oomph" for rather little effort by adding some to your rifles! Cut some skinny paper or 0.005 styrene strips and apply them from the butt-stock fitting (on the side on a Mauser) and up to the square ring under the barrel - maybe make them a little "long" so that they hang and curl a little? Paint dark brown for leather and away you go!
As long as you have some rifles propped about... every crew member had a helmet and some other gear. Put a couple of helmets into likely spaces, like behind the driver seat bulkhead, etc.
Just an idea!
It's big and it's really pretty cool!
Cheers!
Bob

Louisiana, United States
Joined: March 06, 2010
KitMaker: 3,128 posts
Armorama: 2,959 posts
Posted: Sunday, December 22, 2013 - 06:20 AM UTC
Warren;
Looking again at the killer box car...
Grab your camo brushes and paint-pots and do some extension of your scheme on the inside faces of those drop-down panels on the Flak tub! That's pretty much in keeping with how other flak vehicles with drop sides went - and it would look even cooler when viewed "in the up position", as you have them. ONLY on the inner sides of the drop panels - not down further into the tub, I think...
The brush-on coat looks pretty nice - what paints did you use for this?
Whenever you get to weathering... taking a tip from the model RR folks, I might suggest creating or applying just a bit of "dust" from the wheels up - RR dust is very light grayish and would be a pretty light application and only low down, I think. Were I doing this (and seeing your monster, I might just eventually do this!), I would lightly brush on some very fine gray artists chalk, or spray a very very very dilute wash of gray from the bottom up?
PS: as with Max's flak track... maybe add a couple helmets and maybe a couple rifles (or an MP-40) up in that tub for ambience? I would guess that this thing also had some grenade racks up there for close-in defense...? Does the kit provide any such personal gear or weapons or kit?
Cheers!
Bob

South Australia, Australia
Joined: August 14, 2007
KitMaker: 5,926 posts
Armorama: 712 posts
Posted: Sunday, December 22, 2013 - 06:43 AM UTC
Quoted Text
Warren;
Looking again at the killer box car...
Grab your camo brushes and paint-pots and do some extension of your scheme on the inside faces of those drop-down panels on the Flak tub! That's pretty much in keeping with how other flak vehicles with drop sides went - and it would look even cooler when viewed "in the up position", as you have them. ONLY on the inner sides of the drop panels - not down further into the tub, I think...
The brush-on coat looks pretty nice - what paints did you use for this?
Whenever you get to weathering... taking a tip from the model RR folks, I might suggest creating or applying just a bit of "dust" from the wheels up - RR dust is very light grayish and would be a pretty light application and only low down, I think. Were I doing this (and seeing your monster, I might just eventually do this!), I would lightly brush on some very fine gray artists chalk, or spray a very very very dilute wash of gray from the bottom up?
PS: as with Max's flak track... maybe add a couple helmets and maybe a couple rifles (or an MP-40) up in that tub for ambience? I would guess that this thing also had some grenade racks up there for close-in defense...? Does the kit provide any such personal gear or weapons or kit?
Cheers!
Bob 
Hi Bob.
No accessories are provided with this one.
As you will see from the last pictures I will upload later I left the camo paint looking a bit crappy as this would have been applied by brush in the field as the cars were just plain gelb when they left the railway works. Later they got one of the line camos then the one that Trumpeter illustrate came near the end of the war.
The weathering will have to wait until after the campaign as it is just too close and I have a review build to do for Modelshipwrights..

Do you mean something like this..

I have quite a few references for these trains but not one shows the sides dropped. I think they were left up most of the time as if they were dropped the crew would have been very exposed to any shrapnel etc. The gun has got room to traverse with the sides up.
In the long run this is going in a full train in transit. I have the loco and three other carriages so far and one day will have the full train to put together. These ones were not self-propelling like the smaller recon cars I have a few of.
Cheers
Warren
You may be right, I may be crazy.
South Australia, Australia
Joined: August 14, 2007
KitMaker: 5,926 posts
Armorama: 712 posts
Posted: Sunday, December 22, 2013 - 08:17 AM UTC
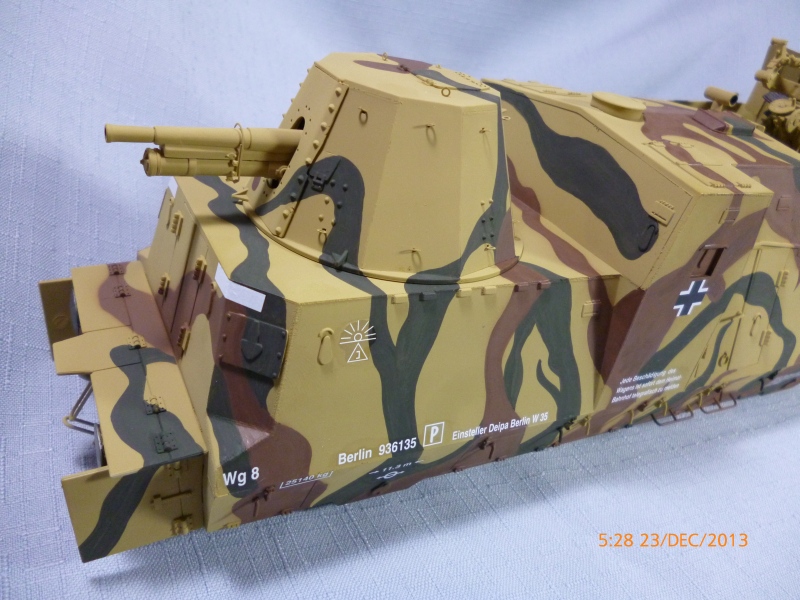
And here it is...
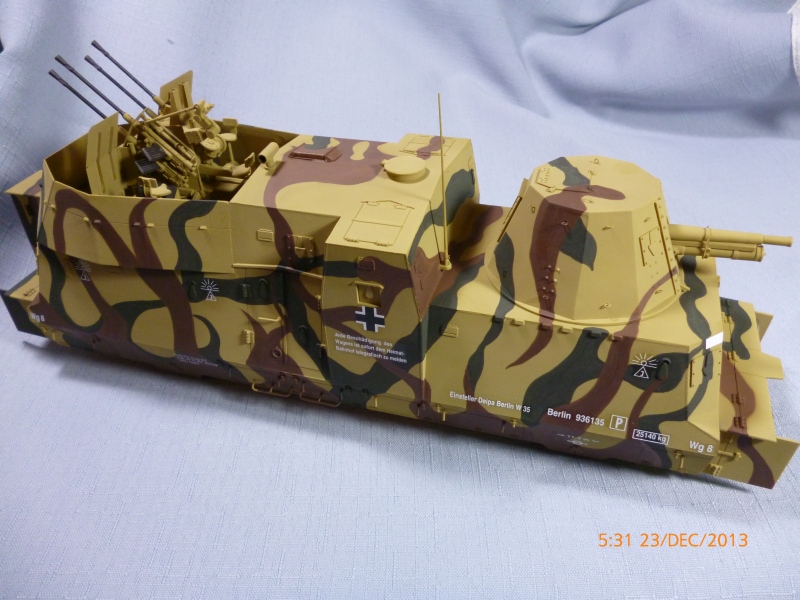
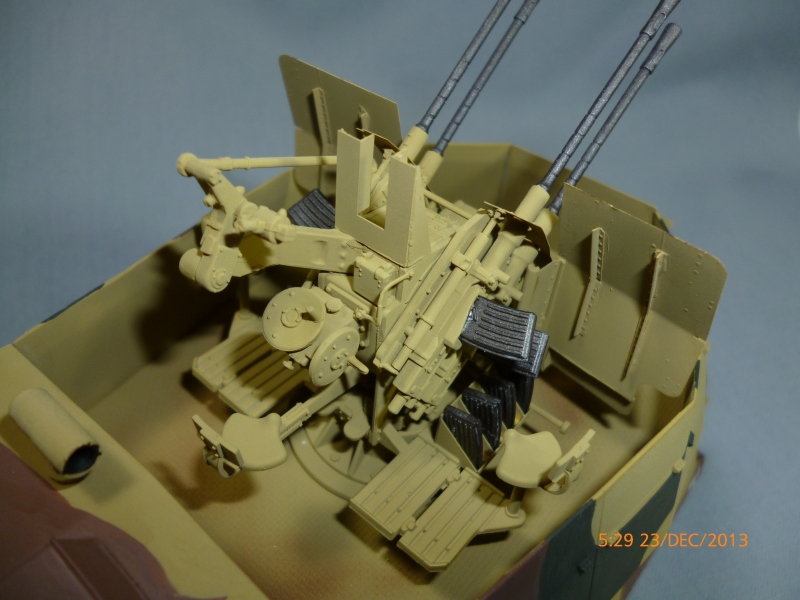
And the anti air bits, they are here..

Thanks for a great campaign guys, especially to Bob and Keith for their encouragement and tips. Rest assured when I am finished my review build (

) and I can afford some filters I will weather this one slightly. It is supposed to be just out of the factory after initial testing so won't be very dirty... hasn't been at the bottom of any swamps yet..
In case you were wondering, I can't assemble the rail tracks yet as I need to assemble a large length of them for the complete train and the way Trumpeter has made their tracks mean that some parts need to be cut to assemble short lengths.. ergo no track yet..
Can anyone suggest a good filter to use with this camp scheme?
Cheers and Merry Christmas
Warren
You may be right, I may be crazy.
Lisboa, Portugal
Joined: March 04, 2008
KitMaker: 5,386 posts
Armorama: 4,727 posts
Posted: Sunday, December 22, 2013 - 09:25 AM UTC
Warren try any of these,


Or try with a brown / ochre light wash to have the same general effect.
Active Builds: 0
Active Campaigns: 0
South Australia, Australia
Joined: August 14, 2007
KitMaker: 5,926 posts
Armorama: 712 posts
Posted: Sunday, December 22, 2013 - 10:22 AM UTC
Thanks John.

You may be right, I may be crazy.
Lisboa, Portugal
Joined: March 04, 2008
KitMaker: 5,386 posts
Armorama: 4,727 posts
Posted: Sunday, December 22, 2013 - 11:12 AM UTC
Quoted Text
Thanks John. 
For a out of the factory build, it should be enough weathering.
Very nice work Warren !!
Active Builds: 0
Active Campaigns: 0
Tasmania, Australia
Joined: December 19, 2011
KitMaker: 92 posts
Armorama: 88 posts
Posted: Sunday, December 22, 2013 - 03:21 PM UTC
Bob & Vergard
Airbrushing is a skill that I still need some practice with, I seem to get very inconsistent flow coming out of the AB , it's an old Aztec that I plan on eventually replacing. I will be adding some more dust/dirt or mud later on so I should be able to make it less noticeable. Thanks for the tip with the rifles, I will give it a try as well as adding more equipment.
Cheers.
Texas, United States
Joined: January 30, 2006
KitMaker: 1,954 posts
Armorama: 629 posts
Posted: Monday, December 23, 2013 - 08:05 AM UTC
I am going to try a sprint start to finish build inside of one week. luckily I have a rather small kit - hardly original as i have seen many other Flak 38s in this thread, but I really want to earn the ribbon i designed, so here goes.
first, the kit i am building - my box for it is long since gone (i was originally going to make a panzer I flak 38 conversion so this was stored in a PzI box, but then both tristar and Dragon released their kits), so please excuse the hot link to another image of the original box art:

this is what I got done last night and this morning:

i am guilty of having put the aftermarket barrel on the receiver some time ago (a couple years), but hopefully this won't disqualify me from participating. if so, i have a flak vierling I'll break out instead.
South Australia, Australia
Joined: August 14, 2007
KitMaker: 5,926 posts
Armorama: 712 posts
Posted: Monday, December 23, 2013 - 08:14 AM UTC
Quoted Text
I am going to try a sprint start to finish build inside of one week. luckily I have a rather small kit - hardly original as i have seen many other Flak 38s in this thread, but I really want to earn the ribbon i designed, so here goes.
first, the kit i am building - my box for it is long since gone (i was originally going to make a panzer I flak 38 conversion so this was stored in a PzI box, but then both tristar and Dragon released their kits), so please excuse the hot link to another image of the original box art:

this is what I got done last night and this morning:

i am guilty of having put the aftermarket barrel on the receiver some time ago (a couple years), but hopefully this won't disqualify me from participating. if so, i have a flak vierling I'll break out instead.
Go for it Vance!
The idea of putting a nice clear photo of the box art rather than a dodgy digital camera shot is fine.
You may be right, I may be crazy.
Louisiana, United States
Joined: March 06, 2010
KitMaker: 3,128 posts
Armorama: 2,959 posts
Posted: Monday, December 23, 2013 - 08:28 AM UTC
Rushing for that finish-line, Vance! Those Tristar 38 kits are pretty nice, though, and some fun, at that. Good Choice, I think, for a 1-week burn!


Seeing another tardy fellow jump in at this near-final day... and as I have dawdled near onto completely missing-out on this campaign... Maybe I, too, can pull my hat outta the crick and do a 38! I'll shake the stash closet this evening and see if I can find one and post a start-up pic!
The race is on!

Bob

Lisboa, Portugal
Joined: March 04, 2008
KitMaker: 5,386 posts
Armorama: 4,727 posts
Posted: Monday, December 23, 2013 - 08:29 AM UTC
Quoted Text
Quoted Text
I am going to try a sprint start to finish build inside of one week. luckily I have a rather small kit - hardly original as i have seen many other Flak 38s in this thread, but I really want to earn the ribbon i designed, so here goes.
first, the kit i am building - my box for it is long since gone (i was originally going to make a panzer I flak 38 conversion so this was stored in a PzI box, but then both tristar and Dragon released their kits), so please excuse the hot link to another image of the original box art:

this is what I got done last night and this morning:

i am guilty of having put the aftermarket barrel on the receiver some time ago (a couple years), but hopefully this won't disqualify me from participating. if so, i have a flak vierling I'll break out instead.
Go for it Vance!
The idea of putting a nice clear photo of the box art rather than a dodgy digital camera shot is fine.
I agree.
I hope you finish it in time !
Active Builds: 0
Active Campaigns: 0
England - East Anglia, United Kingdom
Joined: March 21, 2012
KitMaker: 1,673 posts
Armorama: 1,640 posts
Posted: Monday, December 23, 2013 - 09:02 AM UTC
Vance and Bob, it is totally doable


Just put your hearts into it and don't get distracted. I did the "Hobby Boss VK4502 (P) vorne" kit in 22 days from start to finish. That also
was a last minute campaign for me


Go for it lads, you'll get there

,

Paul
"Lord Raglan wishes the cavalry to advance rapidly to the front, follow the enemy & try to prevent the enemy carrying away the guns. Troop horse artillery may accompany. French cavalry is on your left. Immediate. R Airey."
South Australia, Australia
Joined: August 14, 2007
KitMaker: 5,926 posts
Armorama: 712 posts
Posted: Monday, December 23, 2013 - 09:27 AM UTC
Last minute..


You may be right, I may be crazy.






 I'd post a pic of my distraction but it is simply an ugly mess at this point - one of my IBM T42 computers developed a power-jack glitch, and my son and I took it apart trying to get to the offending part... the bits cover my bench. So my modeling evening crashed. The manual says the bit is "replaceable". Right. Minor details include needing to take almost everything out of the laptop including part of the motherboard and the metal frame!


 Do you mean something like this..


 ) and I can afford some filters I will weather this one slightly. It is supposed to be just out of the factory after initial testing so won't be very dirty... hasn't been at the bottom of any swamps yet..


 Seeing another tardy fellow jump in at this near-final day... and as I have dawdled near onto completely missing-out on this campaign... Maybe I, too, can pull my hat outta the crick and do a 38! I'll shake the stash closet this evening and see if I can find one and post a start-up pic!


 Just put your hearts into it and don't get distracted. I did the "Hobby Boss VK4502 (P) vorne" kit in 22 days from start to finish. That also

 ,
,


Just put your hearts into it and don't get distracted. I did the "Hobby Boss VK4502 (P) vorne" kit in 22 days from start to finish. That also


,


