_GOTOBOTTOM
Dioramas
Do you love dioramas & vignettes? We sure do.
M1A1 Abrams "BOOM STICK"
f1matt
Visit this Community
Manitoba, Canada
Joined: August 13, 2006
KitMaker: 1,021 posts
Armorama: 805 posts
Posted: Tuesday, September 04, 2007 - 08:53 PM UTC
Well I started posting pics of this build in the OIF campaign but I figured I might as well just start my own BLOG since I was adding so many updates. This is Dragon's beautiful M1A1 AIM Abrams with the mine plow from Tamiya's Abrams. It really is an amazing kit and the price is just right too. I am not building one particular tank. So no it's not 100% accurate. More of a composition of various tanks that caught my eye. I named it "BOOM STICK". Yes from the Evil Dead movies. I am pretty sure I saw the name on an OIF M1. Any way here are a few shots of how it has come along. I finally decided to build my first diorama. I also want to try replicating water for the first time. I though a little water in the front right corner would add a little interest. The figures are from Think 180, Verlinden, Warriors, and the heads are from Hornet. The animals are from Doug's Originals.


Now for some paint.


A little inspiration.


I added the elephants head with a home made mask that was later touched up with a black pencil crayon.


And while I was at it I added the pictures of Saddam. I couldn't resist.


A few more layers of paint along with the addition of the mine plow.


I tried adding some more markings via a home made stencil again. Didn't turn out so well.


So I airbrushed them away and decided to make my own decals for the first time. I have added the decals and continued working on the base. Hope to have some fresh pics up soon.
sgtreef
Visit this Community
Oklahoma, United States
Joined: March 01, 2002
KitMaker: 6,043 posts
Armorama: 4,347 posts
Posted: Tuesday, September 04, 2007 - 09:49 PM UTC
Sorry but that name is taken {Boom Stick}
By our Own Jim Lewis.
slodder
Visit this Community
North Carolina, United States
Joined: February 22, 2002
KitMaker: 11,718 posts
Armorama: 7,138 posts
Posted: Tuesday, September 04, 2007 - 10:25 PM UTC
I like the added images and small touches you've made. Not thrilled with the numbers in the last image, but that's easy to fix.

What's the plan for the water - what material? The water over there in a pool like this is going to be thick and dark.
docdios
#036
Visit this Community
England - West Midlands, United Kingdom
Joined: December 01, 2001
KitMaker: 1,998 posts
Armorama: 1,236 posts
Posted: Wednesday, September 05, 2007 - 01:44 AM UTC
Hi Matt

its coming along quite nicely, look forward to seeing it progress

cheers

keith
HeavyArty
Visit this Community
Florida, United States
Joined: May 16, 2002
KitMaker: 17,694 posts
Armorama: 13,742 posts
Posted: Wednesday, September 05, 2007 - 01:58 AM UTC
Looking pretty good. "Boom Stick" was actually an M1A2 SEP plow tank from 4ID in OIF 2. One question: Why are the panels on the CIP alternating between green and sand? I have never seen a CIP that looked like that before. They are all either sand or green, not a mix of the two.
rotATOR
Visit this Community
California, United States
Joined: November 16, 2006
KitMaker: 223 posts
Armorama: 167 posts
Posted: Wednesday, September 05, 2007 - 04:52 AM UTC
I dig the road wheels and how you have articulated them. A lot of modellers miss that important detail when putting ther vehicles in a dio. Neat stuff. rR
f1matt
Visit this Community
Manitoba, Canada
Joined: August 13, 2006
KitMaker: 1,021 posts
Armorama: 805 posts
Posted: Wednesday, September 05, 2007 - 05:19 AM UTC
Thanks for looking guys. I appreciate any comments good or bad. Well Scott I agree with you about the numbers. Didn't turn out as well as I had hoped so I painted them over and bought some decal paper. I made my own custom decals for the first time and they turned out pretty good. I've also applied a layer of Celluclay to the base. I will add some more pictures after work tonight. For the water I am going to try Woodland Scenics Water Effects. Looks kinda like white glue when it is wet. So BOOM STICK was an A2? I knew I had seen it somewhere. Well I liked the name so now it's an A1 as well. Such a great name for a tank.
ADNeate
Visit this Community
New Brunswick, Canada
Joined: July 29, 2007
KitMaker: 93 posts
Armorama: 92 posts
Posted: Wednesday, September 05, 2007 - 12:41 PM UTC
Who cares about the devil in the details the tank looks great, the tracks have a lot of character with the little gouges in the pads. The build and paint are really clean, and the Saddam pictures while not my particular choice are interesting nonetheless. There are a lot of Abram Tanks but I bet there is only one with those particular pictures on it.
trahe
Visit this Community
Virginia, United States
Joined: April 03, 2006
KitMaker: 1,158 posts
Armorama: 950 posts
Posted: Wednesday, September 05, 2007 - 01:18 PM UTC
Looks good so far! I like the wear on the track pads! Nice touch. Looking forward to more progress shots.
f1matt
Visit this Community
Manitoba, Canada
Joined: August 13, 2006
KitMaker: 1,021 posts
Armorama: 805 posts
Posted: Wednesday, September 05, 2007 - 03:26 PM UTC
As far as the CIP's are concerned I found a few pictures with Abrams from A cpy, 4-64th arm that had both green and sand coloured CIP's. As to why they did this on some of their tanks I don't have the foggiest idea. I like it cause it helps break up an otherwise dull camo scheme.


Thanks for all the comments.
tsreid
Visit this Community
British Columbia, Canada
Joined: March 04, 2007
KitMaker: 77 posts
Armorama: 74 posts
Posted: Wednesday, September 05, 2007 - 04:07 PM UTC
I was wondering which kit the plow came from? Also, what technique did you use for painting the tracks? The drilled-out links look great, really worth the effort (I only stabbed my fingers a couple of times doing it... ) I can't wait to see the finished dio, looks original.
f1matt
Visit this Community
Manitoba, Canada
Joined: August 13, 2006
KitMaker: 1,021 posts
Armorama: 805 posts
Posted: Wednesday, September 05, 2007 - 05:23 PM UTC
The mine plow is from Tamiya's A1 from a few years back.

The tracks were first painted with an almost black base coat. I than applied a light layer of dark brown. Next, roughly and not very evenly, I applied a layer of dark rust. Over this came a dark wash of black and brown oil paint. After this dried I sprayed on a light layer of Tamiya Buff. Finally the rubber track pads were hand painted Humbrol 66. I managed to stab myself quite a few times while drilling out the end connectors so I feel your pain Trevor.

Well not satisfied with my first attempt at spraying on the numbers I spent a whole afternoon re-spraying the guilty panels. It was trickier than I expected to match the panels. The final camo colour I mixed up is made up of about 5 different colours all applied in layers, not mixed together. A different solution was needed for the markings. Home made decals. I have never tried this before so I was a little nervous at how they would turn out. You can see for yourself in the latest pictures.


The "3", and "61" decals were home made. The rest either came from the kit or Echelon. I am very glad the Echelon sheet provides extra letters and numbers as it helped me a lot for this one. Can hardly believe that even the tiniest decals are legible.

Look at the teeny-weeny decal at the bottom of the CIP. It is about .4mm high.

Next up was to add the two coils of razor wire so common on OIF Abrams. This came from Eduard.

It is quite sharp so be careful. It's called razor wire for a reason. The wire was cut from the fret and rolled around a Humbrol paint container.


It was the only thing I could find with approximately the right diameter. Razor wire can be attached several ways but I went with two pieces of Evergreen Styrene L-channel. This looks just like the pieces of metal used on real Abrams. Simply cut out a couple notches in each piece and bend to match the references.


Well that's it for now. I will start weathering and continue working on the base. Guess I have to start on my mountain of stowage too. Thanks for all the comments. It really is motivating to hear from all of you.
Tankrider
Visit this Community
Oklahoma, United States
Joined: October 07, 2002
KitMaker: 1,280 posts
Armorama: 1,208 posts
Posted: Thursday, September 06, 2007 - 08:58 AM UTC
Matt,
The green on the CIPs is actually the thermal tape that causes the CIP to give off the reverse polarity image in a vehicle's thermal sights. The tape is more of a light brownish green color than what you have your painted. Also, by your tactical markings on the tank skirts, the bumper number should be A23, not A32. there should also be three white stripes on the bore evacuator. Good work so far.

John
f1matt
Visit this Community
Manitoba, Canada
Joined: August 13, 2006
KitMaker: 1,021 posts
Armorama: 805 posts
Posted: Thursday, September 06, 2007 - 04:18 PM UTC
Thanks John. I will make the necessary modifications before my next update. I wasn't sure if I should add the bore stripes or not because I hadn't found pictures of tanks from that unit with them. I was kinda hoping some did cause it's one more detail to add. Any excuse for me to break out the ol' airbrush. And thank you for clearing up the bumber number. I really wasn't sure what to put there and just kinda took a guess. I really appreciate the feed back. I find my models have gotten a lot better since joining this site. I'll post more pics once I've gotten a little further into the weathering.
tjkelly
Visit this Community
Maryland, United States
Joined: May 04, 2007
KitMaker: 1,132 posts
Armorama: 1,123 posts
Posted: Friday, September 07, 2007 - 01:20 AM UTC
Matt -

Nice job so far, thanks for sharing the pics. One comment, tanks I've seen with the mine plow had a hydraulic hose (or some sort of cable) running from the driver's hatch (?) down the front plate and attached to the plow, but not sure exactly where the connection(s) were.

Just a little detail, I added this to Dragon's 1/72 M1 I built last year, used a piece of solder wire (very pliable). There was an issue of AFV a while back that had a very detailed 1/72 M1, so used one or two things from that article.

It's good to see you adding those extra things that you like it, vice trying to get a model down to the exact rivet and bolt. Keeps the hobby FUN!

Cheers!

Tim
Tankrider
Visit this Community
Oklahoma, United States
Joined: October 07, 2002
KitMaker: 1,280 posts
Armorama: 1,208 posts
Posted: Friday, September 07, 2007 - 01:51 AM UTC
Matt,
Don't add those stripes on the bore evacuator yet... Seems that I was talking outta my butt. I went back and relooked soem of my references and it seems that TF 1-64 used the stripes on the bore evacuators, not TF 4-64. My guess is that 4-64 used the numerals on the #6 skirts instead... I have been researching mortar tracks from 2/3ID and got caught up in the moment..

Sorry for the confusion
John
HeavyArty
Visit this Community
Florida, United States
Joined: May 16, 2002
KitMaker: 17,694 posts
Armorama: 13,742 posts
Posted: Friday, September 07, 2007 - 02:43 AM UTC

Quoted Text

...tanks I've seen with the mine plow had a hydraulic hose (or some sort of cable) running from the driver's hatch (?) down the front plate and attached to the plow, but not sure exactly where the connection(s) were.


It is the electric power/control cable. The MCB is electrically powered, not hydraulic. There is an adapter that fits into the right side driver's vision block in place of the periscope. The cable connects to it, then there is another cable that connects on the inside and down to the control box. So the driver can still close and seal his hatch. The other end of teh cable connects to a cannon plug on the back of the center blade mount that comes up onto the front of the hull. The cable goes to the control box inside the driver's area. From here, he lowers and raises the blade. The two horizontal drums on the blade mount are electric motors. A cable goes from each to the blade below to raise and lower them.
sgtsauer
#065
Visit this Community
Missouri, United States
Joined: March 30, 2002
KitMaker: 2,605 posts
Armorama: 1,814 posts
Posted: Saturday, September 08, 2007 - 12:44 AM UTC
On the M1A2, the electric cable runs from here:


to here:


I took these photos in 2004. I don't know if the connection point shown by the drivers hatch is a M1A2 specific item or if it was retro fitted to M1A1's as well.
HeavyArty
Visit this Community
Florida, United States
Joined: May 16, 2002
KitMaker: 17,694 posts
Armorama: 13,742 posts
Posted: Saturday, September 08, 2007 - 01:28 AM UTC
The external connection box has been added to M1A1 AIMs as they come through reset/rebuild. They were not on 3ID M1A1HCs during OIF 1 though.
f1matt
Visit this Community
Manitoba, Canada
Joined: August 13, 2006
KitMaker: 1,021 posts
Armorama: 805 posts
Posted: Sunday, September 09, 2007 - 03:20 PM UTC
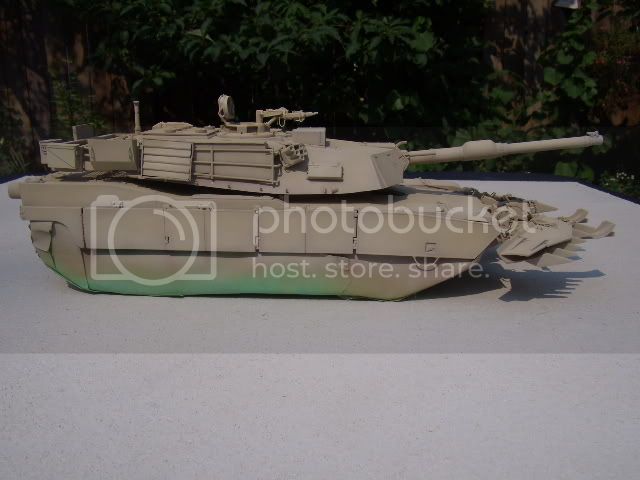
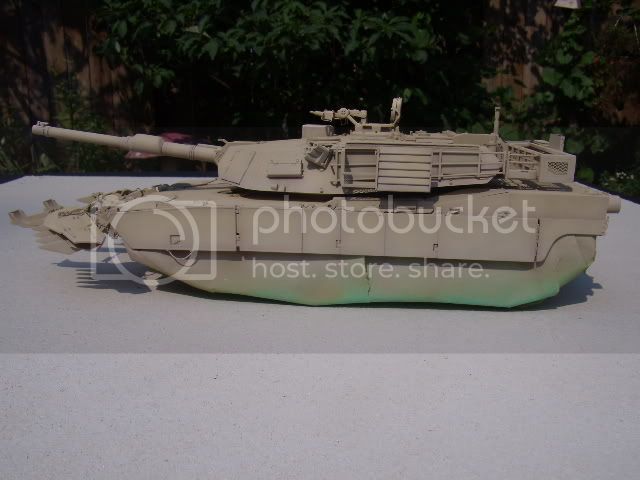
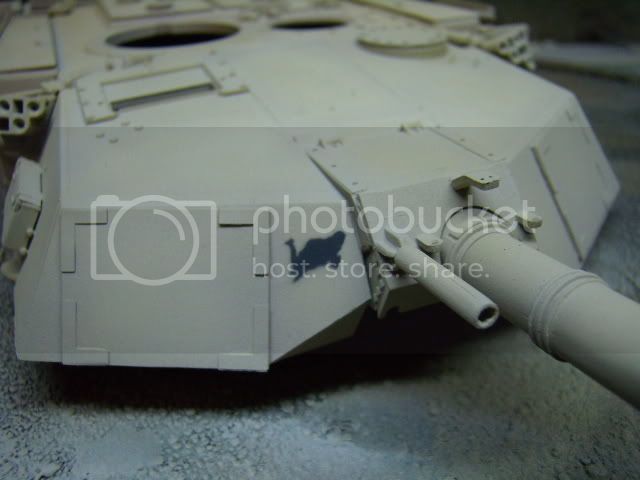
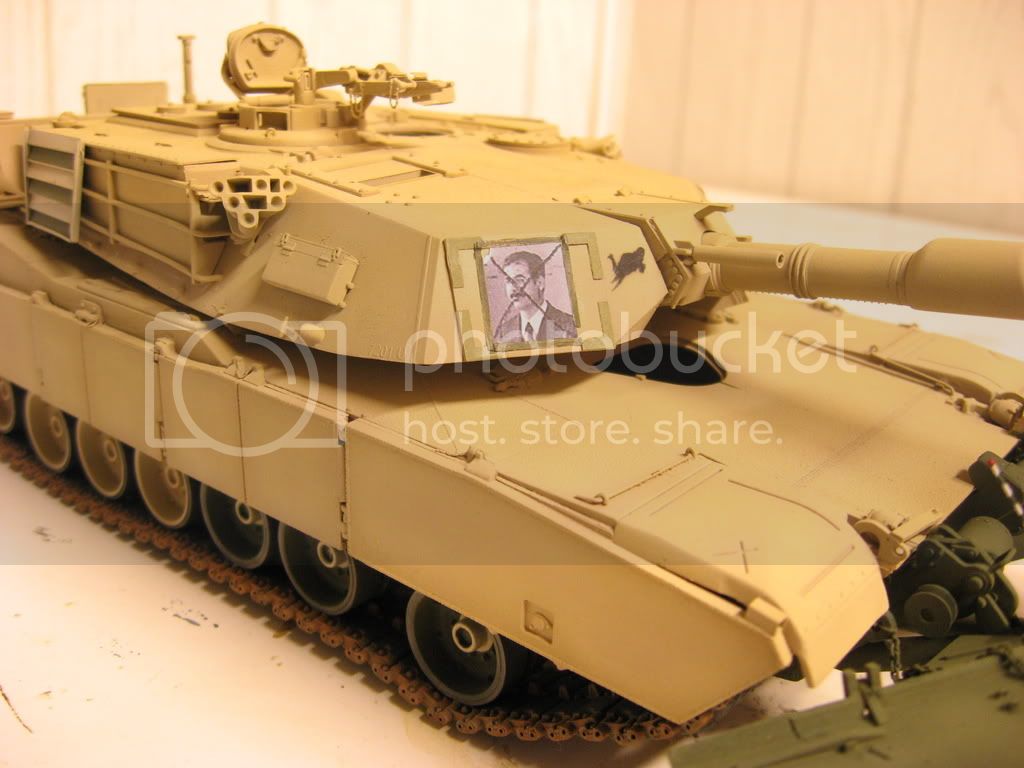
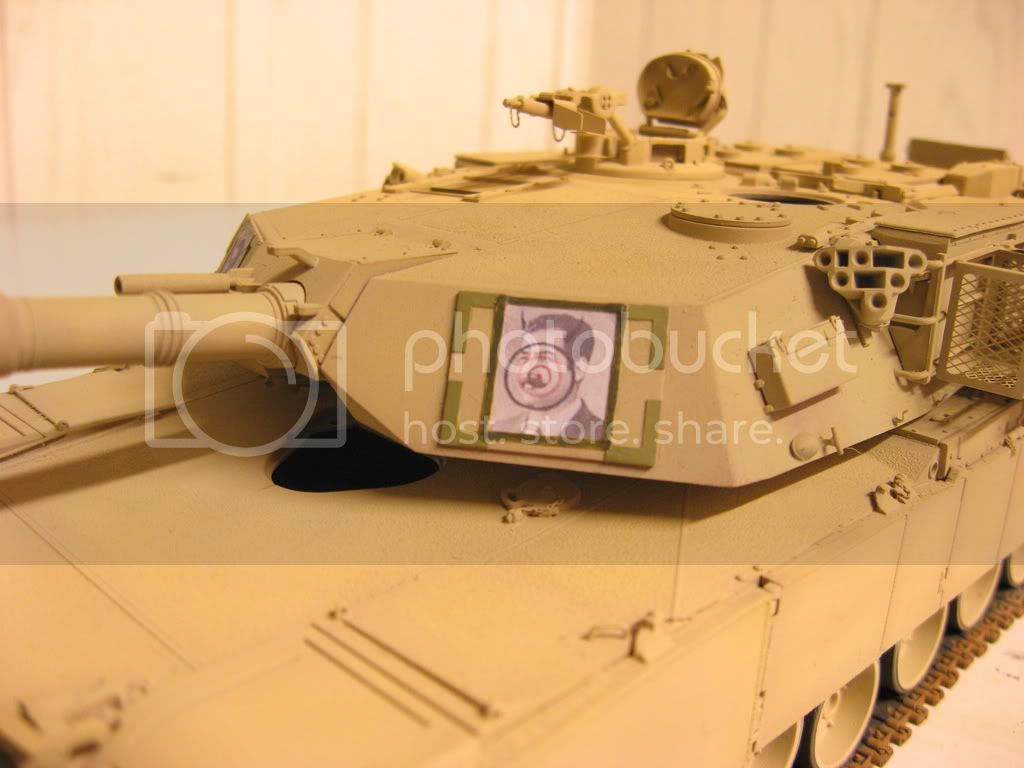
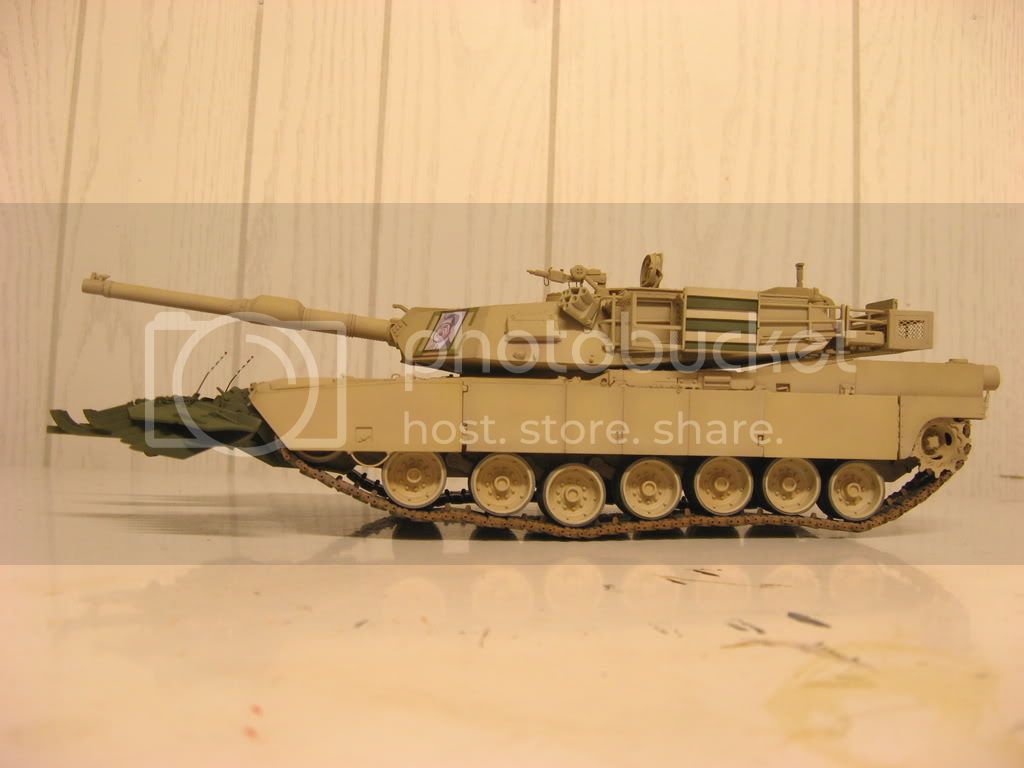
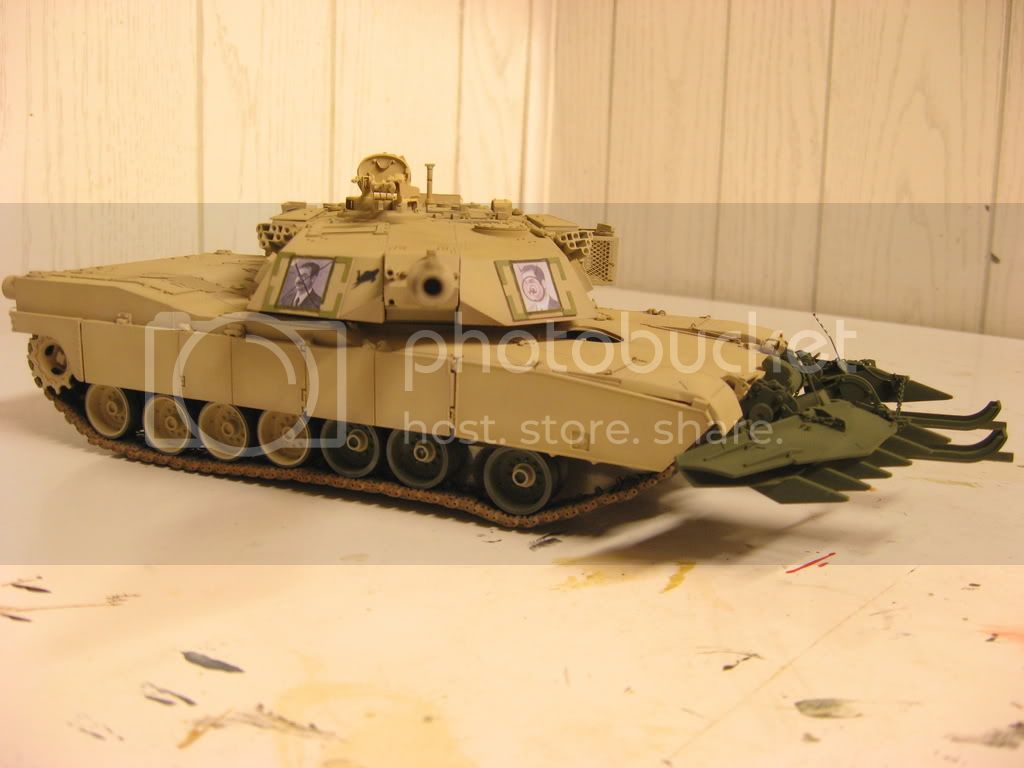
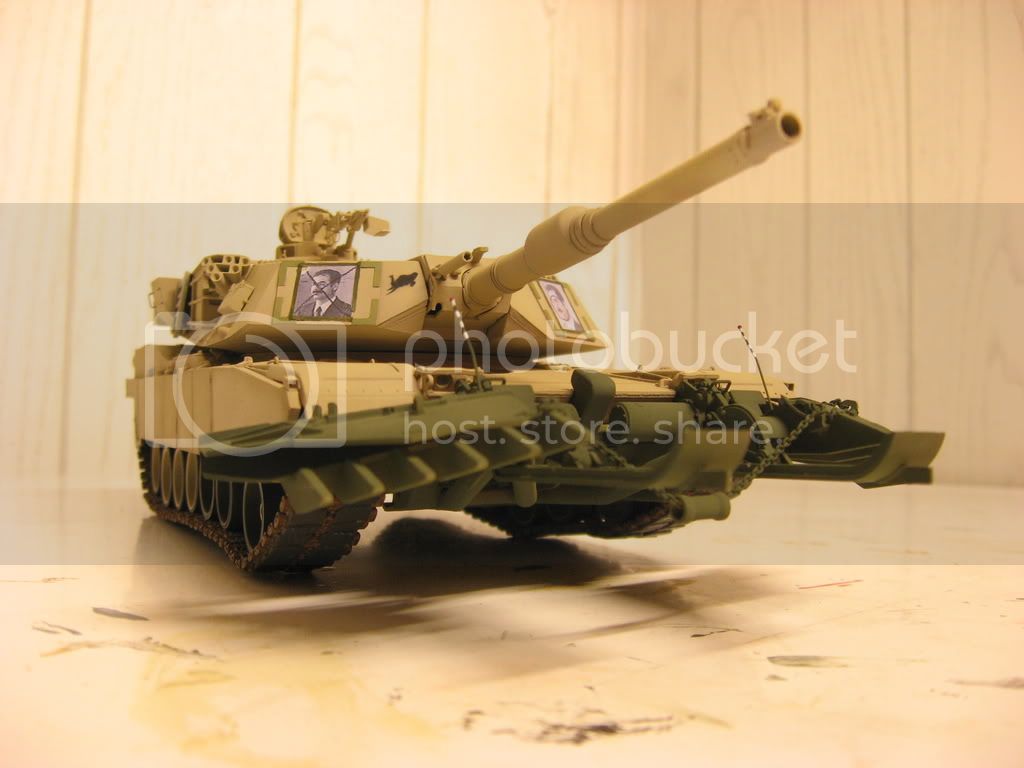
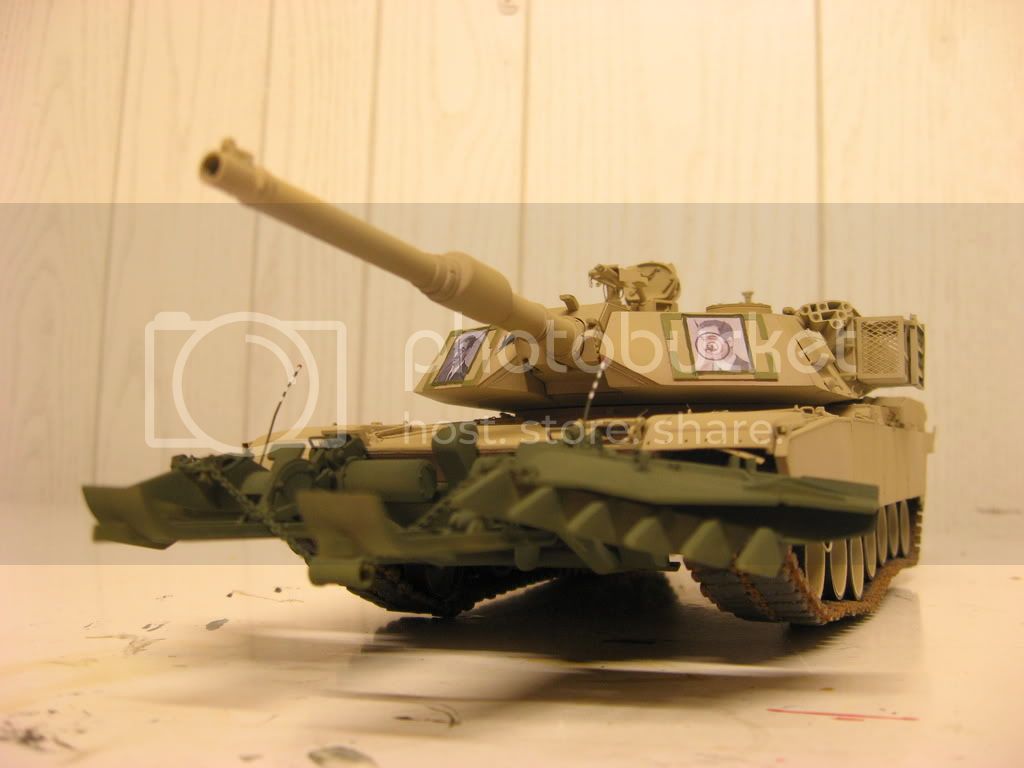
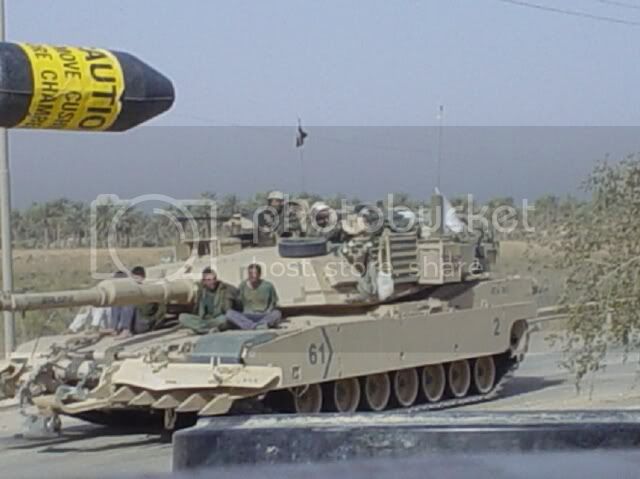
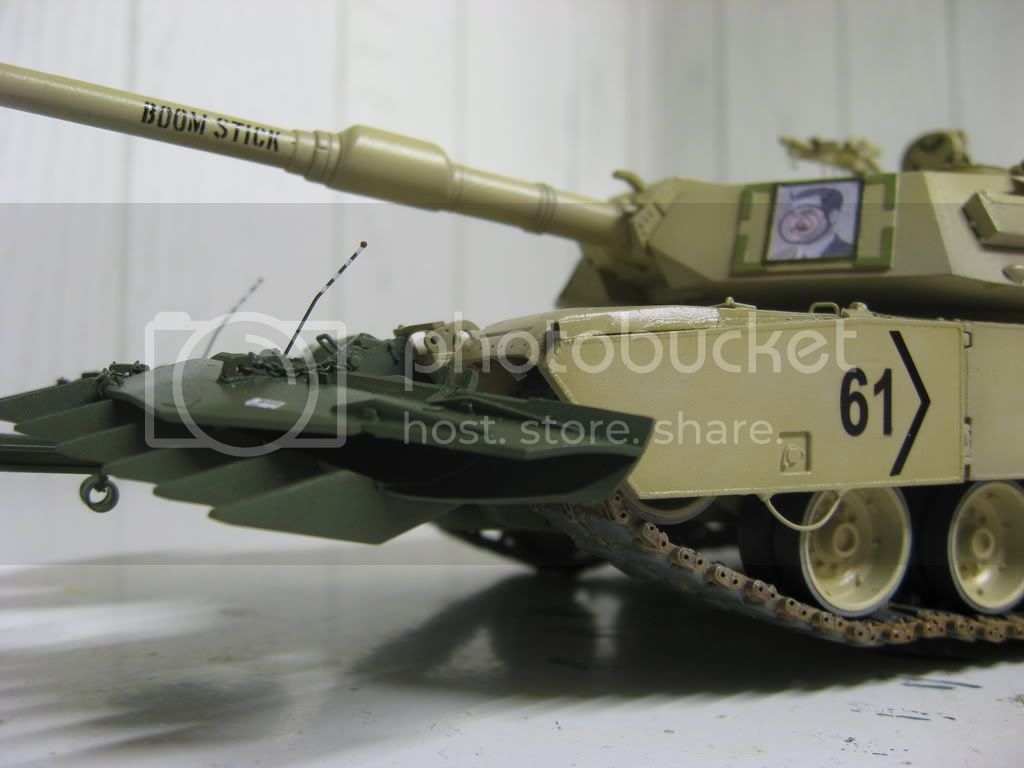
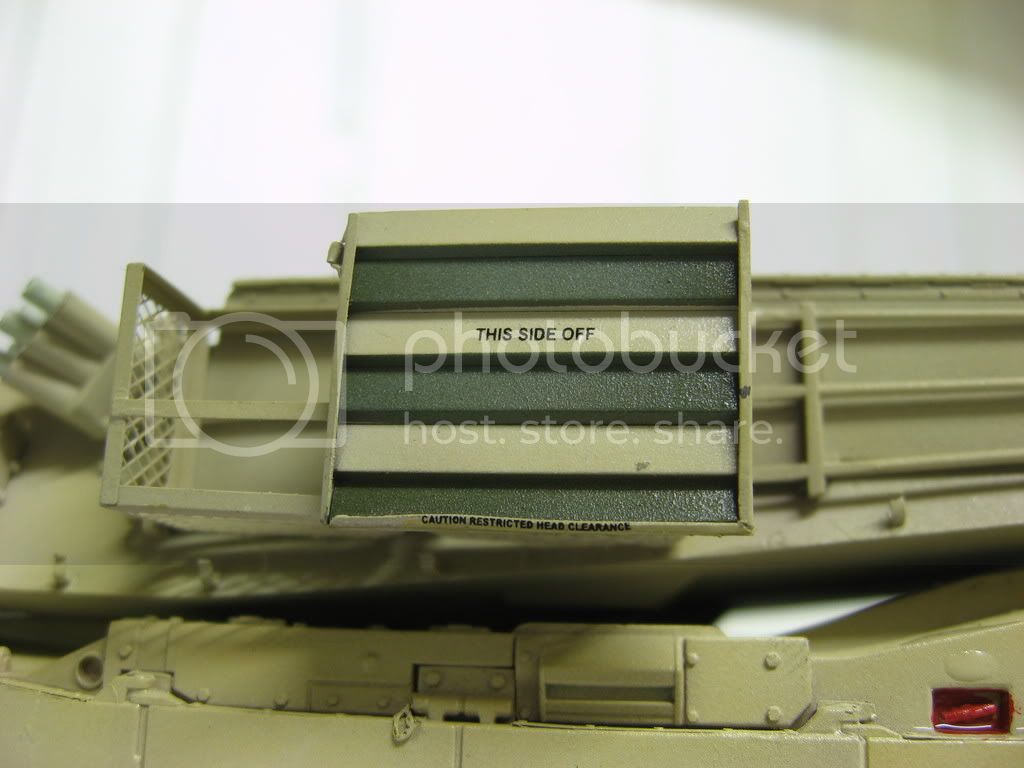
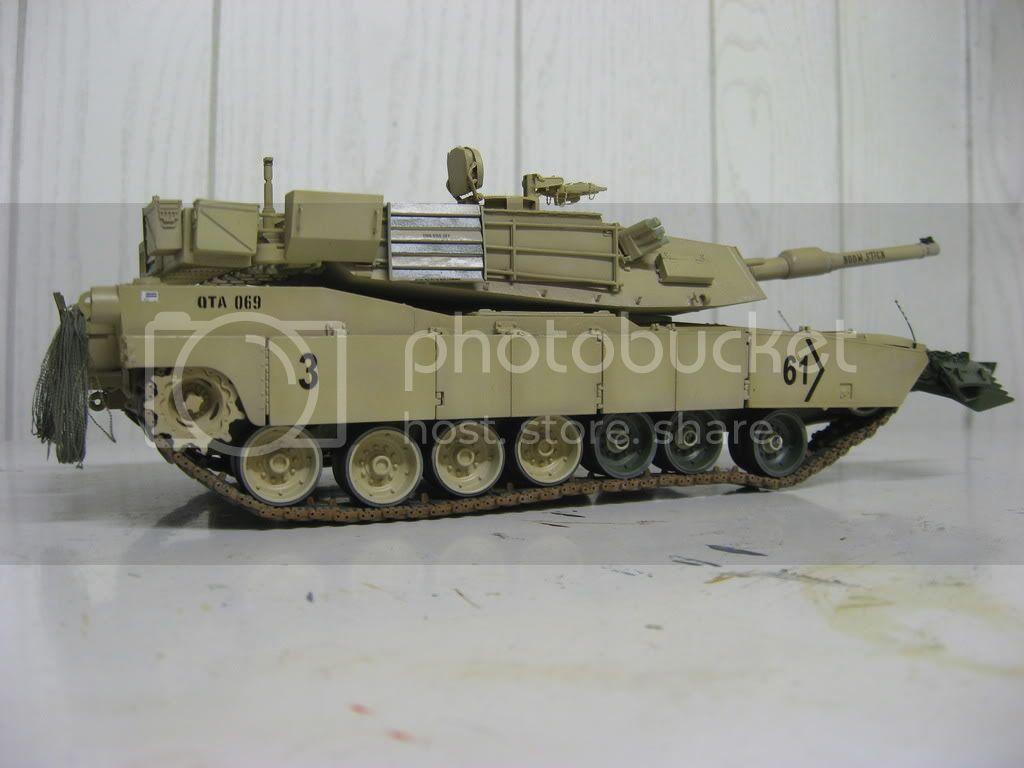
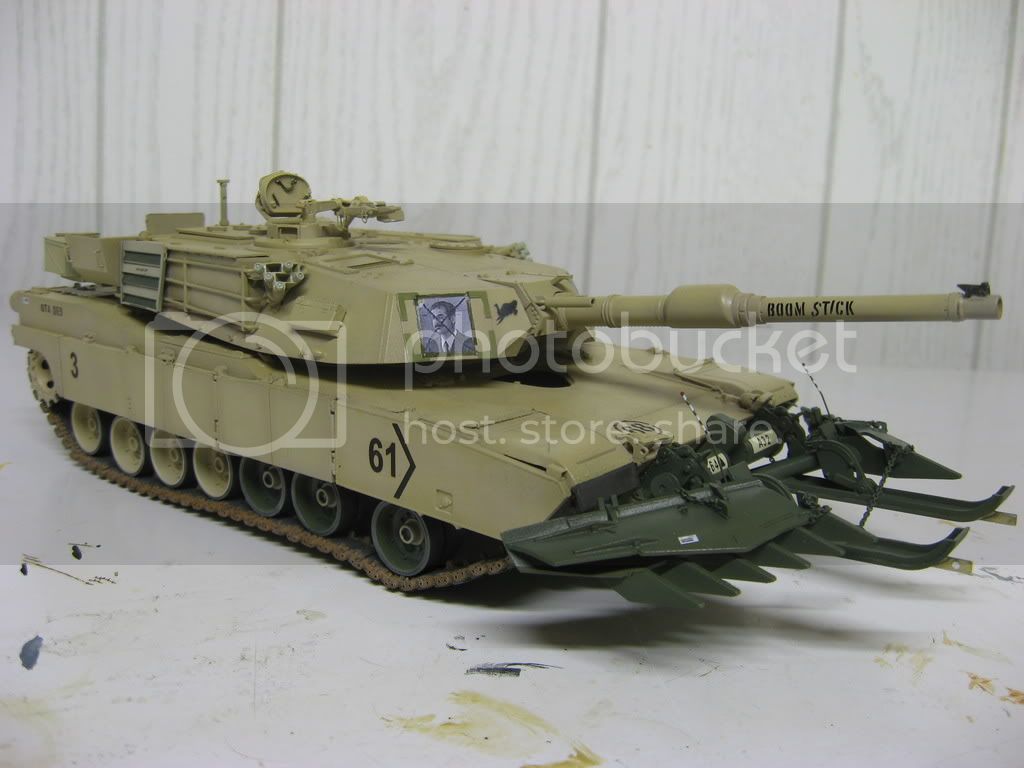
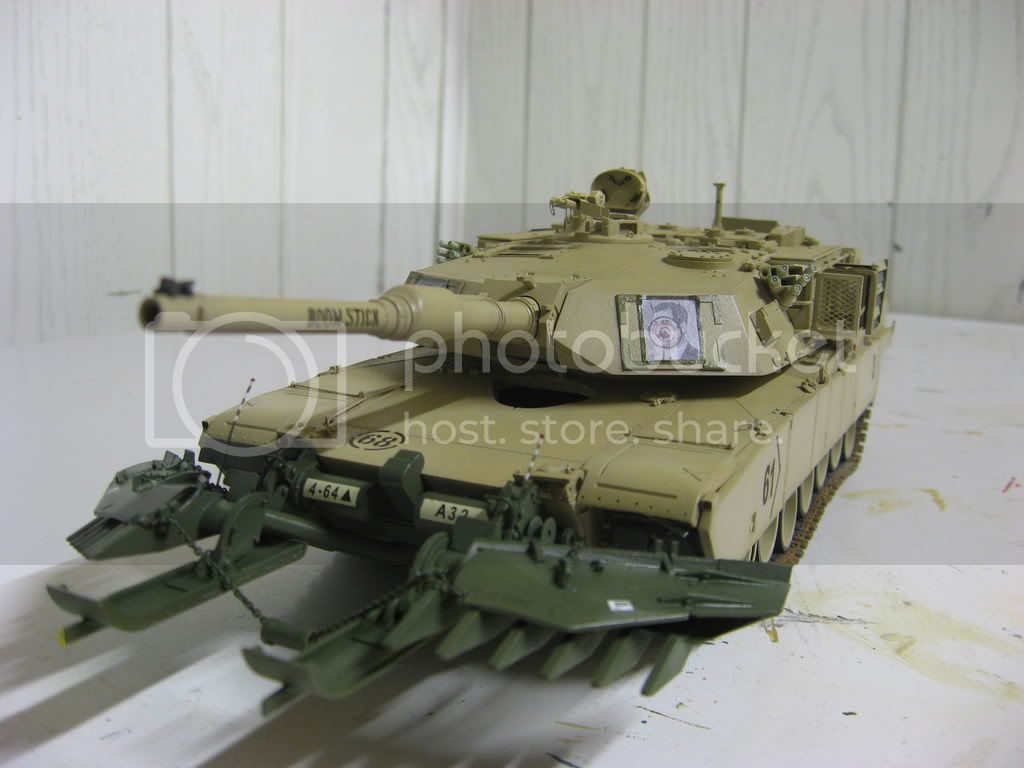
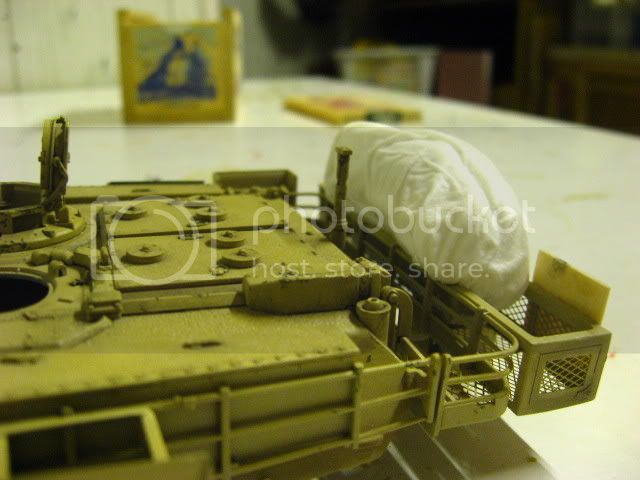
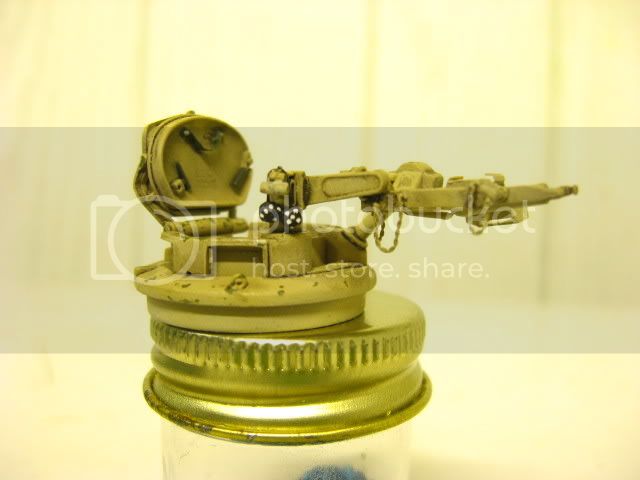
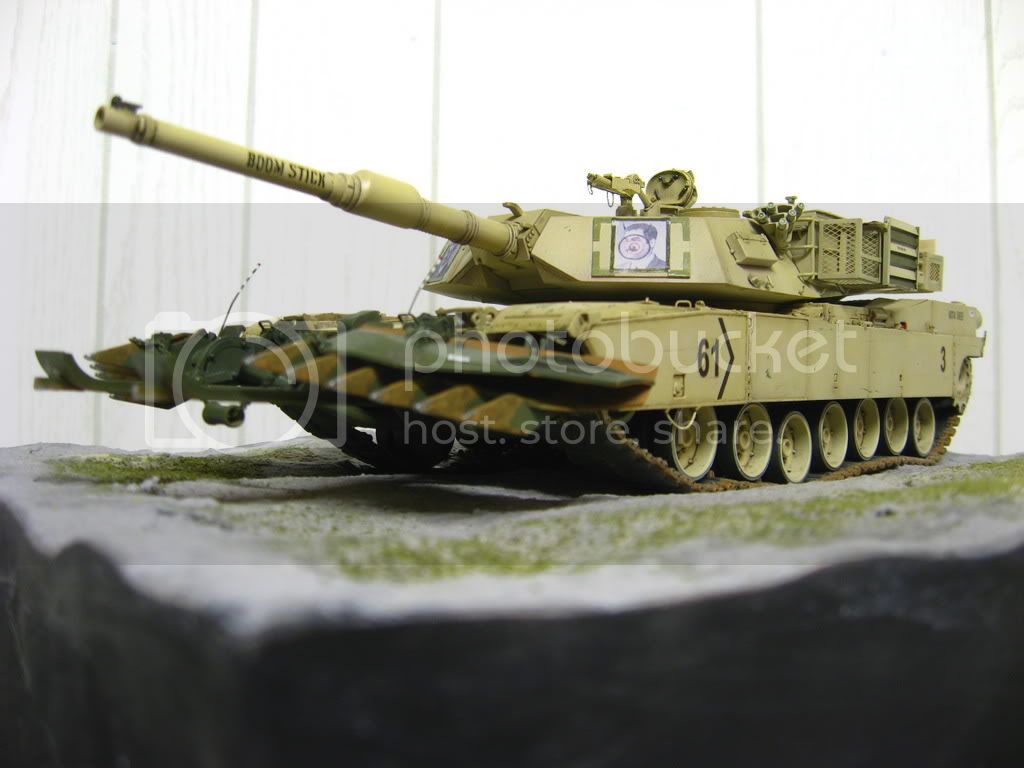
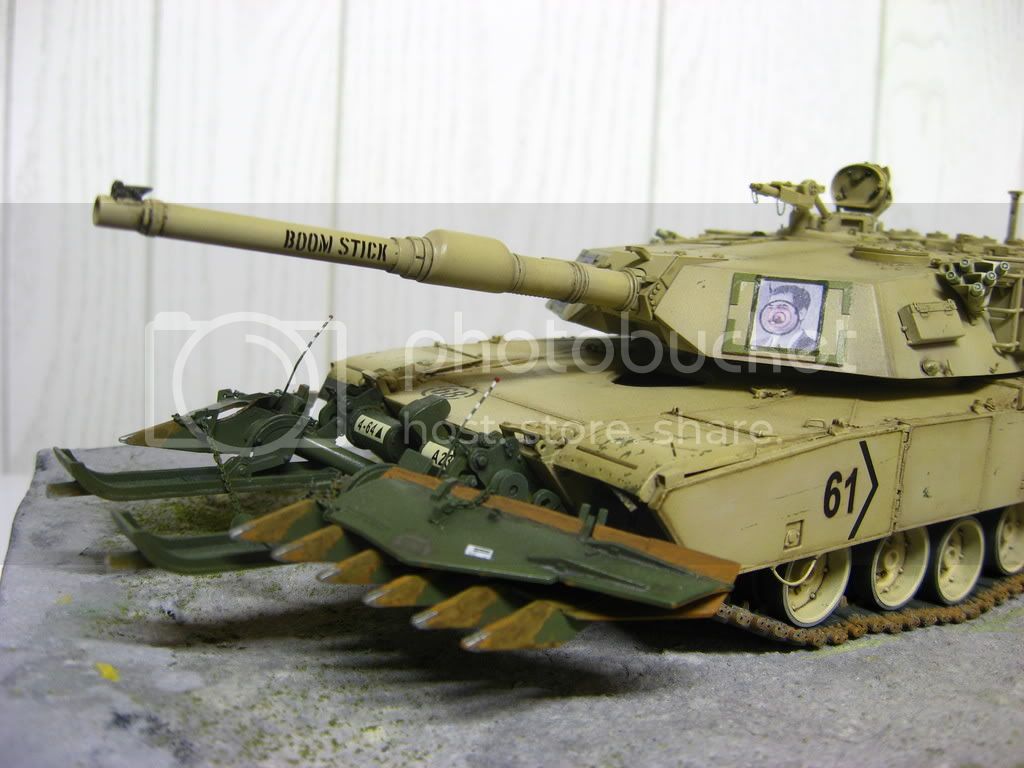
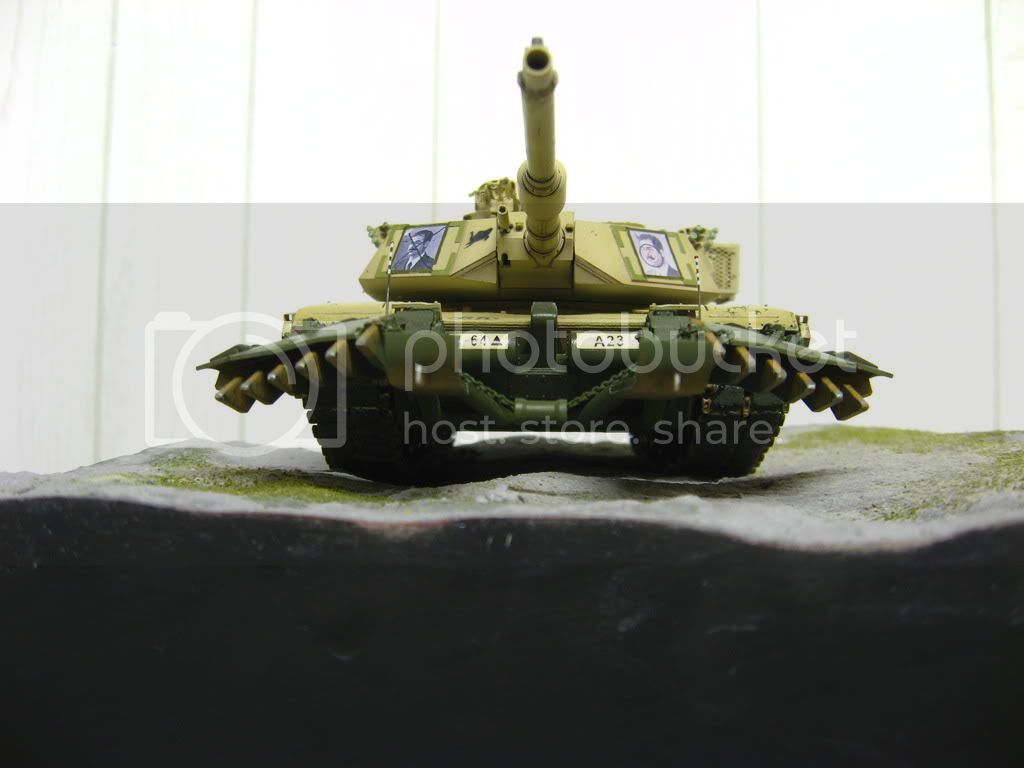
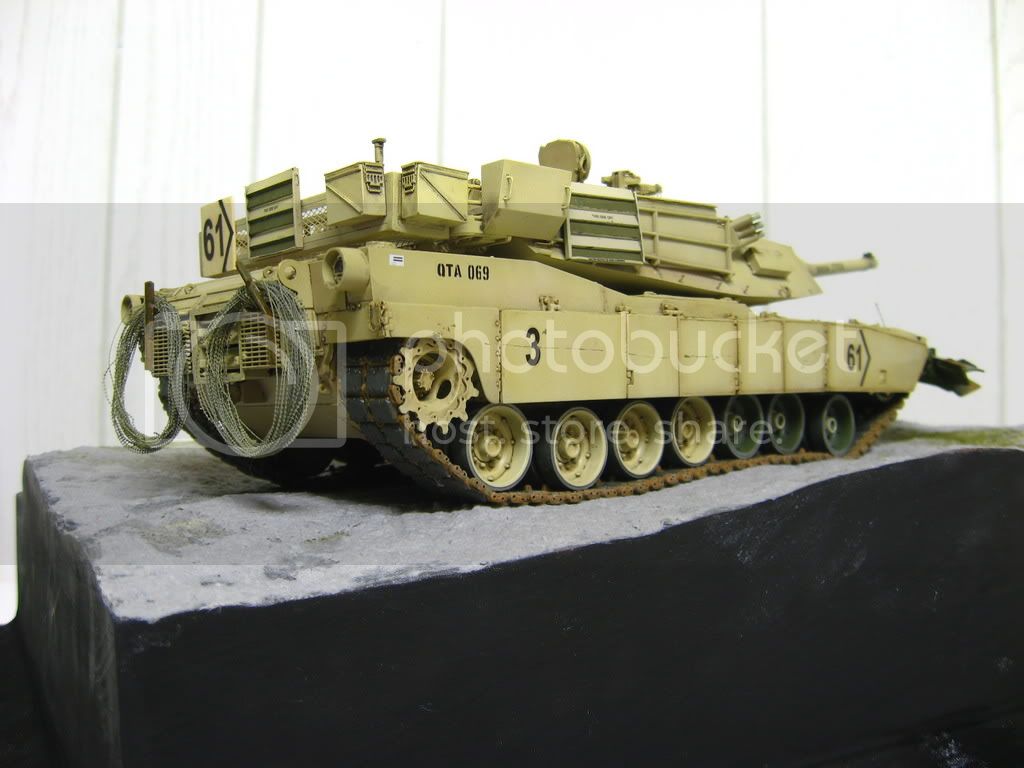
Hello again everybody. Boy she sure looked good with those white bore stripes. Good thing they were just decals cause off they came. Oh well. The bumper code now reads A23 and the tape on the CIP's is more brownish green. Thanks John. I am leaving off the power cable for the mine plow for now but will add it later. Isn't there a second smaller cable that attaches to the mine plow?

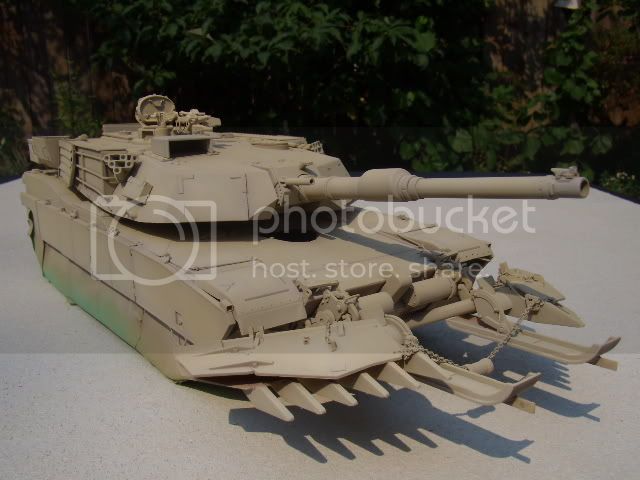
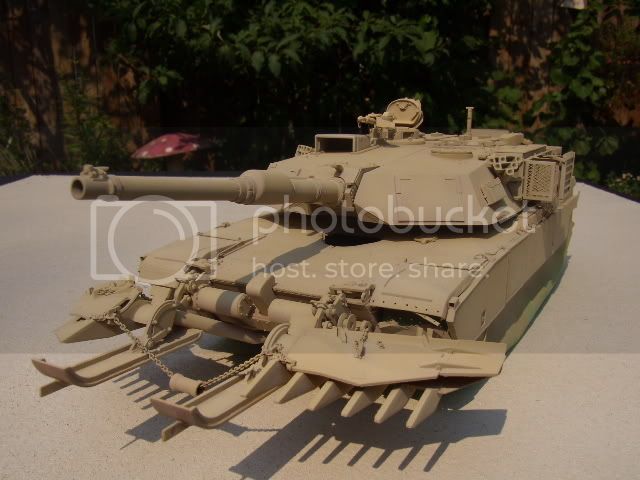
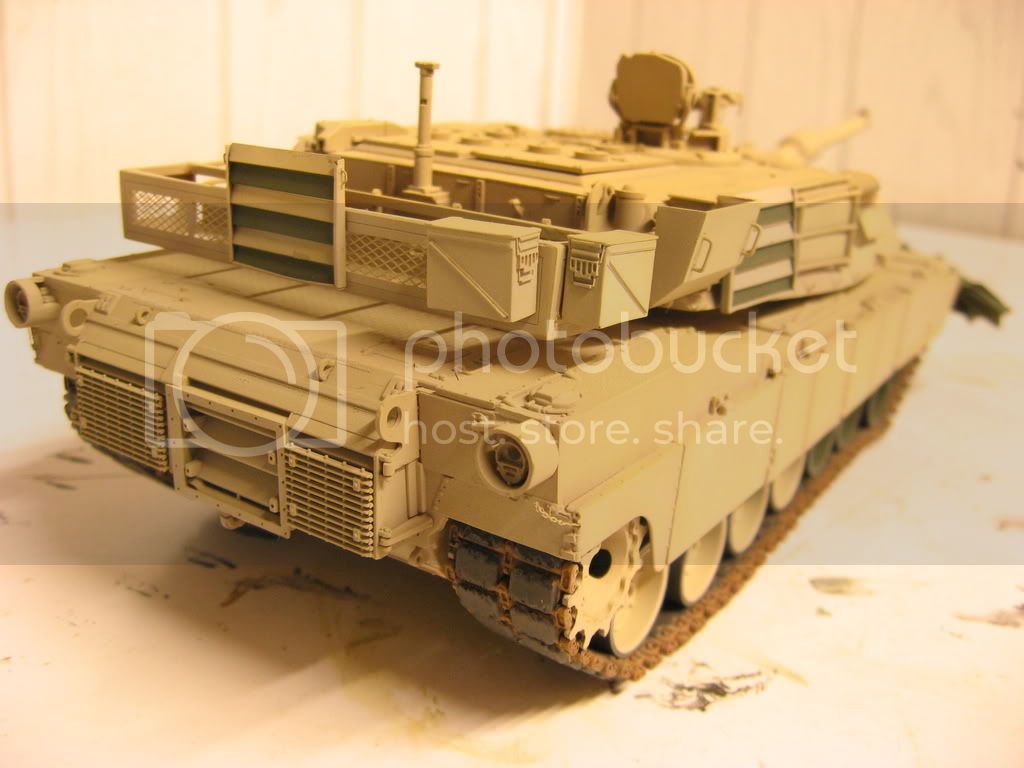
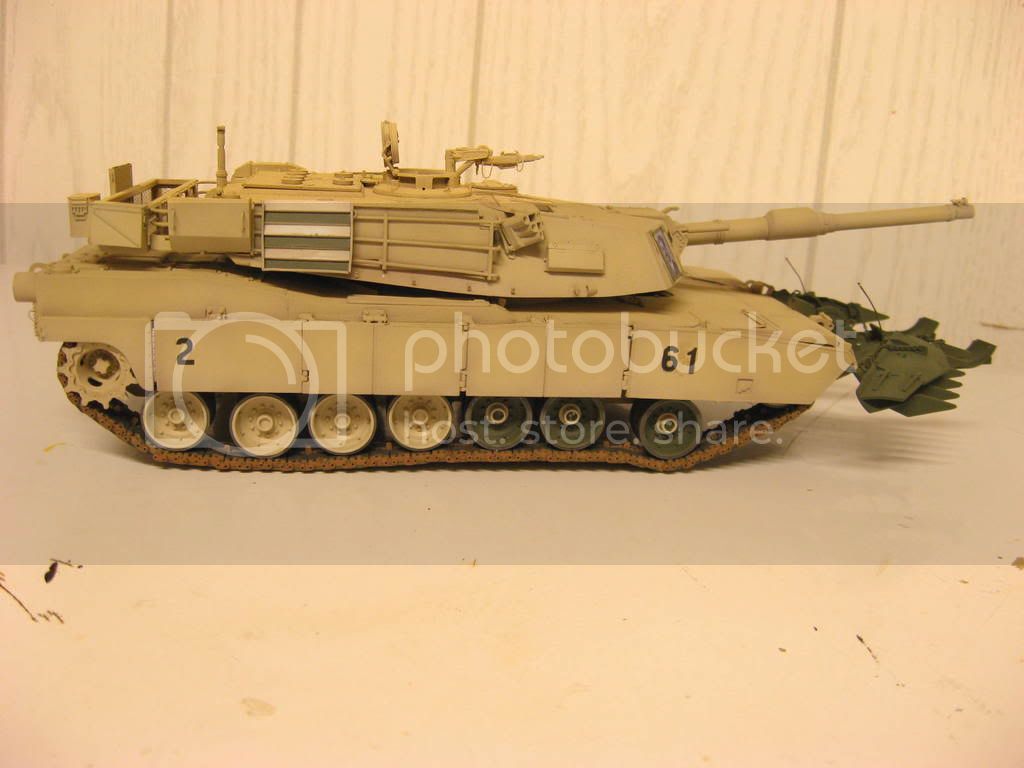
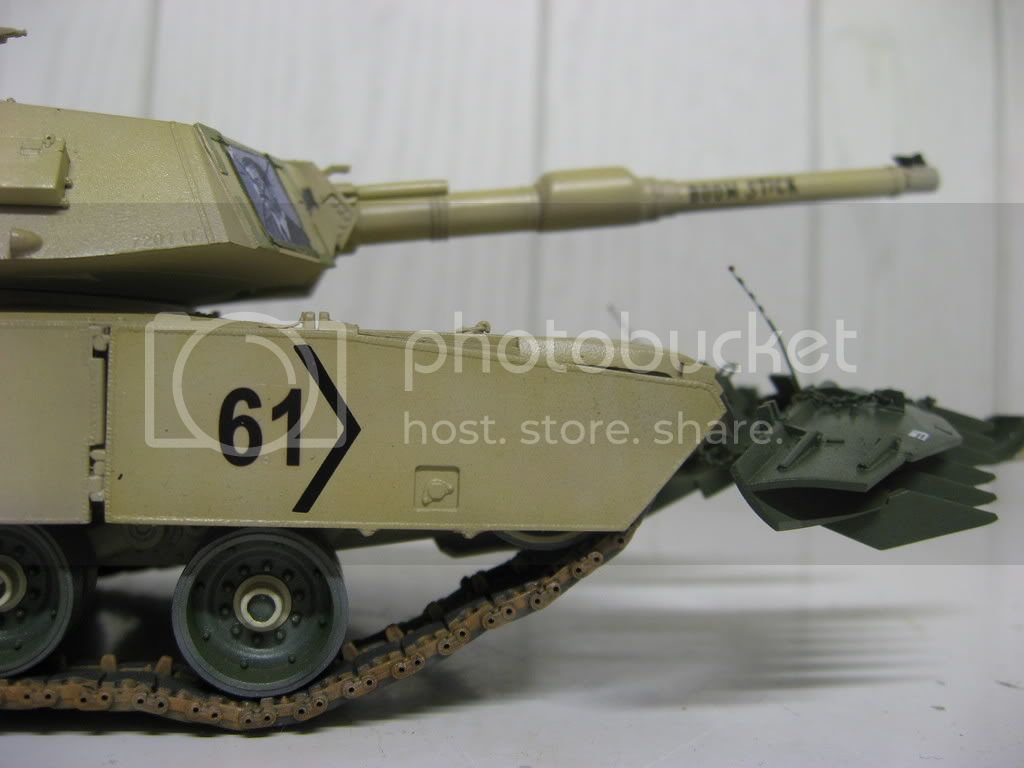
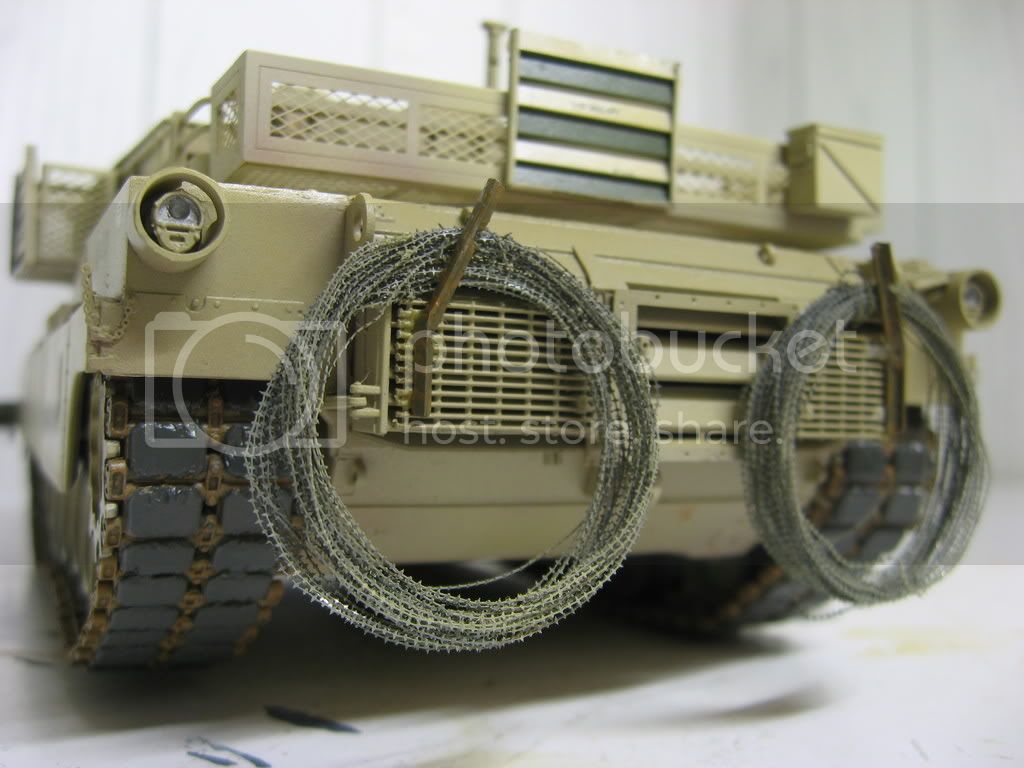
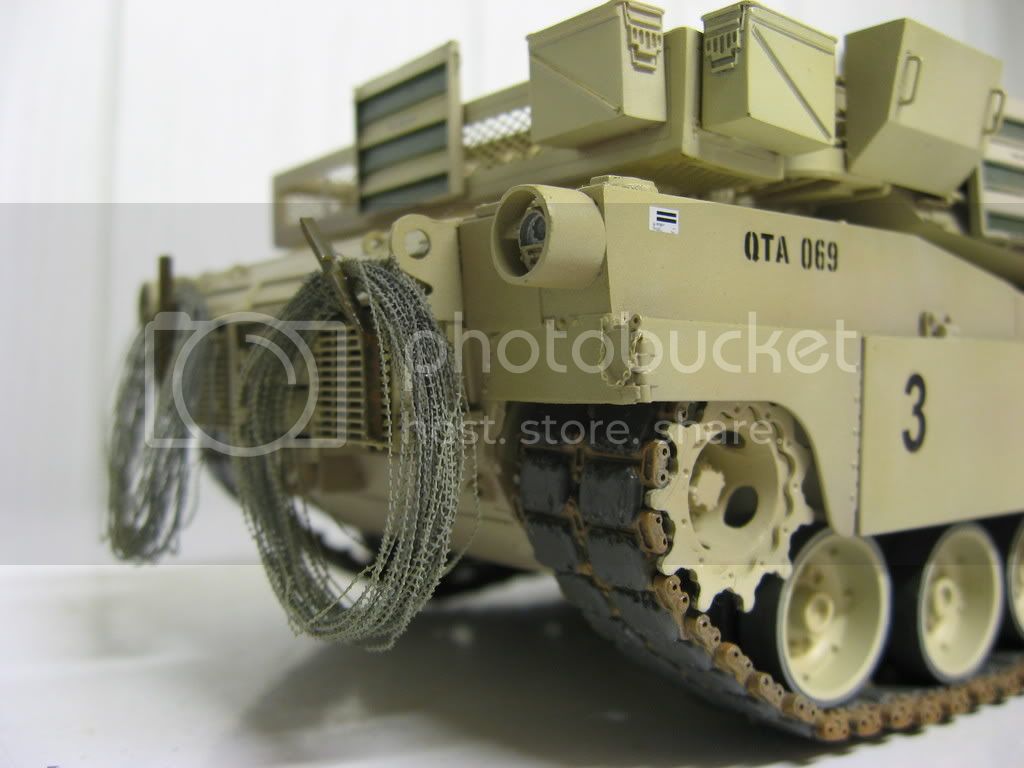
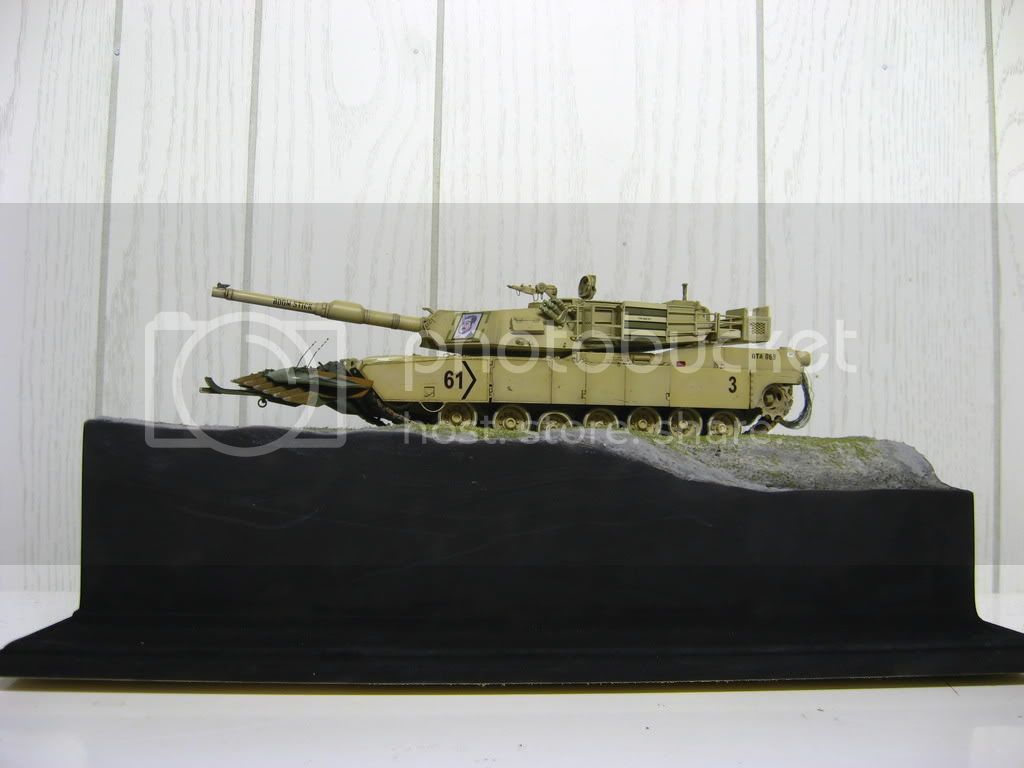
Well since my last update I have applied pin washes of burnt umber and payne's gray oil paints. On top of that I added a few scratches and paint chips here and there with Gunze's Dark Green #320. There doesn't seem to be much paint chipping on these tanks. Also I added some rust to my mine plow. This was done using several shades of brown. First a layer of Polly S (I love this brand for hand brushing) US Earth Red. On top of that went some random splotches of Tamiya NATO Brown. After that I mixed the two together and applied more random splotches. Finally a very thin layer of straight US Earth Red. This was more like a filter. Altering the previous layers without completely covering them. I will probably do more with my pigments but thats for later. After all the rust was added a few shades of silver went on to the tips of the blade teeth.

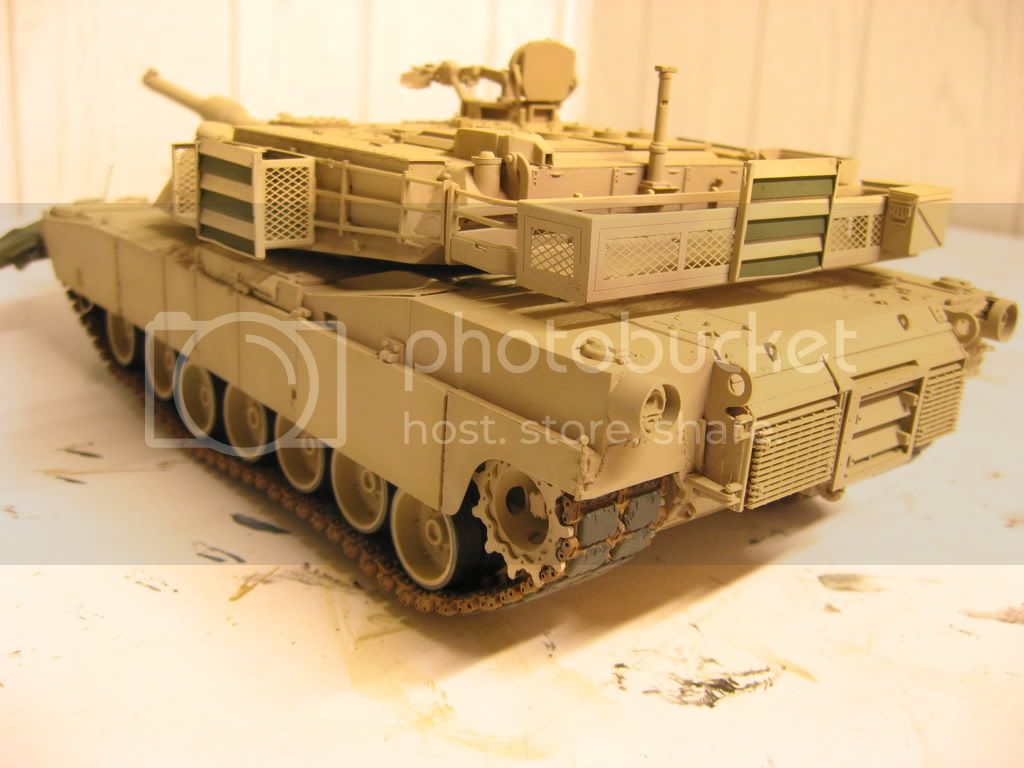
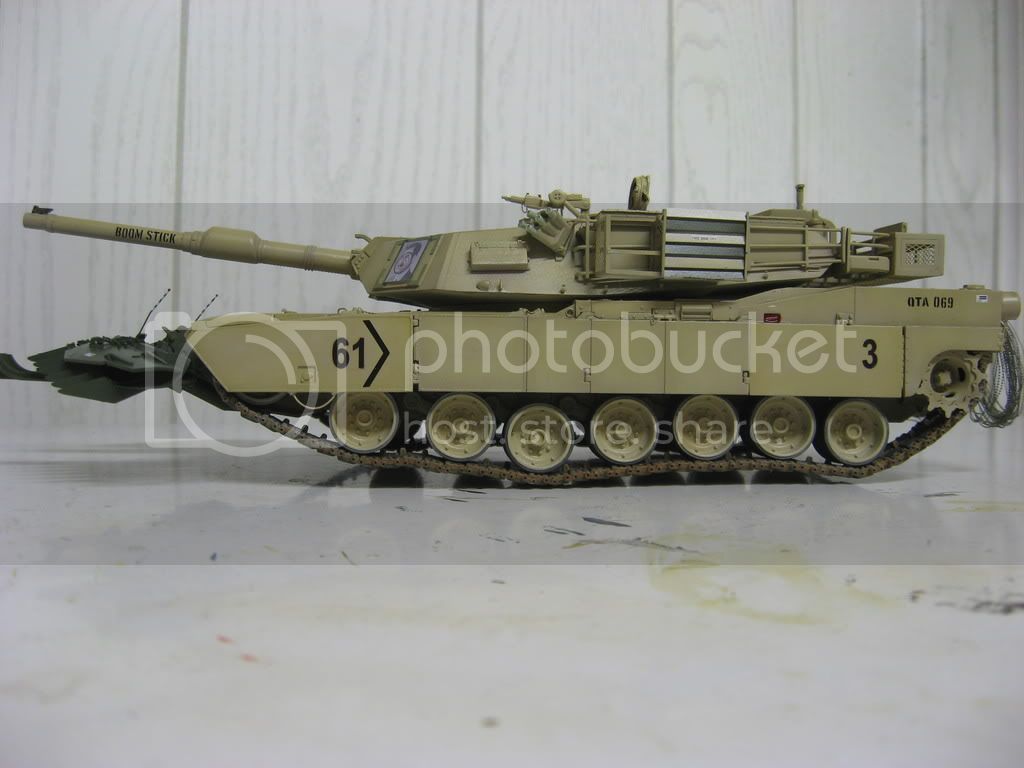
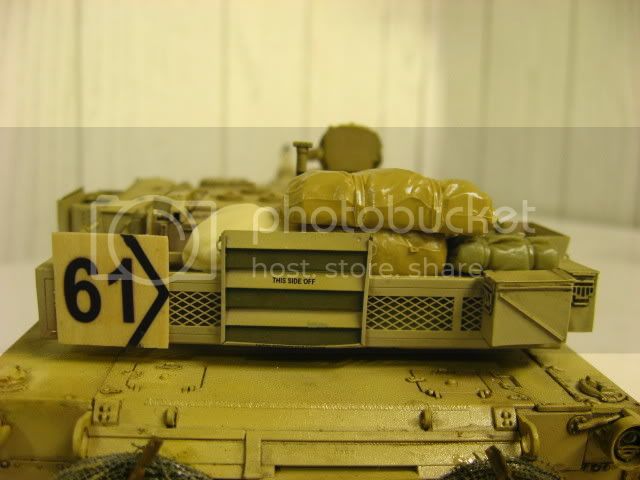
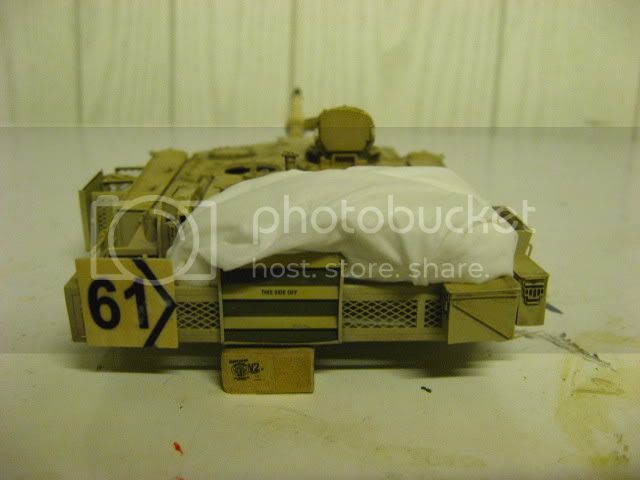
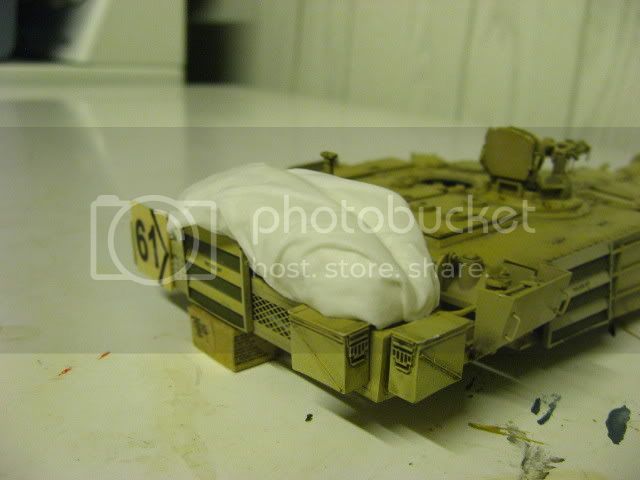
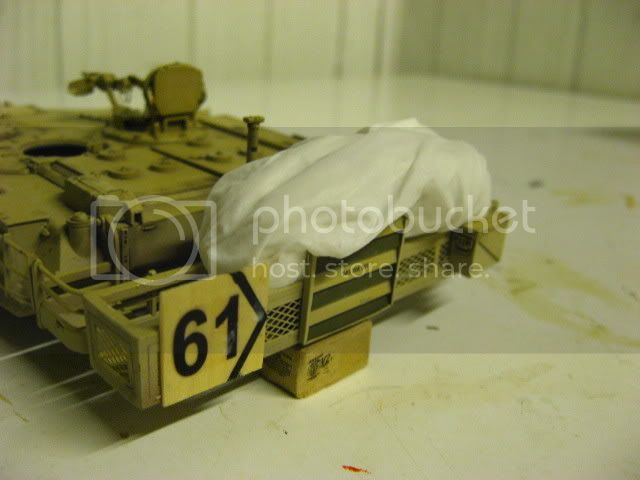
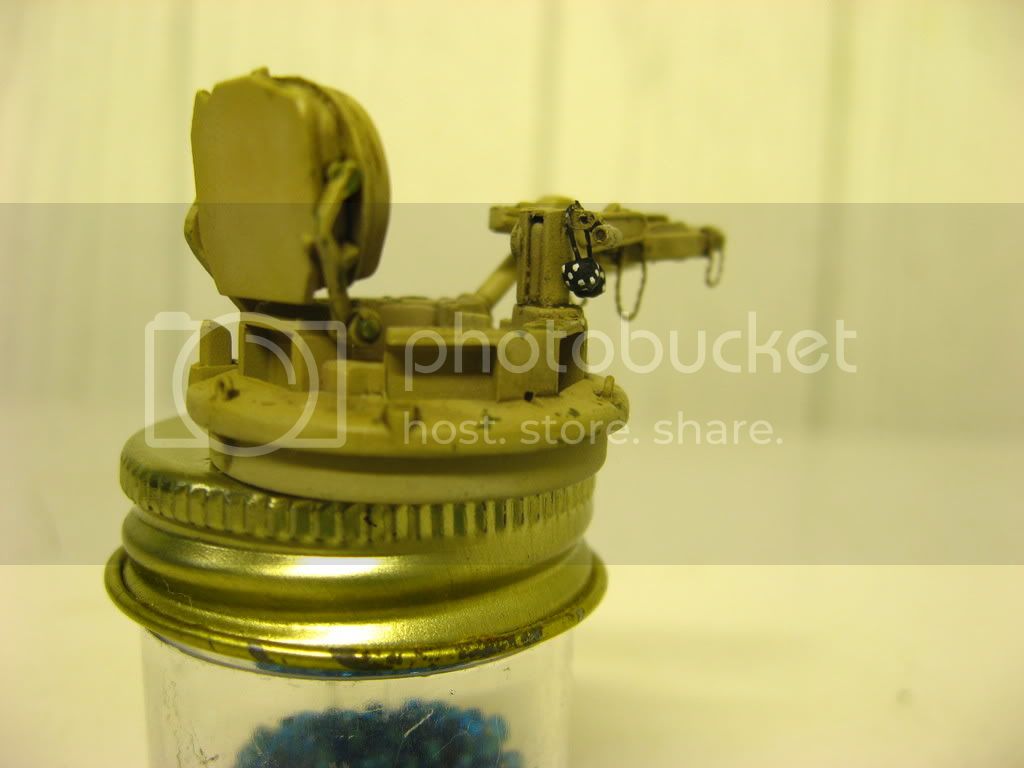
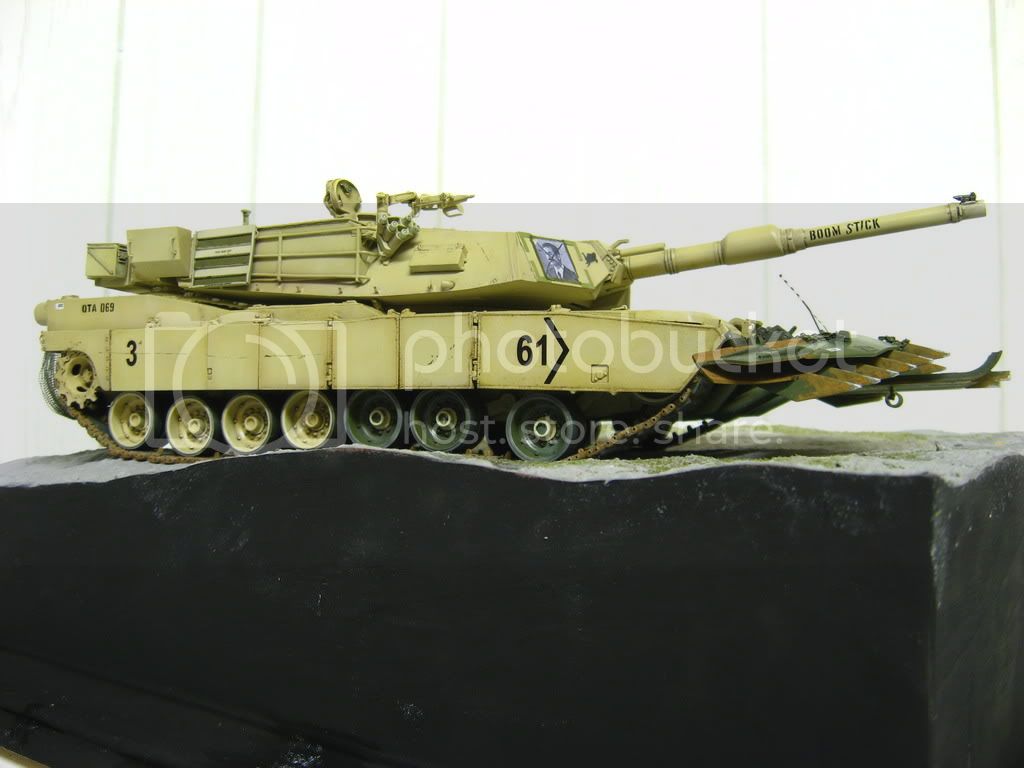
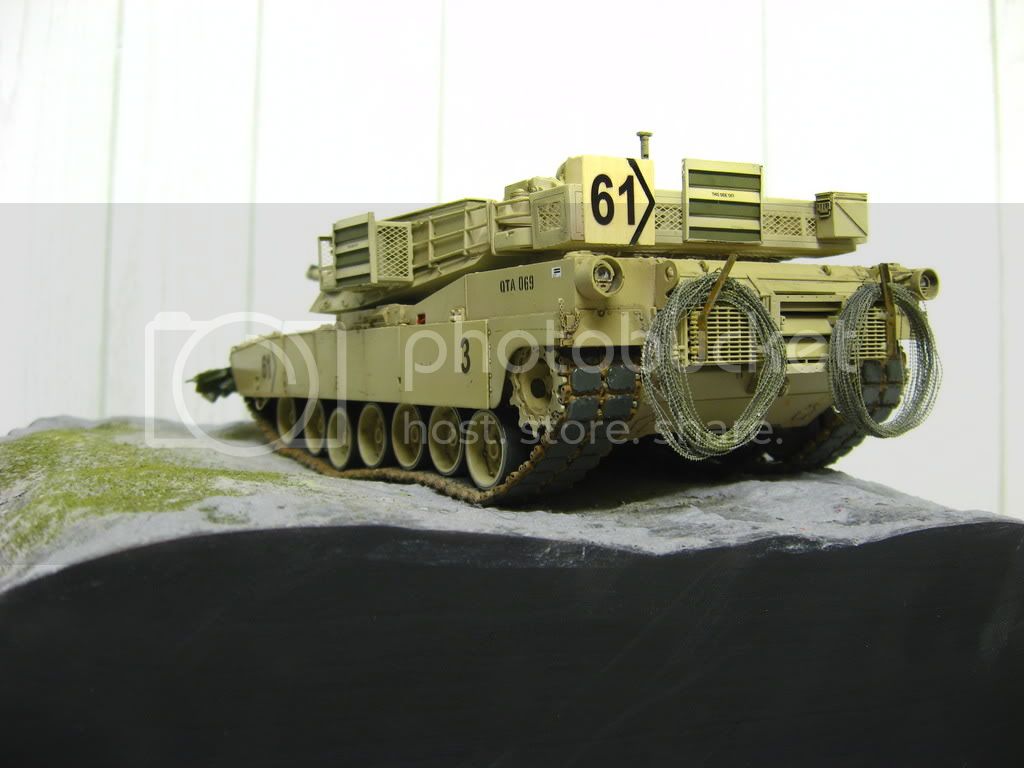
The battle board has also made its appearance. The board itself was cut from a thin sheet of wood bought at Michael's. It was cut to size and sanded to it's final thickness. After a couple of coats of Future the decals were added. The chevron came from Echelon and the "61" came from the sheet I made myself. These boards were commonly attached with zip cuffs through small holes cut in the plywood. I will add this detail soon.

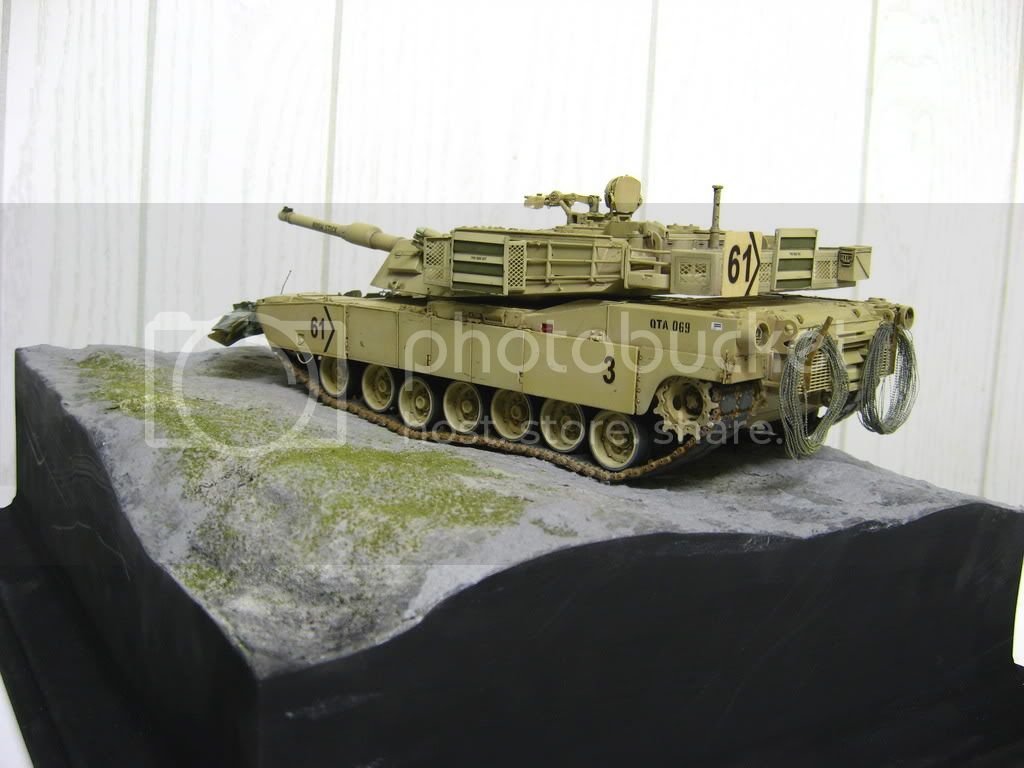
The base has also recieved some attention. More thin sheets of wood were attached to the sides to clean things up. Some putty was slopped on and then sanded off. A coat of flat black was sprayed on. I prefer the look of natural wood but this way I could get away with a somewhat sloppy build of a base. It is my first. Probably not my last. A layer of Celluclay and a little Woodland Scenics fine turf now coat the base. The top of the base will get some paint as soon as the Celluclay is completely dry.

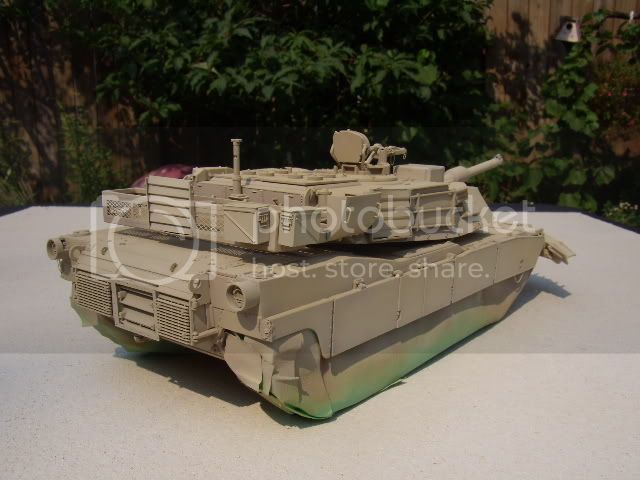
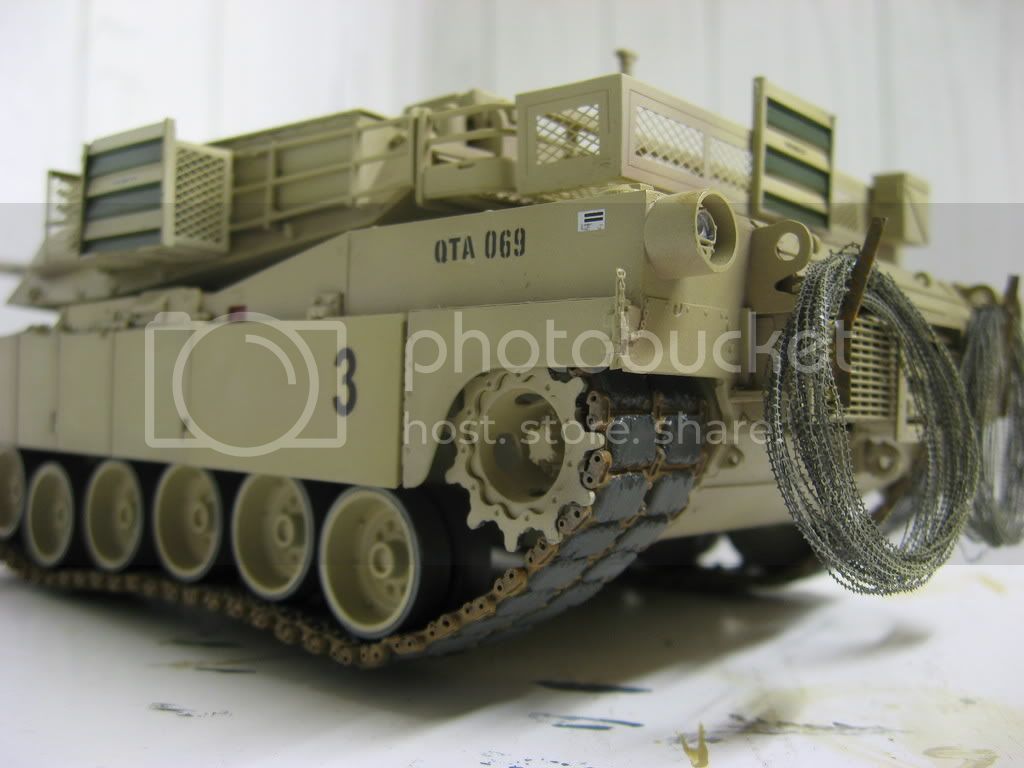
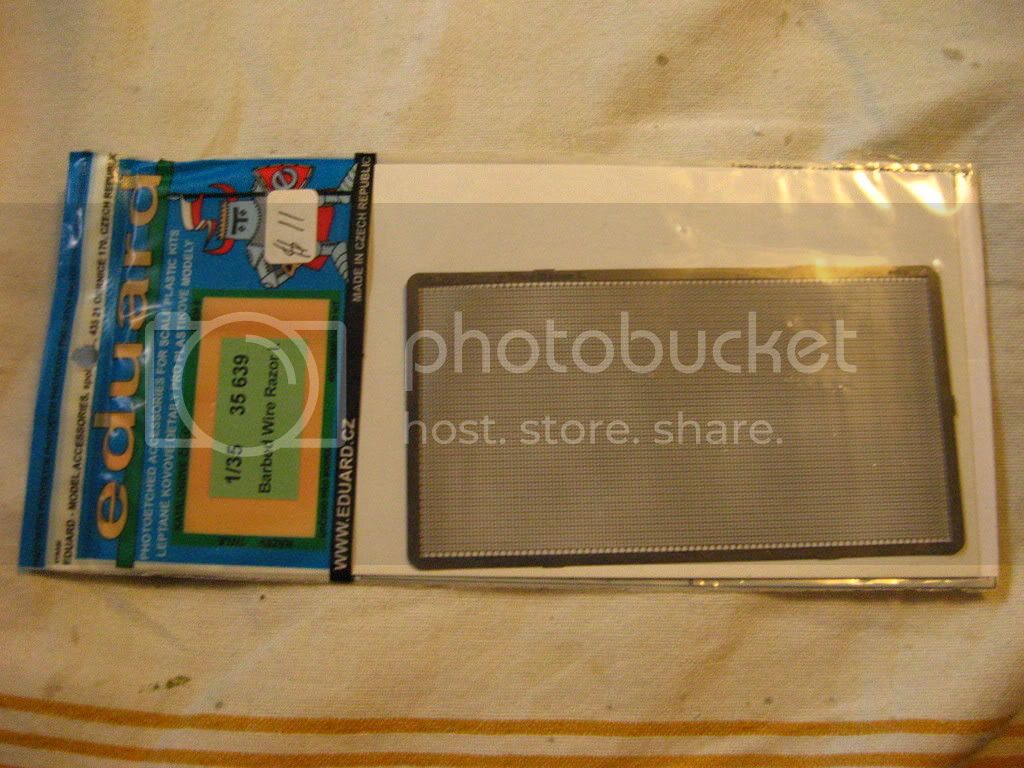
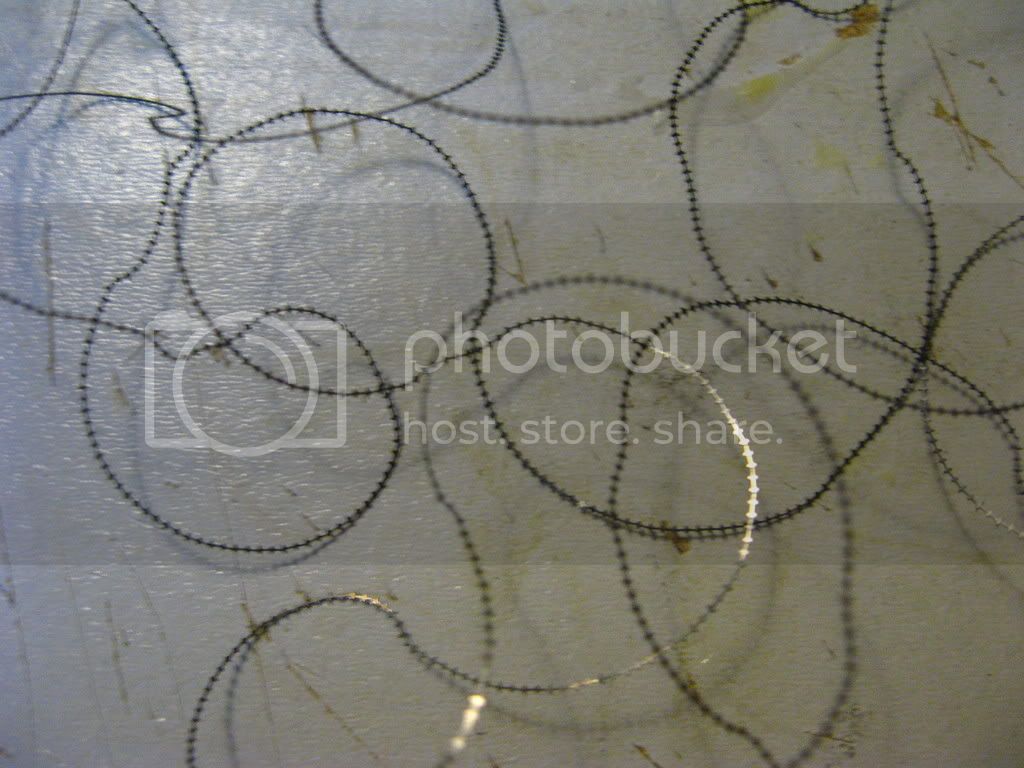
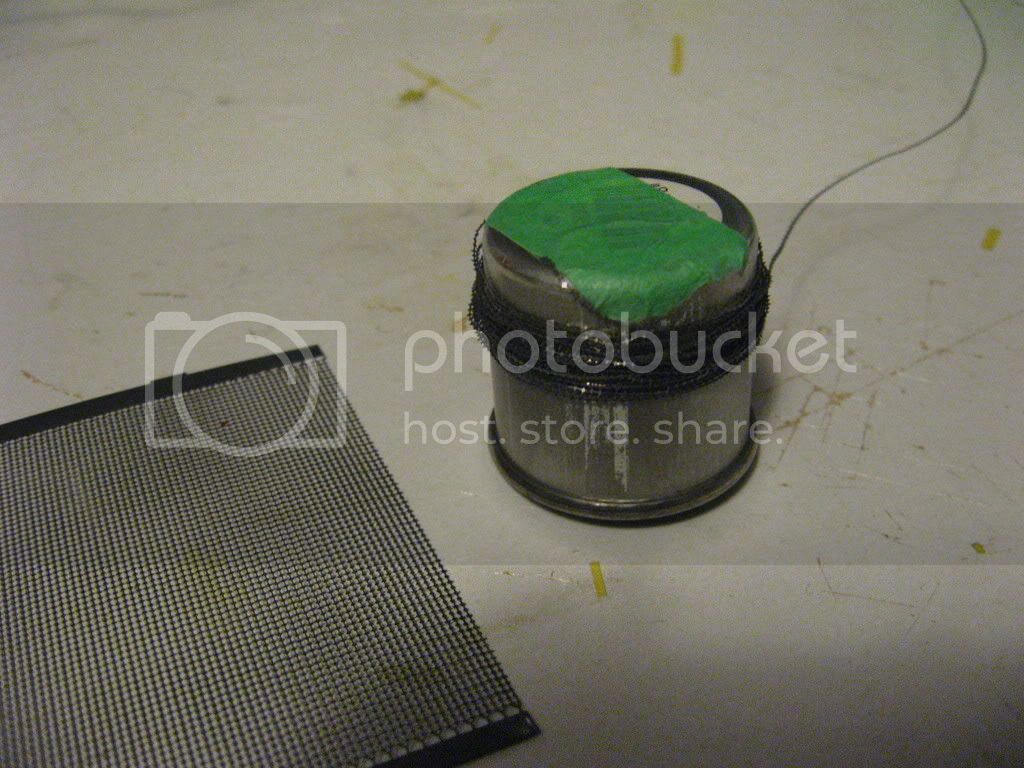
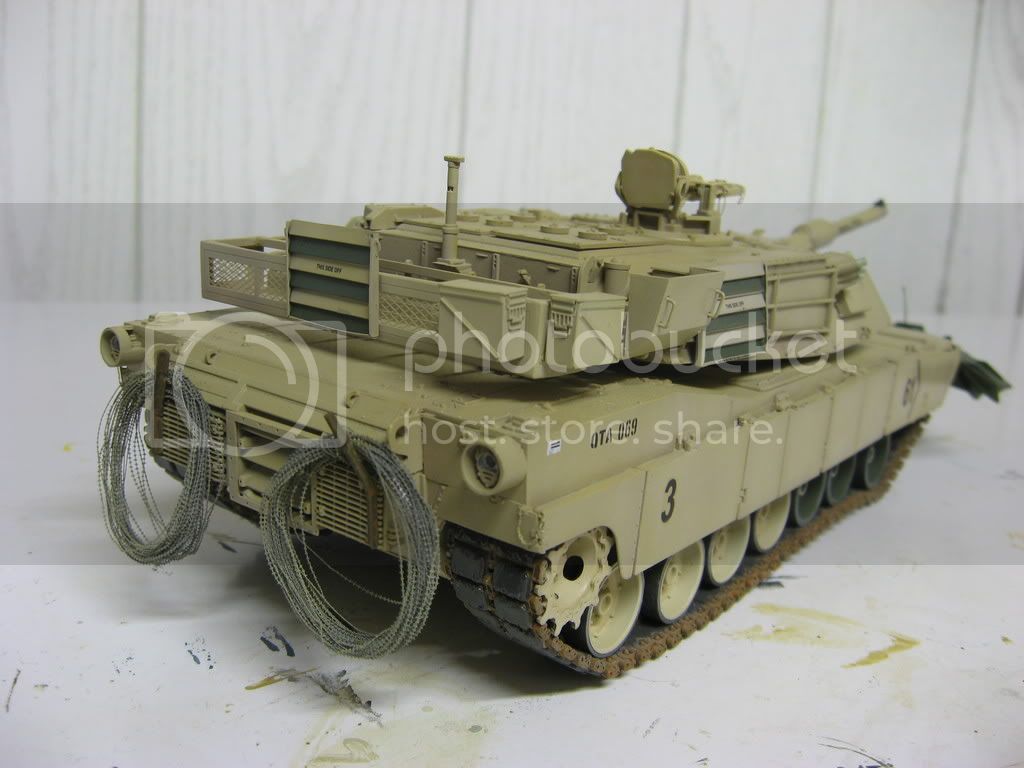
Well thats where she stands now. I will do a little more weathering and a few touchups around the mine plow, than move on to things like stowage and more with the scenery. I plan to leaving several parts off until right near the Abrams being completed. I knid of wish I hadn't added the coils of razor wire just yet as I keep hitting them. Luckily they have some give.


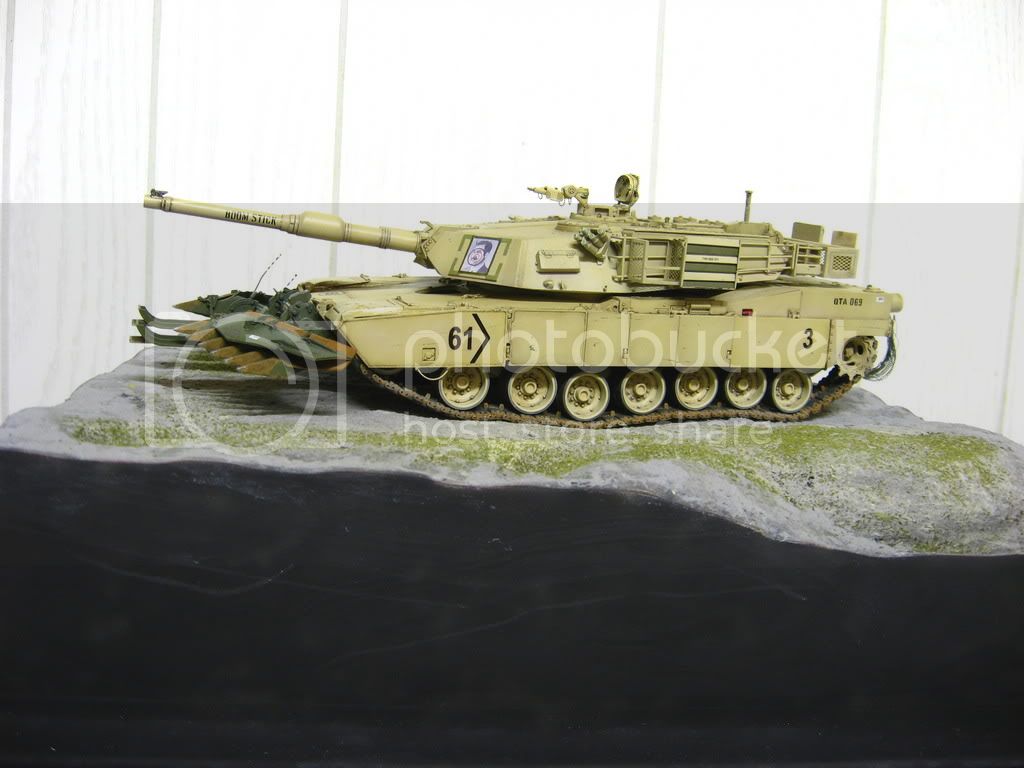
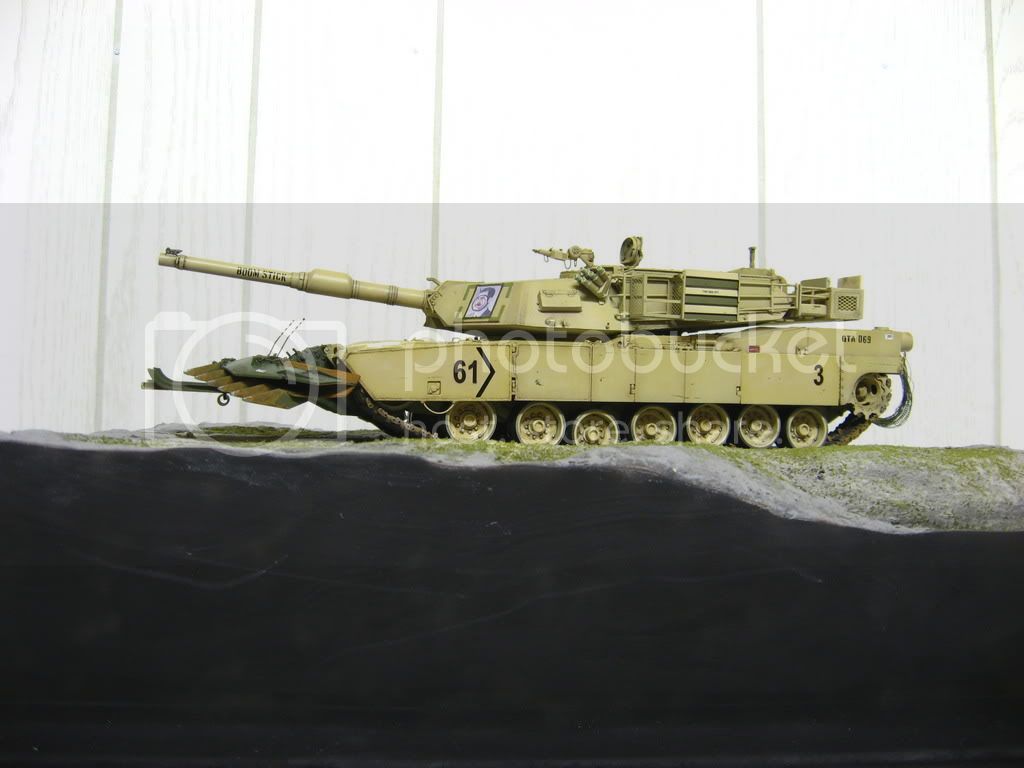
I am starting to get used to my new camera. Never had a one with all these settings to play with. Kind of fun. Any one else like how the tank is a different colour each update? It's not the paint, just the camera settings.

Jeff, Scott, Keith, Gino, Mike, Andrew, Brent, Tim, John, Thomas, and anyone else. Thanks for looking and for all of your thoughts and help for this build.
CSachjen
Visit this Community
Michigan, United States
Joined: September 10, 2007
KitMaker: 34 posts
Armorama: 22 posts
Posted: Sunday, September 09, 2007 - 04:54 PM UTC
You gave that piece of heavy metal its much demanded justice. Great work.
f1matt
Visit this Community
Manitoba, Canada
Joined: August 13, 2006
KitMaker: 1,021 posts
Armorama: 805 posts
Posted: Tuesday, September 11, 2007 - 06:20 PM UTC
Thanks Chris. I hope that is the case.

I can't believe I just deleted all this and have to type it all again!

Well as I already typed I figured it was time to start on the stowage. I have already amassed a large amount of stowage from previous projects but still managed to be left wanting more. For this project stowage has been sourced from Tamiya, Legend, Verlinden, Accurate Armour, Real Model, and Dragon. Phew. Dragon's M1 comes with a beautiful set of jerry cans and an equally gorgeous sheet of MRE's. The MRE boxes are the best I have ever come across and are an absolute must for my tank. They are often seen piled high on M1's. Along with all that "hard" stowage I felt it would help if I added some "soft" stowage. M1's sometimes have so much stowage that a tarp is thrown over it and strapped down to keep it all in place. This was a must as it would help fill up that big bustle rack extension. To make my large lump of stowage I first loosely placed various "bits" to see what would work.


After I got something that would get the ball rolling I glued my bits together. No dirty jokes please.


To help fill it out, some Milliput white epoxy putty was added.


Finally a tarp is needed to cover everything up. Tissue paper soaked in water/white glue was draped over and adjusted so it had the right look to it. I initially just cut out a rectangle of tissue paper and draped it on. I wasn't completely satisfied. I found it looked more realistic it I folded the tissue paper over onto it self to double it's thickness. The creases and folds just looked better. To finish it off I pressed a strip of masking tape onto the tarp (sticky side up) to show where the strap that secures the stowage will go.


Well I have also cut, folded and assembled all of my MRE, water and soda boxes. These will add a splash of much needed colour to the tank.


Thanks for looking.
KoOkiE
Visit this Community
West-Vlaaderen, Belgium
Joined: April 11, 2007
KitMaker: 2,625 posts
Armorama: 154 posts
Posted: Tuesday, September 11, 2007 - 08:21 PM UTC
nice looking model, really love what you are doing with it. I'ld actually start concidering a modern day armor dio myself ^_^
f1matt
Visit this Community
Manitoba, Canada
Joined: August 13, 2006
KitMaker: 1,021 posts
Armorama: 805 posts
Posted: Wednesday, September 12, 2007 - 05:40 AM UTC
Well thank you Steven. It certainly is a great time to get into modern armor. So much is out there now. Kits, aftermarket detailing sets, references. Not to mention there is a lot of great and inspirational photos out there. Again a big thank you to Mark Godsman.
f1matt
Visit this Community
Manitoba, Canada
Joined: August 13, 2006
KitMaker: 1,021 posts
Armorama: 805 posts
Posted: Wednesday, September 12, 2007 - 05:27 PM UTC
Next up. Dice!


If you're gonna fight in a war you'll need all the luck you can get. If this were a Tiger I would have added a lucky horseshoe. I had wanted to add this tiny detail to my first Abrams but...I forgot. It was such a small detail I completely forgot. Well I managed to remember this time so they made it on to this Abrams. Dice (as you might have already guessed) are really tiny in 1/35 scale. Luckily my mother has a large source of beads. They are super tiny and even have a small hole in the middle. The thread is made of fine fishing line painted black. The beads aren't exactly cubes, but since they are so small you can't tell. I know that the thread for dice should attach at the corner but by threading fine fishing line through the hole in the center and then gluing it made it much stronger. The dice were painted flat black and the dots were carefully added with my finest brush. Flat white of course. This also required a lot of touching up and re-doing to get it looking acceptable. I actually made two pairs of dice. I wasn't quite satisfied with the how the first pair turned out. Well here is my second and final attempt.


So do you guys think they look like dice? I want your honest opinions.
 _GOTOTOP